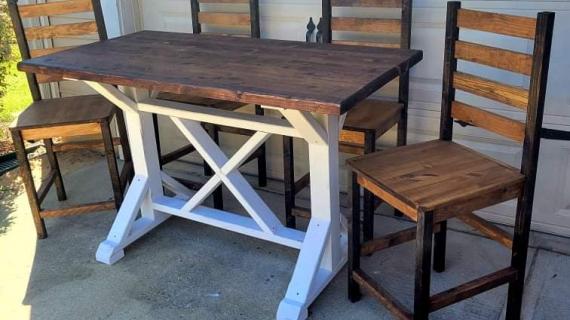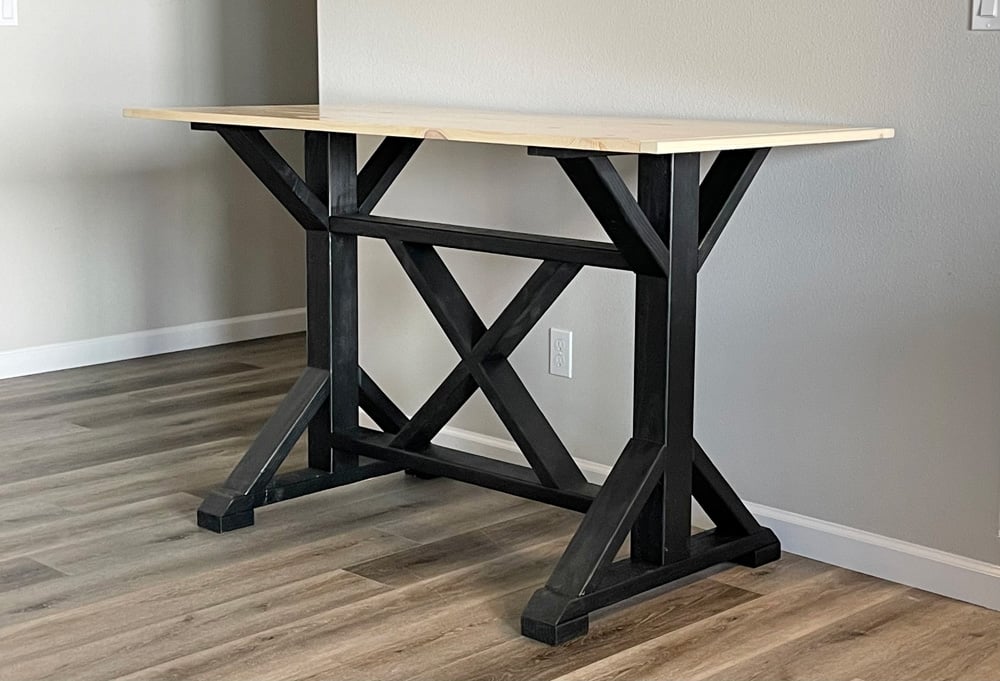
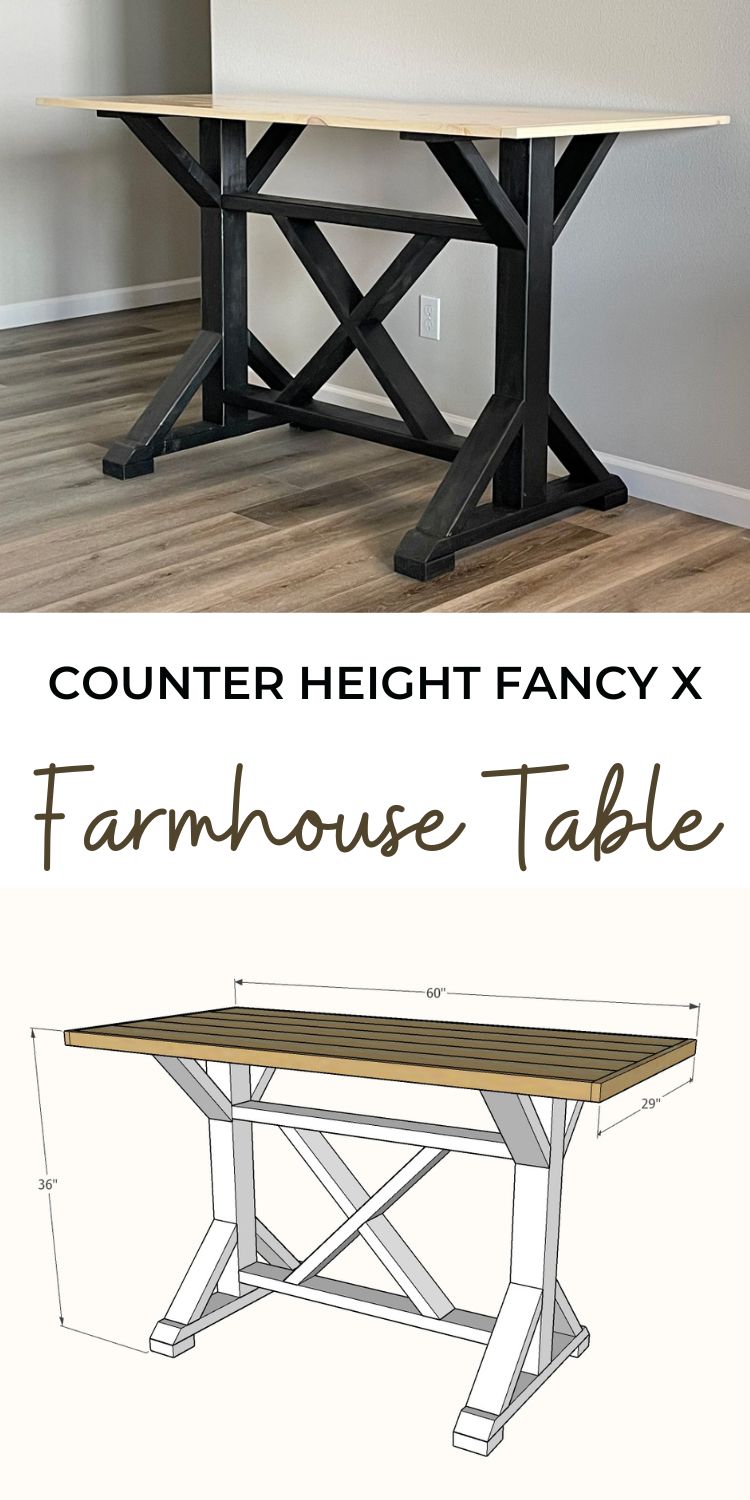
Free plans to build a counter height X base farmhouse table. Step by step diagram, video of build process and cutting and shopping list included. From Ana-White.com
Pin For Later!
Dimensions
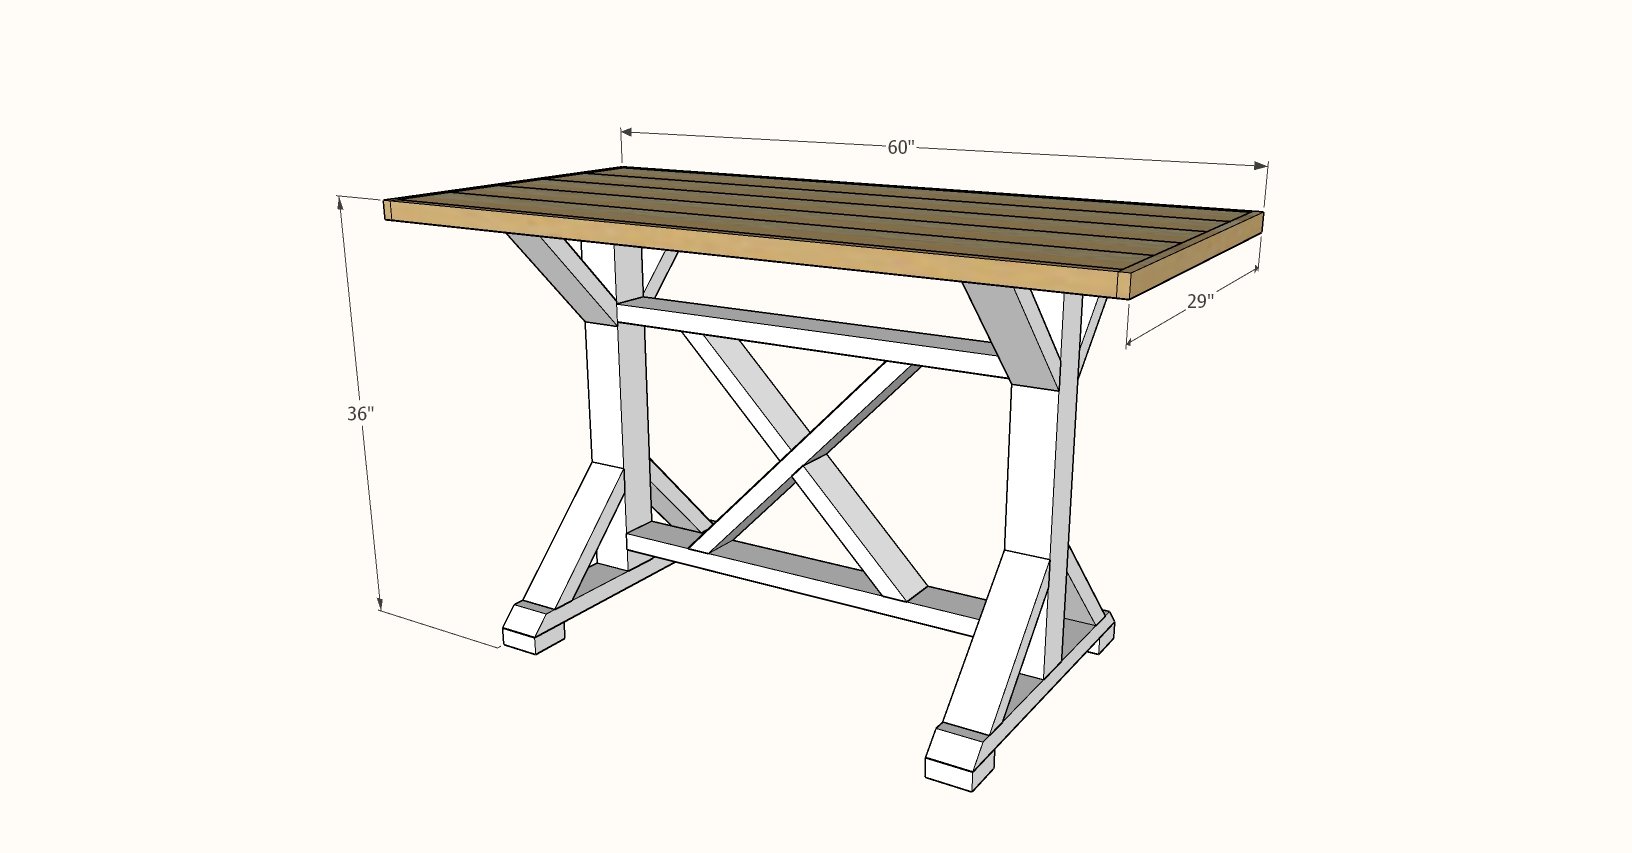
Counter height, suitable for six stools.
Preparation
Shopping List
- 1 - 1x4x6'
- 1 - 4x4x6'
- 4 - 2x4x8'
- 5 - 1x6x5'
- 2 - 1x2x8'
- 60 - 2-1/2" self tapping star bit construction screws (recommend #8)
- 8 - 2-1/2" pocket hole screws
- 30 - 1-1/4" pocket hole screws
- 1-1/4" brad nails
- wood glue
Cut List
LEG SETS
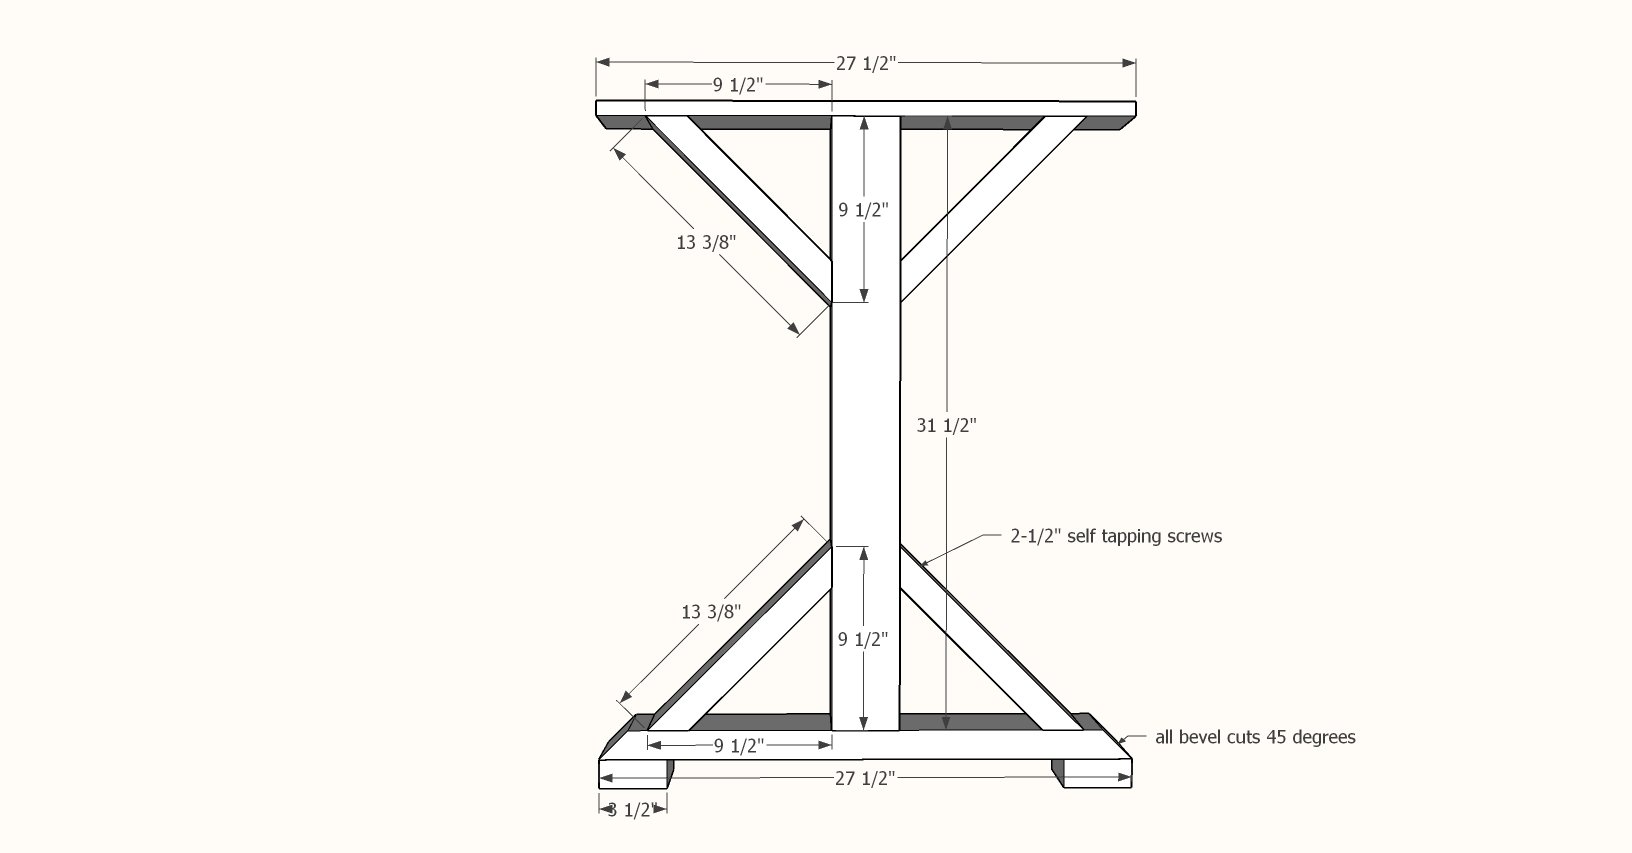
- 2 - 1x4 @ 27-1/2"
- 2 - 4x4 @ 31-1/2"
- 2 - 2x4 @ 27-1/2" - long point to long point, both ends cut at 45 degree bevel, ends NOT parallel
- 4 - 2x4 @ 3-1/2"
- 8 - 2x4 @ 13-3/8" - long point to long point, both ends cut at 45 degree bevel, ends NOT parallel
CENTER
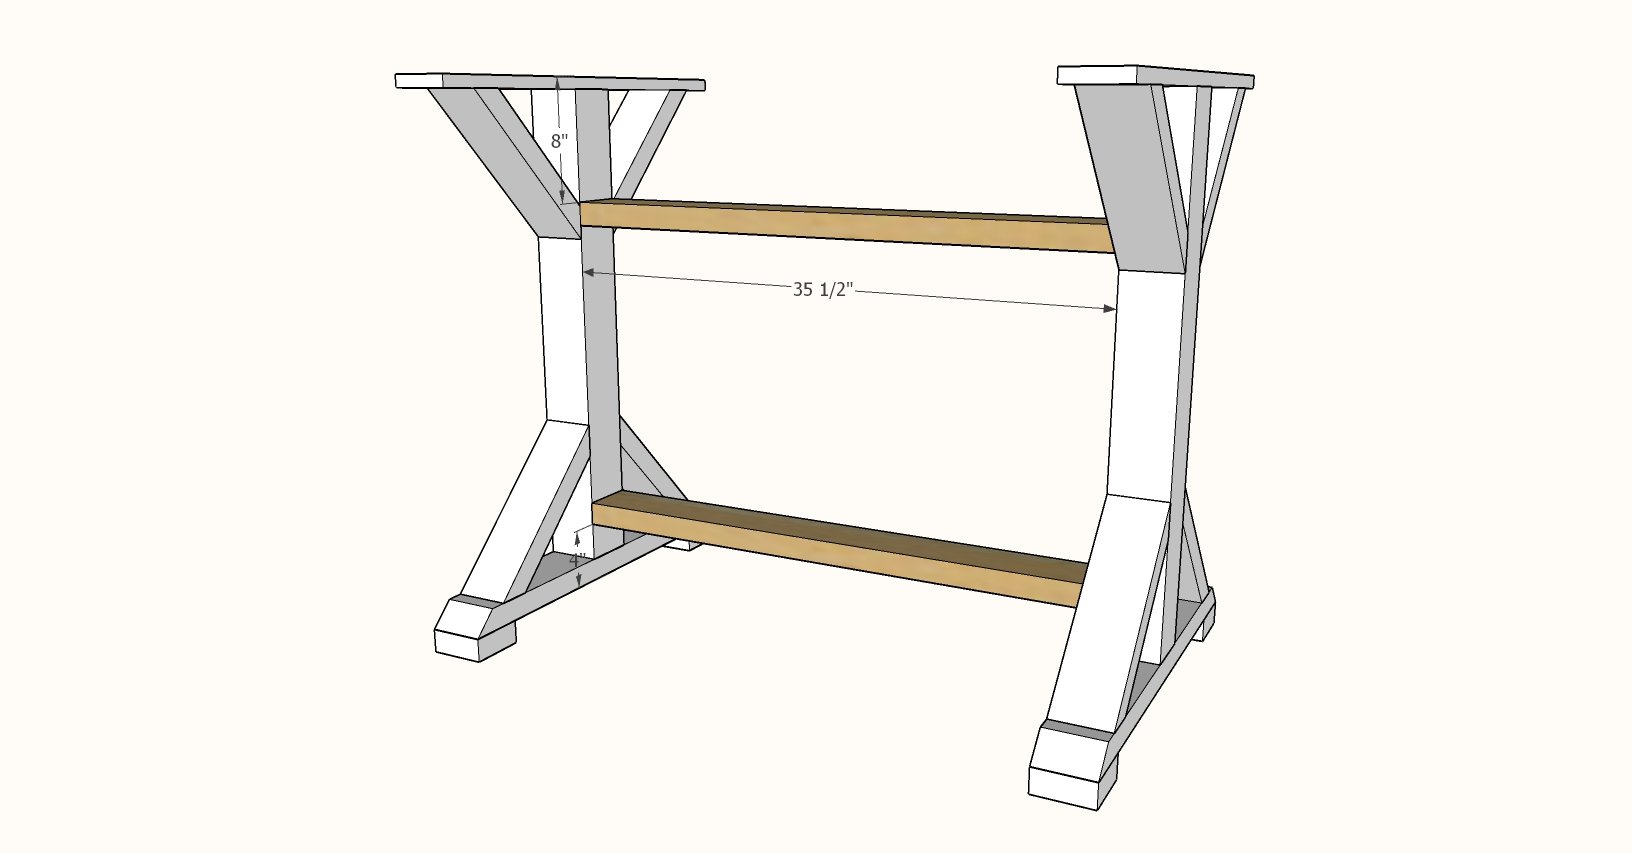
- 2 - 2x4 @ 35-1/2"
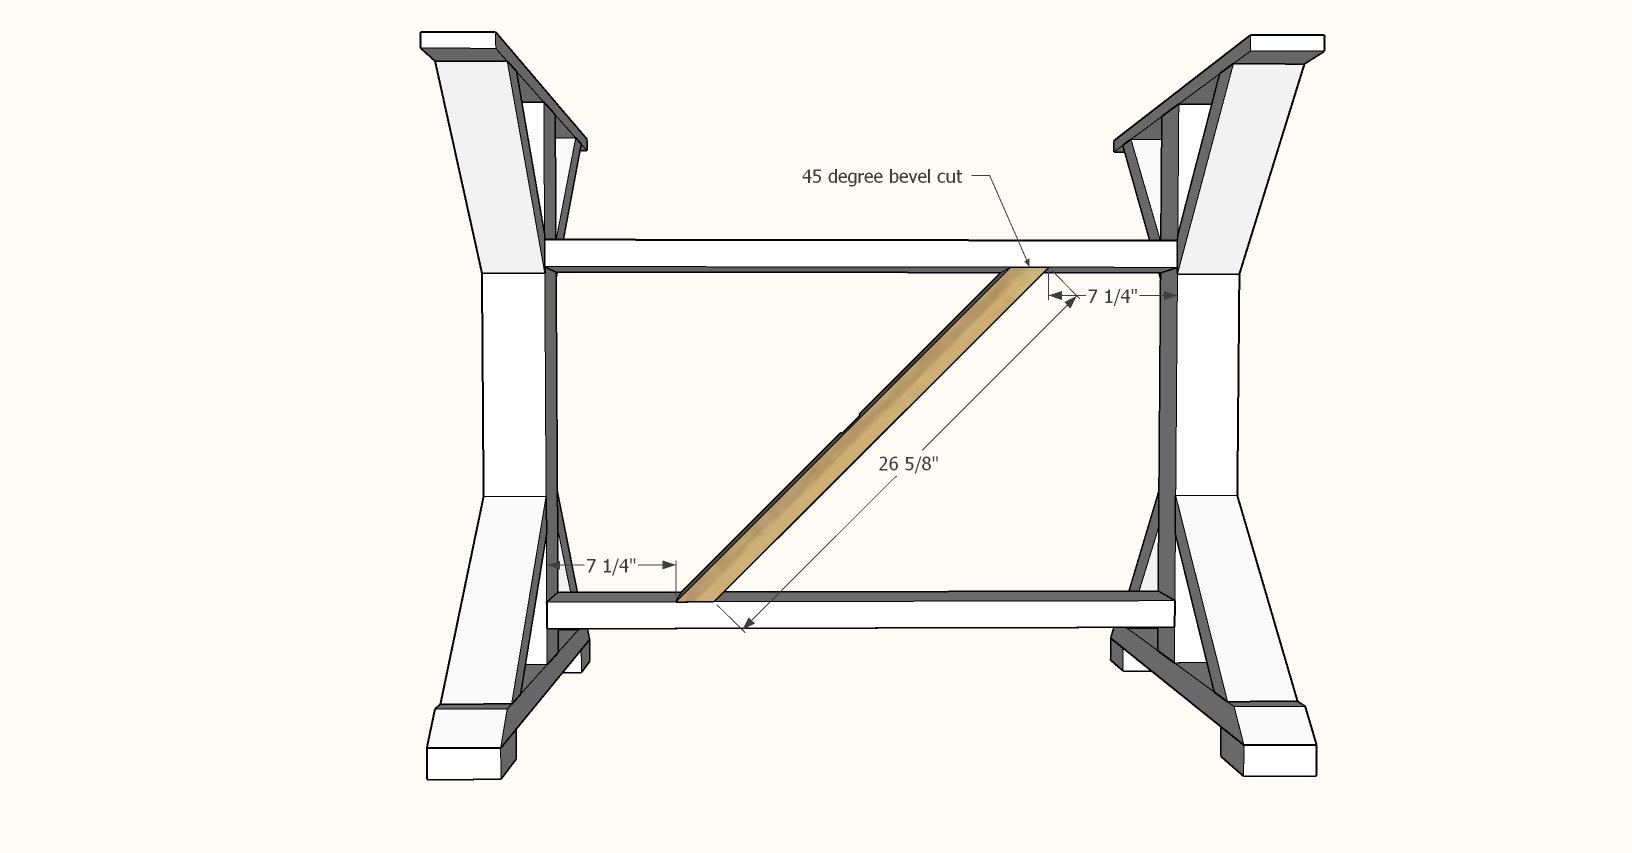
- 1 - 2x4 @ 26-5/8" - long point to short point, both ends cut at 45 degree bevel, ends ARE parallel
- 2 - 2x4 @ 13-3/8" - longest point measurement, one end cut at 45 degree bevel
TABLETOP
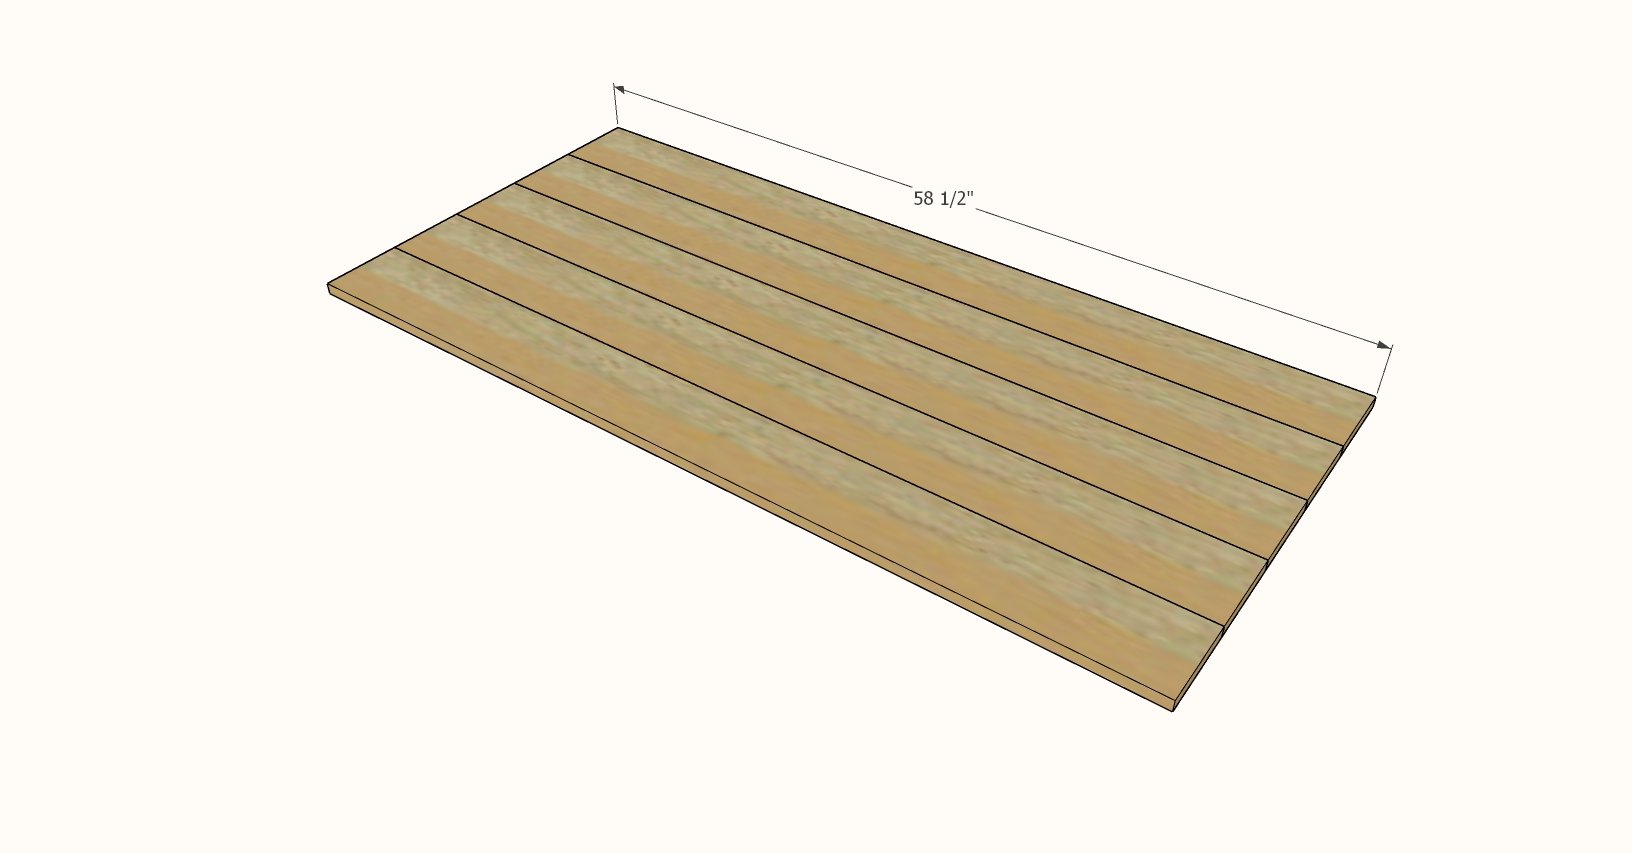
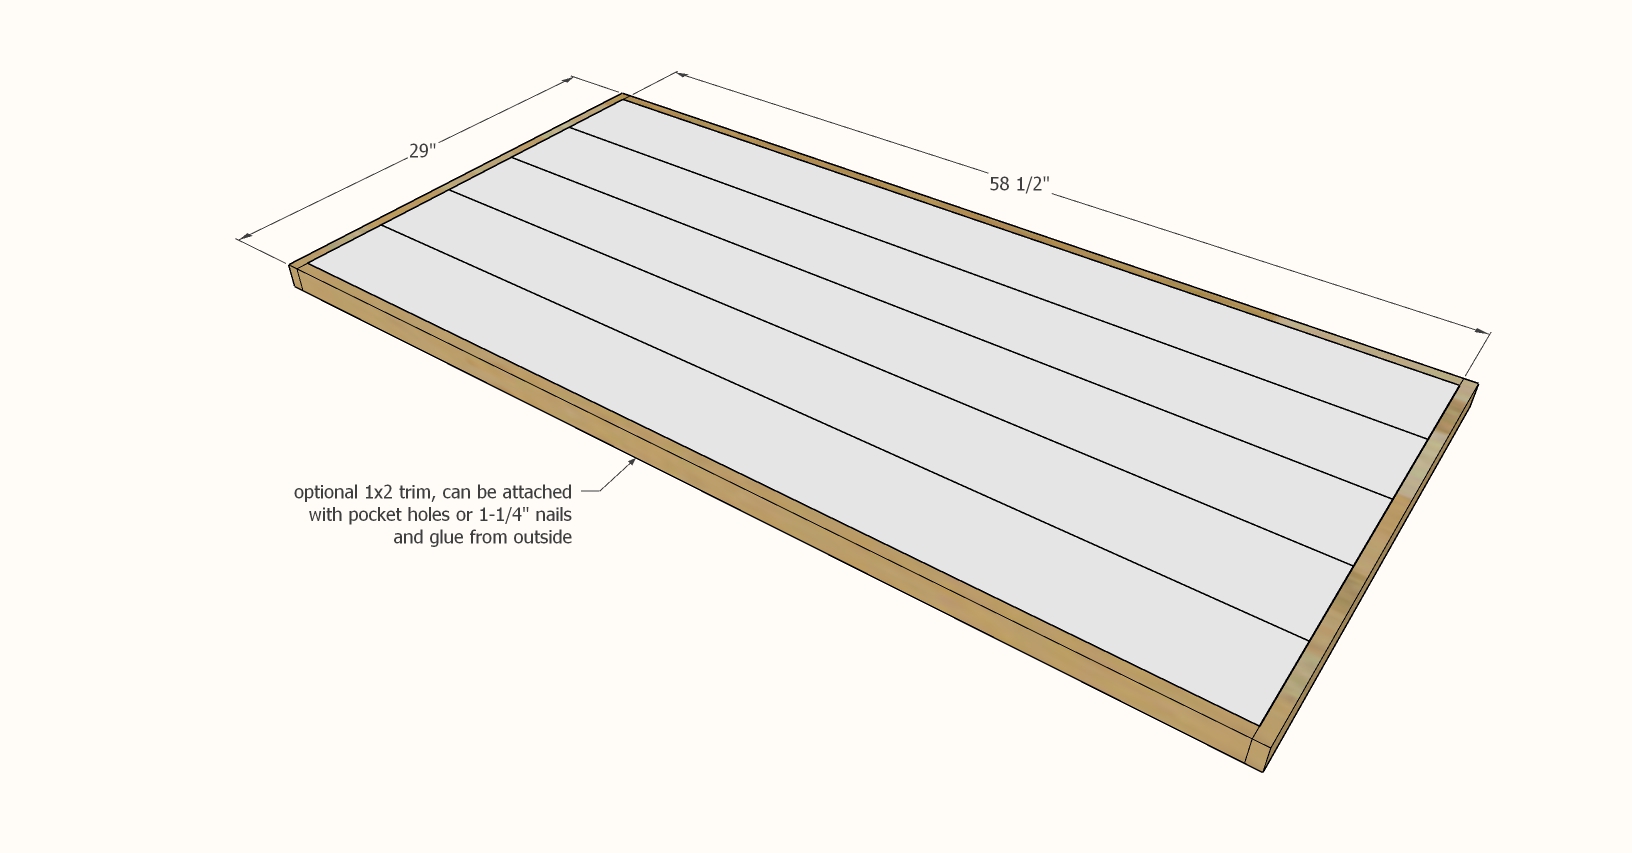
- 5 - 1x6 @ 58-1/2"
- 2 - 1x2 @ 58-1/2"
- 2 - 1x2 @ approximately 29" - measure and cut to fit
Instructions
Step 1
Step 2
Step 5
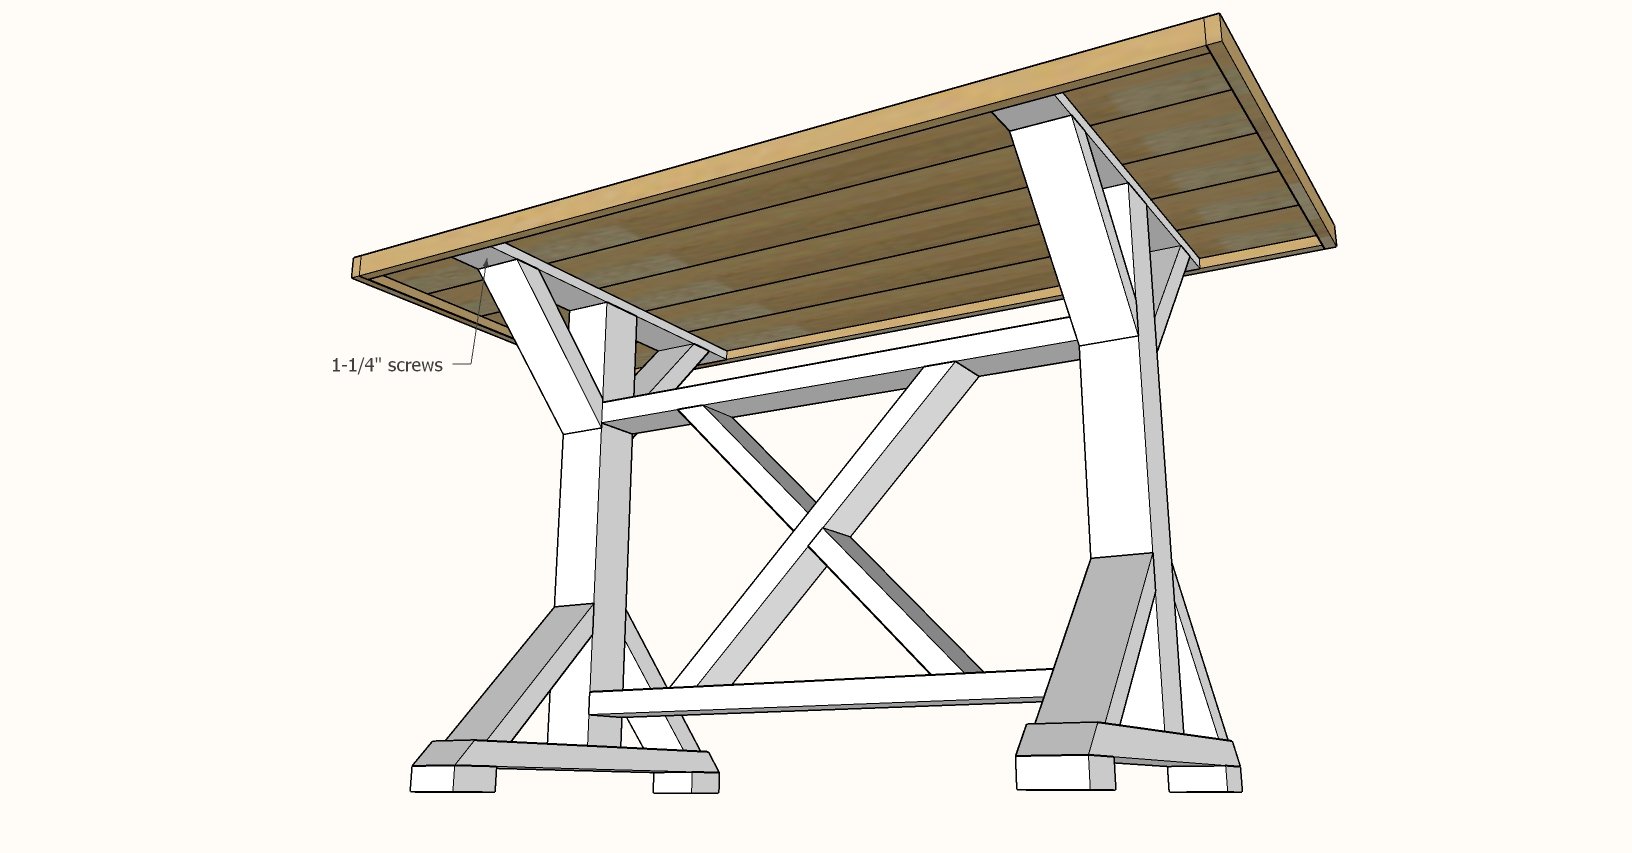
For the tabletop, I recommend following my video tutorial here to build a pretty 1x tabletop. You'll use the 1-1/4" pocket hole screws to assemble.
Step 6
Optional: 1x2 trim can give the tabletop a thicker profile. Attach with 1-1/4' brad nails and glue. 1x blocking can be added behind the edge to further strengthen.
Project Type
Room


