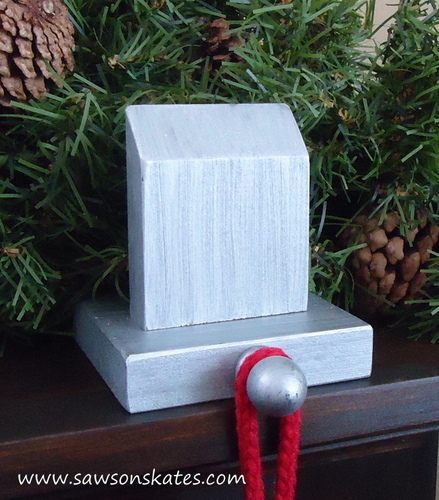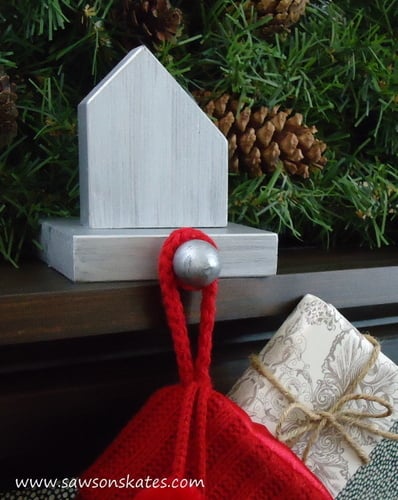
DIY West Elm Inspired Stocking Holders

The free plans on this website are made possible with advertising and affiliate links.  Thank you for helping us keep plans free.


DIY West Elm Metal House Inspired Stocking Holder
Difficulty
Starter Projects
| Print this plan

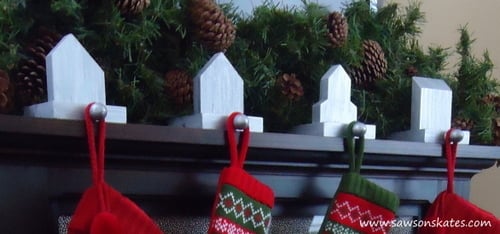
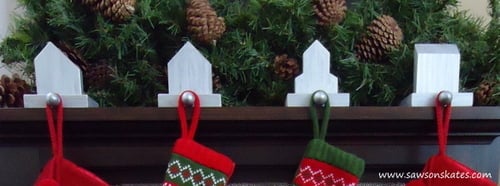
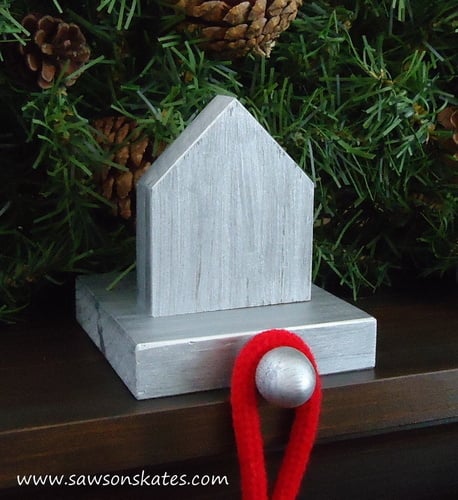
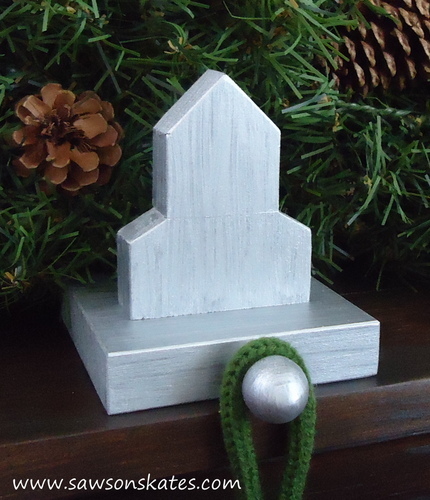
Hey there, Scott here from www.sawsonskates.com. Today I'm sharing an easy-to-make project. The best part? It was made entirely with scraps laying around my workshop! Scraps of 1x2, 1x3, 1x4, a few screws and paint combine to form these West Elm Inspired Stocking Holders. These not an exact replica of the West Elm "Metal House" stocking holder, they are more of a metal look silhouette.


Complete step-by-step instructions with build pics for the DIY West Elm Inspired Stocking Holders are available on www.sawsonskates.com.

DIY West Elm Metal House Inspired Stocking Holders
How to make West Elm Inspired Stocking Holders

These stocking holders were inspired by the West Elm "Metal House" stocking holder which featured only one style house. My collection includes four buildings. The construction is sooo easy! The buildings only require a few cuts and then they are simply screwed to the base. The metal look was achieved by first painting the holders black and then brushing with a metallic paint. This is a quick afternoon project!

Preparation

Shopping List

Scraps of 1x2, 1x3 and 1x4

Common Materials
1 1/4 inch screws
paint
paint brush
Tools
Tape Measure
Pencil
Safety Glasses
Hearing Protection
Drill
Miter Saw
General Instructions

Please read through the entire plan and all comments before beginning this project. It is also advisable to review the Getting Started Section. Take all necessary precautions to build safely and smartly. Work on a clean level surface, free of imperfections or debris. Always use straight boards. Check for square after each step. Always predrill holes before attaching with screws. Use glue with finish nails for a stronger hold. Wipe excess glue off bare wood for stained projects, as dried glue will not take stain. Be safe, have fun, and ask for help if you need it. Good luck!

Finishing Instructions
Preparation Instructions
Fill all holes with wood filler and let dry. Apply additional coats of wood filler as needed. When wood filler is completely dry, sand the project in the direction of the wood grain with 120 grit sandpaper. Vacuum sanded project to remove sanding residue. Remove all sanding residue on work surfaces as well. Wipe project clean with damp cloth.

It is always recommended to apply a test coat on a hidden area or scrap piece to ensure color evenness and adhesion. Use primer or wood conditioner as needed.