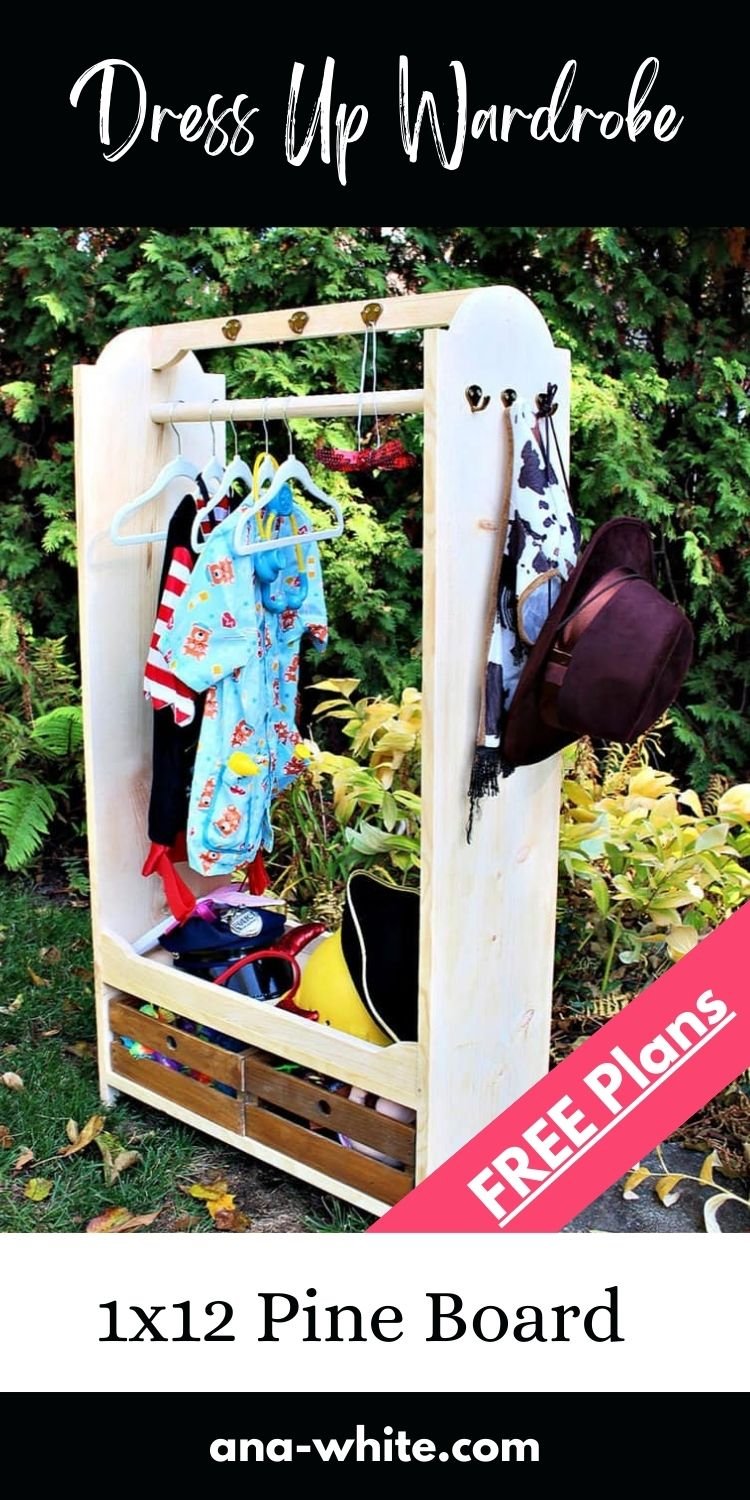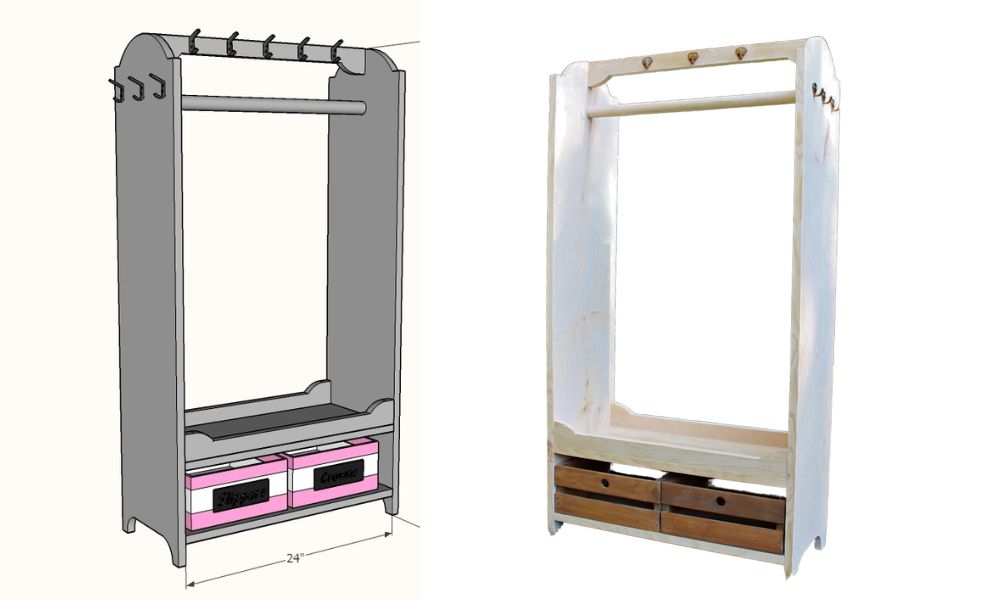
1x12 Pine Board Dress Up Wardrobe

The free plans on this website are made possible with advertising and affiliate links.  Thank you for helping us keep plans free.


diy dress up tower free plans pine wood
Difficulty
Beginner Projects
| Print this plan

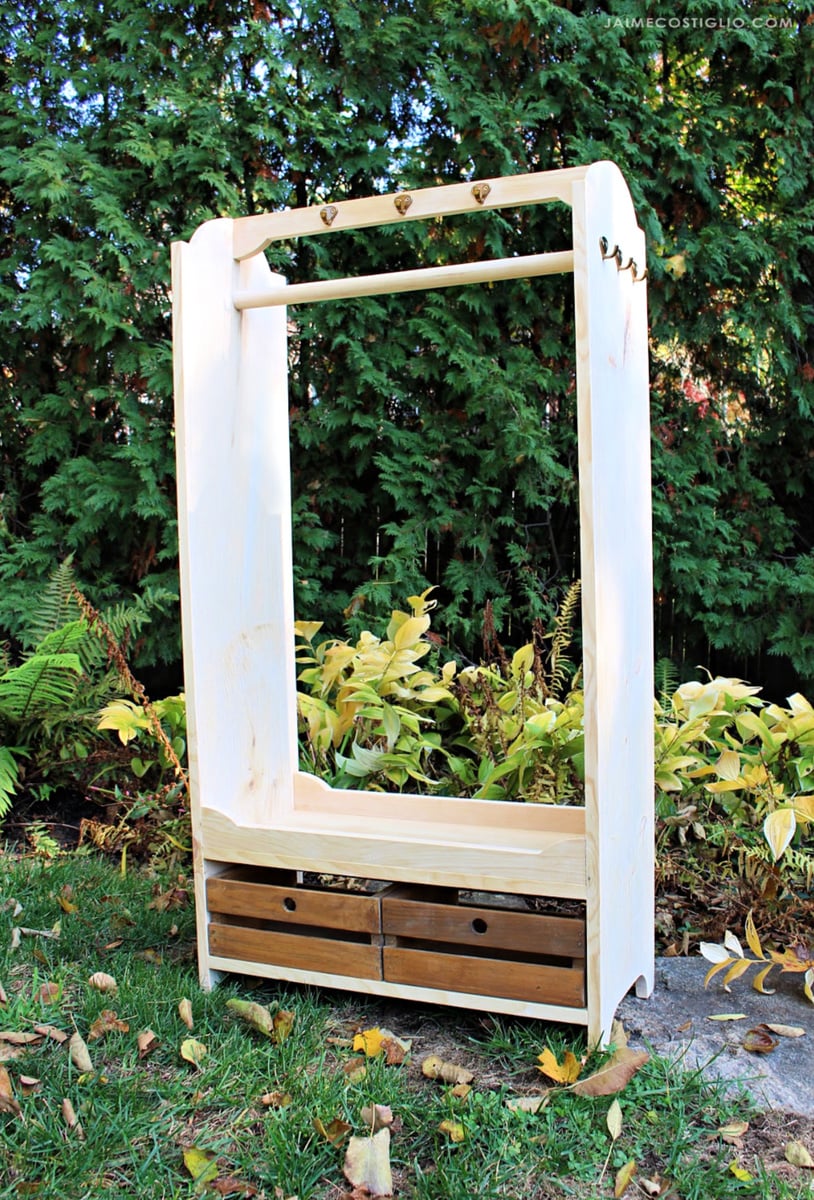
Free woodworking plans to build your own dress up wardrobe from pine 1x12 boards!

This beautiful piece can be painted or stained any color.  You'll love all the detail and the size.

Step by step plans with detailed diagrams, shopping and cut list - everything you need to build this dress up tower.

dress up tower

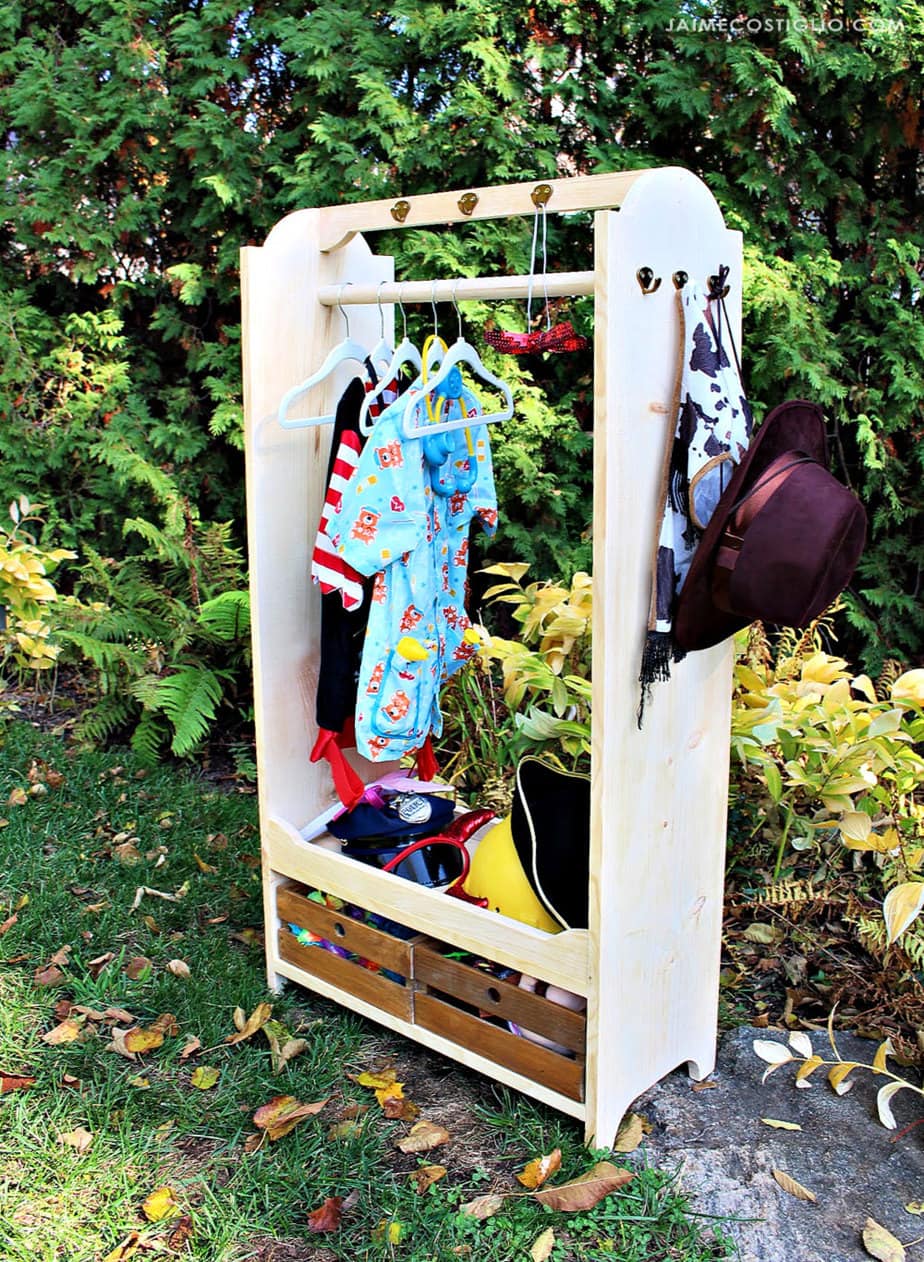
Does your child love dress up and pretend play? But no where to put all those costumes and accessories?

BUILD THIS DIY DRESS UP WARDROBE WITH FREE PLANS DESIGNED BY ANA WHITE.  THIS DRESS UP WARDROBE HAS HOOKS, A CLOSET ROD, AND EXTRA STORAGE FOR ACCESSORIES AND SHOES.

This dress up wardrobe would make a wonderful Christmas gift!  We also love that it is easy to build and will be sturdy and strong.


More Photos and Build Plans

The free plans are below, but first, head on over to Jaime Costiglio Blog for lots more photos and build details.

CLICK HERE FOR MORE PHOTOS AND BUILD POST AT JAIMECOSTIGLIOBLOG.com


Pin For Later!

1x12 Pine Board Dress Up Wardrobe

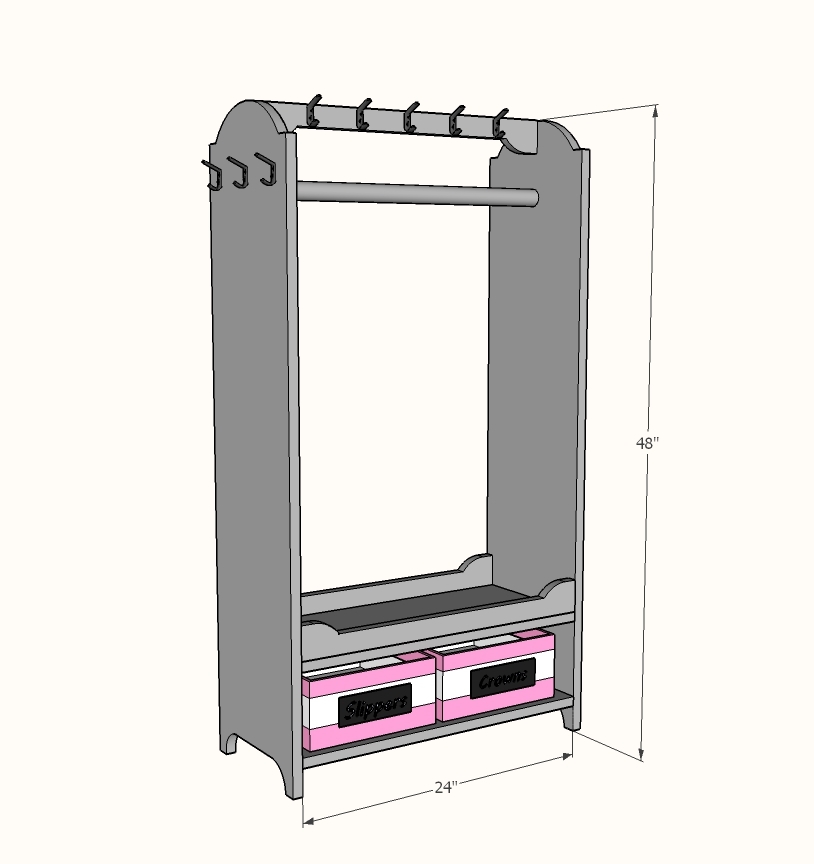
Dimensions
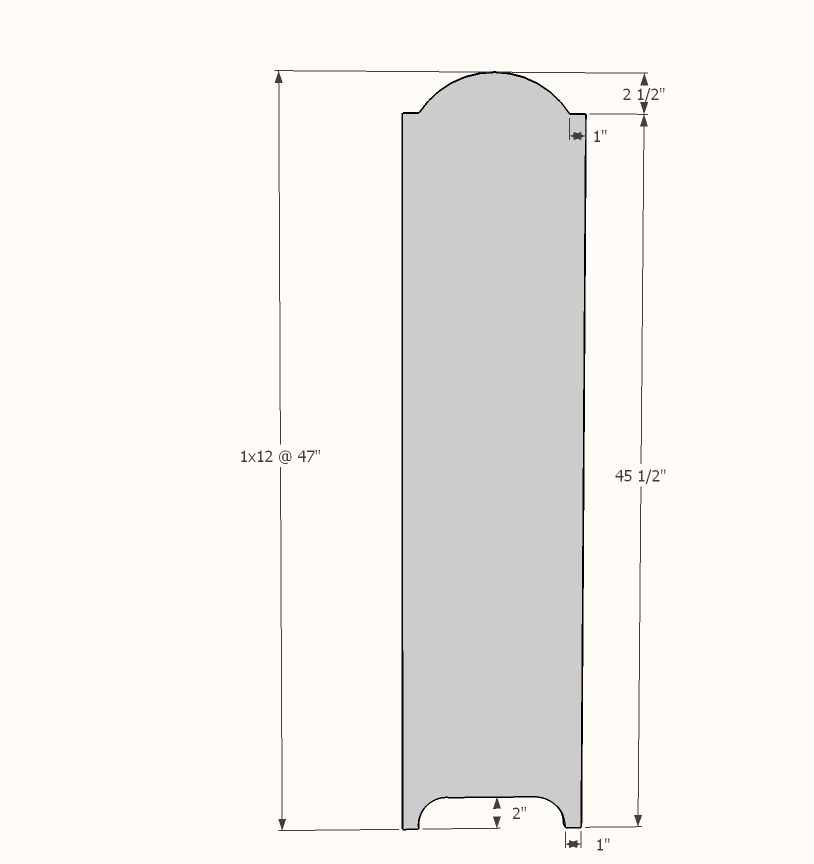
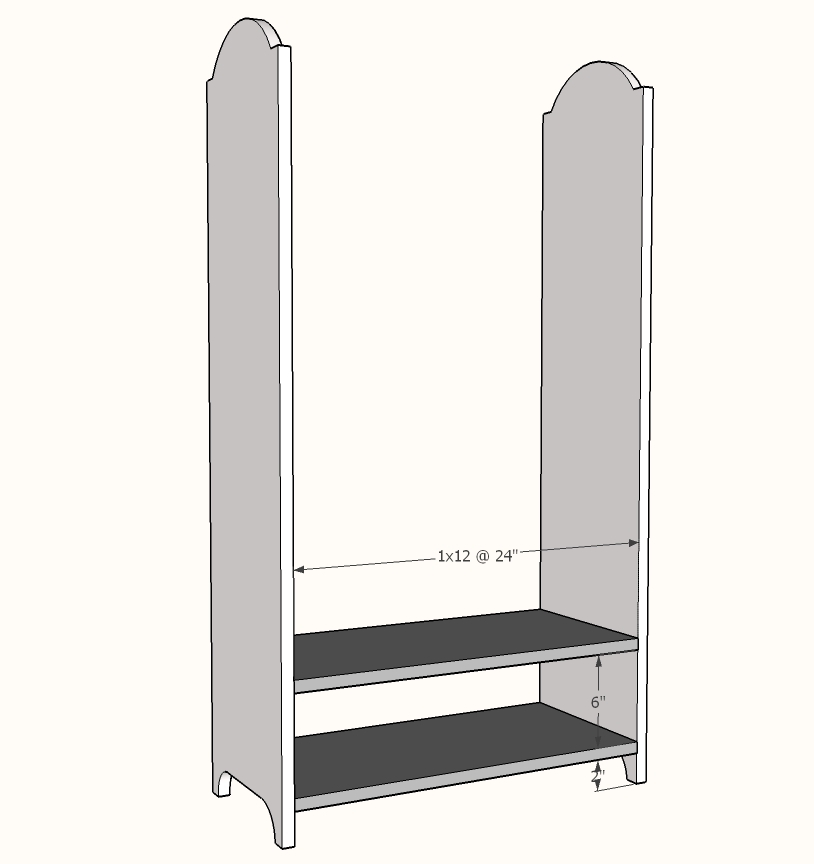
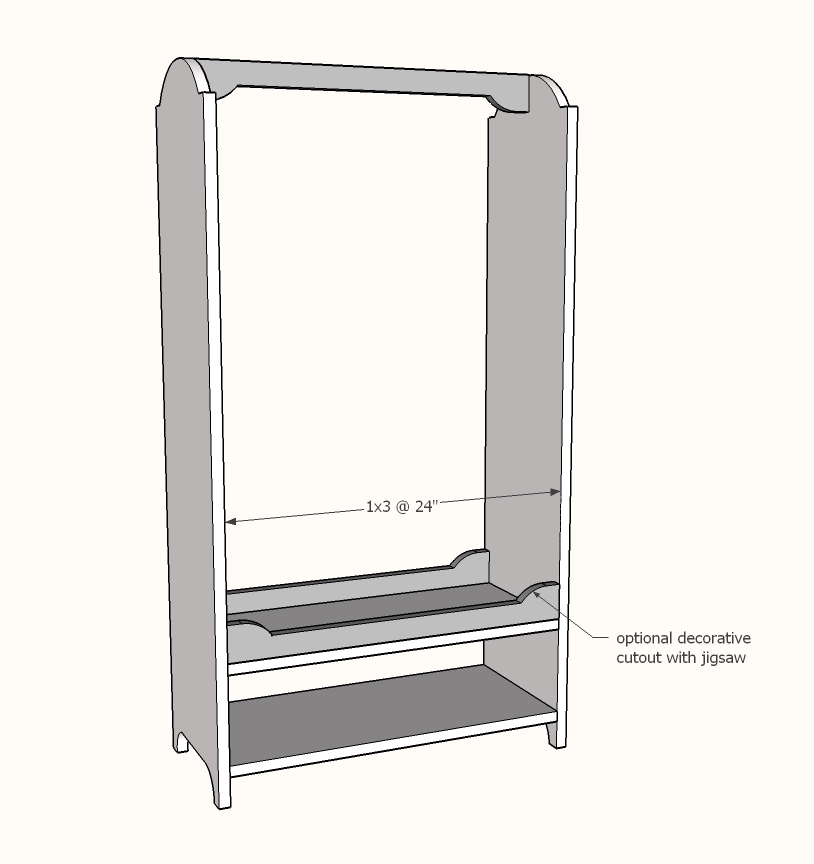
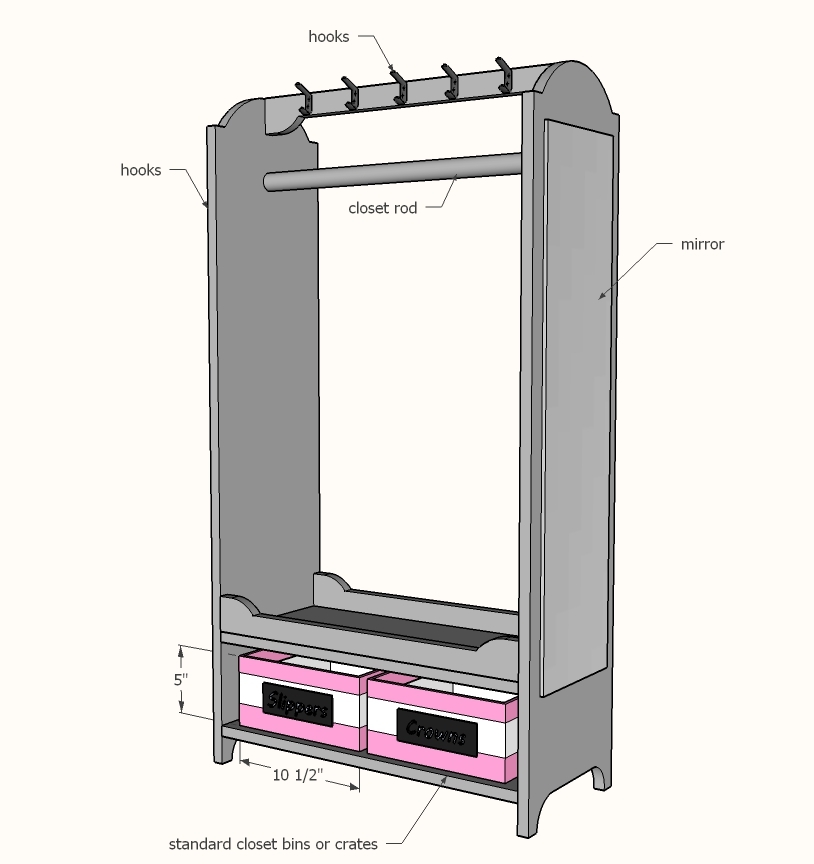
dress up tower dimensions
Dimensions shown above

Preparation

Shopping List
  • 4 - 1x12 @ 4 feet long
  • 1 - 1x3 @ 6 feet long
  • 1 - closet rod @ 2 feet long
  • Hooks and mirror
Common Materials
Cut List
  • 2 - 1x12 @ 47" long - sides
  • 2 - 1x12 @ 23-3/4" - shelves
  • 3 - 1x3 @ 23-3/4" - trim 
Tools
Tape Measure
Speed Square
Pencil
Safety Glasses
Hearing Protection
Drill
Jigsaw
Miter Saw
Brad Nailer
Power Sander

Instructions

Step 1

From two of the 1x12s @ 48" long, mark out cuts and cut with a jigsaw.  Sand cut edges until smooth and the two sides match each other.

Step 2

Cut the shelves from the remaining 1x12 so they are exactly the same length.  Drill pocket holes (3/4" setting) on each end (three per end).  Attach upper shelf first with a space of 8-3/4" under the upper shelf, pocket holes facing downward.  Then attach the bottom shelf.  Uses 1-1/4" pocket hole screws.

Step 3

Cut the 1x3s as desired with a jigsaw.  Attach on ends with pocket holes.  Attach to shelves with 1-1/4" brad nails and wood glue.


NOTE: To avoid pocket holes showing at the top, you can use screws or nails to attach the top 1x3.

Step 4

Acessories with hooks, mirror, closet rod and bins.  The bins shown here are sized to match the Target striped closet bins.