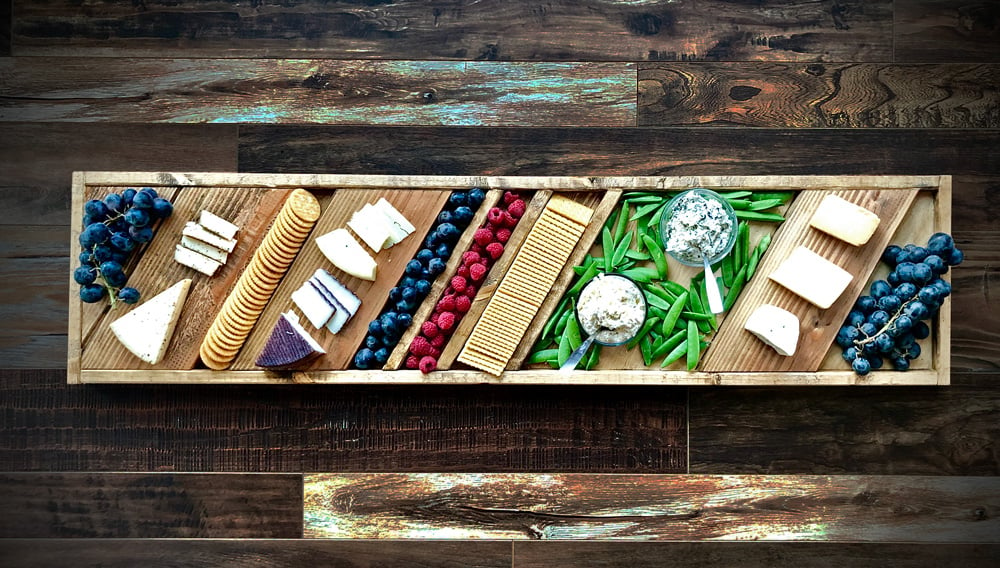


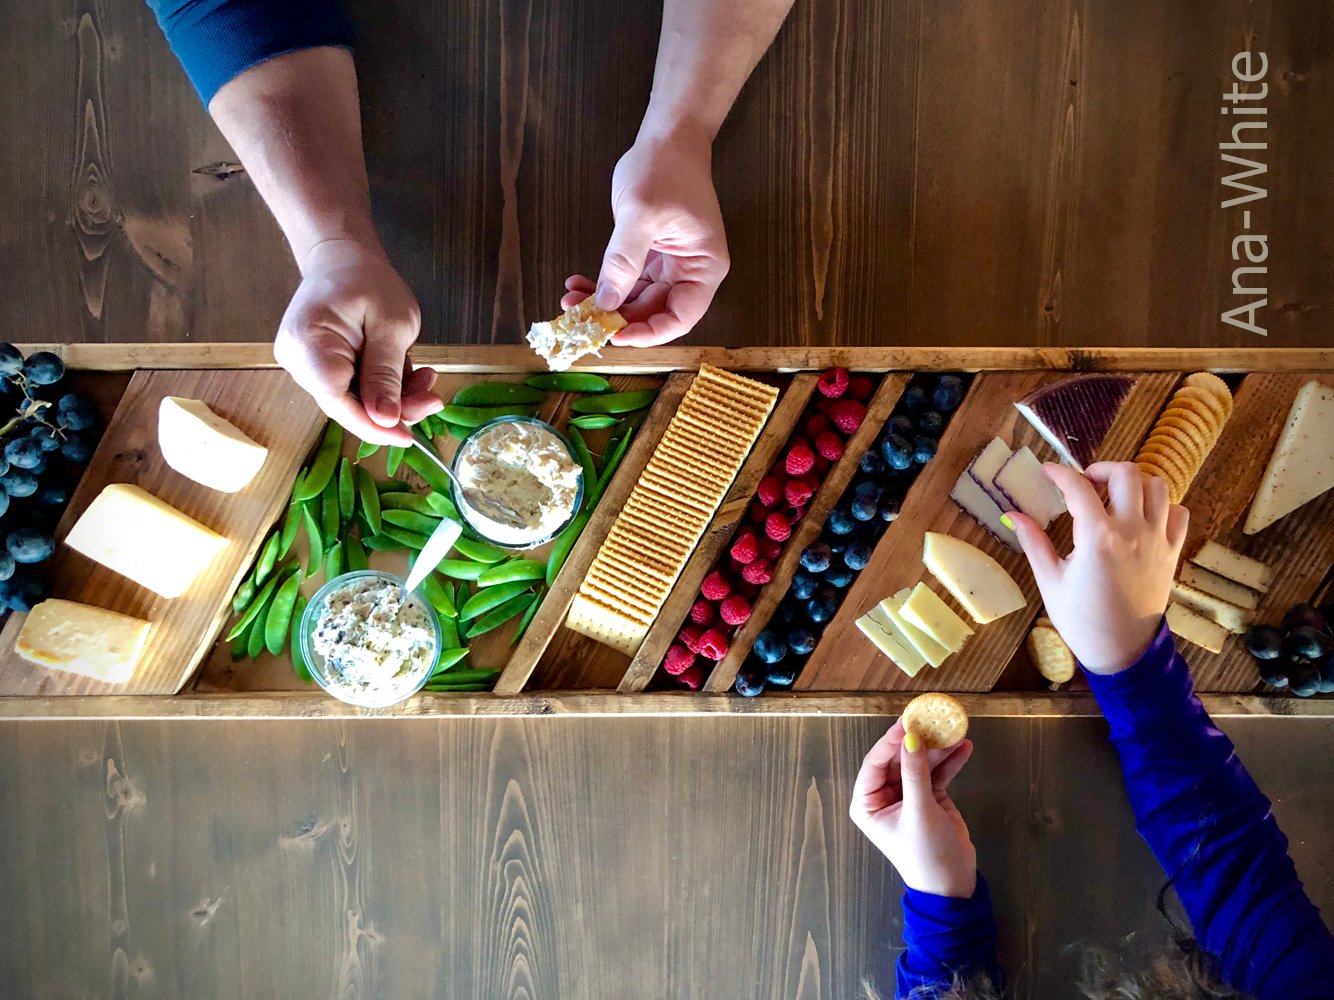
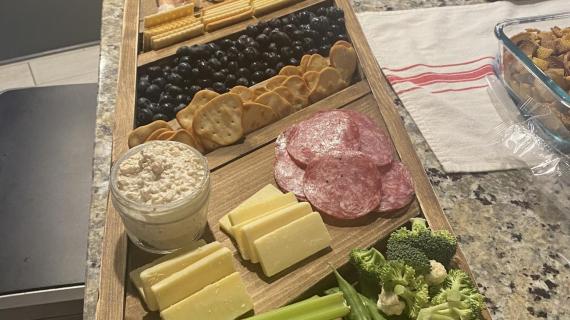
Build this amazing and unique grazing board or charcuterie board with scrap wood! This is a SIMPLE DIY project that you can tackle in a couple hours. Tutorial by Ana-White.com
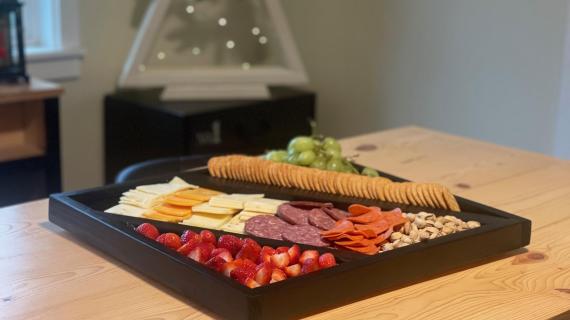
Charcuterie boards and grazing boards are a fun and easy way to serve food to guests. We love them for everything from a casual lunch to a fancy dinner party.
I've been wanting to build a grazing board or charcuterie board for a while, but just buying a wide width board (like a 1x12) and cutting a handle and finishing it seemed too simple and can be expensive. Why not use up my scrap wood pile and make a charcuterie board for free?
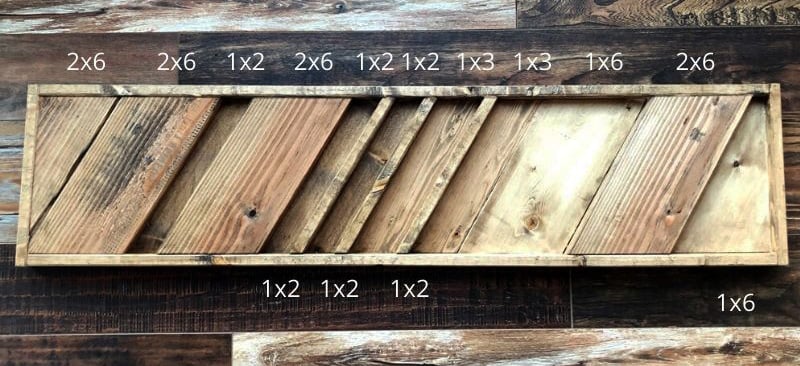
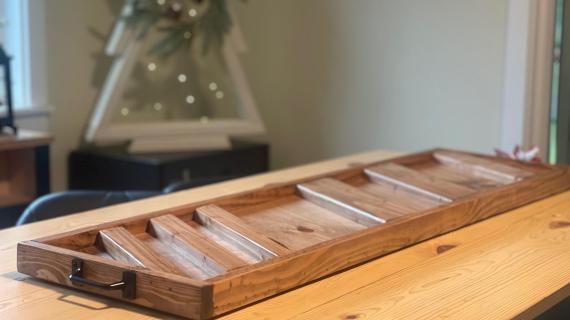
And why not use different thickness of wood to create recesses in the grazing board?
Easy to Build and Customize
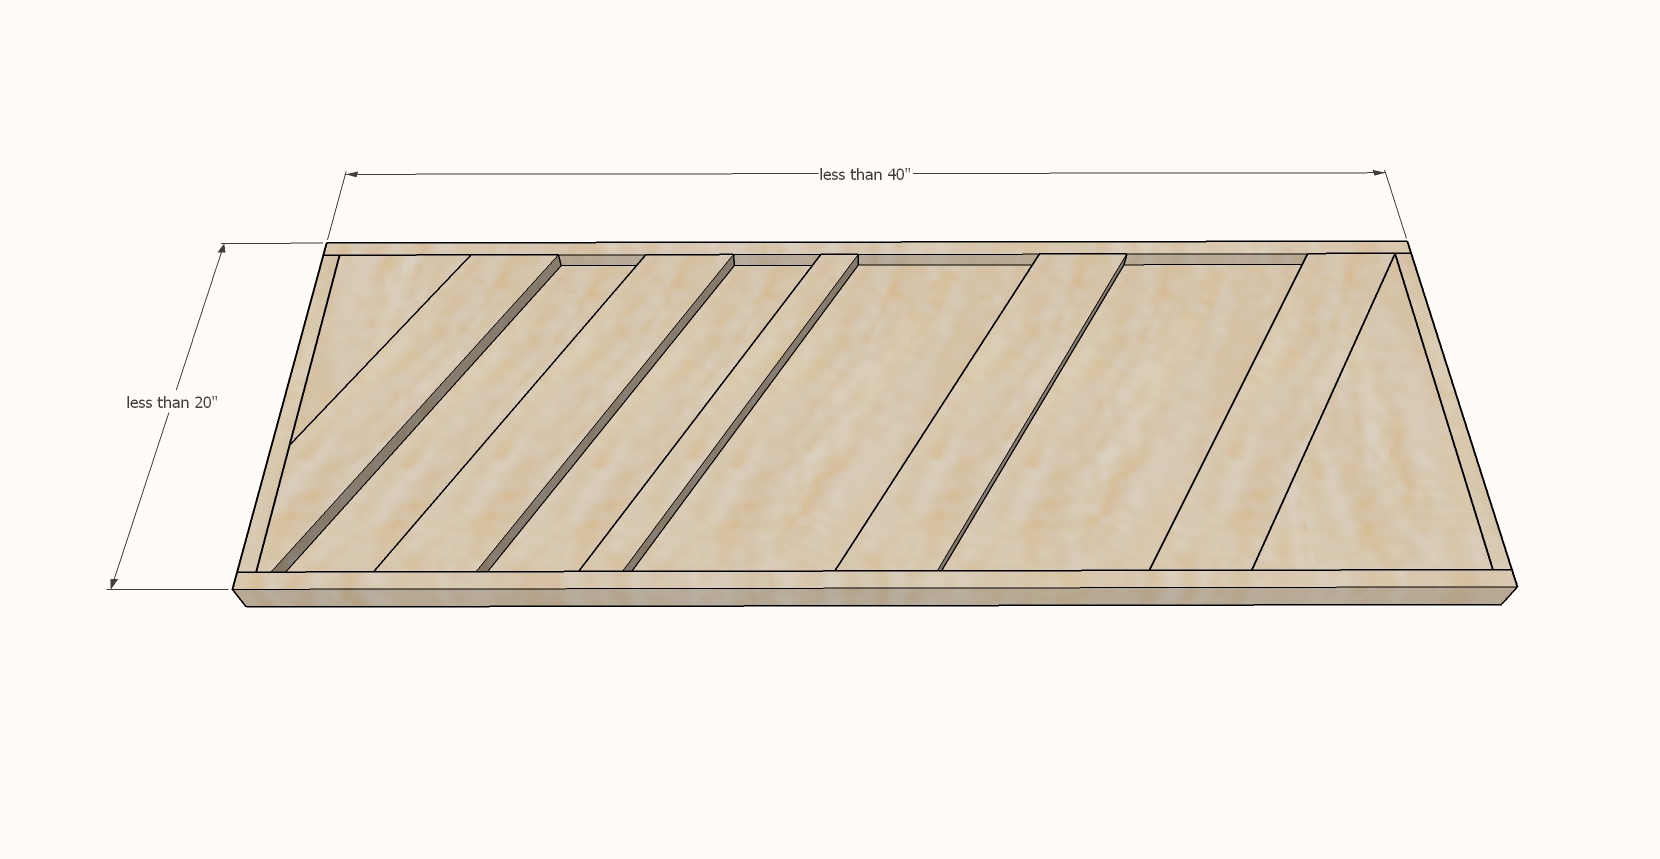
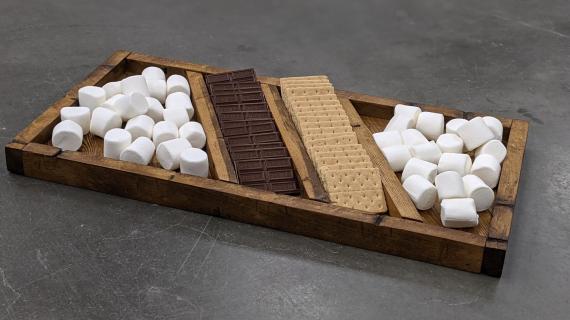
I was able to build this grazing board or charcuterie board in about an hour. It is so easy to build! We love that you can customize it for your own requirements. You can make it long and thin (like I did) for a table runner, or wider and shorter for a coffee table or to haul outdoors for smores. It is VERY easy to customize and you can be creative with your wood piecing to get exactly what you want.
Watch our video tutorial -
How do I finish it so the Grazing Board is food safe?
I finished mine like a tabletop, so it's wipe clean and food safe (but you wouldn't want to eat it). Here is an excellent article on food safe finishes that I totally agree with the author - read it, it is worth your time.
Can I make it a different size?
YES, a thousand times YES! You should use your creativity and your scrap wood resources to build a unique to you grazing board! It is VERY easy to customize the size - how is all detailed in the tutorial below.
Preparation
- 1x and 2x scrap wood, a couple inches longer than your desired final width of your charcuterie board
- 1x2s to frame the outside of the charcuterie board
- 1-1/4" brad nails
- wood glue
- wood stain and polyurethane
Instructions
Step 1
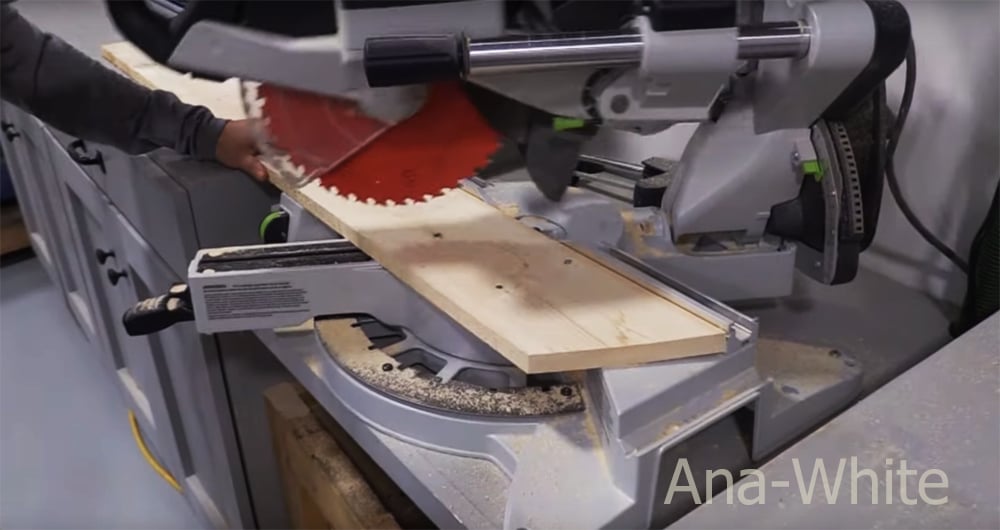
Set your miter saw to a 30 degrees off square angle cut.
Cut scrap wood pieces with both ends parallel, both ends cut at 30 degrees off square.
The long point to short point measurement is equal to the final desired width of your charcuterie board.
Example: If you want your charcuterie board to be 16" deep, cut the boards 16" long, long point to short point measurement, both ends cut at 30 degrees off square, ends ARE parallel.
TIP: It is VERY important that all of your boards are cut to the same length. Use a stop block to cut all the pieces the same length.
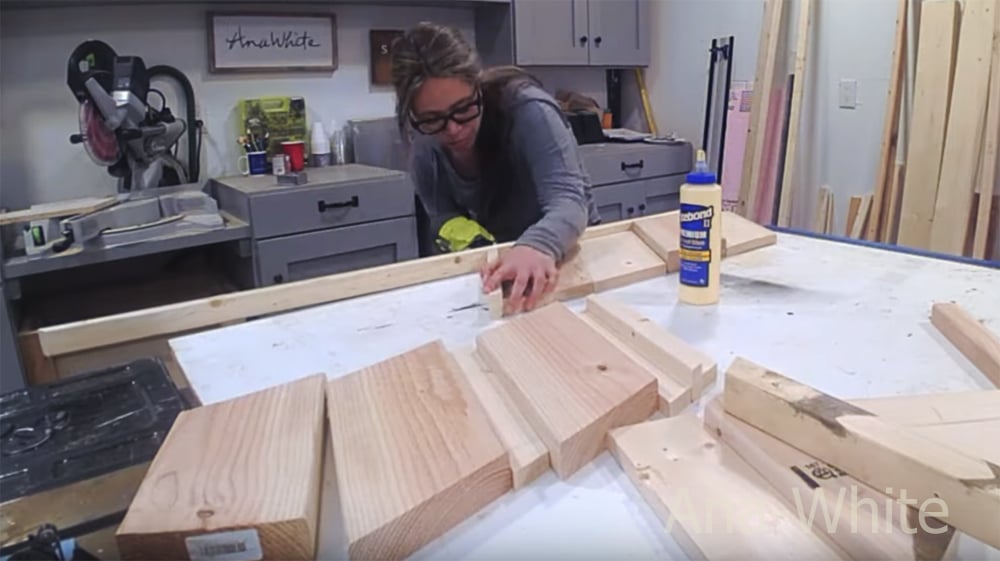
Step 2
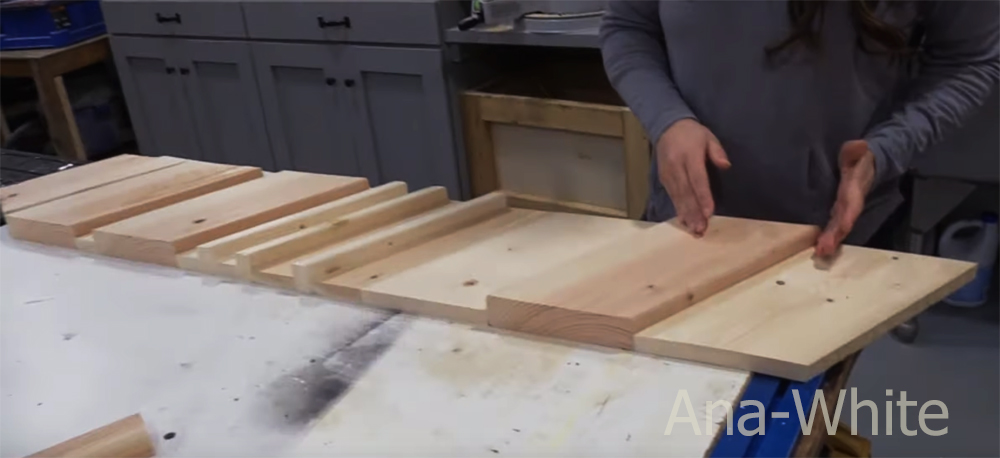
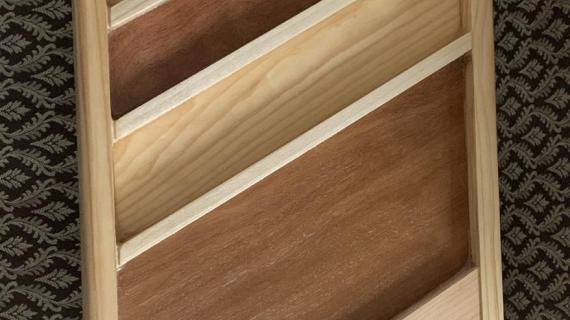
As you cut your boards, lay out, creating different depths and channels.
Use 1x2s to create dividers - cut the 1x2s flat to the fence on your saw (stood upright) to get the same angle.
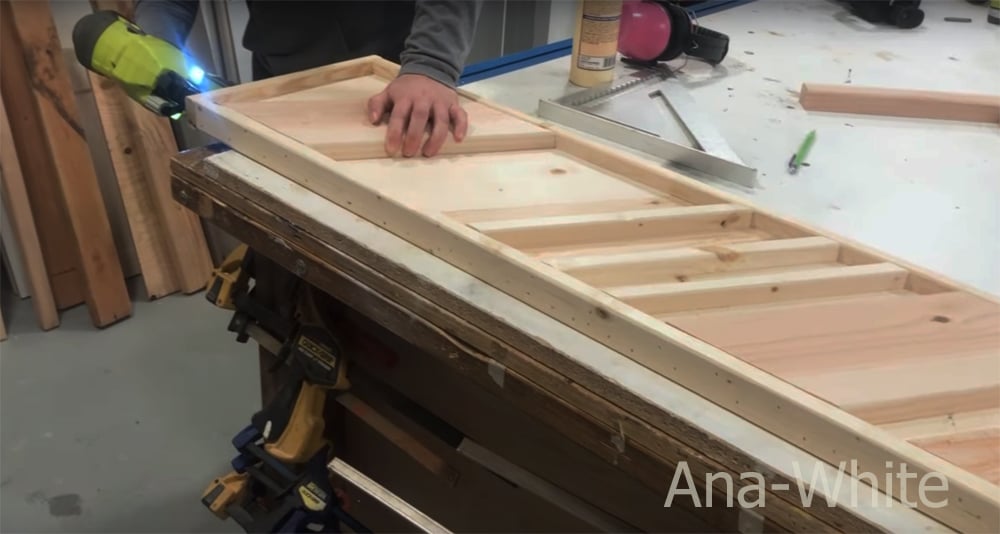
Step 3
Cut a 1x2 a little longer than needed, and use 1-1/4" brad nails and glue to attach the 1x2 frame to the ends of your charcuterie board pieces. Use glue in between boards too.
Keep all edges flush to the bottom.
Step 4

Repeat for the opposite side.
Step 5
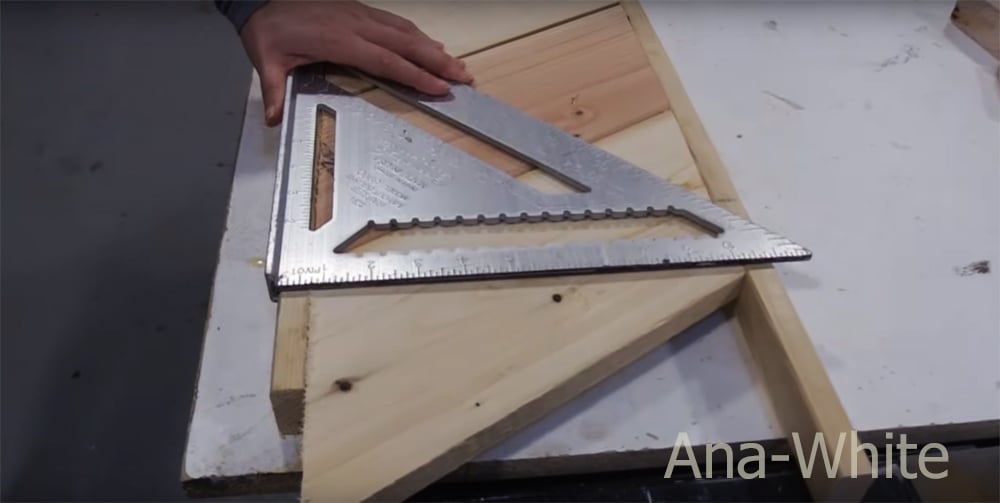
Use a square to mark the ends to be cut off.
Make sure there are no nails where you will cut.
Cut the ends off with either a circular saw or a miter saw if your charcuterie board can be cut on your miter saw.
Step 6
Cut 1x2 pieces for ends and nail and glue to the ends.
Step 7
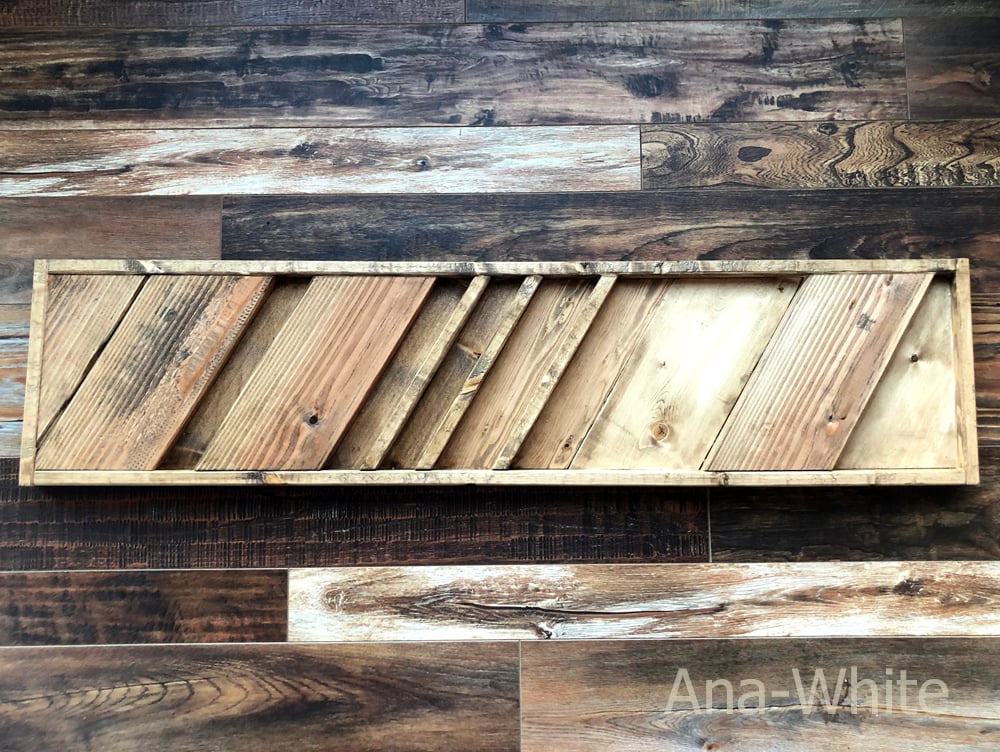
Finish as desired.
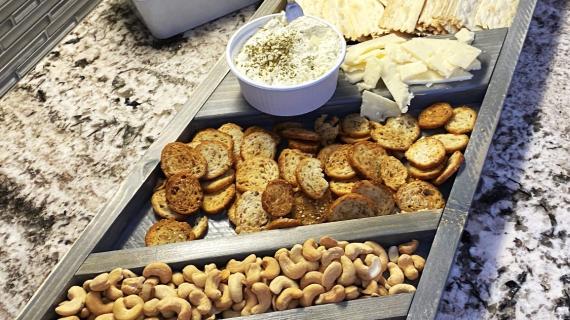
For serving food, make sure you add a good coat of polyurethane to allow the charcuterie board to clean up after use and protect food from the stain.


Comments
fefe3303
Sat, 12/21/2019 - 18:44
looks great! Merry Christmas…
looks great! Merry Christmas and Happy New Year!!!
zpbrown84
Sun, 12/13/2020 - 17:02
Food safe finishes
Is the varathane with water based poly food safe?