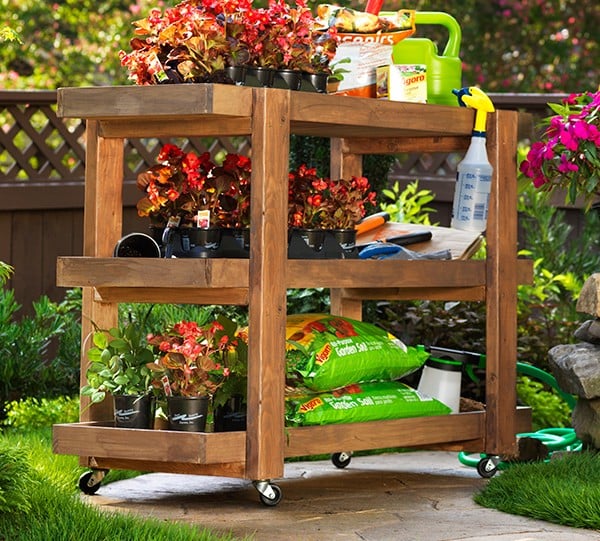
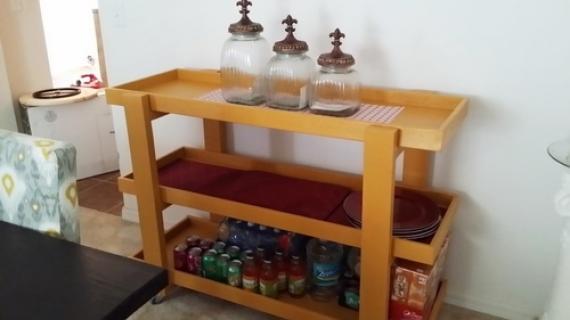
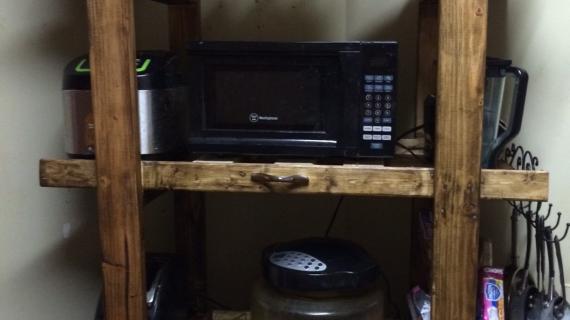
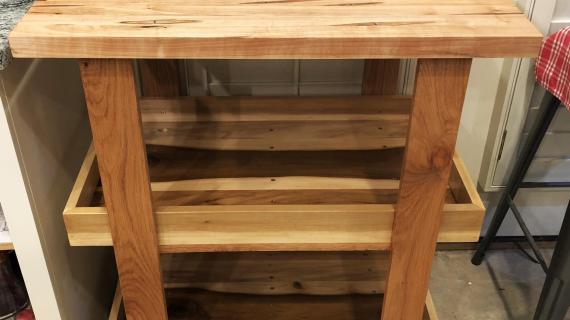
Easy to build rolling cart with shelves - perfect for all sorts of storage in and out of the house! We love it for toys, books, kitchen supplies, blankets and pillows, in the entryway as a console, and outdoors as well. Check out our free step by step plans following.
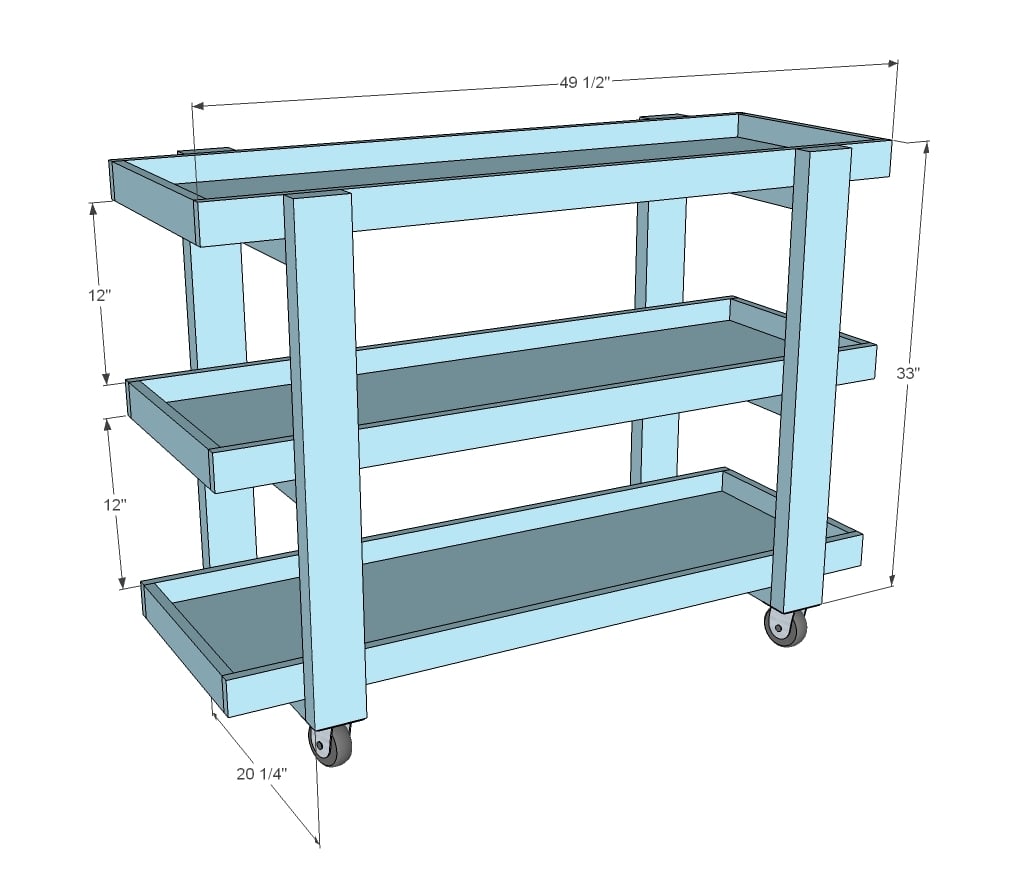
Preparation
- 1 — 4 x 4-ft. hardwood plywood sheet (1/4" for lighter loads, 1/2" for heavier loads)
- 3 — 2 x 4-ft. boards @ 8 ft. long
- 6 — 1 x 3-ft. boards @ 6 ft. long
- 24 — 2½-in. long self-tapping screws (deck screws for exterior applications)
- 100 — 1¼-in. finish nails
- 12 — 2-in. wood screws
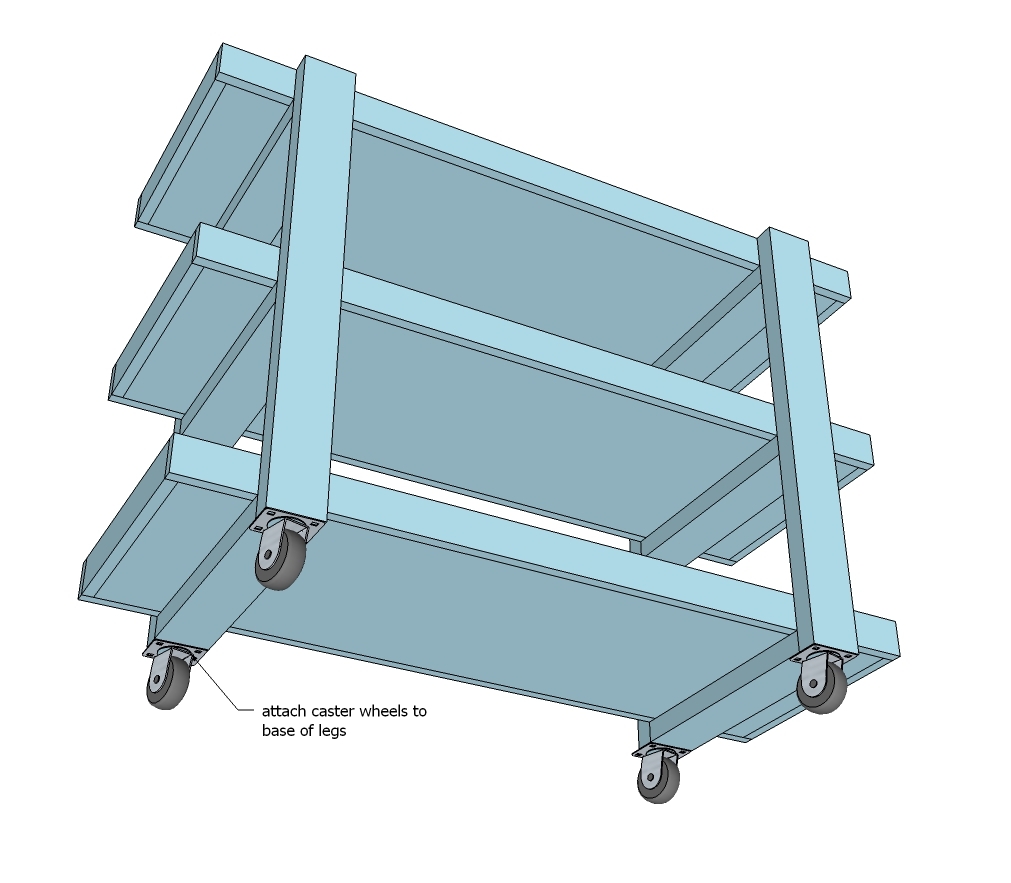
- 4 — 2-in. diameter caster wheels and screws to attach
- Wood Glue
- Stain or Paint (optional)
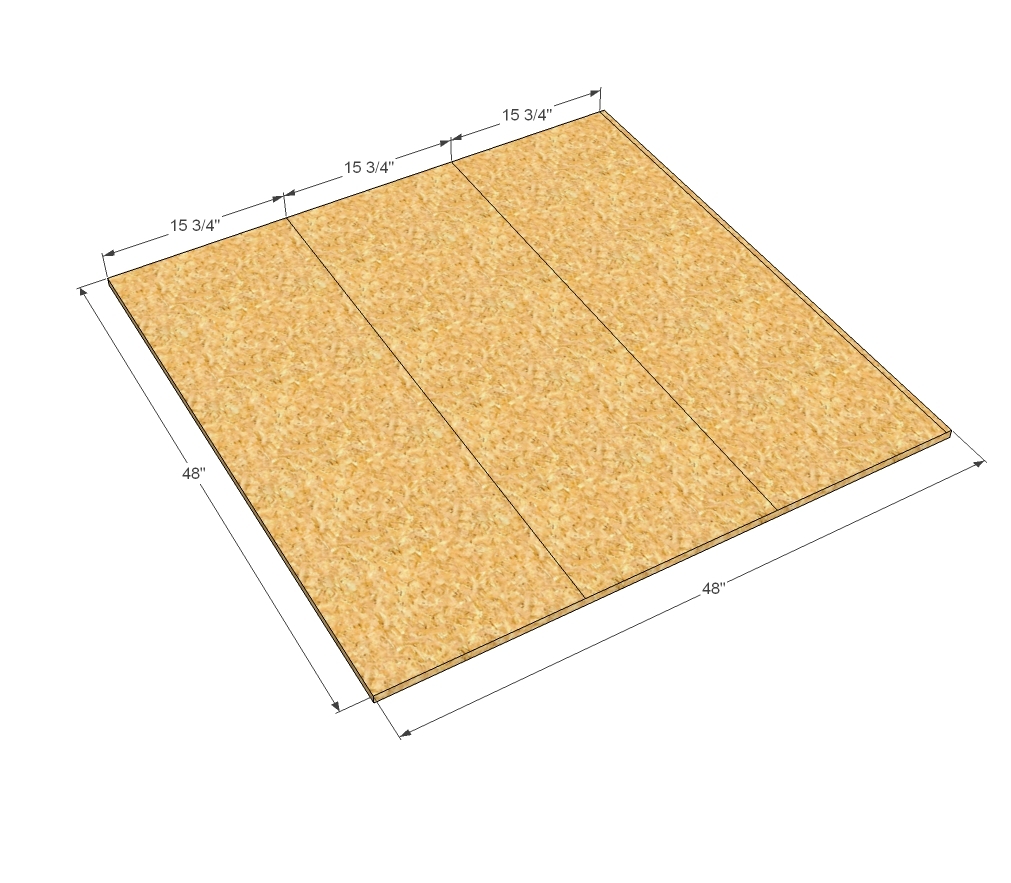
- 3 - 1/4" or 1/2" thick plywood @ 48" x 15-3/4" - shelf bottom
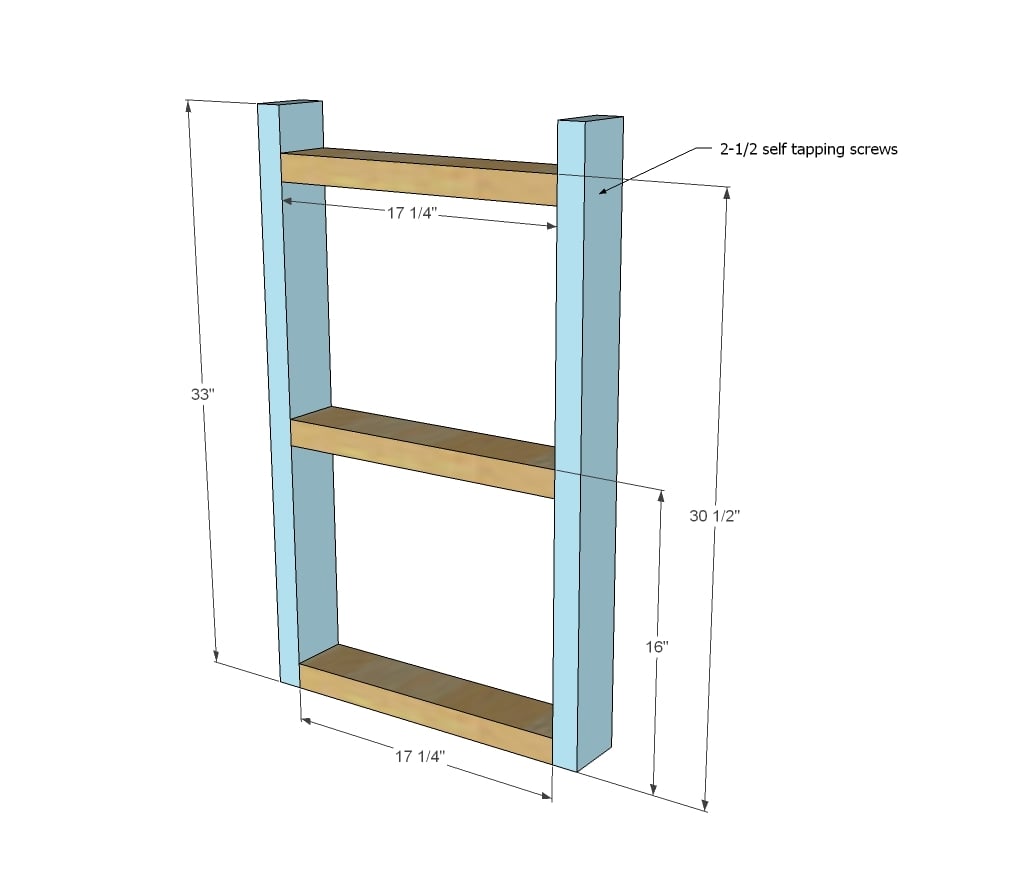
- 6 - 2x4 @ 17-1/4" - shelf supports
- 4 - 2x4 @ 33" - legs
- 6 - 1x3 @ 15-3/4" - shelf ends
- 6 - 1x3 @ 49-1/2" (measure and cut to fit) - shelf sides
Instructions
Step 1
Rip the plywood panel into three pieces, each 15-3/4" wide x 48" long. You can have your Home Depot do this for you, or you can use a table saw or circular saw.
If using a table saw, set the fence to 15-3/4", and run the plywood through the saw.
If using a circular saw, measure and mark the first cut, make the cut. Then measure and mark the second cut and make the cut. Then measure and mark the third cut and make the final cut. Do not mark all your cuts and cut - the saw blade takes up space and this will affect things.





Comments
Reese
Wed, 08/13/2014 - 22:31
photo bombing moment
that looks like a lot of fun, wish I could attend. You never seize to amaze me... you can build anything in the harshest climate in America and you can survive a ridiculously long flight with a newborn baby, your amazing :) okay I have to mention this... once you see it you'll giggle too! In the picture where your attaching the wheels, it looks like a tiny midget is standing on the cart sniffing your hair. My son pointed it out, I think that's what you call photo bombing! love all that you do, I fact the only reason my house is furnished is because of your plans. thanks Ana!