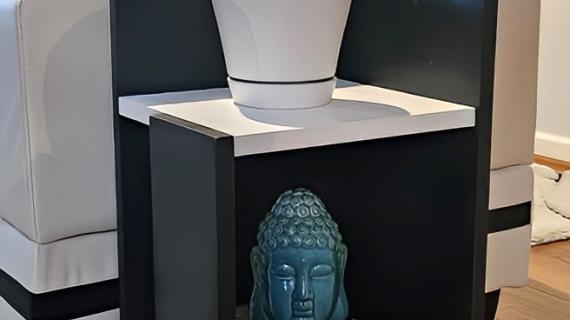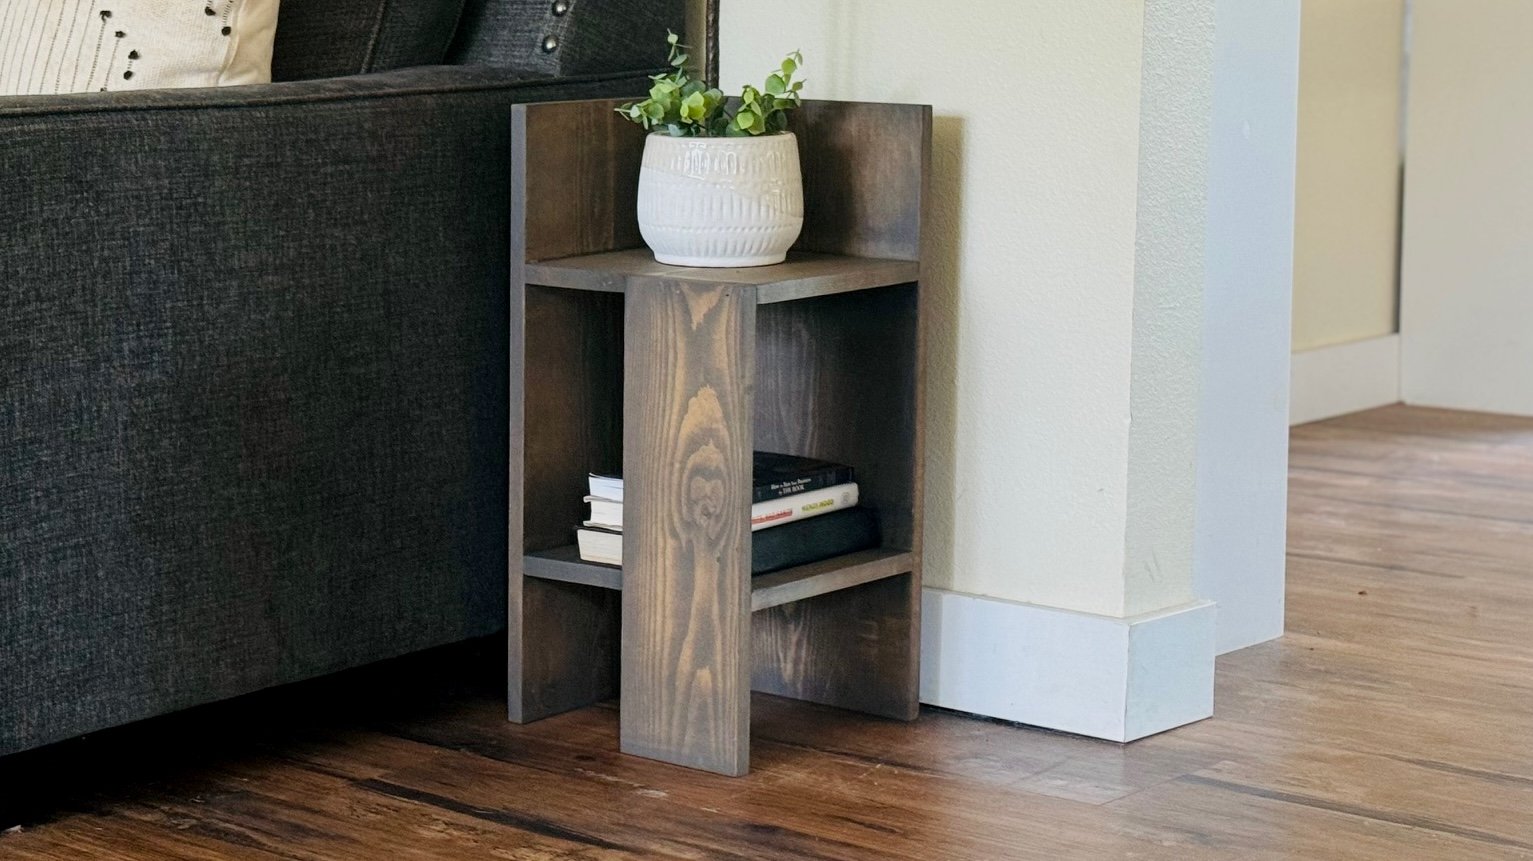


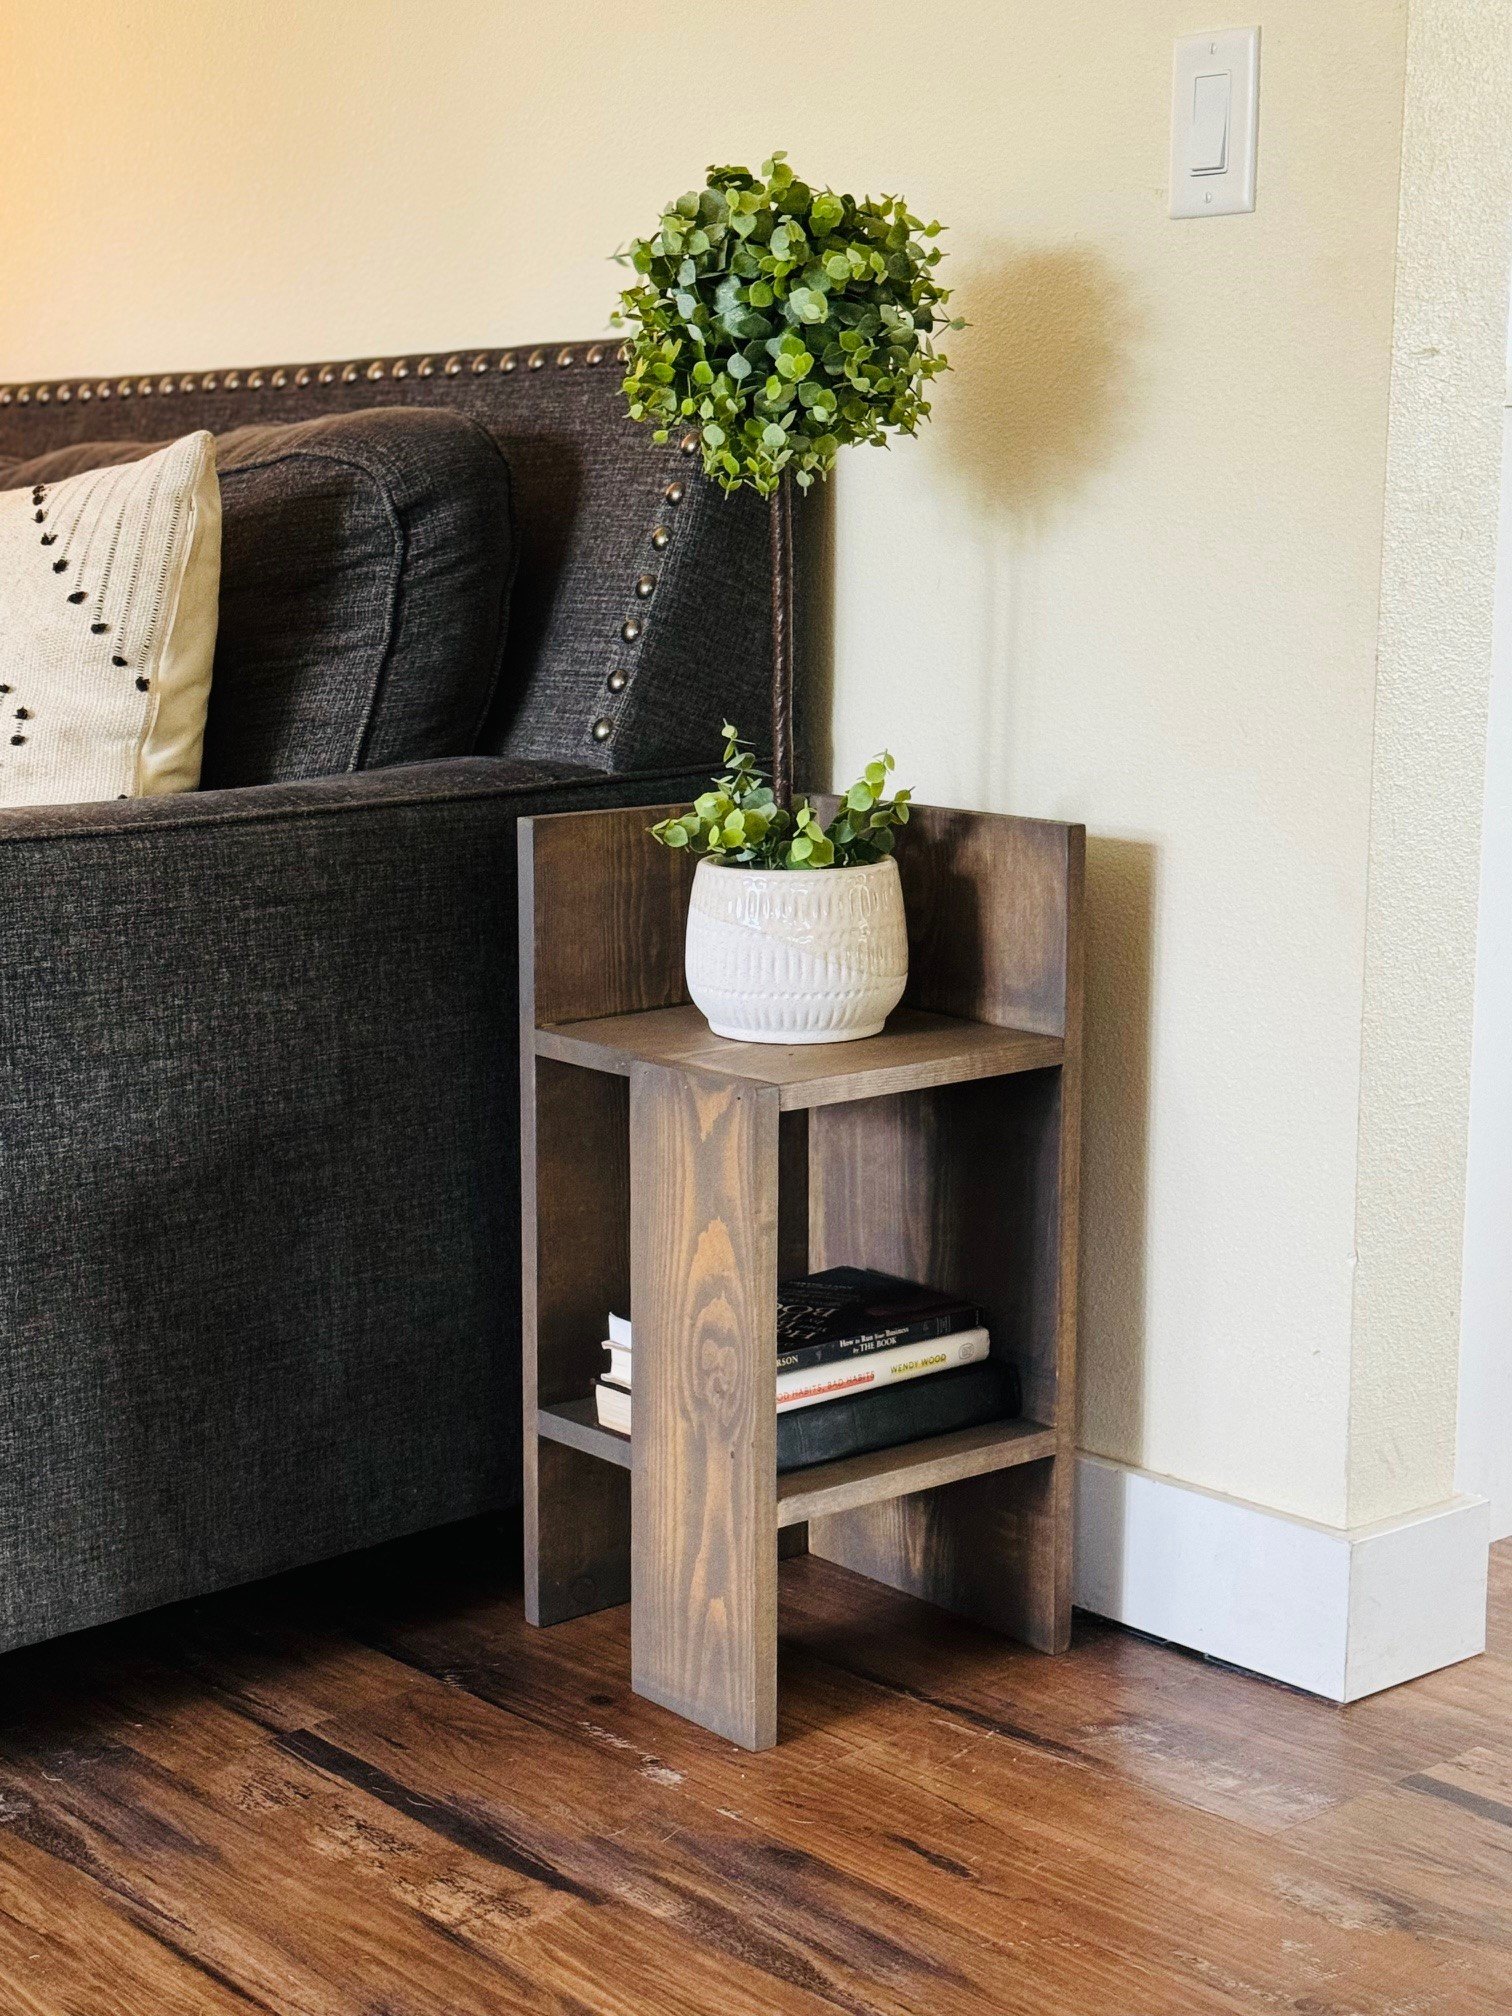
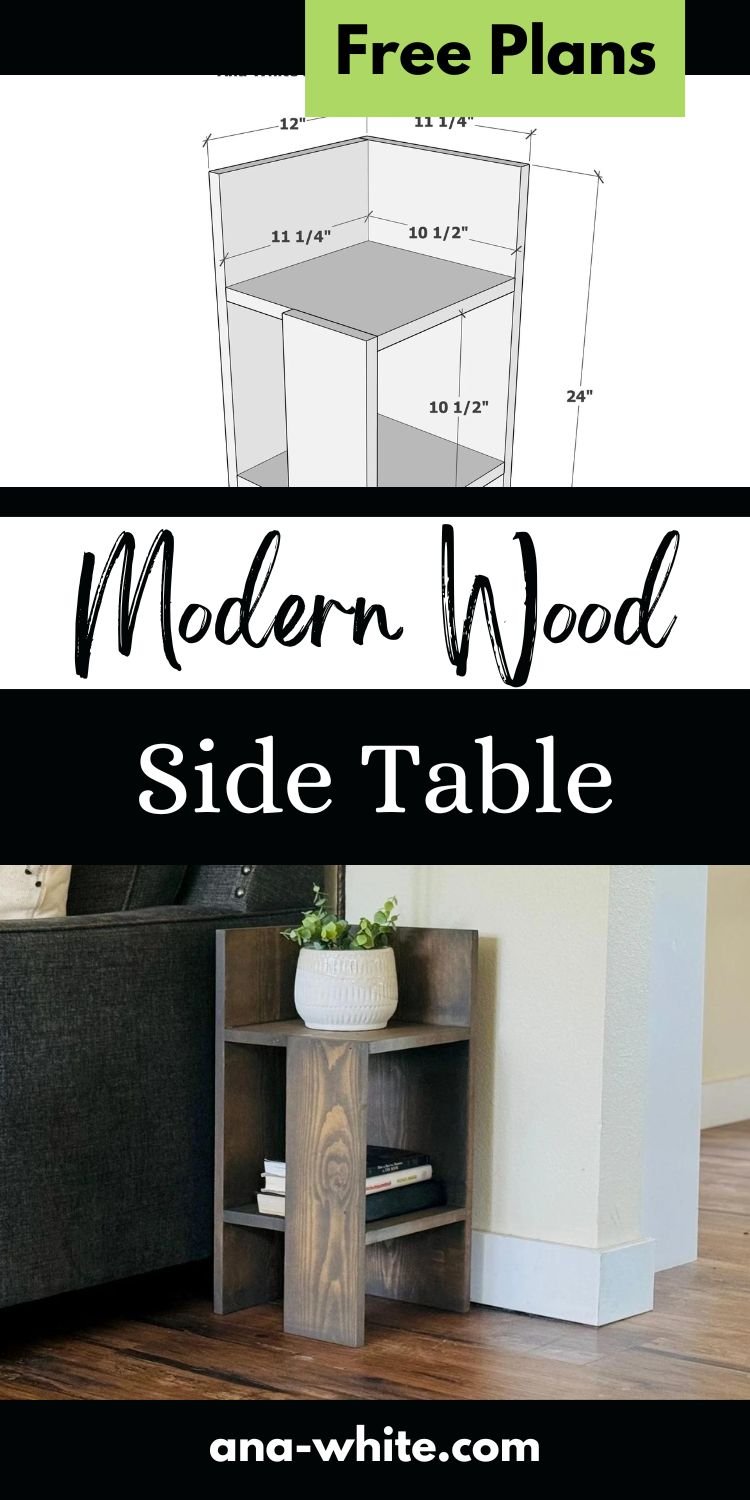
Build a solid wood modern side table with just a saw and nail gun using common boards! This side table makes a great plant stand, extra tabletop to set a coffee cup on, and provides a little storage.
Free plans by ana-white.com include step by step diagrams, photos of the build, cut list, shopping list and more.
Why I Built this Project
I wanted a place for a nice plant in our living room as well as a good spot to store our "coffee table books". I love simple projects and using common boards!
Why We Love this Modern Wood Side Table
- Easy to build, it only took me one hour start to finish
- Solid wood construction
- Built using basic tools and materials
- Added a modern design element to our room
- Versatile for living room, bedroom or bathroom
- Functional for setting cups or adding a plant
- Storage, great place to store a few books
How I Built this Project
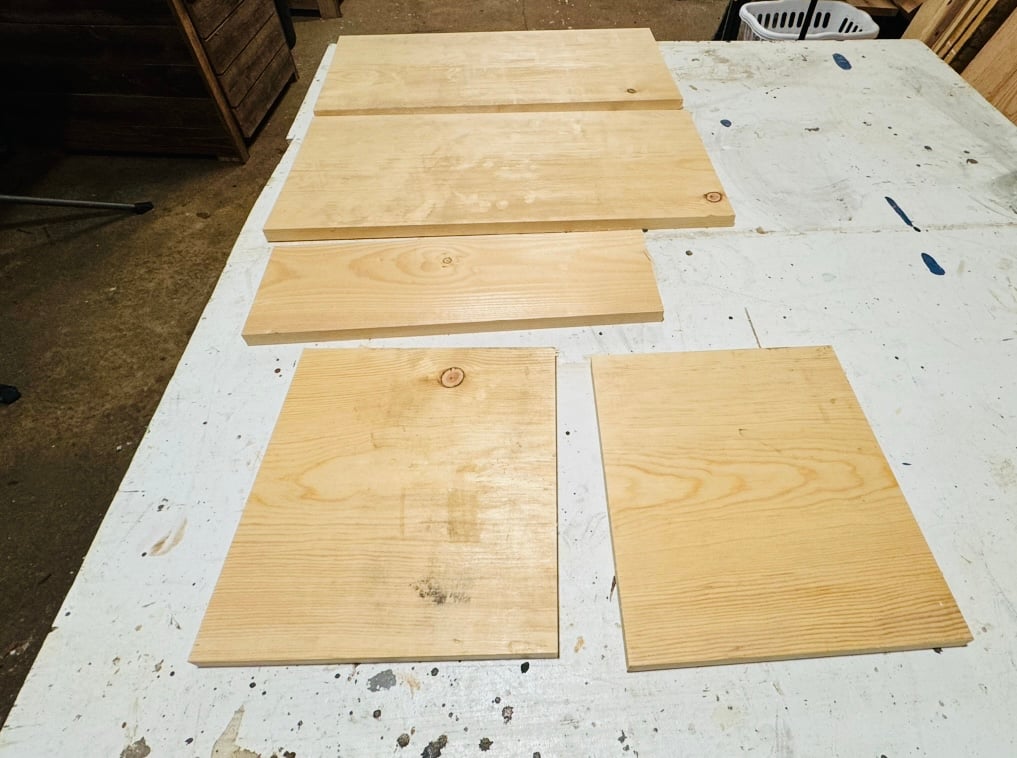
Make sure you pick out nice straight boards.
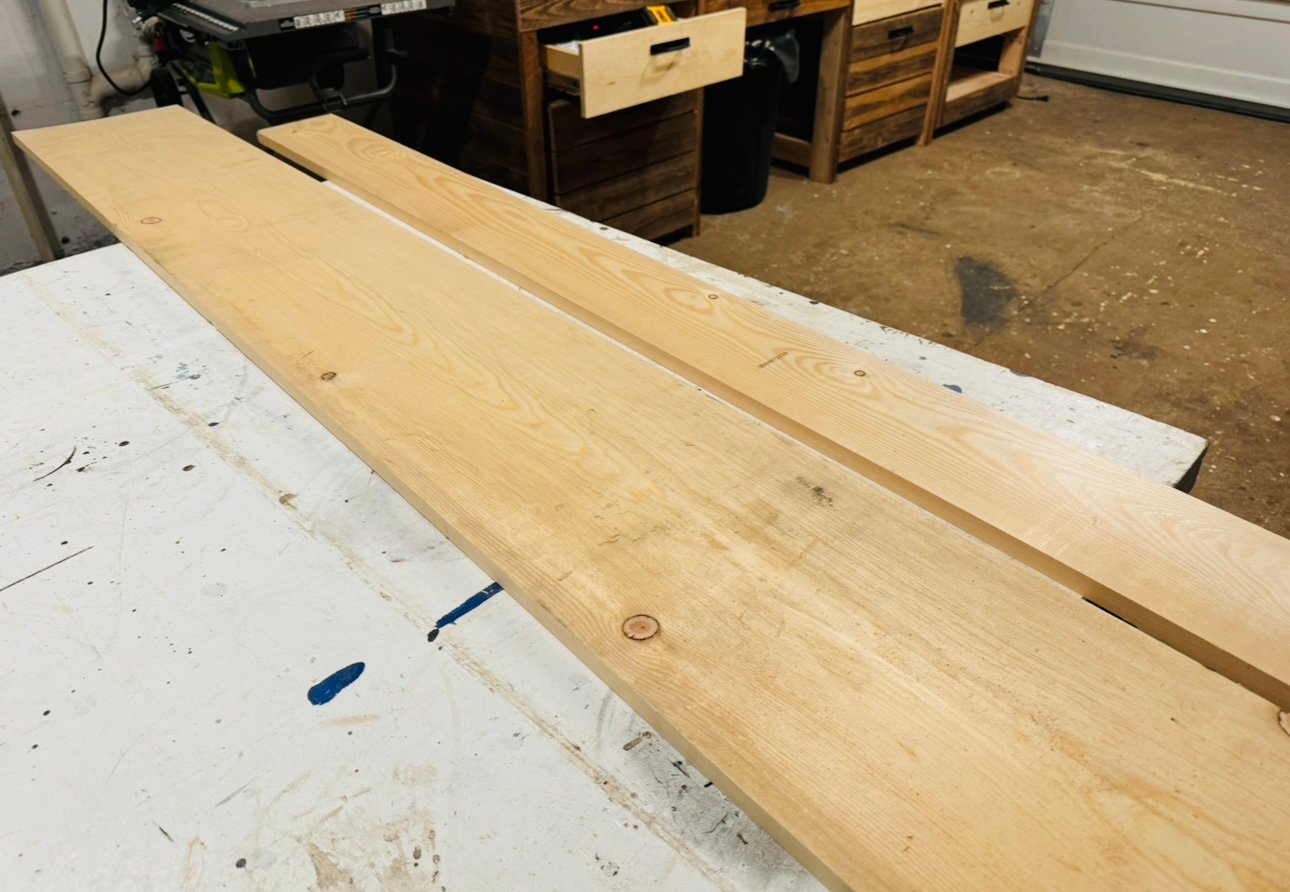
Make cuts according to the cut list.
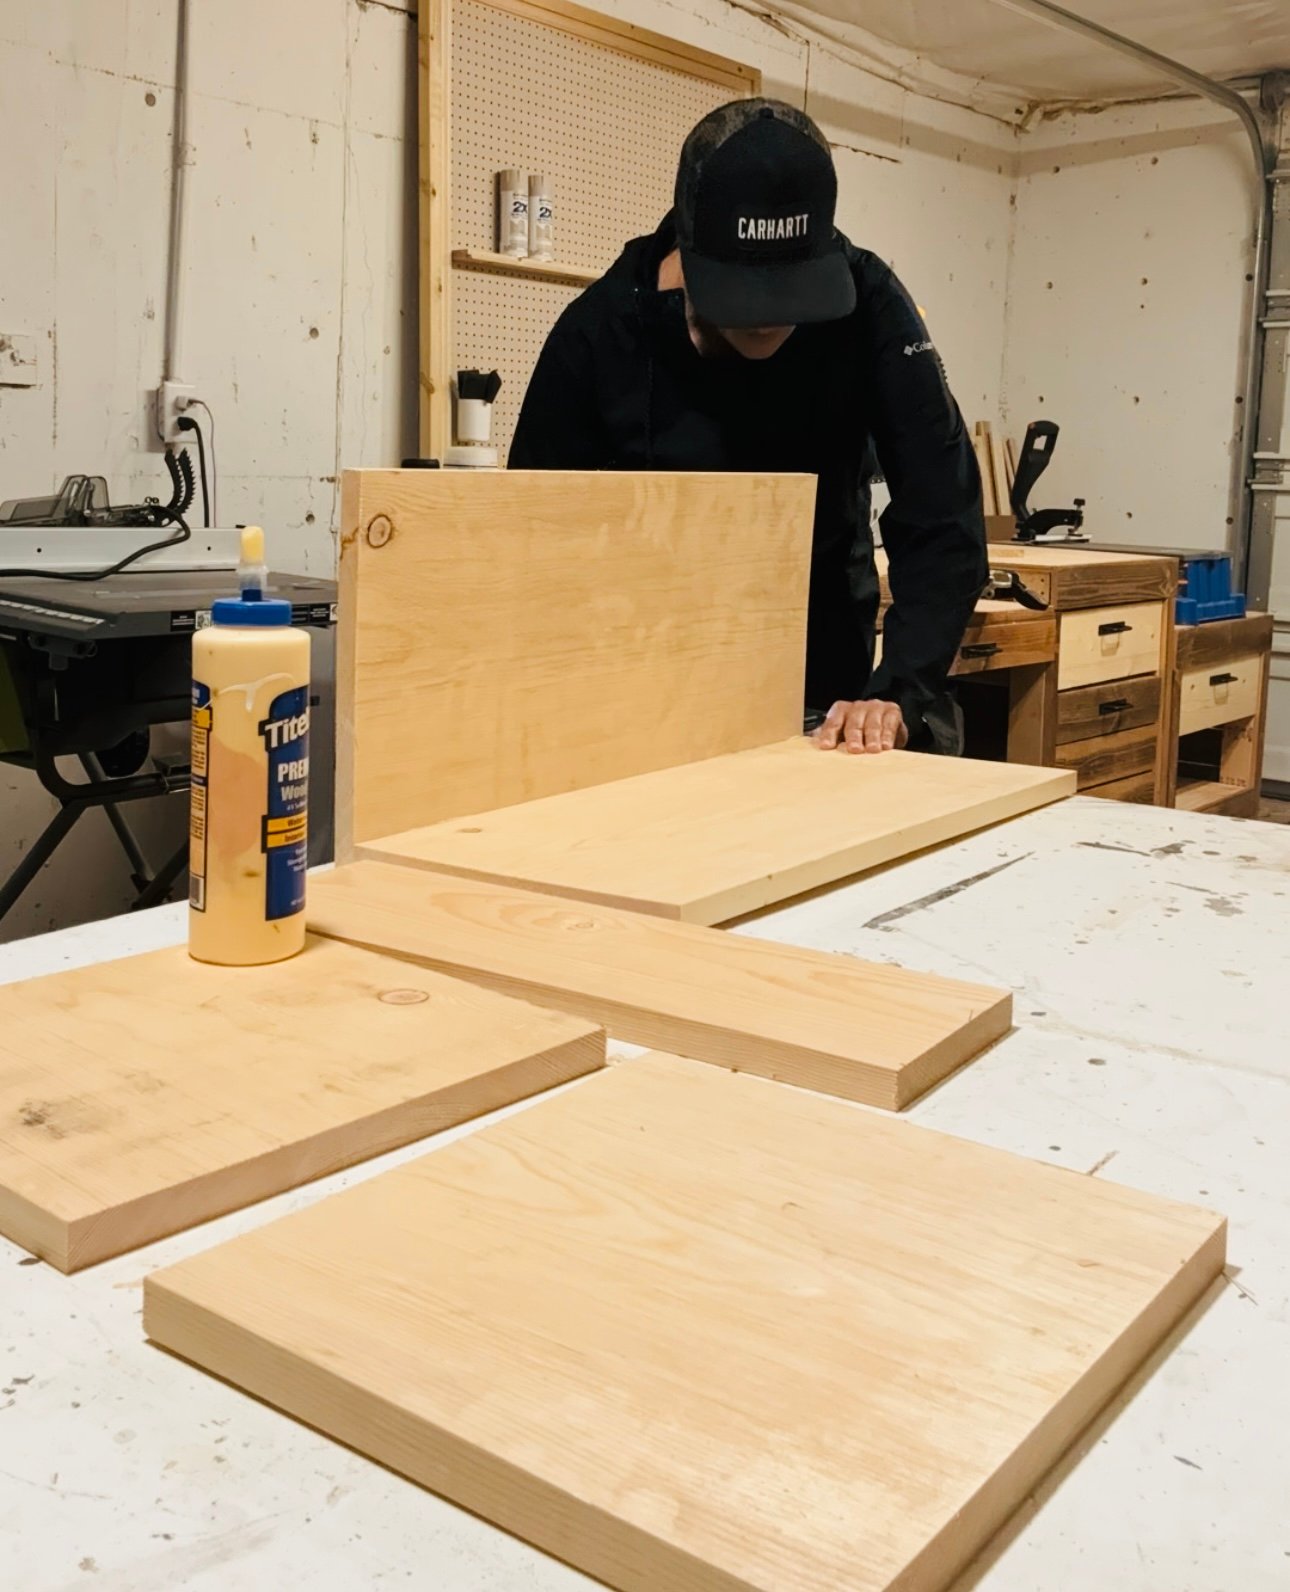
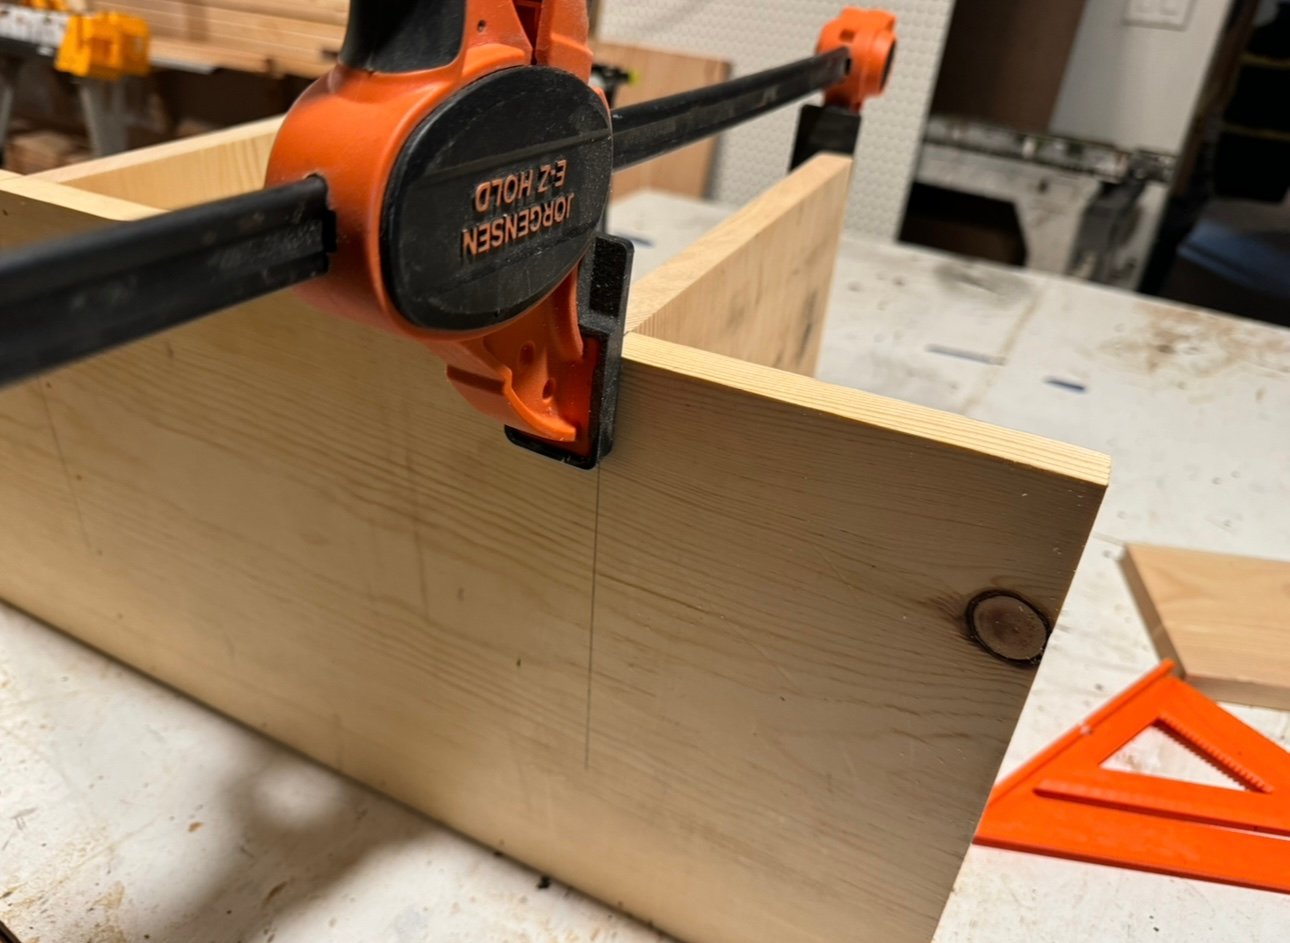
Attach first 2 long pieces with glue and nails. Make sure you're working on a flat level surface.
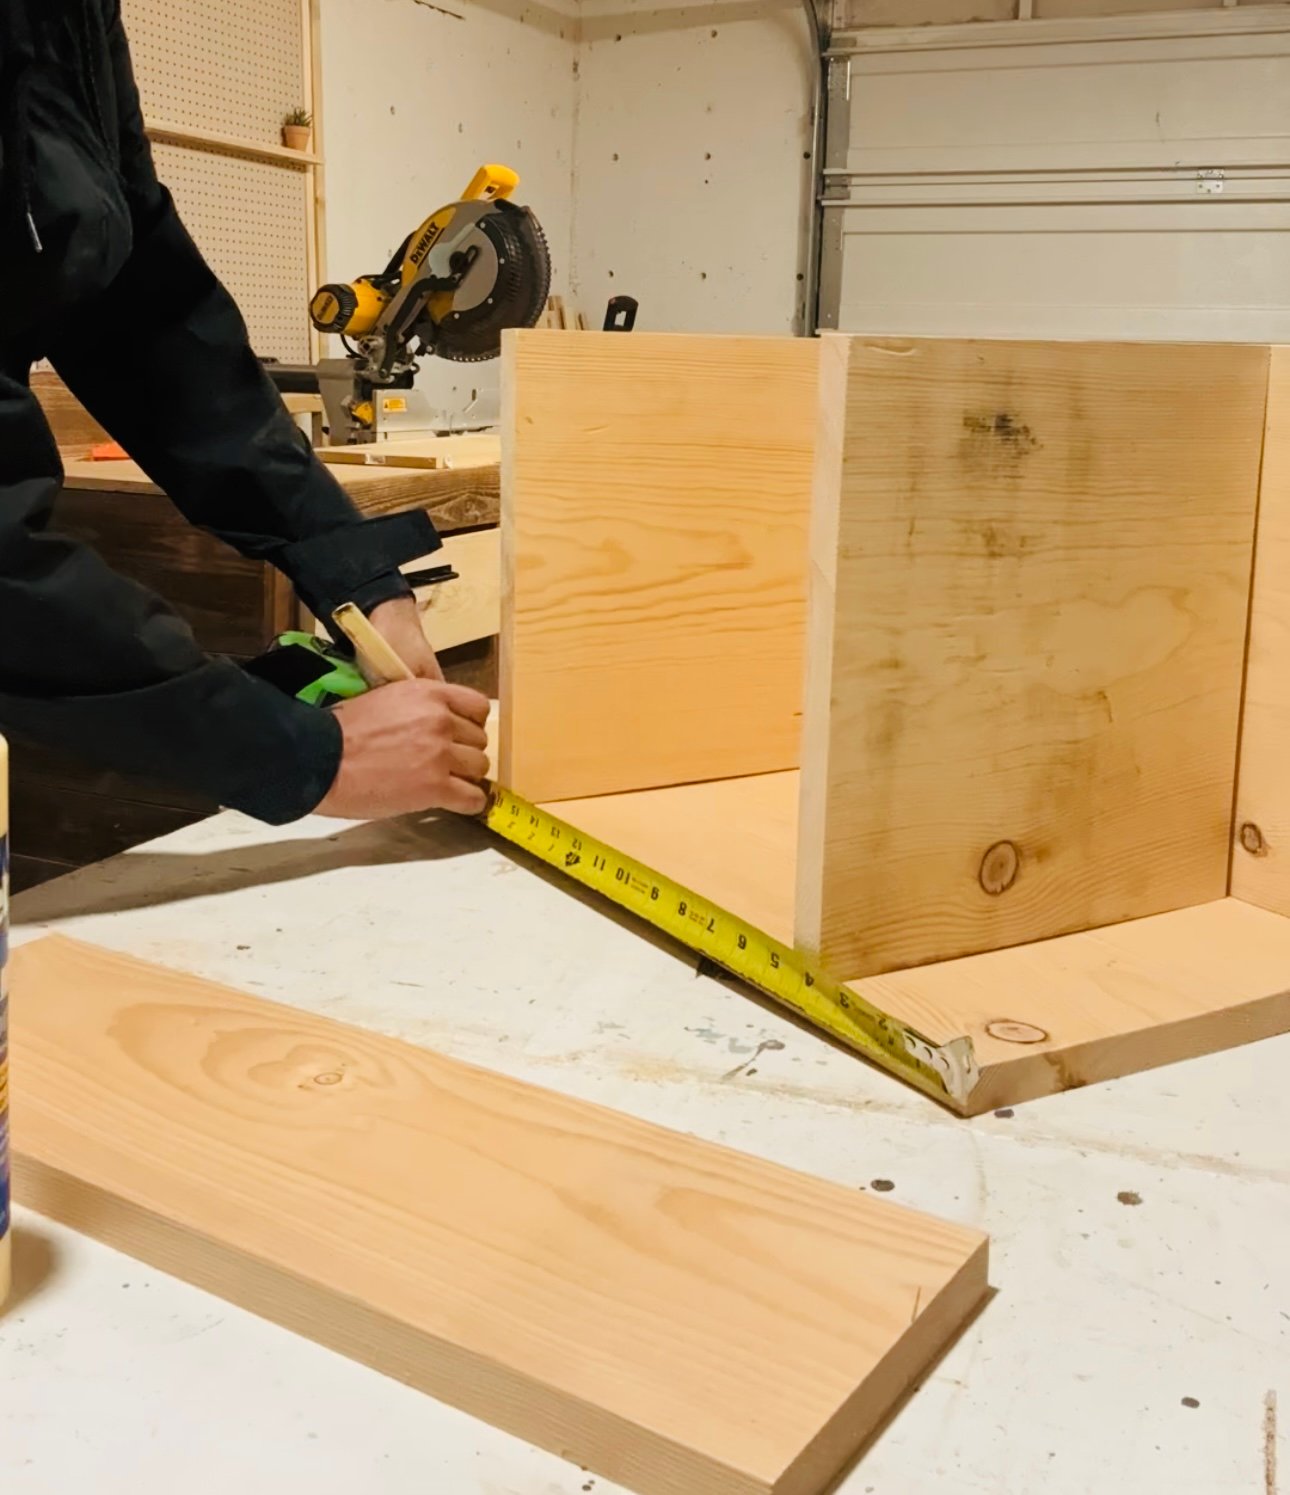
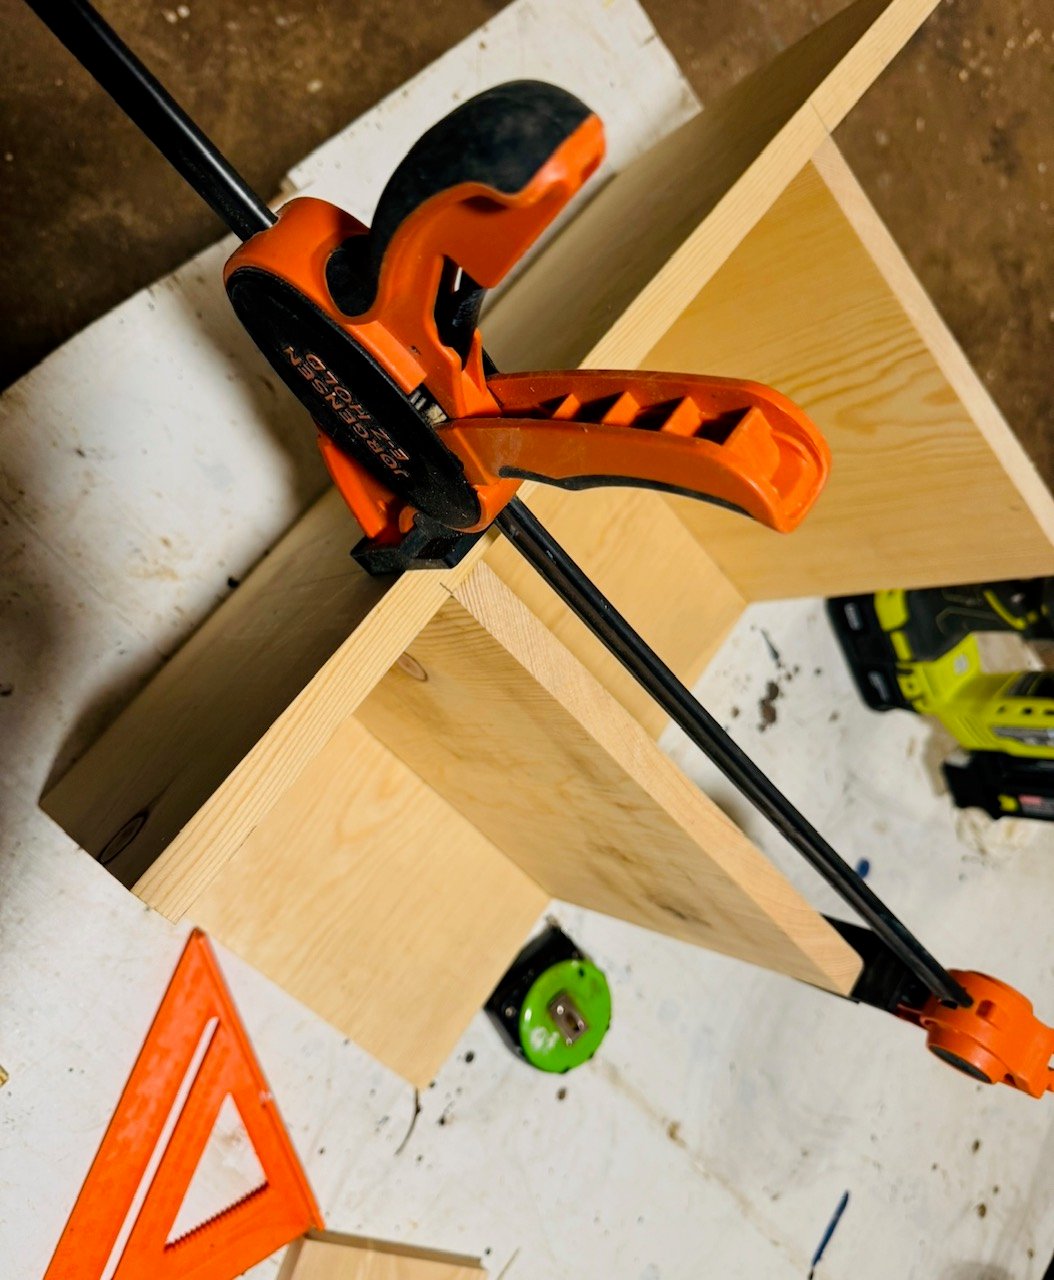
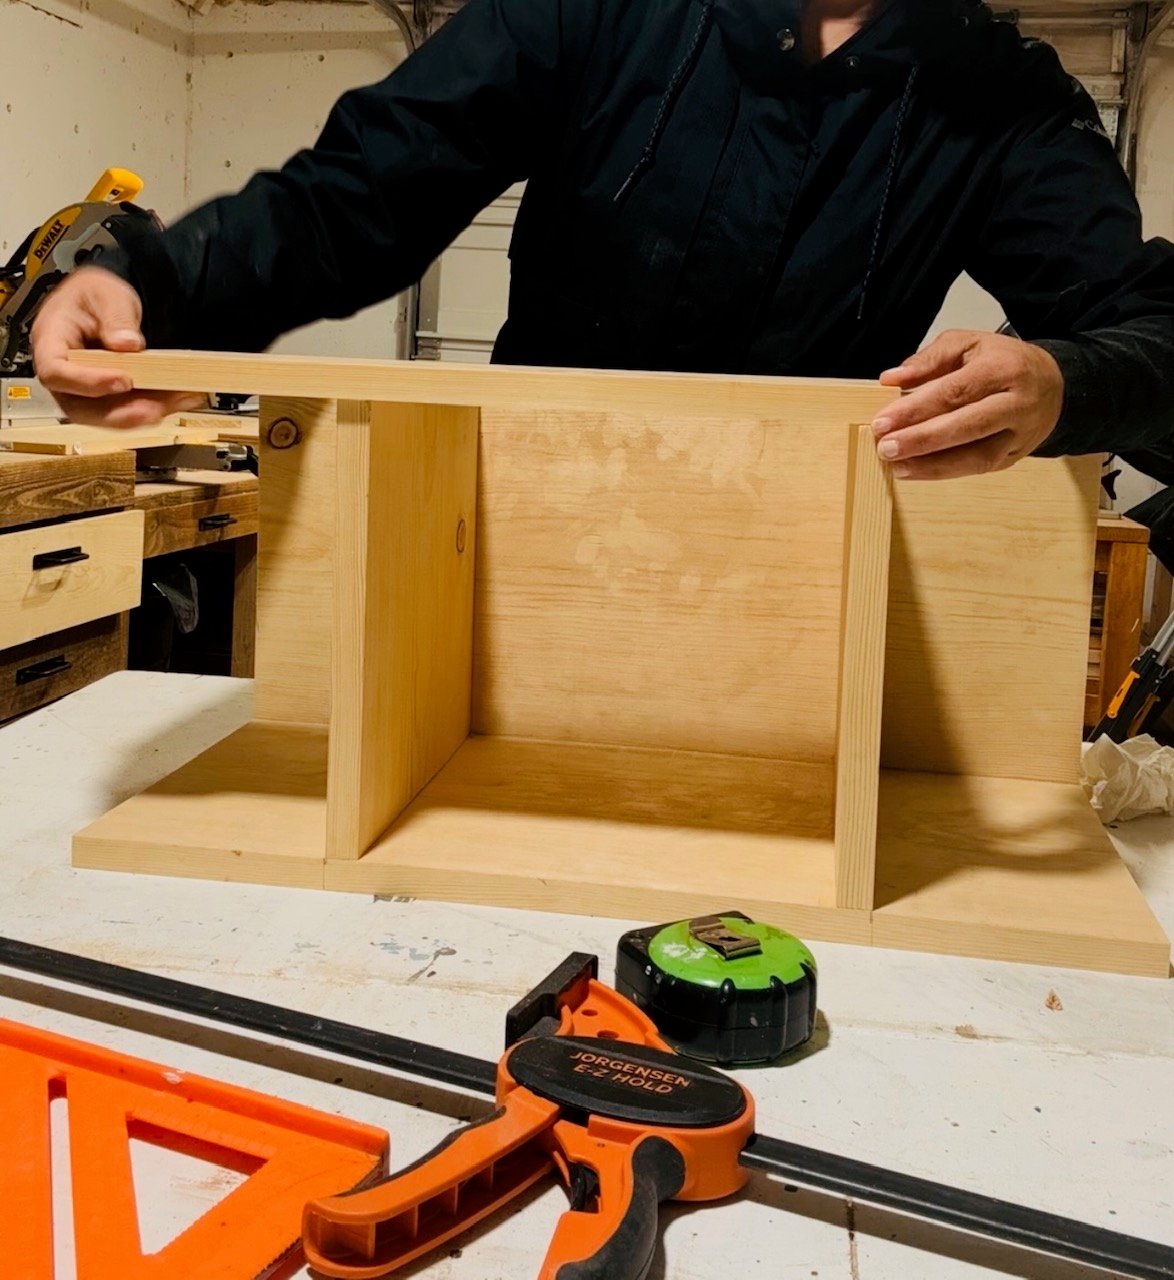
 Measure and mark shelf placement and attach with glue and nails. I marked the inside and outside of the two uprights to make sure I didn't miss nailing as well as clamped in place once positioned correctly.

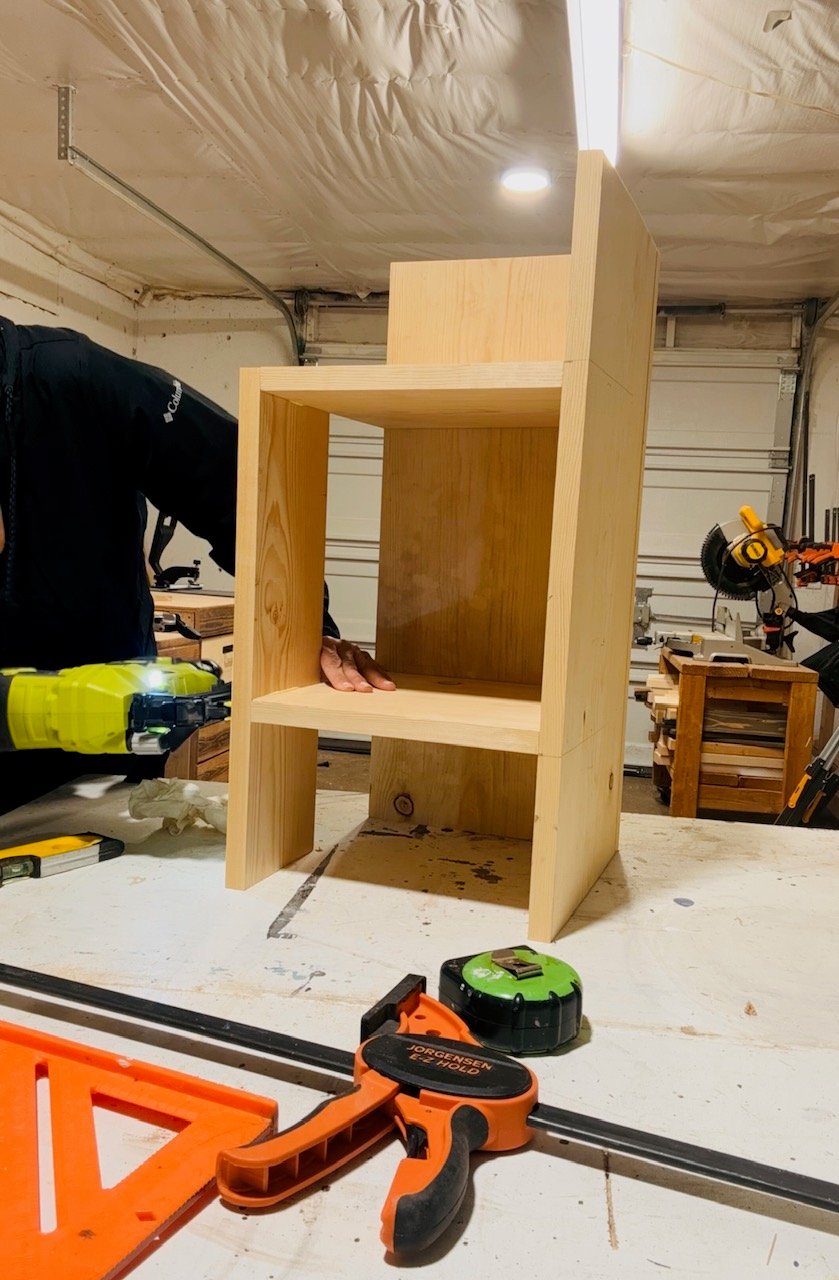
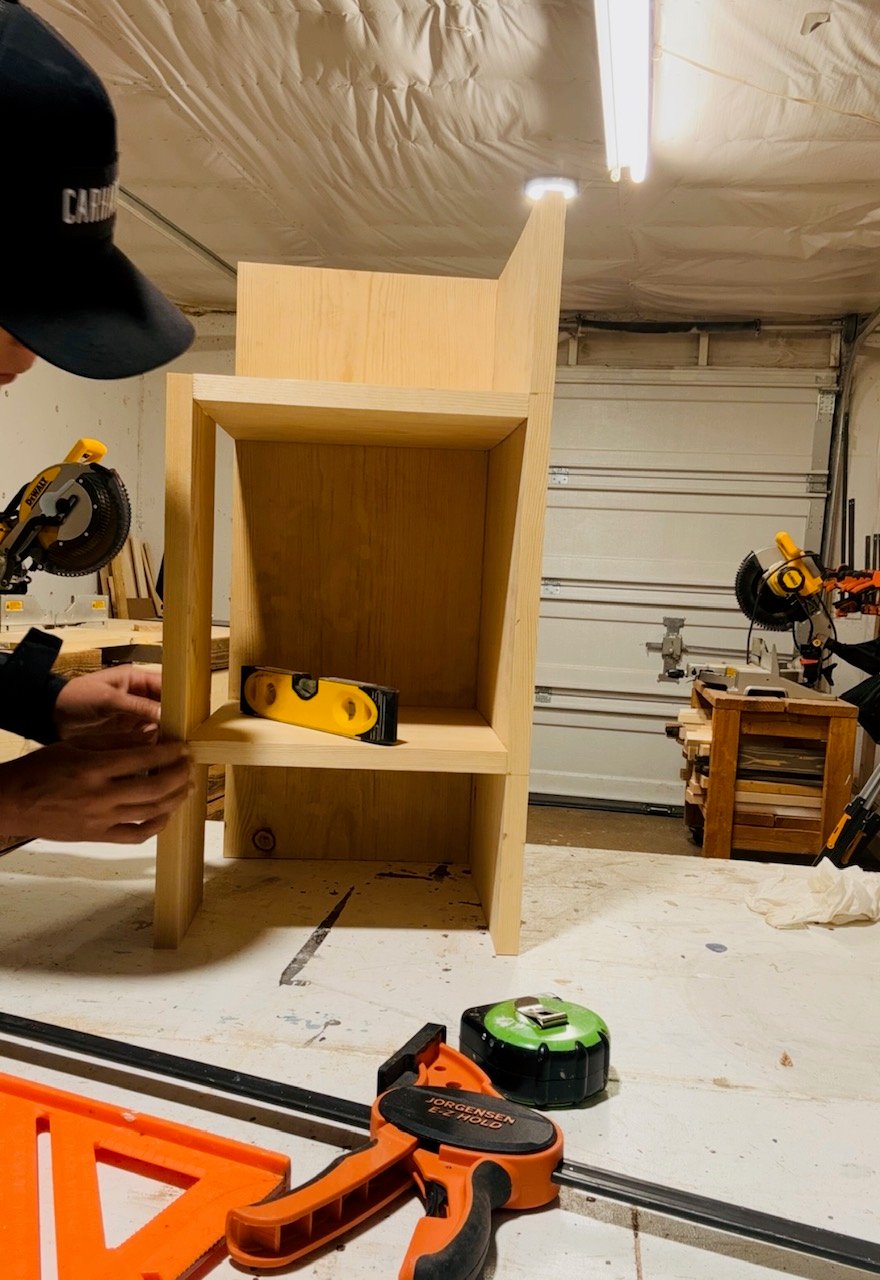
Attach front leg, I attached the top first and then checked for level on the lower shelf. Use glue and nails.
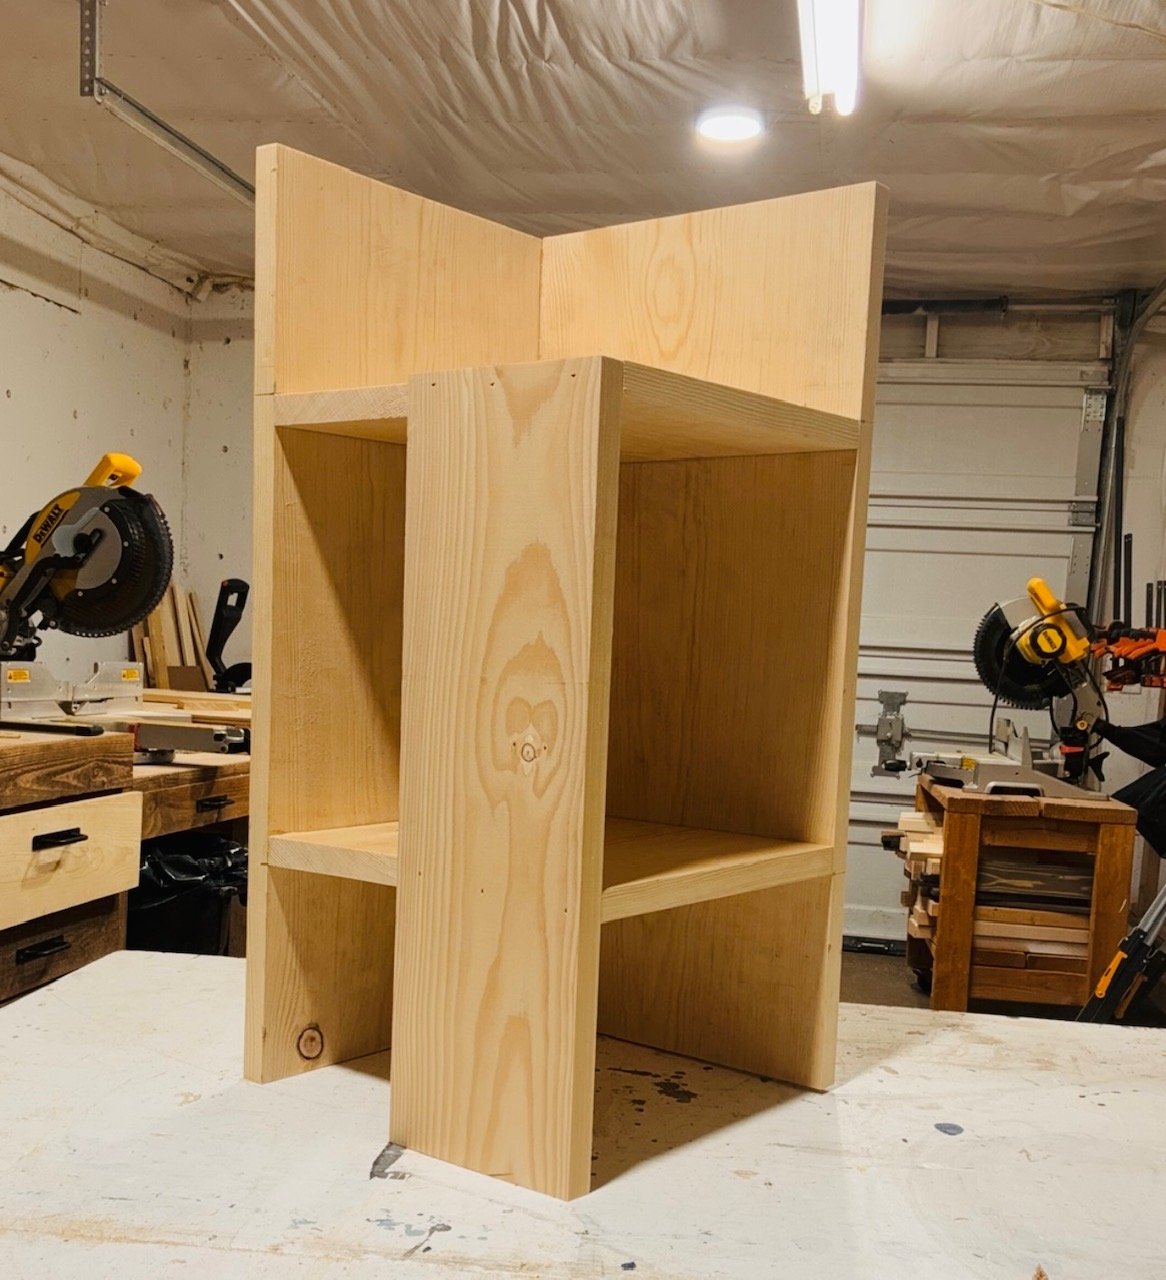
Fill nail holes, sand and finish with paint or stain!
Watch! Build Video for This Project
VIDEO COMING SOON!
Free Plans to Build Your Own Modern Wood Side Table
Ready to build this yourself? Here's the free plans, enjoy!
Pin For Later!
Preparation
- 6 feet of 1x12 board
- 18" of 1x6 board
- 1 1/4" brad nails
- wood glue
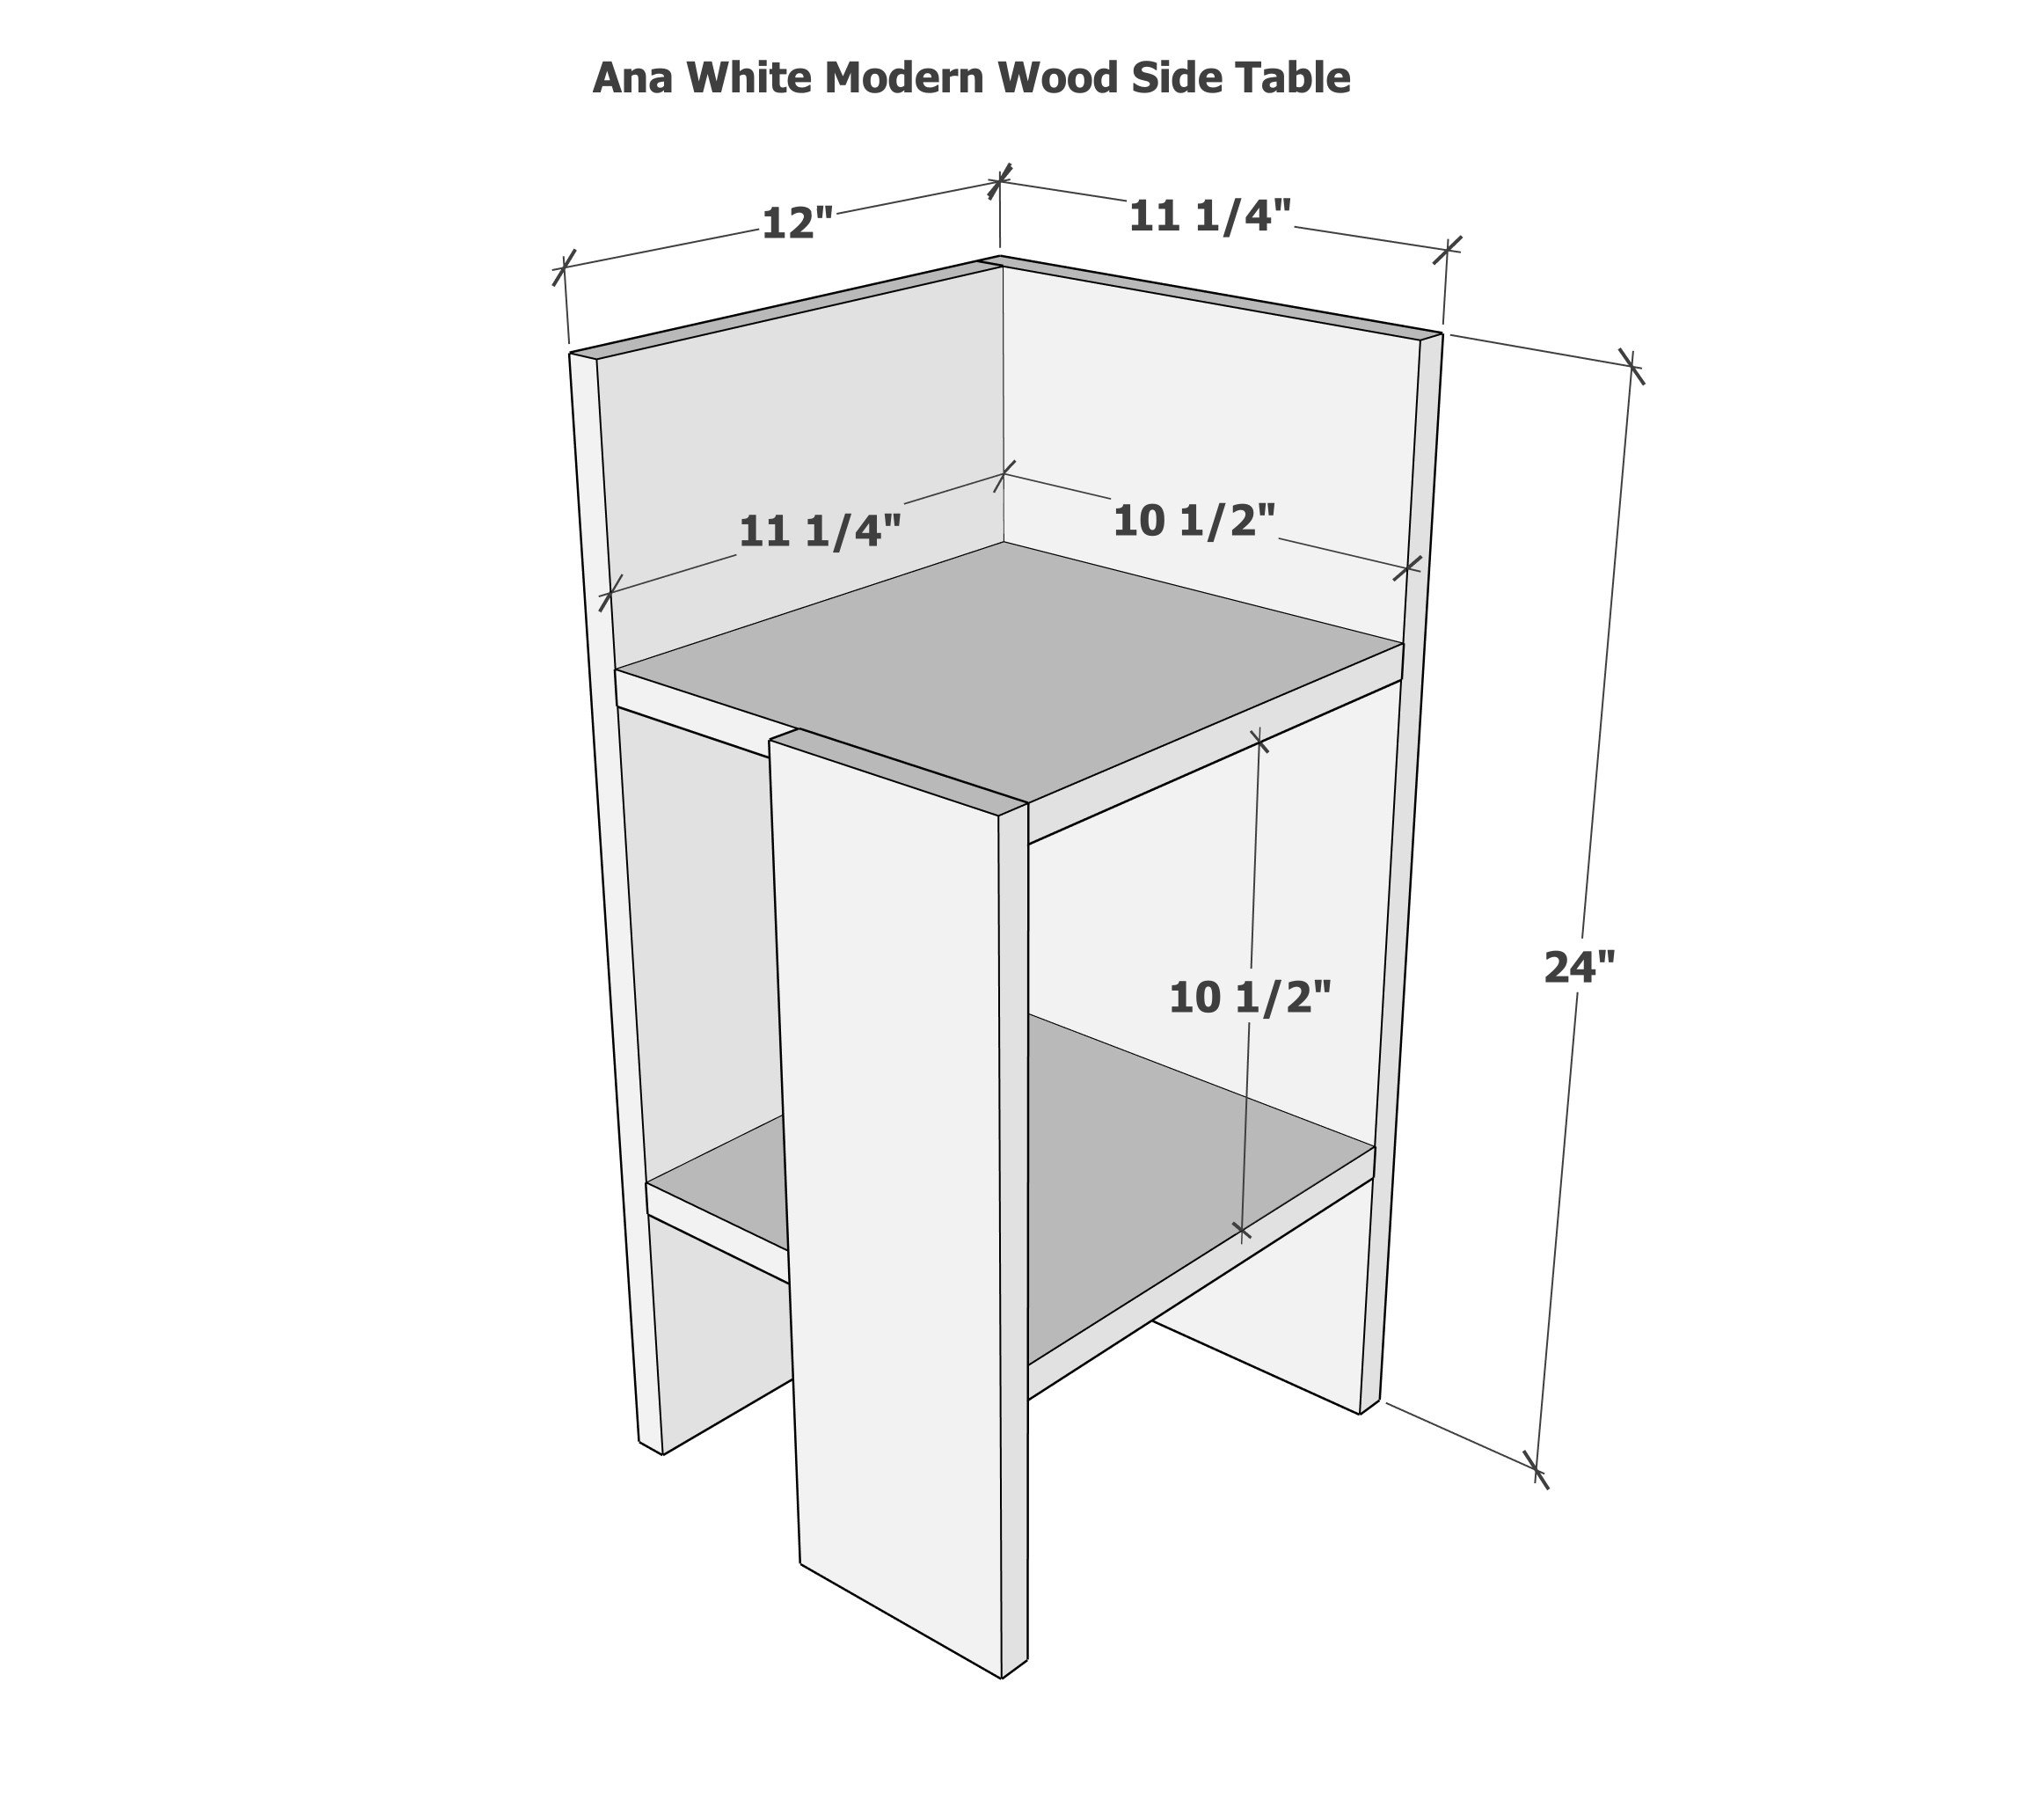
- 2 - 1x12 @ 24"
- 2 - 1x12 @ 10 1/4"
- 1 - 1x6 @ 18"


Instructions
Step 1
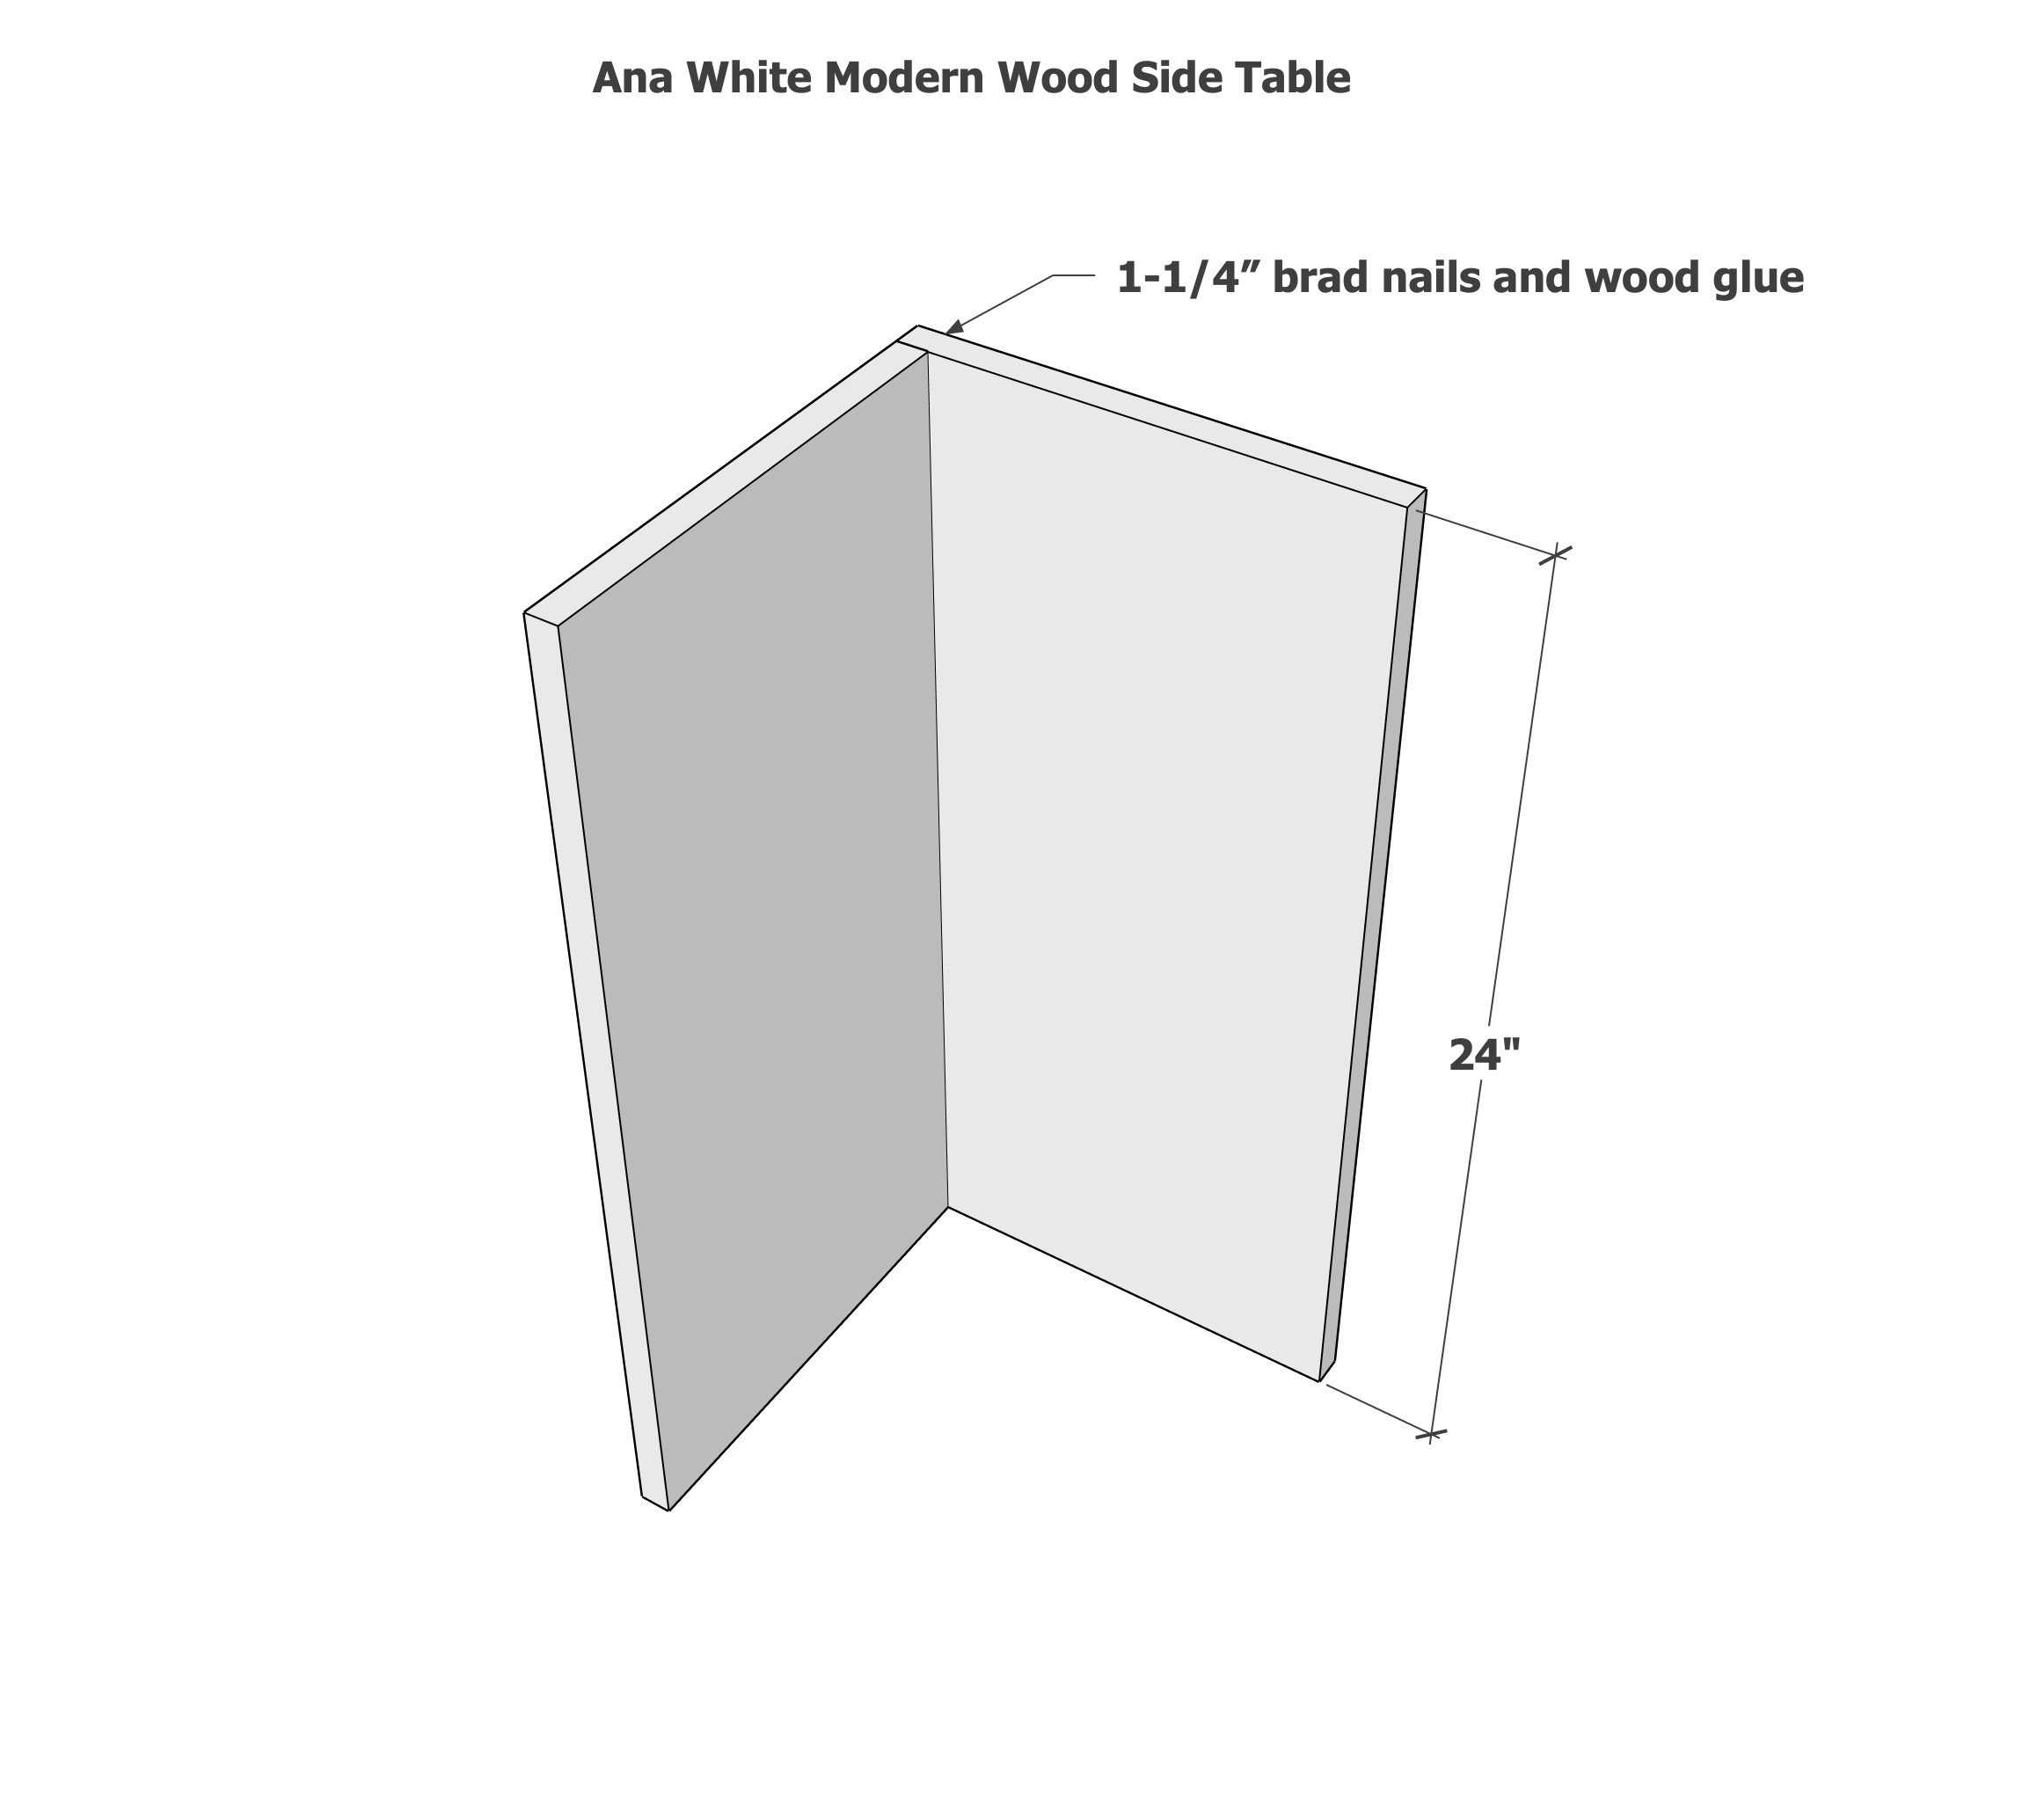
Attach the two 1x12 boards at 24" long together so back edges match, as shown in diagram, using glue and 1-1/4" brad nails.
Step 2
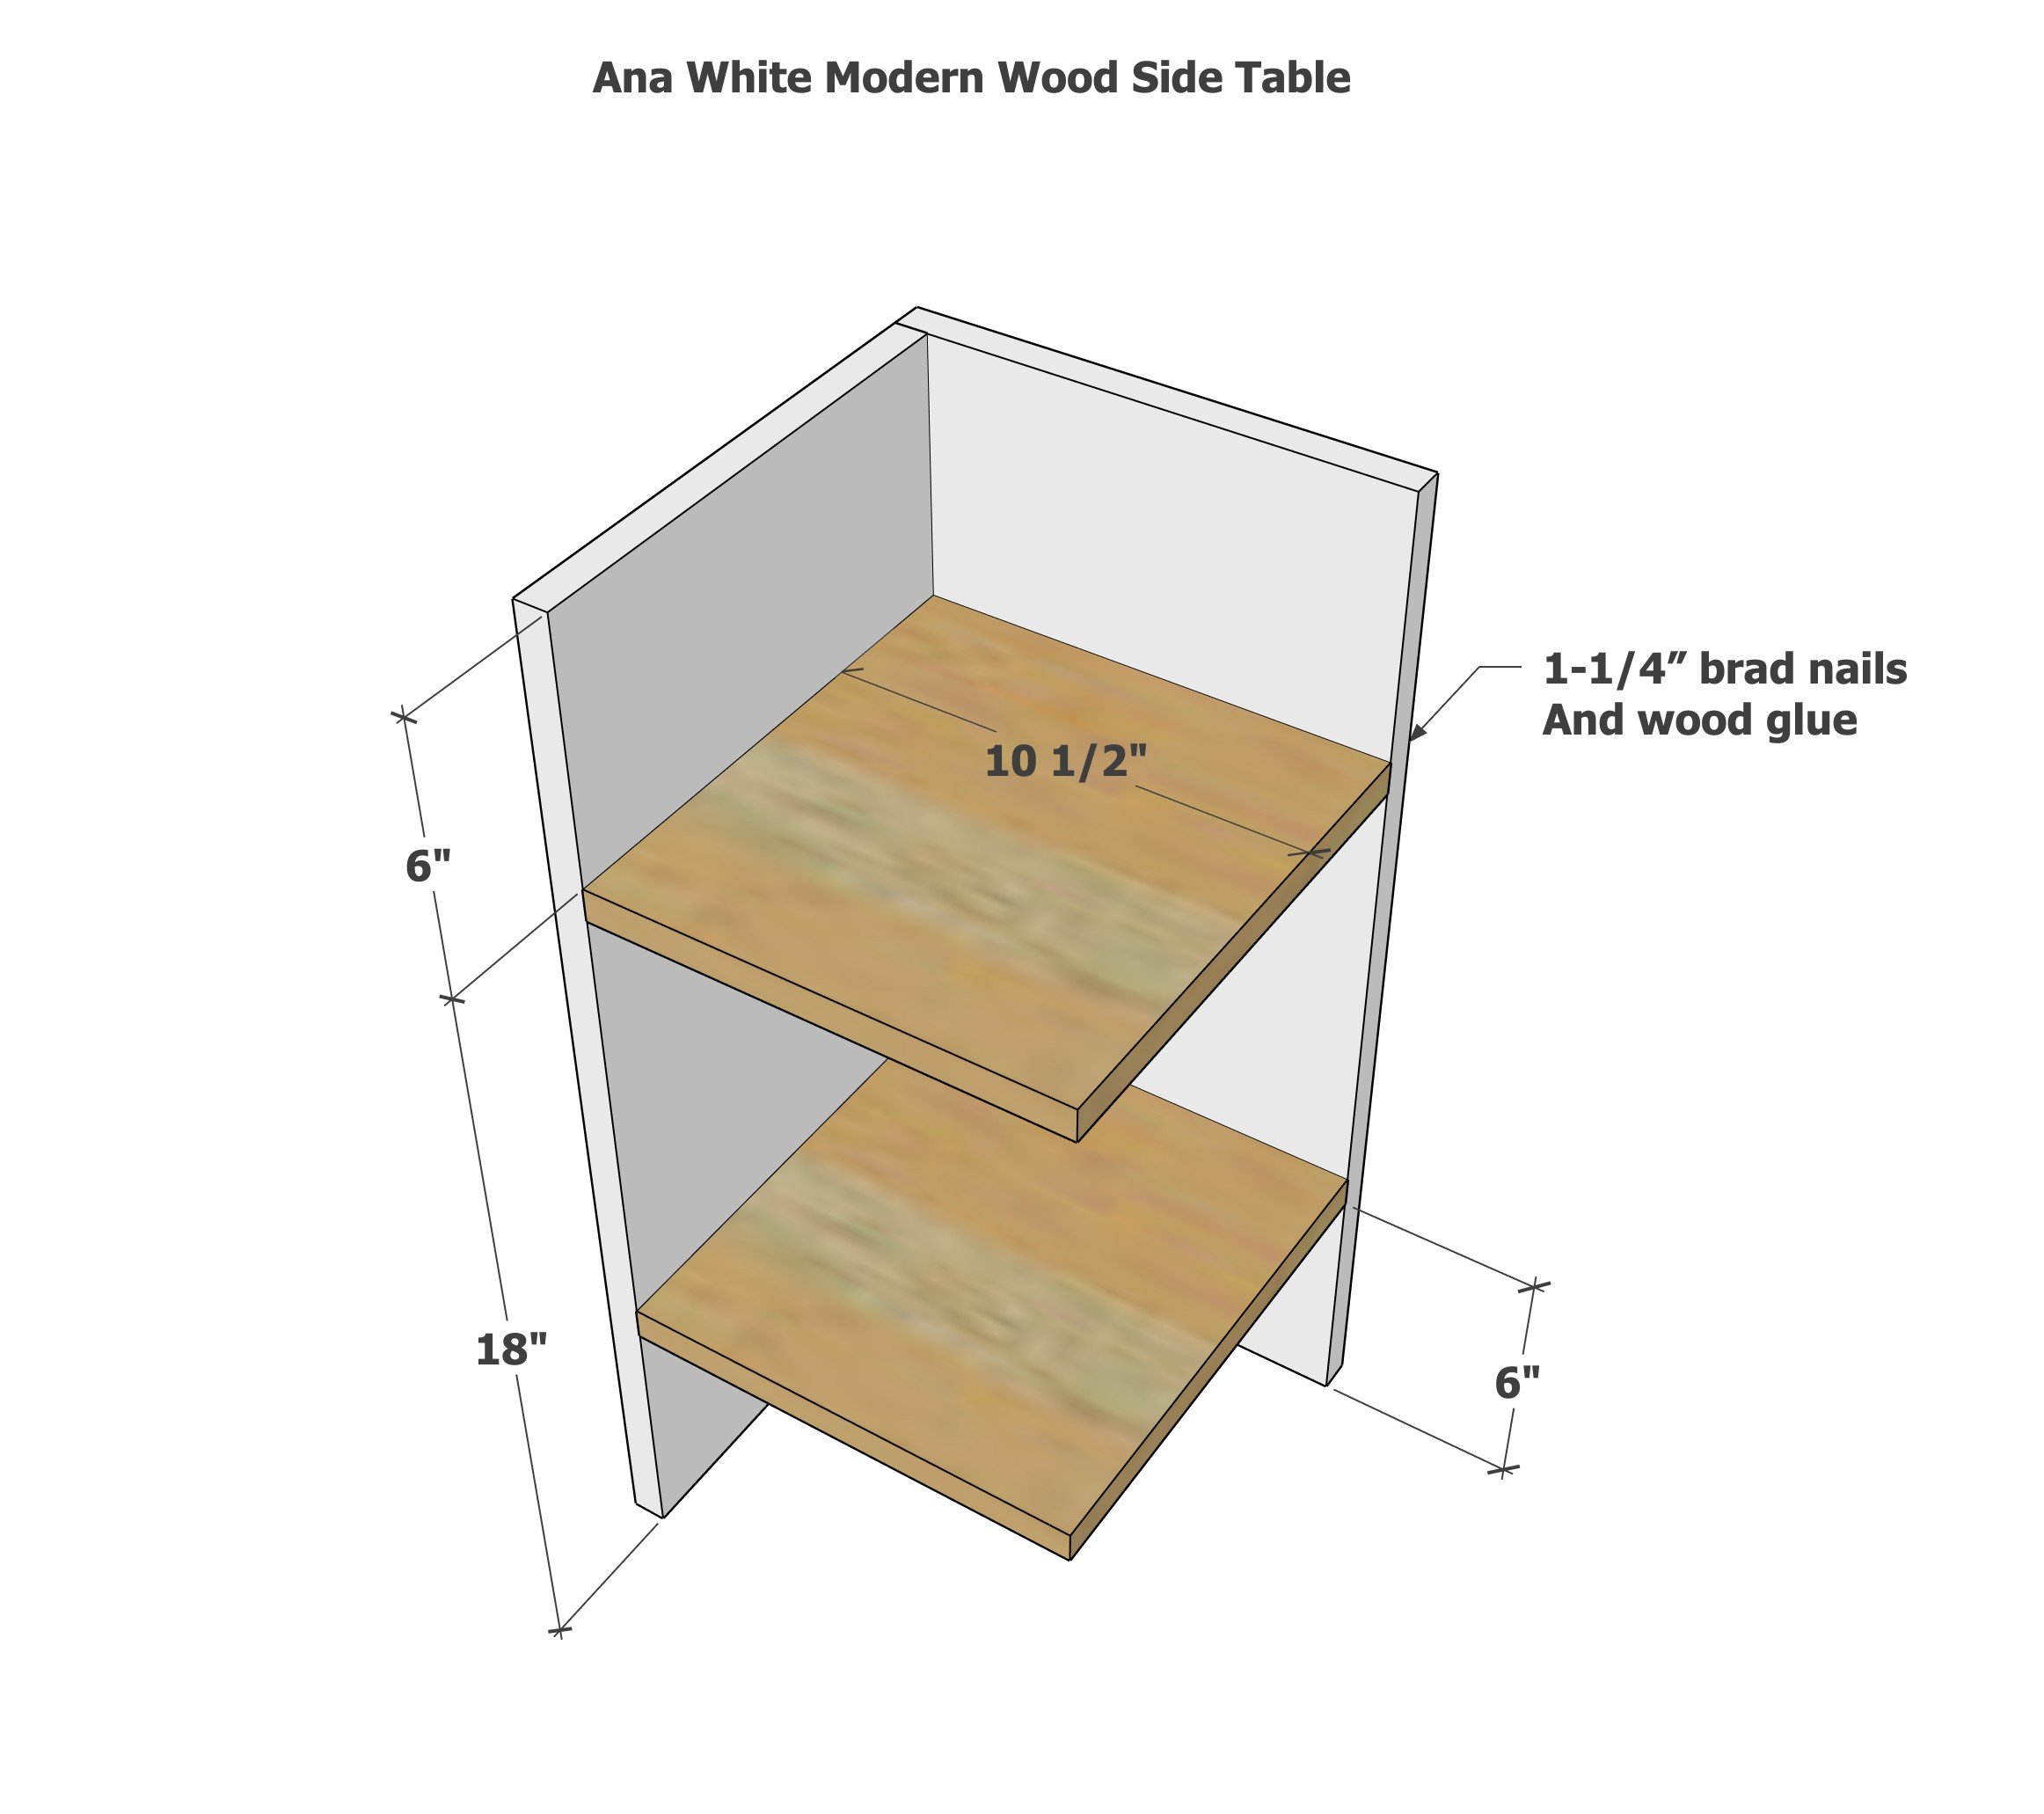
Measure and mark placement of shelves. Attach shelves with 1-1/4" brad nails and wood glue.
Step 3
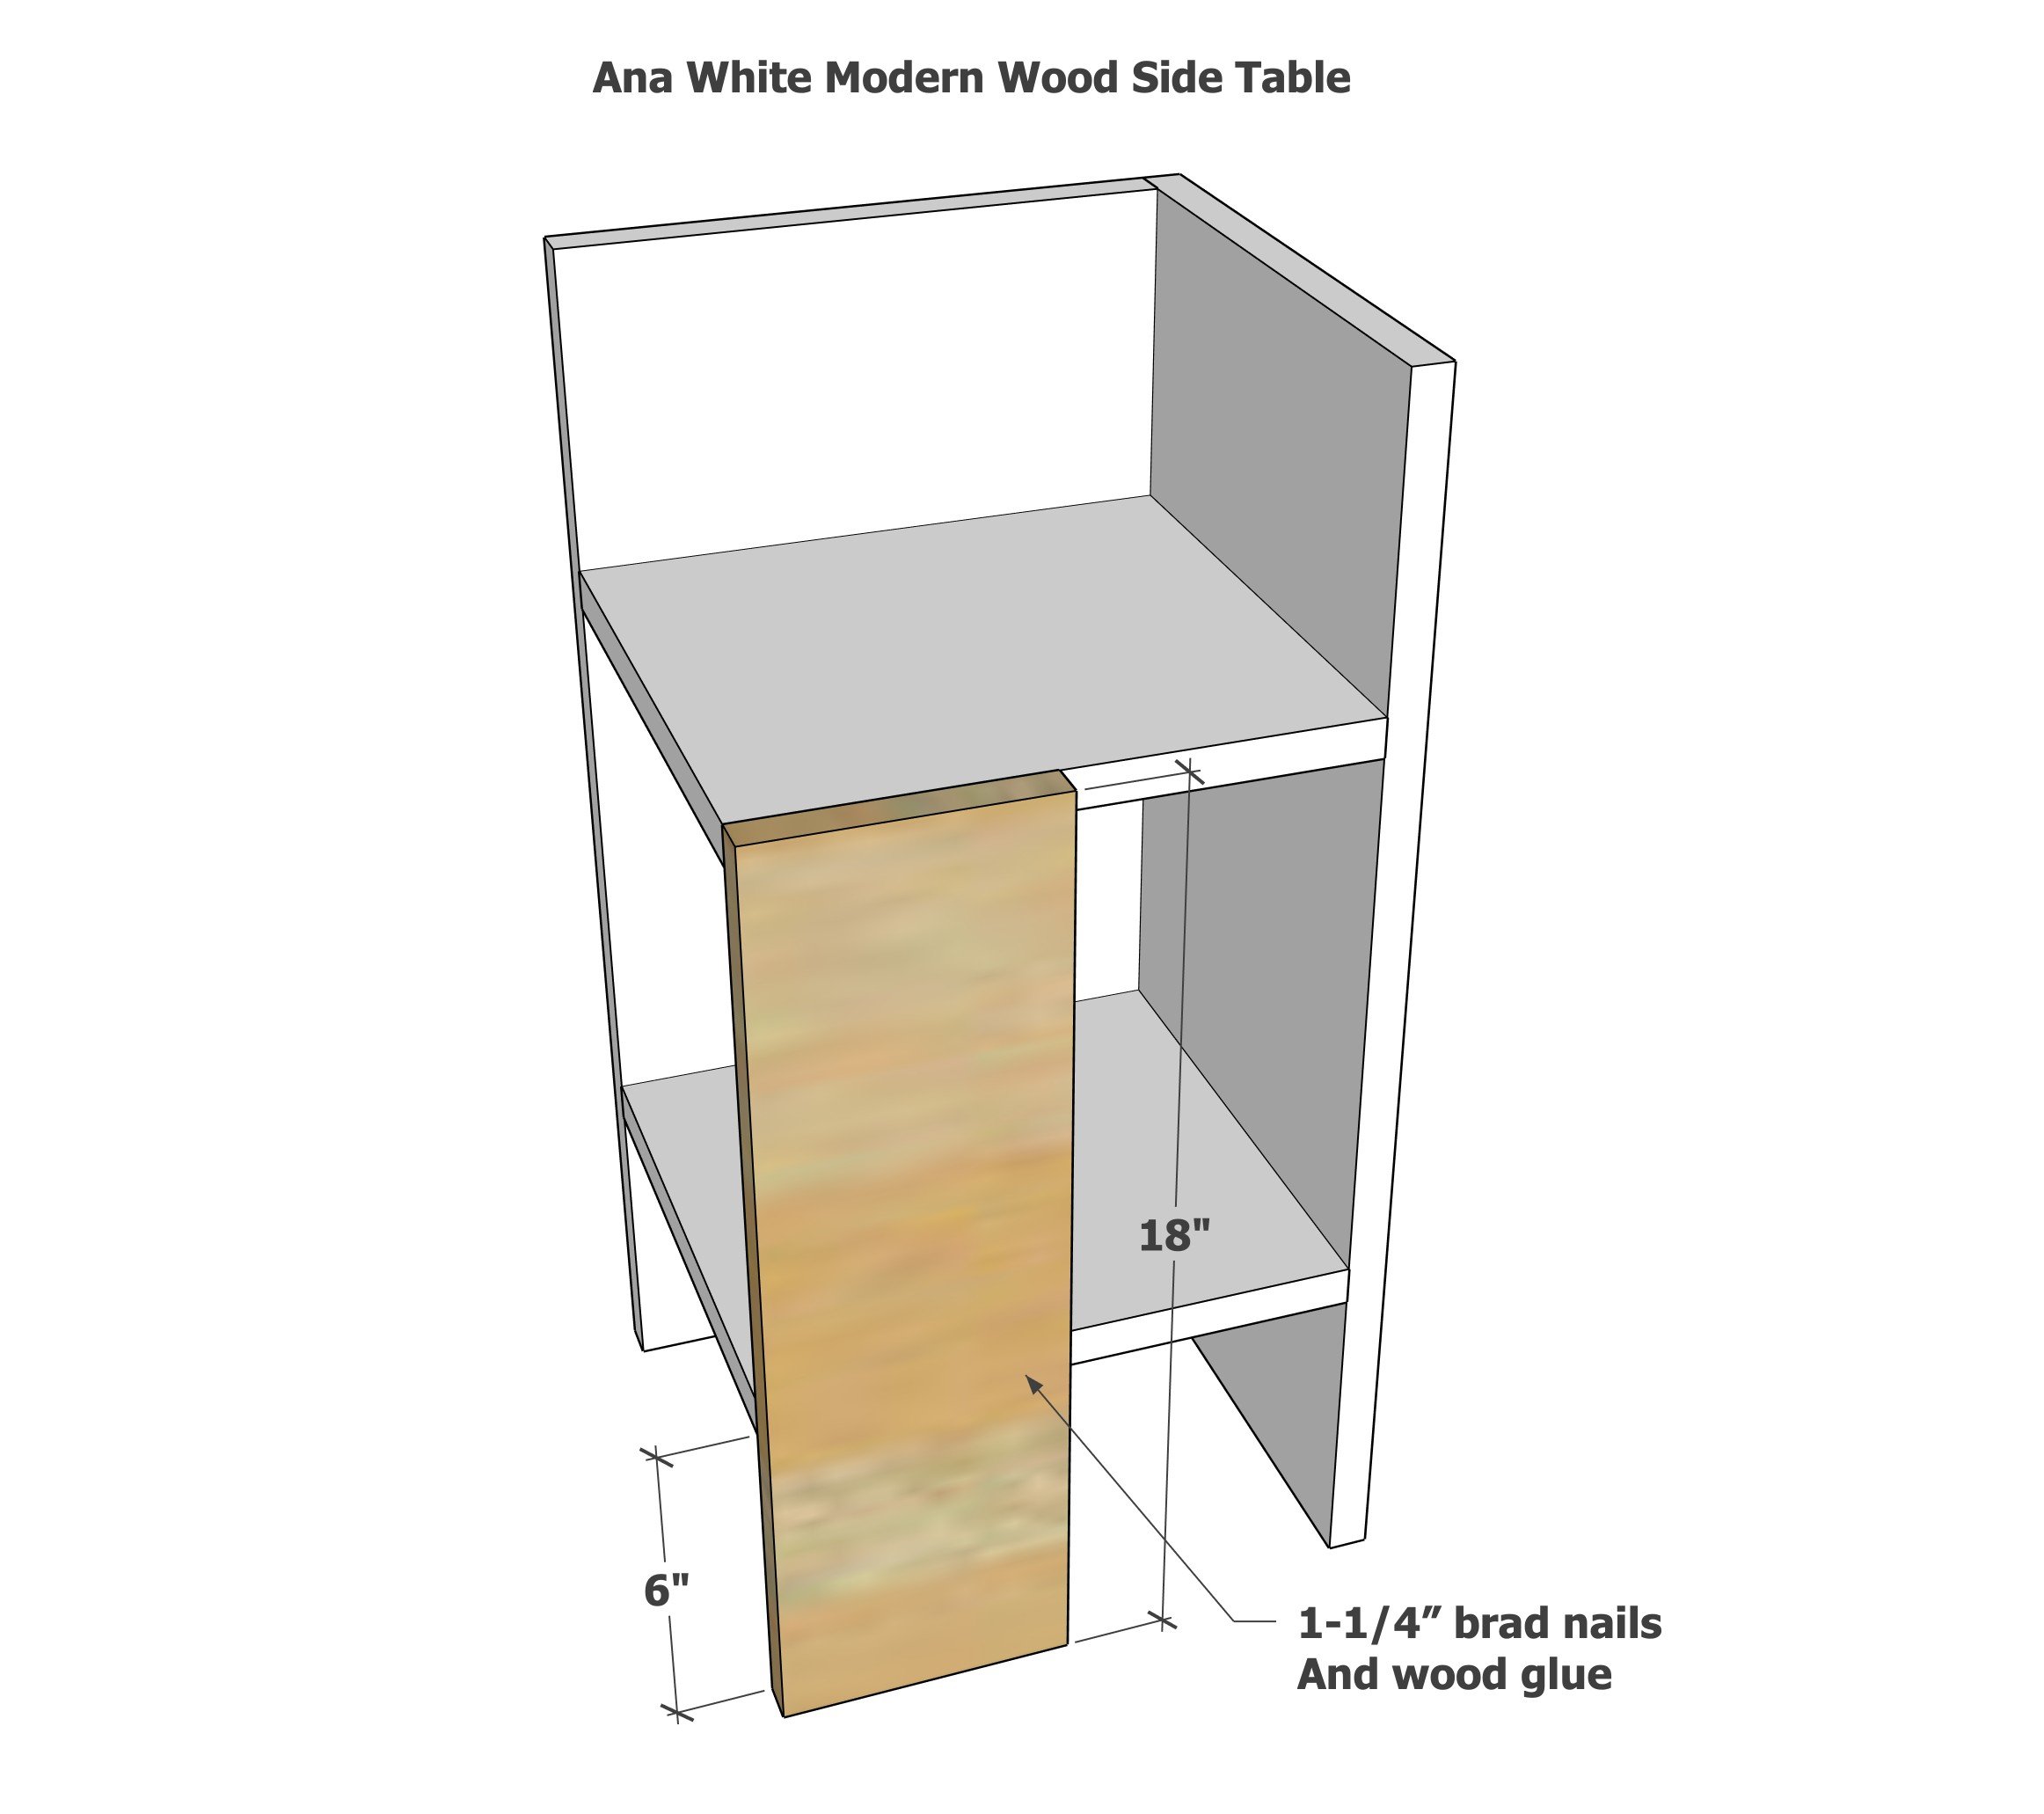
Add the front leg with 1-1/4" brad nails and wood glue.