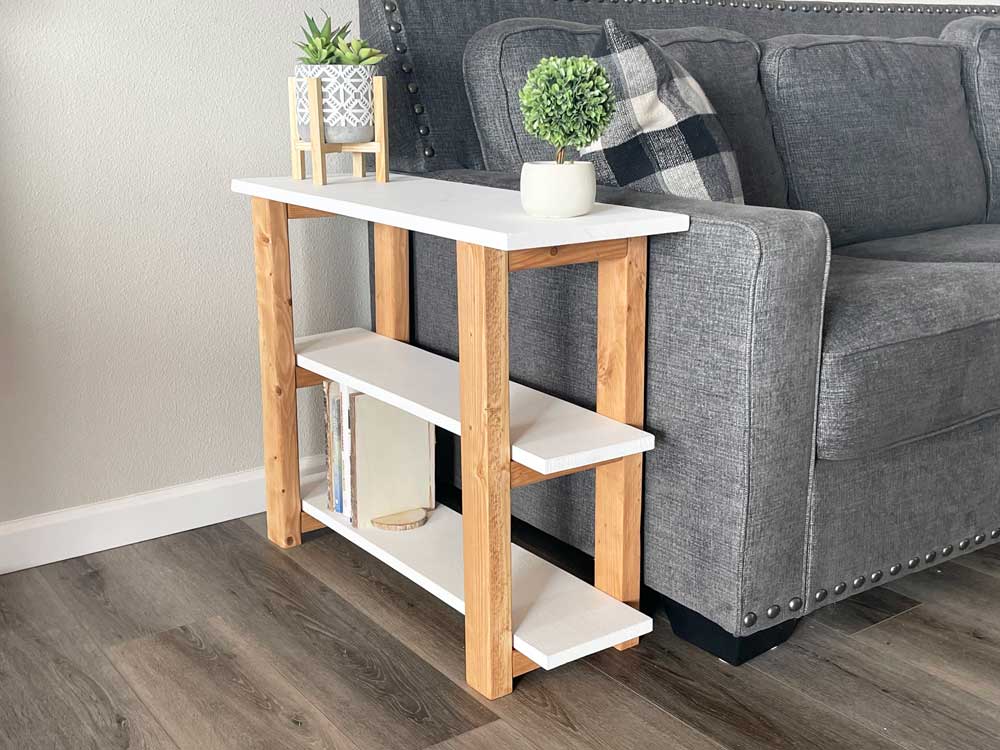
Narrow Side Table [Super Simple Collection]

The free plans on this website are made possible with advertising and affiliate links.  Thank you for helping us keep plans free.


diy side tables with free plans
Difficulty
Beginner Projects
| Print this plan

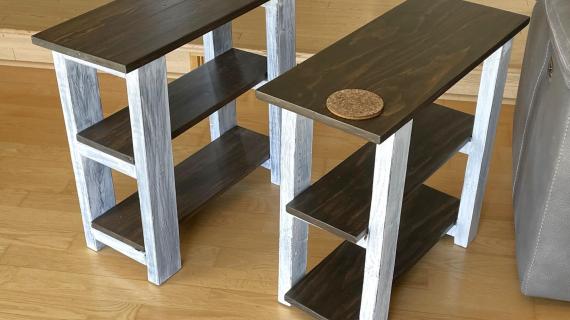
Free plans to build your own narrow end table.  Beginner friendly plan is easy to follow, uses basic materials and simple tools.  Step by step plans with video, diagrams, cut list and shopping list from Ana-White.com

diy side tables with free plans

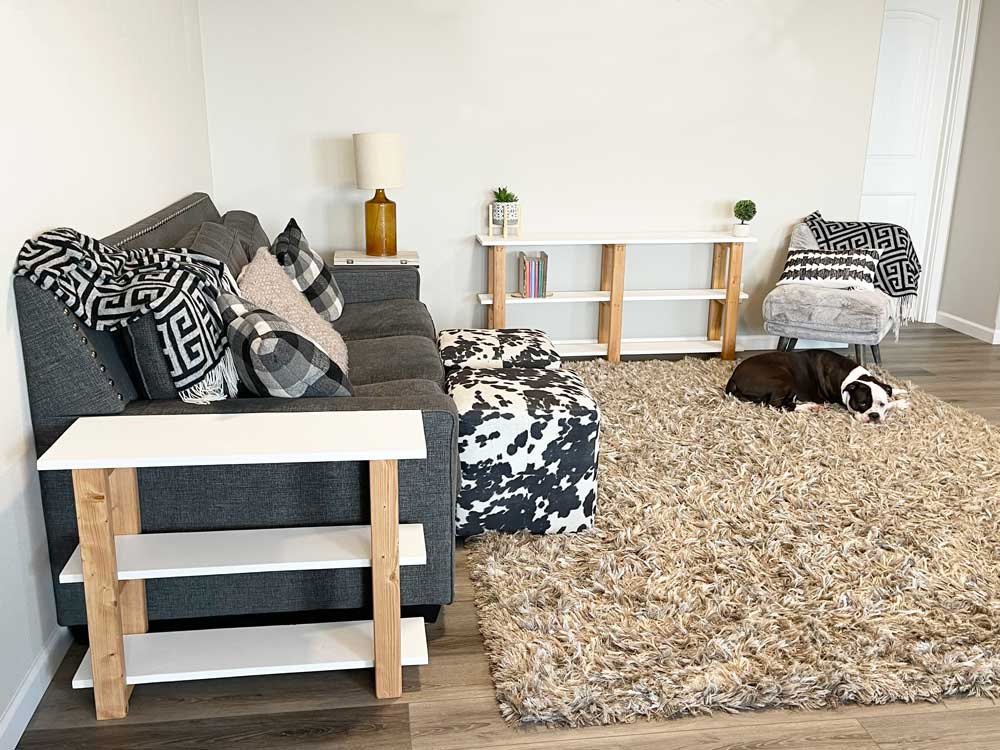
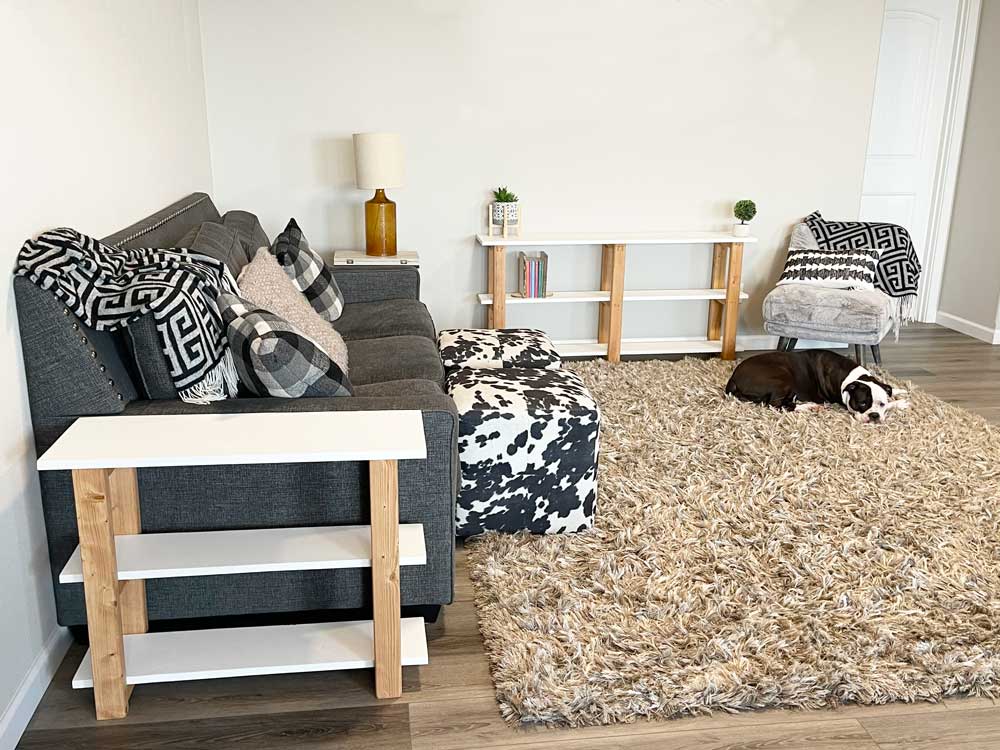
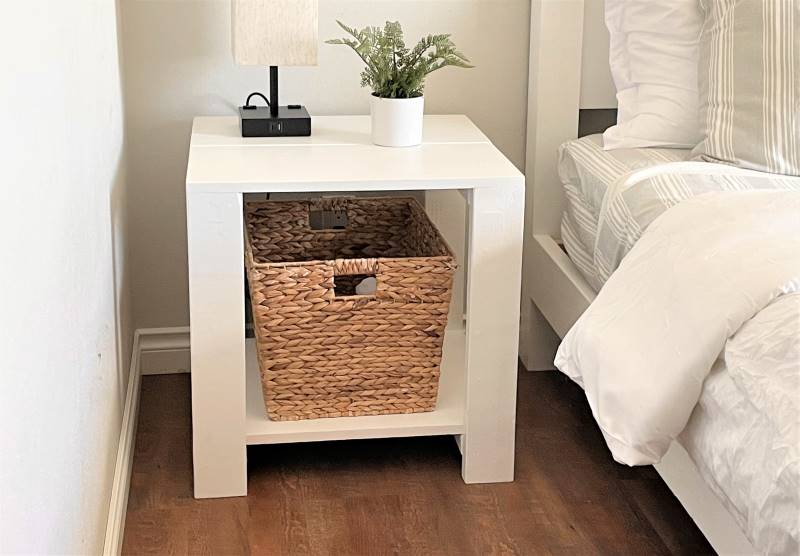
Living room tables add style, structure and function to a living space. Having end tables creates comfort and convenience - somewhere to put your cup down or rest a phone or remote, while adding storage and grounding to the room.  Every living room needs some accent table(s).

cheap living room tables

Super Simple Collection

But accent tables can be expensive or time consuming to make.  So we created the Super Simple Collection - a collection of plans designed to be ridiculously easy to build!


Video of Building this Narrow End Table

Watch this quick video of a beginner woodworker (our video editor Jen) building this narrow end table:

And the free plans follow. Please share if you build, we love seeing how your projects turn out!

Pin for Later!

Narrow Side Table

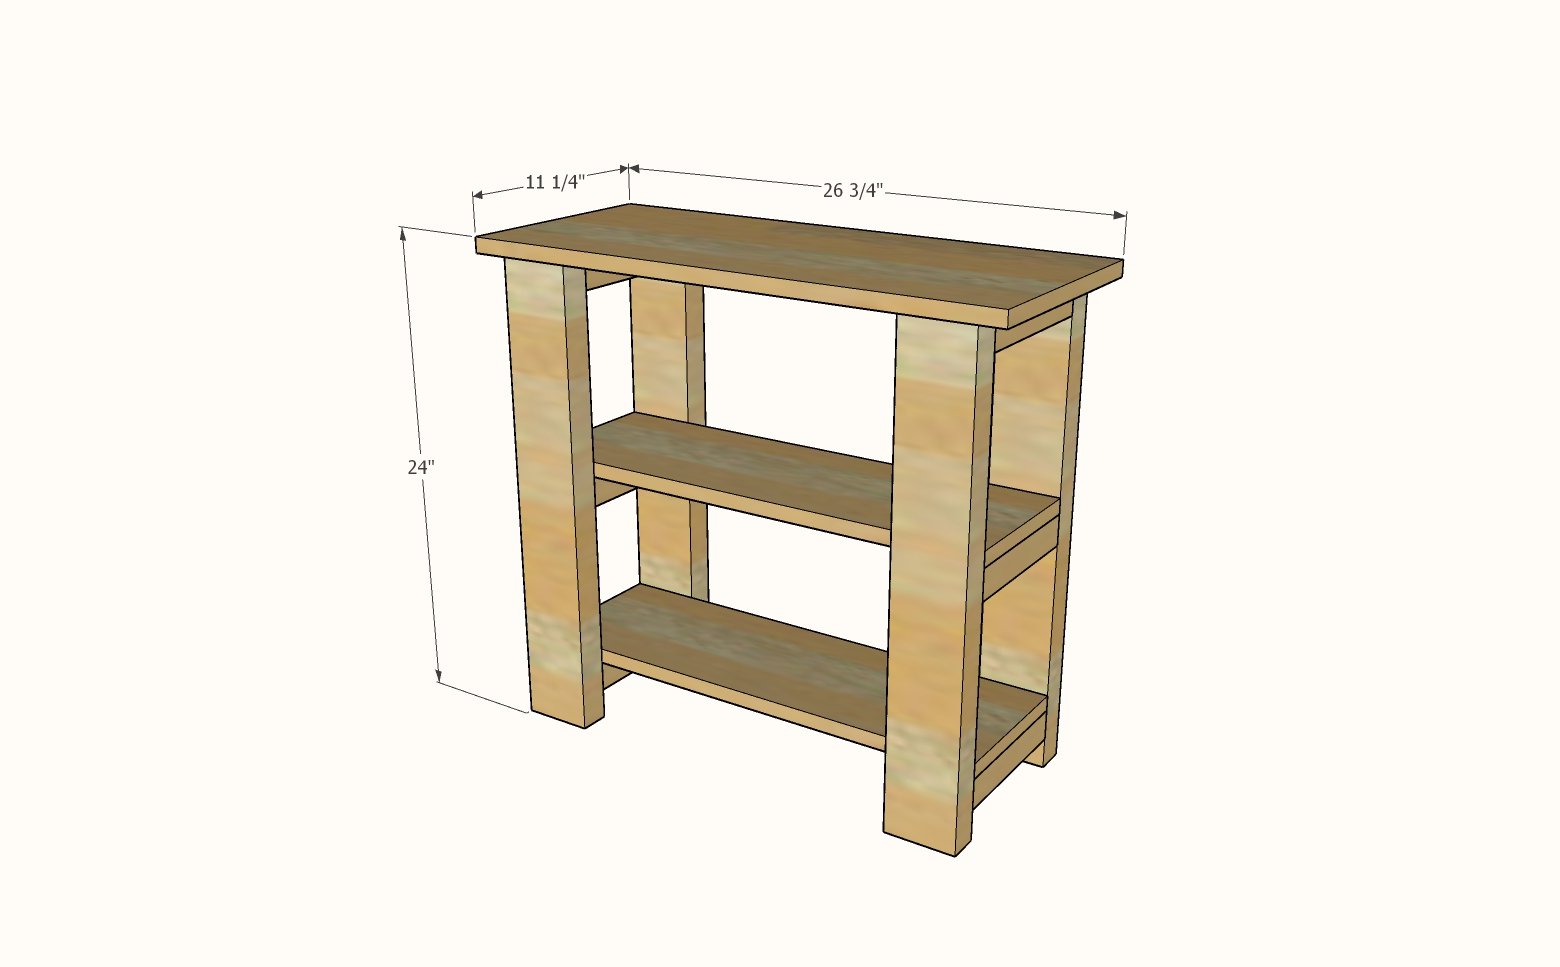
Dimensions
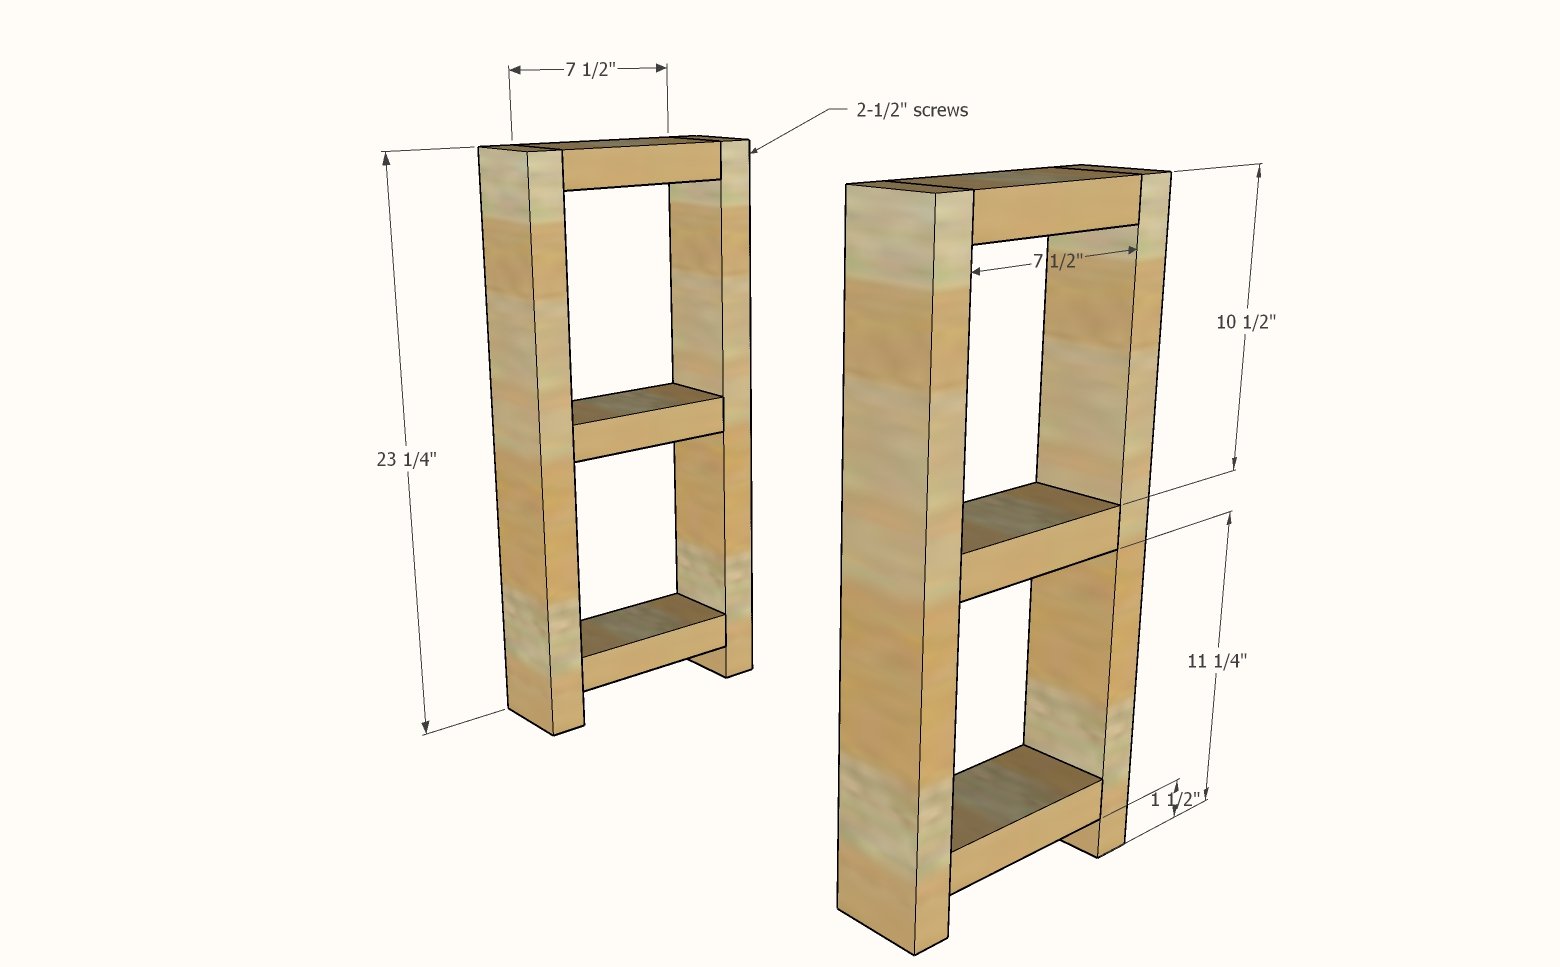
narrow end table dimensions
dimensions shown in diagram

Preparation

Shopping List

For one narrow end table:

  • 1 - 1x8 @ 4 feet long
  • 1 - 1x12 @ 30" long
  • 1 - 2x4 @ 12 feet long
  • 24 - 2-1/2" long self tapping torq head (star bit) wood screws
  • 20 - 2" long self tapping torq head (star bit) wood screws


Cut List

4 - 2x4 @ 23-1/4"

6 - 2x4 @ 7-1/2"

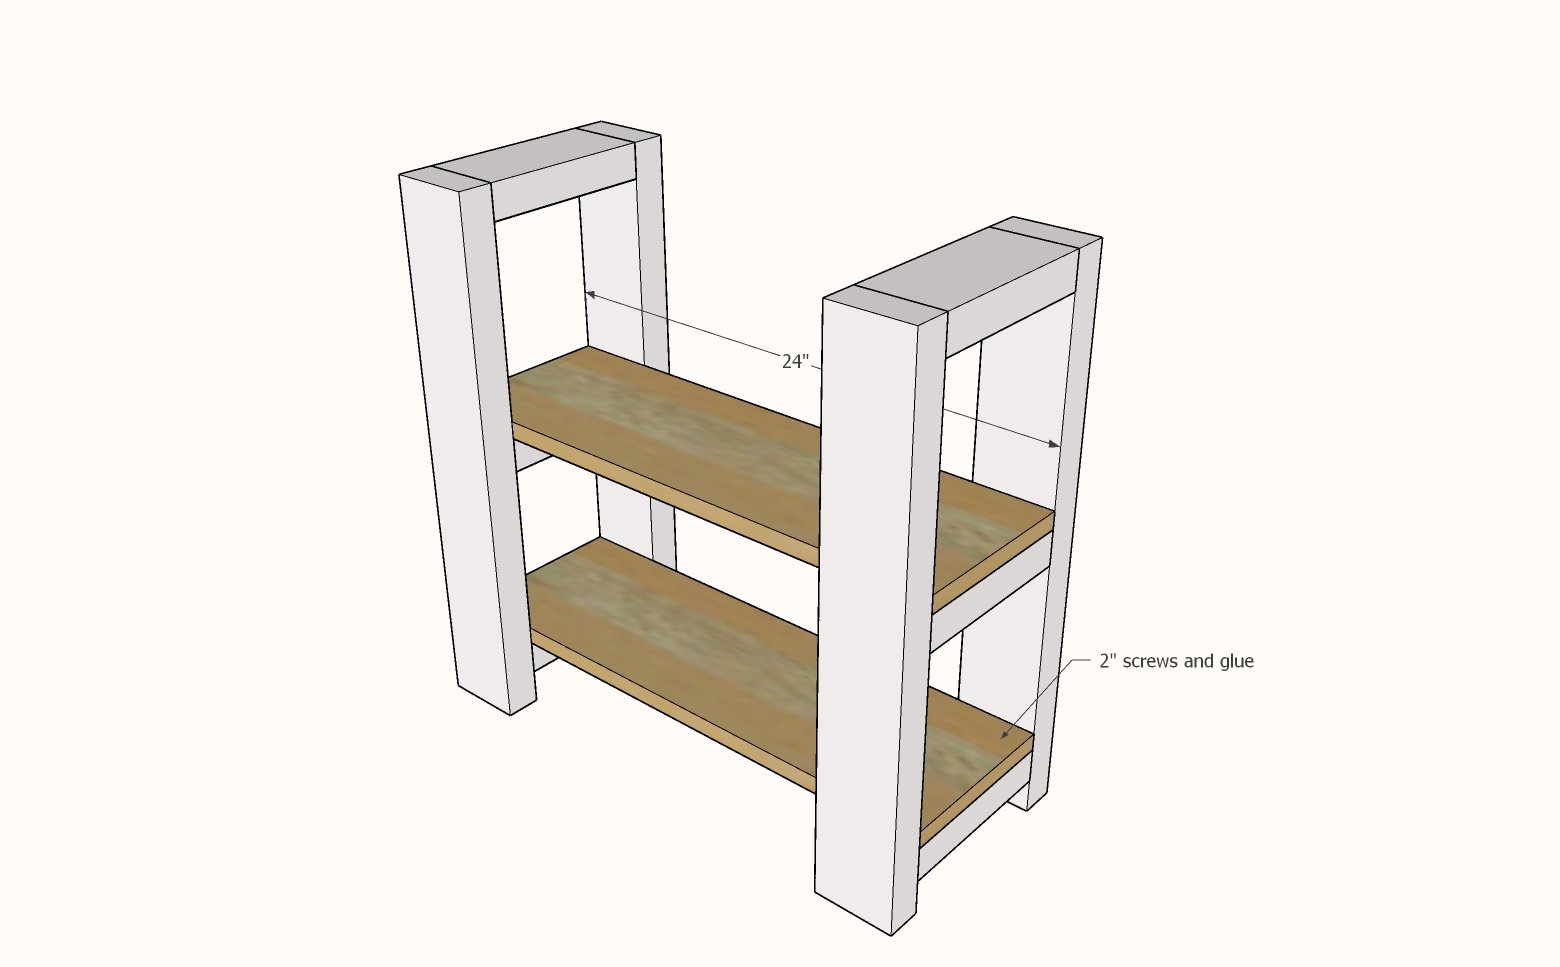
2 - 1x8 @ 24"

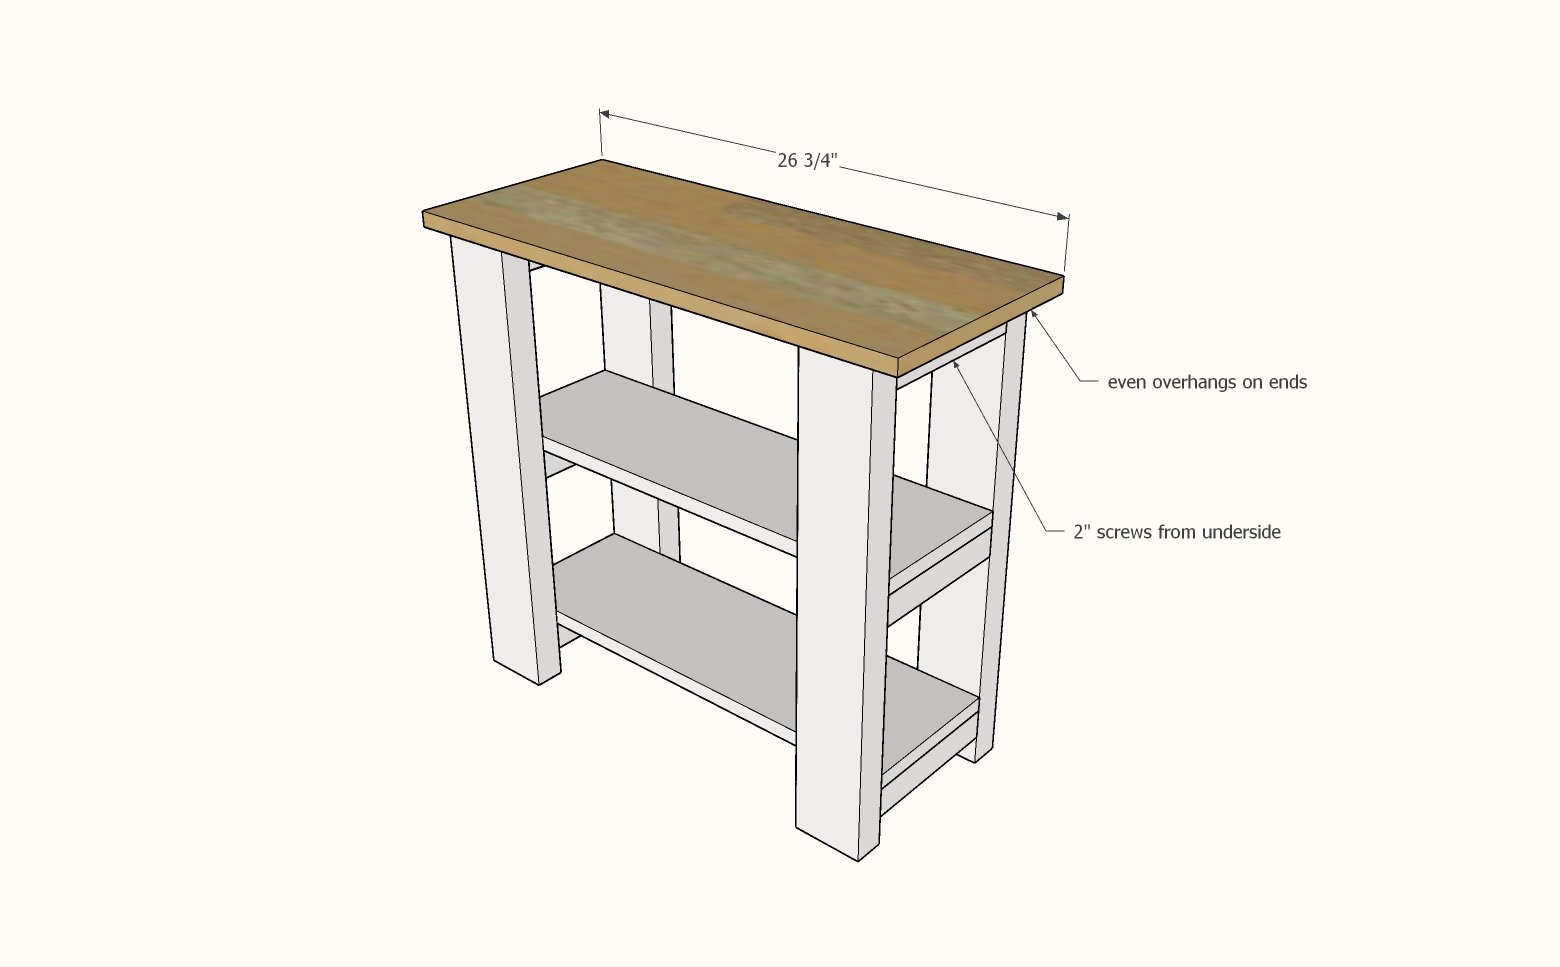
1 - 1x12 @ 26-3/4"


Tools
Tape Measure
Speed Square
Pencil
Safety Glasses
Drill
Circular Saw
Power Sander

Instructions

Step 1

Build the two leg sets using the 2x4s and the longer screws, two screws per joint

Step 2

Attach the two shelves to the leg rungs, using the shorter screws.  Use three screws per joint, offsetting the screws in a triangular pattern, for more width coverage (to prevent side to side wobble).

Step 3

Attach the top, even overhangs on ends, and even overhangs on sides, to the top.