


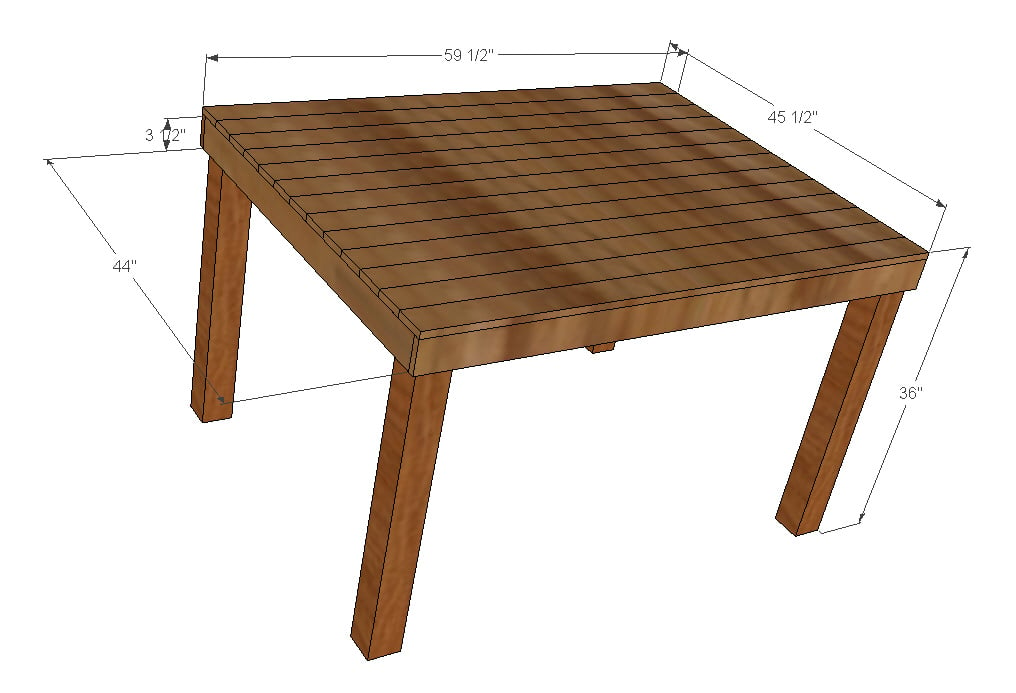
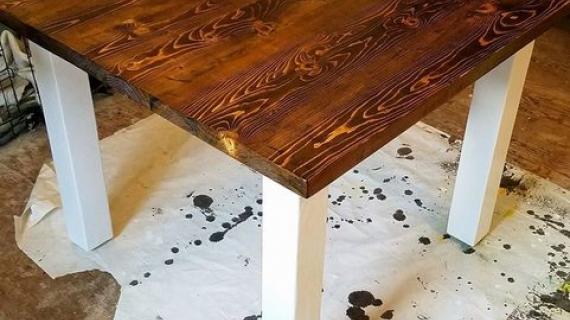
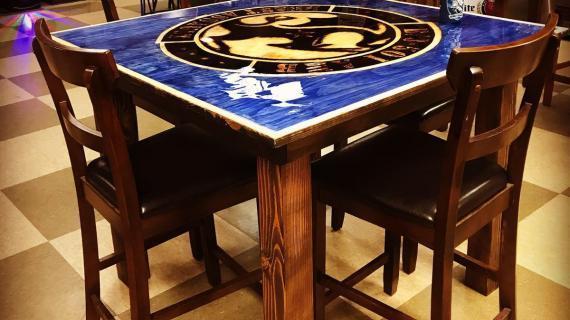
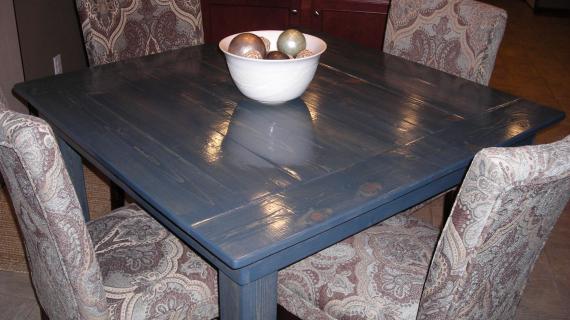
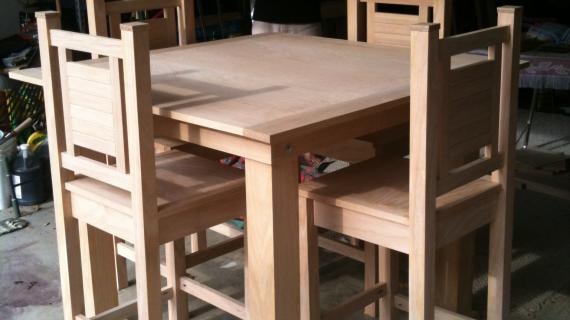
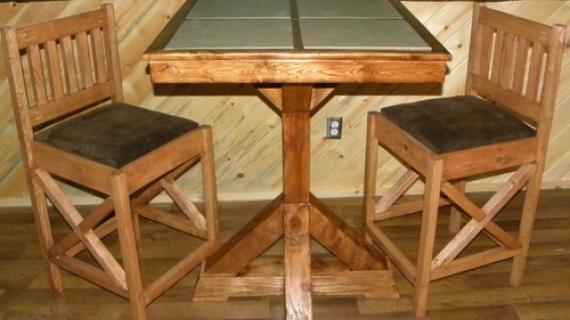
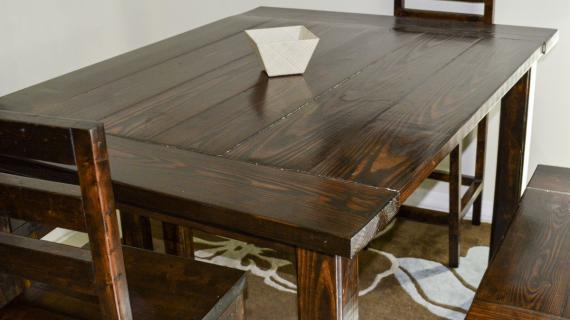
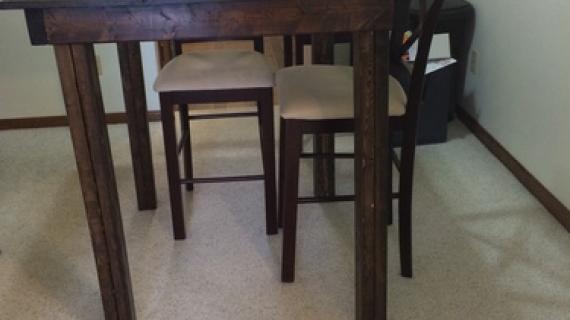
Pub/Counter Height Table (Seats 6)...a slightly smaller version of the Seats 8 square table!
Preparation
- 4 @ 4x4 @ 35 1/4" (Legs)
- 2 @ 1x4 @ 59 1/2" (Aprons)
- 4 @ 1x4 @ 44" (Aprons & Underside Supports)
- 13 @ 1x4 @ 59 1/2" (Table Top)
- 12 @ 1x4 @ 12" (with 45-degree cuts on ends NOT parallel to each other) (Underside Corner Supports)

Please read through the entire plan and all comments before beginning this project. It is also advisable to review the Getting Started Section. Take all necessary precautions to build safely and smartly. Work on a clean level surface, free of imperfections or debris. Always use straight boards. Check for square after each step. Always predrill holes before attaching with screws. Use glue with finish nails for a stronger hold. Wipe excess glue off bare wood for stained projects, as dried glue will not take stain. Be safe, have fun, and ask for help if you need it. Good luck!
Instructions
Step 1

Connect one 59 1/2" Apron square with one 58" Apron perpendicular at the ends (forming a L-shape) using 1 1/2" screws and glue. Repeat for other 59 1/2" Apron and one more 58" Apron. Attach both L-shaped pieces to form a square using 1 1/2" screws and glue.
Step 2
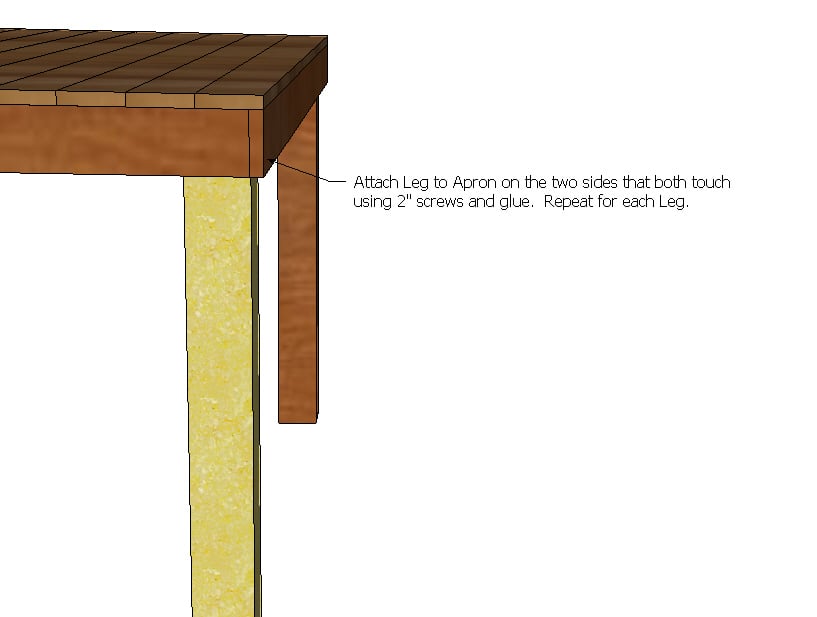
Attach Leg to Apron on the two sides that both touch using 2" screws and glue. Repeat for each Leg.
Step 3
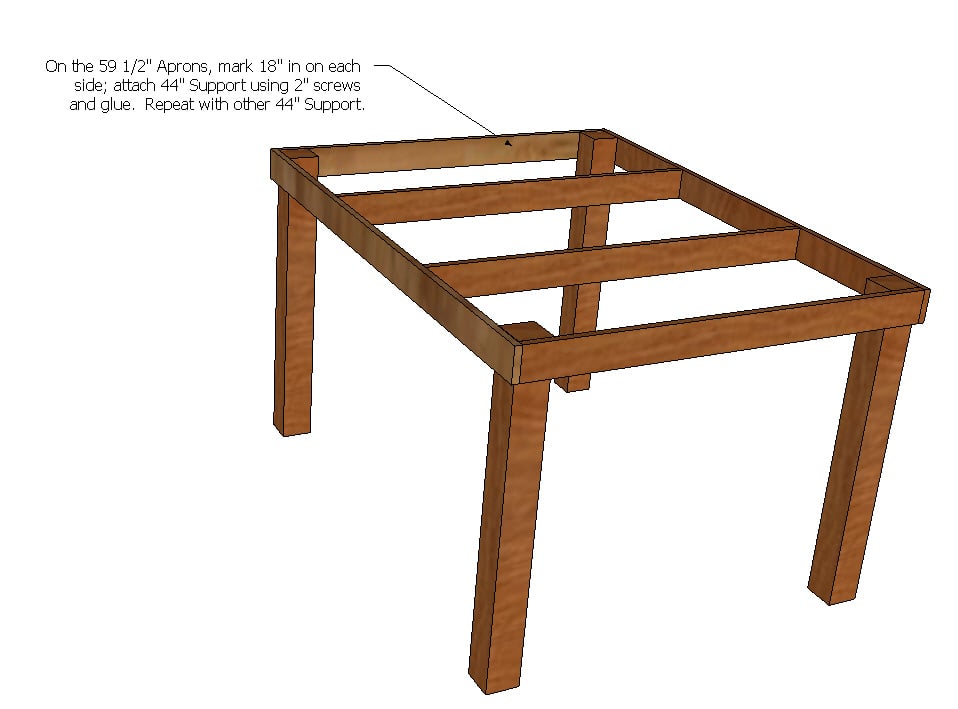
On the 59 1/2" Aprons, mark 18" in on each side; attach 58" Support using 2" screws and glue. Repeat with other 58" Support.
Step 4
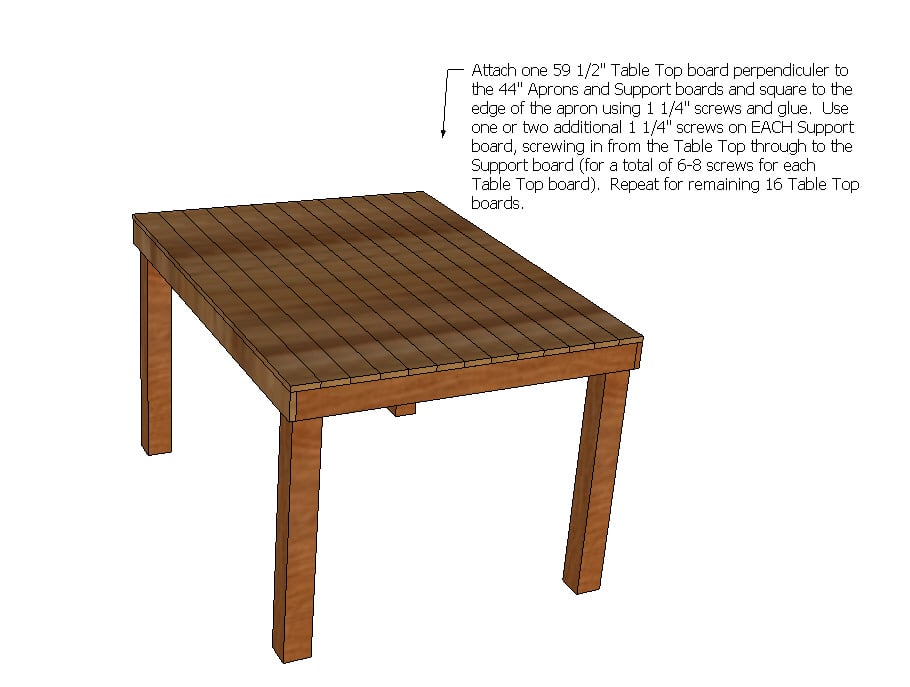
Attach one 59 1/2" Table Top board perpendiculer to the 58" Aprons and Support boards and square to the edge of the apron using 1 1/2" screws and glue. Use one or two additional 1 1/2" screws on EACH Support board, screwing in from the Table Top through to the Support board (for a total of 6-8 screws for each Table Top board). Repeat for remaining 16 Table Top boards.
(Not pictured) Cut a 45-degree angle on the ends of the 12" 1x4 Support boards. Attach to underside in corners of table using 1 1/2" screws from the apron into the Support board. Repeat for all remaining Support boards.
It is always recommended to apply a test coat on a hidden area or scrap piece to ensure color evenness and adhesion. Use primer or wood conditioner as needed.

Comments
TTWEEDY
Tue, 09/25/2012 - 09:01
PUB TABLE WITH STORAGE
I REALLY want to build this table - But I have my heart set on something with some "storage" under - You know just to keep a table caddy (salt pepper / oil vengar / that type of thing)- I have seen many while shopping around like this with storage underneath - although as you can imagine - they are VERY expensive - So I was wondering what your thoughts would be on adding just another (top) just say two feet below the actual top? Do you think the functionality would be there? Also - if yes - Do you think the easiest way to accomplish that would be to duplicate the directions for the top at whatever level I decide below
biz_kid1
Tue, 09/25/2012 - 11:10
You'd have to consider the height of your chairs/stools...
...as adding the extra level of storage sounds like it might infringe on leg space. If you don't need much storage, maybe consider adding a hanging "shelf and stick a wire basket on it underneath the center of the table top (basket like this: http://i.ebayimg.com/t/York-Under-Shelf-Pantry-Wire-Storage-Basket-Kitc…$(KGrHqN,!ksE-oOD1Z((BPzo(wF(q!~~60_35.JPG).
Lisa B (not verified)
Thu, 11/29/2012 - 06:11
pub/counter height table
I see on cut list 12 1x4's at 12" each for corner support, but don't see what to do with them. Help. thank you.
biz_kid1
Thu, 11/29/2012 - 06:29
It's in Step #4...
"(Not pictured) Cut a 45-degree angle on the ends of the 12" 1x4 Support boards. Attach to underside in corners of table using 1 1/2" screws from the apron into the Support board. Repeat for all remaining Support boards." because my Google Sketchup drawing skills didn't know how to draw angled boards! You just cut angles on them so they'll fit in the corners...hope that helps!
AGarcia (not verified)
Tue, 12/04/2012 - 22:52
Modified Cuts
I love this table and I have some questions, though - I'm horrible at measurements so would it be possible to get the cut measurements for a perfectly square table that seats 4? Also - would this table be able to handle the weight of a granite/marble/ or slab of stained concrete on top? Thank you!
kmac13
Tue, 12/23/2014 - 16:53
What type of wood did you use
What type of wood did you use?
MrsRoss10210
Sun, 03/15/2015 - 20:27
Table to seat 4
Is it possible to get the cut measurements for a table to seat 4? Thank you
mook11
Sat, 12/30/2017 - 20:53
12 1x4 12"
Is it just me? I am having difficulty in imagining where these 12 1x4 should be placed. I love these plans but am having trouble visulaizing this.... anf help would be appreciated.
Alienz17
Wed, 03/25/2020 - 03:09
Are there any chair plans…
Are there any chair plans for these chairs? If so can you link them or tell me where to find them?
brenna.cannon
Sun, 02/28/2021 - 15:08
Really would like to know as…
Really would like to know as well