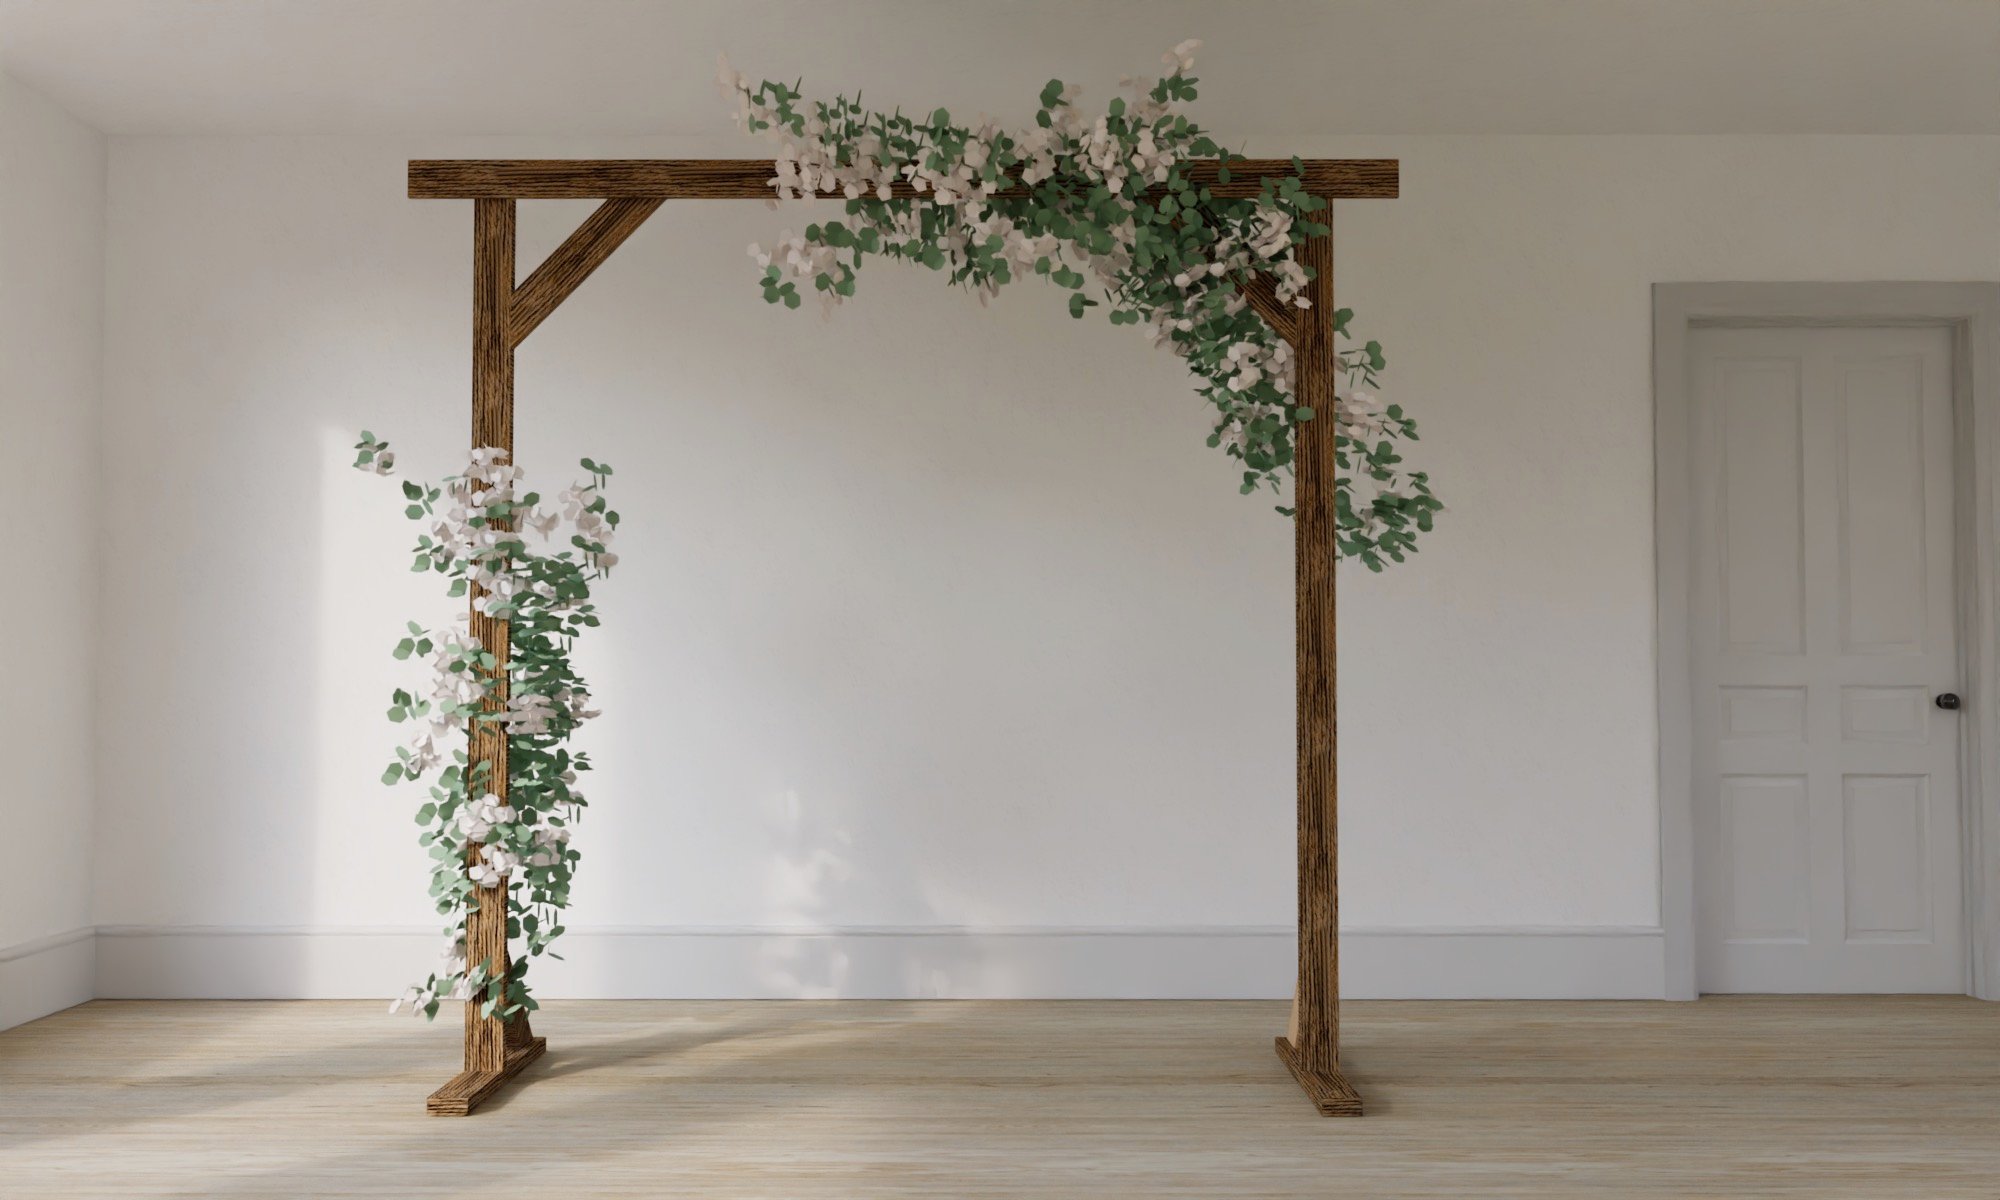
For your country or rustic wedding, a wood ceremony arch is a must! This is the frame for all your wedding ceremony photos, and creates a base for attaching florals.
This is a super simple plan design that looks amazing and can be stained any color of your choice. This plan is easy to customize too.
Free step by step plans with diagrams, shopping and cut lists from Ana-White.com
Pin For Later!

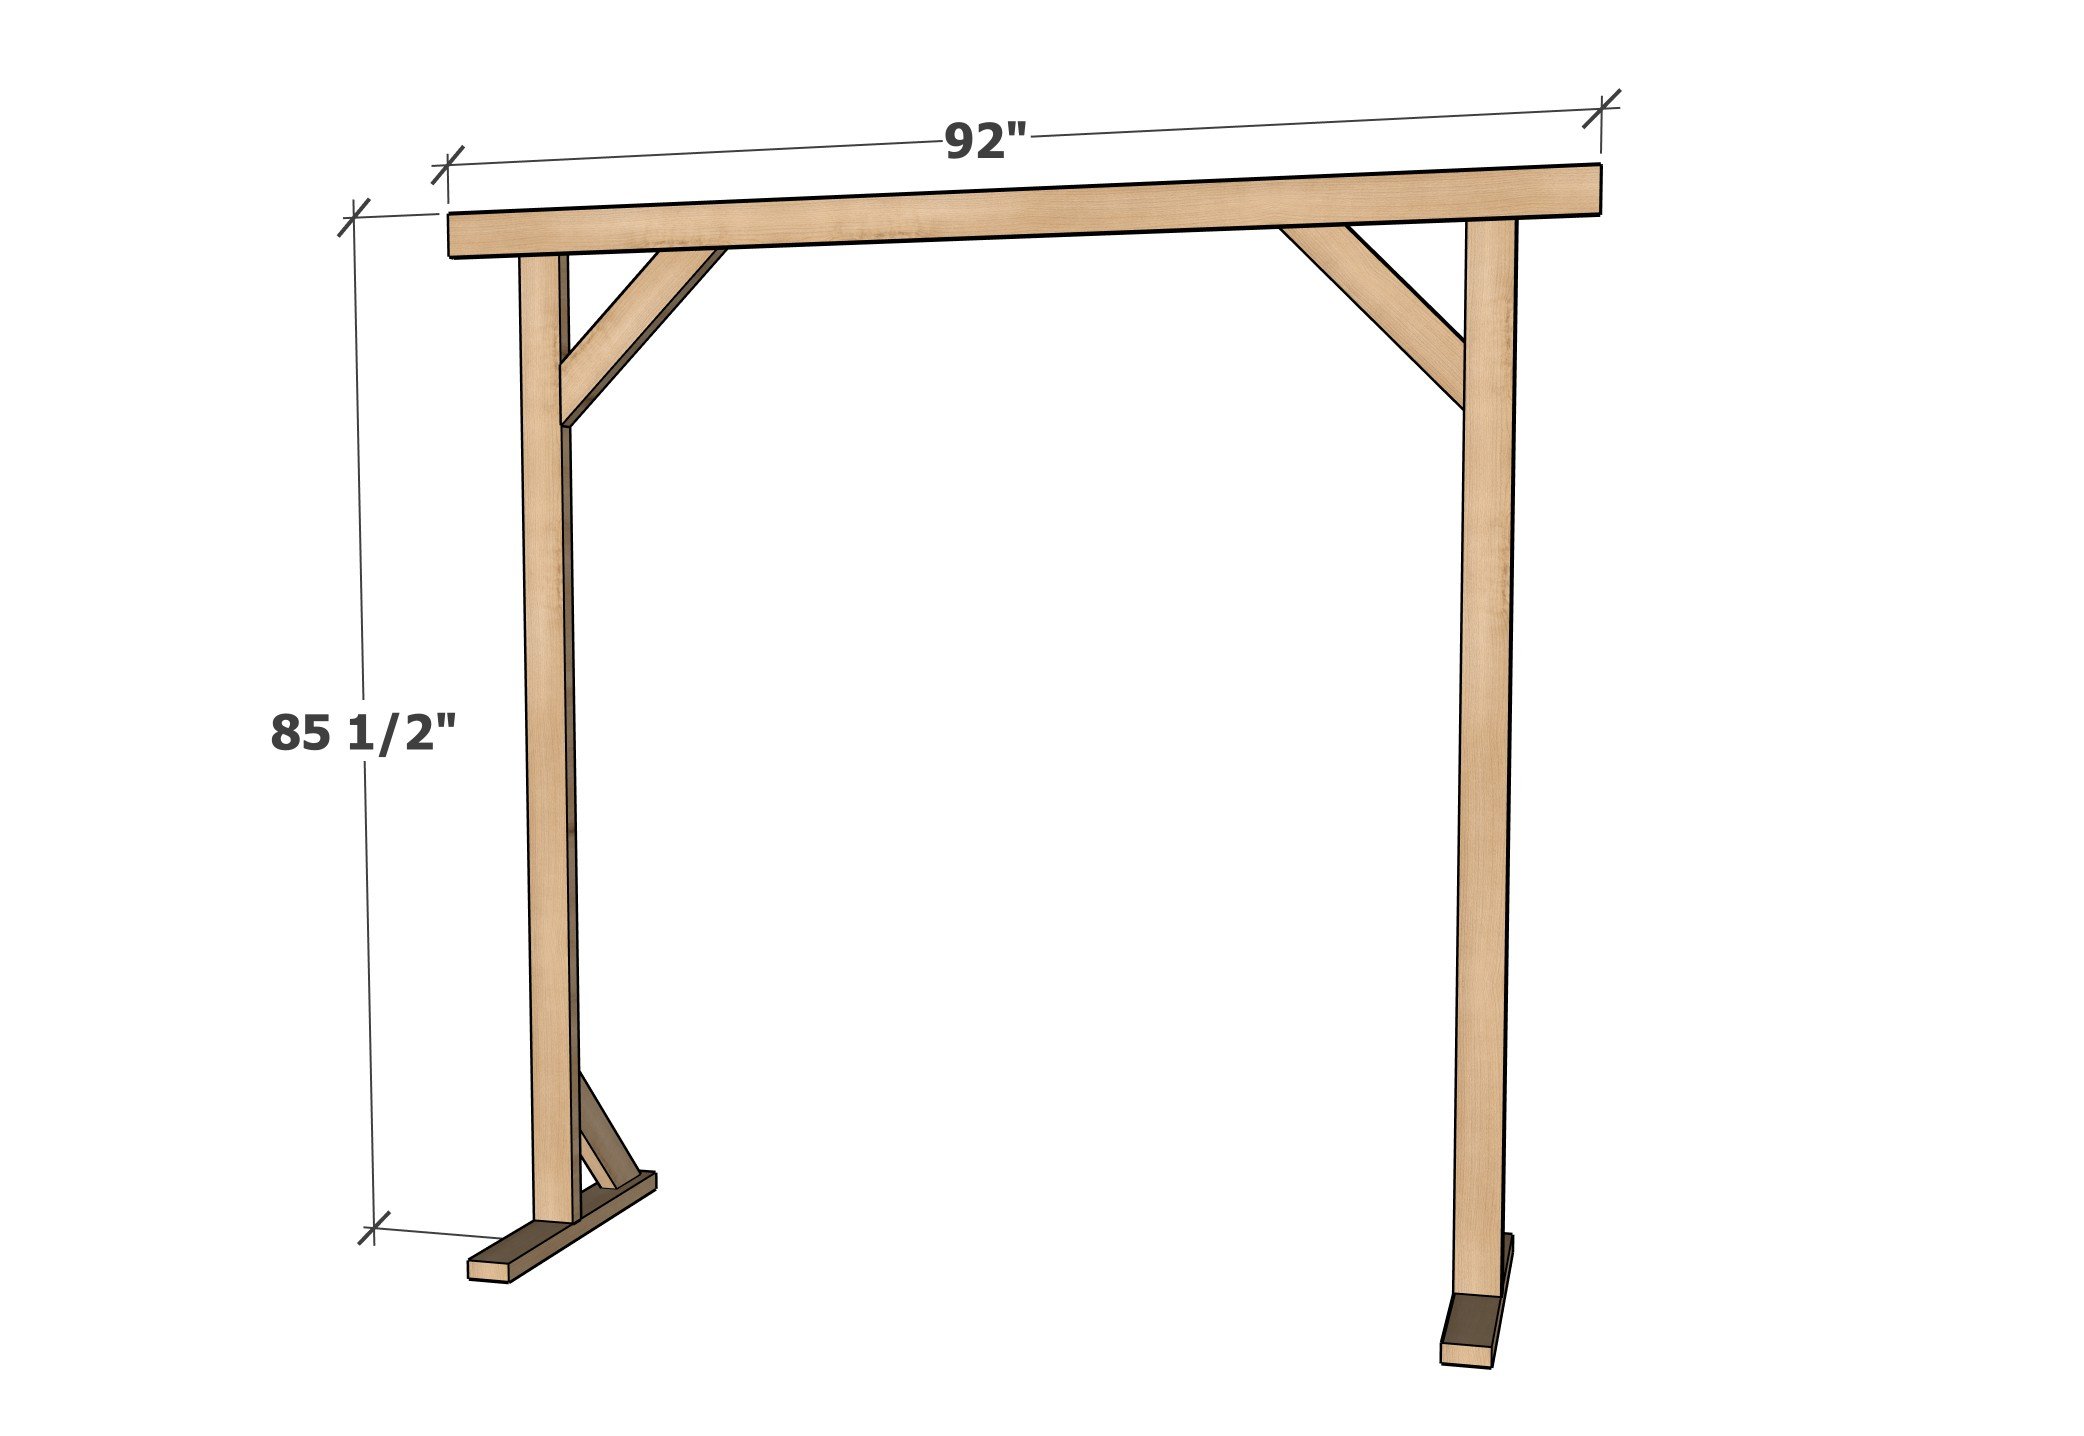
Dimensions

Dimensions shown in plan
Preparation
Shopping List
- 4 - 2x4 @ 8 feet long
- 1 - 1x4 @ 8 feet long
- 2-1/2" self tapping wood screws (about 20, SPAX or similar brand)
- 1-3/4" self tapping wood screws (about 10, SPAX or similar brand)
Cut List
- 2 - 2x4 @ 84"
- 2 - 2x4 @ 32"
- 2 - 2x4 @ 20-1/4" - long point to long point measurement, both ends cut at 45 degrees off square, ends not parallel
- 1 - 1x4 @ 92"
- 2 - 2x4 @ 24-1/2" - long point to long point measurement, both ends cut at 45 degrees off square, ends not parallel
Cutting Instructions
The best way to make the cuts is with a miter saw. It is the fastest, easiest, most precise and safest method. You can use a circular saw or jigsaw and a speed square as an alternative.
Instructions
Finishing Instructions
Preparation Instructions
Sand with 120 grit sandpaper.
Finish Used
Recommended finish for a rustic look is either a wood stain applied with a foam applicator brush or an aged wood accelerator.
Project Type
Room


