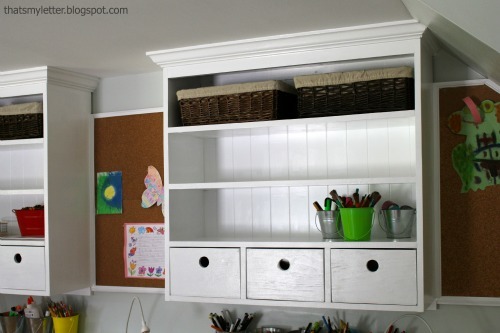
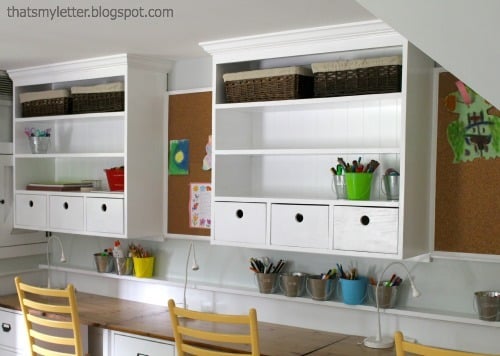
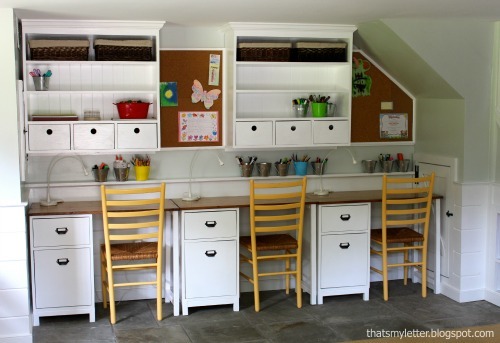
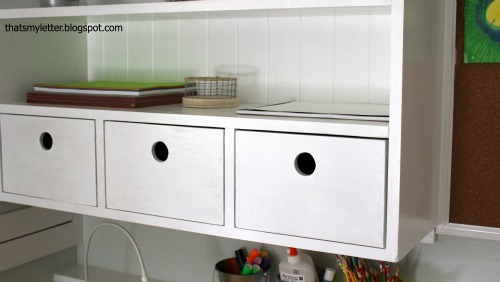
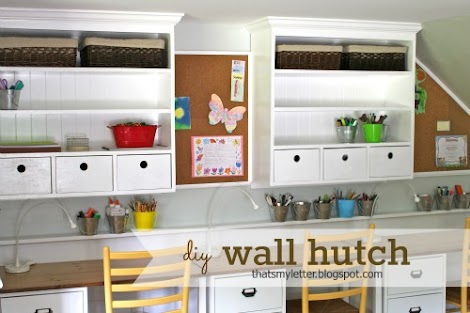
Build this wall hutch with free plans from Ana-White.com
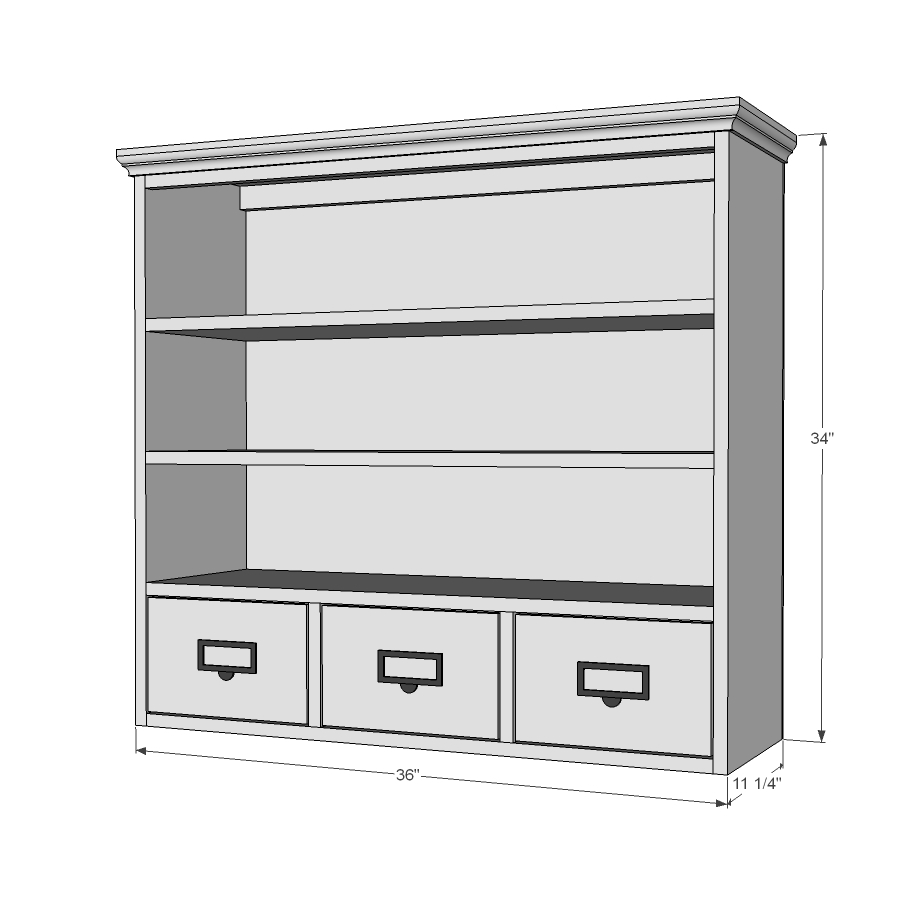
Preparation
4 - 1x12 @ 6 feet long
1 - 1x2 @ 8 feet long
1/4” plywood 36” x 34” (try beadboard wainscoting panel or 1/2 sheet of beadboard)
1 - 1/2 sheet of 1/2” thick plywood for boxes
3 handles/knobs
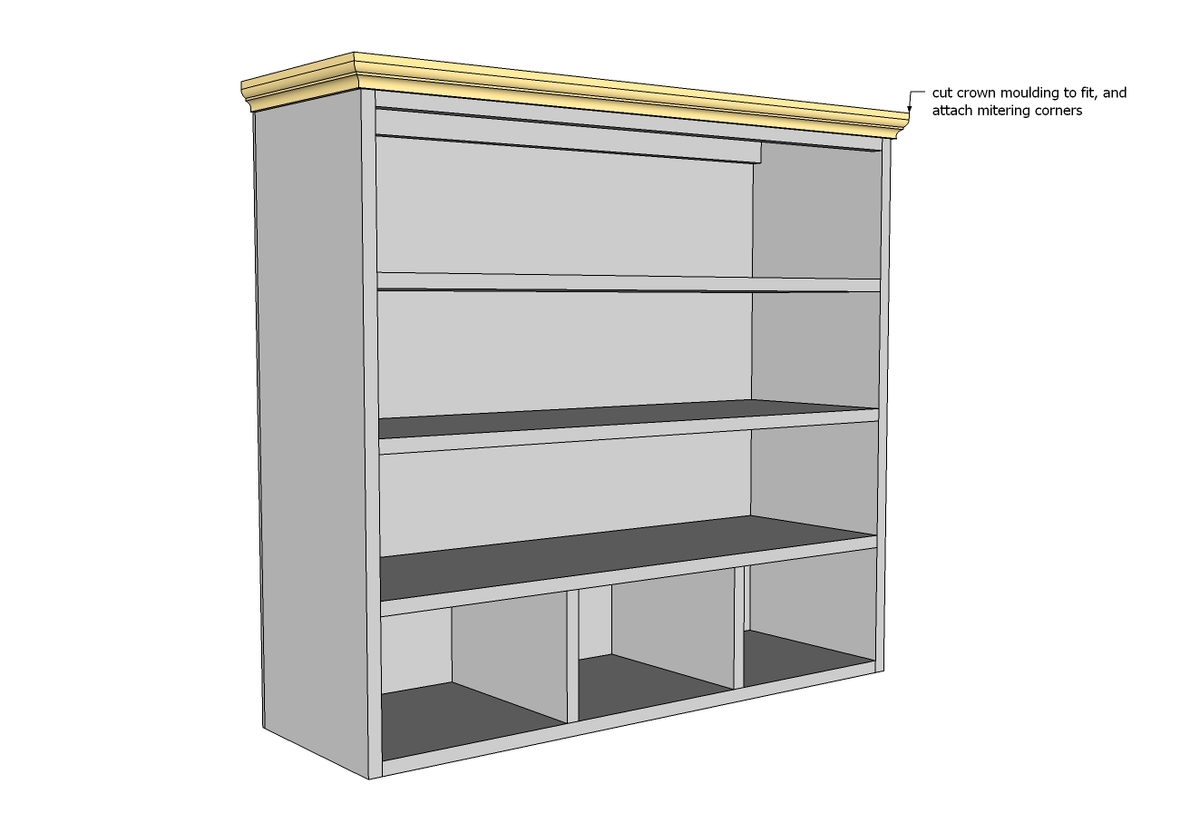
Optional: Approximately 6 feet of small crown moulding
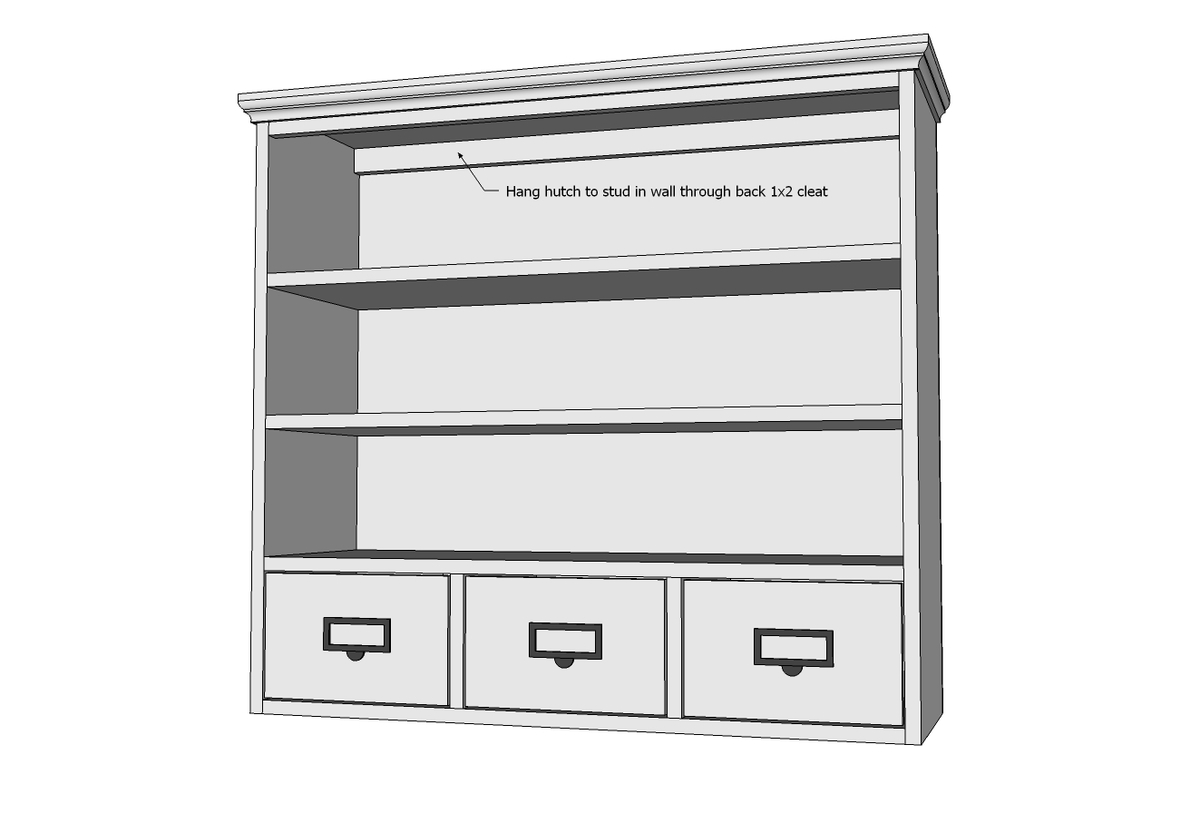
5 - 1x12 @ 34 1/2”
2 - 1x12 @ 7”
2 - 1x12 @ 34”
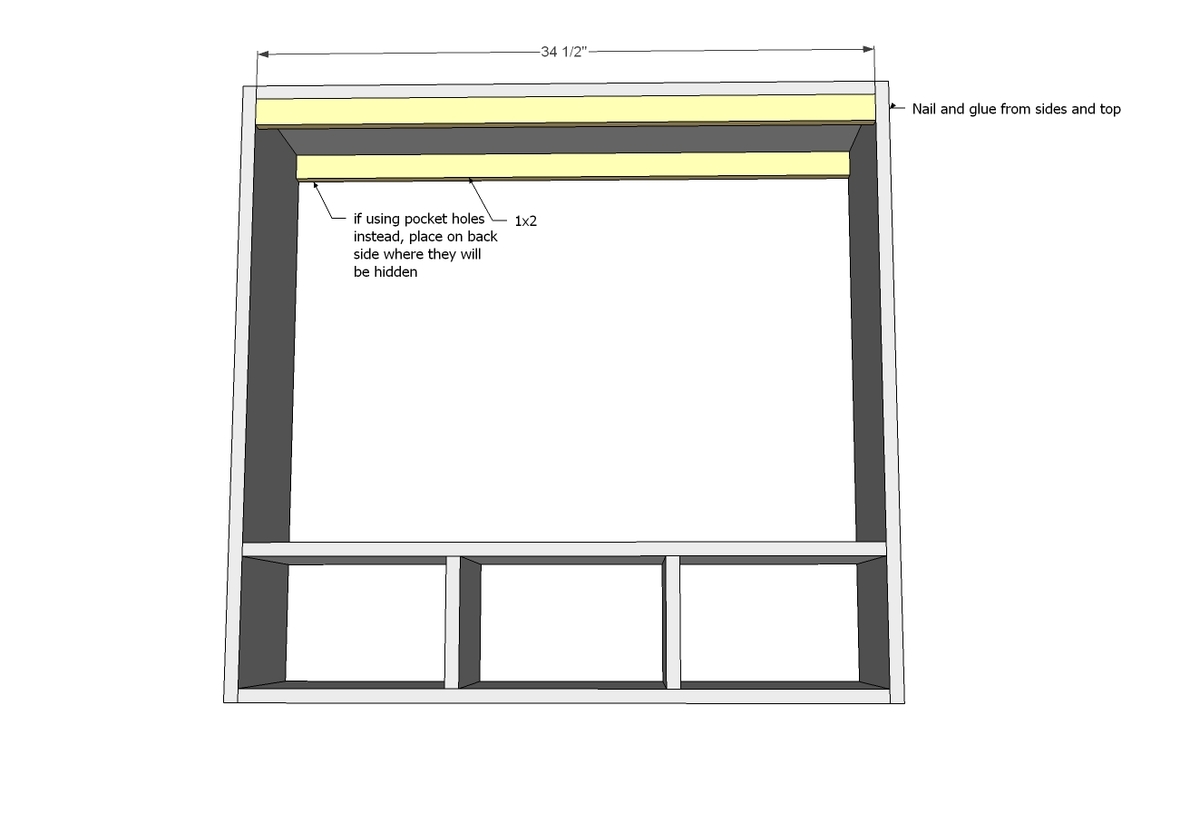
2 - 1x2 @ 34 1/2”
2 - 1/4” plywood @36” x 34”
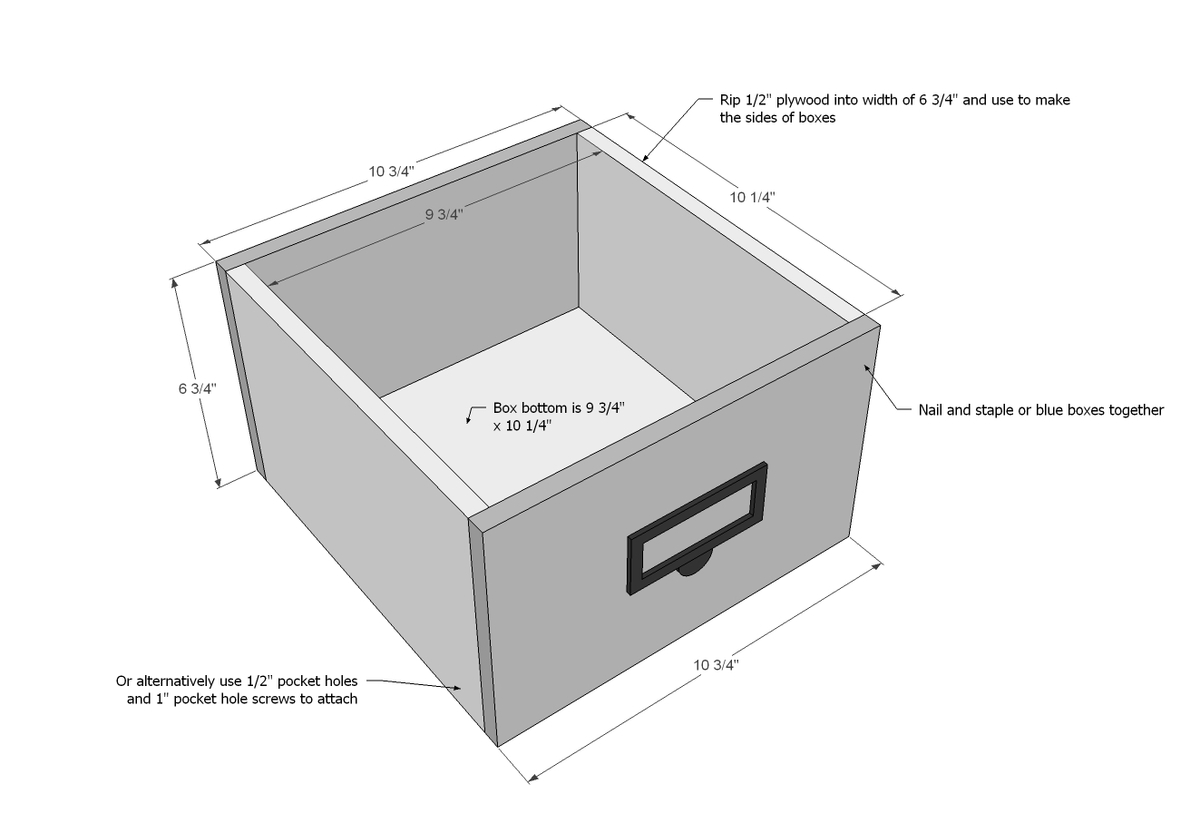
BOXES
6 - 1/2” plywood @ 6 3/4” x 10 3/4”
6 - 1/2” plywood @ 6 3/4” x 10 1/4”
3 - 1/2” plywood @ 9 3/4” x 10 1/4”
Please read through the entire plan and all comments before beginning this project. It is also advisable to review the Getting Started Section. Take all necessary precautions to build safely and smartly. Work on a clean level surface, free of imperfections or debris. Always use straight boards. Check for square after each step. Always predrill holes before attaching with screws. Use glue with finish nails for a stronger hold. Wipe excess glue off bare wood for stained projects, as dried glue will not take stain. Be safe, have fun, and ask for help if you need it. Good luck!
Instructions
Step 1
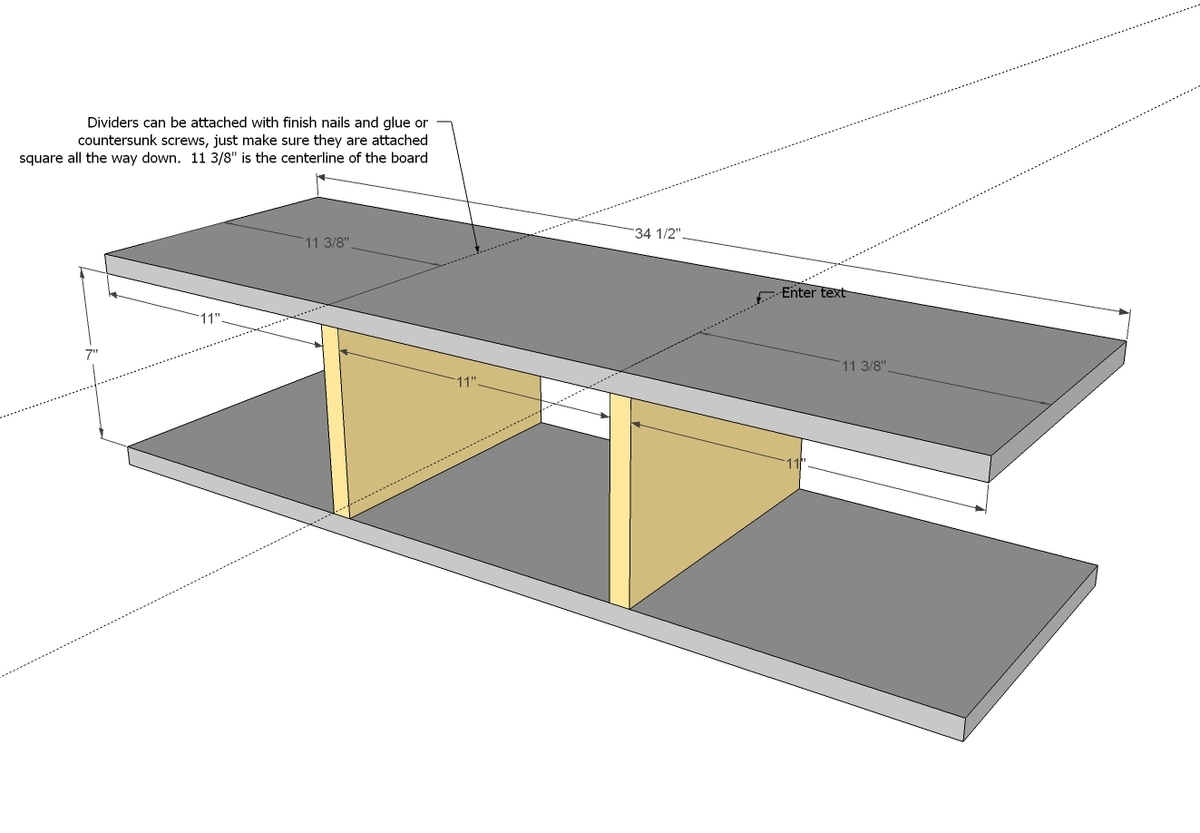
Let's start by building the cubby portion. Alternatively, you could add the cubby dividers at the end too.
I'd just use nails and glue here. Make sure you draw lines to line the dividers up all the way down or your cubbies won't be square and then your drawers will be cockeyed and won't work.
TIP: If you are using a Kreg Jig, make sure you drill 3/4" pocket holes on each end of the two shelves for attaching the sides in the next step.
Step 7
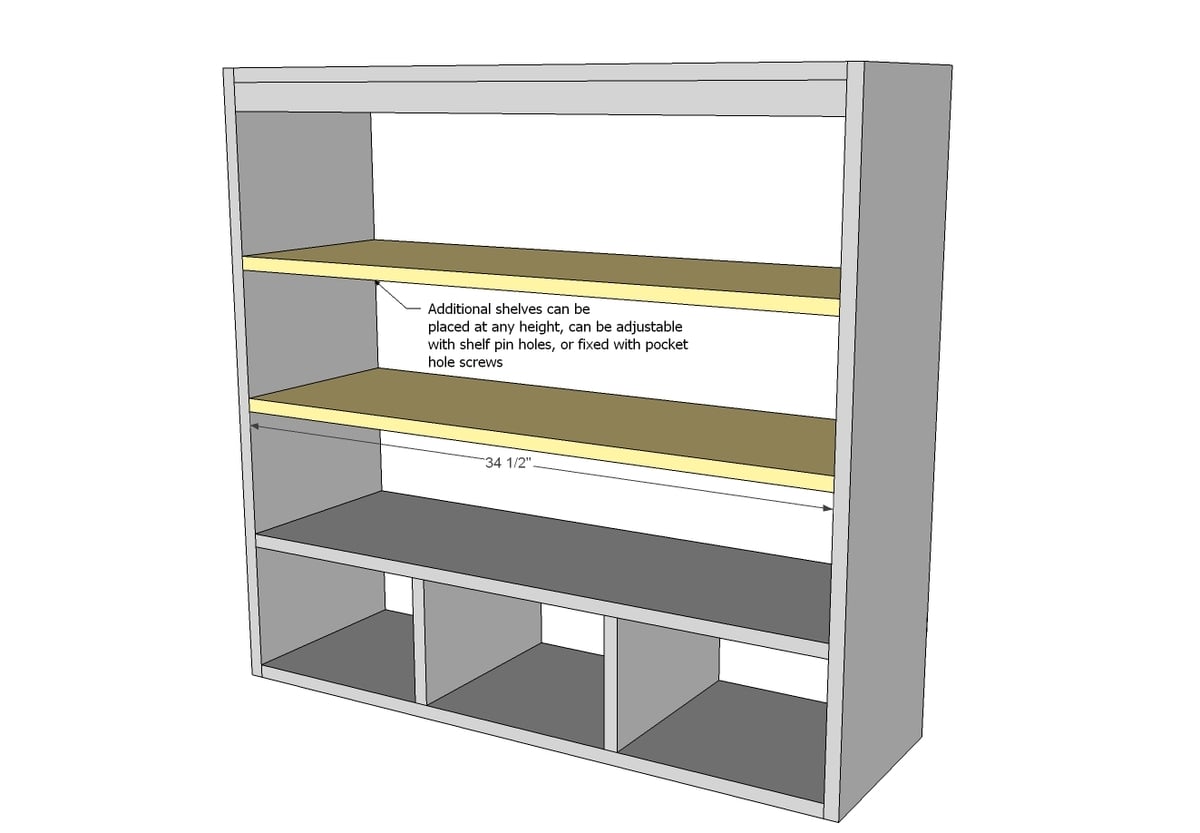
Step 8
It is always recommended to apply a test coat on a hidden area or scrap piece to ensure color evenness and adhesion. Use primer or wood conditioner as needed.








Comments
birdsandsoap
Mon, 07/29/2013 - 22:54
Wow! These are really nice.
Wow! These are really nice. They go perfect with the desk! Nice Job!
spiceylg
Tue, 07/30/2013 - 06:07
Teamwork
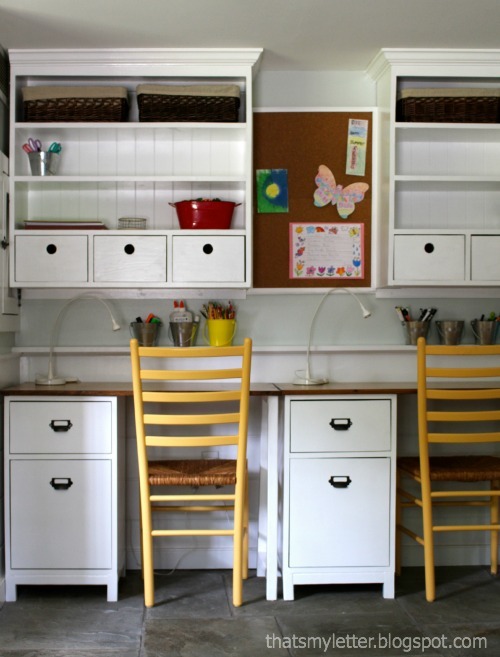
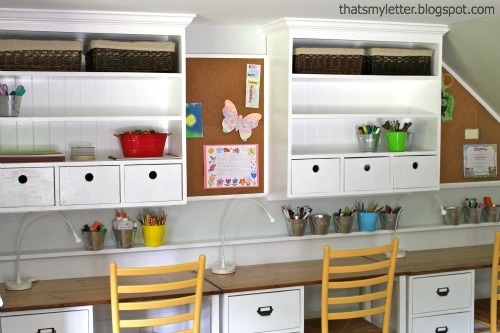
What a great team you two make! Jaime, what an awesome build! Love the transformation of this space. Have to ask: On the top left and bottom right there are two small doors in the wall, don't you still need access to these?
In reply to Teamwork by spiceylg
jaimecostiglio
Tue, 07/30/2013 - 12:54
Access to small doors
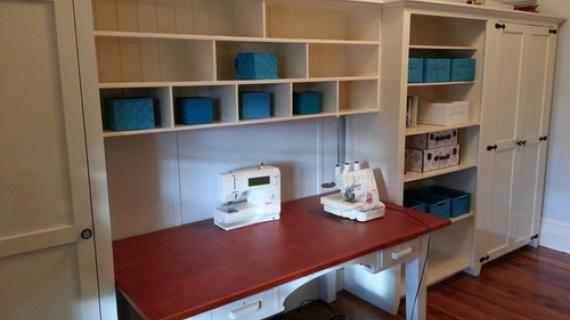
To answer your question regarding access to the small doors - the top left is a built in media components cabinet that we are not using at the moment. I choose to keep it in tack because it's part of the charm of our 1740 saltbox home and I feel that someday I might use it. The desks are free standing, 3 separate desks, so I do have access to the bottom right cabinet under the stairs which is good for off season storage.