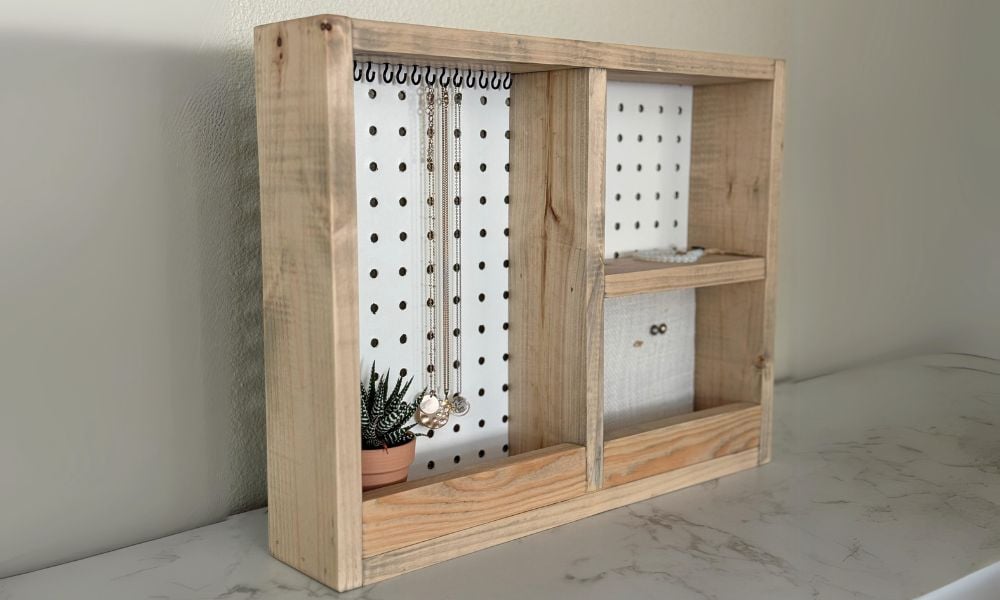


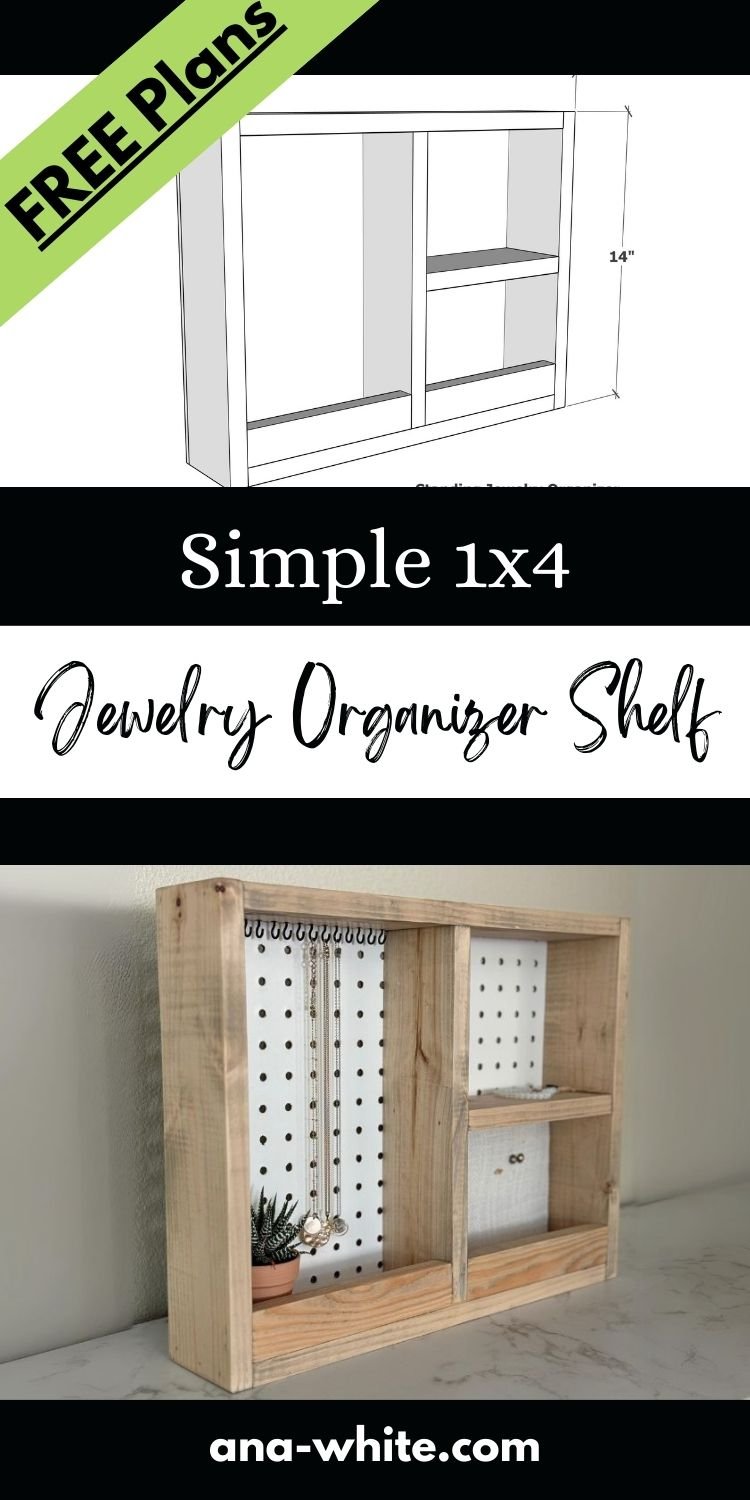
Organize jewelry in this simple shelf that can be mounted on the wall or set on a shelf or tabletop. Make this with scrap wood or new wood. Free plans from Ana-White.com
Why I Built This Jewelry Organizer
I live in a rental and am not able to hang things on the wall but needed a place to organize my jewelry so my necklaces weren't constantly tangled up. I came up with this countertop organizer for all the pretty little things and it has made picking out my jewelry for the day so much more fun! After building it, I have decided to build more to give as gifts.
How I Built This Project
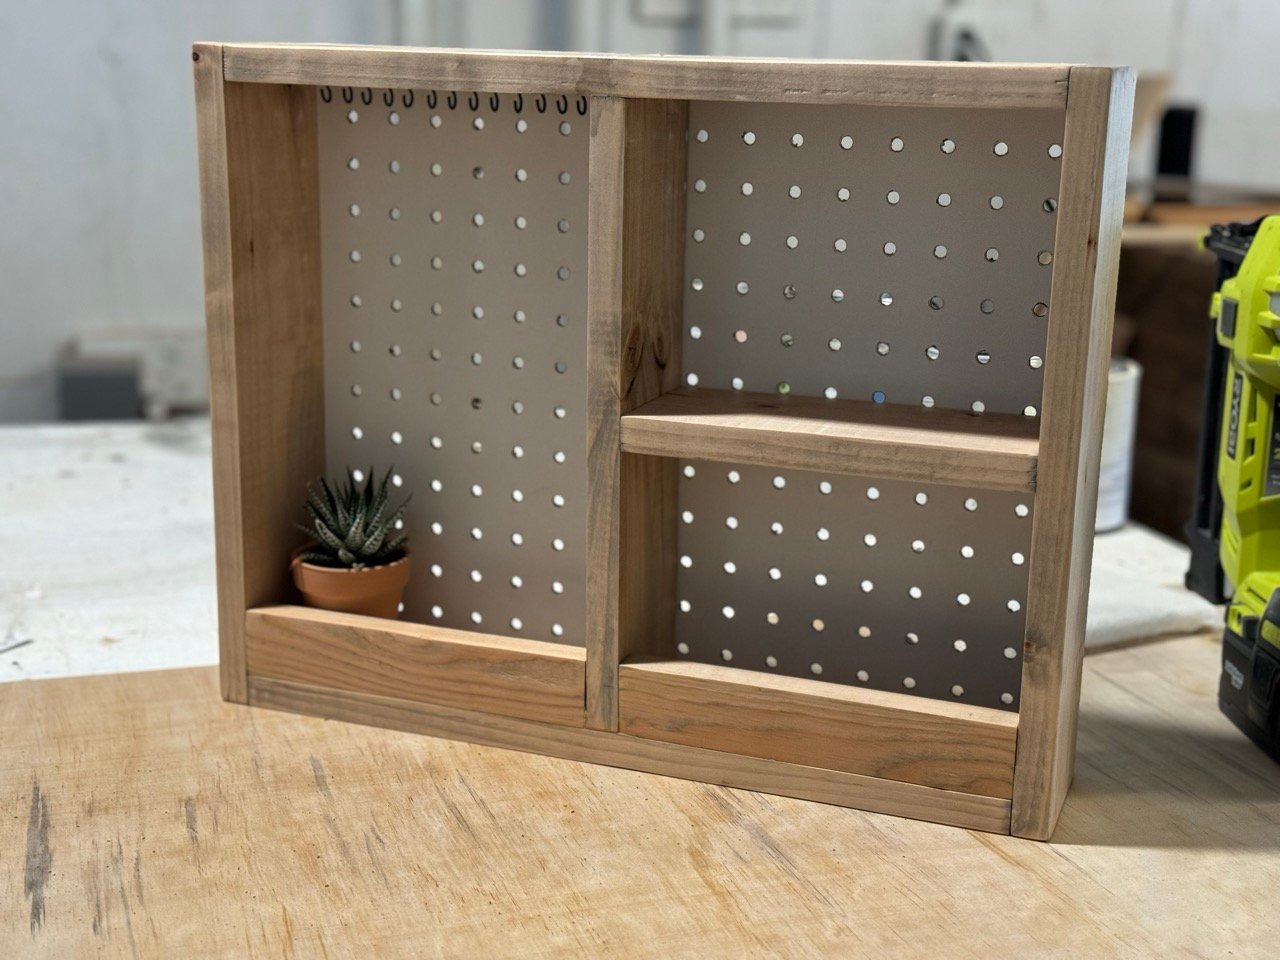
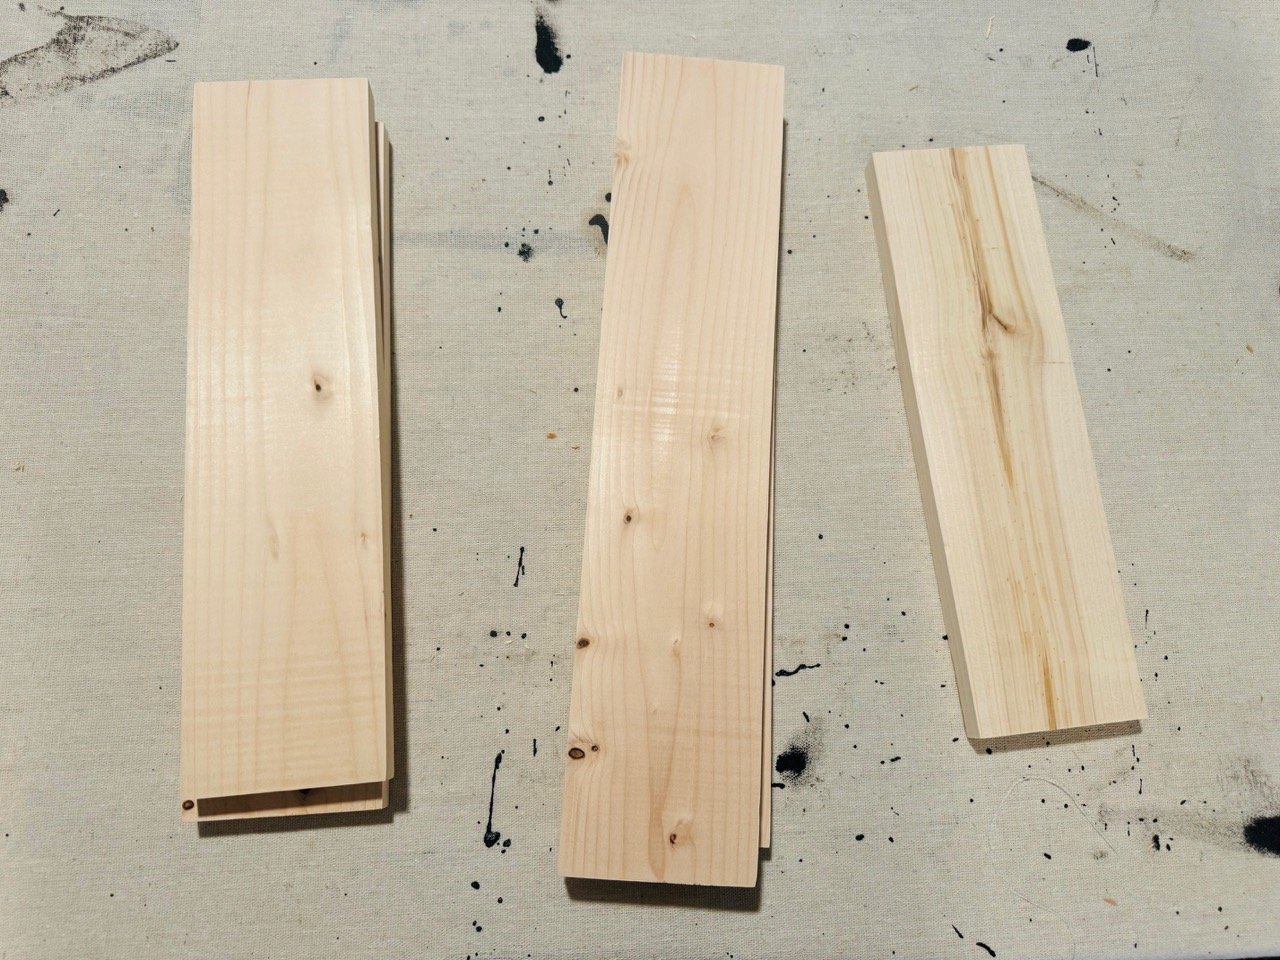
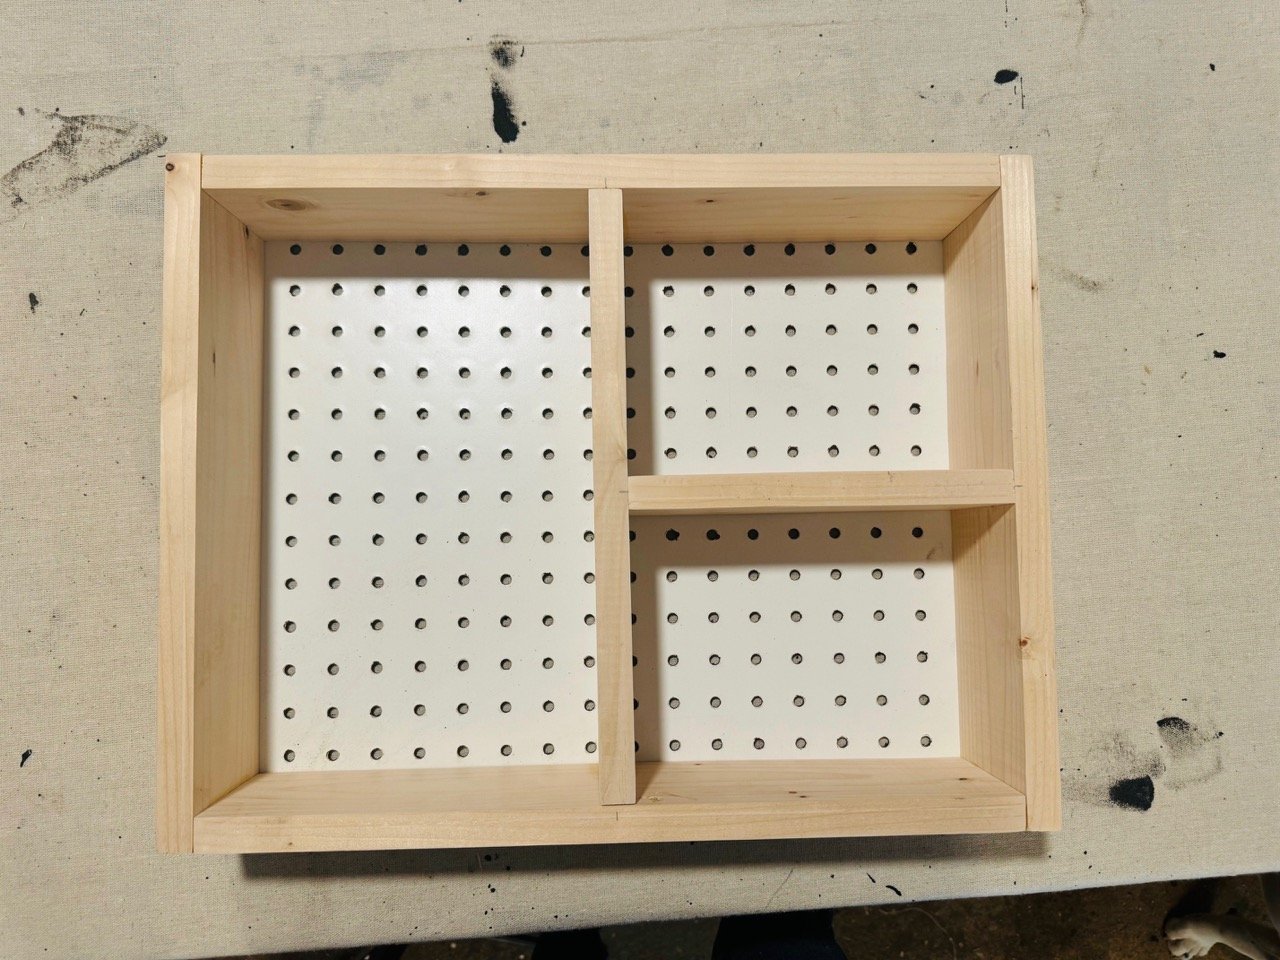
Here's how I built this jewelry organizer using 1x4 boards, some 1x2s and pegboard - all scrap wood I had leftover from various projects!
Building Tips
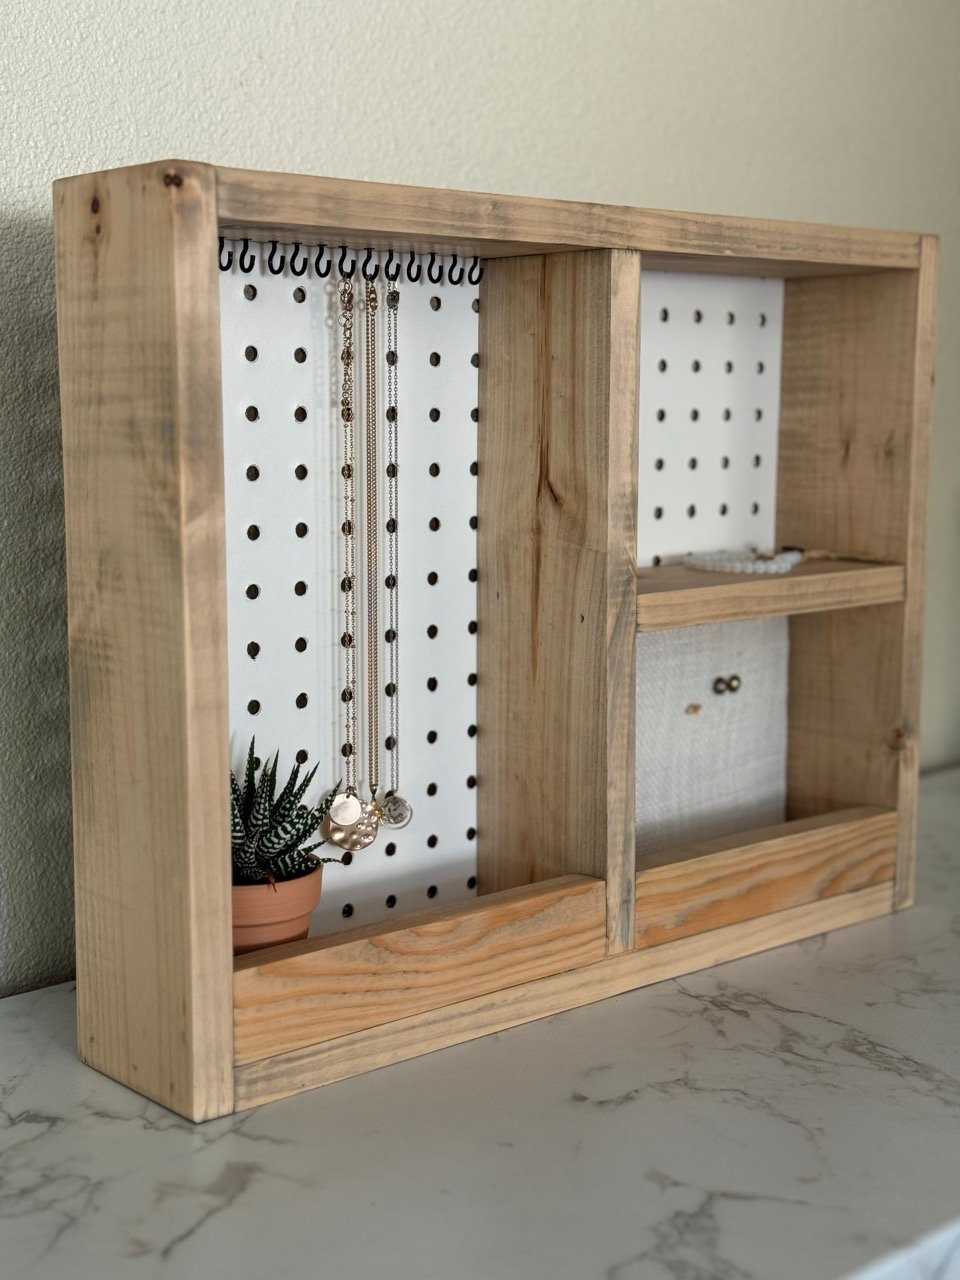
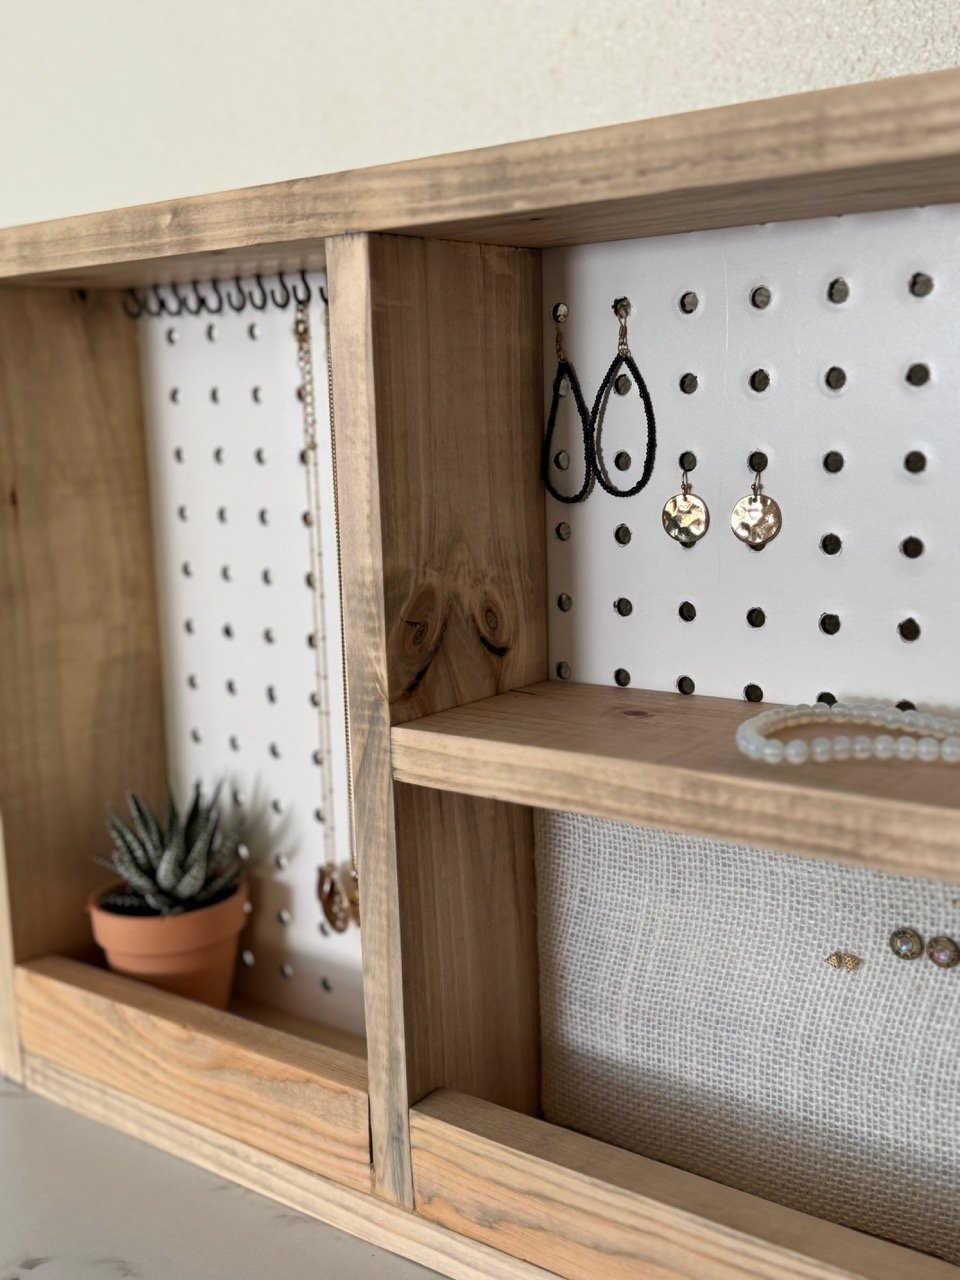
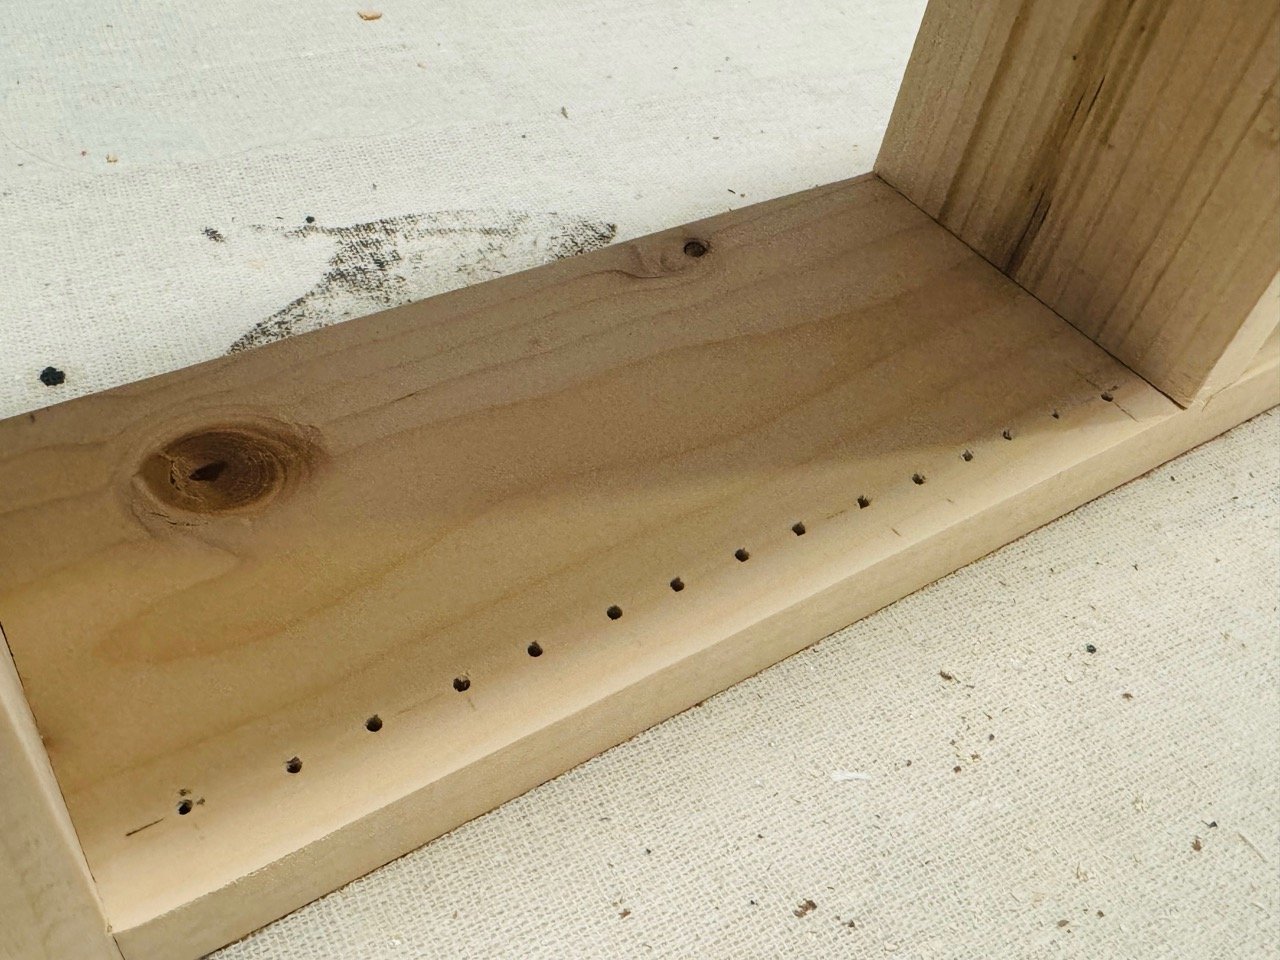
- I predrilled the cup hook holes before staining and adding the back. Make sure you don't go all the way through the top when pre-drilling.
- I used a scrap piece of foam board, wrapped it in burlap(taped it) and set it in the bottom section for stud earring storage.
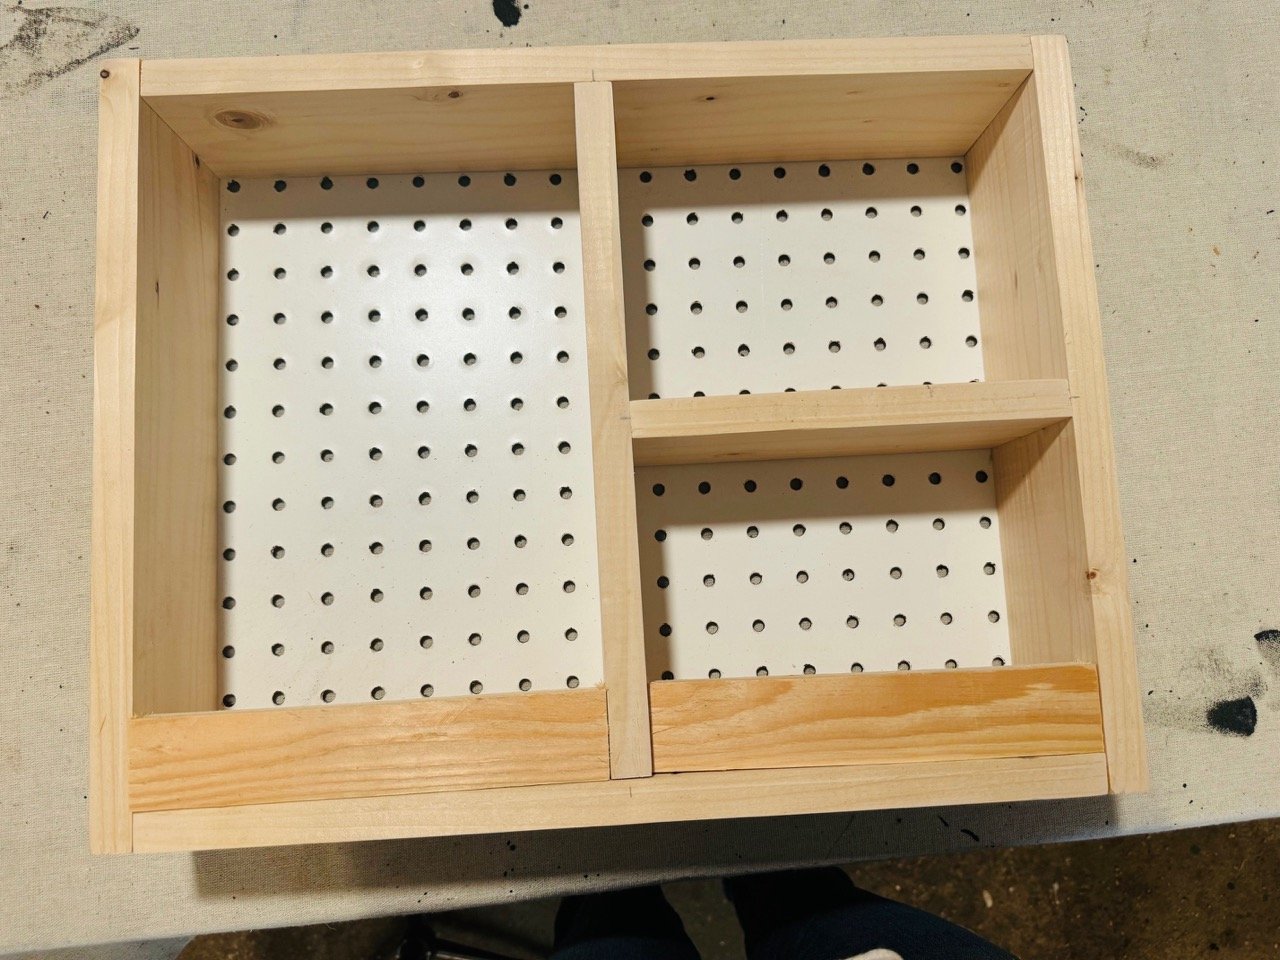
- The enclosed storage at the bottom is perfect for a little plant or other accessories.
- This plan is easy to modify for size, add shelves, add a dowel for bracelet or watch storage, paint and stain to customize. Lot's of options with this one!
Free Plans to Build Your Own Jewelry Organizer
It's your turn! Here's the free plans to build your own!
Pin For Later!
Preparation
- 1 - 1x4x8’
- Scrap 1x2 - at least 16”
- Scrap pegboard - 2x2 panel/section
- Cup hooks ( I used 15 and spaced them 1/2” apart)
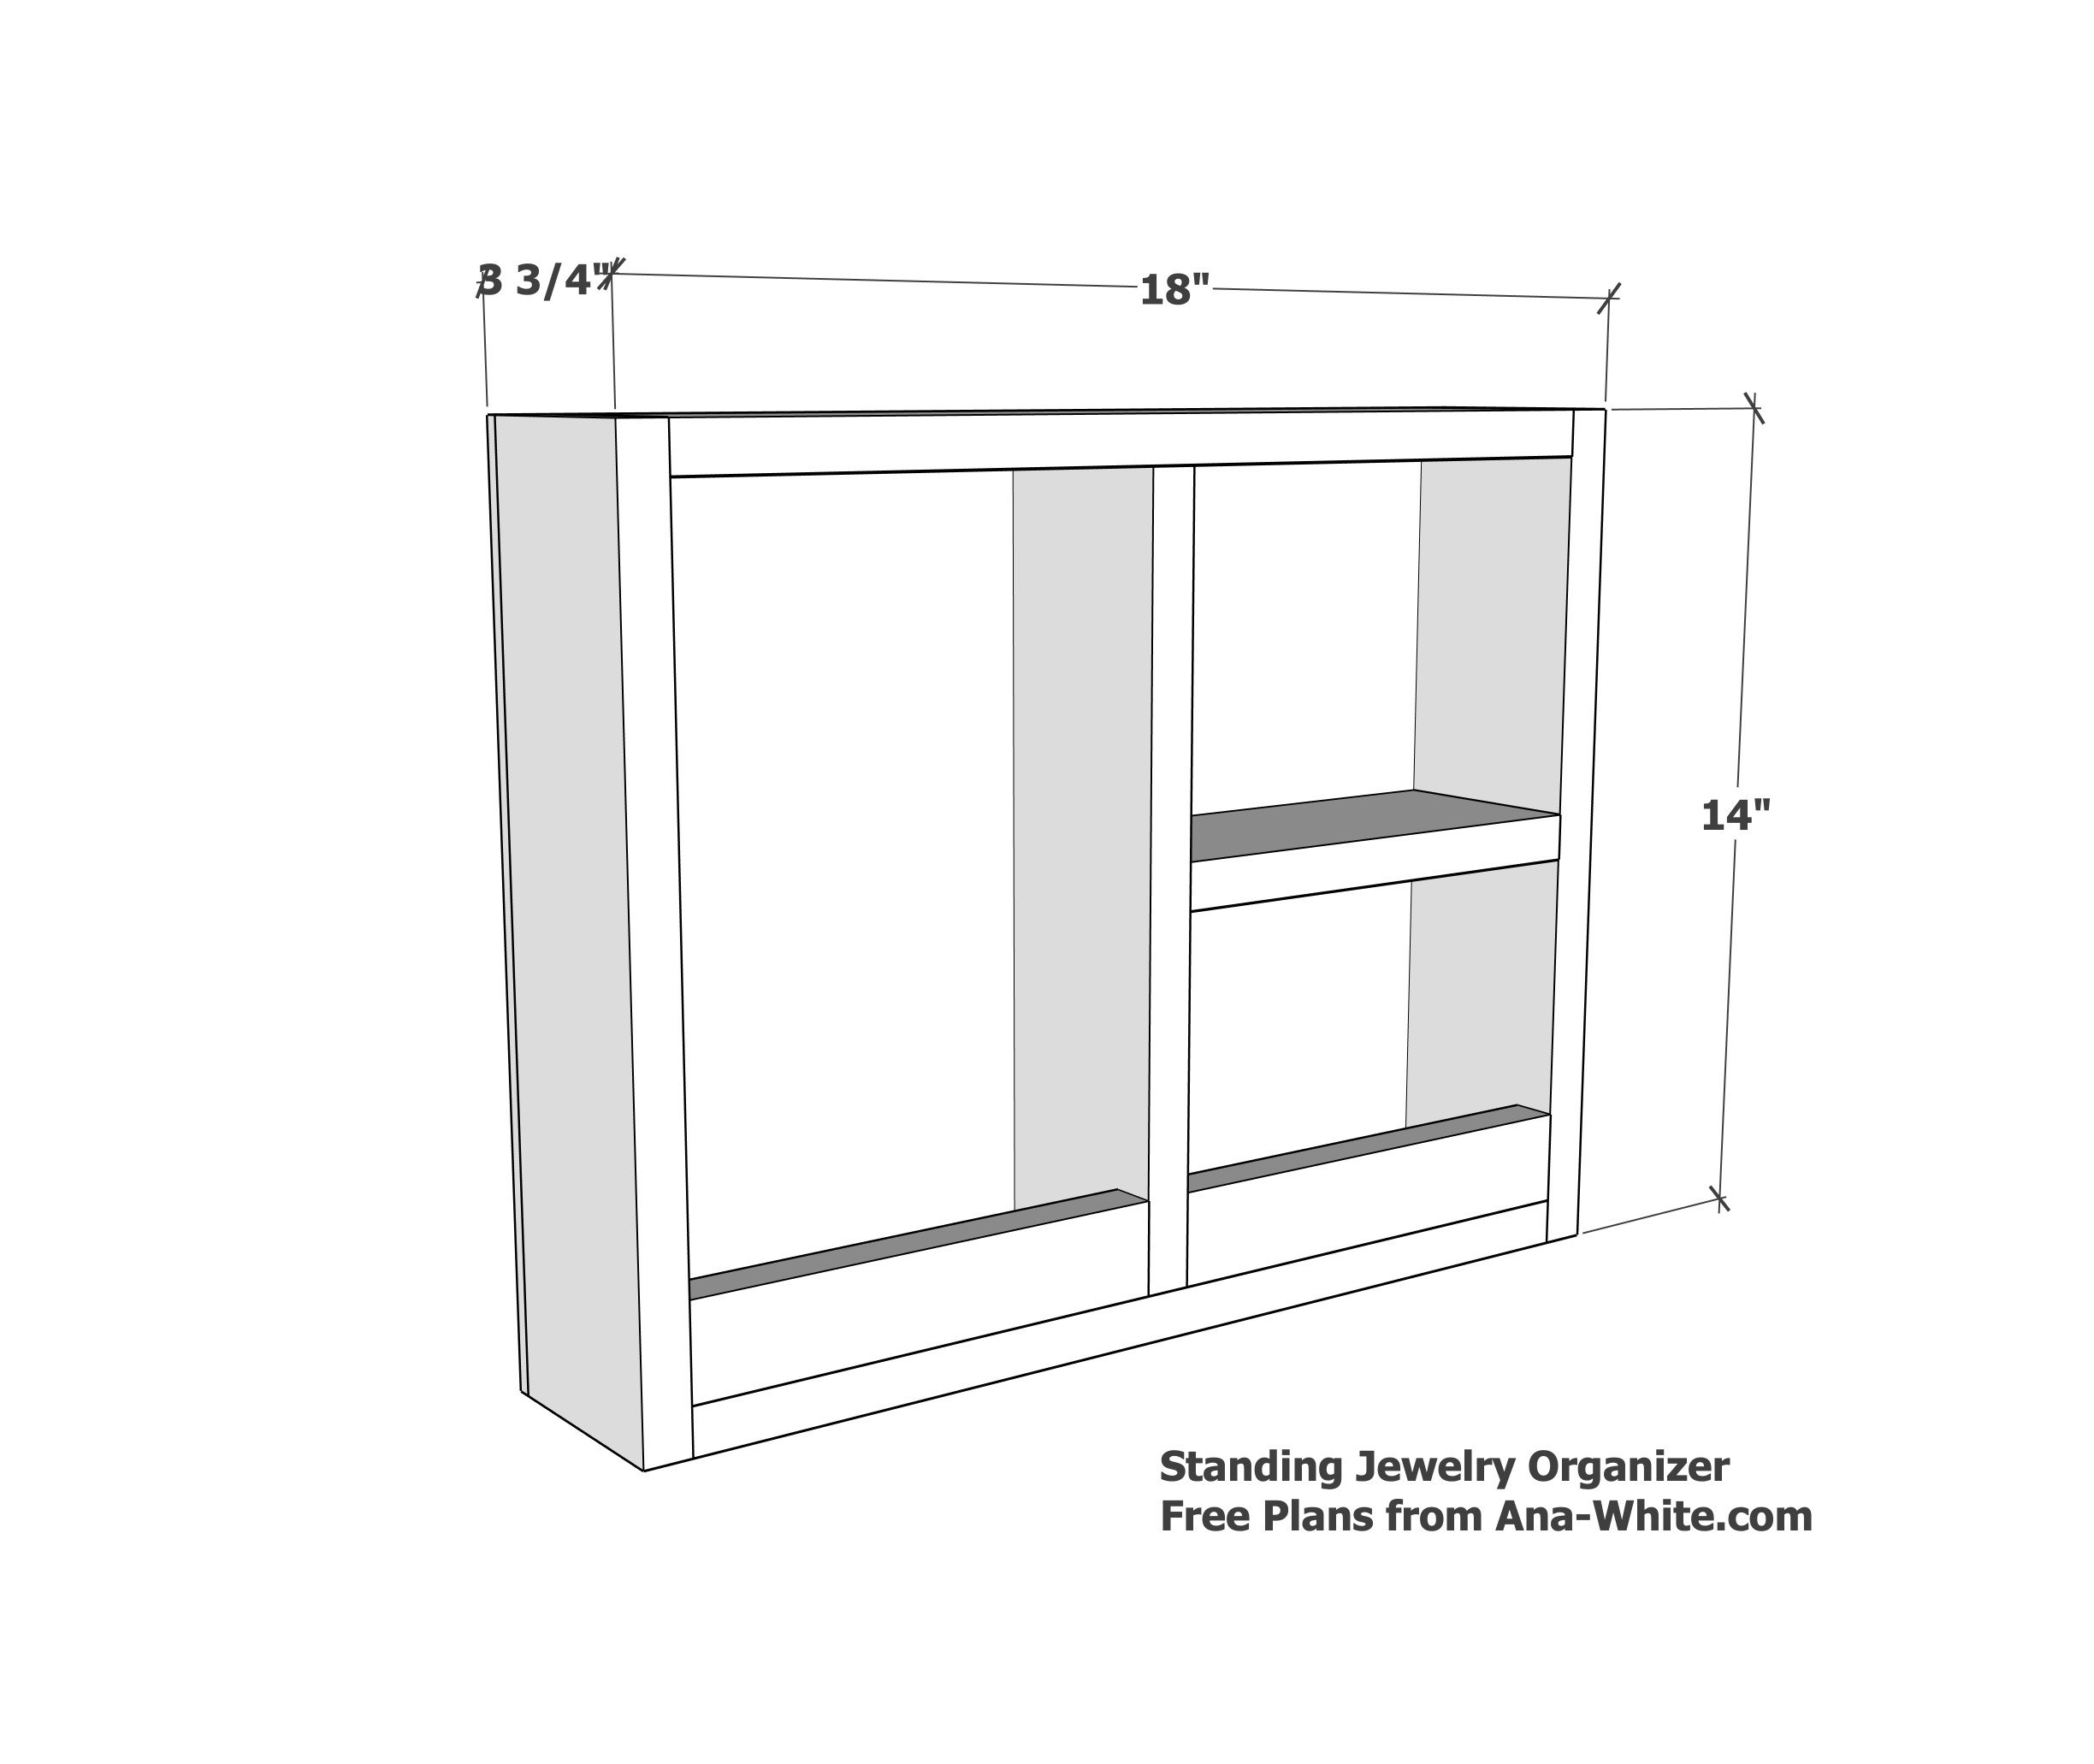
- 2 - 1x4 @14” - Sides
- 1 - 1x4 @ 12.5” - Center Divider
- 2 - 1x4 @ 16.5” - Top and Bottom
- 1 - 1x4 @ 7-7/8" (cut to fit) - Divider Shelf
- 2 - 1x2 @ 7-7/8" (cut to fit) - Bottom fronts
- Pegboard - cut to fit (approximately 17.75” x 13.75”)


Instructions
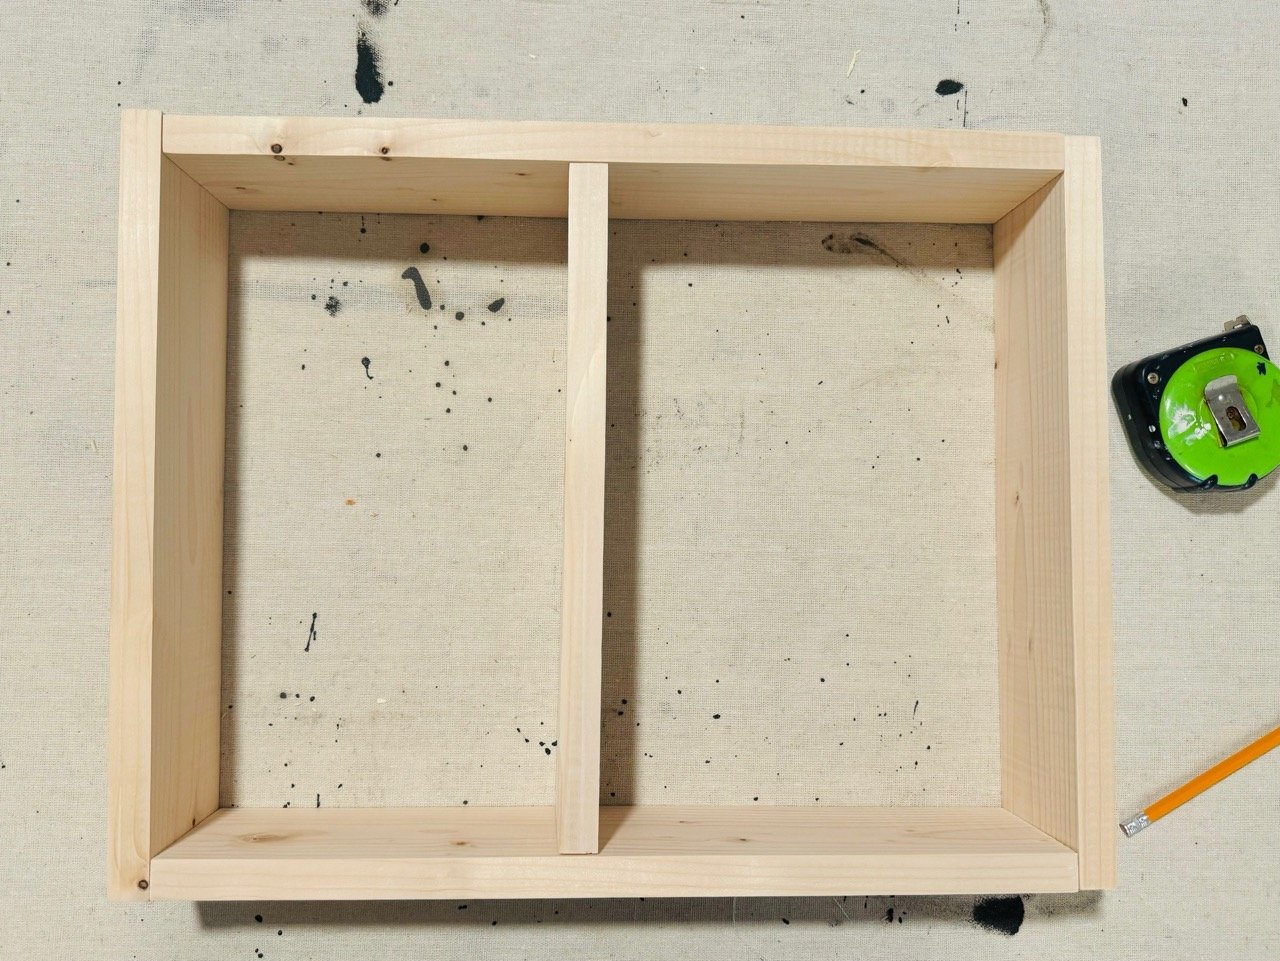
Step 1
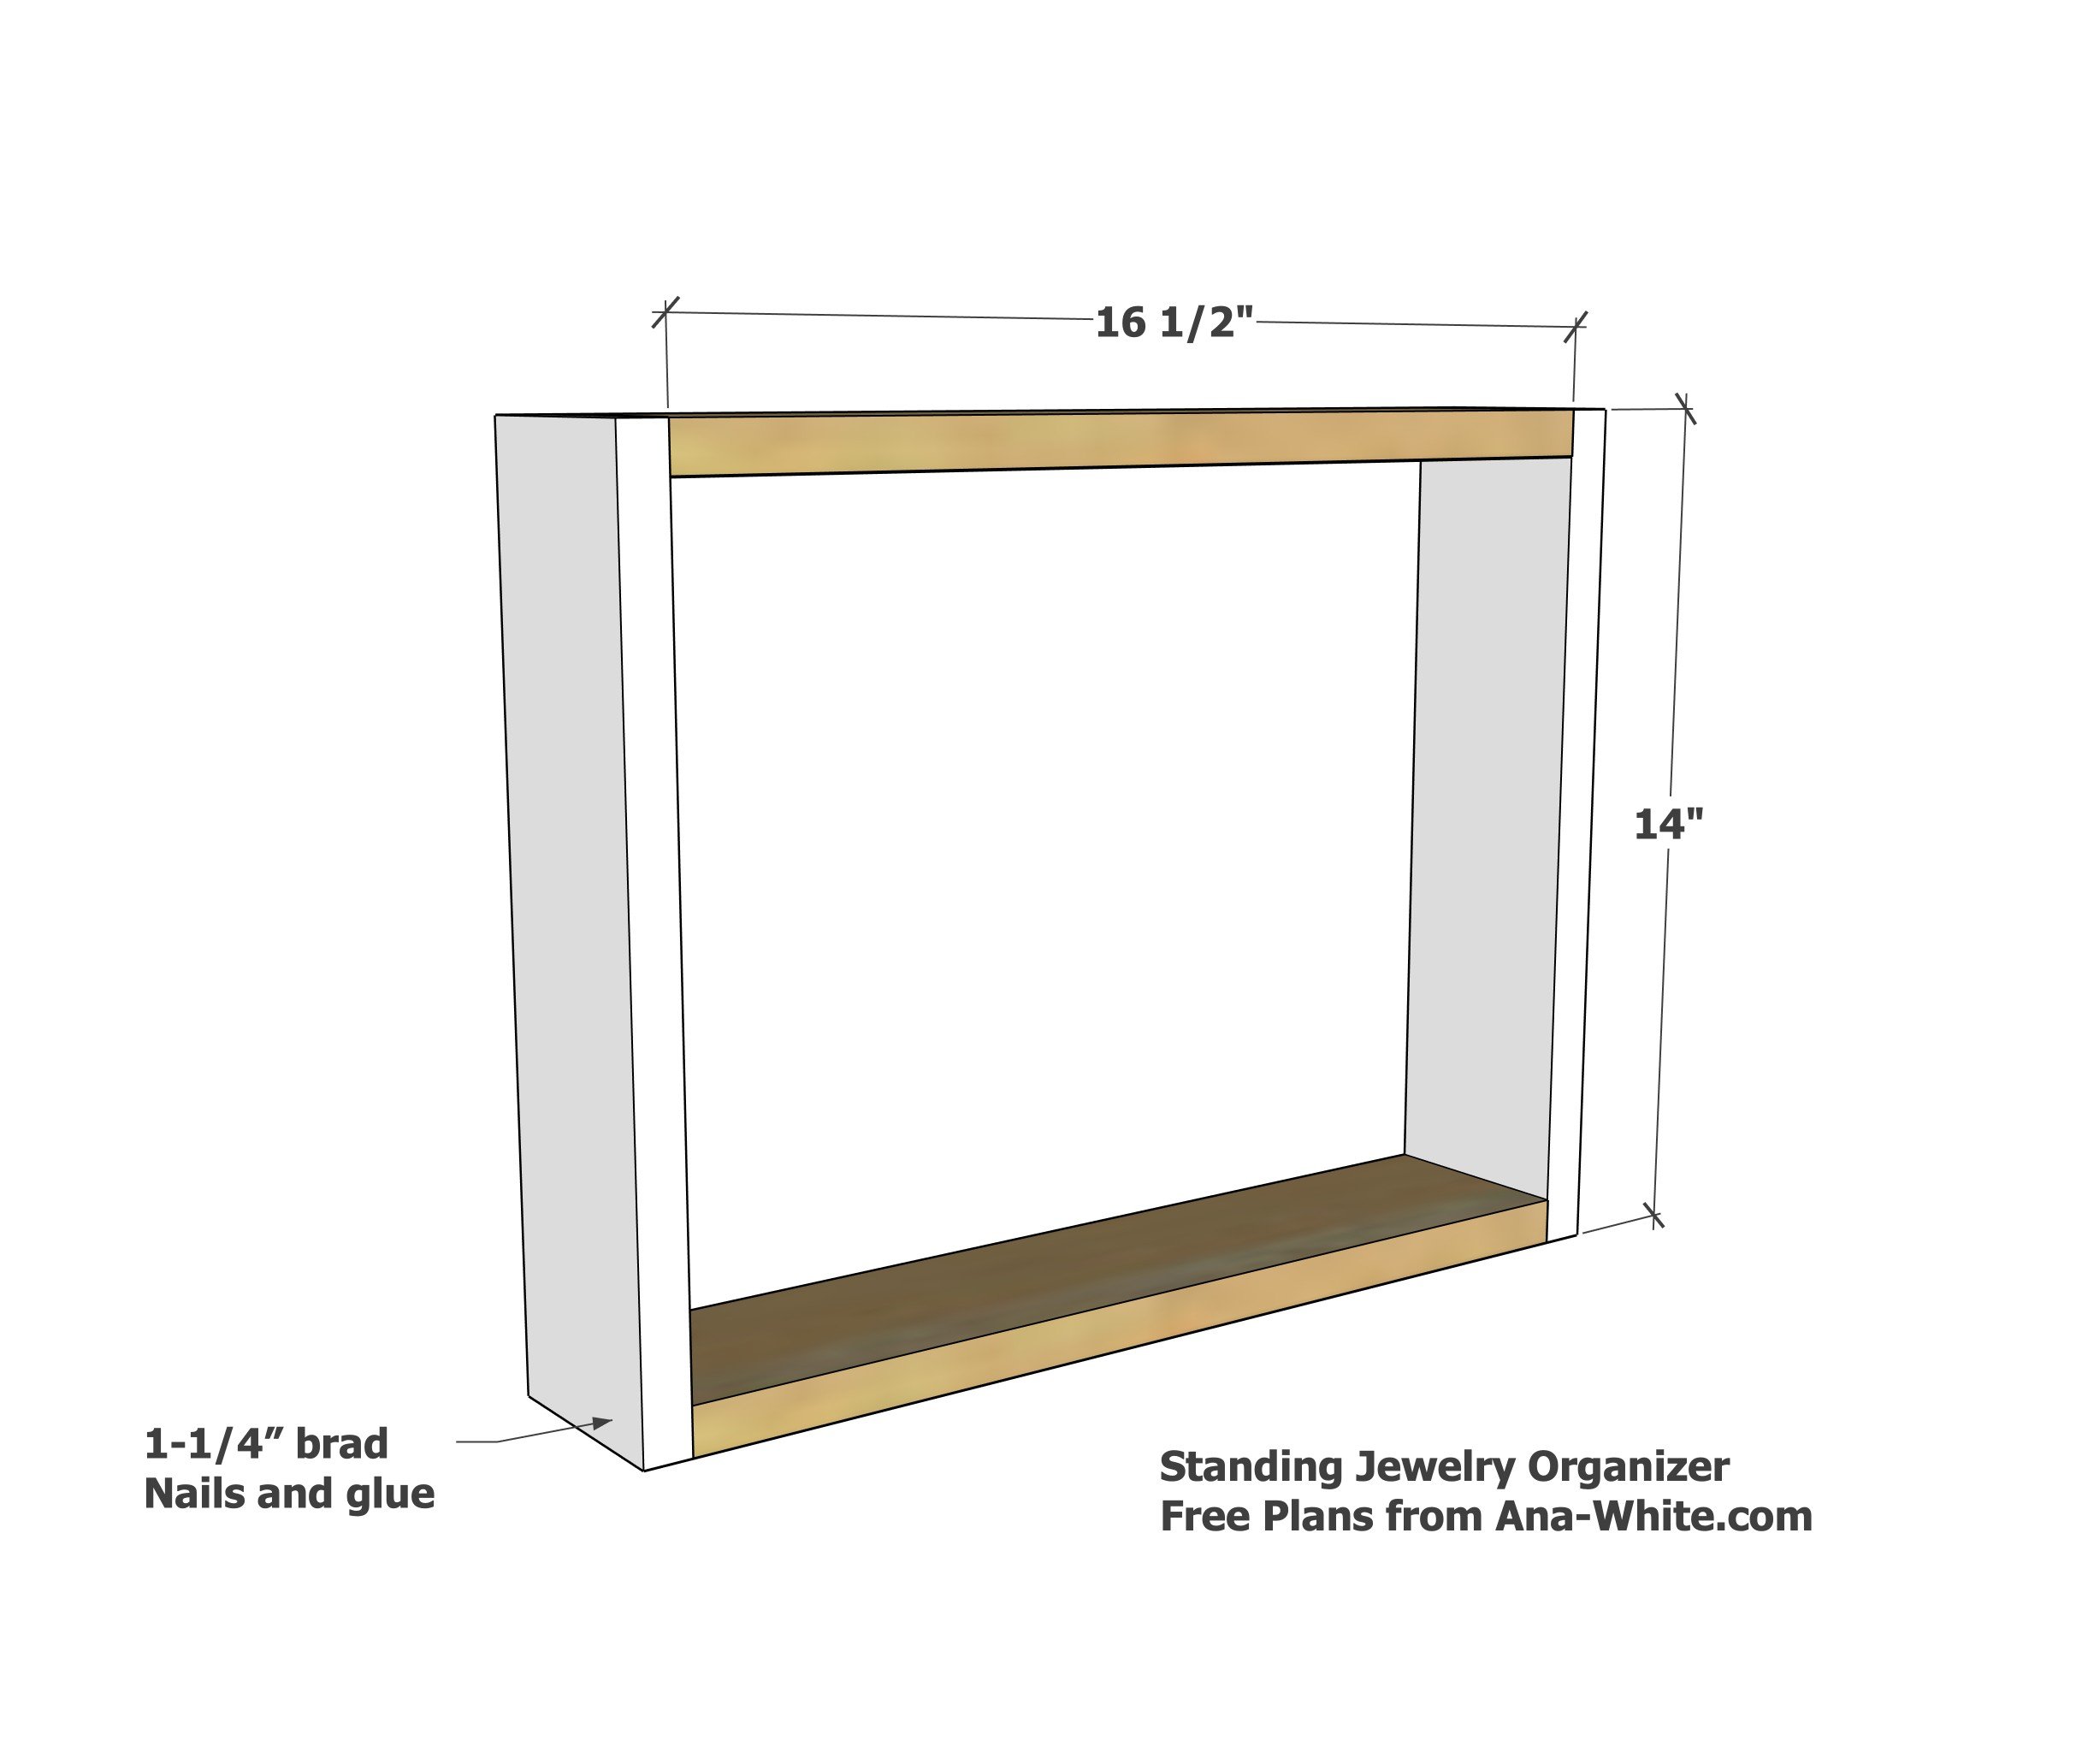
Attach the sides to the top and bottom with 1-1/4" brad nails and glue
Step 2
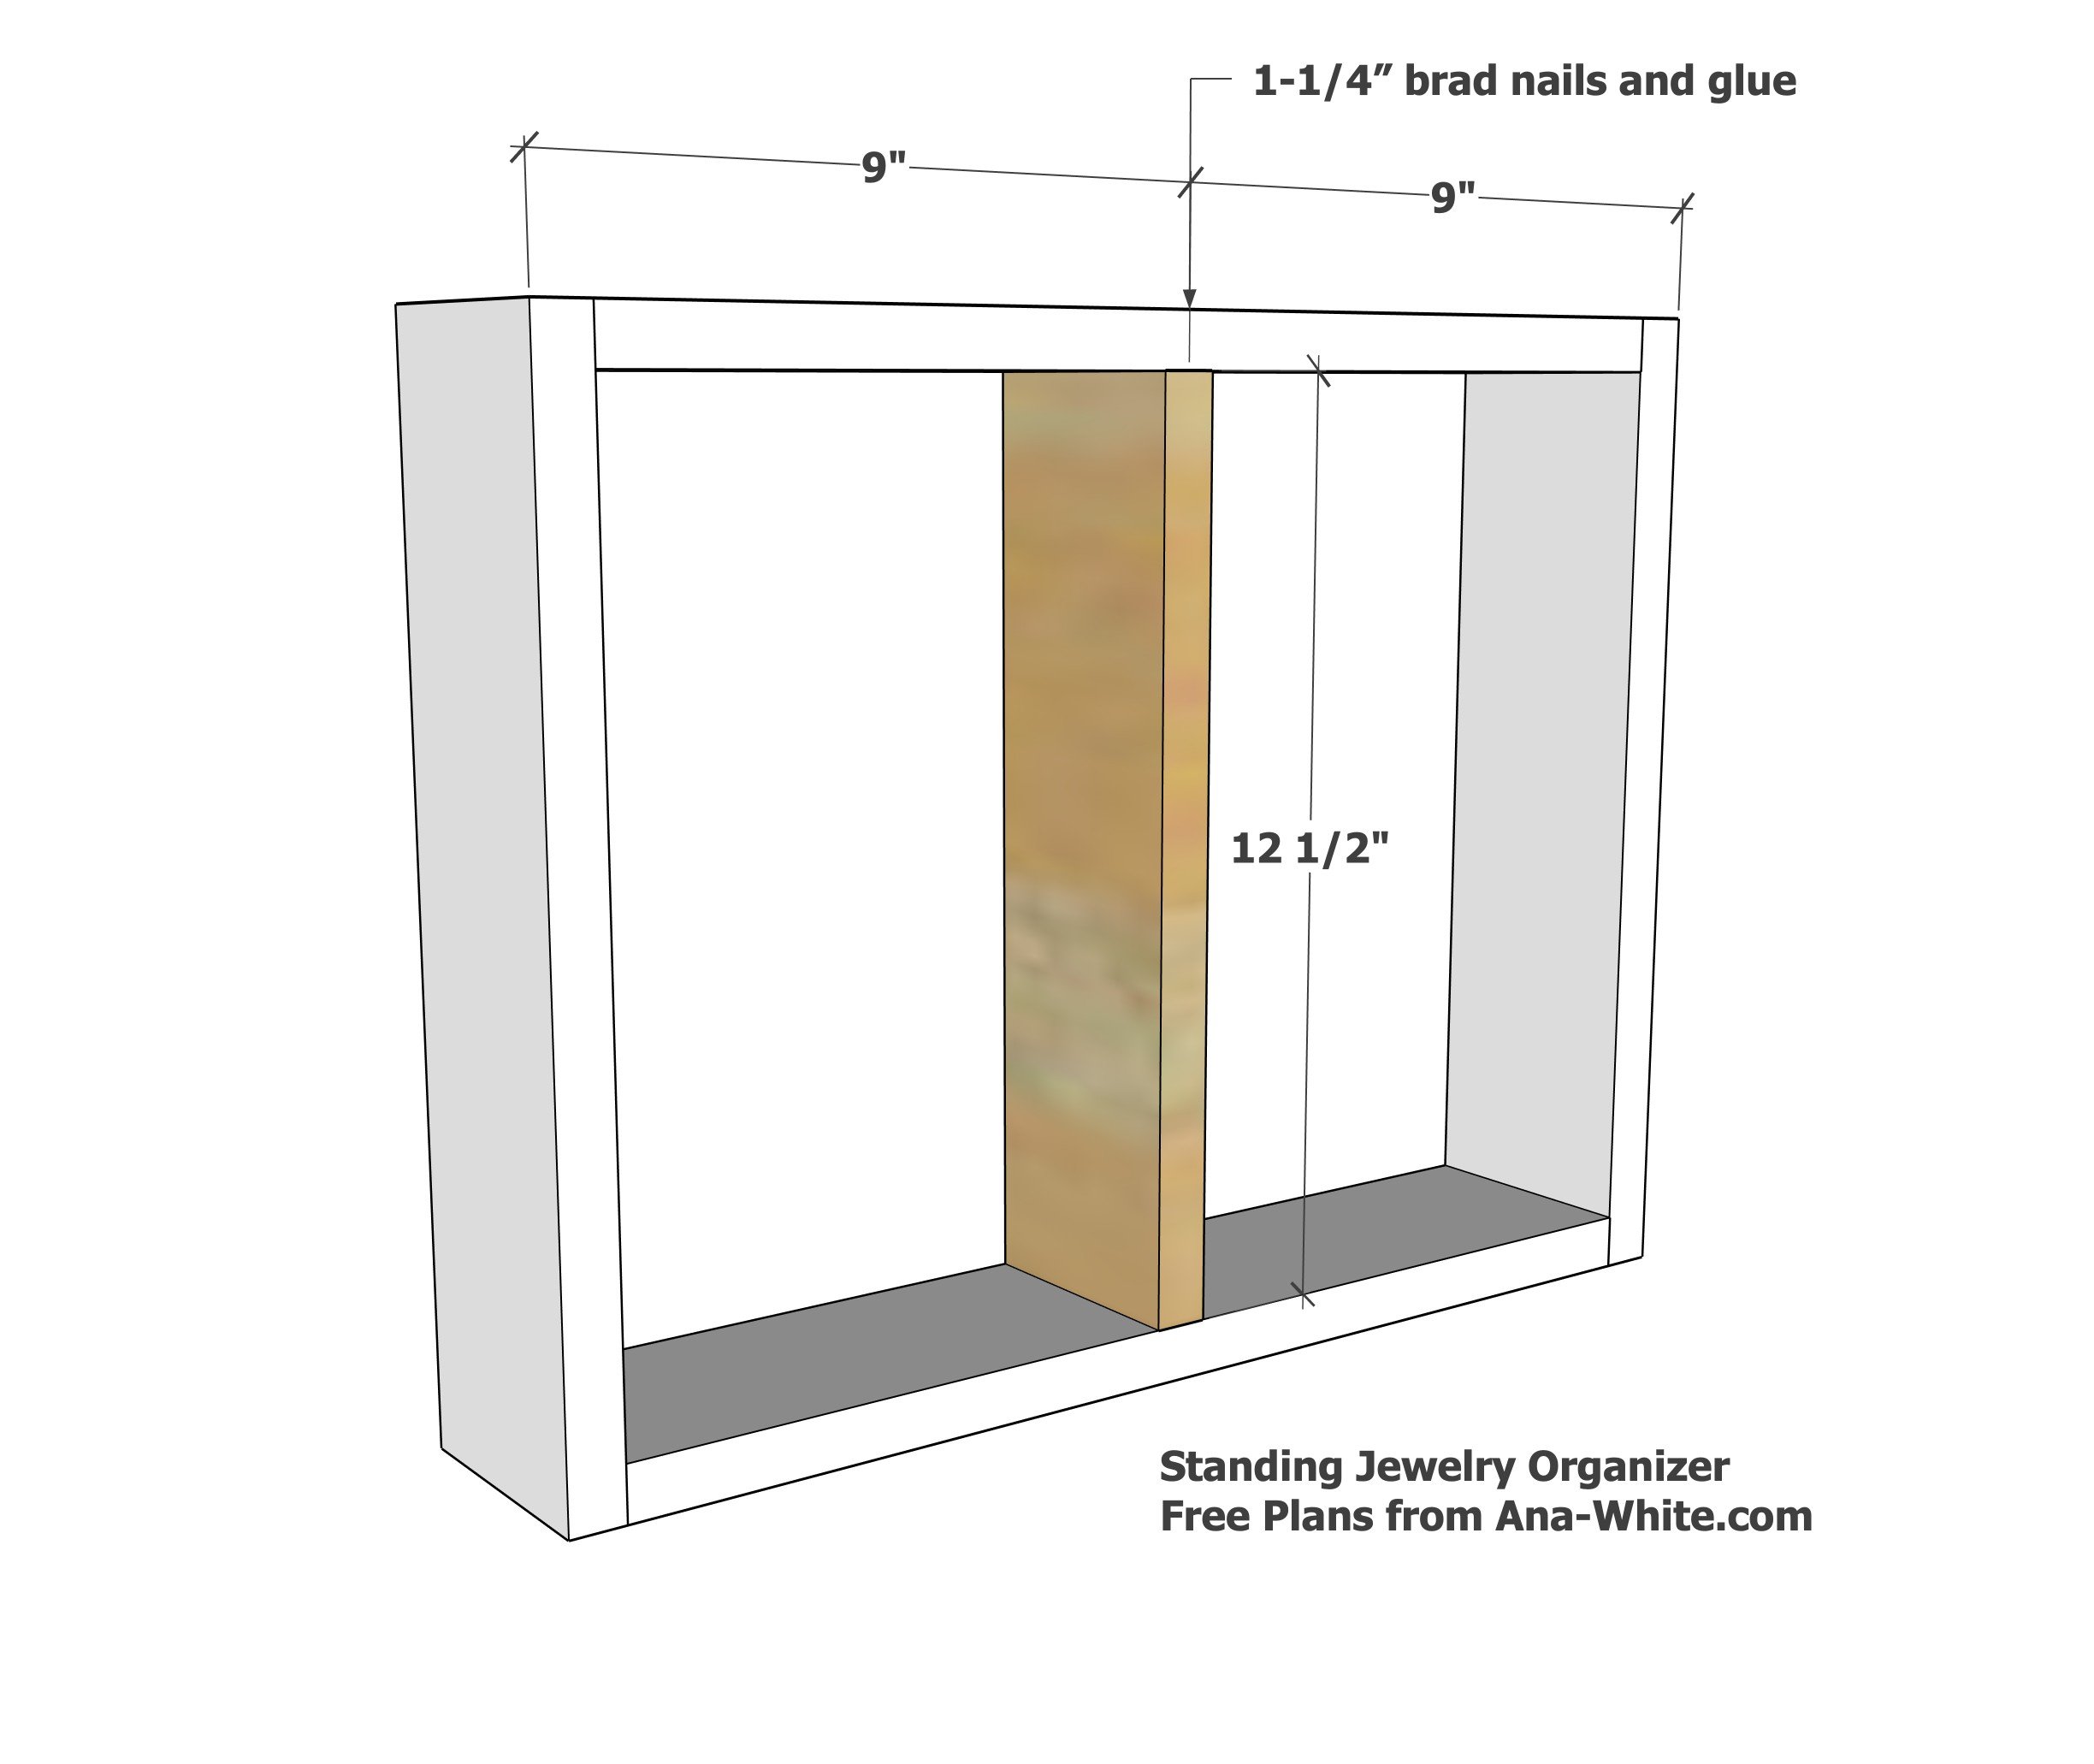
Add the center divider
Step 3
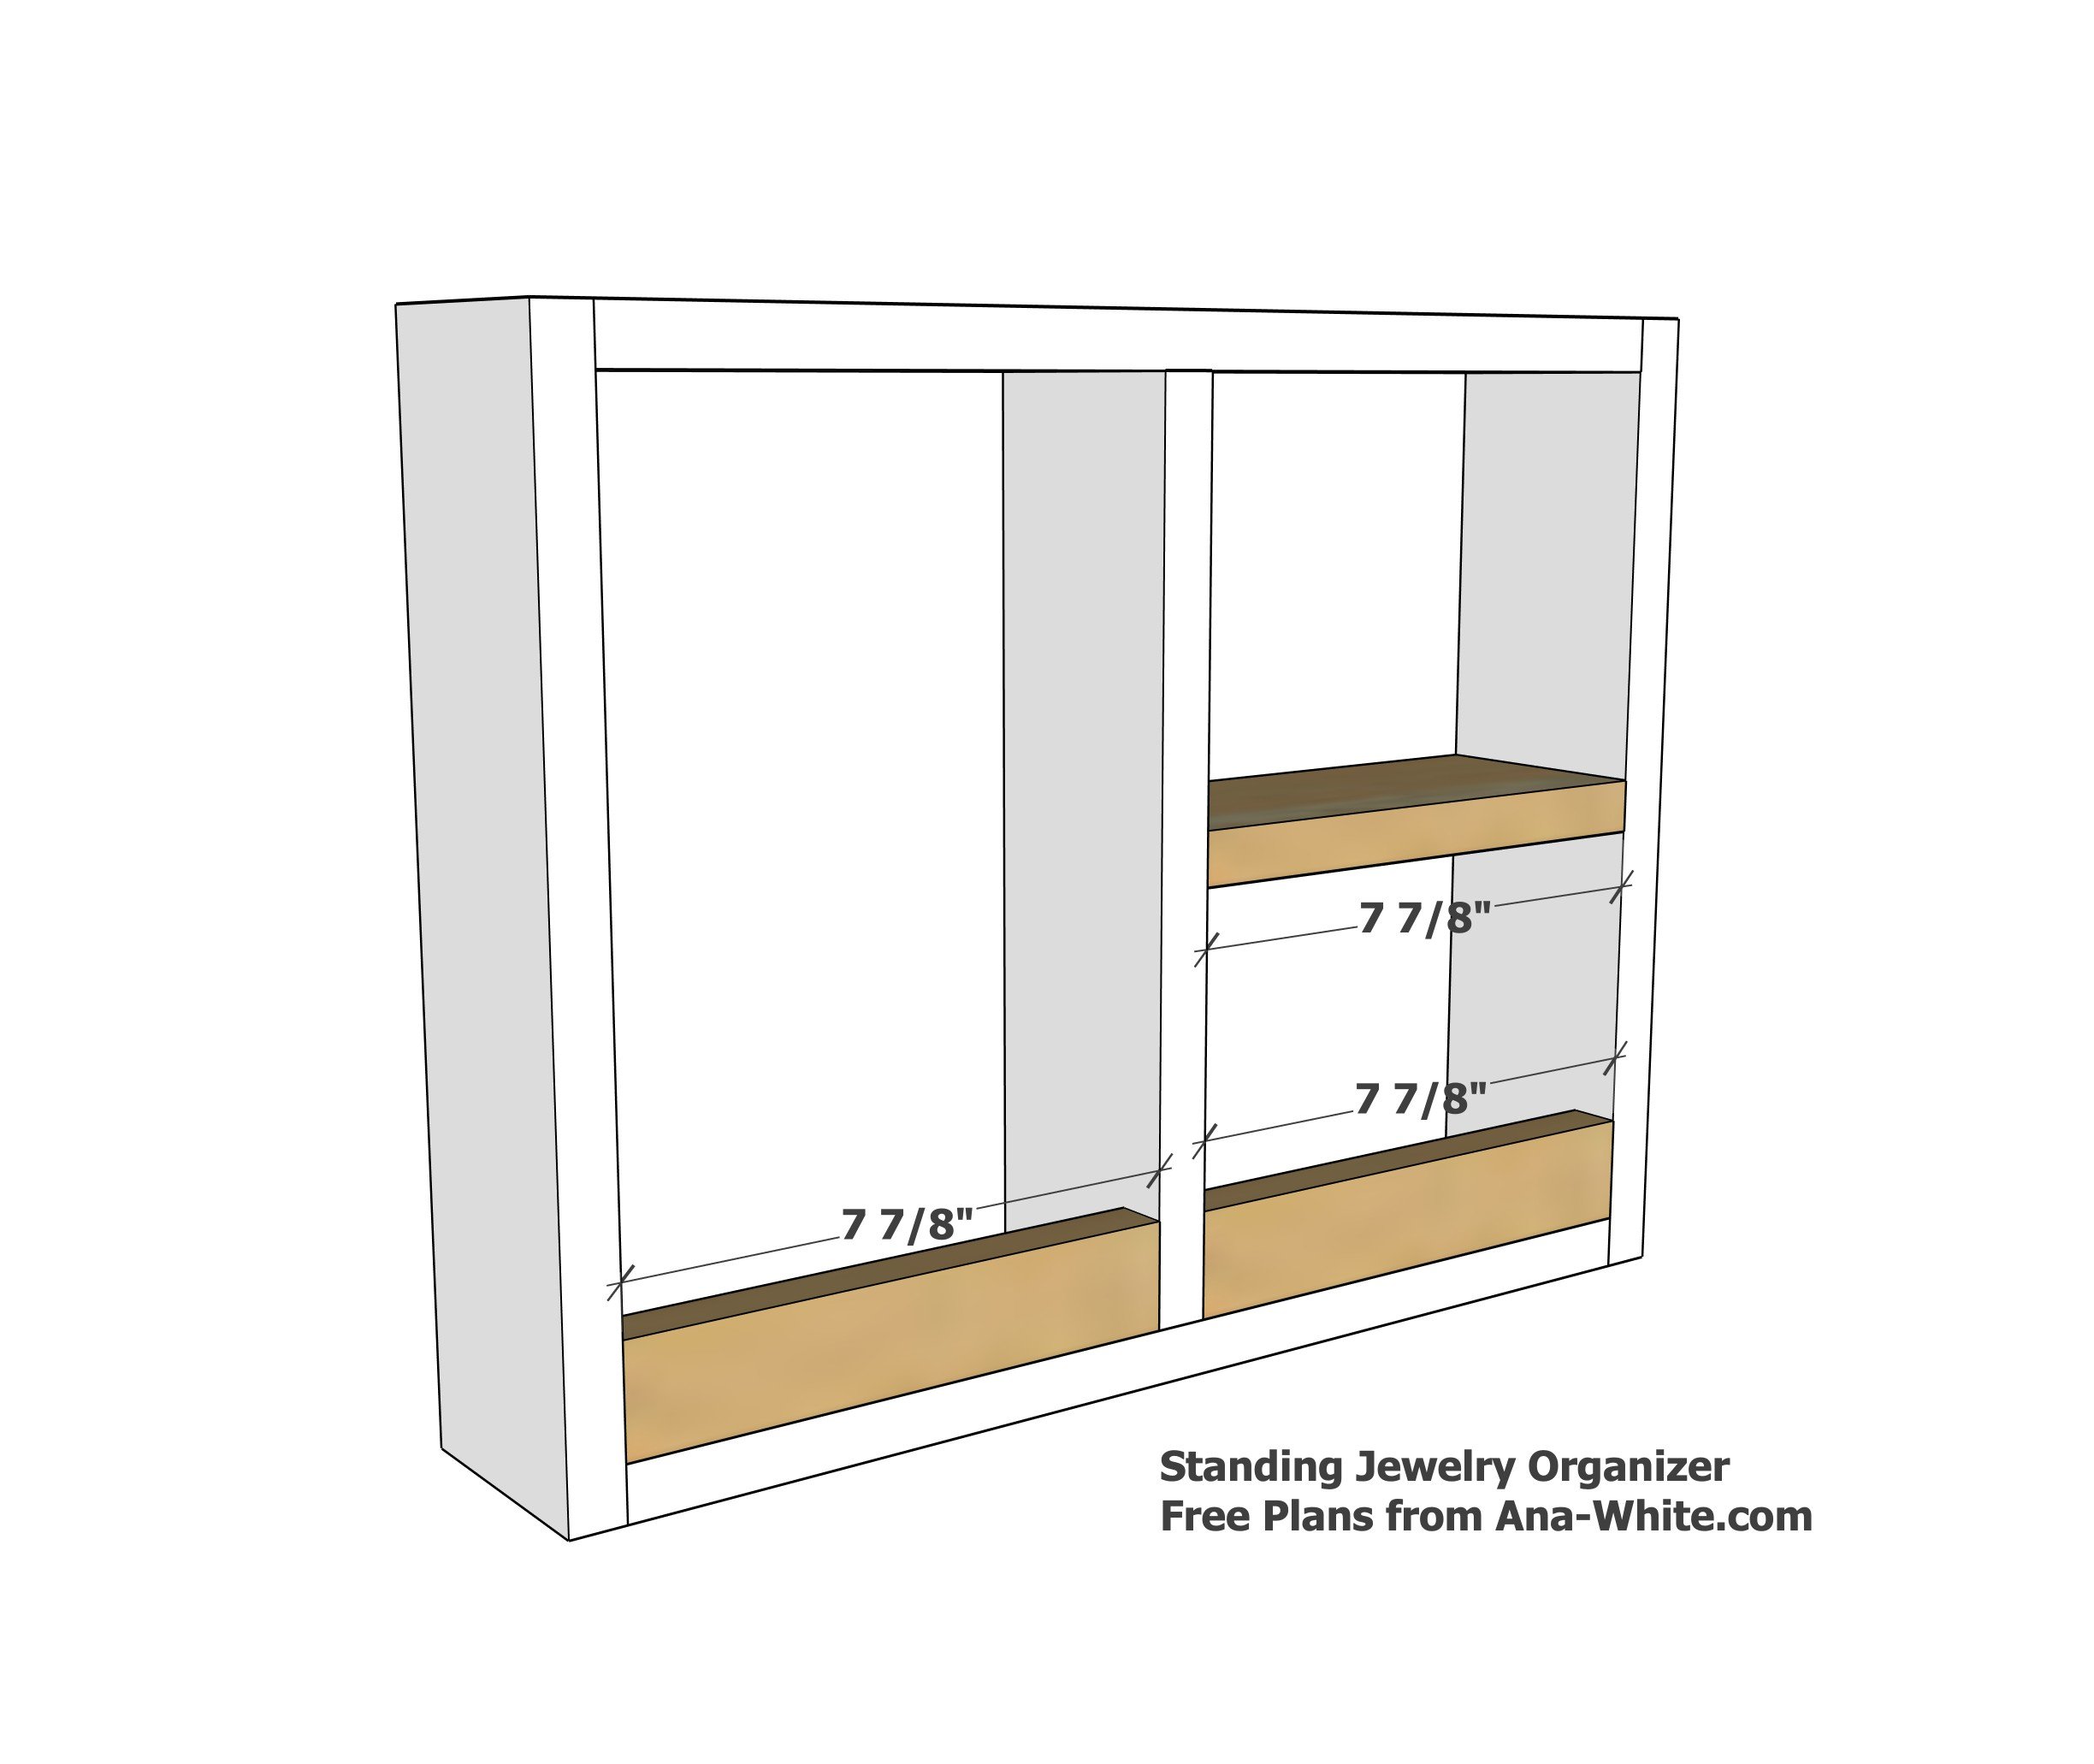
Add the shelf and the 1x2 pieces at the base
Step 4
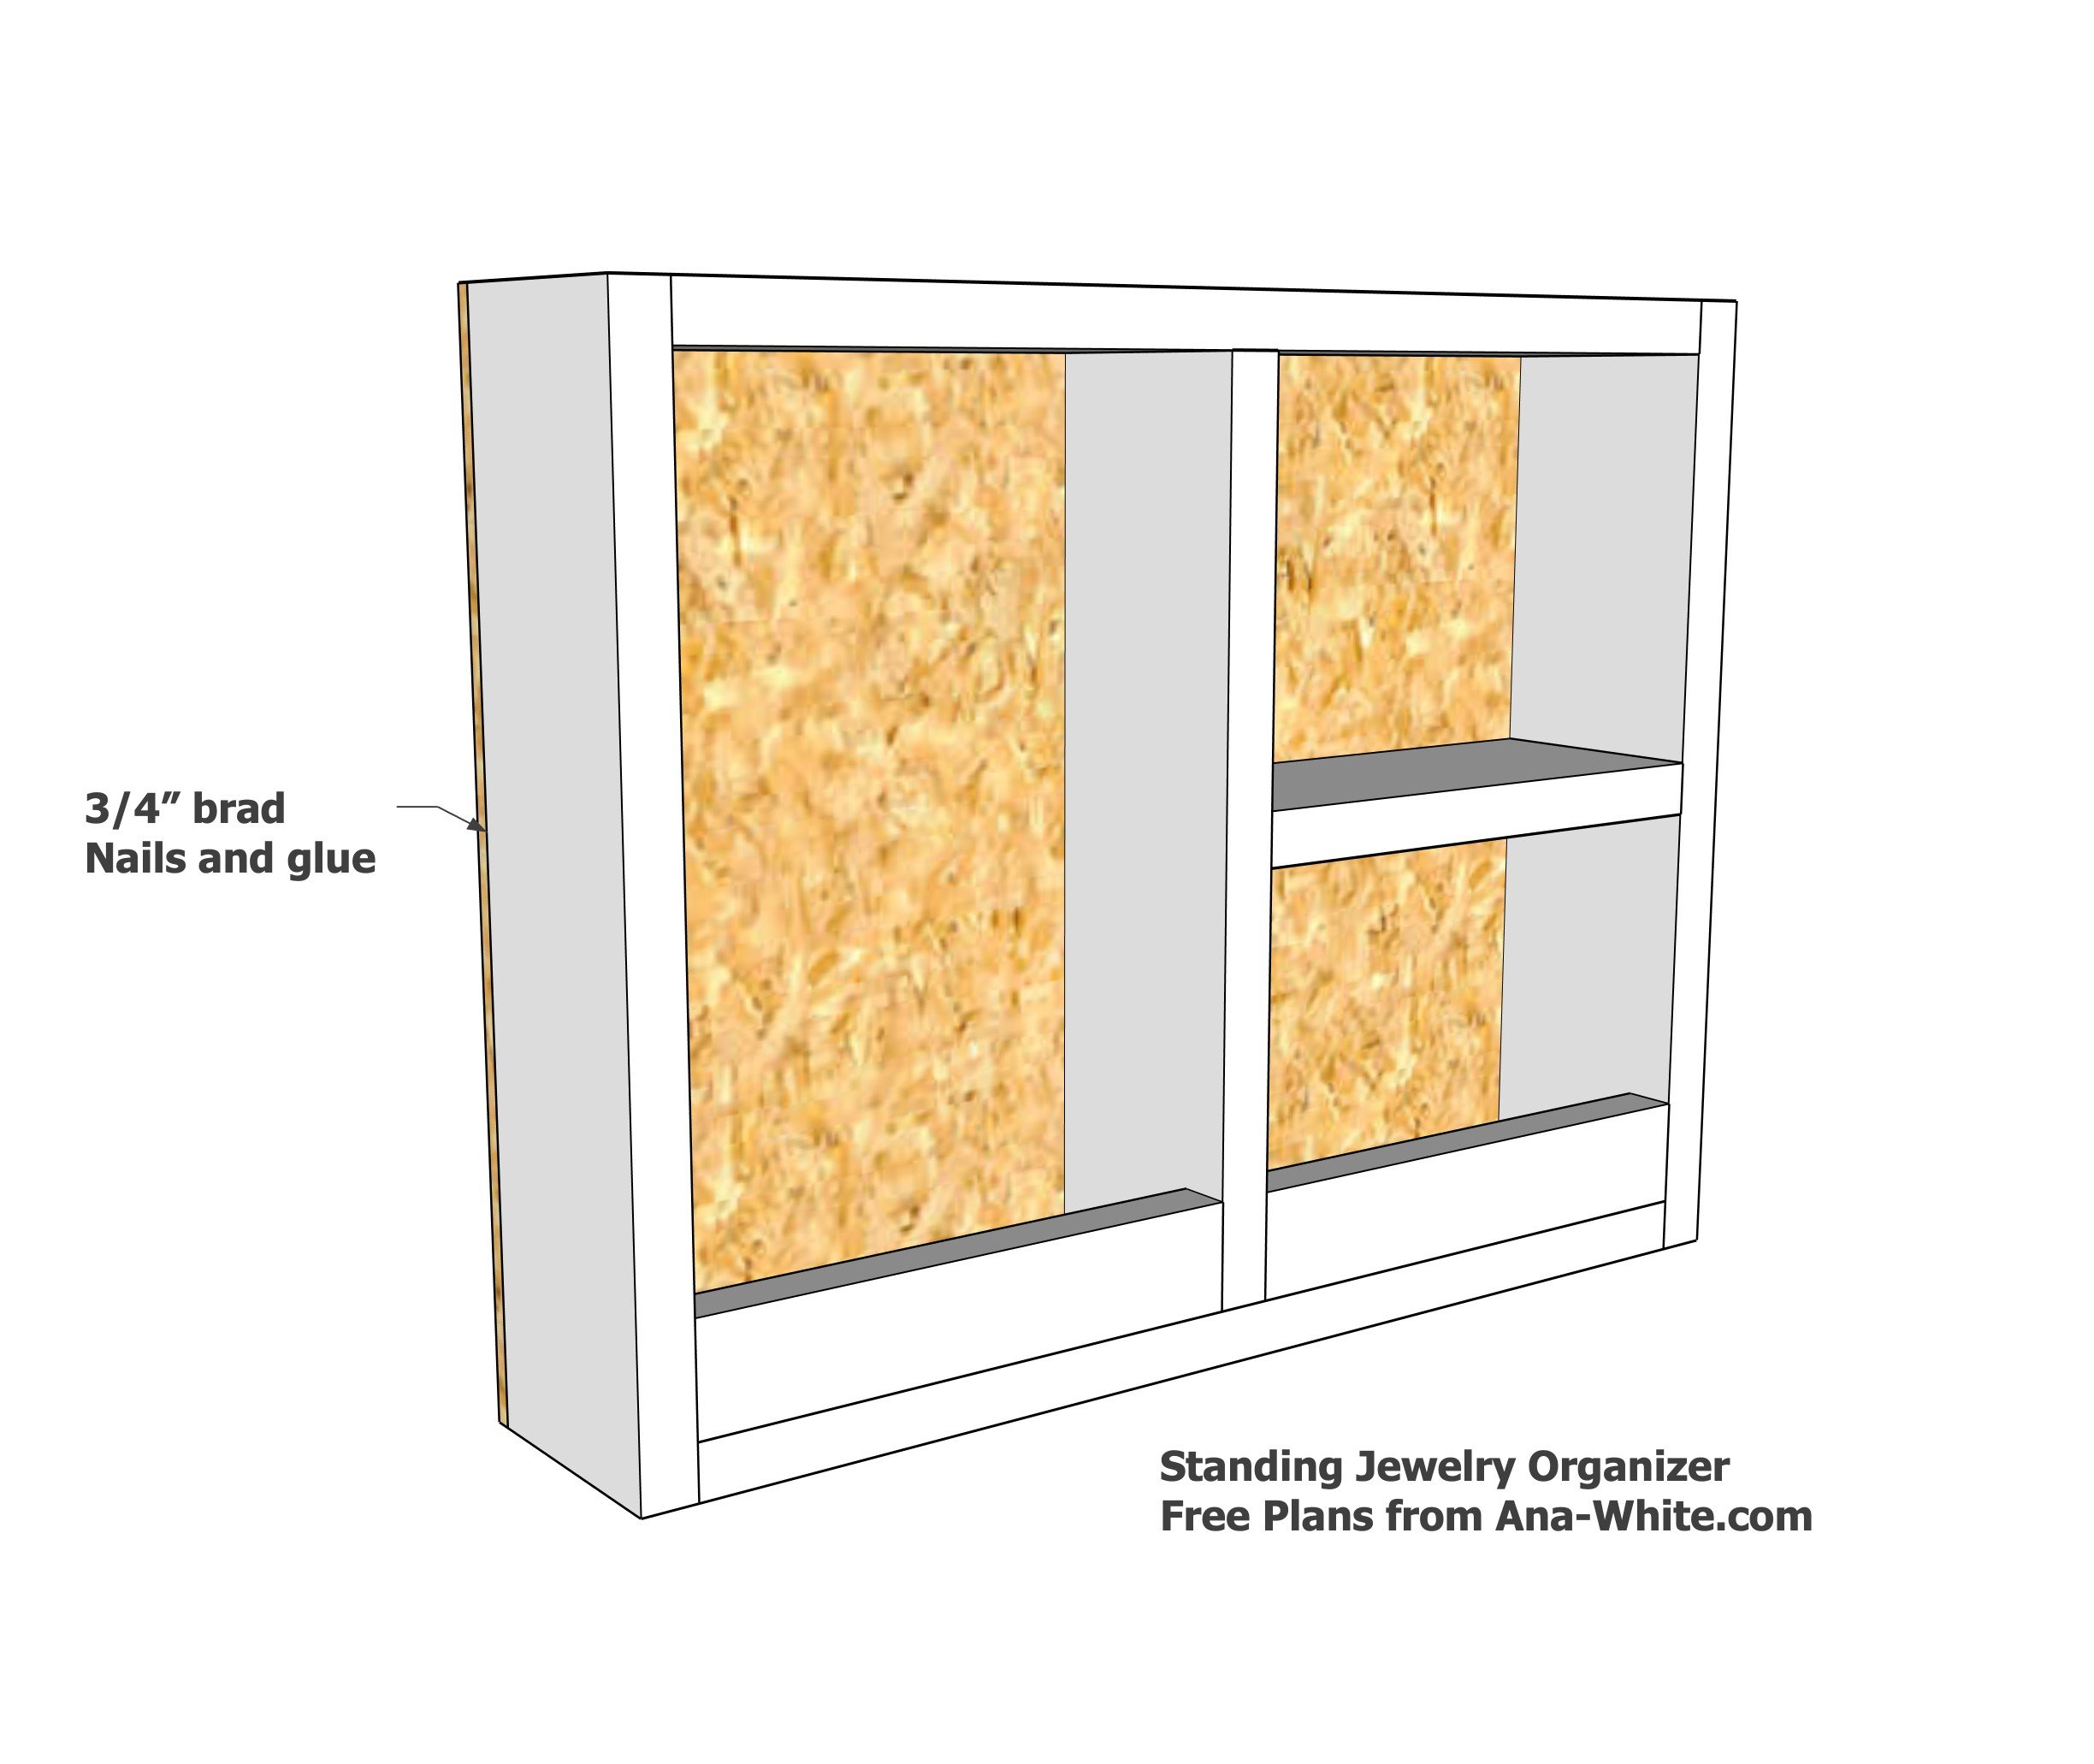
Attach the plywood or pegboard to the back
