Easy Build American Girl Doll Bed

The free plans on this website are made possible with advertising and affiliate links.  Thank you for helping us keep plans free.


easy to build american girl doll bed 18" dolls
Difficulty
Beginner Projects
| Print this plan

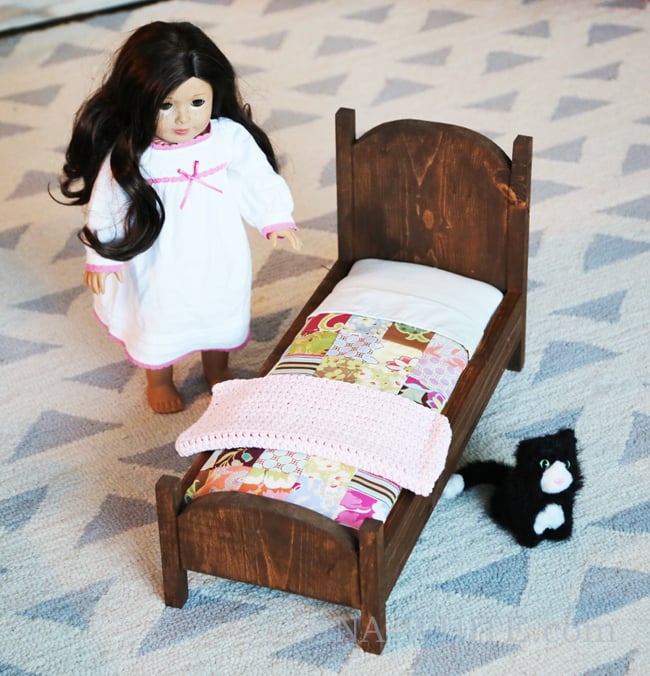
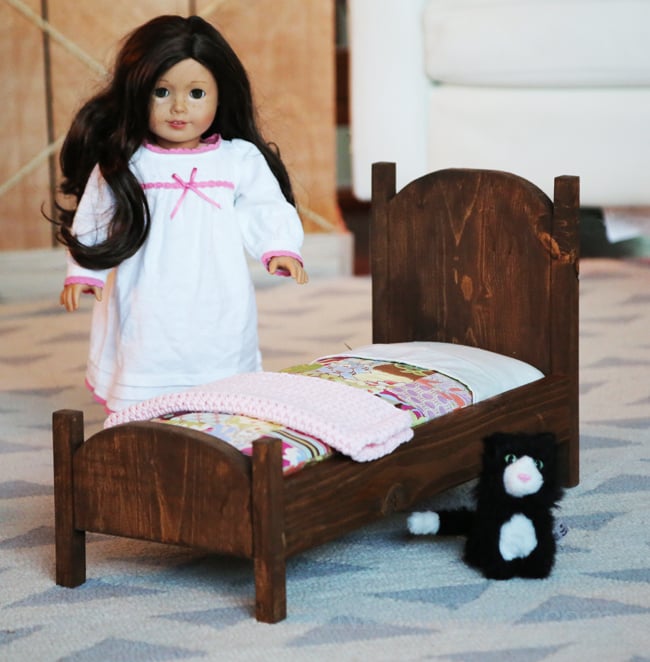
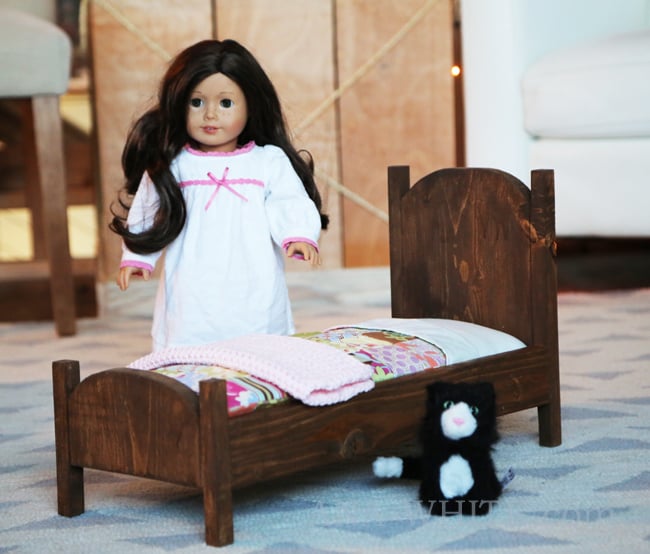
Easy DIY doll bed plans, super cute and easy to make!  Free step by step plans to make your own American Girl or 18" doll bed with detailed diagrams, shopping and cut list from Ana-White.com
easy to build american girl doll bed 18" dolls

Steps to Build this Doll Bed

Here's how we cranked these cute little doll beds out -

Jigsawed the headboards and footboards out.  Use a good sharp blade, preferably a scrolling blade for the curved cuts at the top.  Once you get one cut you can use it as a pattern for the rest.

Once you have the headboards and footboards cut out, sand the jigsawed edges.  It will be tight getting in some spots, so consider hand sanding with just sand paper.

Another trick with arches is to round the outer edges so it's not as crisp ... and your less than perfect arch cuts aren't as distiguishable  ... not that any of my cuts are, uh, less than perfect.  Hahaha!

So once the headboards and footboards are all done and sanded, we moved on to the siderails.  The siderails are just 1x3s (what I'm using is the cheap whitewood furring strips, costing about $1.50 at good ole Orange).

We are pretty spoiled to have the Kreg Foreman automatic pocket hole machine in our shop - it is awesome.  Seriously - beg for one this Christmas.  

Since the doll beds I've made have always been immediately "tested" and jumped on and layed in by the child itself, glue is essential. 

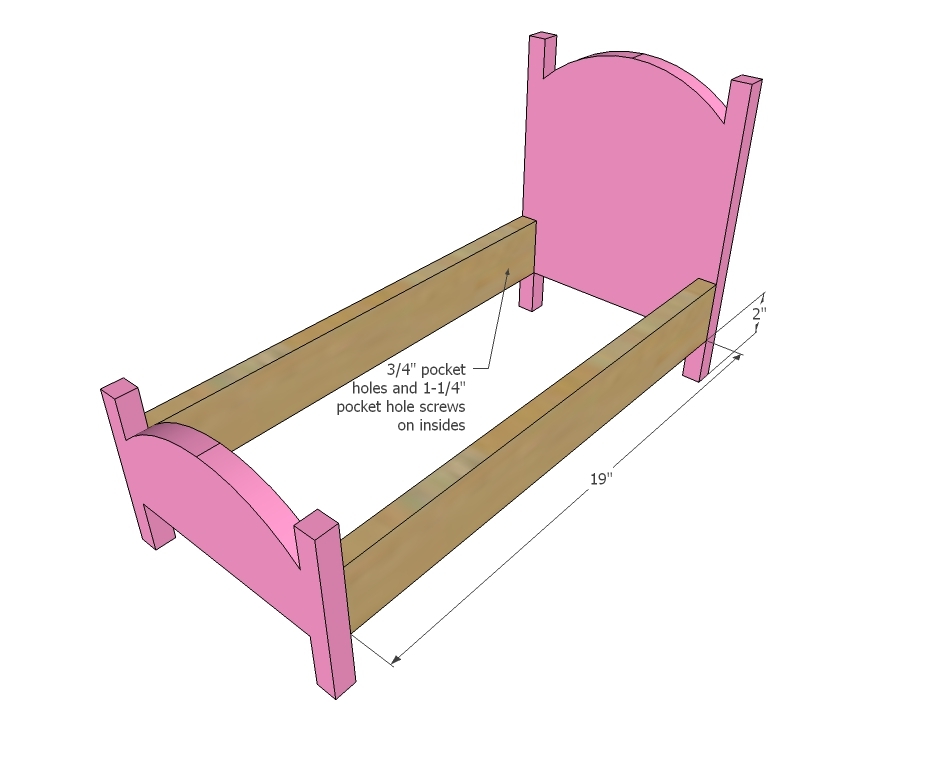
And then we attached the aprons on the inside through the predrilled pocket holes with 1-1/4" pocket hole screws.  This hides all screw holes.

Flipped it over and added the footboard,

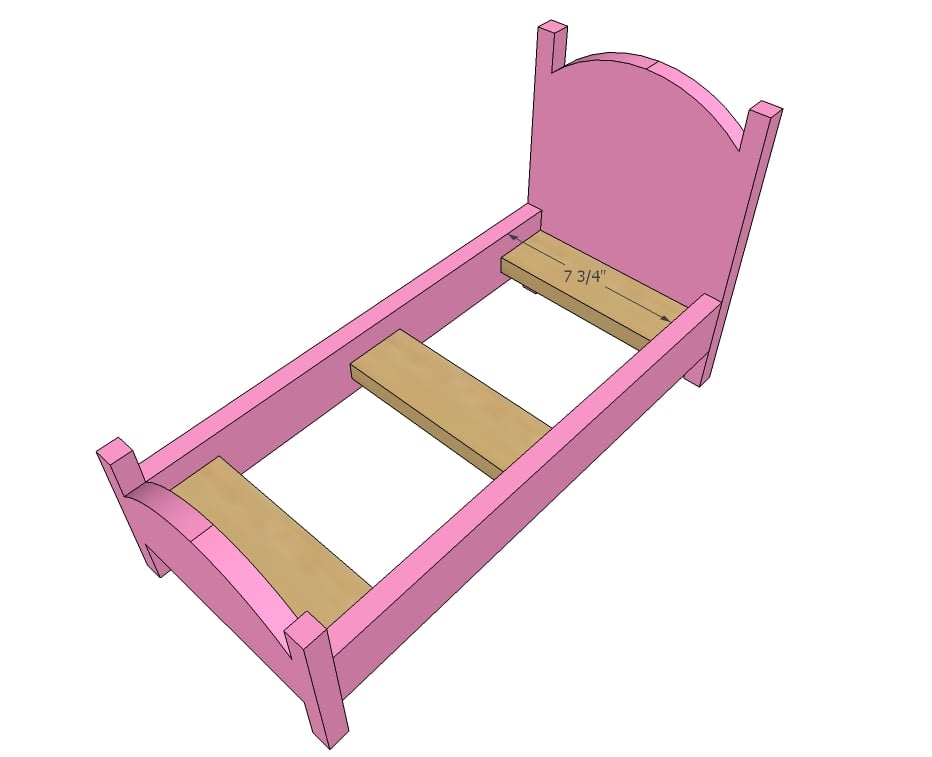
Looking cute!  Now we just need to add the mattress support slats -

Glue,

Pocket holes on the underside,

Done!  


NOTE: In the plans I recommend a third center support slat just for added structural support.  


No-Sew Mattress Tutorial

Now for the no-sew mattress tutorial -

I purchased a 22" x 22" x 2" chair pad foam insert for $7 at Joanns and cut it into three pieces to fit inside the bed.  I also cut three pieces of scrap 1/4" plywood (what you see is actually scrap wall paneling - use what you got) to fit inside the bed rails.

Then I just cut a piece of fabric about 3" bigger all the way around the foam piece.

And then layed the plywood on top of the foam, pulled the fabric around the foam and plywood and stapled on the back.  Sorry I choose white on white here - it's a little hard to see.


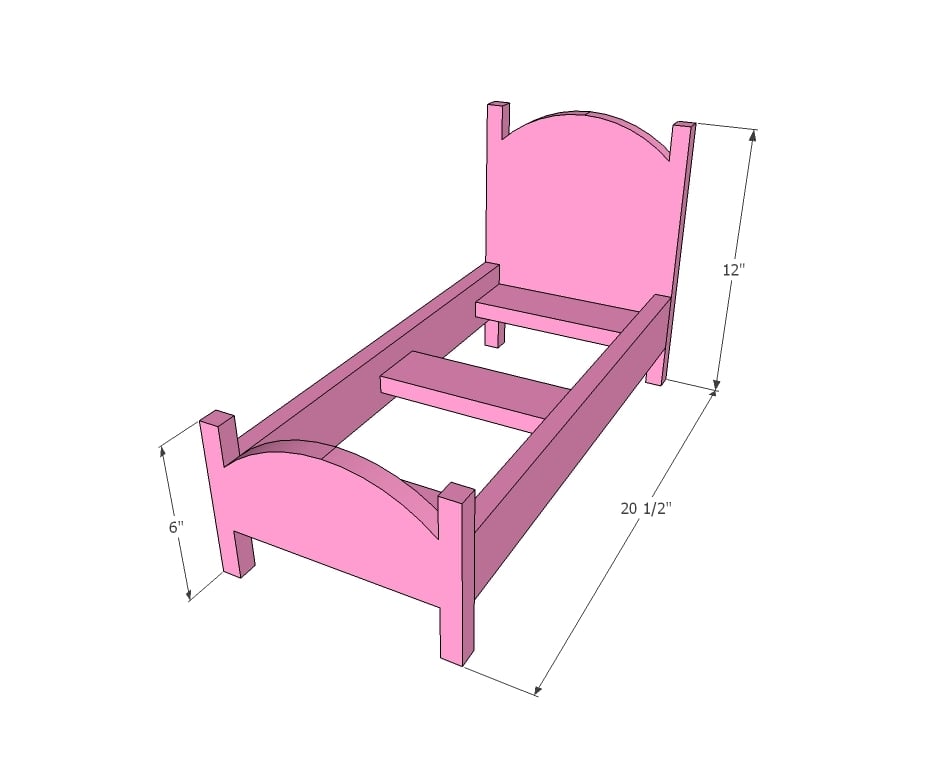
Dimensions
doll bed plans

Preparation

Shopping List
  • 1x3 furring strip
  • 18" of 1x10 pine boards
  • Mattress - foam piece at least 19" x 8", fabric and 1/4" thick plywood or other hardboard
Common Materials
Cut List
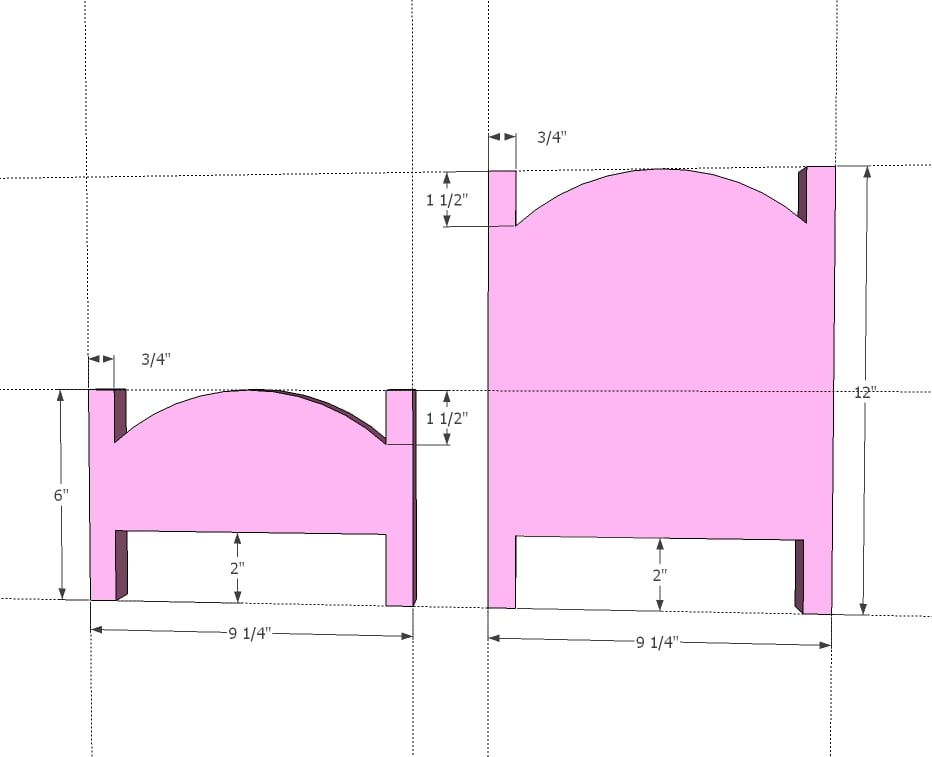
  • 1 - 1x10 @ 12" long
  • 1 - 1x10 @ 6" long
  • 2 - 1x3 @ 19" long
  • 3 - 1x3 @ 7-3/4" long (CUT TO FIT!!!)
Tools
Tape Measure
Speed Square
Pencil
Safety Glasses
Hearing Protection
Kreg Jig
Drill
Jigsaw
General Instructions

Please read through the entire plan and all comments before beginning this project. It is also advisable to review the Getting Started Section. Take all necessary precautions to build safely and smartly. Work on a clean level surface, free of imperfections or debris. Always use straight boards. Check for square after each step. Always predrill holes before attaching with screws. Use glue with finish nails for a stronger hold. Wipe excess glue off bare wood for stained projects, as dried glue will not take stain. Be safe, have fun, and ask for help if you need it. Good luck!

Instructions

Step 1

On 1x10 boards, trace out pattern and cut out with jigsaw. Use a large round object to create curves.

Step 2

Attach siderails to headboard and footboard

Step 3

Attach slats 3/4" up from bottom of siderails to siderails.

Finishing Instructions
Preparation Instructions
Fill all holes with wood filler and let dry. Apply additional coats of wood filler as needed. When wood filler is completely dry, sand the project in the direction of the wood grain with 120 grit sandpaper. Vacuum sanded project to remove sanding residue. Remove all sanding residue on work surfaces as well. Wipe project clean with damp cloth.

It is always recommended to apply a test coat on a hidden area or scrap piece to ensure color evenness and adhesion. Use primer or wood conditioner as needed.

Comments

Shareef

Wed, 01/21/2015 - 07:32

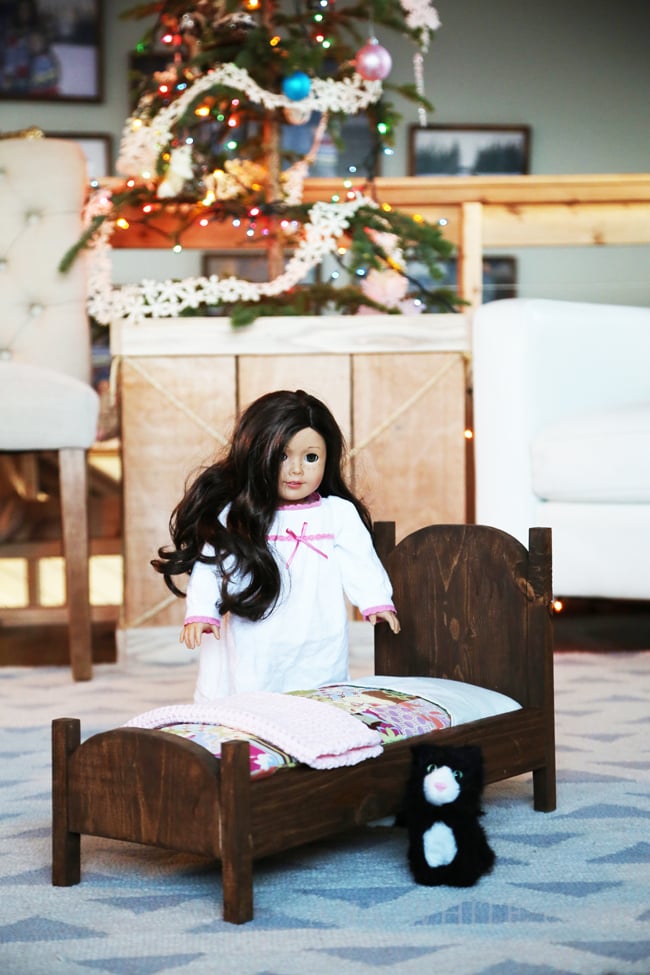
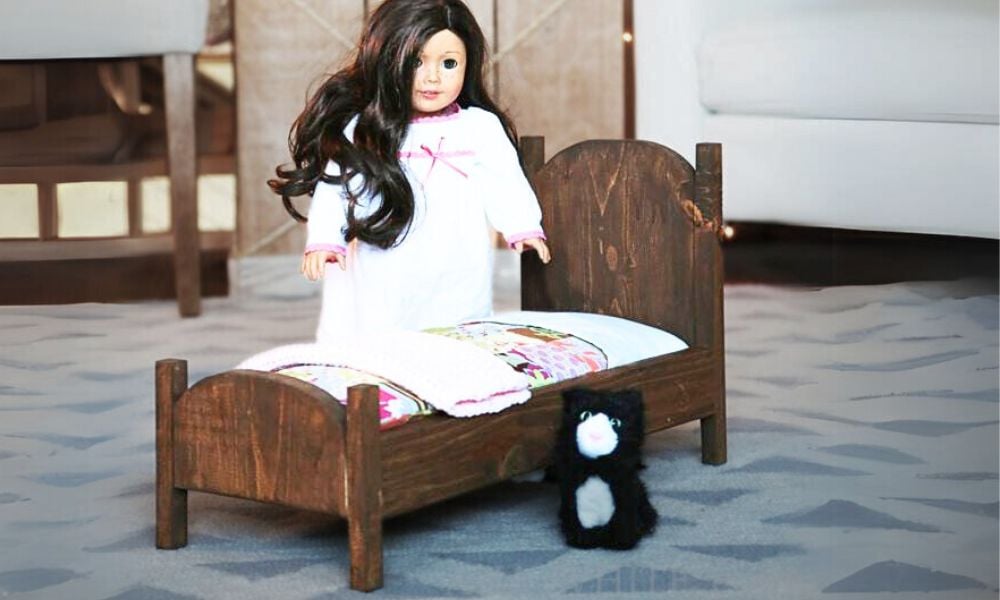
At first look they look very small, but the last picture with little cutie I realized the real sizes. Will try to build some for my little one. ))