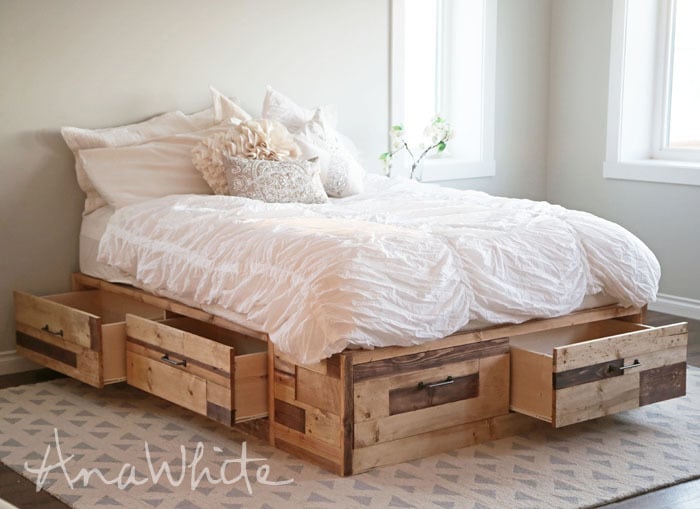
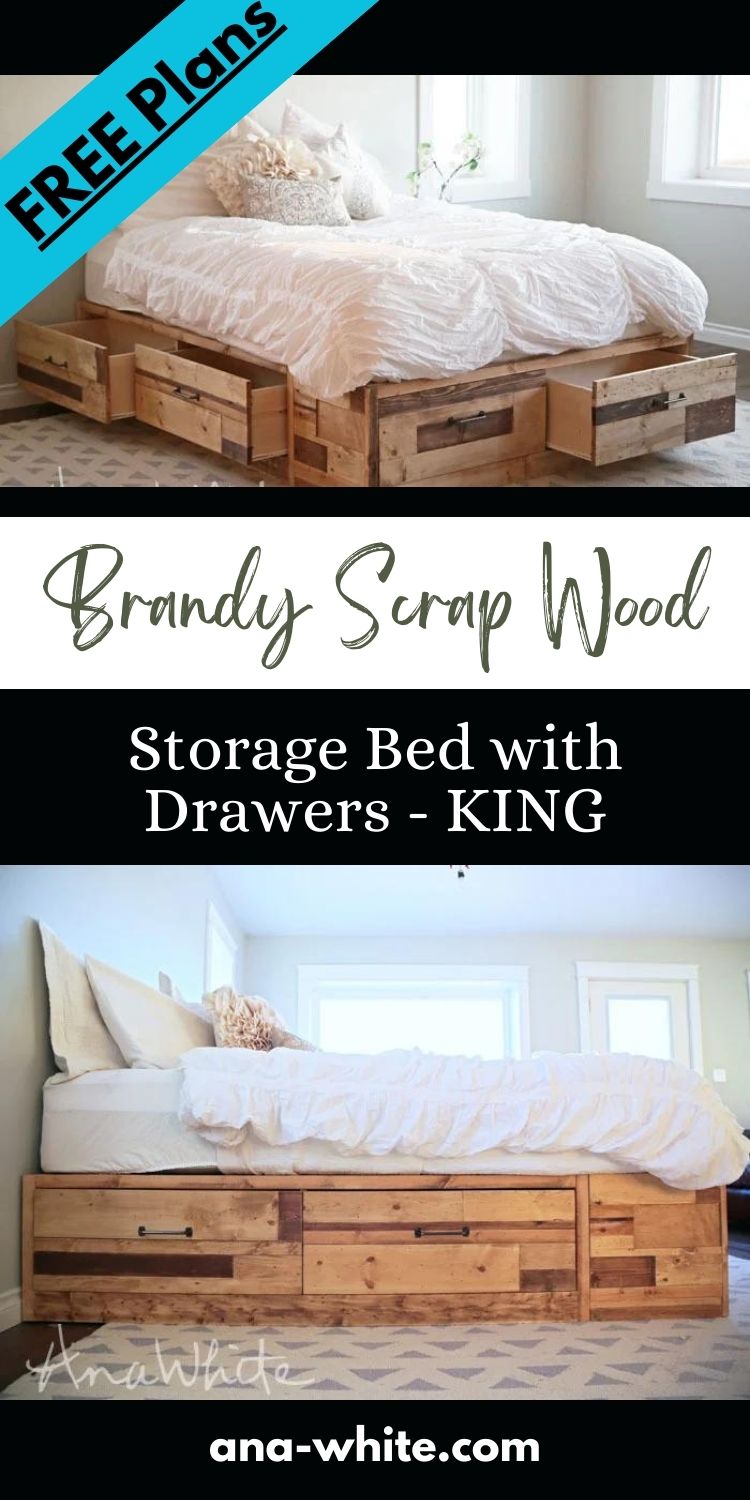
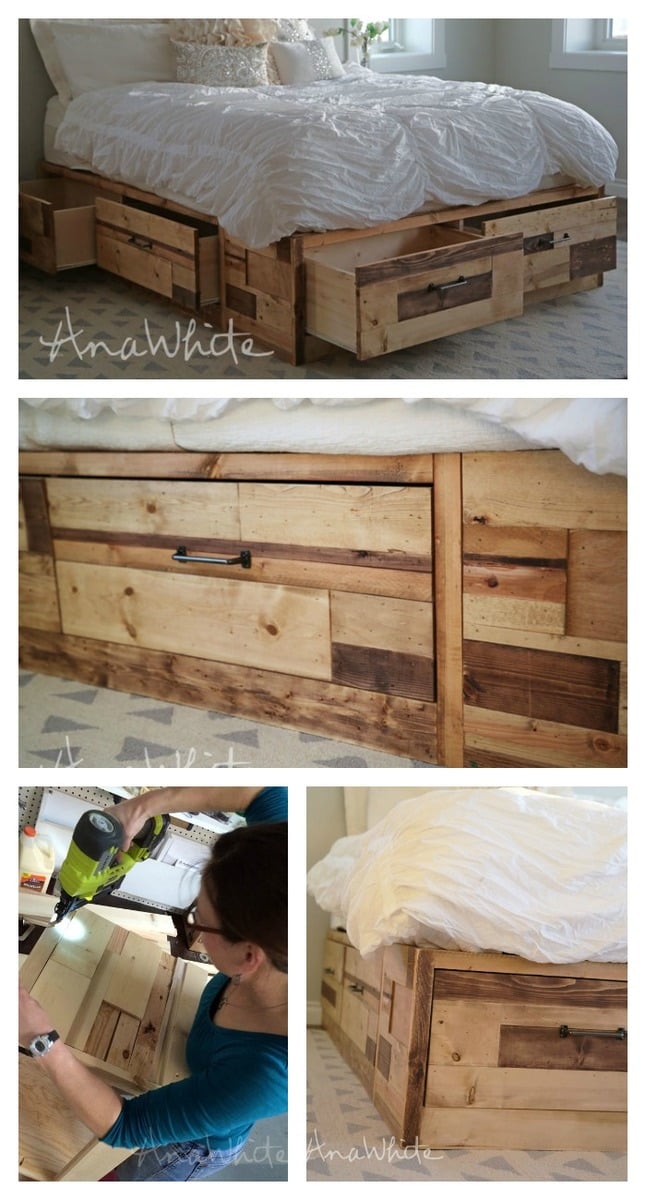
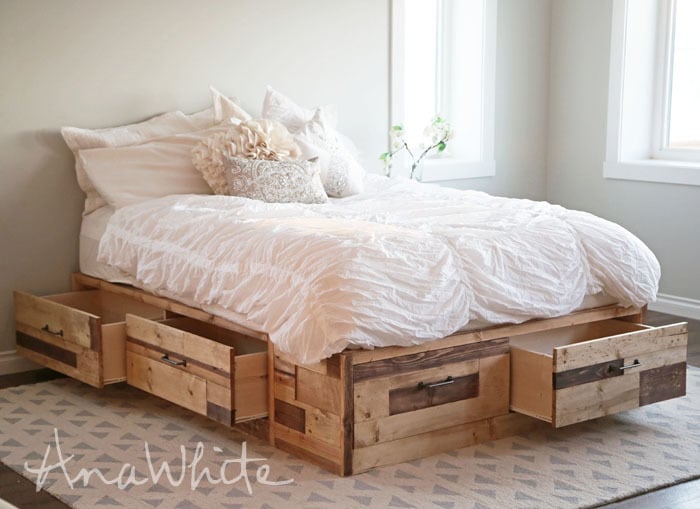
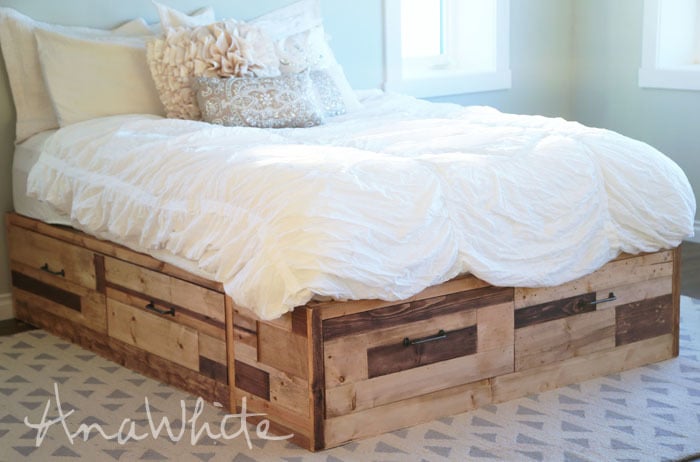
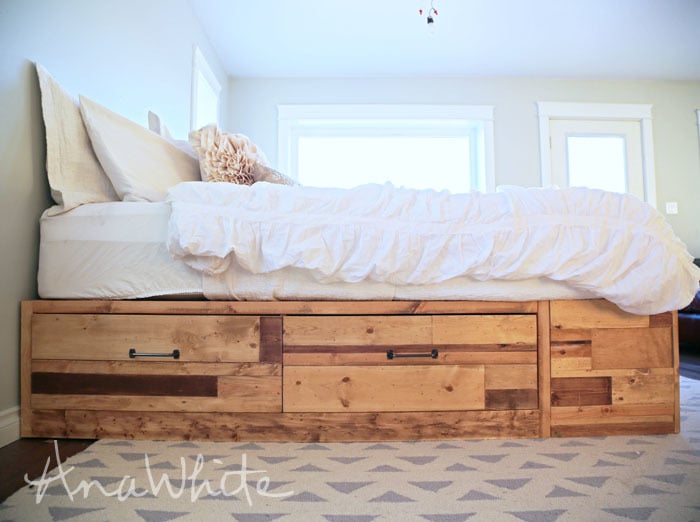
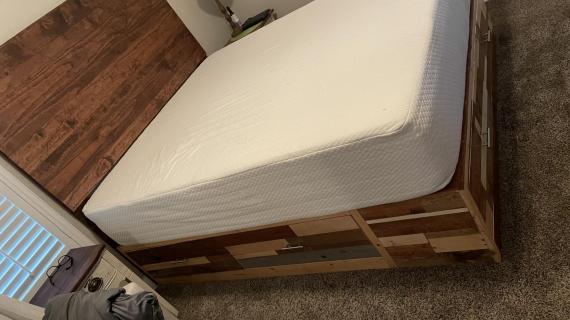
Use scrap wood to build a king size storage bed! Free plans by ana-white.com
Pin For Later!
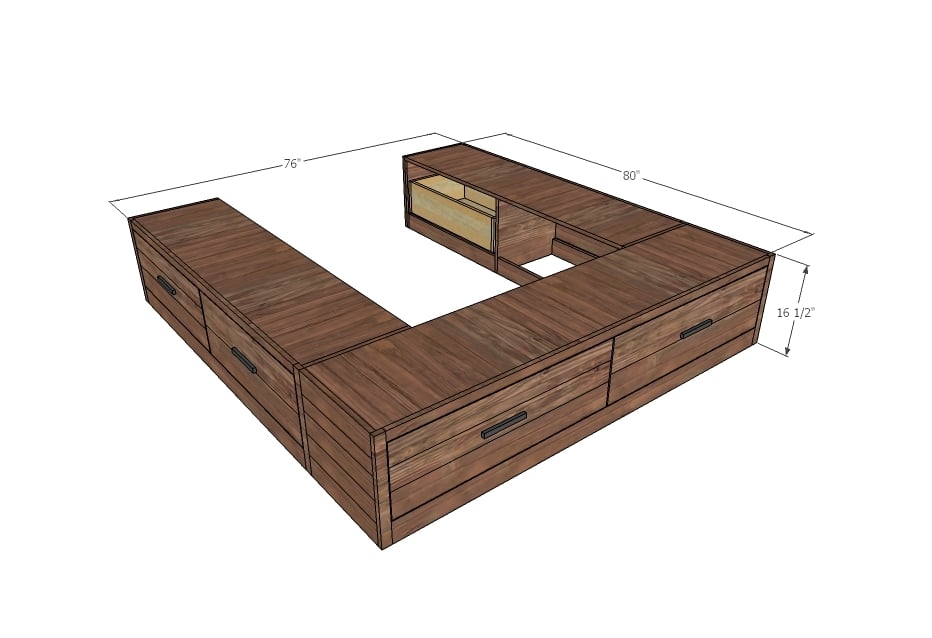
Preparation
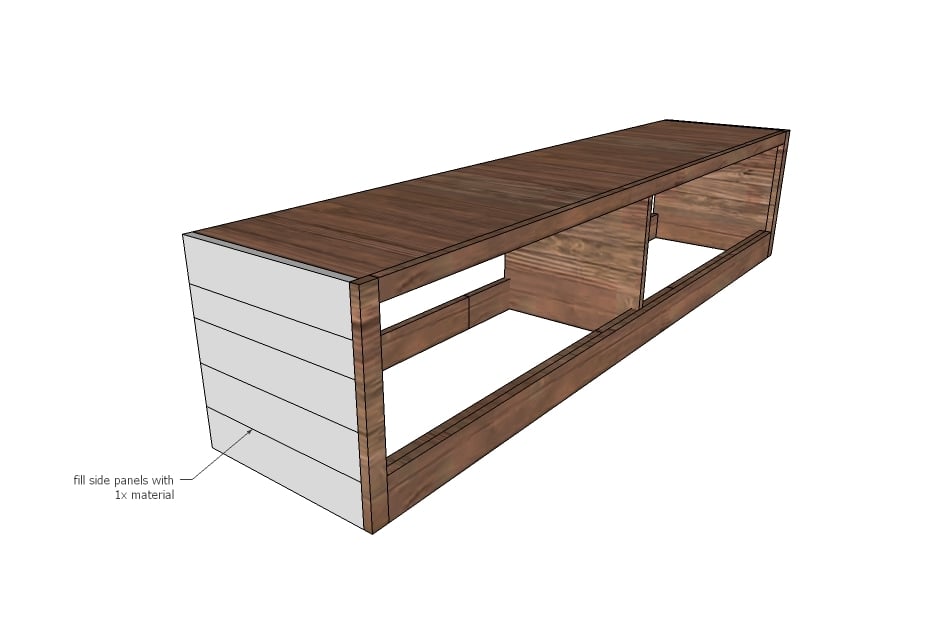
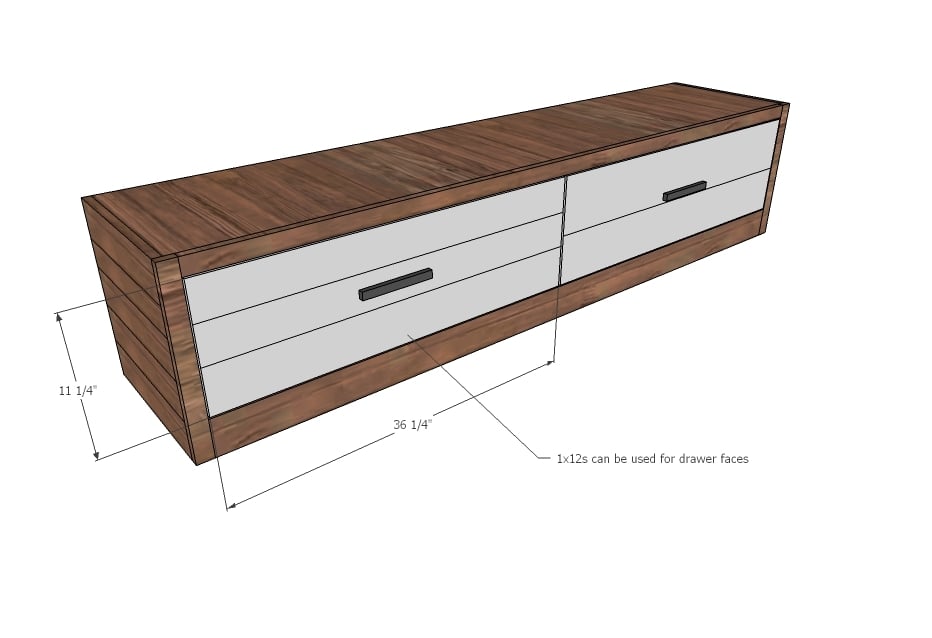
You will need to add scrap wood for the "siding" - drawer faces can also be 1x12s
- 2 full sheets of 3/4" plywood ripped into strips 15-3/4" wide (very important that all rips are the exact same width)
- 1 full sheet of 1/4" plywood (rip into strips 15-3/4" wide for drawer bottoms)
- 12 - 1x4 @ 8 feet long
- 6 - 1x3 @ 8 feet long (for slats)
- 4 - 1x2 @ 8 feet long
- 6 - 1x8 @ 8 feet long (for drawer boxes)*
- 2 - 2x4 @ 8 feet long
- 6 - 16" Euro Drawer Slides (the white bottom corner mount ones)
- 6 knobs or handles
*Drawer boxes could also be made of plywood ripped into strips 7-3/4" wide (1/2" or 3/4") (could save money and would be more structurally sound and square than pine boards
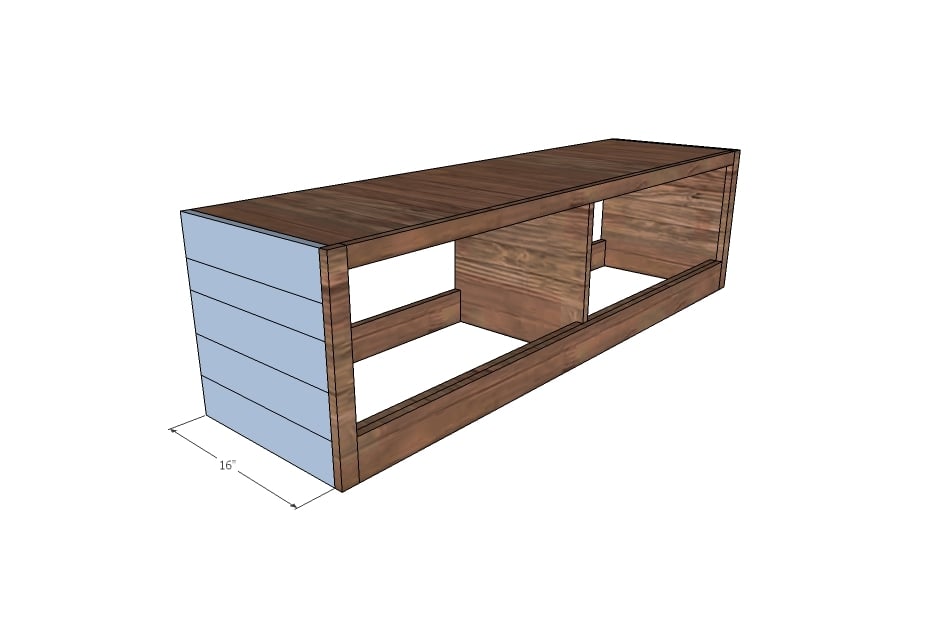
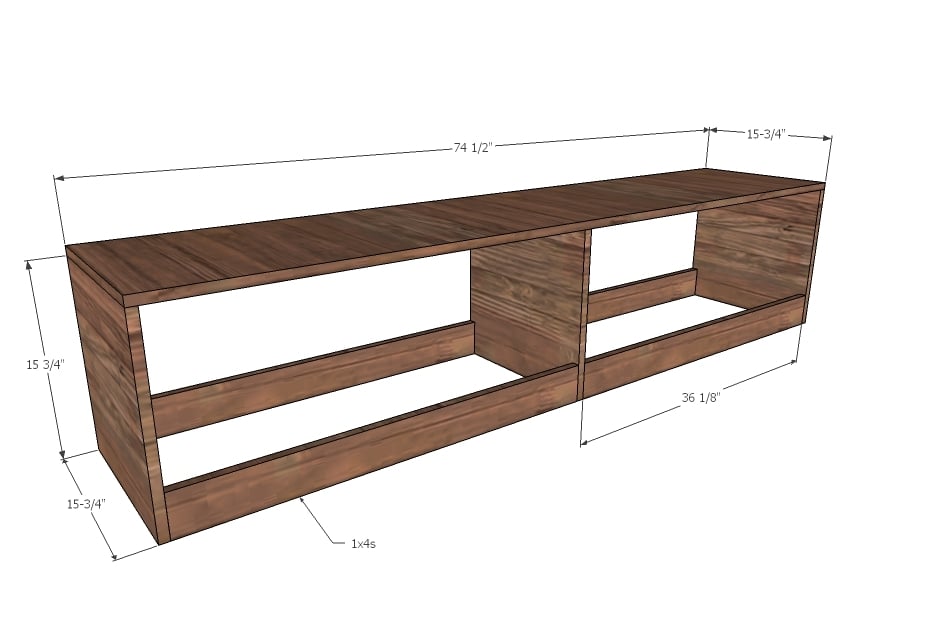
KING END BENCH (1)
- 1 - 3/4" plywood @ 15-3/4" x 74-1/2"
- 3 - 3/4" plywood @ 15-3/4" x 15-3/4"
- 4 - 1x4 @ 36-1/8"
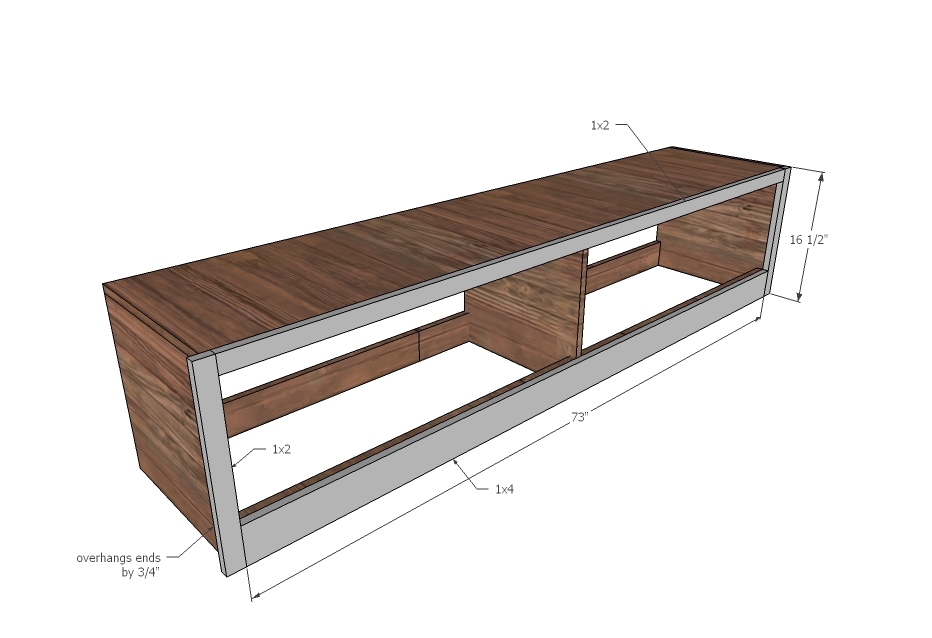
- 2 - 1x2 @ 16-1/2"
- 1 - 1x2 @ 73"
- 1 - 1x4 @ 73"
End Bench Drawers - Cut to fit opening and drawer slides
- 4 - 1x8 @ 15-3/4"
- 4 - 1x8 @ 33-5/8"
- 2 - 1/4" plywood @ 15-3/4" x 35-1/8"
SIDE BENCHES (2) - Same as Queen
- 2 - 3/4" plywood @ 15-3/4" x 62-1/2"
- 6 - 3/4" plywood @ 15-3/4" x 15-3/4"
- 8 - 1x4 @ 30-1/8"
- 4 - 1x2 @ 16-1/2"
- 2 - 1x2 @ 61"
- 2 - 1x4 @ 61"
Side Bench Drawers - Cut to fit opening and drawer slides
- 8 - 1x8 @ 15-3/4"
- 8 - 1x8 @ 27-5/8"
- 4 - 1/4" plywood @ 15-3/4" x 29-1/8"
TIE-IN PIECES for KING
- 2 - 1x4s or 1x3s @ 62-1/2"
- 12 - 1x3s @ 42-1/2" (can be any scrap wood or plywood)
- 2 - 2x4 @ 64"
- 4 - 2x4 @ 12-3/4"
Please read through the entire plan and all comments before beginning this project. It is also advisable to review the Getting Started Section. Take all necessary precautions to build safely and smartly. Work on a clean level surface, free of imperfections or debris. Always use straight boards. Check for square after each step. Always predrill holes before attaching with screws. Use glue with finish nails for a stronger hold. Wipe excess glue off bare wood for stained projects, as dried glue will not take stain. Be safe, have fun, and ask for help if you need it. Good luck!
It is always recommended to apply a test coat on a hidden area or scrap piece to ensure color evenness and adhesion. Use primer or wood conditioner as needed.







Comments
trailsingr
Mon, 03/23/2015 - 15:58
drawer faces
Were the drawer faces put together with kreg screws, or were they mounted on a piece of plywood? I am really liking the looks of this and imagining making kitchen cabinet doors with the same scrap wood technique.
Ana White Admin
Tue, 03/24/2015 - 05:56
Attaching Drawer Faces
Check out Step 6 "Attach drawer faces to front of drawer boxes with 3/4" finish nails and glue." Hope this helps!
trailsingr
Thu, 03/26/2015 - 16:21
clarification
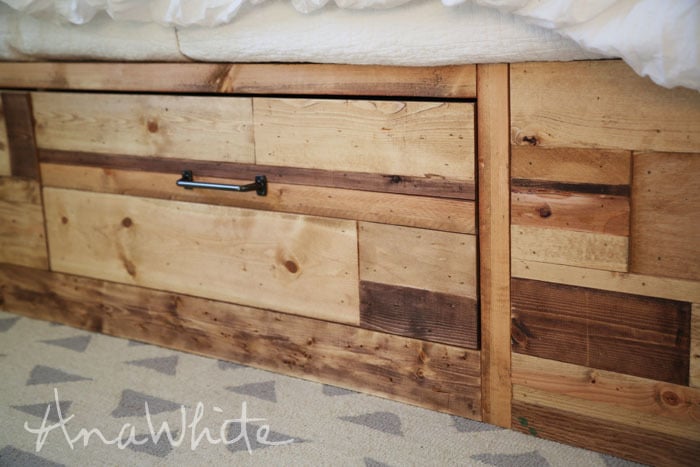
Oops I wasn't clear! I was asking about the scrappy wood pieces. Are they attached to plywood, or just to each other, to make the face of the drawer?
Ana White Admin
Fri, 03/27/2015 - 11:12
Scrap pieces
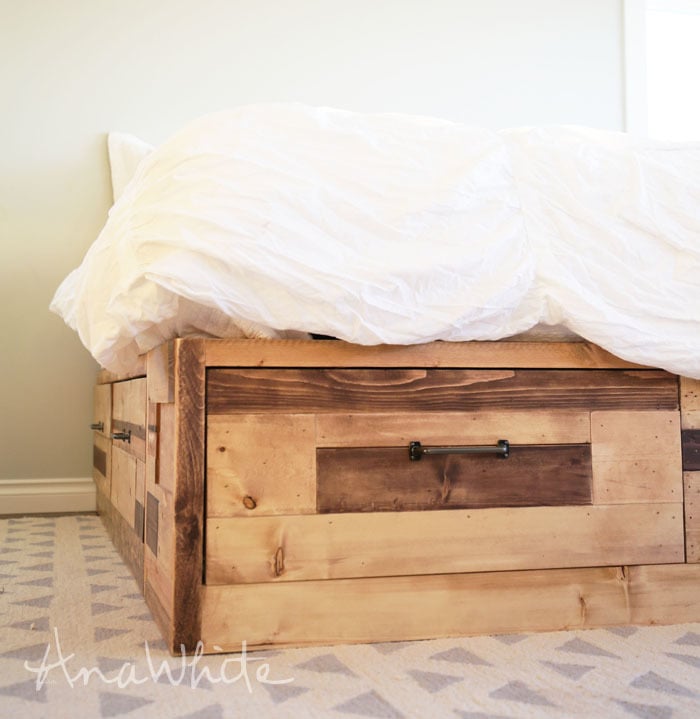
Once the drawers are built, you will just nail and glue the scraps to fit over the drawer. They are not connected together as 1 piece, they are simply nailed to the drawer face one piece at a time. Hope this helps!
KatRose16
Tue, 03/31/2015 - 11:05
Type of wood
I am very new to building so have very little knowledge. I would like to save money. OSB is much cheaper than plywood and MDF, but I can only find 7/16 OSB. Can I substitute 1/2" for 3/4?" I have this plan in mind also: http://ana-white.com/2010/01/plan-how-to-modify-queen-sized-stratton.ht…, which requires 5 sheets of 3/4" plywood or MDF. I am comparing to figure out which would be more affordable. Being that I'm so new to building I do not really have any scrap wood. Love your page and thanks for the help! Your talent and plans have opened a whole new hobby for me!
In reply to Type of wood by KatRose16
Ana White
Tue, 03/31/2015 - 12:00
For the structural integrity
For the structural integrity of the build you would not want to substitute
1/2" for 3/4".
sweet2ndchance
Sat, 04/25/2015 - 03:51
We built a similar bed and to
We built a similar bed and to spread the cost a little bit, we built it out of cheap 3/4" plywood. It made it a little more difficult to build (wood was much more warped and twisted than the higher quality wood which made it difficult to work with even though to the naked eye, it looked to be fairly straight) Also, we didn't build the drawers right away, just the boxes. It's not pretty but it only to 2 1/2 sheets of plywood and it serves it's purpose. I put a bedskirt over the boxes for now to hide the ugly plywood, we didn't even paint or finish because the wood is so poor quality. We will rebuild it someday now that we have more projects under our belt and more knowledge. When we do, we will use good quality wood not only for integrity but so it will look nice.
lydiazorz
Tue, 04/21/2015 - 13:57
Weight Limit
Would anybody be able to tell me how much the weight limit on this bed is?
Jessy1234
Fri, 04/24/2015 - 08:09
Securing Mattress
Is there a lip around the top to keep the mattress from moving? If not, do you recommend a way to keep it secure?
Thanks!
sweet2ndchance
Sat, 04/25/2015 - 03:43
Re: Securing Mattress
We made a similar bed and I just lay the no slip rug mats under the mattress. It doesn't move at all.
Amylfriel
Mon, 10/03/2016 - 12:22
the cleats?
I am making this bed ay the moment, and I'm not sure how (with what) and the exact placement of the cleats go (is it recessed 3/4" to make the slats flush with the boxes?
Thank you
In reply to the cleats? by Amylfriel
Ana White
Mon, 10/03/2016 - 20:00
So the slats that span the
So the slats that span the benches will be flush with the top, so if you're
using 1 x's for cleats the top of them will be 3/4" down. Hope this makes
sense:)
Dad0
Sat, 10/05/2019 - 14:01
Little Changes
Hi,
Love the look of this bed. Already bought all of the materials to build. Will change up the design using dado's for the cabinet construction.
I did notice on the side cabinet the rails size shows 3.5" Should be 1x4. Also you should note that the first layer of rail in the cabinet construction can be made out of 3/4" plywood like you guys did in the picture.
Love the design quality.
Les