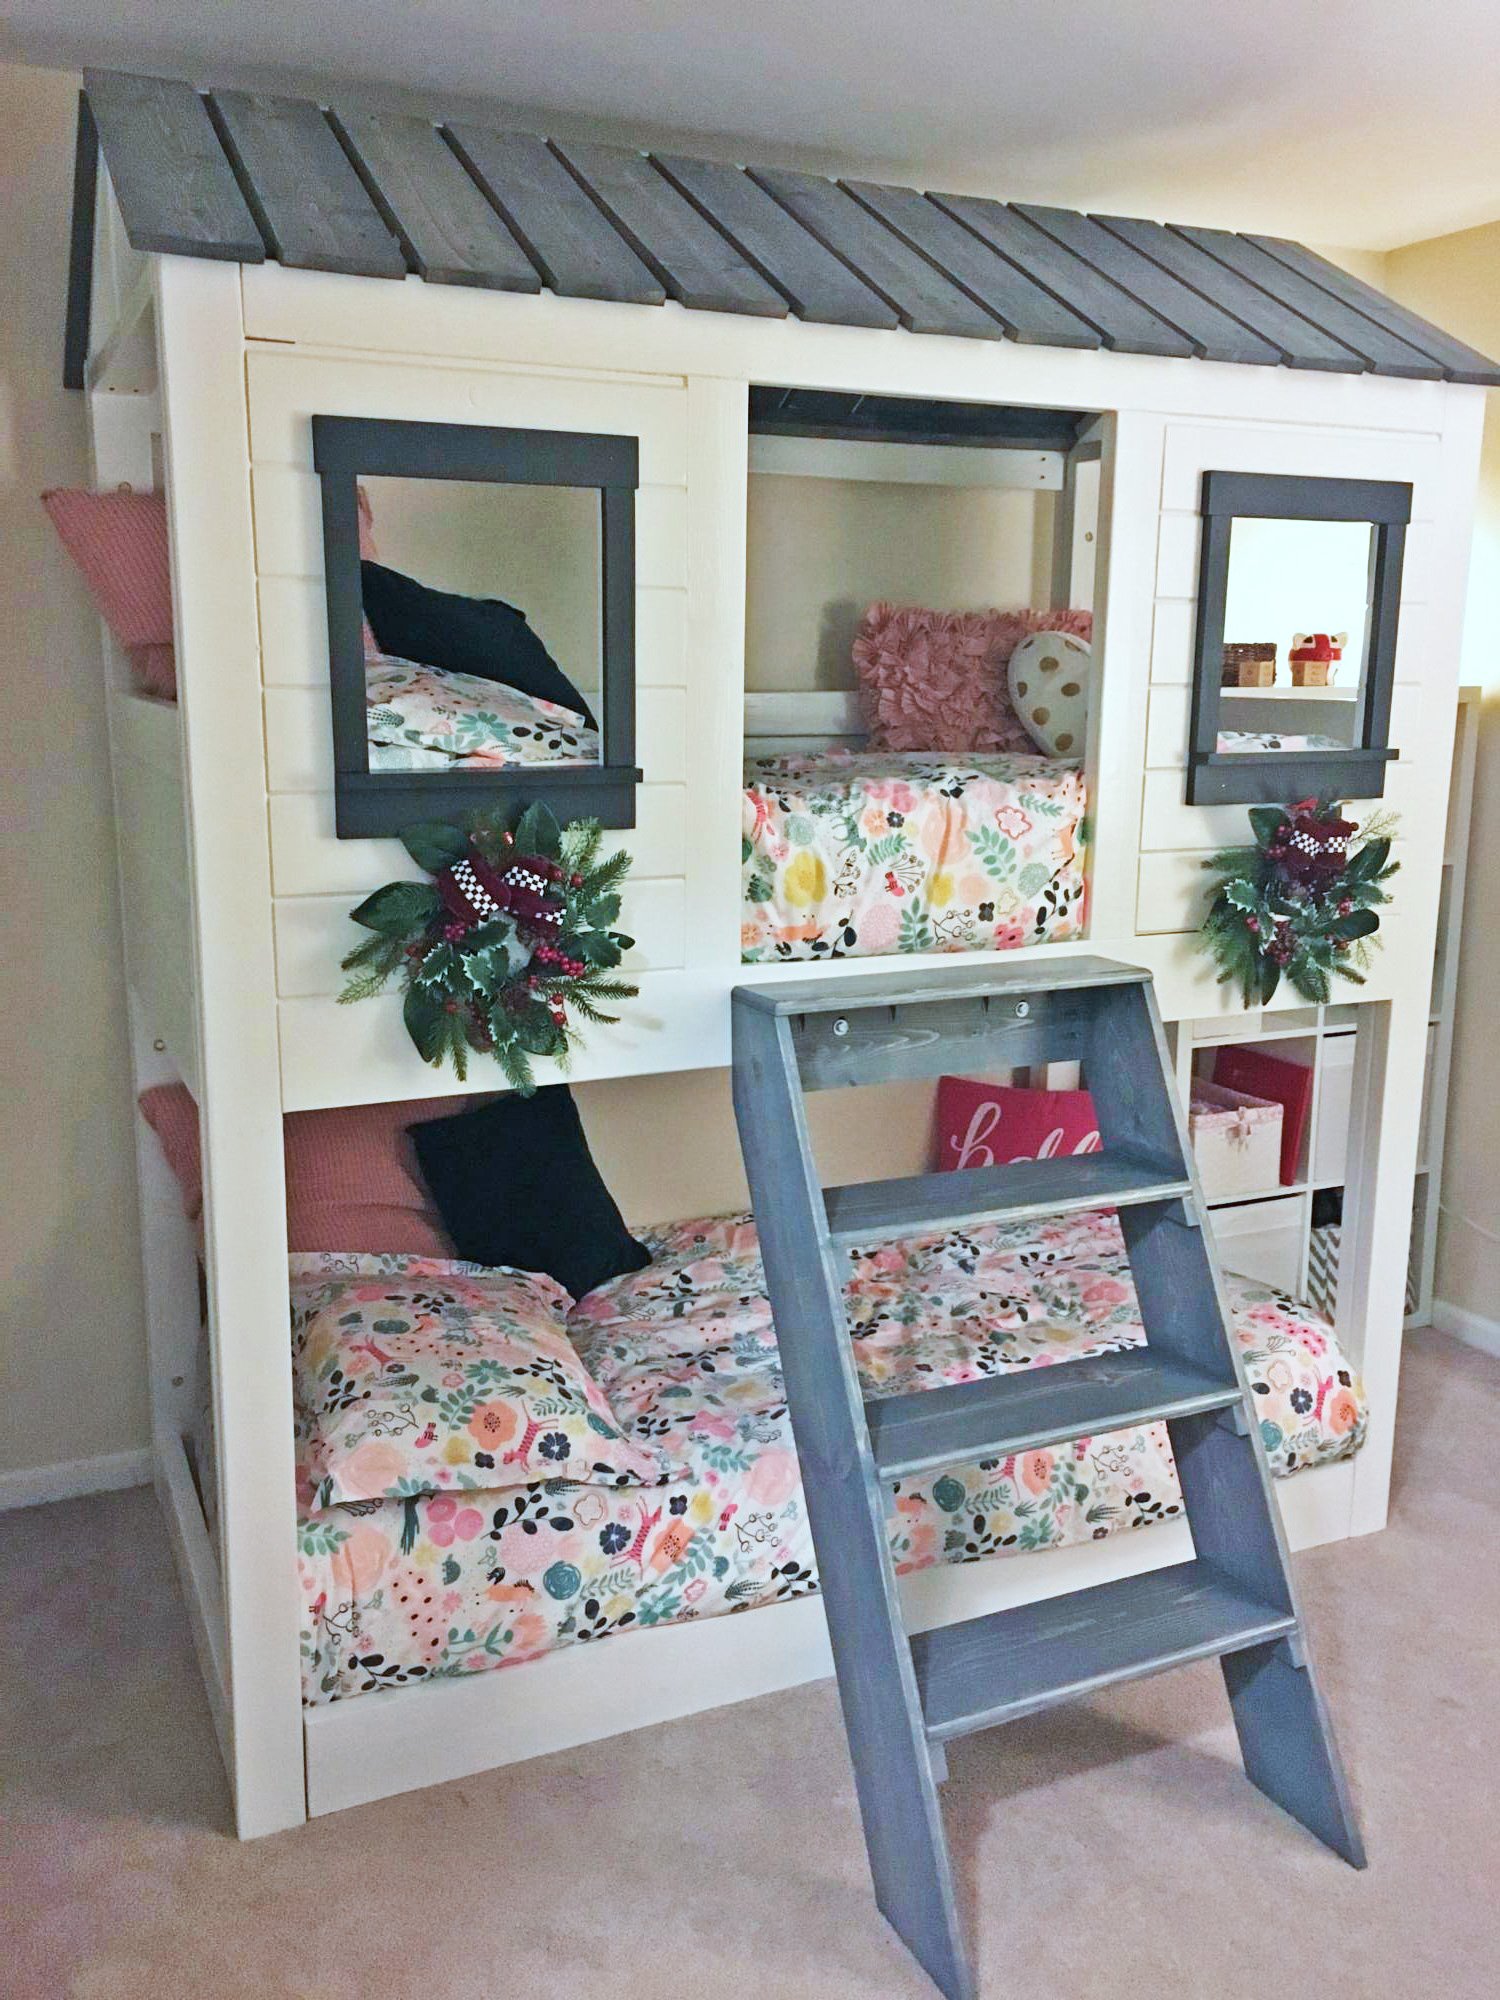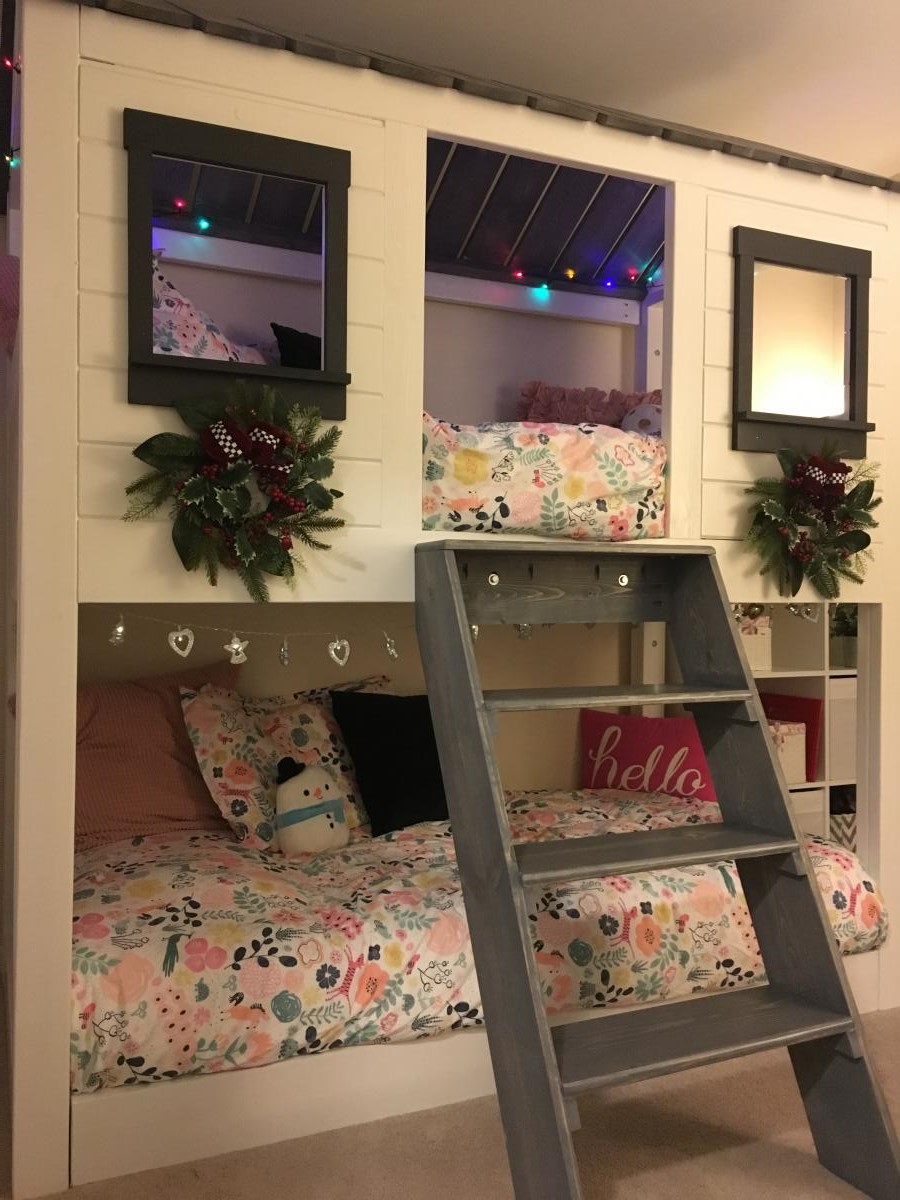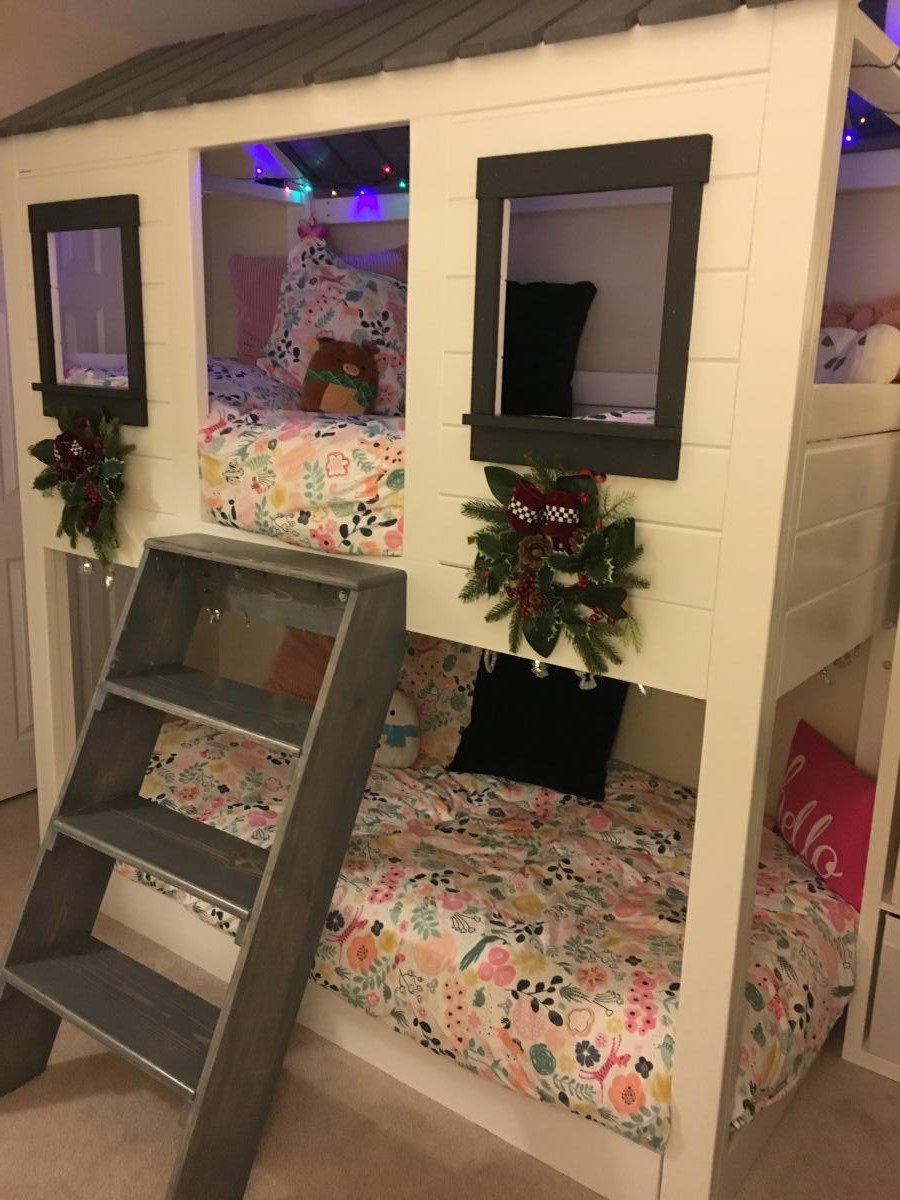
Best Christmas present according to my 4-year-old twins :) I combined ideas from Jen Woodhouse's "cabin bed" and "loft cabin bed" after seeing another brag post from someone who had turned it into a bunk bed. I added a separate platform for the lower mattress for uniformity and to provide some air circulation for the mattress. I also opted for a 2x6 as the bottom weight-bearing beam because I wanted to be able to add an extra couple pocket screws since this mama likes to play in the top bunk too! My girls took turns sleeping in the top/bottom for the first 2 nights, and have been camping out together in the top bunk ever since... and my husband and I are finally getting to sleep in on the weekends because they never want to come out of their room!
**Side note -- I'm not sure how my pictures got flipped but I have no idea how to fix it!


Varathane weathered grey for roof & stairs
Rustoleum "Chalked" in charcoal for window trim
Comments
curt1ja
Wed, 01/08/2020 - 06:09
This is exactly what I am…
This is exactly what I am looking for. How tall is it? Can you post plans of how you modified it?
Twinkies' mom
Fri, 10/02/2020 - 09:33
I am SO sorry but I haven't…
I am SO sorry but I haven't been on here since I posted the bunkbeds (almost 9 months ago!) I had written out all of my modified measurements on the Jen Woodhouse plans but have since lost it somewhere in my garage :( Here is what I can tell you at the moment: short side of "front" & "back" panels = 77.25" ; I kept the angles on the sides/roof the same, so the highest point of roof = 89" (I have short 8' ceilings so this leaves ~7" space up top). I used what I believe were 5" tongue & groove flooring panels instead of plywood for all sides, framed by 2x4s and 2x6 underneath for a little extra support. The height from the bottom of the top bunk to the floor is 38", and I added a 2x6 piece between the bottom legs of the 2 side pieces, flush with the outside edge. I built a rectangular frame for the bottom mattress using 2x6" on the long sides and 2x4 on the short sides -- the 2x4s are raised off the floor in order to allow for air circulation under the mattress and act as the end slats (they're flush on top with the rest of the slats, which I used 2x4s instead of the 1x in the plans)... instead of the 2x2 supports for the mattresses I used some scrap 2x3s from my kids old toddler beds which I had also built but tried to recycle as much of the wood as I could for this project, plus the 2x6 gave me a little more wiggle room -- if you use 2x4 you won't have space for 2x3 supports. The front "door" opening is 22.75", which I based on my size and me being able to get in and out easily (as mentioned above, I like to camp out with my kids sometimes!). The window openings are 12" w x 13.5" h, but the height is measured after I made a 1x3" window ledge which is flush with the inside of the wall; the rest of the windows are framed with 1x2s and 1x3s.
The full width of the side panels is 38" and the front/back are 78.5" -- I based these on the mattresses which I had already bought (Novaform twin from Costco -- since they're memory foam they're a little easier to "squeeze" in the top bunk than I would imagine a regular mattress would be).
I think that covers everything, sorry again about replying so late!
Twinkies' mom
Fri, 10/02/2020 - 09:42
2 more things: The bottom …
2 more things:
The bottom "frame" was meant to be removable for easy assembly/disassembly as my family moves a lot! That is why I used the inner 2x4s to hold the long side rails together, and the short-side 2x6s which are attached to the side frames are merely fore the illusion that it's all one piece. I did place a couple 2.5" screws through the inside of the 2x4s right into the legs of the upper bunk to make sure it stays in place.
When building the front panels with the windows, I decided on door opening first, then window opening (based on the size of the tongue & groove flooring), then calculated the width of all the pieces to create the window opening. I used pocked holes to connect the tongue & groove flooring to the "frame" created by the 2x4 pieces, and TONS of wood glue in between the boards. Adding the window frames with glue & nails helped provide a little more stability to the windows, although once the glue was dry there was zero movement around the window but I never know with my extremely-destructive twins! Now they're able to climb all over the bunk using the window ledge for support and it's no problem.