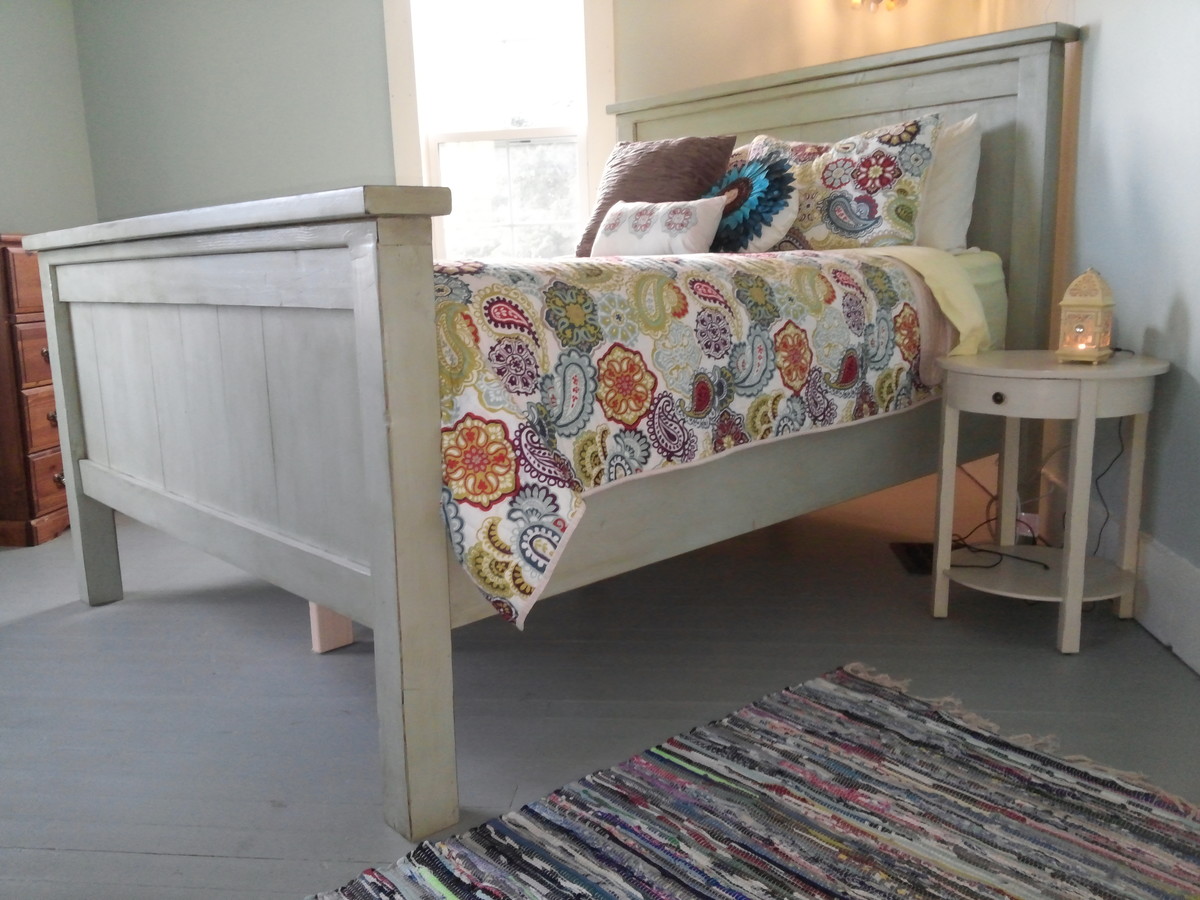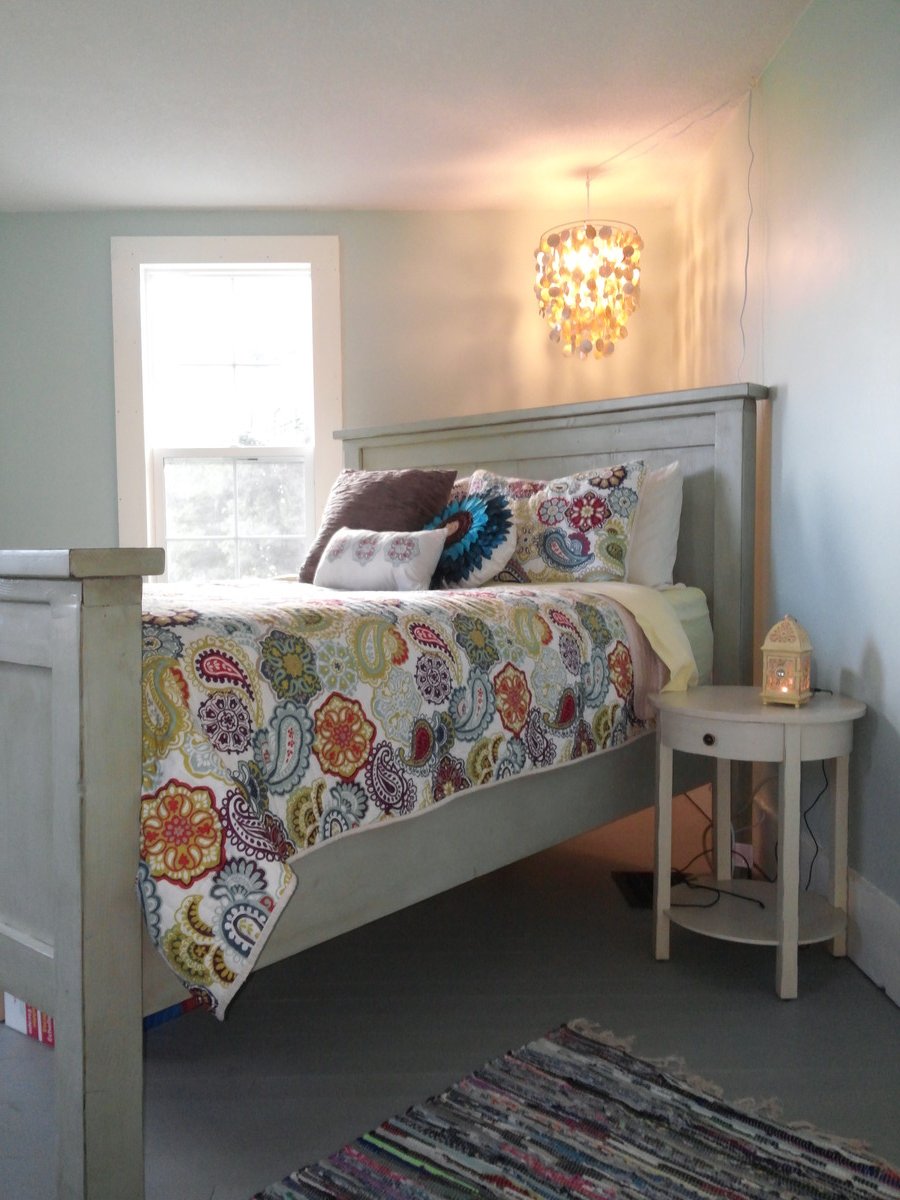
I'd been looking for plans to build a bed, since I wans't finding anything even remotely affordable that I liked in the stores, especially anything solid wood. I live in a renovated 4-square farmhouse, so the farmhouse bed plans seemed like an obvious choice. I absolutely loved the style, but I wanted to modify it a little. The original plans closely replicate the PB bed it is a knock off of, but I wanted a taller footboard that would come up above the mattress. I cut the footboard panels to 23" instead of 15", and the footboard posts to 35" instead of 21".
I scored on a gallon of oops paint at HD for $9, so total for this project was about $150 including the finish materials, $130 for just the lumber and hardware. This included adding an extra 1x8 to accomodate for the taller panels on the footboard. I did get 6' 1x4s instead of 8', which brought the cost and the material waste down some. Overall, my scrap pile was pretty tiny when I was done. It took me about a week to complete this project, but I worked slowly and a lot of time was spent watching paint/stain/urethane dry. It probably could have been done in a weekend if I was diligent.
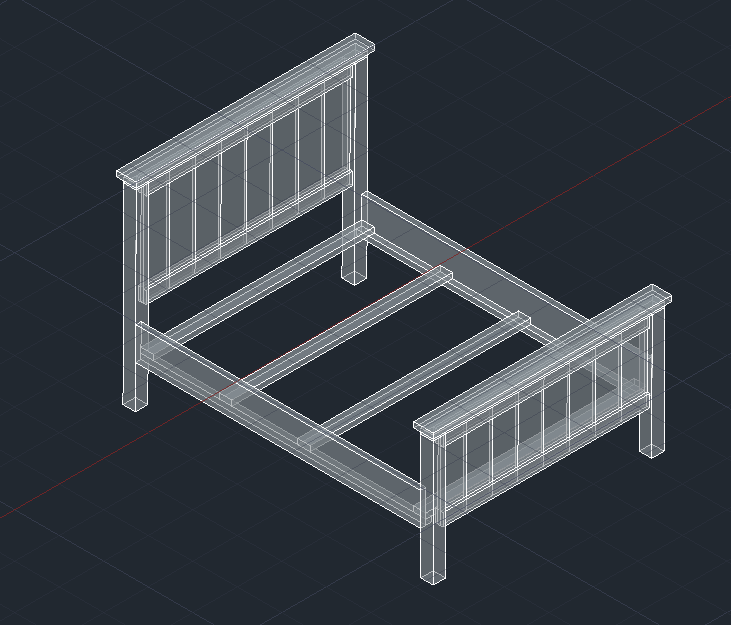
Should I ever need to move this bed, I purchased knock down bed rail fasteners here and cut my 2x10 rails to 80", then mounted them to the posts with the fasteners 60" apart. I used 2x2s cut to 80" for "cleats" on the inside of each rail, glued and screwed about every 4" with 2.5" screws. Then I cut five 2x4 slats to 60" to sit on the cleats.
I measured from the floor to the top of the cleats and cut three "feet" from the 2x4 scrap to screw to the center of three of the slats to add center support (not shown in CAD drawing), as many mattress warranties require this. This sounds confusing, but I just used leftover chunks of 2x4 from the slats to make a "T" with three of the slats - top, middle, and bottom - so these slats rest on both the cleats and the floor. I have a split queen foundation, so I was worried about sagging. So far so good, feels super sturdy! The knock down fasteners are very secure, and there isn't a single wobble or squeak to be heard.
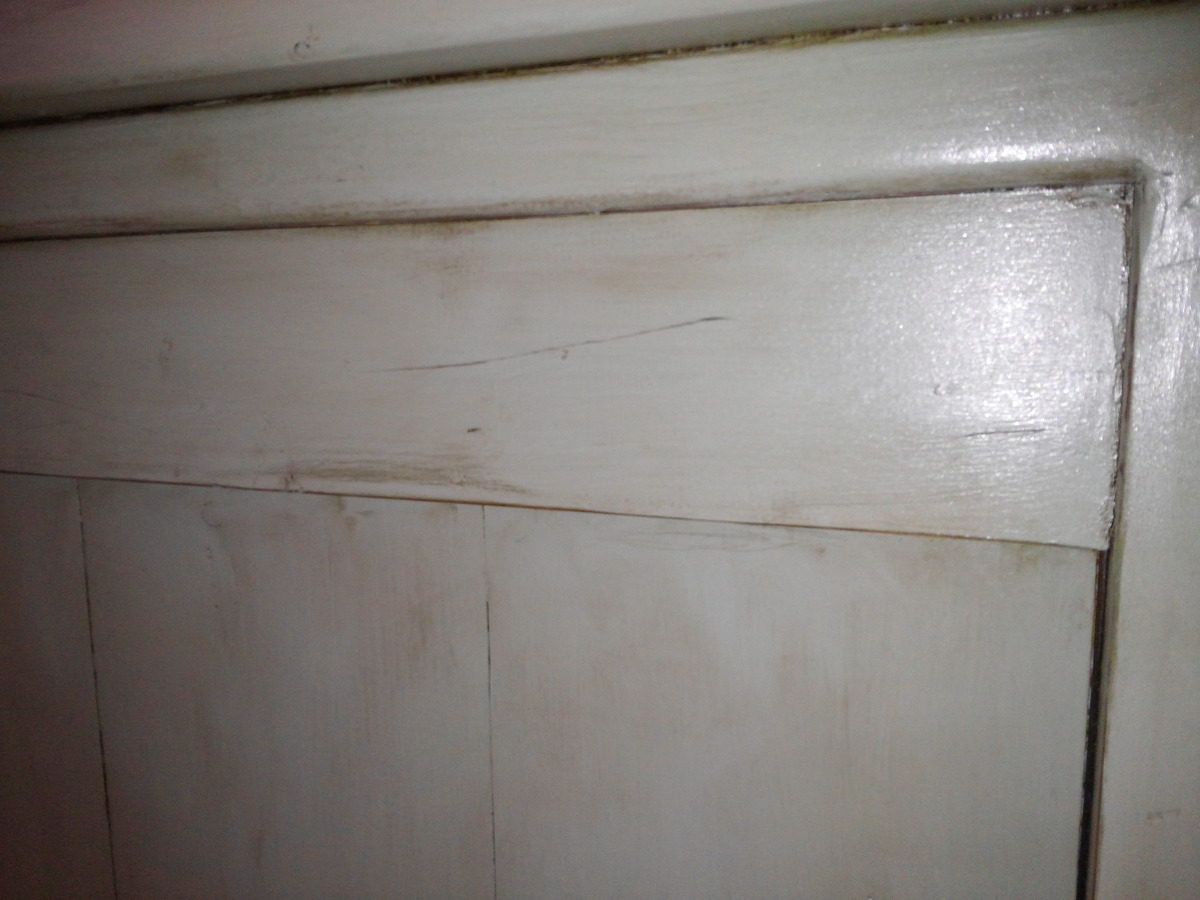
To get a good finish, I used a good wood filler. I think it was a JB brand wood repair product that was like a two part epoxy. I didn't just fill the screw holes, I filled any gaps and uneven places where joints didn't meet 100% exactly, like where the 4x4s meet the 2x4s. I didn't skimp on the sanding, either, even though I hate doing it, and even sanded lightly with 220 between coats of paint. The stain over the paint was totally experimental, but I loved the way it came out.
I'm super happy with the end result, but the taller footboard puts the bottom of my box spring around 13.5" off the floor - which gives me room to store stuff under there, but also makes for a very tall bed. Obviously you can adjust how high you want to hang the rails, I just wanted the bottom of the rails to line up with the bottom of the footboard panel, so it ended up tall.
Everyone who has seen this bed, or at least a picture of it, is absolutely in love with it. It's a showstopper in my bedroom, for sure.


Painted two coats of paint (unknown oops color from Home Depot); lightly sanded edges and added random marks with flat head screw driver; brushed on Minwax wood finish in dark walnut and wiped off after 2-3 minutes (work in small sections at a time); sealed with one coat of spray on spar urethane once stain was dry.
Comments
KJW 1
Sat, 03/19/2022 - 04:06
Farmhouse Queen Bed
Great looking bed.