When we poured the slab for the Momplex, we saw an opportunity to kill two birds with one stone.
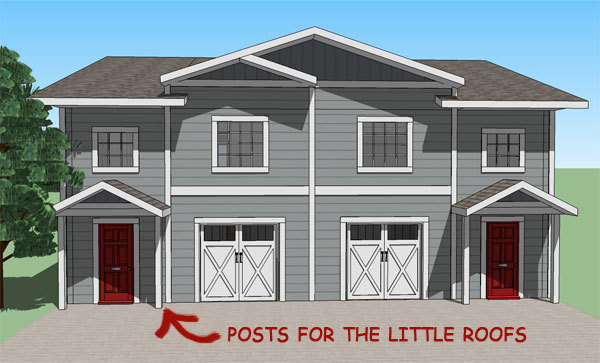
The Momplex is just one gigantic box. This is intentional - building square saves time, money and frustration. But to make up for the Momplex's lack of character, we are doing some overframing on the trusses over the garages. This not only sheds water from the garages, but will prevent ice building up in front of the garage doors.<div><br></div><div>But then that just means the water/ice problem is getting transferred to the doorways. So we added some little roofs over the garage entry doors. And they are also kindof cute and add character to the front of the Momplex.</div><div><br></div><div>The little roofs require concrete posts below the frost barrier to keep the roof from heaving. When the ground freezes, the moisture in it can freeze and expand. This can cause the roof systems to get pushed upward if the foundation for the roof system is not below the frost barrier (like the Momplex is). We will also use a similar system to support the decks and porches.</div><div><br></div><div>We decided now is as good a time as any to put the support systems in to build the roofs. Who knows, the next time we pour concrete, there could be a foot of snow, making this task exponentially more difficult. And if we are already paying for a concrete truck and pump truck, might as well get our money's worth out of the pour. </div><div><br></div>
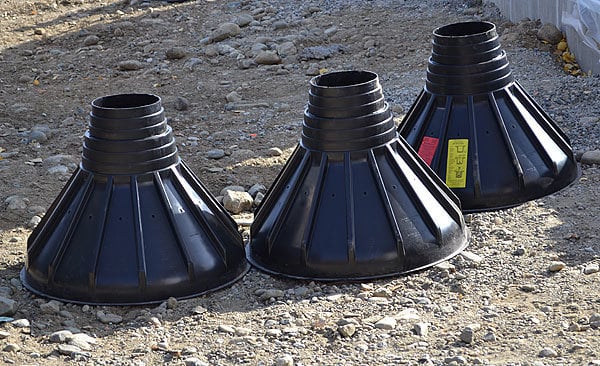
<h1>Magic Show</h1>Before we get to how we put posts in the ground, we've got three giant tops. One has a surprise under it. Take your guess.
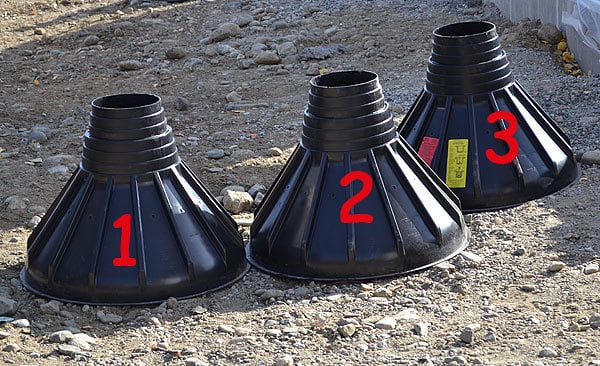
<h1>Did you pick one?
</h1>
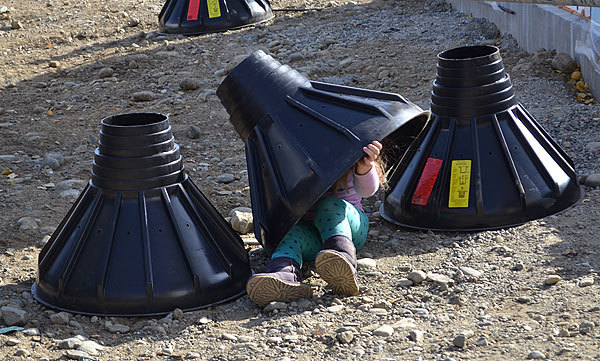
If you guessed 2, you guessed right!!!
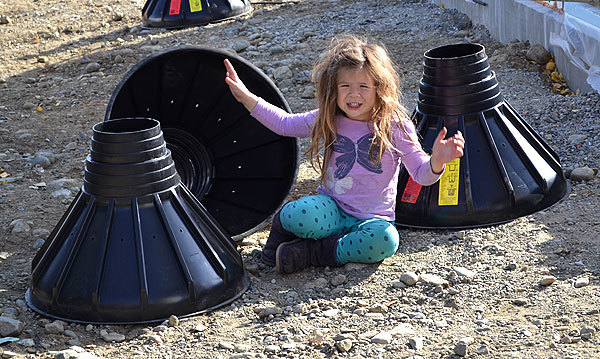
<h1>Bigfoots</h1><div>Children just know how to make everything more fun, don't they?
These giant tops are called "bigfoots". They go on the end of sonotubes (sonotubes are basically big cardboard tubes that you fill with concrete) to act as a poured in place footer. Even though we are below the frost barrier, when the ground freezes, it squeezes the sonotubes, and can push them upward, heaving the roof upward. So we spent the extra twenty five bucks per bigfoot to avoid uneven roofs in the future.</div>
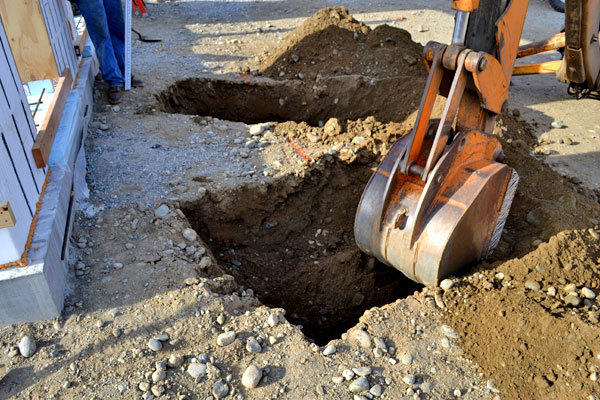
<h1>More Holes</h1><div>This process starts with a big hole being dug in the ground in the general area of the posts.</div>
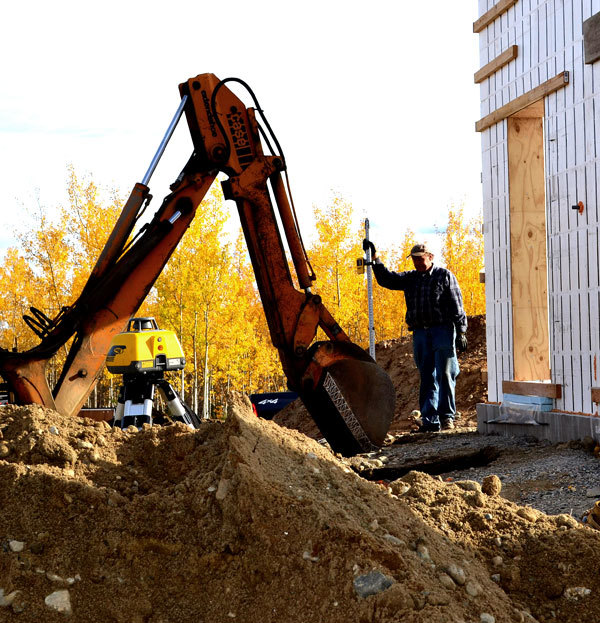
<h1>Wait for the Beep</h1>The <a href="http://ana-white.com/2011/07/new-boss" title="" target="_blank">laser level</a> is used to figure the correct depth of the holes. If you are building a house, buy a laser level. We use it constantly - for everything!
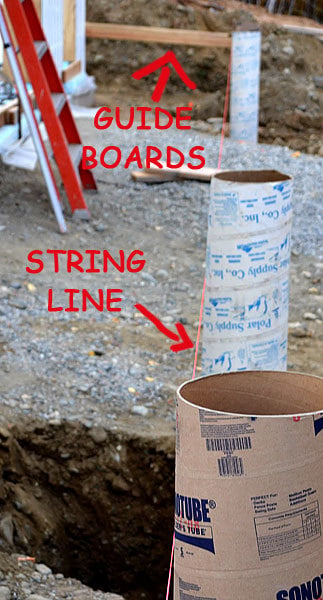
<h1>Lined Up</h1><div>Once the holes are dug, guide boards are attached to the outsides of the Momplex, level with each other. From the guide boards, a string line is run the correct distance off the Momplex so we will know where to place the Sono Tubes.</div>
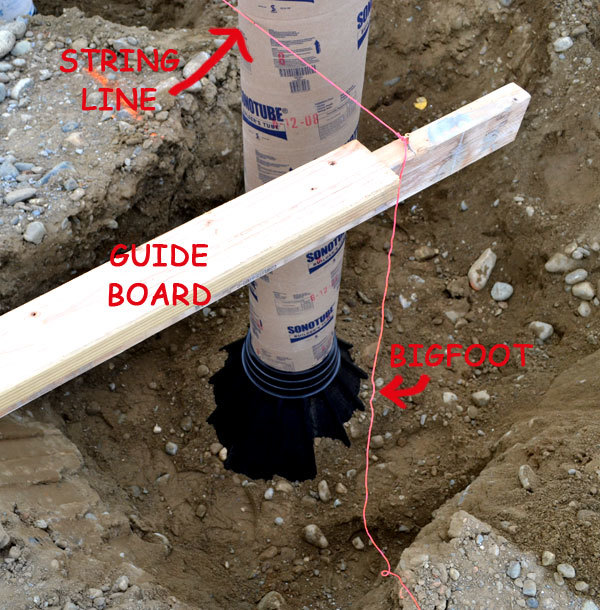
<h1>Tube Shoes </h1><div>The bigfoots are connected to the sono tubes and placed in the holes, so the sono tubes are in line with the string line. Rebar is placed in the bigfoots and the bigfoot is buried to keep it in place.</div>
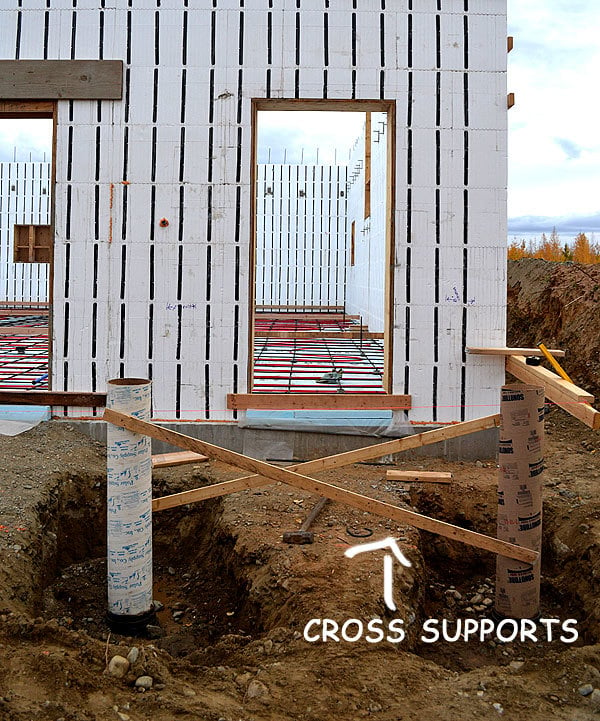
<h1>Find a Buddy</h1><div>To keep the posts in the correct position as the concrete is poured, cross supports are added to the empty sono tubes. Everything is easier with a buddy. </div>
<h1>Cut to Size
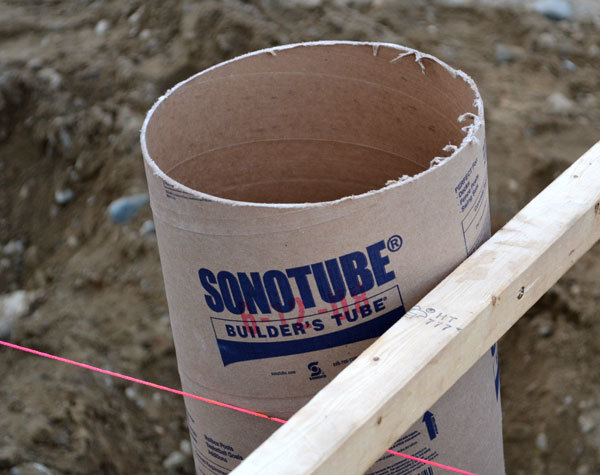
</h1><div>Then the sonotubes are marked using the laser level to the desired height in relation to the footers. And now it's just a matter of cutting the tops off to this mark. And the sonotubes are ready for mud!</div>
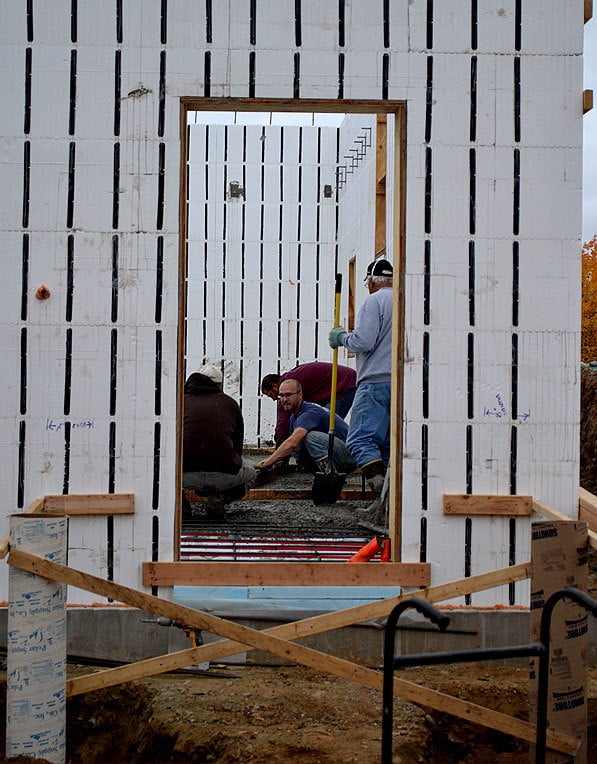
<h1>Waiting Patiently</h1><div>The tubes sat their patiently, holding hands with their buddies, watching and waiting for their turn. Would there be enough concrete leftover? Would they get forgotten?</div>
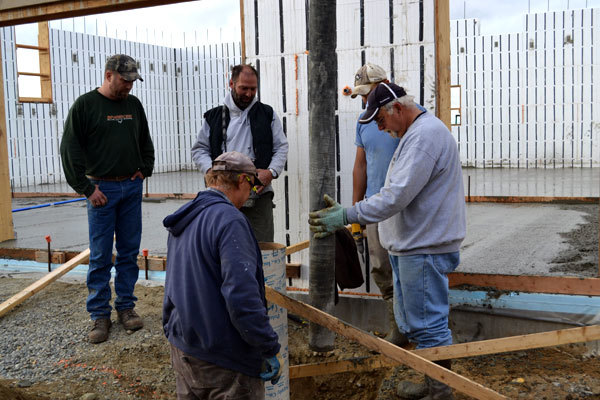
<h1>Last but not Least
</h1><div>And finally, the slab is poured and the last bit of concrete in the truck is saved for the sonotubes.</div>
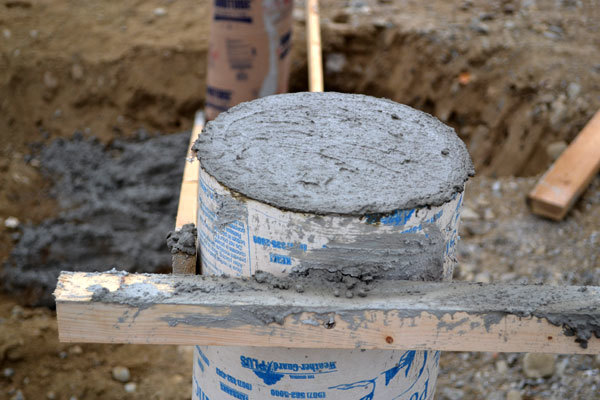
Once filled, the tops are scraped off, much like you would scrape the top off a overscooped cup of flour. <br><div><br></div><div><img src="http://ana-white.com/sites/default/files/footers-for-deck-roof-14.jpg " width="470px" alt="" align="none"></div><div><br></div><div>And they cure, happy to have a buddy.</div><div><br></div><div>I hope they like each other. They will be best buds for a long time to come!</div><div><br></div><div><br></div>
Comments
Sheela (not verified)
Fri, 09/23/2011 - 06:24
So cute!
claydowling
Fri, 09/23/2011 - 08:44
Attachment hardware
Cindy from Indiana (not verified)
Fri, 09/23/2011 - 09:48
Another Great Post (Groan - bad pun LOL)
Guest (not verified)
Fri, 09/23/2011 - 19:01
Just a quick note from the
Guest (not verified)
Fri, 09/23/2011 - 19:42
I learn something new from you EVERY Day!