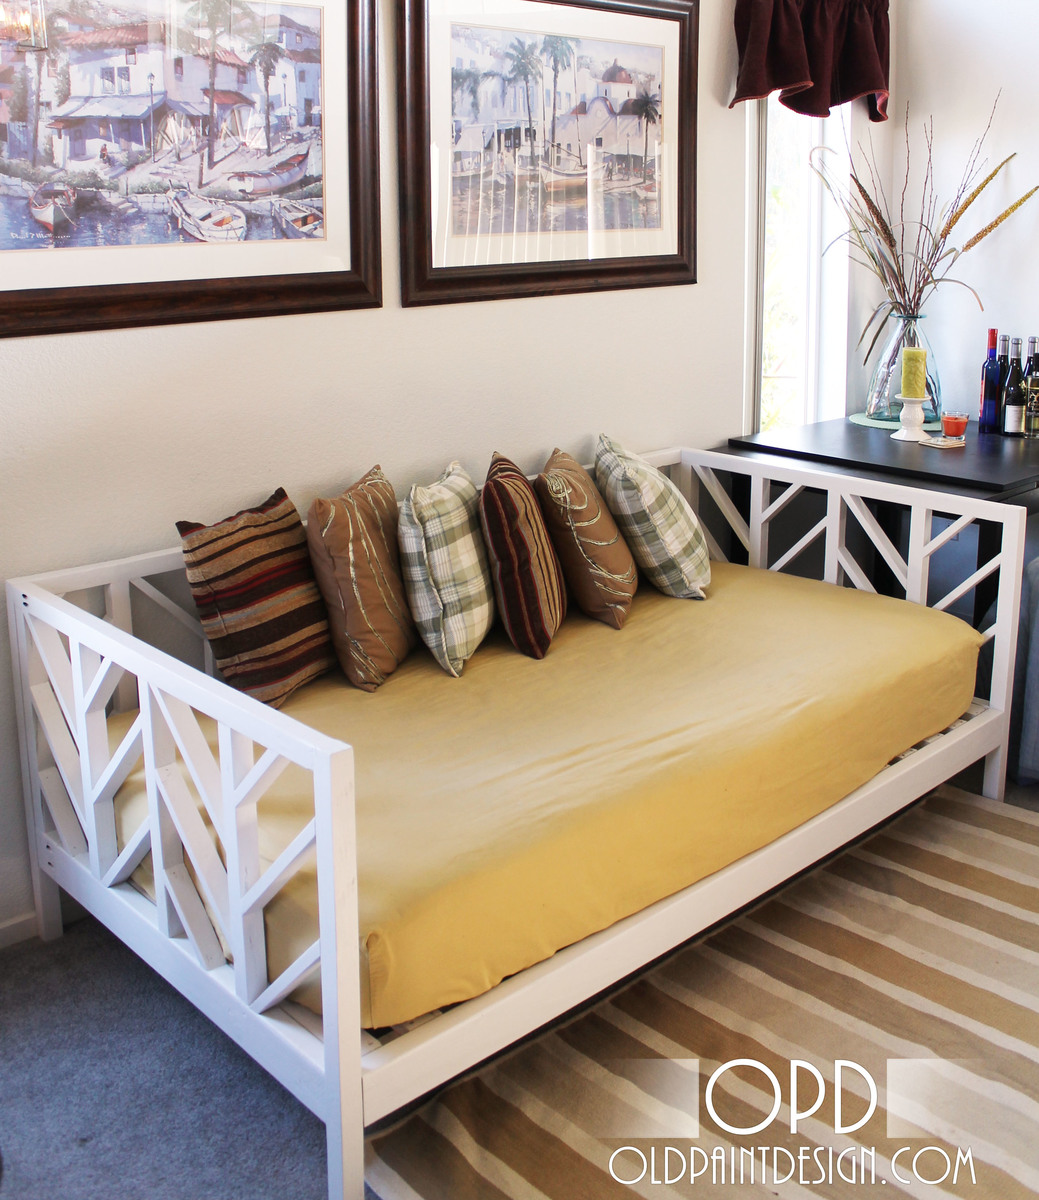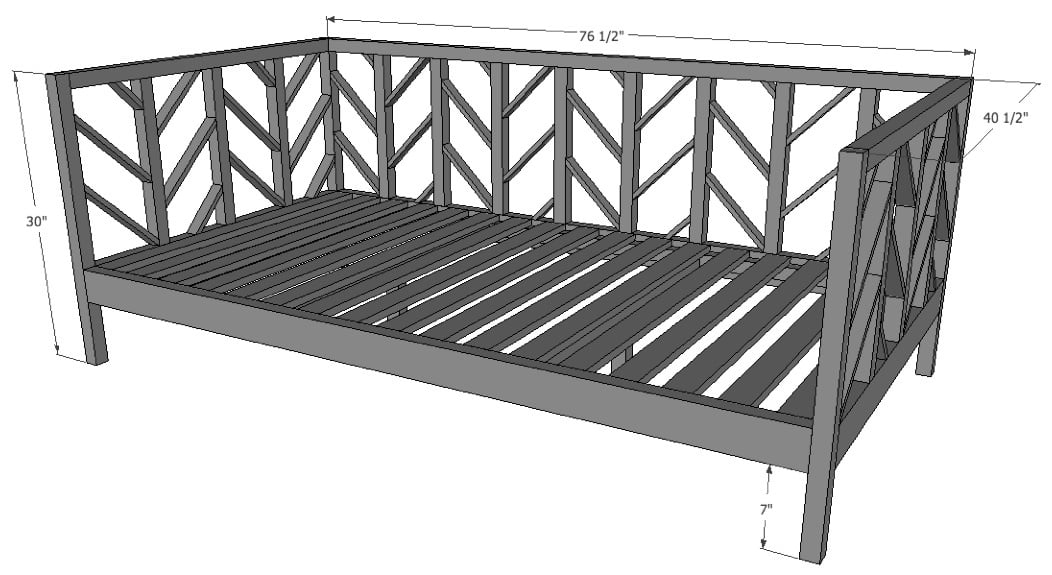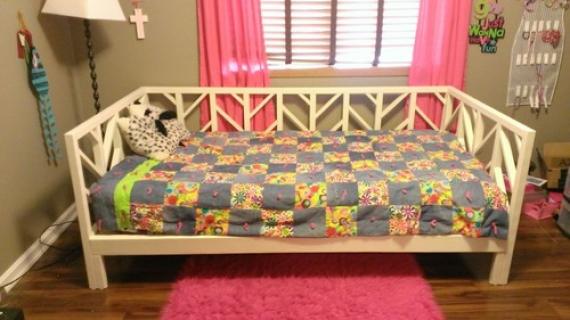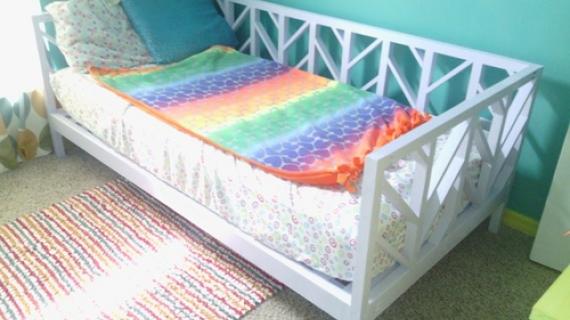
My good friend Stacy recently came over for a visit and really wanted to build a daybed. She had liked Ana's Rectangles Daybed inspired by West Elm's Windows Daybed, but we wanted to do a twist on that original. I love all things herringbone and drew up some plans via sketch-up for a herringbone style daybed and Stacy loved them! We got to work and spent a full day working on and finishing the bed.
I marked this project as "advanced" due to all of the thinking and miter cuts that have to happen in this plan. Once you get the pattern, you can knock it out pretty quickly, but for us, getting that down was a little tricky. I wouldn't try this as a first project.
I've listed the materials and cuts that you'll need to build the bed here, but for the full plans, head on over to my blog, Old Paint Design!

Preparation
5 – 1×2 @ 8 feet long
9 – 1×3 @ 8 feet long
8 – 2×2 @ 8 feet long
3 – 2×4 @ 8 feet long
2 – 1×2 @ 36″ – Bottom Support
9 – 1×2 @ 9 7/8″, mitered at 45 degrees on each side parallel to each other – Center Herringbone (both sides touching middle)
9 – 1×2 @ 9″ measured from the long ends, mitered at 45 degrees on each side NOT parallel to each other – Center Herringbone (longer piece, one side touching middle, one side touching the top/bottom)
9 – 1×2 @ 4 3/8″ measured from the long ends, mitered at 45 degrees on each side NOT parallel to each other – Center Herringbone (shorter piece, one side touching middle, one side touching the top/bottom)
8 – 1×2 @ 3 5/8″, measured from the long ends, mitered at 45 degrees on each side NOT parallel to each other – Side Herringbone (shorter piece, one side touching middle, one side touching the top/bottom)
16 – 1×2 @ 11 5/8″, mitered at 45 degrees on each side parallel to each other – Side Herringbone (both sides touching middle)
17 – 1×3 @ 39″ – Slats
16 – 2×2 @ 18″ – Center Herringbone Supports
2 – 2×2 @ 8 1/4″ – Center Legs
2 – 2×2 @ 75″ – Cleats
4 – 2×2 @ 30″ – Legs
2 – 2×2 @ 39″ – Side Top
1 – 2×2 @ 75″ – Back Top
2 – 2×4 @ 75″ – Back/Front Bottom
2 – 2×4 @ 39″ – Side Bottom
Please read through the entire plan and all comments before beginning this project. It is also advisable to review the Getting Started Section. Take all necessary precautions to build safely and smartly. Work on a clean level surface, free of imperfections or debris. Always use straight boards. Check for square after each step. Always predrill holes before attaching with screws. Use glue with finish nails for a stronger hold. Wipe excess glue off bare wood for stained projects, as dried glue will not take stain. Be safe, have fun, and ask for help if you need it. Good luck!
It is always recommended to apply a test coat on a hidden area or scrap piece to ensure color evenness and adhesion. Use primer or wood conditioner as needed.


Comments
hammertime
Tue, 01/24/2012 - 08:43
How lovely!
This is beautiful. I love herringbone too. Nice job and thank you for sharing.
Ana White
Tue, 01/24/2012 - 09:21
I love this daybed so much!
I love this daybed so much! To me, I think of a modern floral print. Creative genius here!
Stacy (not verified)
Tue, 01/24/2012 - 11:16
Thank you!
Ana -- I'm so happy you like the bed! Shane and I put in a lot of work, and it certainly was a beast of a building project to tackle in one day. You're such an inspiration to us both! Thank you for all you do!
Becky D (not verified)
Tue, 01/24/2012 - 09:36
Type of wood and 2x2s
Hi! I have been watching this site for a few months now thinking of building a daybed. This one is fantastic!
I am having trouble finding 2x2s in anything but pine. Is standard grade pine OK for this kind of project? Poplar and premium pine bring the price of making this bed to close to $200. Advice please. :)
Eva Carrillo (not verified)
Tue, 01/24/2012 - 13:52
Standard pine should be okay.
Standard pine should be okay. That's all I use for my projects as that is what my pockets can shell out for. Just be real choosy with your wood when purchasing. When I make this, for a sturdier daybed, I'm going to go with 2x4s for the main construction. We tend to have big guests sleep over and have had a store-bought bed made out of 2x2s break on them.
Stacy (not verified)
Tue, 01/24/2012 - 16:10
We used pine!
This builder and I put this bed together and we used regular ol' pine for the whole project. It's extremely sturdy. This isn't a "wood feature" piece, so we didn't spend extra on the really nice stuff.
Daisies and Crazies
Tue, 01/24/2012 - 09:37
Ohmygosh!
Ohmygosh, I love this too! I thought of trees when I saw it. Thanks for sharing!
viola
Tue, 01/24/2012 - 09:46
nature
Ana, I agree it reminds a person of a modern print. The first thing I thought when I saw it was trees. Especially winter trees. I can imagine this in a natural color, gray or even a green. What fun....Love it...
cprevost
Tue, 01/24/2012 - 11:14
Stacy Daybed
I also think of bare trees when I see this, therefore, it is going to be my new daybed in my sunroom! I am really looking forward to getting started!
mebohn
Tue, 01/24/2012 - 17:19
Really pretty
I've been trying to find/devise the perfect daybed for my craftroom that doubles as a guestroom. You did an amazing job! Thanks for sharing the plans with us!
Cindy from Indiana (not verified)
Wed, 01/25/2012 - 11:35
Beautiful and modern!
This daybed is gorgeous! I also love the modern twist with the different design!
Great job!
LaurenWeant (not verified)
Sun, 01/20/2013 - 07:10
What are the general
What are the general dimensions of the final product?
l x w x h
Thanks!