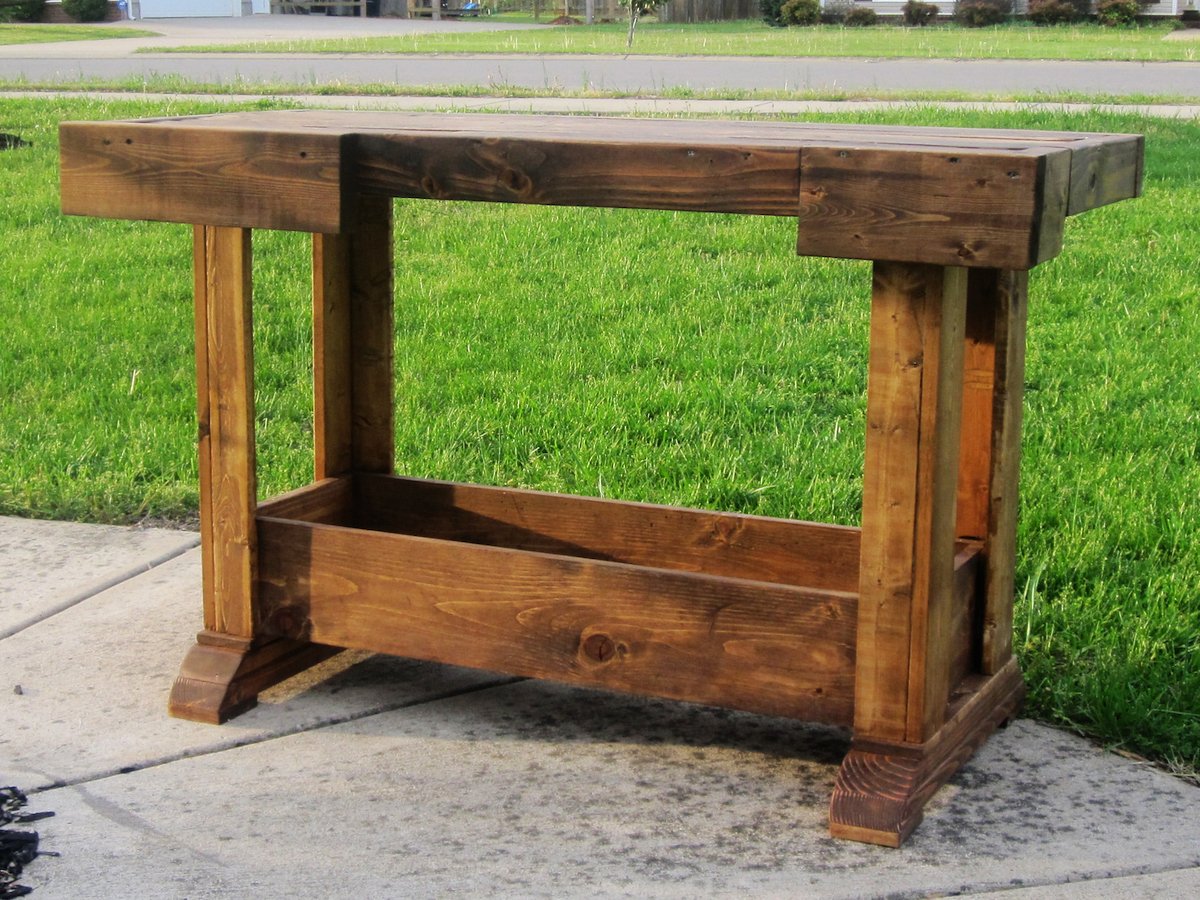
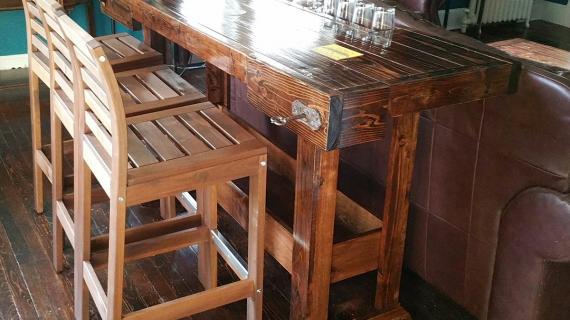
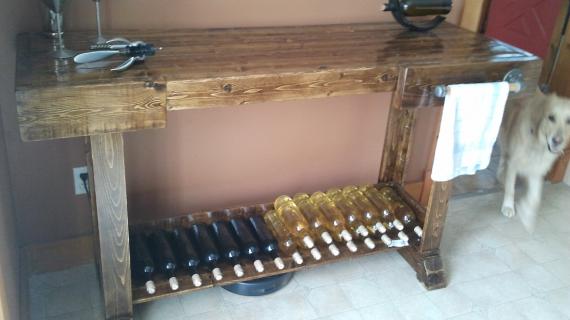
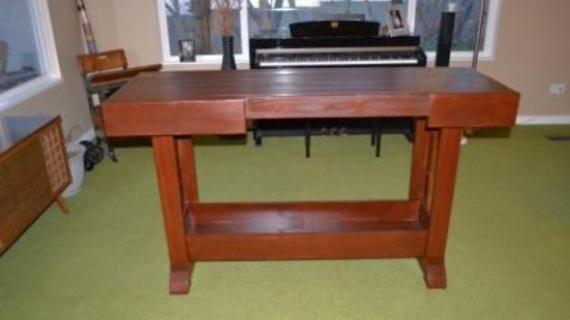
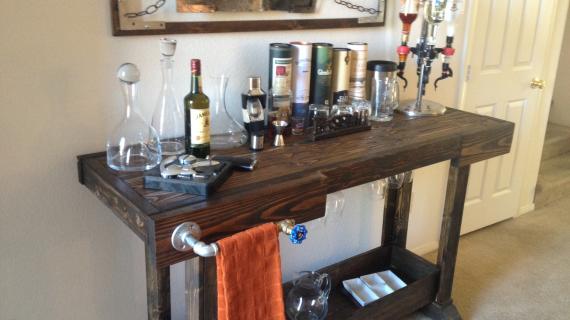
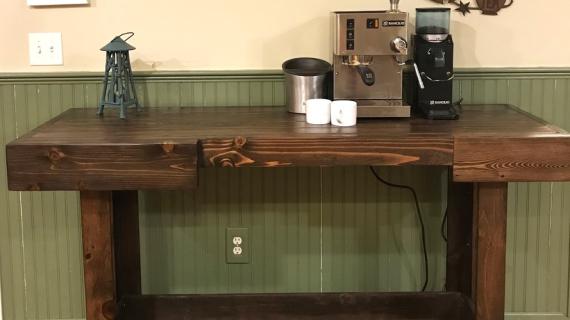
Are you looking for a unique console table, to keep your space stylish and interesting? Reminiscent of an old workbench, this rustic console table can be used as a bar or console table.
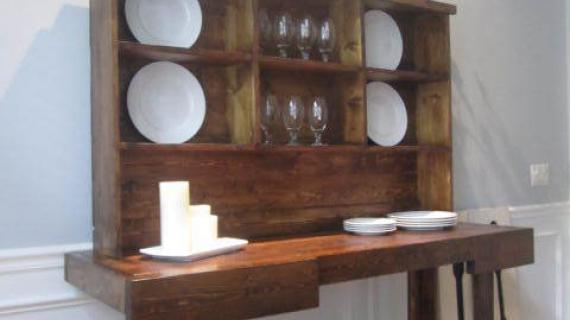
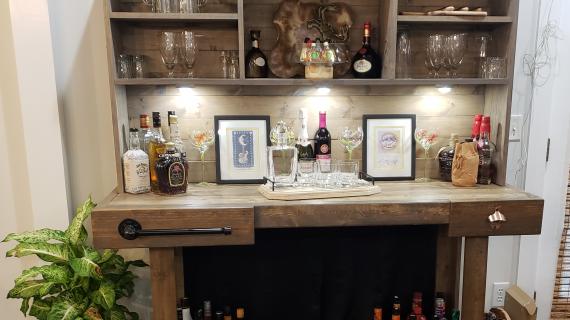
This is a free DIY project plan from Ana-White.com that includes step by step diagrams, shopping and cut lists. Matching hutch plans also available.
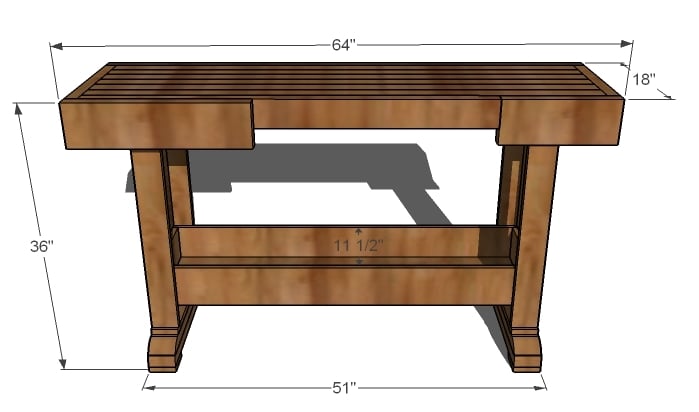
Preparation
- 6 – 2×4, 8 feet long
- 1 – 1×6, 8 feet long
- 1 – 1×12, 4 feet long
- 2 – 1×3, 8 feet long
- 2 – 1×4, 8 feet long
- 1 – 2×2, 4 feet long
- 1 – 2×6, 8 feet or stud length
- 2 1/2″ and 2" Self Tappng Star Bit Wood Screws
- 2-1/2″ Pocket Hole Screws
- 1 1/4″ Pocket Hole Screws
- 2" and 1-1/4″ Brad Nails
- Wood Glue
- Finishing Supplies
- Towel Bar
- 2 – 2×4 @ 19 1/2″ (Top, Feet)
- 2 – 2×4 @ 21 1/2″ (Bottom, Feet)
- 4 – 1×4 @ 3 1/2″ (Feet “soles” )
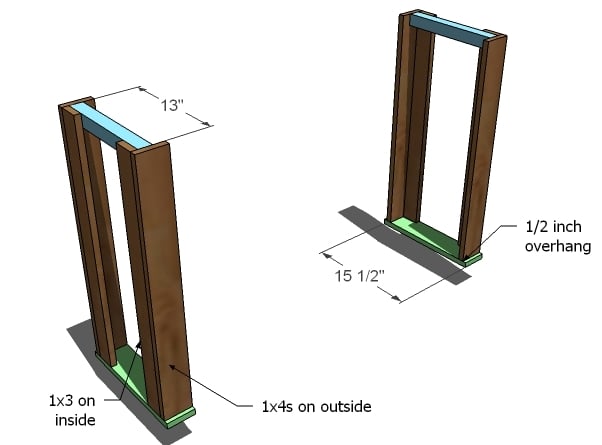
- 4 – 1×4 @ 30 3/4″ (Leg Fronts and Backs)
- 4 – 1×3 @ 30 3/4″ (Leg Sides)
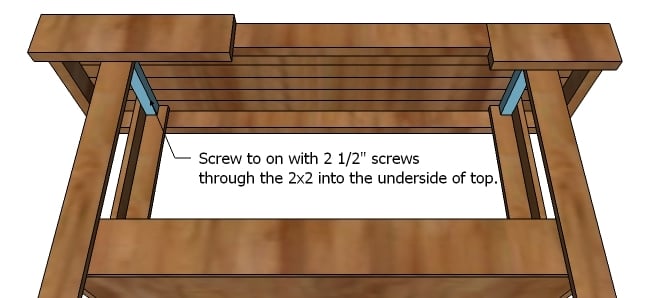
- 2 – 2×2 @ 13″ (Top of Legs Support)
- 2 – 1×4 @ 15 1/2″ (Bottom of Legs)
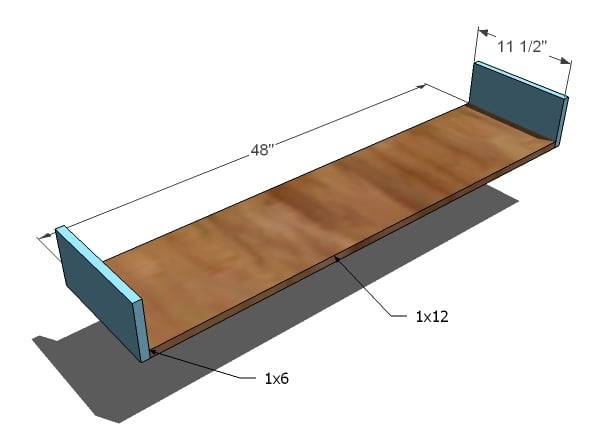
- 1 – 1×12 @ 48″ (Bottom of Shelf)
- 2 – 1×6 @ 11 1/2″ (Shelf Ends)
- 2 – 1×6 @ 49 1/2″ (Shelf Sides)
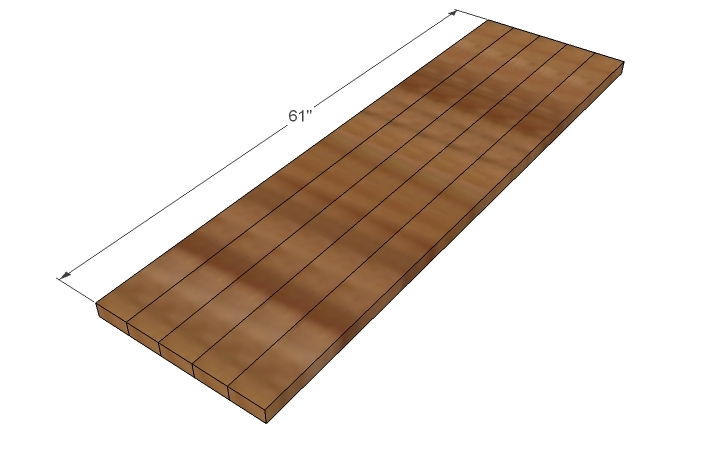
- 5 – 2×4 @ 61″ (Tabletop Boards)
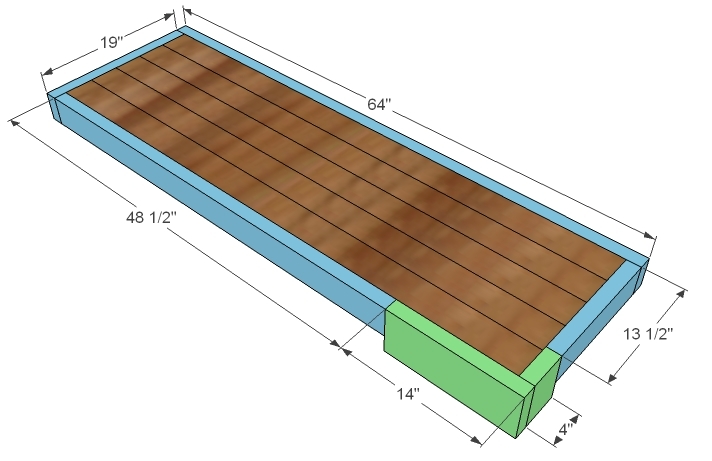
- 1 – 2×4 @48 1/2″ (Tabletop Trim)
- 1 -2×4 @19″ (Tabletop Trim)
- 1 – 2×4 @64″ (Tabletop Trim)
- 1 – 2×4 @13″ (Tabletop Trim)
- 1 – 2×6 @ 4″ (Tabletop Trim)
- 1 – 2×6 @14″ (Tabletop Trim)
Instructions
Step 1
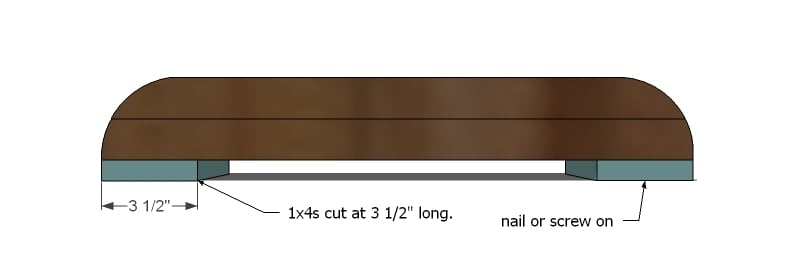
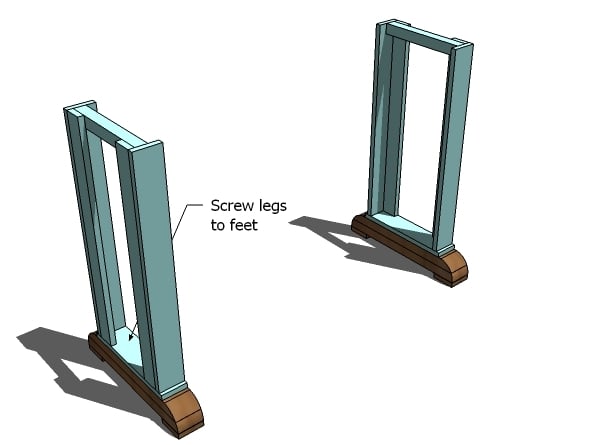
Cut the Feet From the two 2x4s cut at 19 1/2″ long, cut the ends at 45 degree angles, so the long point to long point measurement remains 19 1/2″. Cut the two 2x4s 21 1/2″ long end off at 30 degrees off square so the long point to long point measurement remains at 21 1/2″ long. Line one of each board up, as shown above, and screw together with 2 1/2″ screws and glue. Sand the ends to rounded with coarse sandpaper. Then finish with medium and fine grits.
Step 2
Step 3
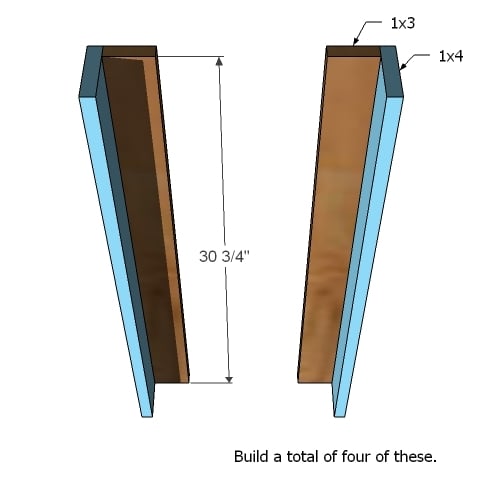
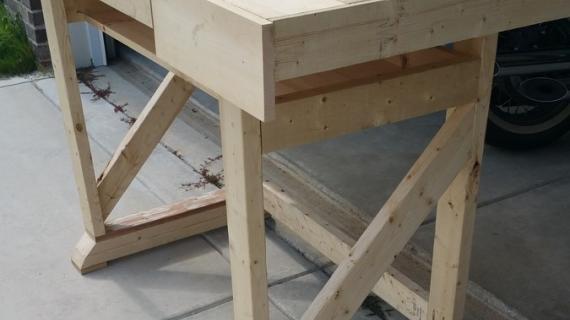
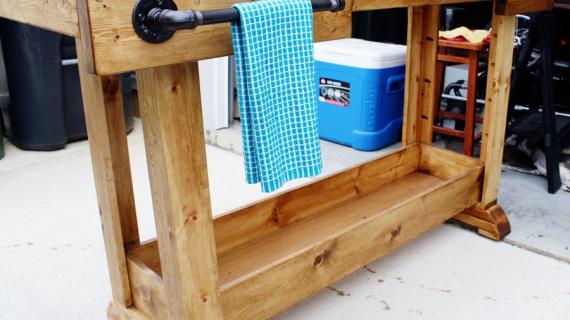
Build the Legs Build the legs from 1x3s and 1x4s as shown above. Build four. I used Kreg Jig™ to build the legs from the insides, hiding my screw holes. I choose to use an open leg for a few reasons. 4x4s are difficult for many people to find. If 4x4s are not dried properly, they can crack when brought inside. And using the open leg makes attaching the bottom shelf so much easier. But you can use 4x4s instead of the open legs, just add a 1×4 to top and bottom, instead of the 2×2 on top, and make the legs 30″ long. (shown below)
Step 4
Step 6
Bottom Shelf I used the Kreg Jig™ to attach the sides to the bottom shelf. I used 1 1/4″ pocket hole screws. Screw the 1×6 to the 1×12 as shown above.
Step 7
Shelf Sides Attach the sides to the bottom and ends as shown above. I used the Kreg Jig™ and 1 1/4″ pocket hole screws.




Comments
gsumarcinko
Fri, 02/24/2012 - 05:44
Leg assembly
Love this! I'm starting this same project from the plans and just purchased the kreg jig system but I'm stuck on assembling the table legs using pocket holes. I don't want to have visible pocket holes on the legs, could you give a quick description on how you assembled the legs and attached them to the feet using pocket holes? Thanks!
Jenna Walsh (not verified)
Wed, 02/29/2012 - 10:47
Where did you purchase the
Where did you purchase the towel bar?
Mark (not verified)
Tue, 09/04/2012 - 11:55
Screw Holes
I just finished the console portion of this build. I used a wooden dowell to hide my screws. Looks like the PB how they assembled. I also used a propane torch to smoke the edges to give them an outline. I built the drop in box for the top like the PB example.
Angelique Scott (not verified)
Sun, 11/04/2012 - 10:46
Need a smaller version!
I LOVE, LOVE, LOVE this console table & have a spot I SO badly want to put in but unfortunately it can't fit a table larger than 51 inches! I'm very new to building so I'm afraid to adjust measurements myself! Any suggestions would be great! Thank you!!!
Gfork
Tue, 07/12/2016 - 11:15
Amazing project, couple of questions
I love this site, been using a lot of then plans to spruce up the house. For this project as elk as the matching hutch how are we supposed to secure the hutch to the console or does it just sit on top. I didn't see any direction for this step.