Side Hutch (Rebecca Media Suite)

The free plans on this website are made possible with advertising and affiliate links.  Thank you for helping us keep plans free.


black storage wall plans
Difficulty
Advanced
| Print this plan

Build your own media wall.  This collection of woodworking plans can help you create a custom built in media wall, without hiring a professional carpenter.  Our free step by step plans are easy to follow and include diagrams, shopping and cut lists.
Collections
Rebecca Media Center

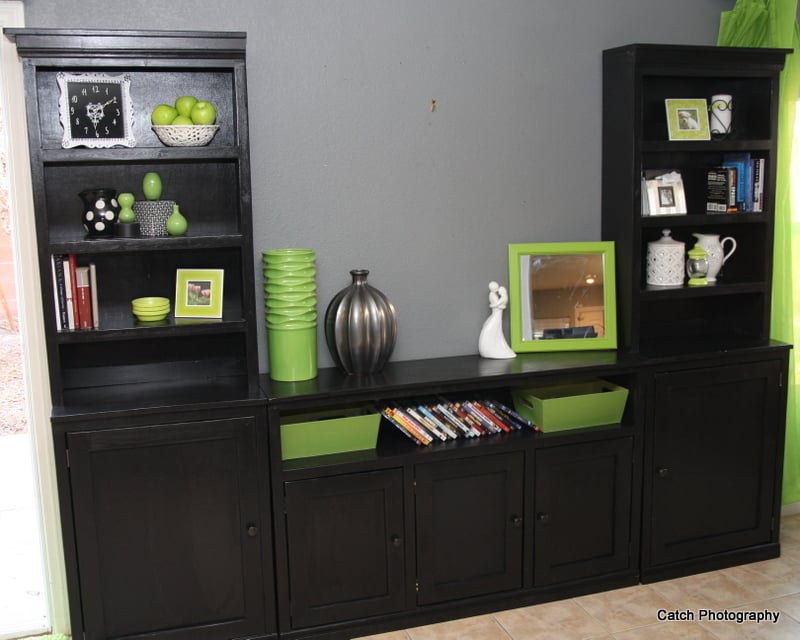
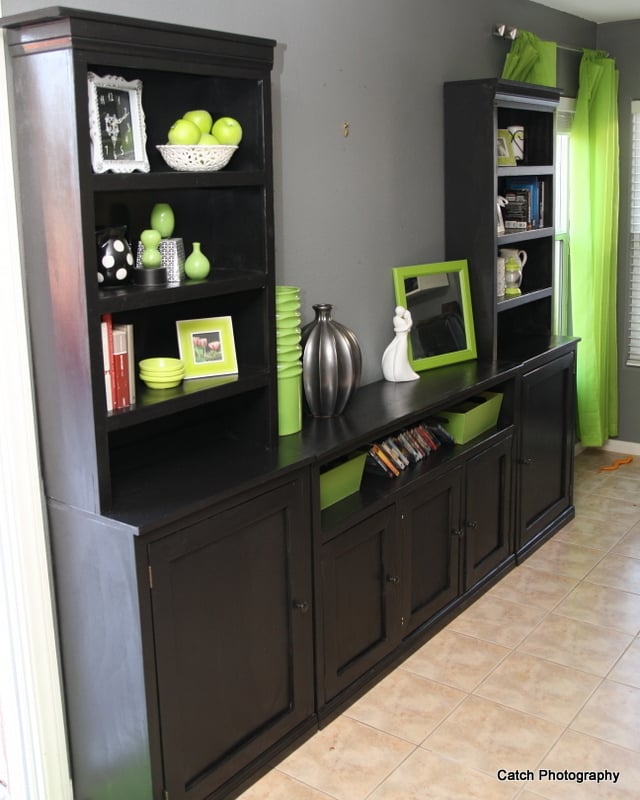
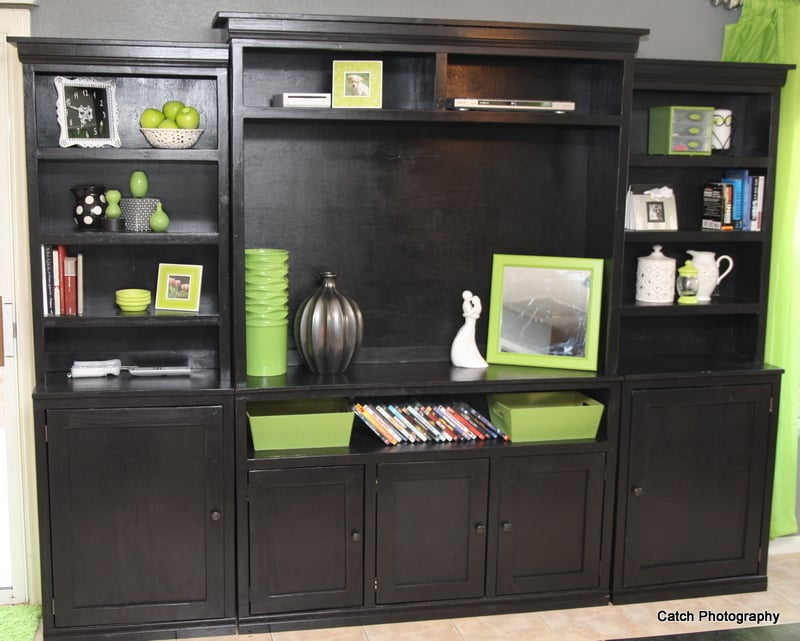
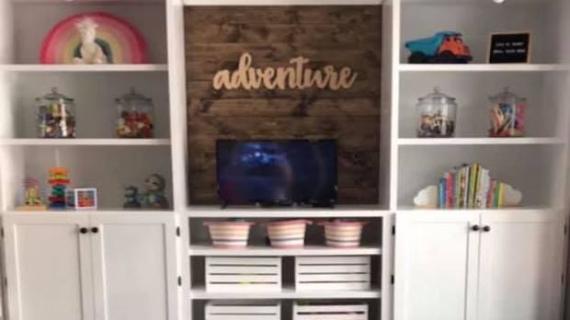
This media suite was built in collaboration with Rebecca, one of our readers.

From Rebecca:

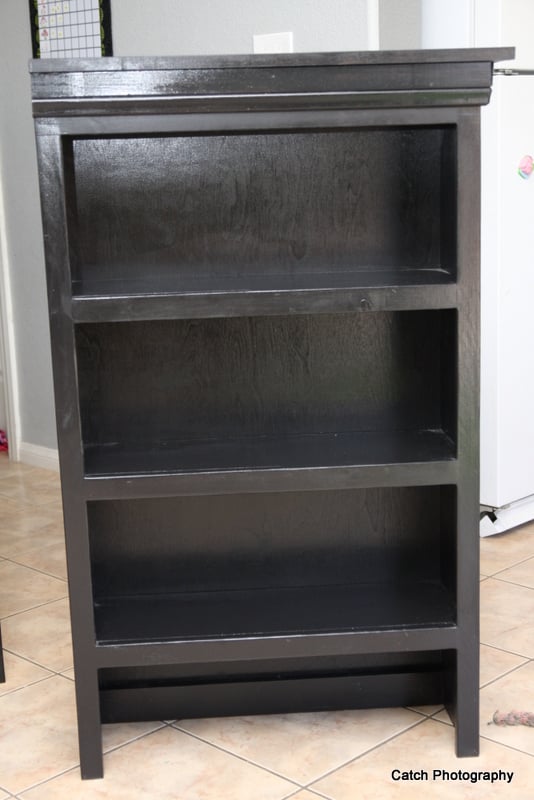
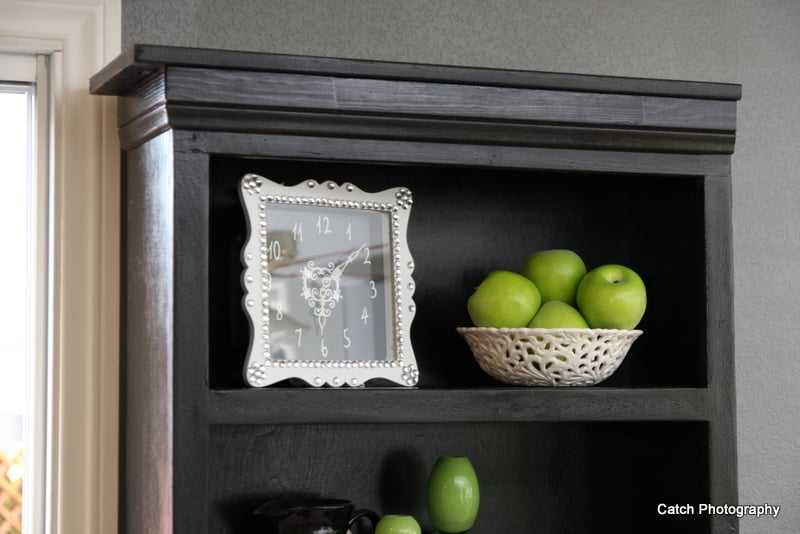
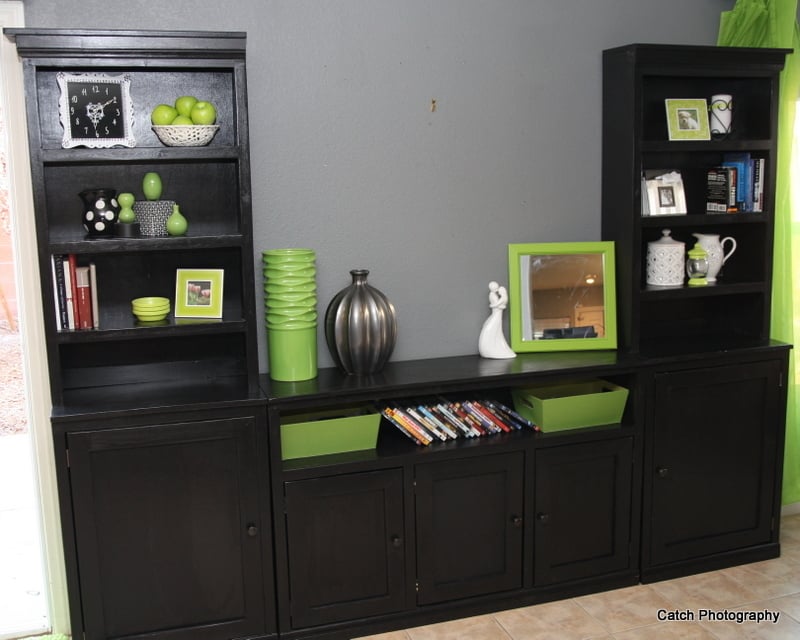
These hutch additions totally make the media suite. The side pieces are more narrow than the whole unit, only about 8 inches. It is perfect for those narrower books, DVD's and lots of fun display space. The plan is designed with a drawer on the bottom of the shelf. I personally decided not to do drawers, #1 because it required more wood than we had, and #2 because being this narrow, you really would only put remotes or small objects inside. But that is totally up to you! Make sure you stop over and visit Rebecca at her blog for lots more tips and photos.

You can build all the pieces in this media suite.

black media suite custom built in

Dimensions
Rebecca Media Center
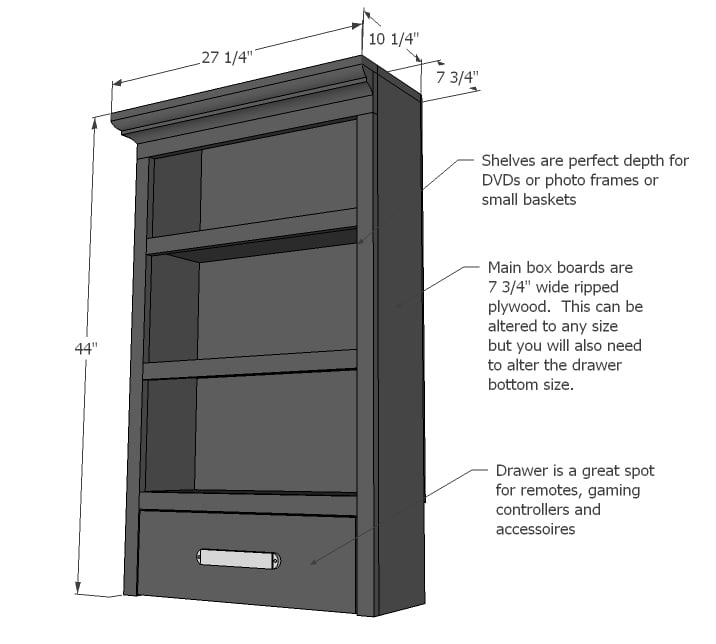
Dimensions are shown above

Preparation

Shopping List
  • 1- sheet 3/4" Plywood
  • 1- sheet 1/4" Plywood
  • 4- 8ft 1x2's
  • 1- 8ft 1x4 (or 54")

This is a shopping and cut list to build TWO of these.

Common Materials
3/4 inch finish nails
120 grit sandpaper
primer
paint
paint brush
Cut List

This is a shopping and cut list to build TWO of these.


3/4" Plywood

  • 2 @ 7 3/4" x 27 1/4"
  • 6 @ 7 3/4" x 24"
  • 4 @ 7 3/4" x 43 1/4"


1/4" Plywood

  • 2 @ 25 1/2" x 35 3/4"


1x2's

  • 4 @ 7 3/4"
  • 6 @ 22 1/2"
  • 4 @ 39 3/4"
  • 2 @ 27 1/4"


1x4's

  • 2 @ 25 1/2"


Molding for top

  • 2 @ 27 1/4" (cut on miter, take measurements!)
  • 4 @ 9 1/4" (cut on miter, take measurements!)
Cutting Instructions

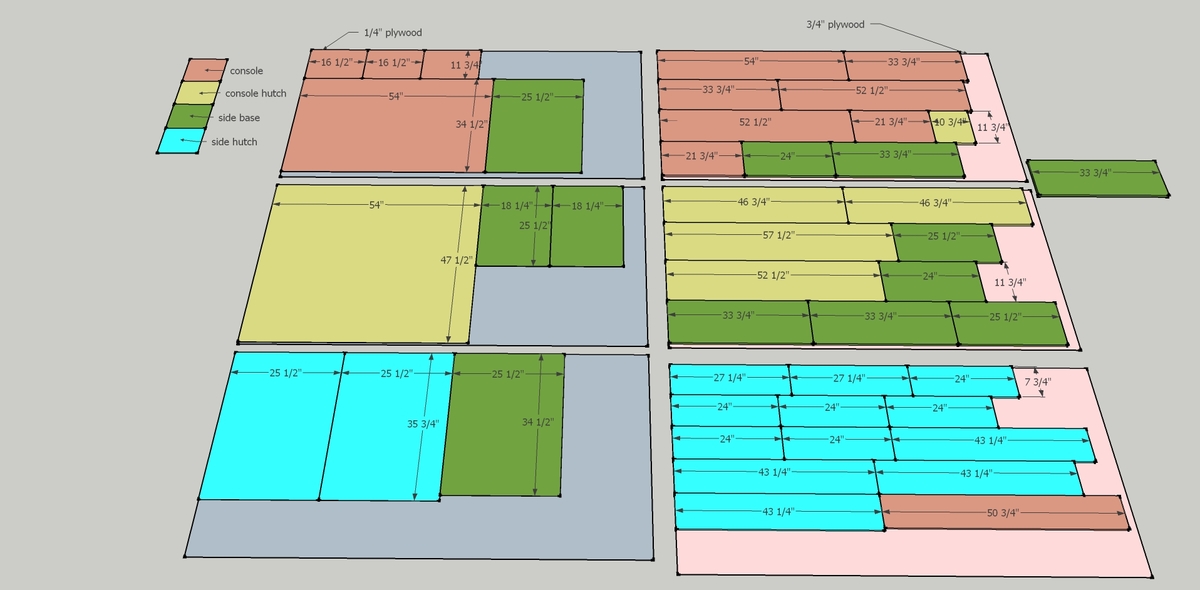
We recommend ripping the 3/4" plywood into strips 11-3/4" wide by 8 feet long, then cross cutting to get the pieces you need.

Please refer to the diagram version of the cut list (step 8 and 9) to see what you will need!

Tools
Tape Measure
Speed Square
Pencil
Hammer
Safety Glasses
Hearing Protection
Kreg Jig
Drill
Miter Saw
Table Saw
Brad Nailer
Power Sander
Level
General Instructions

Please read through the entire plan and all comments before beginning this project. It is also advisable to review the Getting Started Section. Take all necessary precautions to build safely and smartly. Work on a clean level surface, free of imperfections or debris. Always use straight boards. Check for square after each step. Always predrill holes before attaching with screws. Use glue with finish nails for a stronger hold. Wipe excess glue off bare wood for stained projects, as dried glue will not take stain. Be safe, have fun, and ask for help if you need it. Good luck!

Instructions

Step 1

Start by building the box. You can use either 11/4 ph screws or 2" countersunk screws and glue.

Step 2

These are for support and also act as drawer guides if you use drawers.

Step 3

Build the face frame first if you have a pocket hole jig. Otherwise attach with 2" finish nails and glue. Note to attach face frame to side overhangs are in opposite so you end up with a left and right hutch.

Step 4

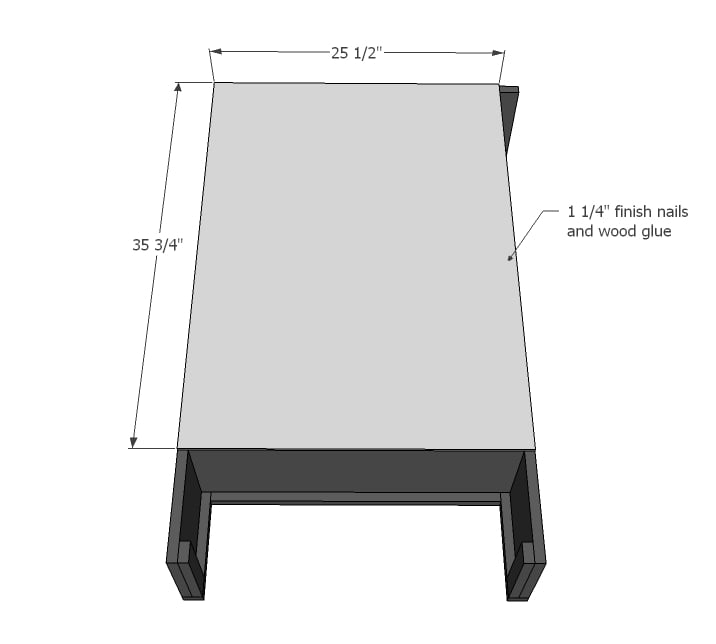
Now add the top. Easy step. :)

Step 5

Step 6

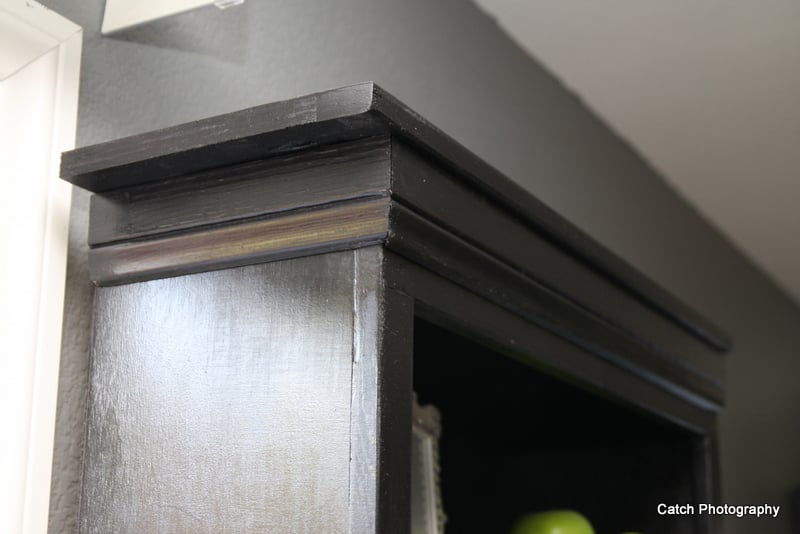
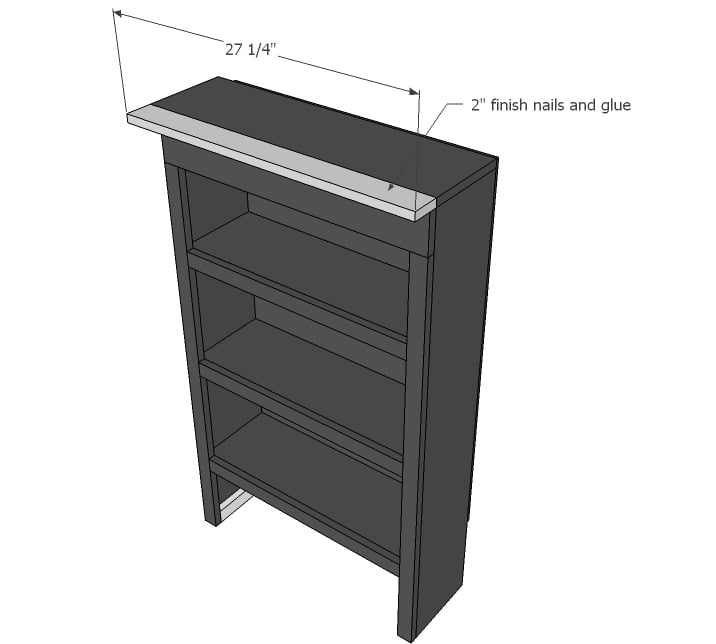
Now crown ... Cut to fit, mirroring corners.

Step 7

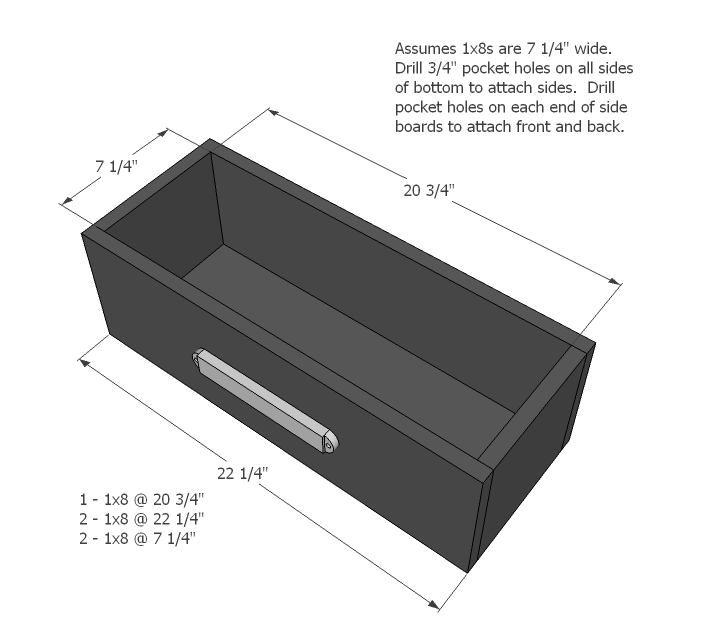
And the drawer ...

Step 8

Bless Rebecca for putting together these layouts. She is too kind and helpful.

Step 9

Finishing Instructions
Preparation Instructions
Fill all holes with wood filler and let dry. Apply additional coats of wood filler as needed. When wood filler is completely dry, sand the project in the direction of the wood grain with 120 grit sandpaper. Vacuum sanded project to remove sanding residue. Remove all sanding residue on work surfaces as well. Wipe project clean with damp cloth.

It is always recommended to apply a test coat on a hidden area or scrap piece to ensure color evenness and adhesion. Use primer or wood conditioner as needed.

Comments

wesleyjack

Fri, 04/20/2012 - 08:26

Those sketch ups of how to break down the boards are exactly how I end the prep of every project I do. I don't want to buy one extra foot of a board that I don't need if I can help it.