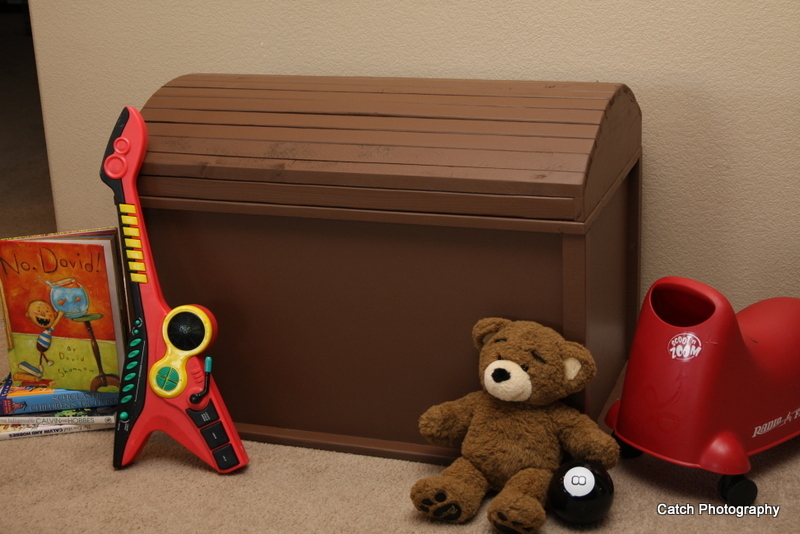
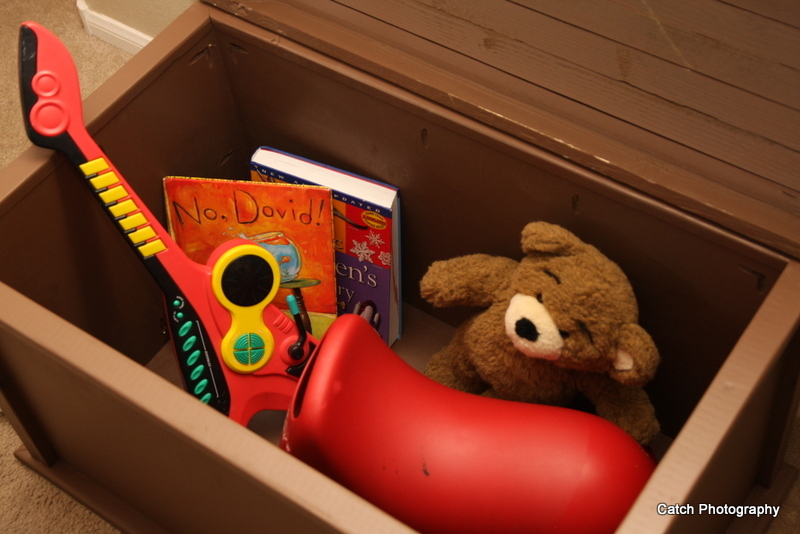
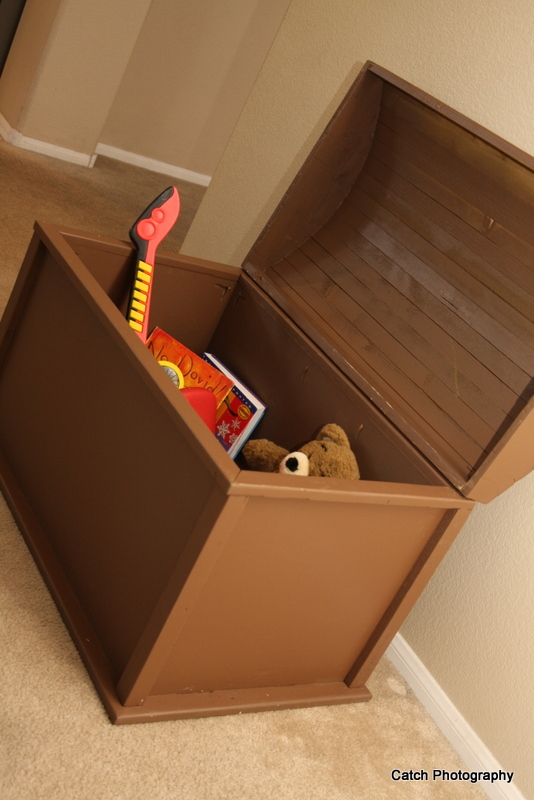
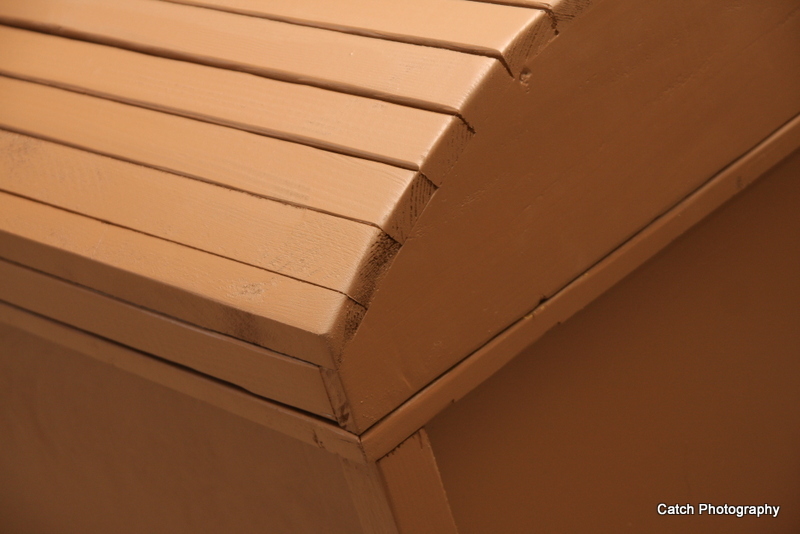
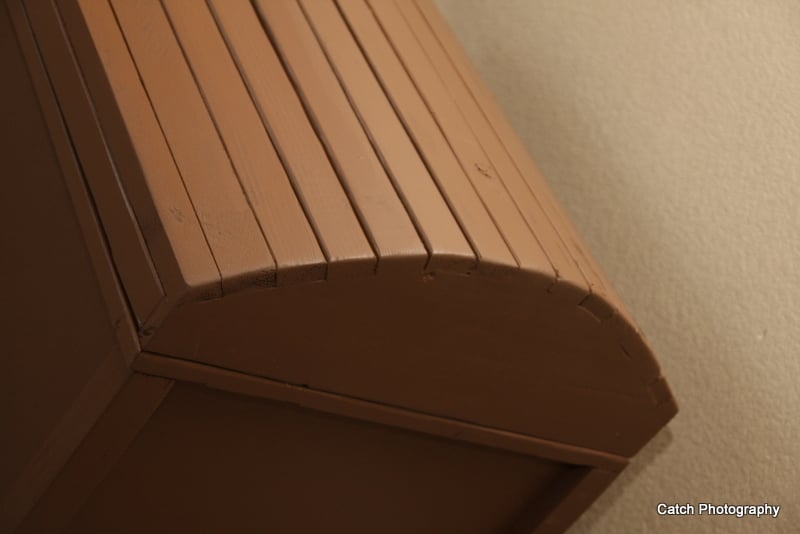
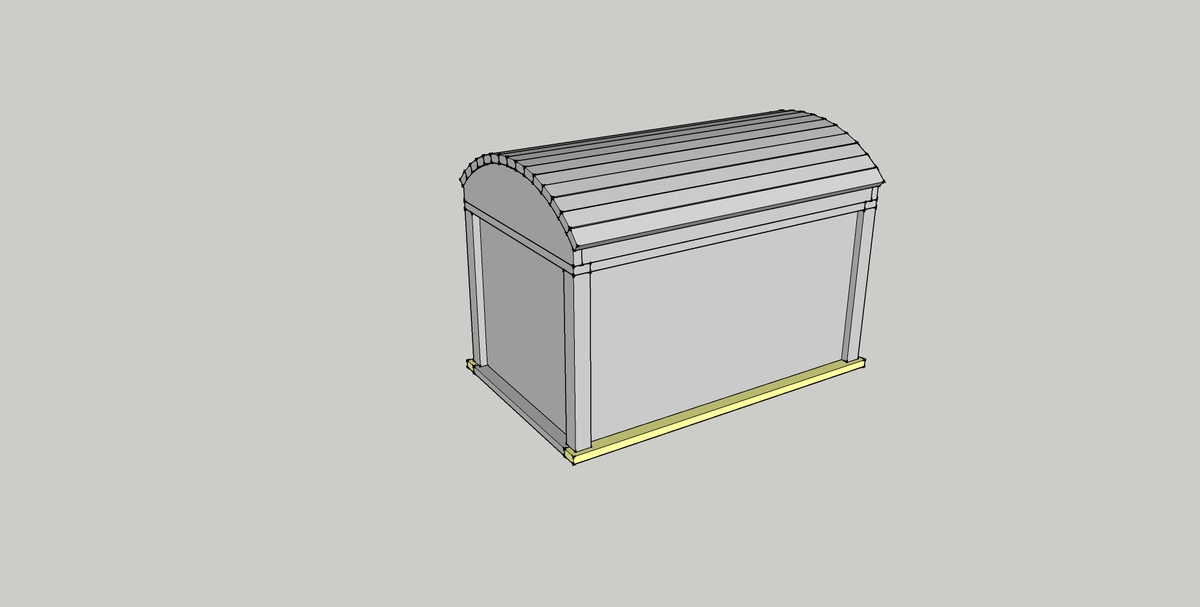
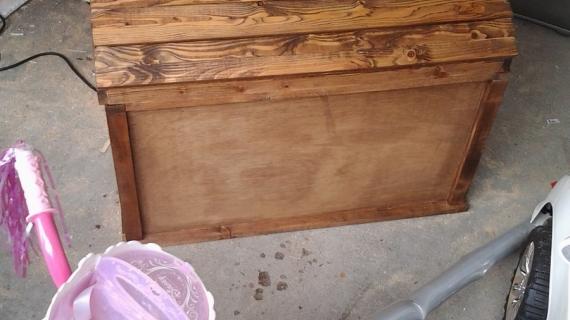
Toy chest with awesome curved top to make it look authentically "pirate-like." Or just something a little different than a plain old box.
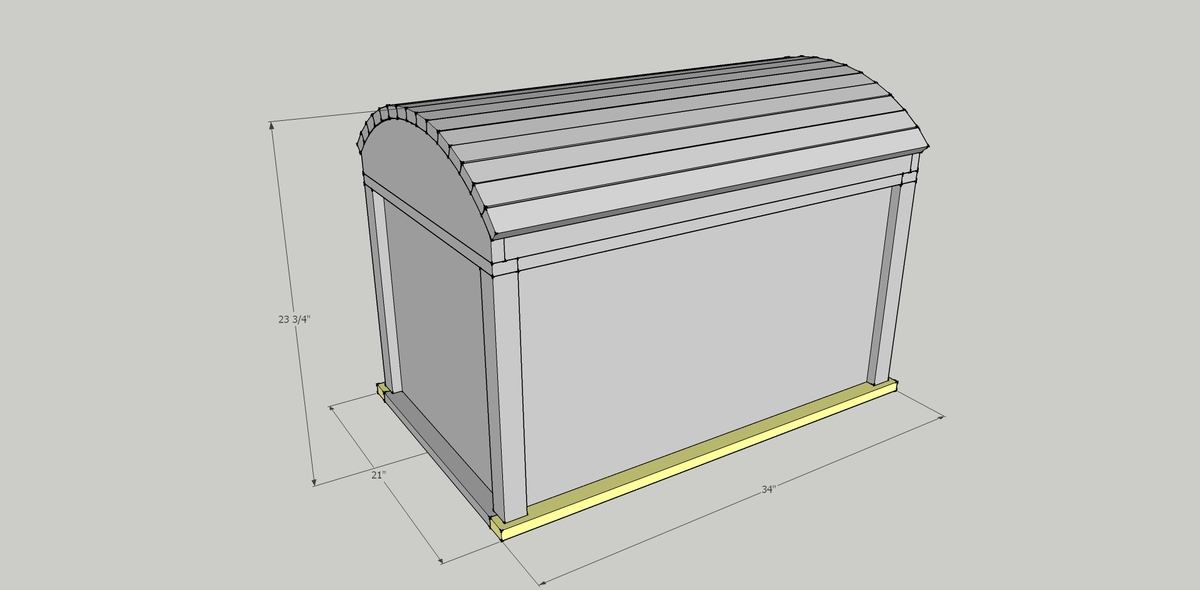
Preparation
1/2 sheet 3/4" Plywood (4'x4')
10- 1x2's
1 - 2x2
1- 1x6 (need 2- 20" pieces if you have scraps)
3/4" Plywood
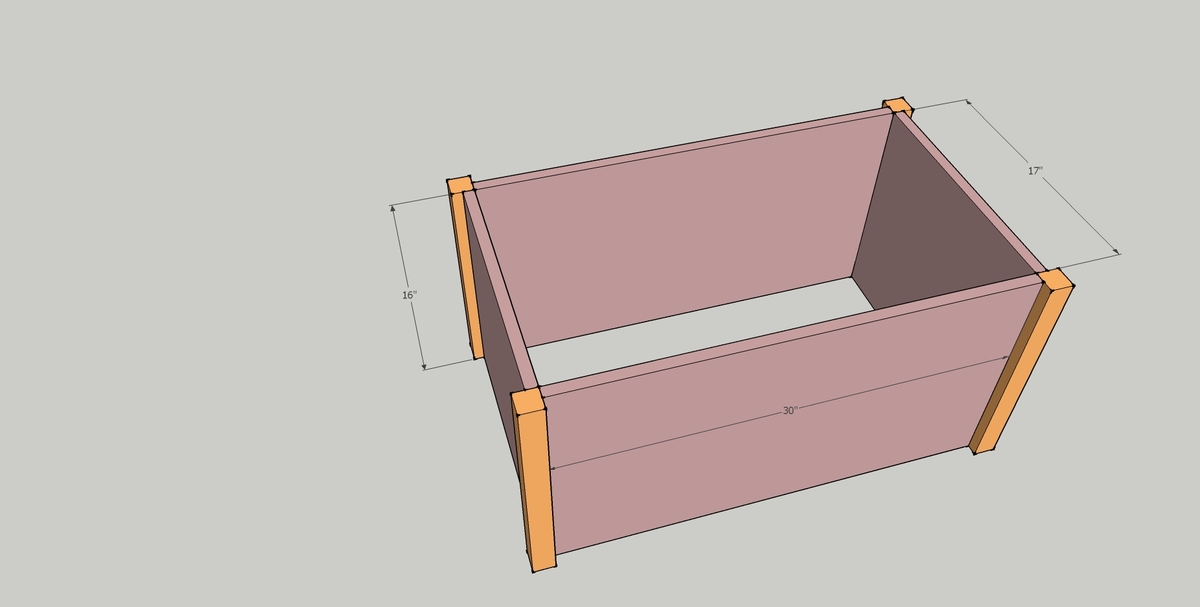
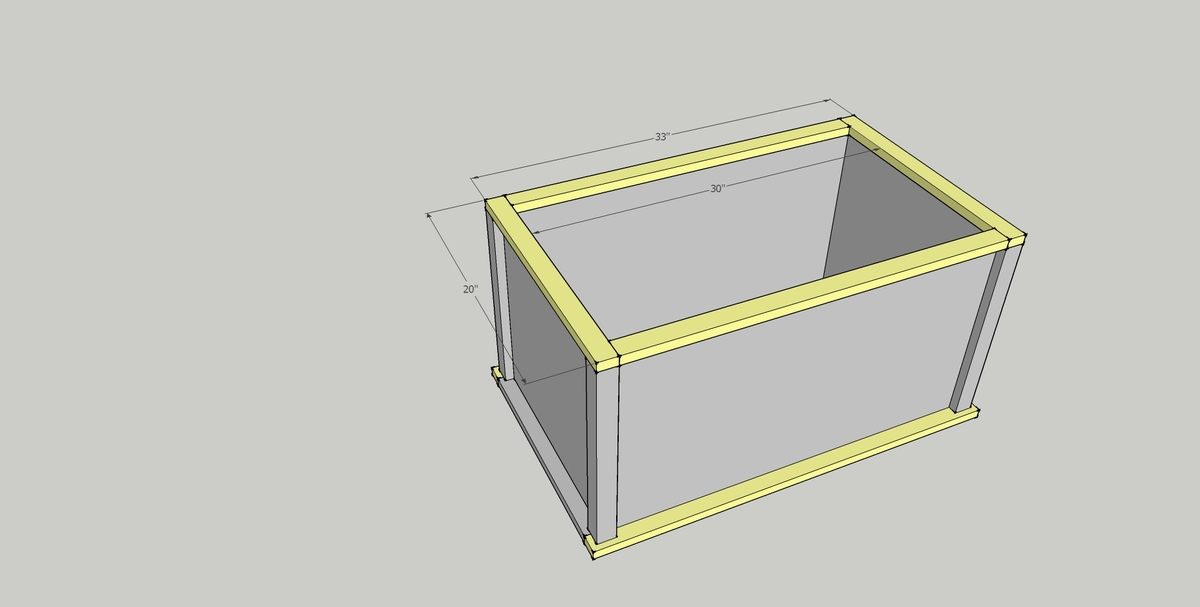
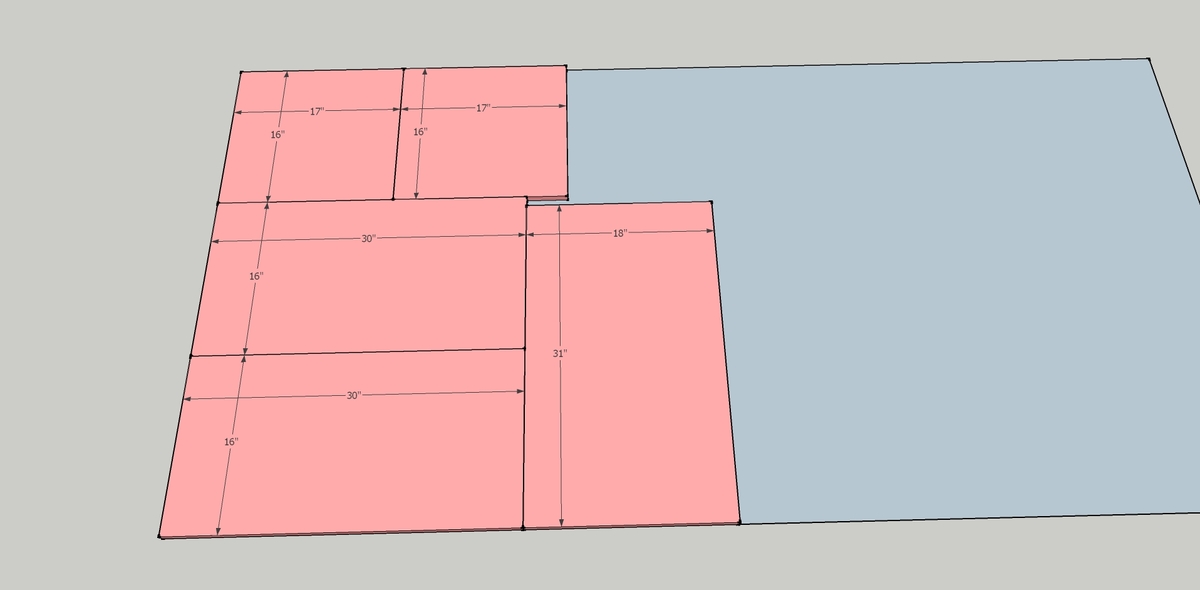
2 @ 16" x 30 "
2 @ 16" x 17"
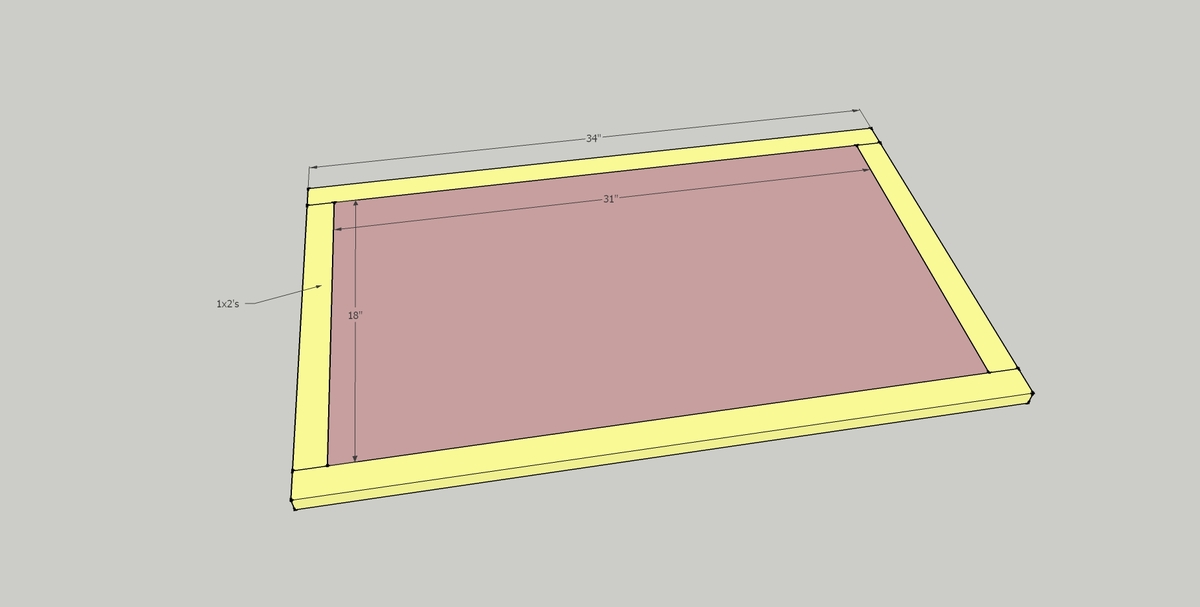
1 @ 18" x 31"
1x2's
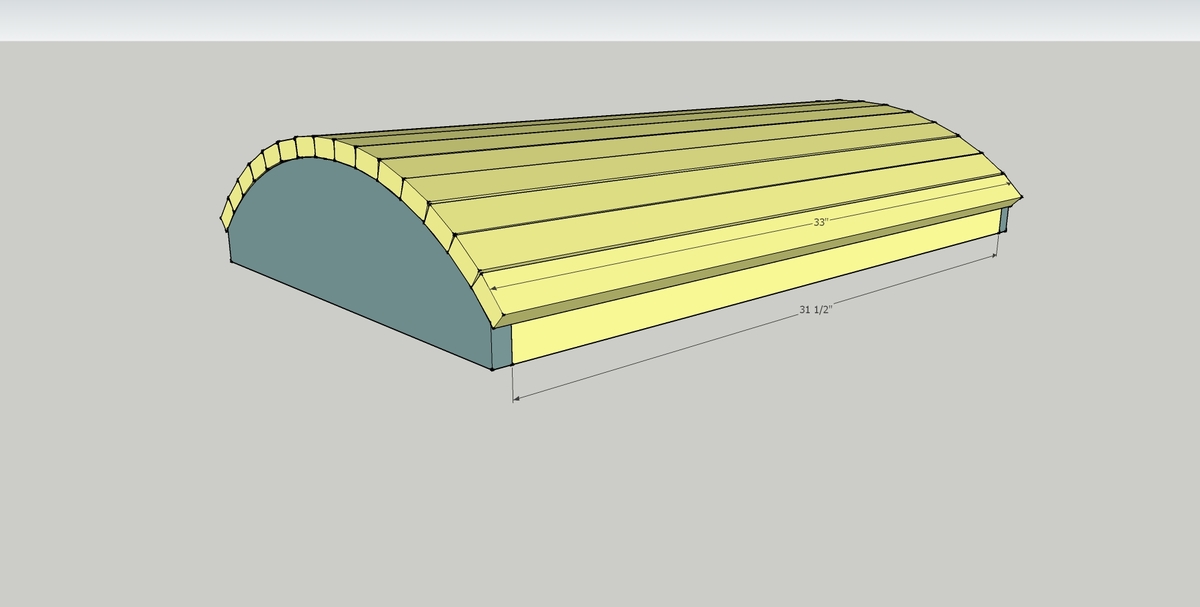
15 @ 33"
2 @ 18"
2 @ 20"
2 @ 30"
2 @ 34"
2 @ 31 1/2"
2x2's
4 @ 16"
1x6's
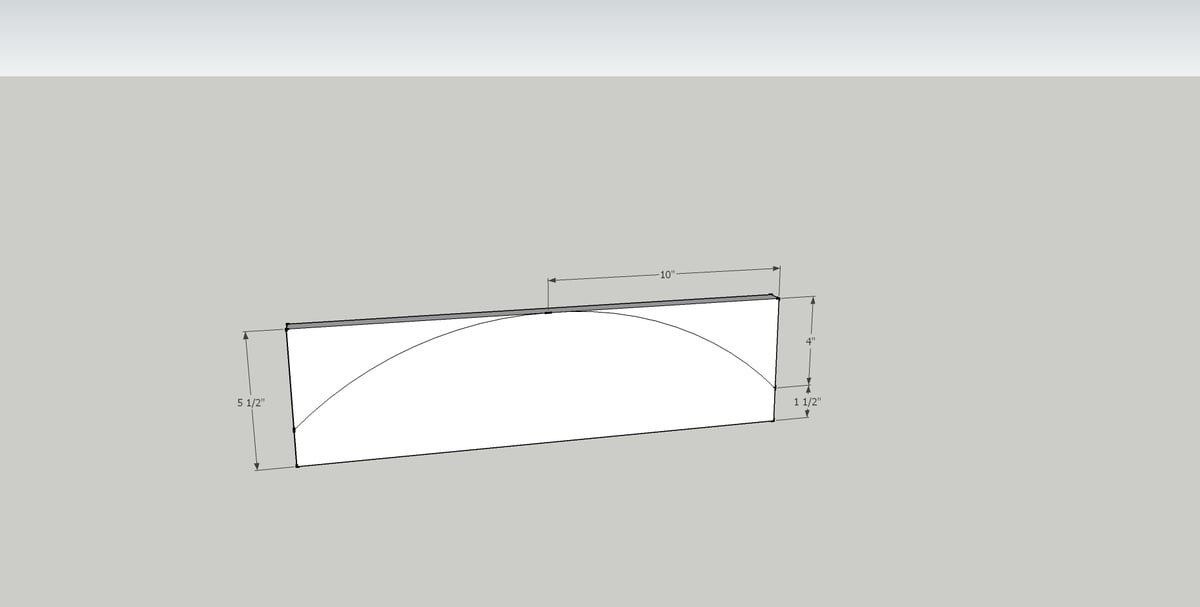
2 @ 20" (refer to step 3 for cutting instructions
I used wood I already had in my garage so these are the measurements I came up with. If however, you are going out and buying a 4x4 sheet of plywood to cut this from, you will need to reduce these measurements by a 1/4" on each length so that you can get all the pieces out of one sheet. Otherwise they will not fit per the saw blade allowance.
Please read through the entire plan and all comments before beginning this project. It is also advisable to review the Getting Started Section. Take all necessary precautions to build safely and smartly. Work on a clean level surface, free of imperfections or debris. Always use straight boards. Check for square after each step. Always predrill holes before attaching with screws. Use glue with finish nails for a stronger hold. Wipe excess glue off bare wood for stained projects, as dried glue will not take stain. Be safe, have fun, and ask for help if you need it. Good luck!
It is always recommended to apply a test coat on a hidden area or scrap piece to ensure color evenness and adhesion. Use primer or wood conditioner as needed.






Comments
JoanneS
Tue, 05/01/2012 - 15:46
Wow! Super!
What a super cute and creative project! LOVE the curved top! With all your creative decorating suggestions, it could be a pirate treasure chest, or a vintage country heirloom. Your diagrams of which parts to cut from each piece of wood are really helpful too. Beautiful job!
jldavis
Mon, 07/06/2015 - 17:59
Fantastic!
My husband and I built this this past weekend and it turned out fantastic!!!