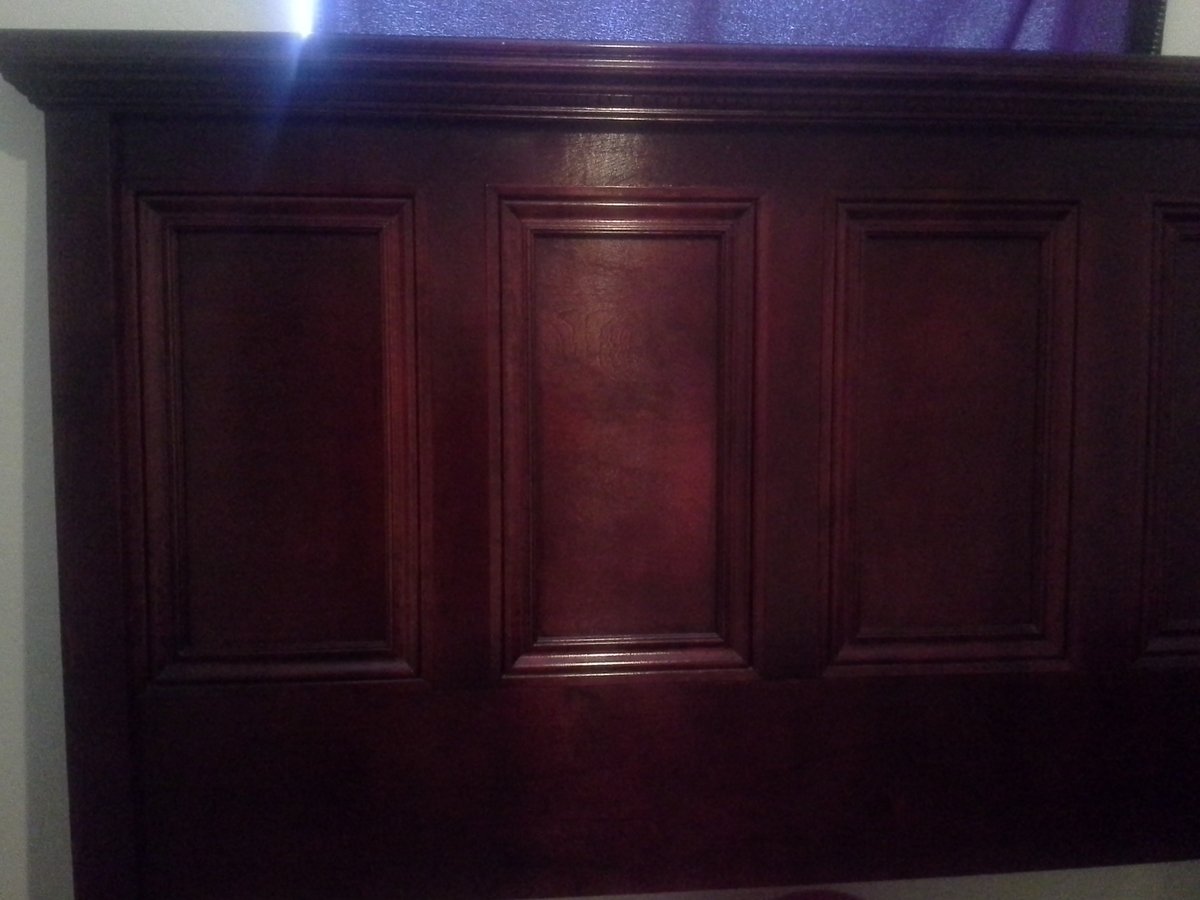
Sorry the the photos were taken from my phone so the lighting is making it look darker than it really is.
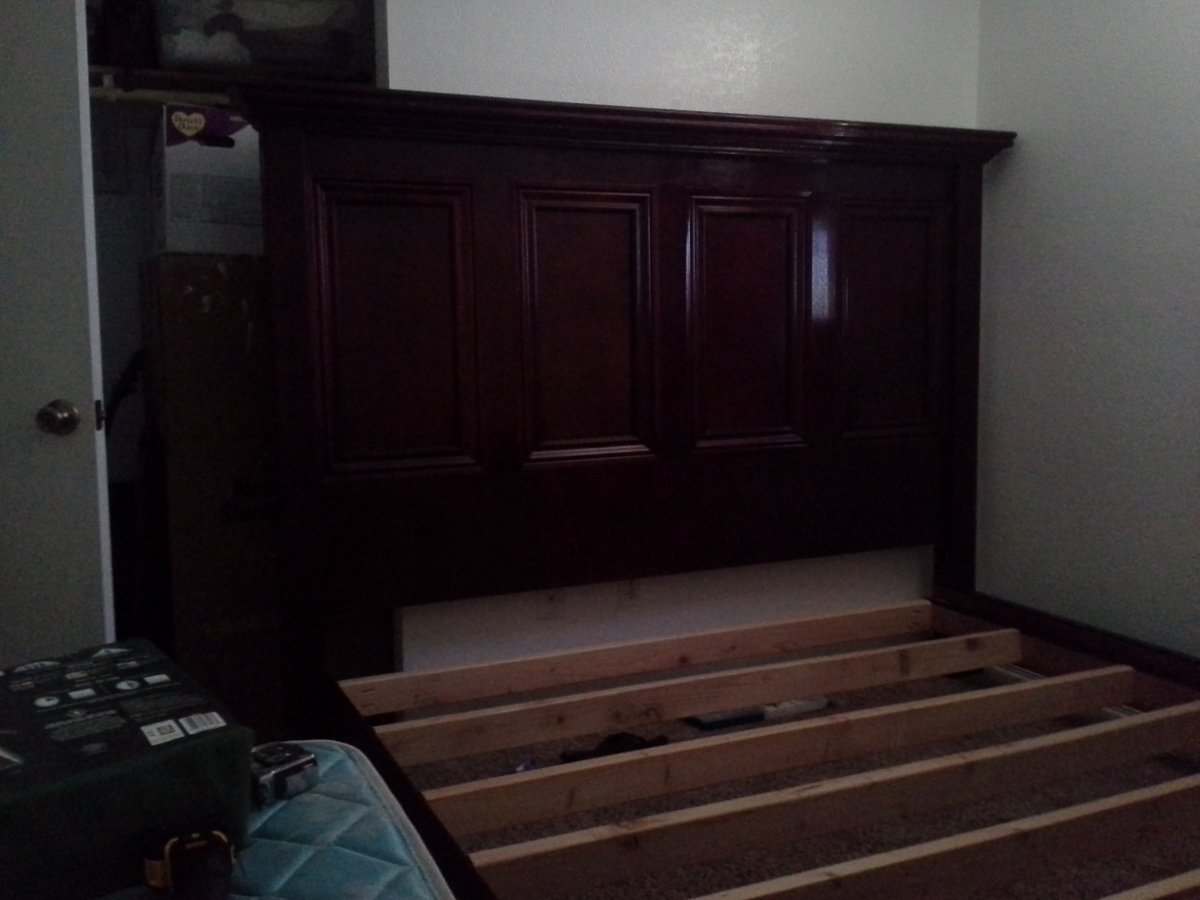
Basically I followed the plans to a T other than the poplar trim and crown molding.
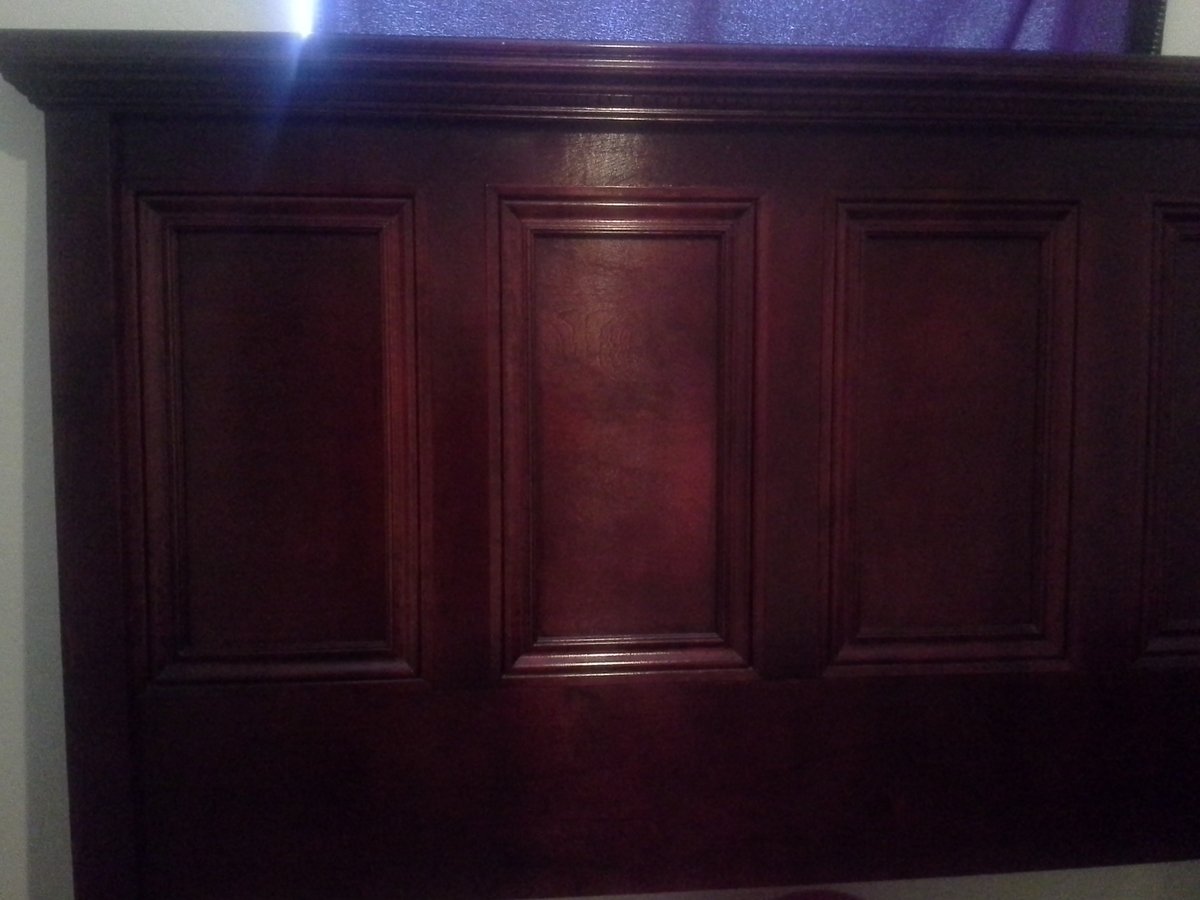
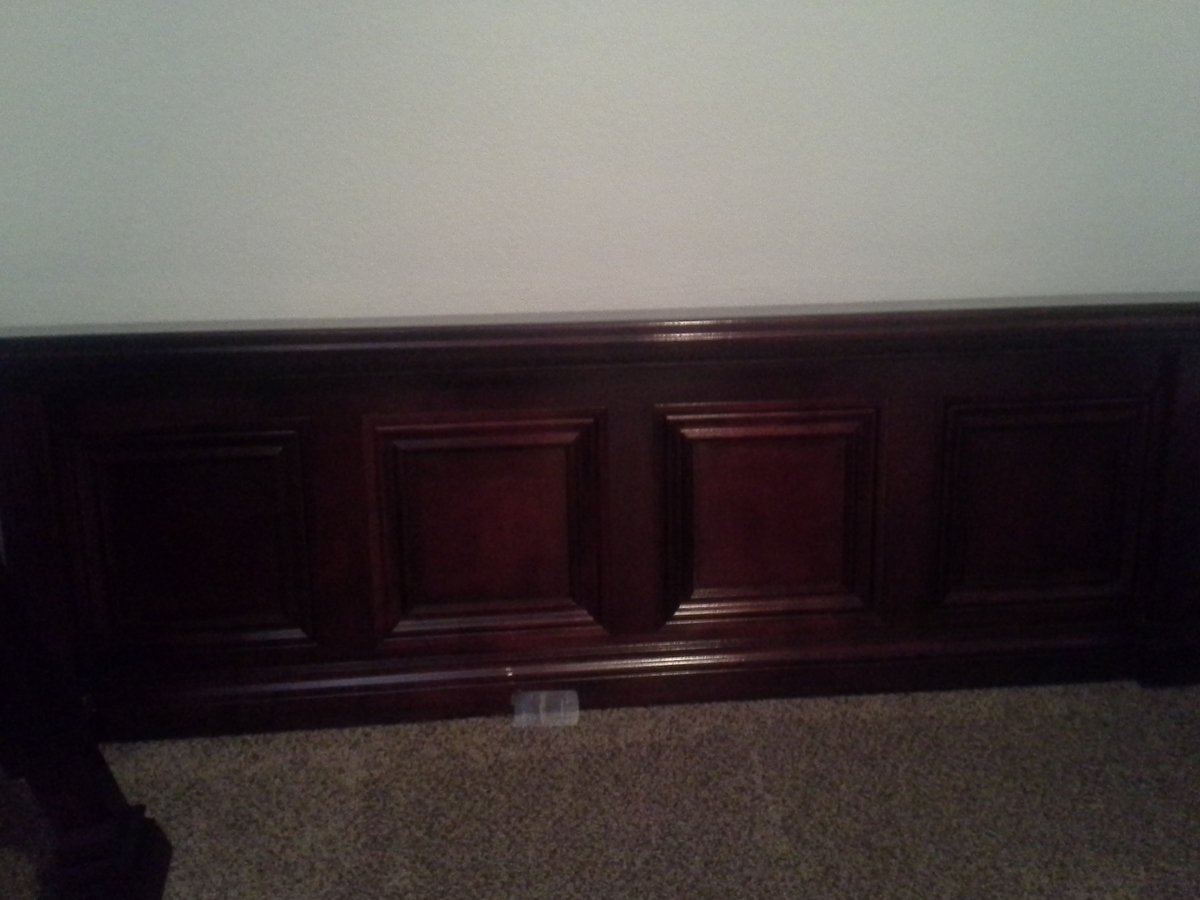
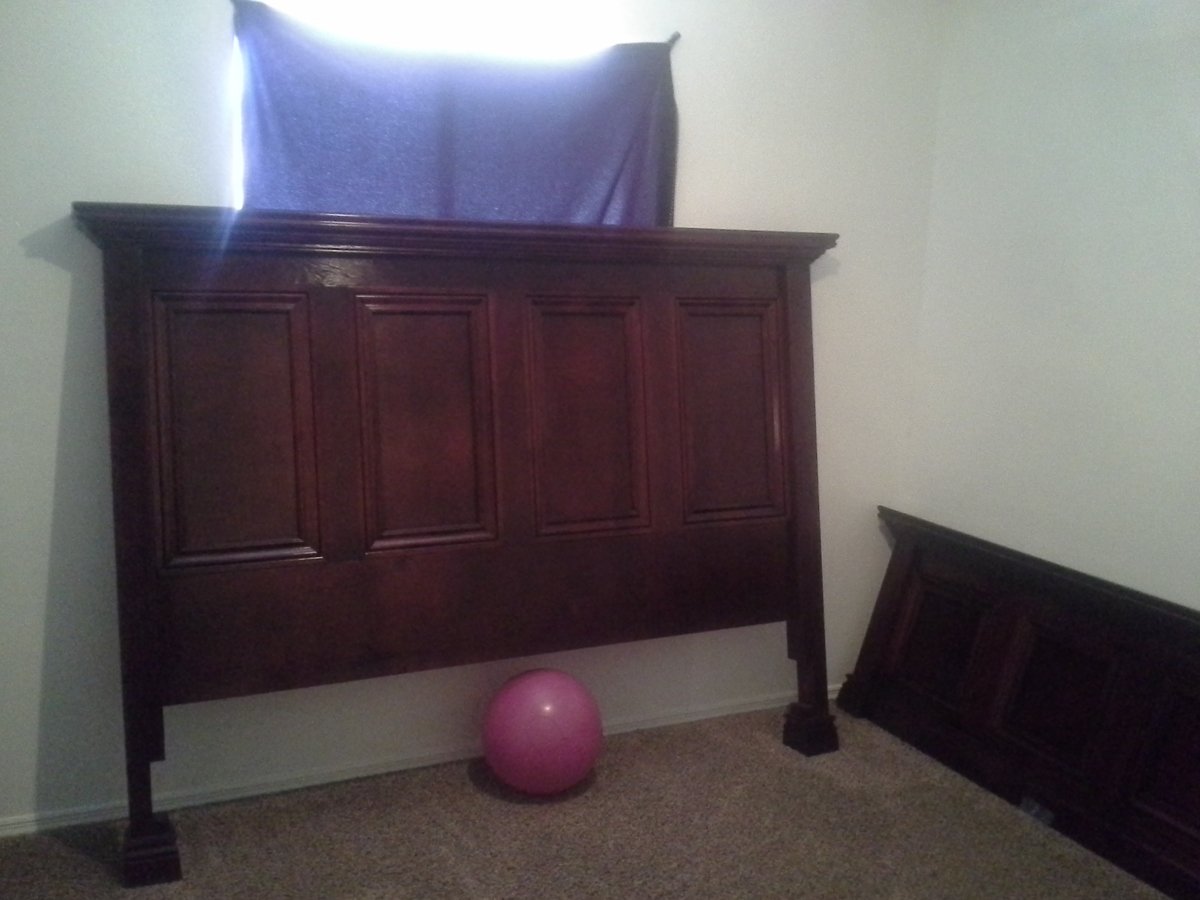
For the head board I Used 3/4" red birch ply and made some stiles with excess from the sheet and then just trimmed it with poplar molding. instead of stacking 2 2x4 for the sides i just used a solid 4x4 and cut the spot out to old the rails on. I was afraid how the stain would react or how it would look since 2x4 have rounded edges. Thats pretty much it. The finish was a tricky process. since I used red birch and white poplar I had to find a way to get everything to stain evenly. So basically I
Dyed all the wood then sealed then stained then toner then glaze then a little more toner then when i got the color i wanted i put 2 layers of top coat.
Comments
hammertime
Wed, 05/16/2012 - 06:11
Really beautiful!
That's simply stunning. That WAS a tricky finishing process, but obviously well worth the effort.
patrickhosey
Wed, 05/16/2012 - 12:28
geez
Geez beautiful finish
spiceylg
Wed, 05/16/2012 - 18:35
Stunning
This is exactly the look I want. Beautiful job!
gugsisreal (not verified)
Thu, 05/17/2012 - 03:41
That is one of the most
That is one of the most beautiful finishes I have ever seen on this site.
jdlemmons
Thu, 05/17/2012 - 11:38
Wow!
I'm doing a bed very similar to this... but i'm only doing 2 larger panels rather than 4 like you have. How do you the insides of the panels? Quarter round and then crown molding? I was thinking I would attach the trim on top of the plywood and then just attach some quarter round on the inside to round it and make it stand out a little more.
Matthew Betts (not verified)
Thu, 05/17/2012 - 17:00
I didn't use any round(but
I didn't use any round(but that is the idea to hide the ugly plywood layers that are exposed when cut). Its just 2 3/4 x3/4" whitewood/poplar casing that I had left over from a project i was working on. the frame of the squares was 3/4" birch ply so the casing laid nice and flush with it so it looked nice. the trick is to get the stiles(the frame of the squares to lay flat against the plywood backing other wise the casing won't lay even all the way around.
heres a link to the casing i used
http://www.lowes.com/pd_105664-81562-OML14-7FTWHW_4294801993_4294937087…
heres the link to the crown that i used on the top
http://www.lowes.com/pd_105626-81562-1069-8FTWHW_4294801991_4294937087_…
the trim stuff at the box places are considered paint grade and don't take stain very well. its easiest to paint if you don't have the right setup to finish things. and if you are going to stain I recommend a product called timbermate its stainable wood filler its hard to get but its amazing stuff it blows the minwax stuff out of the water.
LdyPerez (not verified)
Sat, 08/25/2012 - 14:31
Amazing.....very beautiful.
Amazing.....very beautiful.