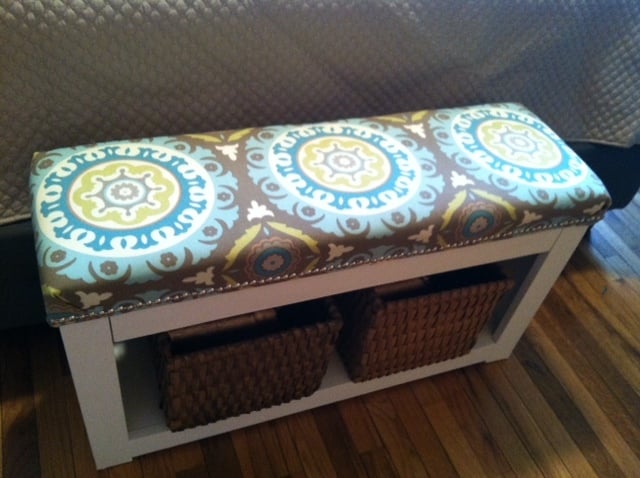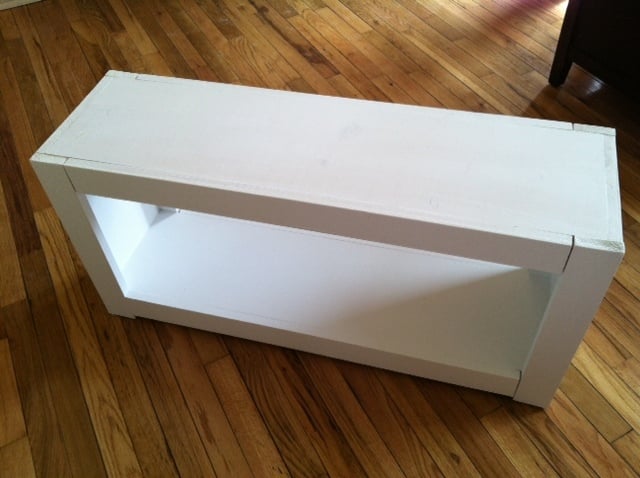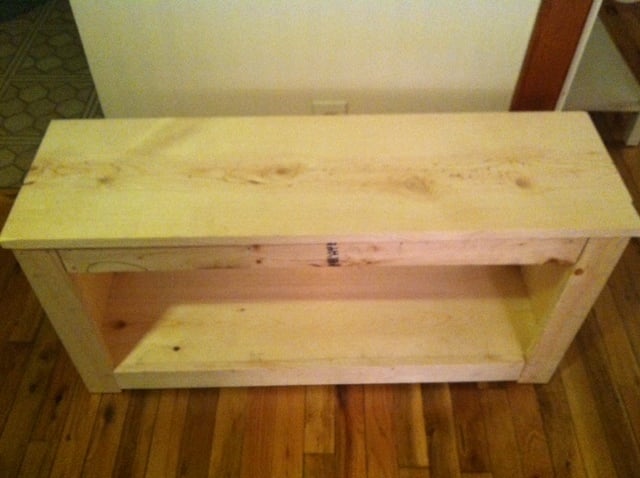
I LOVED creating this bench! It was quick and easy.
I really wanted an upholstered top with nailhead trim so even though the plans didn't call for it, I did it anyway :) I left off the top piece after building the rest of the bench, and upholstered it with 2" foam and batting. I used outdoor fabric because my dogs may be using the bench to get on/off the bed, and I figured it would be easier to keep clean! Luckily, my local Jo-Ann store just put out a plethora of outdoor fabrics, and they were 50% off (as was the foam!). After the upholstering was finished, I used nailhead trim because I LOVE the look. Then, I attached the top by turning it upside down and setting the bench upside down on top of it, and nailing the two together.
I decided to paint the bench white instead of staining, and I'm so glad I did. I feel that it gives the piece a certain sophistication, and it goes perfectly in the bedroom.
100% happy with this piece!


Comments
tommirhea
Sun, 03/31/2013 - 18:27
so cool!
This is really nice!! You inspired me! Going to have to make this for my sewing bench.
EmilyE
Mon, 04/01/2013 - 09:03
Thank you!
Thanks so much! I am super happy with how it turned out. Have fun creating!
lovinit9
Mon, 09/16/2013 - 06:58
Wow!!
I am totally obsessed with Ana's plans and was planning on building the Spa Bench - saw yours upholstered and am now going to try that!! Did you still use the 1x12 as the top piece that you upholstered? I think by your other pictures I see the overhang - so I will give it a shot!! You did an amazing job on yours!
EmilyE
Mon, 09/23/2013 - 06:02
Thank you!
Hello lovinit9! Yes, I followed Ana's plans. The only thing I did differently was that I upholstered the top before I attached it to the bench. Then I attached it by nailing it from beneath (the inside of the bench, nails going upwards). After it was all together, I then put on the nailhead trim. I hope that helps and good luck to you!