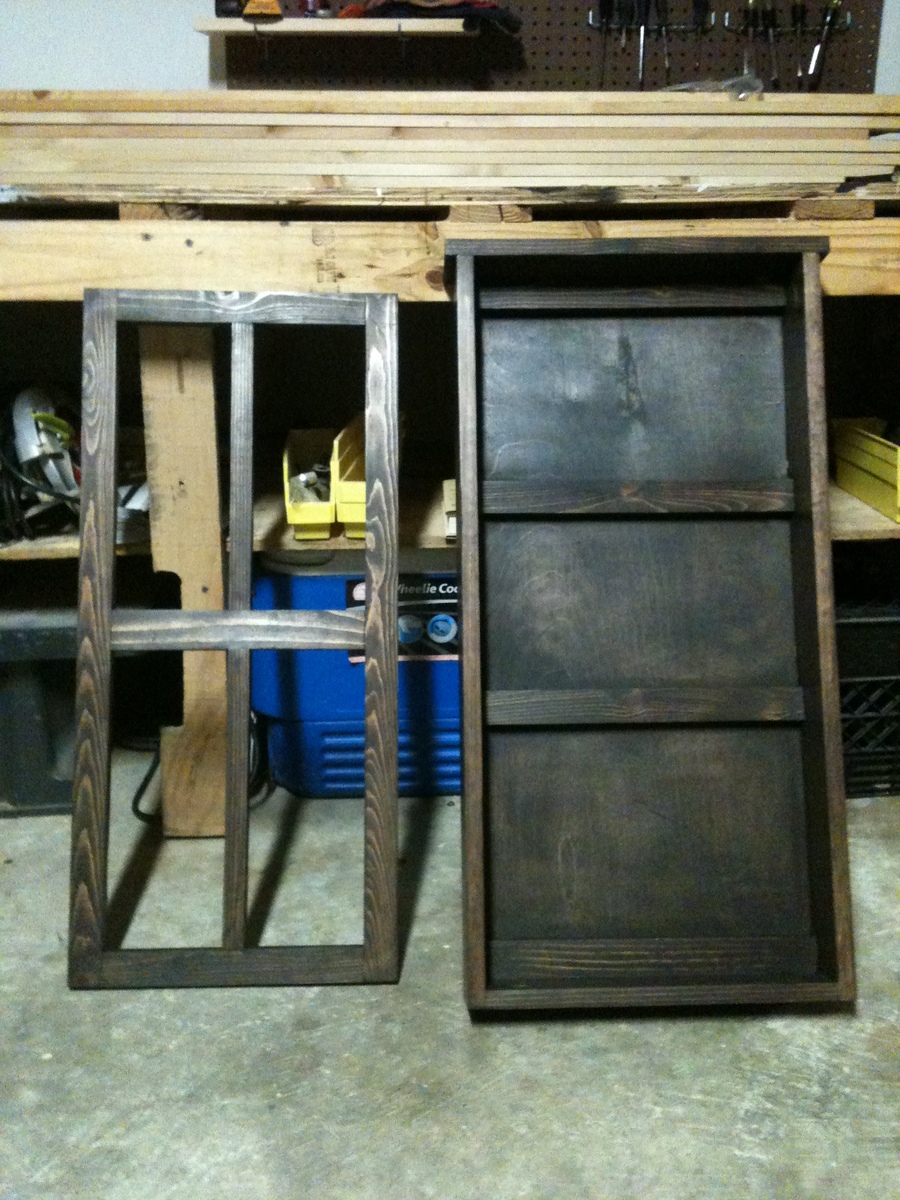
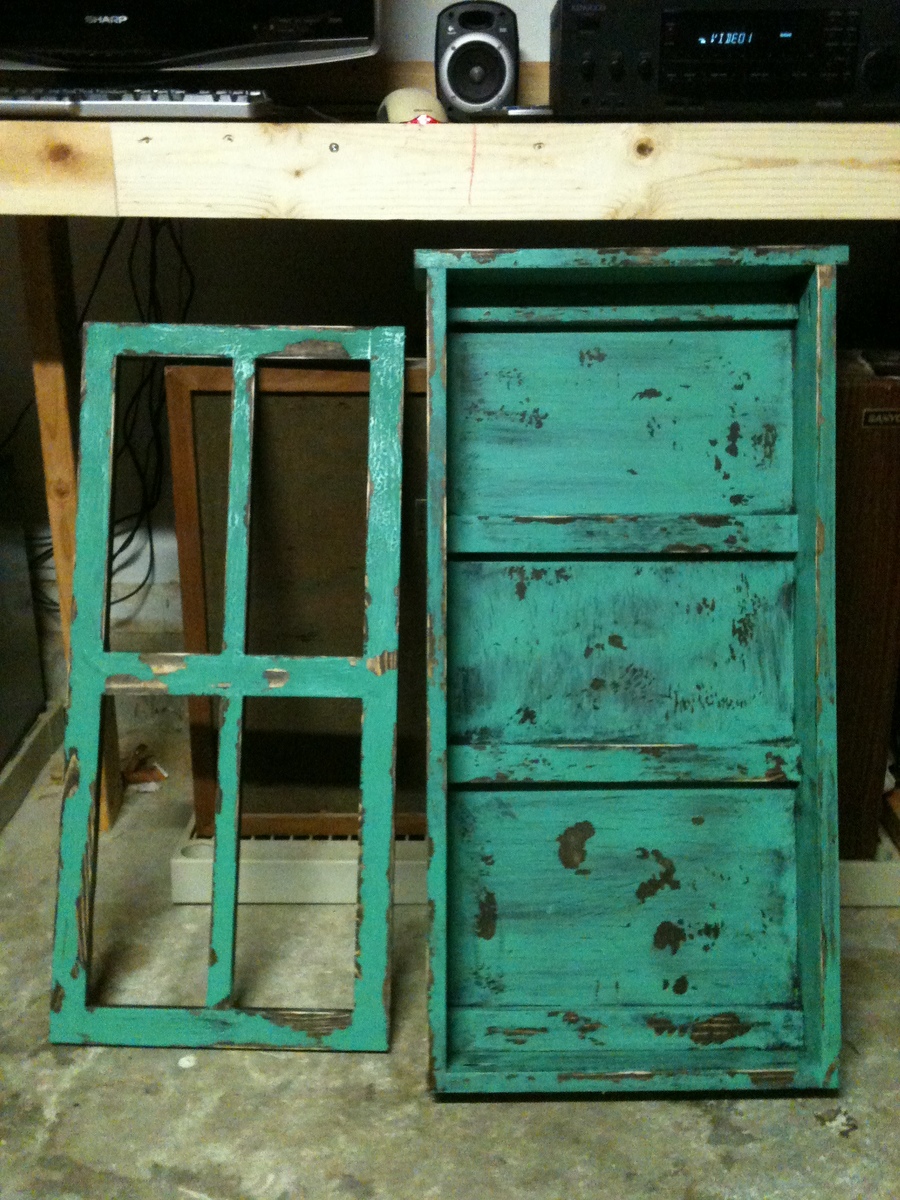
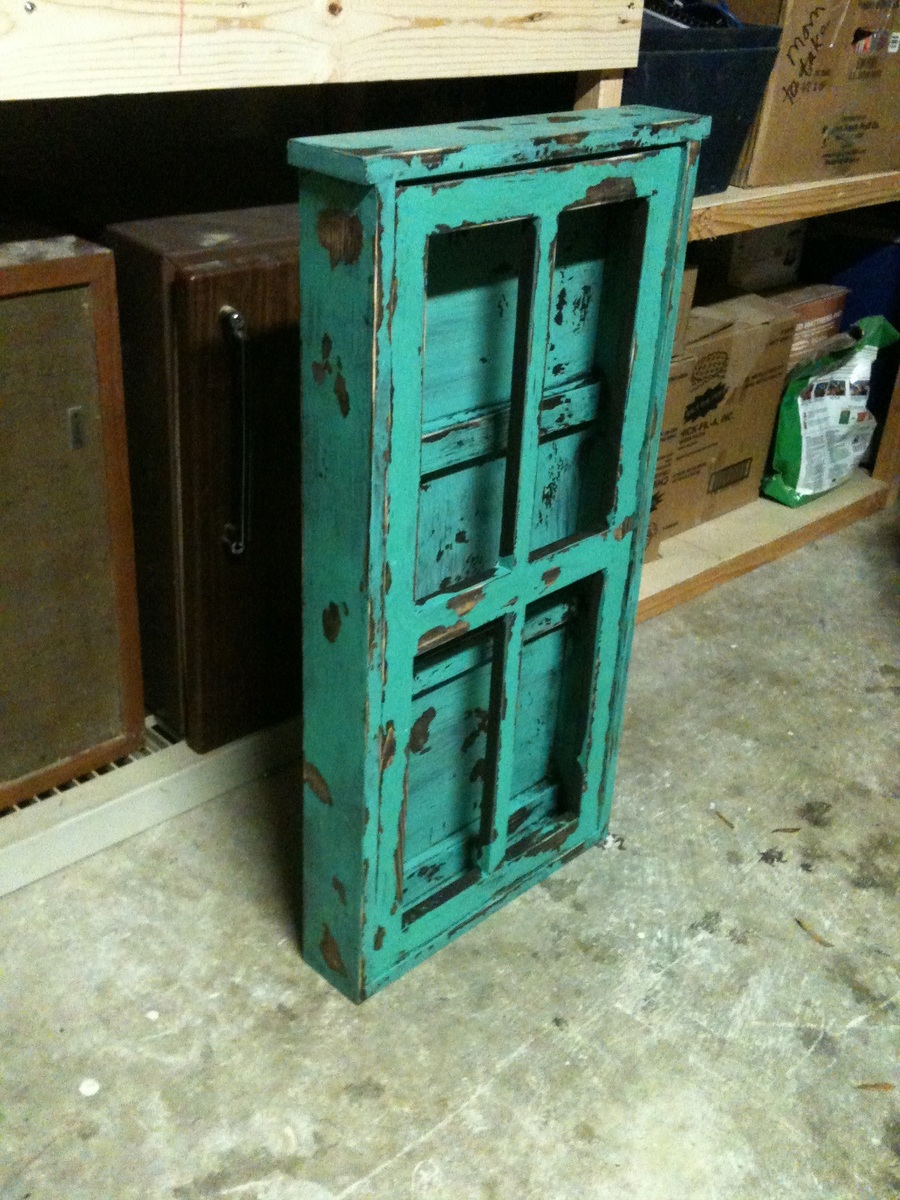
I wanted to get my wife something nice for are wedding anniversary and couldn't find anything i thought she would like. so browsing this site I seen this and new she would love it. I hope you guys love it to.


Built from Plan(s)
Estimated Cost
$60
Estimated Time Investment
Afternoon Project (3-6 Hours)
Finish Used
stain, school house glue and paint
Recommended Skill Level
Beginner
Comments
joshuaaslocum15
Thu, 11/07/2013 - 17:52
let me know what you think!
let me know what you think!
Val Manchuk
Thu, 11/07/2013 - 19:07
Beautiful and Rustic!
This project looks great. I love how the finish turned out!
Val
artsybuildinglady.blogspot.ca
JoanneS
Thu, 11/07/2013 - 19:21
Beautiful!
What a great project! You did a beautiful job, and the finish is fab!
spagirlval
Fri, 11/08/2013 - 15:06
Great job.
Great job.
rickthered
Sat, 11/09/2013 - 17:53
Superb finish
The finish on this looks excellent. How did you manage such an authentic worn look? Also, how did you attach and finish the mesh inserts? We have no use for this piece right now, but it looks so good that I just want to go start making one straight away.....!
joshuaaslocum15
Sat, 11/09/2013 - 19:23
Finish
After construction
step 1 - stain the whole cabinet and wait for it to dry
step 2 - brush on Elmers school glue all over the project and wait for it to get tacky ( look on youtube for crackle paint effect)
step 3 - Lightly paint on color
Step 4 - dry the project with a blow dryer and watch it crackle
step 5 - I used a orbital sander and just went crazy hitting it all over ripping and peeling the top coat of paint.
I attached the mesh with a staple gun I think on the next one I am going to use stained glass instead of the mess though.
Mriddle
Sun, 07/06/2014 - 11:45
Love the finish
Thanks for putting the Elmer glue idea up here.