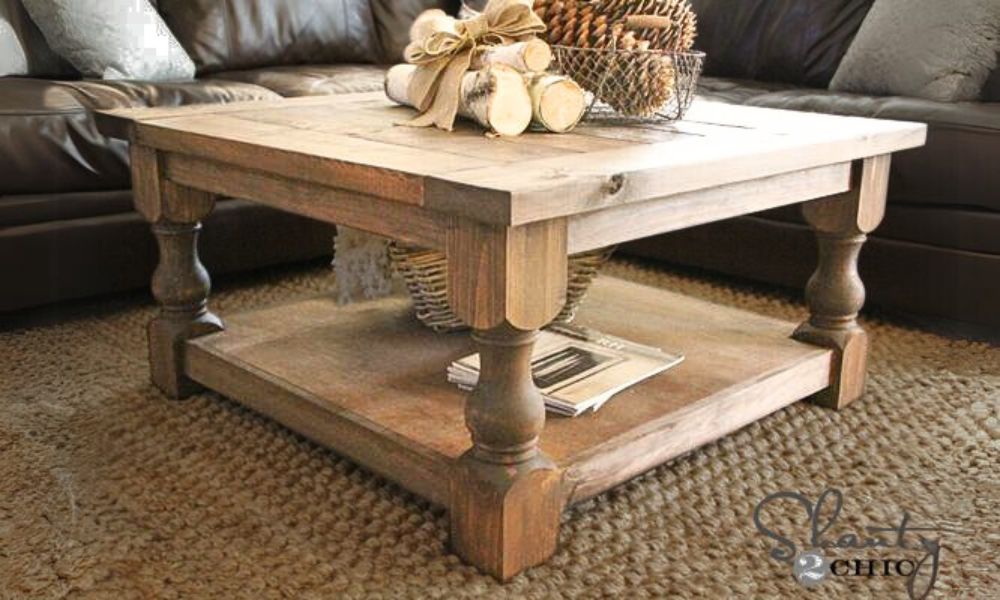
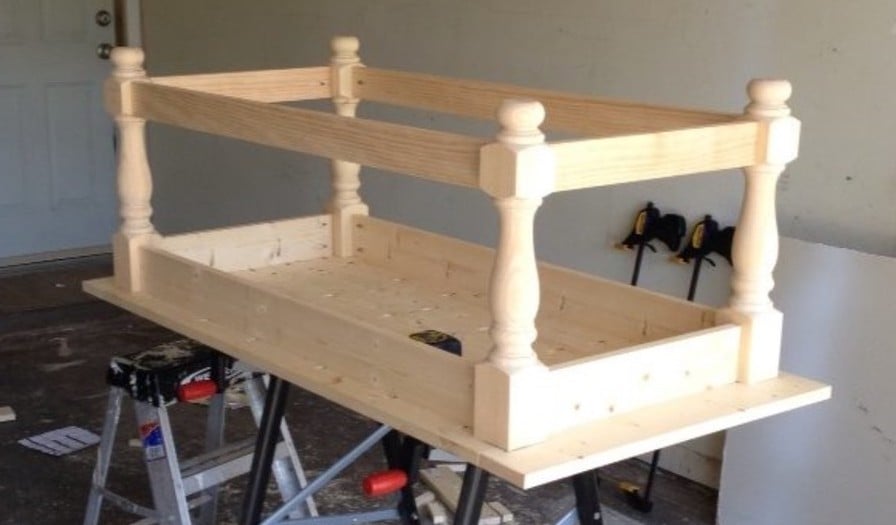
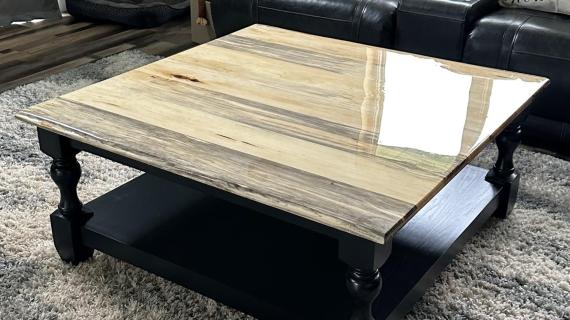
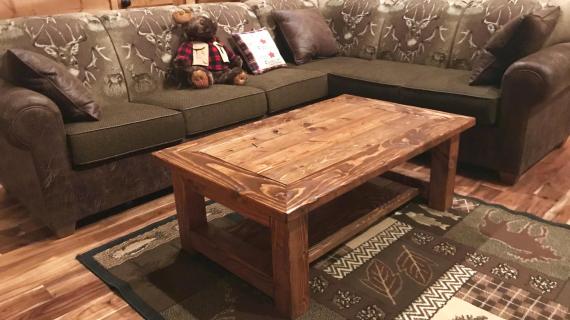
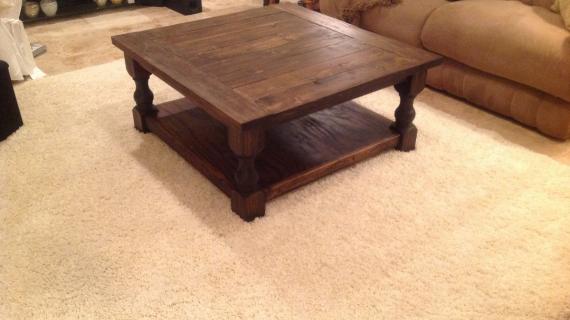
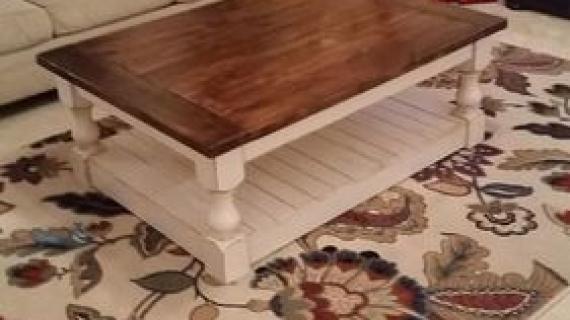
Build your own solid wood coffee table with beautiful turned legs, this free plan guides you through the process with step by step instructions, diagrams, shopping and cut list and lots of reader submitted photos.
Preparation
- 4 turned legs - Used these ones from Osborne Wood
- 3 - 1x3 @ 8 feet long
- 1 - 3/4" thick, 1/2 sheet of hardwood plywood in matching species (4x4 feet)
- 4 - 2x6 @ 8 feet long
- 1 1/4” and 2 1/2” pocket hole screws
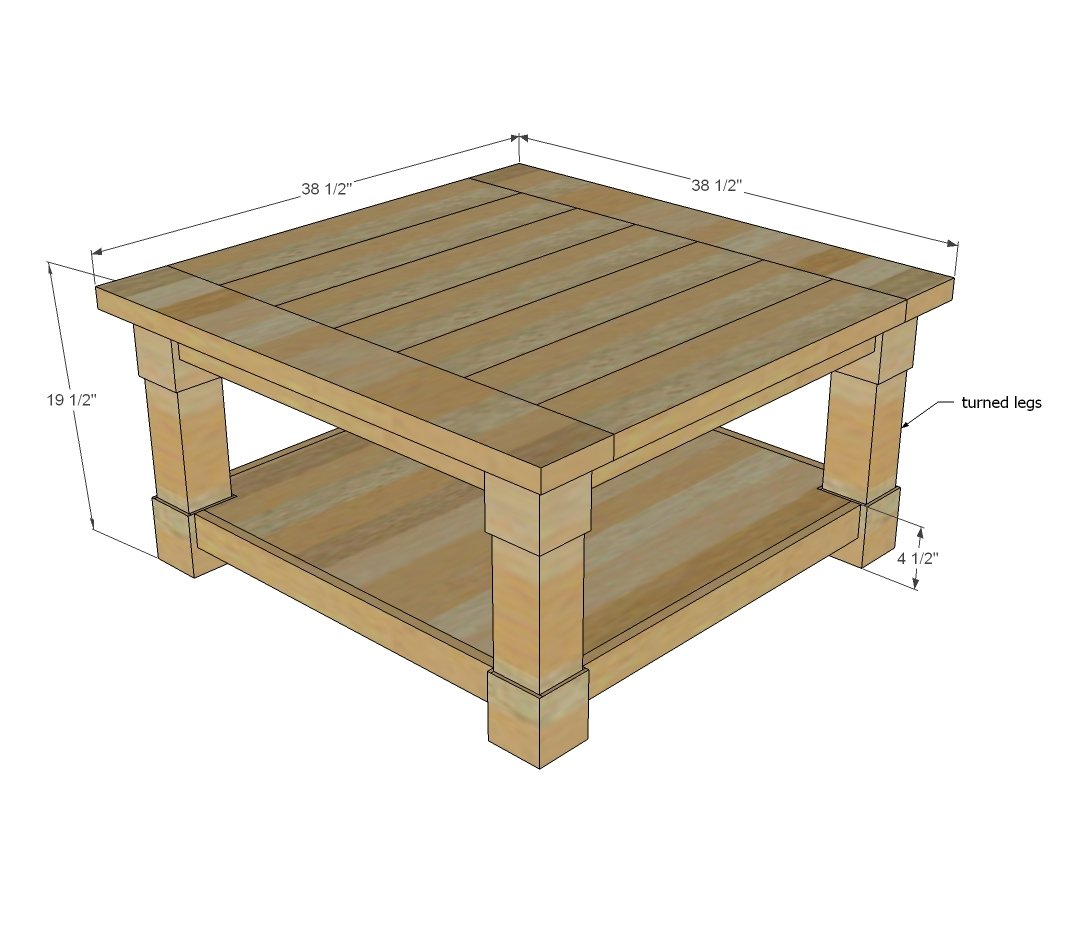
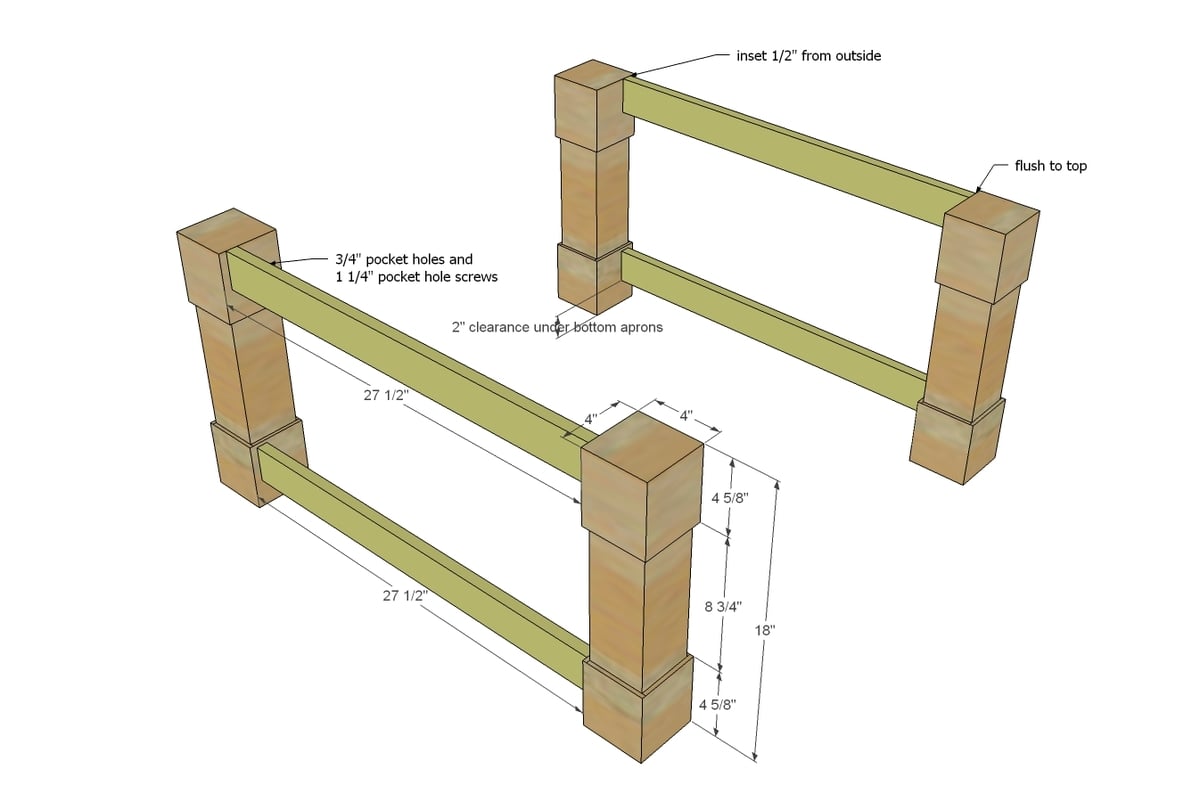
- 4 - 4”x4”x18” turned legs (we used these)
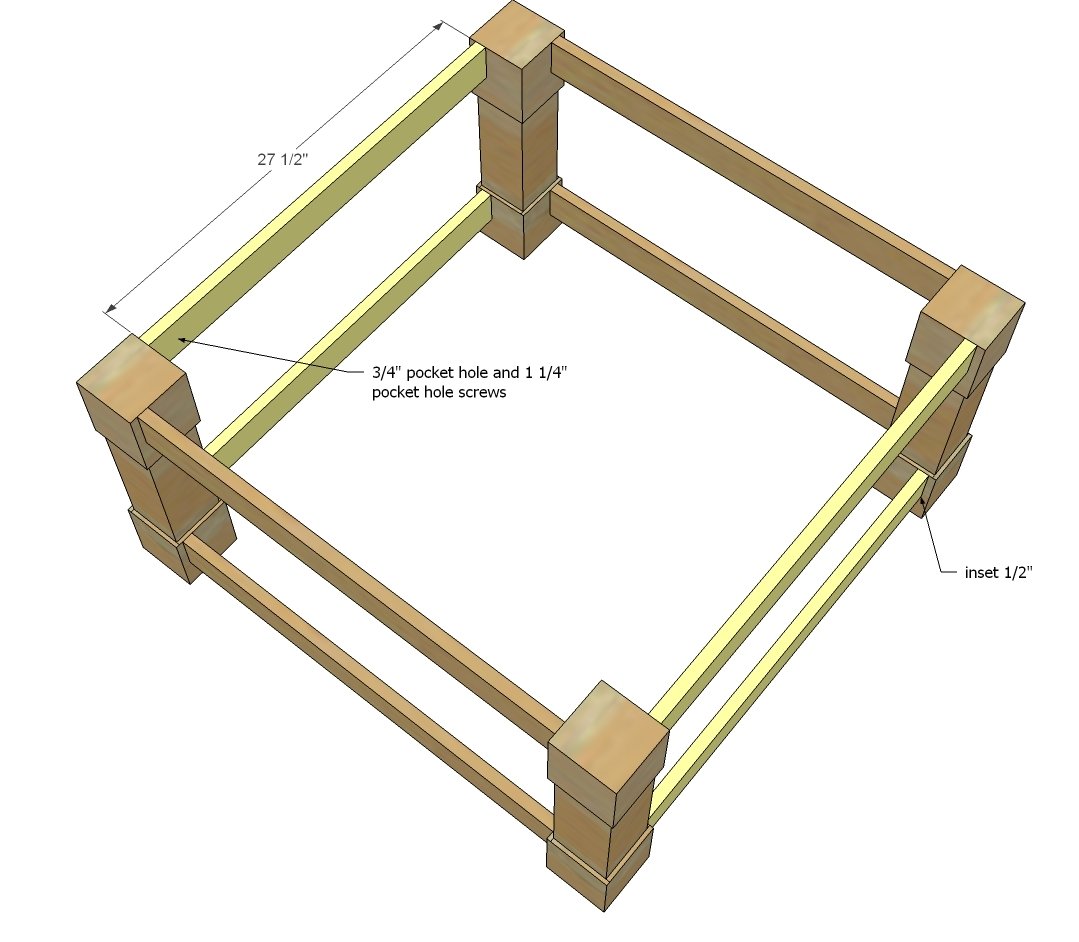
- 8 - 1x3 @ 27 1/2” (aprons)
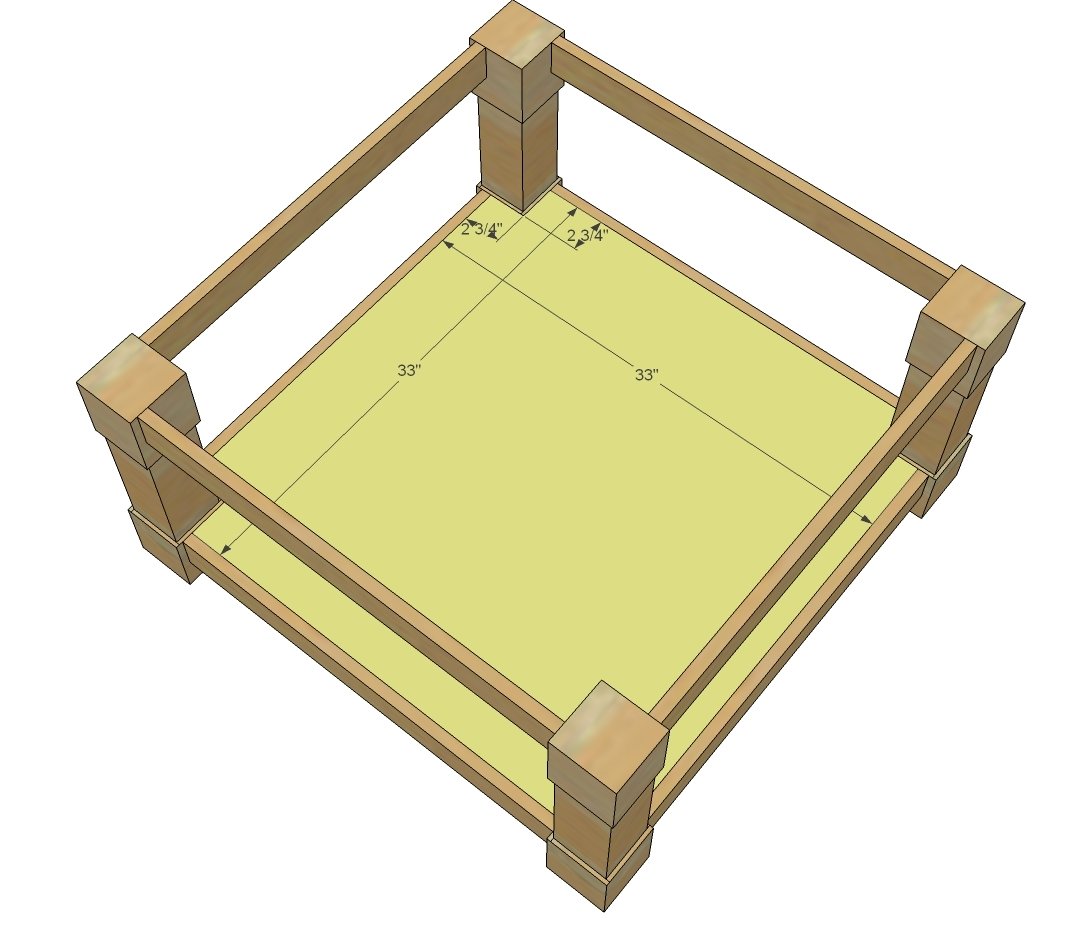
- 1 - 3/4” plywood @ 33” x 33” (bottom shelf)
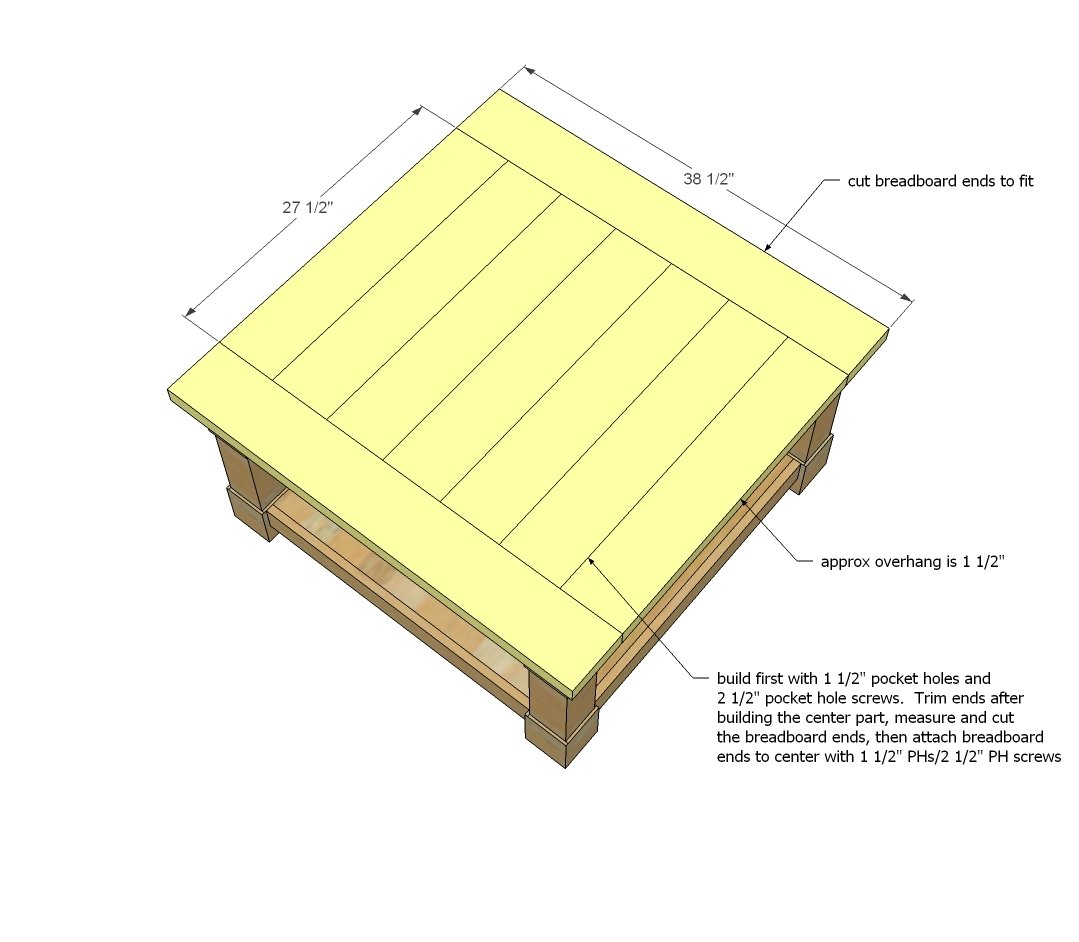
- 7 - 2x6 @ 27 1/2” (tabletop center boards)
- 2 - 2x6 @ 38 1/2” (breadboard ends - cut to fit)
Please read through the entire plan and all comments before beginning this project. It is also advisable to review the Getting Started Section. Take all necessary precautions to build safely and smartly. Work on a clean level surface, free of imperfections or debris. Always use straight boards. Check for square after each step. Always predrill holes before attaching with screws. Use glue with finish nails for a stronger hold. Wipe excess glue off bare wood for stained projects, as dried glue will not take stain. Be safe, have fun, and ask for help if you need it. Good luck!
Instructions
Step 1
Step 2
Step 3
It is always recommended to apply a test coat on a hidden area or scrap piece to ensure color evenness and adhesion. Use primer or wood conditioner as needed.






Comments
JenWoodhouse.com
Mon, 11/25/2013 - 12:06
Can't wait to build this!
Yessss! I'm so happy you have plans for this table! I can't wait to build it! Thank you Ana and Ashley!
mandyarnold
Mon, 11/25/2013 - 14:34
stain
Maybe I missed this...Was there a stain used on this coffee table or only conditioner? Thanks!
In reply to stain by mandyarnold
JenWoodhouse.com
Tue, 11/26/2013 - 13:03
Stain
I believe she used Rustoleum's Ultimate Wood Stain in Dark Walnut.
Adubose
Tue, 06/10/2014 - 23:12
Local suppliers
Ana,
Are there any local suppliers here in Fairbanks that could offer the same specific style of legs for this table? I am new to the area and between work and a soldier for a husband, I haven't had much time to venture out to familiarize myself with the area yet. Thank you for the tip in advance!
cthompson
Tue, 07/01/2014 - 07:05
Matching Side Table?
I love this table and I was wondering if their were plans to do a side table and a TV console?
Cmjoyner6
Wed, 12/31/2014 - 07:04
I'm about to get supplies for
I'm about to get supplies for this beautiful project! Can you explain a little more in depth about the piece of plywood though? There are so many different kinds of pine plywoods when you look at them- some with low pricing and some with high pricing! How much was it for you to get the plywood?
Thank you:)
In reply to I'm about to get supplies for by Cmjoyner6
Ana White
Wed, 12/31/2014 - 13:16
It's Purebond Plywood. Check
It's Purebond Plywood. Check out more information here
https://www.youtube.com/watch?v=7fF5z0rQnR0
eparazo
Sun, 01/04/2015 - 17:31
Wood Movement
Does this plan account for wood expansion in humid environments?
jhancock42
Mon, 01/05/2015 - 08:04
wood movement answer.
Check this out. Modify as you see fit.
http://www.woodworkingtalk.com/f2/pocket-hole-table-top-47687/
http://workshopcompanion.com/KnowHow/Design/Nature_of_Wood/2_Wood_Movem…
Also note plywood is extremely stable.
LZbeth
Thu, 01/29/2015 - 10:54
Pocket Screws
Thank you for the plans to this beauty. I have ordered the legs and they have just come in, gorgeous!!!! I'm in the process of gather all other materials and was wondering if the pocket screws need to be fine or course, or does that not matter?
Thank you!
jr91392
Thu, 01/29/2015 - 11:12
It's recommended
that you use coarse for softwood and fine for hardwood. The fine threads won't split the hardwood as easily
Claudia Auston
Fri, 01/13/2017 - 11:55
Corona coffee table
I am building this coffee table at the moment and encountered a problem: the bottom shelf should not be 33"x 33" but 31 1/2" x 31 1/2" to make it fit. I followed all the measurements and even got the same turned legs. What did I do wrong?
mparkerfd20
Mon, 01/22/2018 - 15:08
Turned Legs
I found the same legs on Amazon for a little cheaper than Osborne should anyone want to go that route. https://www.amazon.com/Traditional-Bench-Coffee-Table-Unfinished/dp/B07…