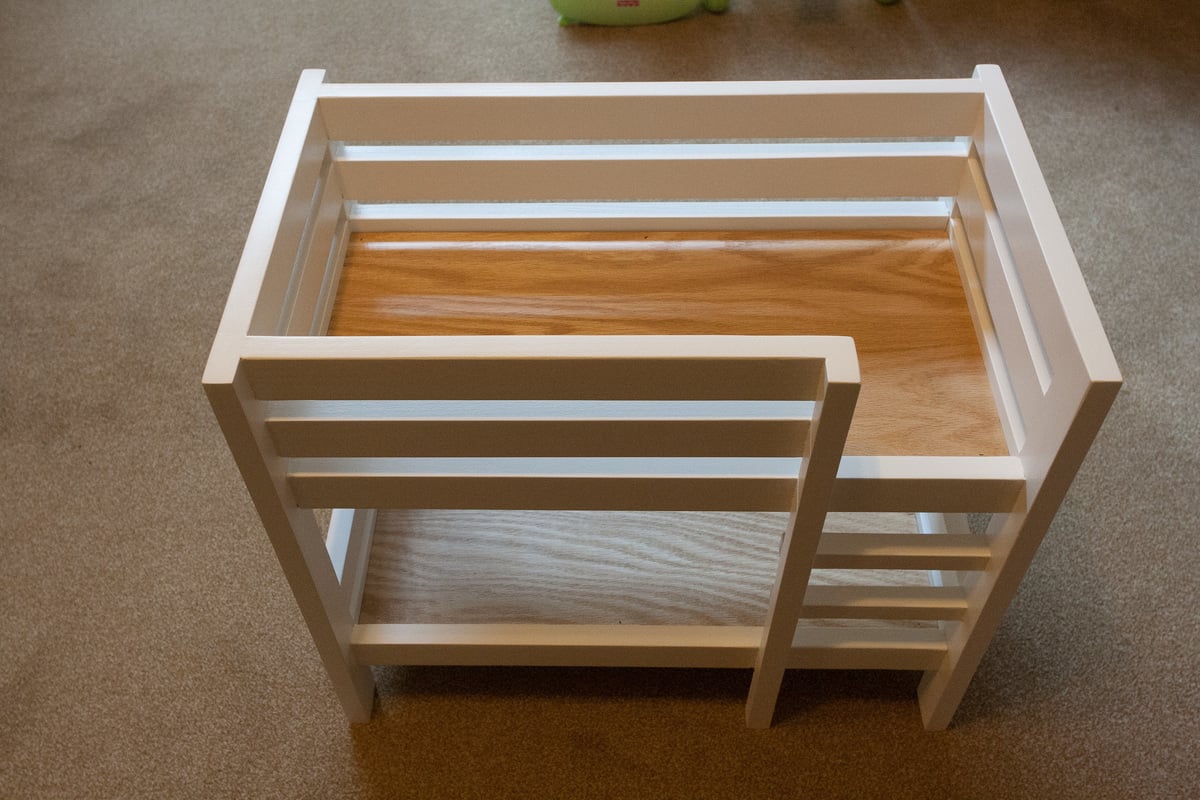
This doll bunk bed was constructed by my twin sons (age 9) and me as a Christmas present for their younger sister.
The tools used were:
Circular saw with Eurekazone tracks
Random orbital sander
320 grit sanding sponge
HVLP 4-stage sprayer
Dowelmax
Kreg Jig
18 gauge brad nailer
Various Clamps
Oscillating Multitool
Chisels
The Eurekazone tracks allowed me to easily rip the thicker stock for the ladder steps and also allowed for boards to be cut to identical lengths as necessary.
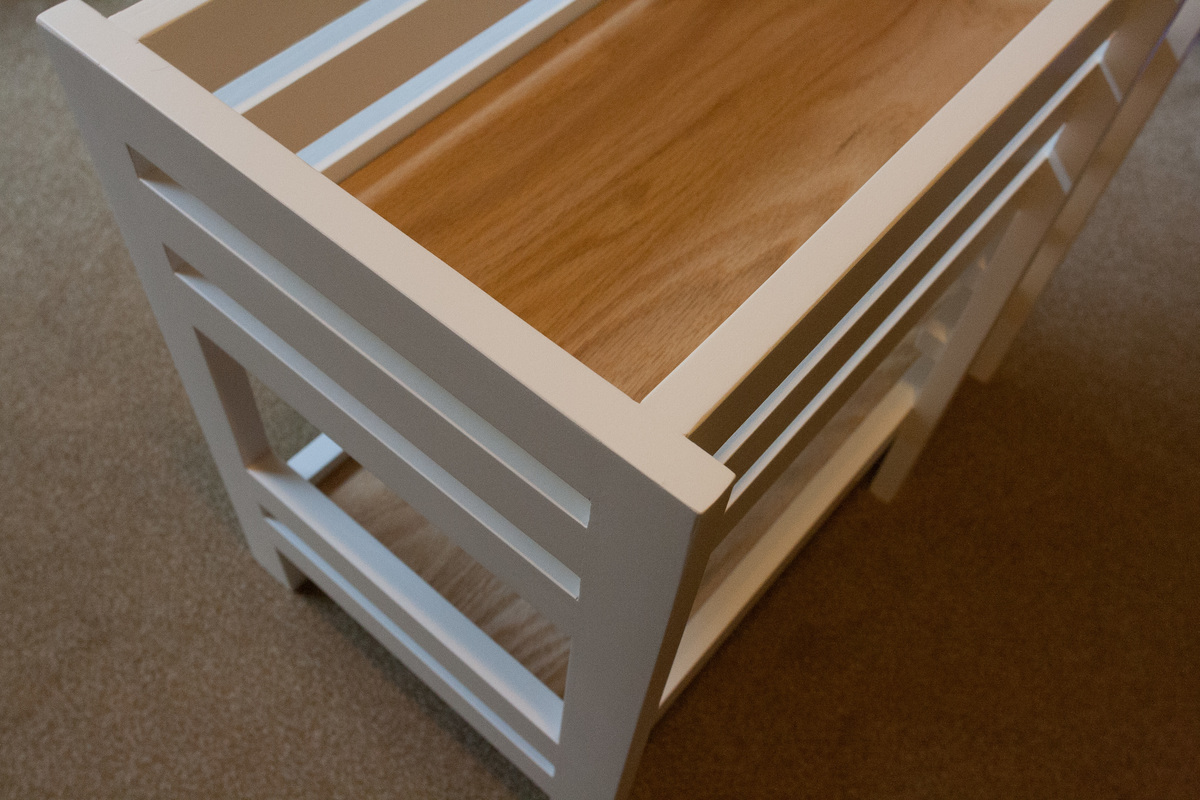
The Dowelmax was used for the head and foot of the bed. It allows for very close alignment of the faces. A quick sanding allowed for straight gap-free alignment. It also allowed the boys to easily drill straight.
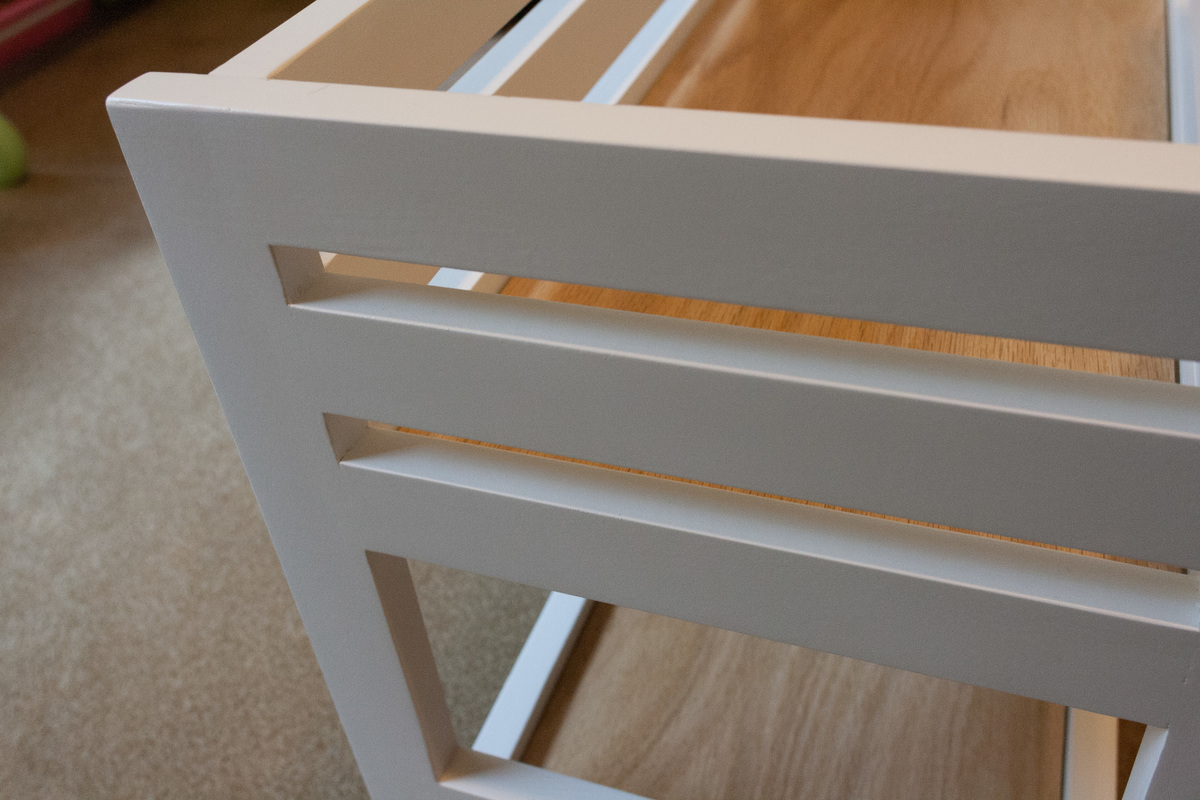
The Kreg jig was used with two screws at the end of each board. This allowed the use of the Kreg 90 degree clamp in one of the holes. The holes were filled with the Kreg paint-grade plugs. The top boards were aligned by setting the bed upside down on the bench for alignment.
The plywood was attached using a gel cyanoacrylate glue with a few brads.
The oscillating multitool was used to flush cut the Kreg plugs. The little bit of plug left after that was trimmed off with a chisel.
Comments
HD
Thu, 01/02/2014 - 08:47
Beautifuel Joints
I was looking at the closeups of your joints. The dowel joints are seamless. I used dowels when I made this bunk for my kids, but I didn't use "blind" dowels like you. I used simply drilled a hole through the joint, inserted a dowel, and trimmed off the extra (so called "through" dowel joints). I painted it so you don't see the dowel, but you're joints look nearly perfect and can be used with a clear finish. I'm envious.
Trekker
Fri, 01/03/2014 - 11:21
Dowelmax was the key
The real key was the Dowelmax jig. You can easily get 1/100th of an inch accuracy across reference faces (basically as accurate as your fingertips can sense). After that, it's just a bit of sanding.
Using the pocket holes was a bit trickier for both alignment and filling in the holes. Using two pockets holes so that one could be used for clamping made the alignment easier. I would have skipped the pocket holes entirely, but I had dowel interference problems if I used dowels for both the ends and the sides. Pocket hole screws easily screwed into the end dowels that were hidden. The pocket holes would also make a clear finish more difficult (I'd probably stain it first to blend the inserts with the normal wood).