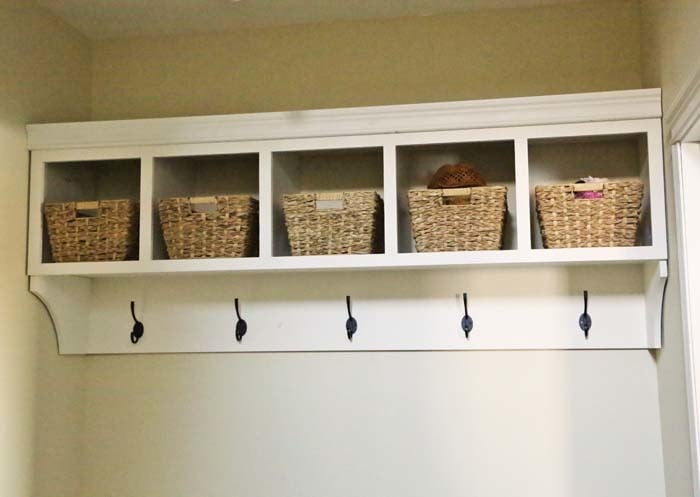
DIY Mudroom organizer plans from Ana-White.com
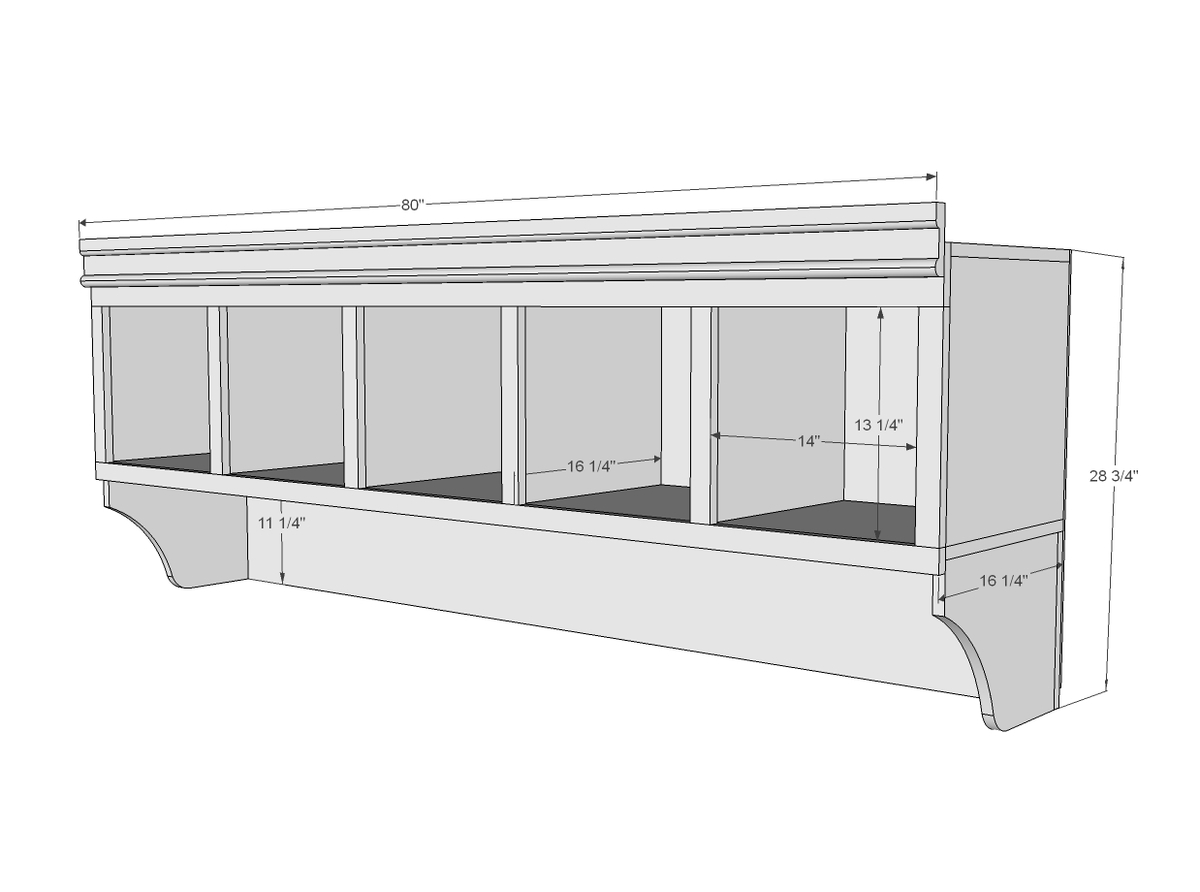
Preparation
1 - sheet 3/4" plywood cut into (3) 8' long strips, 15-3/4" wide (Have your hardware store do this) 1 - 1x12 @ 10 feet long 1 - 1x4 @ 8 feet long 2 - 1x2 @ 8 feet long I stick crown moulding or other moulding 7' long Hooks 1 - 1/4" pocket hole screws 1-1/4" finish nails (for attaching back and face frame) Long screws of attaching to studs in walls (we used 3-1/2" long screws)
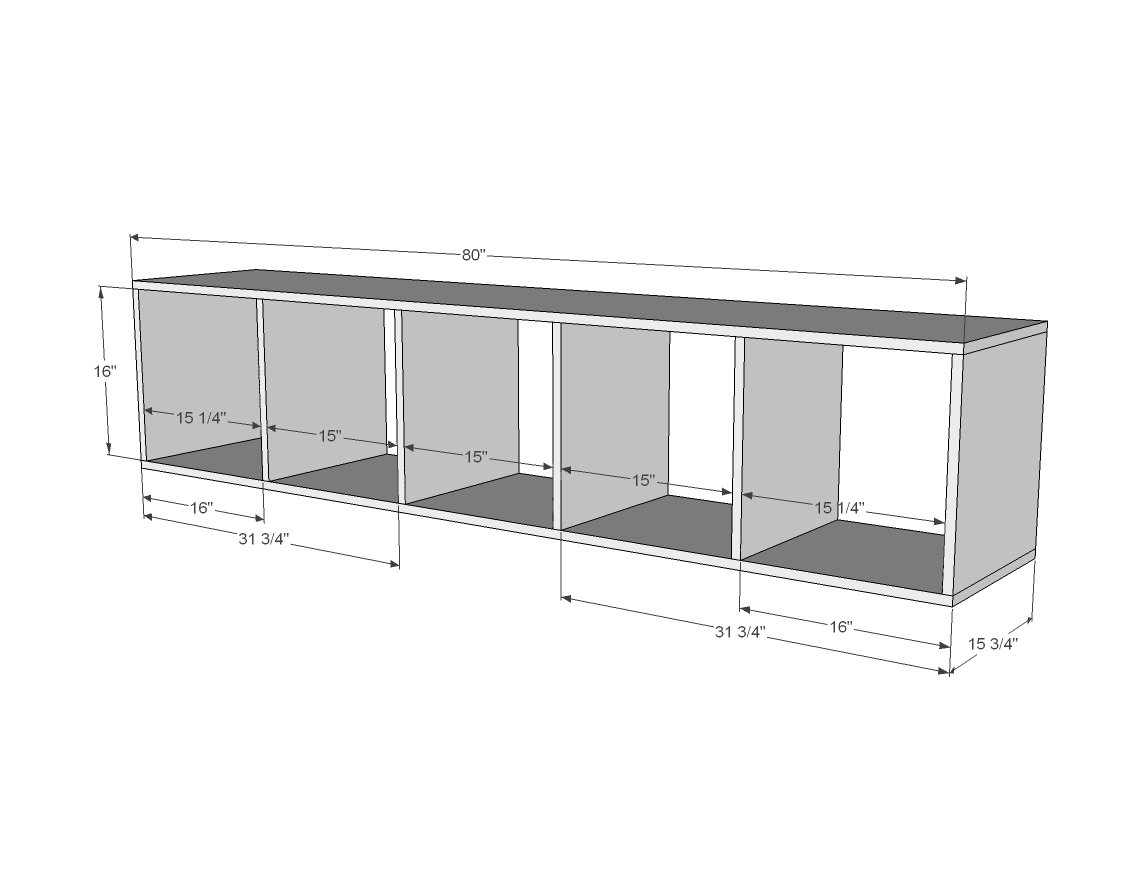
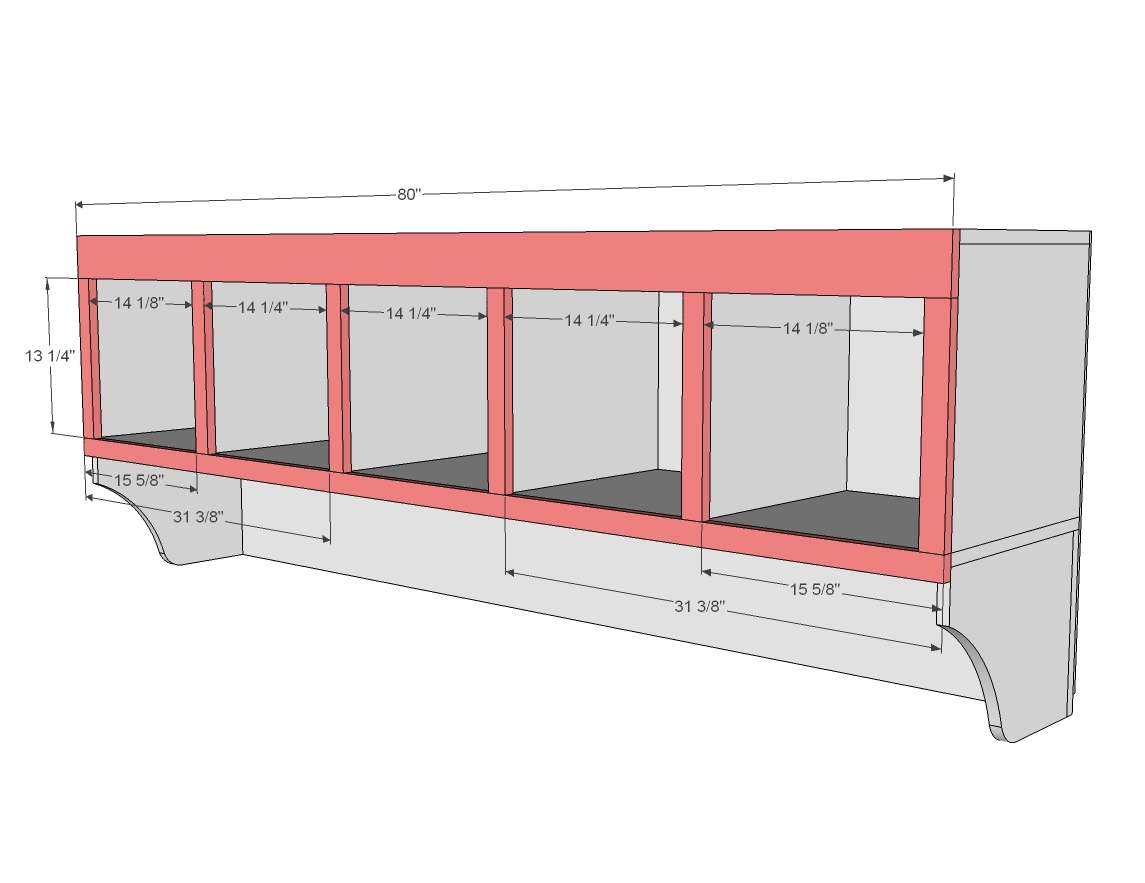
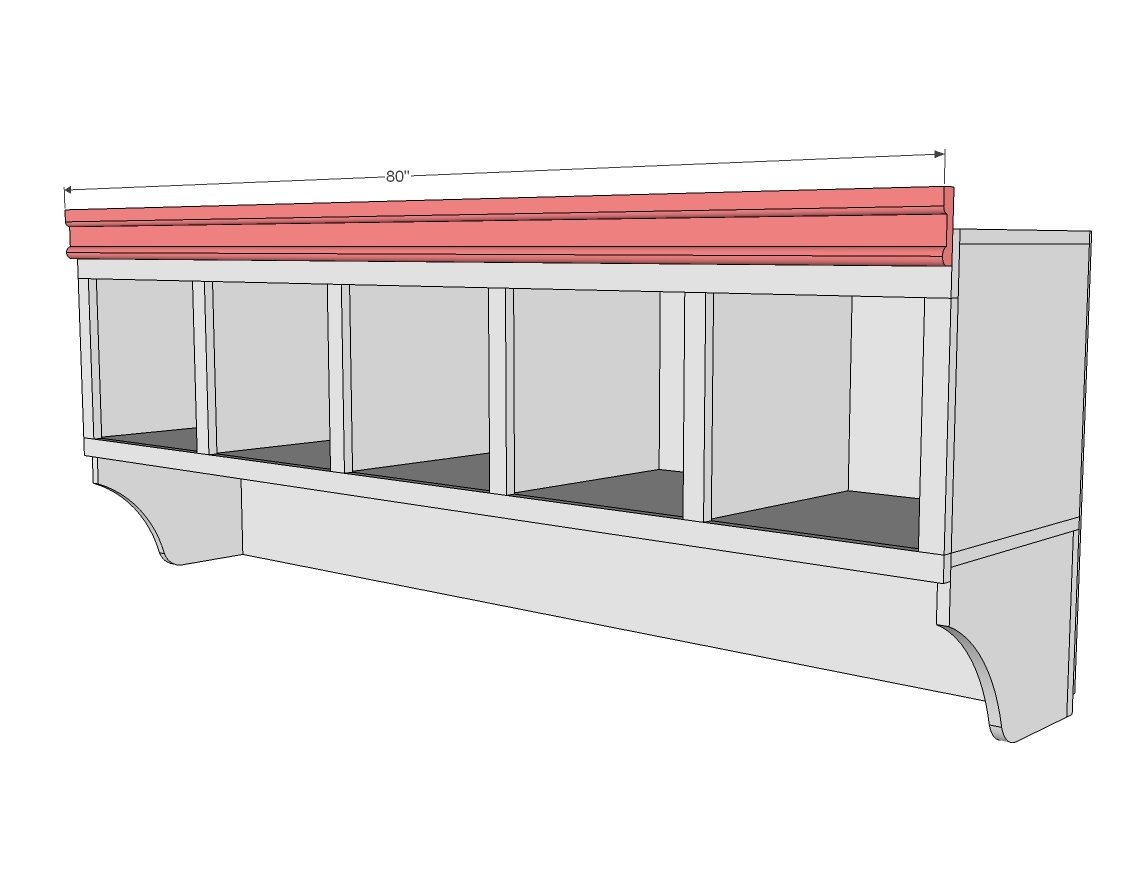
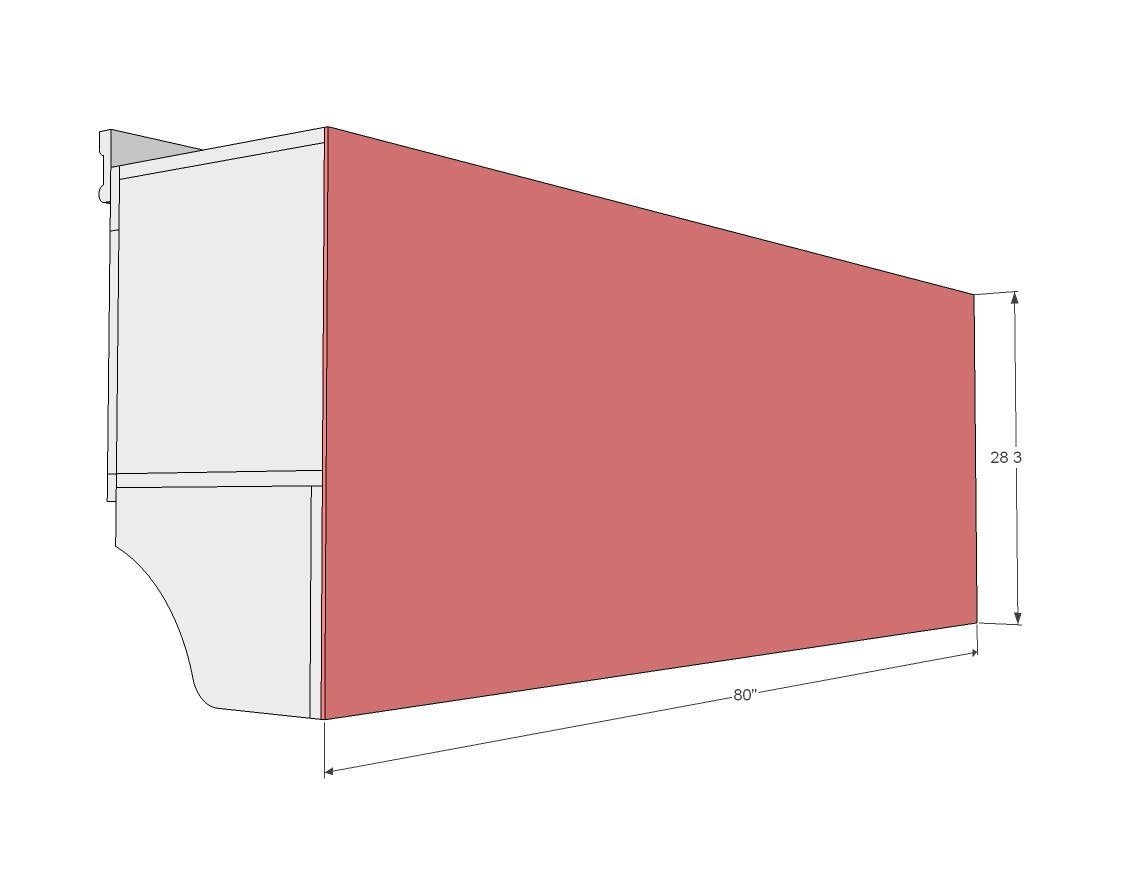
2 - 3/4" plywood @ 15-3/4" x 80" (top and bottom) 6 - 3/4" plywood @ 15-3/4" x 16" (dividers) 1 - 1x12 @ 80" (back of hooks) 2 - 1x12 @ 14-3/4" (side bottom trim) FACE FRAME 1- 1x4 @ 80" 6 - 1x2 @ 13-1/4" 1- 1x2 @ 80" Crown moulding @ 80" Optional back is 80" x 28-3/4" (actually could be less because the plywood doesn't have to cover the entire 1x12 board back)
Please read through the entire plan and all comments before beginning this project. It is also advisable to review the Getting Started Section. Take all necessary precautions to build safely and smartly. Work on a clean level surface, free of imperfections or debris. Always use straight boards. Check for square after each step. Always predrill holes before attaching with screws. Use glue with finish nails for a stronger hold. Wipe excess glue off bare wood for stained projects, as dried glue will not take stain. Be safe, have fun, and ask for help if you need it. Good luck!
Instructions
Step 1
Step 2
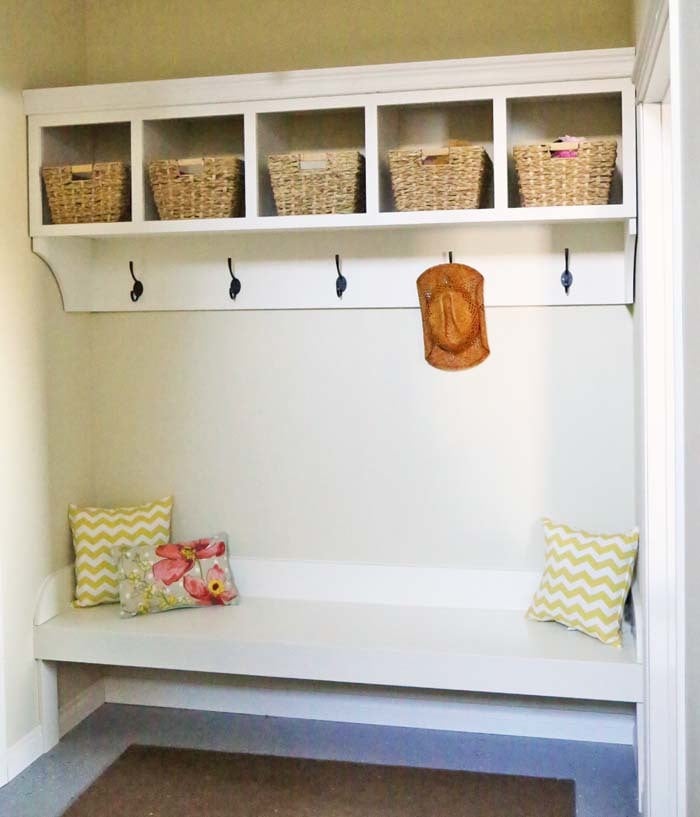
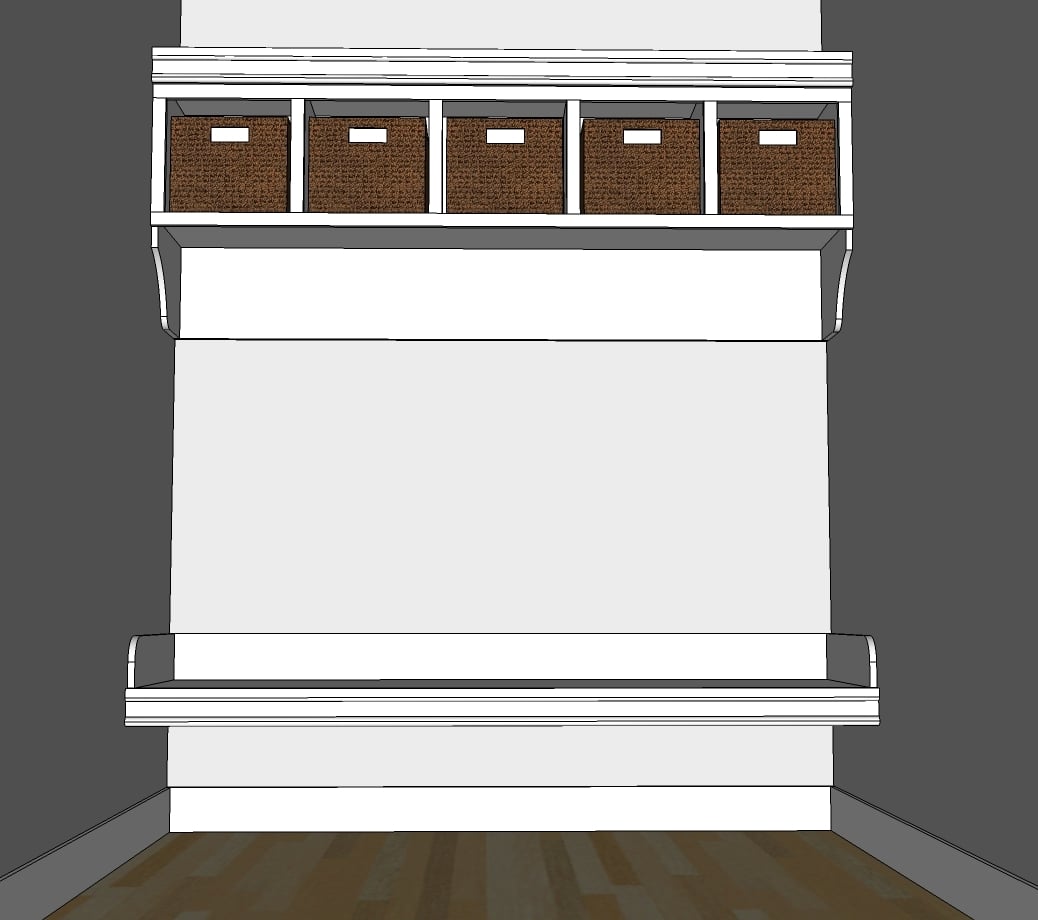
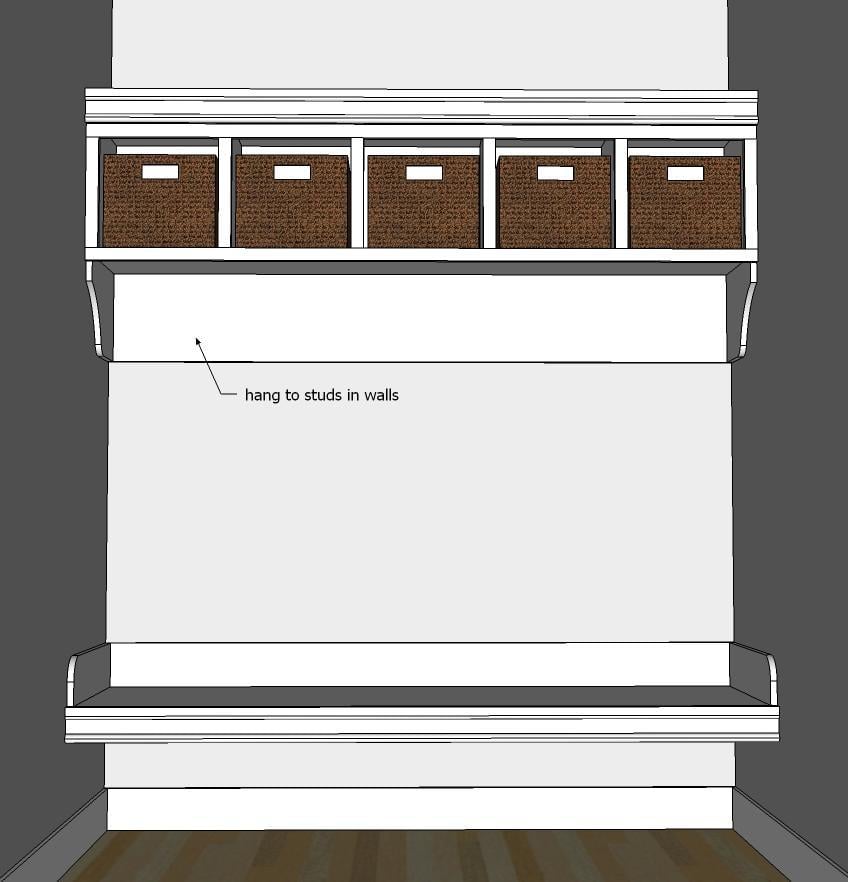
Next, we built the base part, and then attached it to the cubby part with 3/4" pocket holes and 1-1/4" pocket hole screws.
The main reason we built the bottom portion with 1x12s is because we jigsawed the curved cuts, it's solid wood, and no edge banding is required. If we'd used plywood for those pieces, it would have been very difficult to edge band a curved cut.
Step 3
Step 4
It is always recommended to apply a test coat on a hidden area or scrap piece to ensure color evenness and adhesion. Use primer or wood conditioner as needed.


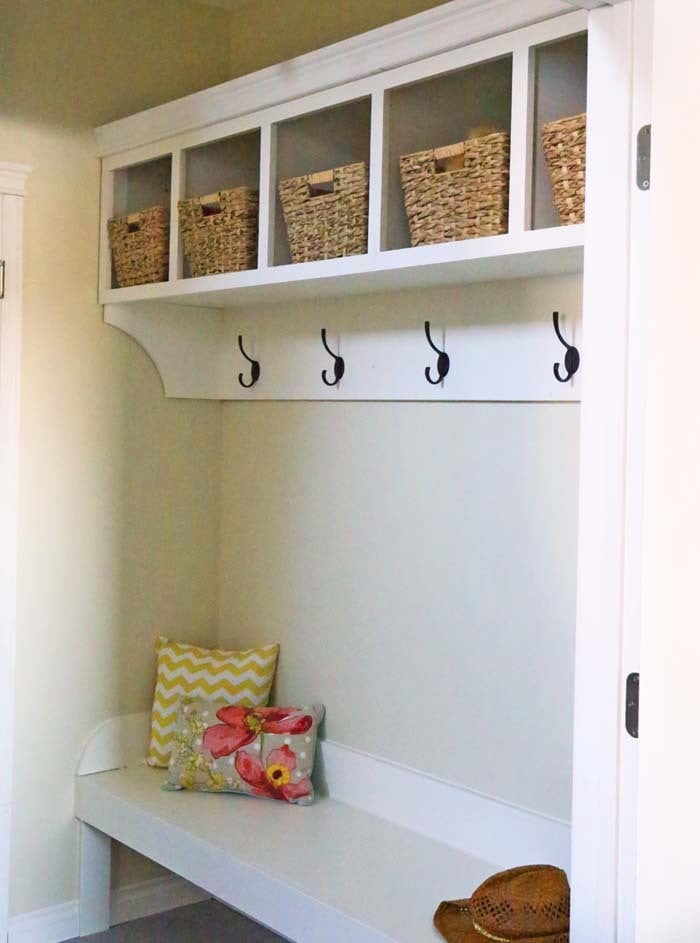
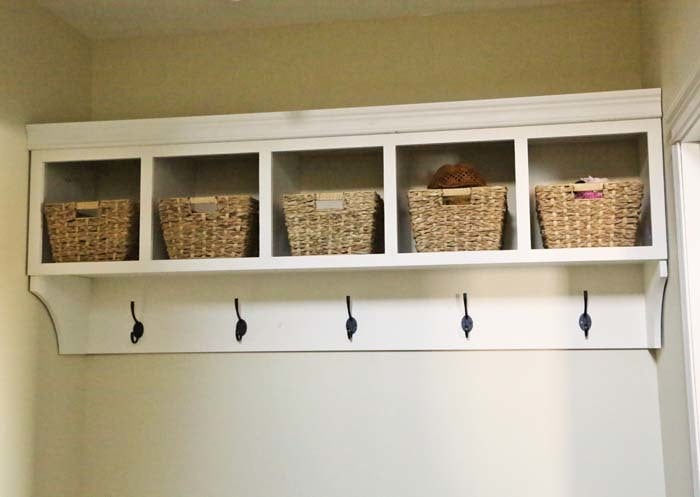




Comments
Lady Goats
Fri, 04/11/2014 - 12:41
Ana!! This turned out amazing!!!
Mom Who Loves to Sew must be THRILLED! What a perfect spot for a mud room set-up. Wish we were all so lucky!
sueslager
Sun, 04/13/2014 - 07:39
how long would be safe?
Since this plan is so easy customizable ... just curious how long it could be extended and still be safe & sturdy? Obviously limited to 8' for the length of boards ... but what's your thought about when it would be necessary to add another support?
In reply to how long would be safe? by sueslager
Ana White
Sun, 04/13/2014 - 11:52
Hi - since this shelf is
Hi - since this shelf is supported on the back into the wall, it really could be any length. If you do have some support issues, adding a corbel (to match the side ones) would help out tons. Ours is almost 7 feet long and there's no support issues. Hope this helps! Ana
In reply to how long would be safe? by sueslager
Ana White
Sun, 04/13/2014 - 11:53
Hi - since this shelf is
Hi - since this shelf is supported on the back into the wall, it really could be any length. If you do have some support issues, adding a corbel (to match the side ones) would help out tons. Ours is almost 7 feet long and there's no support issues. Hope this helps! Ana
moore83a
Tue, 03/03/2015 - 08:41
missing a wall
I plan on building this but the area that it will be going will not have the wall on the left side. Will the screws holding it in the back be enough?
spiceylg
Sun, 10/25/2015 - 19:37
Question
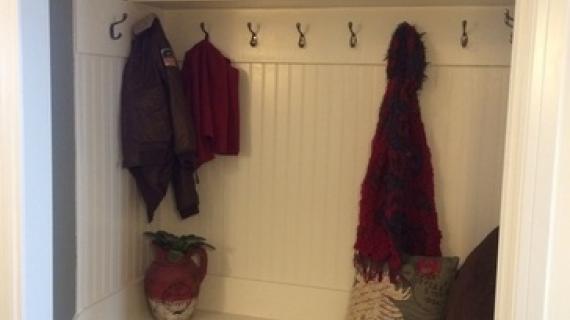
What is the best height to hang any coat hooks over a bench?
spiceylg
Sun, 10/25/2015 - 19:38
Question
What is the best height to hang any coat hooks over a bench?
Tsu Dho Nimh
Mon, 10/26/2015 - 11:23
How high to put hooks?
1 - Low enough that your children can reach them and hang up their own coats.
2 - High enough that the coats don't drag on the bench.
This may mean having two or three heights of hooks, so a tall teenager with a trench coat and a short kindergardener with a jacket each has a hook that works for them.
And you will end up moving hooks up as kids grow.