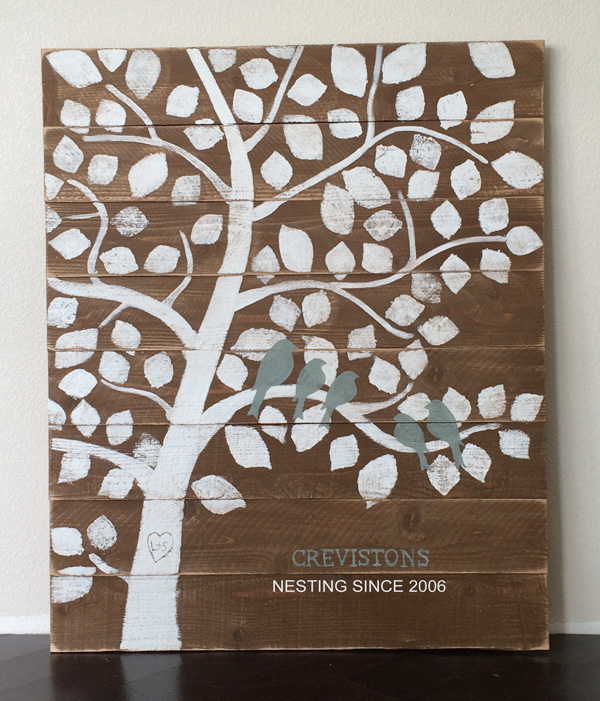


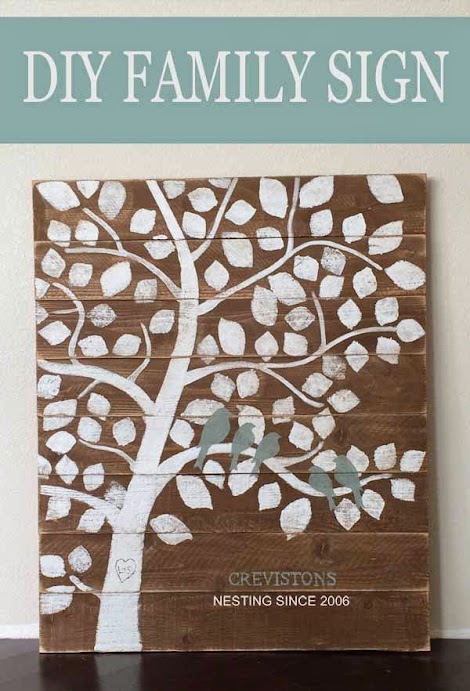
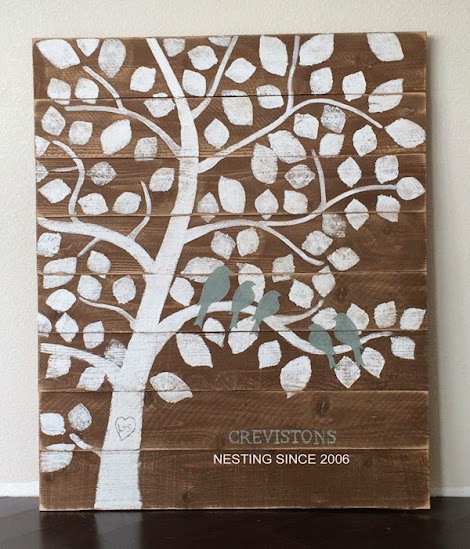
DIY Custom Family Tree Art or Sign with love birds
Are you celebrating any love birds getting married this summer? Or want to personalize your own home with a customized family sign?
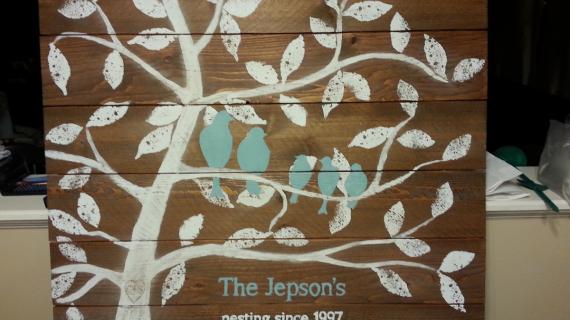
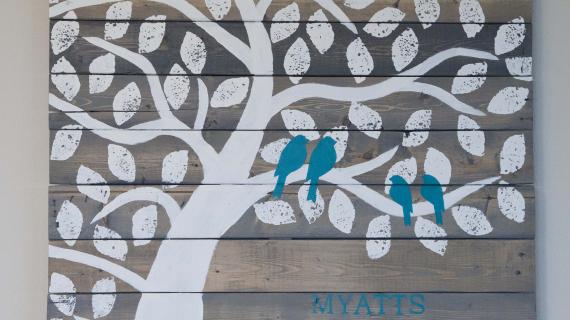
Grace and I made this sign for my sister's family this week, and we thought it would make an awesome wedding gift, anniversary gift, or just a beautiful addition to your own home.
I really fell in love with these prints from Red Envelope, but a stretched canvas print half the size of my wood DIY version costs $170.
Guess how much we spent DIYing this wood sign?
Less than $10!!!
- 4 cedar fence slats ($8)
- 1 - 1x3 furring strip board ($1.50)
- Staples, stain and paint I had leftover from various other projects
Here's how we made this sign -

I took the four 72" long fence slats and cut them in half. Then I layed them out on the table, and measured the height of the sign, and cut the furring strips to fit.
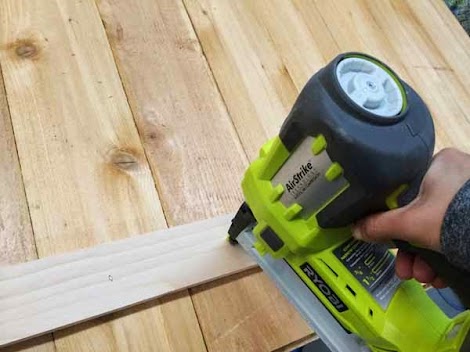
Then I glued and stapled the furring strip to the back of the sign.
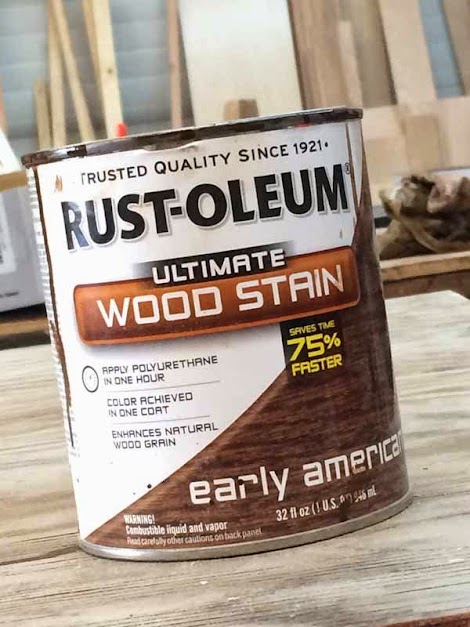
Next, I stained the front of the sign with RustOleum Wood Stain in Early American. It's a one step so you just brush it on and wipe it off.

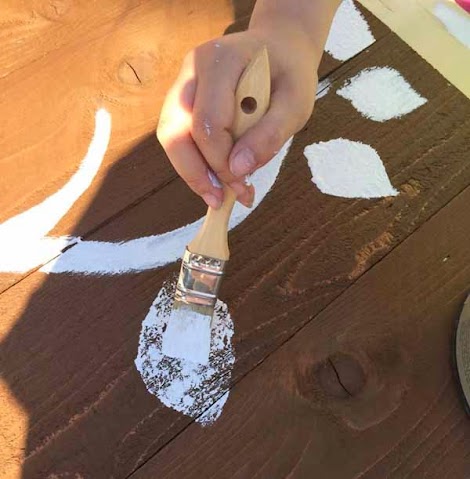
Then I painted the trunk and branches with a brush. I started with a few inspiration trees on Pinterest, but ended up just free handing most of the tree. Remember, trees are not perfect and you don't need to paint them perfect either!
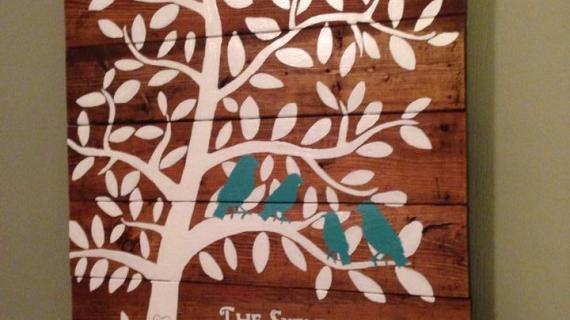
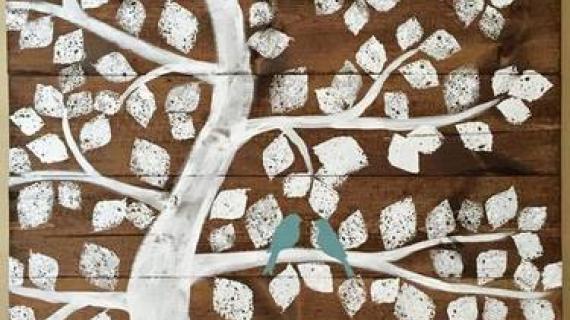
After the main tree trunk and branches were painted, Grace showed me how to cut a sponge in a leaf shape,
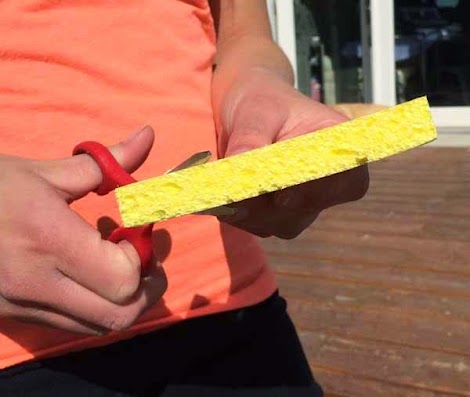

And dip that in paint, and make leaves on the sign -

This was much easier than tracing out each leaf! Grace actually ended up placing many of the leaves on this sign.
I ended up filling in leaves with a brush, but later on I wish I hadn't -

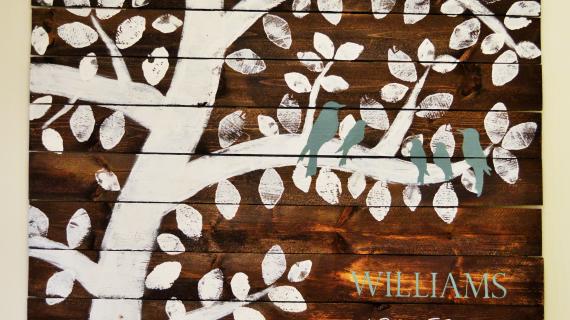
See how the tree looks a little too crisp?
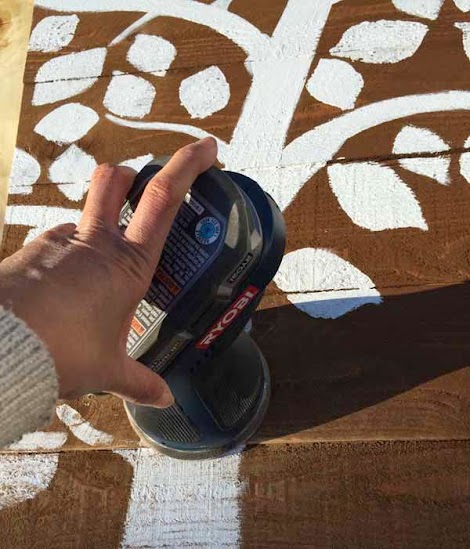
I ended up distressing the entire sign with my cordless Ryobi Sander.

Much better!

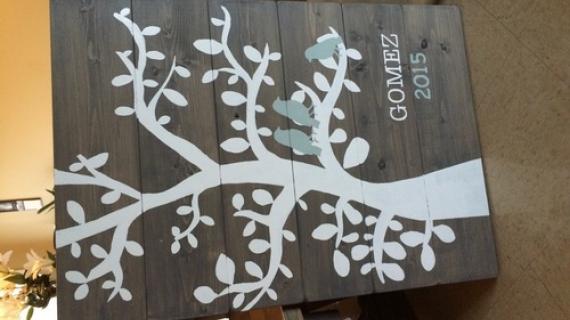
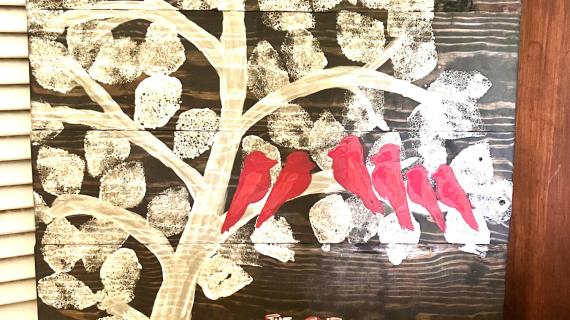
For the birds, I cut out a silhouette, and traced the birds (one for each family member) on the tree branches. Then I filled in the birds with paint in a gray blue. I used an angled tipped brush.

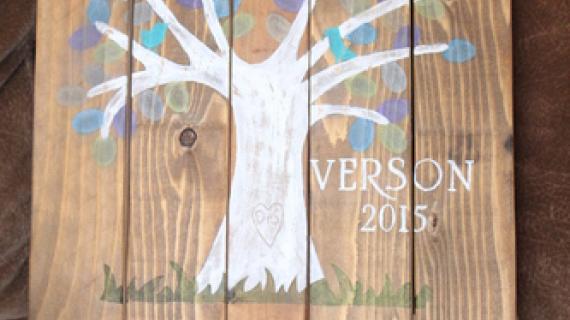
Just like might be done in a real tree trunk, I used a pocket knife to carve out initials inside a heart.

It's one of my favorite parts of this sign! And the easiest part too!
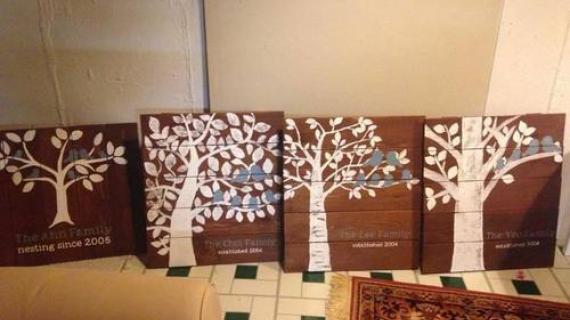
For the family name part, I followed my friend Jaime's tutorial on personalizing wood with paint. It's easy and you don't have to cut out each letter.
This was such a fun project that you can do with your kids to give a meaningful handmade custom gift that doesn't break your budget! We are thrilled with the results - the hubs actually asked me if I would make one for our family!
I just might!
Have a great weekend! Happy DIYing!
XO Ana and Family
Please read through the entire plan and all comments before beginning this project. It is also advisable to review the Getting Started Section. Take all necessary precautions to build safely and smartly. Work on a clean level surface, free of imperfections or debris. Always use straight boards. Check for square after each step. Always predrill holes before attaching with screws. Use glue with finish nails for a stronger hold. Wipe excess glue off bare wood for stained projects, as dried glue will not take stain. Be safe, have fun, and ask for help if you need it. Good luck!
It is always recommended to apply a test coat on a hidden area or scrap piece to ensure color evenness and adhesion. Use primer or wood conditioner as needed.


Comments
dmcarwin
Fri, 05/16/2014 - 14:59
So cute!
I think this is so fun, and a perfect gift, I am impressed with Gracie's skills too!
jaimecostiglio
Fri, 05/16/2014 - 18:26
Great gift
Thanks Ana for the link back. That tutorial from 2011 is by far my highest trafficed post of all time and I cringe at the pics, perhaps I should do an updated version! Your artwork is a perfect family gift and yes you should make one for the White's (with white leaves of course :)).
spiceylg
Sat, 05/17/2014 - 13:30
Awesome
Love this and love that Grace us getting so involved.
yurra-bazain
Sun, 05/18/2014 - 09:36
How sweet
Ana, this is beautifully done. :) I love that you worked with Grace on it, too. I am tempted to spin some saw blades right now.
birdsandsoap
Thu, 05/22/2014 - 13:39
Love this!
I love it, I love it, I love it!
jcox2011
Sun, 08/17/2014 - 10:21
This is easy to make!
I made the sign but I have decided not to stain it. I honestly can't paint I always use stencils >.
Creative Dominican
Tue, 09/30/2014 - 12:36
LOVE THIS!
I can find the link to the plans to get the mreasurements. Can you tell me the size of this?
Thanks,
Beca
shillhouse
Sun, 11/09/2014 - 11:38
Very cool
Very cool
Melissajackson04
Thu, 09/08/2016 - 19:11
I made a few of these. Mine
I made a few of these. Mine first and then two for other people. After spending about a week on my wall the cedar fence pickets have shrank causing 1/4" gaps between the slats. I'm afraid this will happen to the two others I made. Any tips or suggestions to prevent it from happening to others in the future? Thanks!