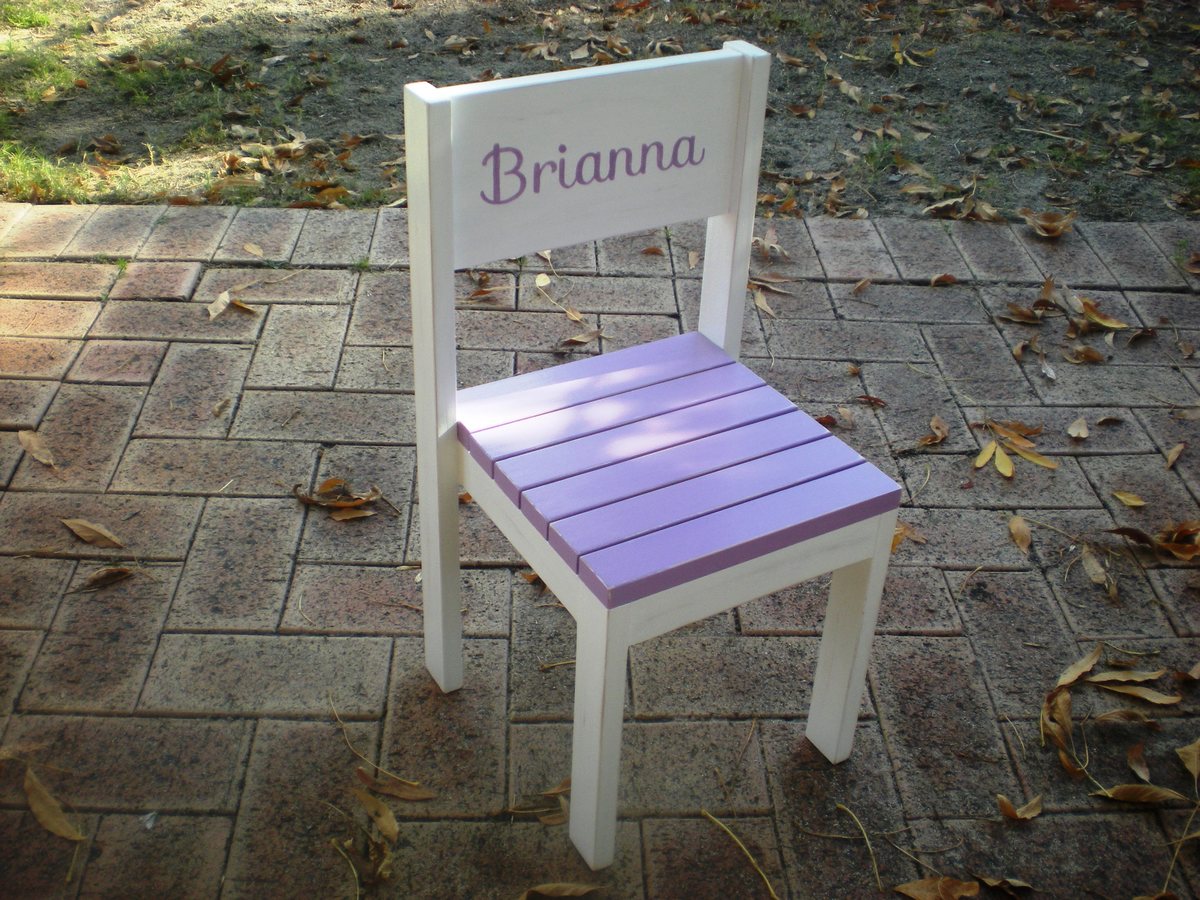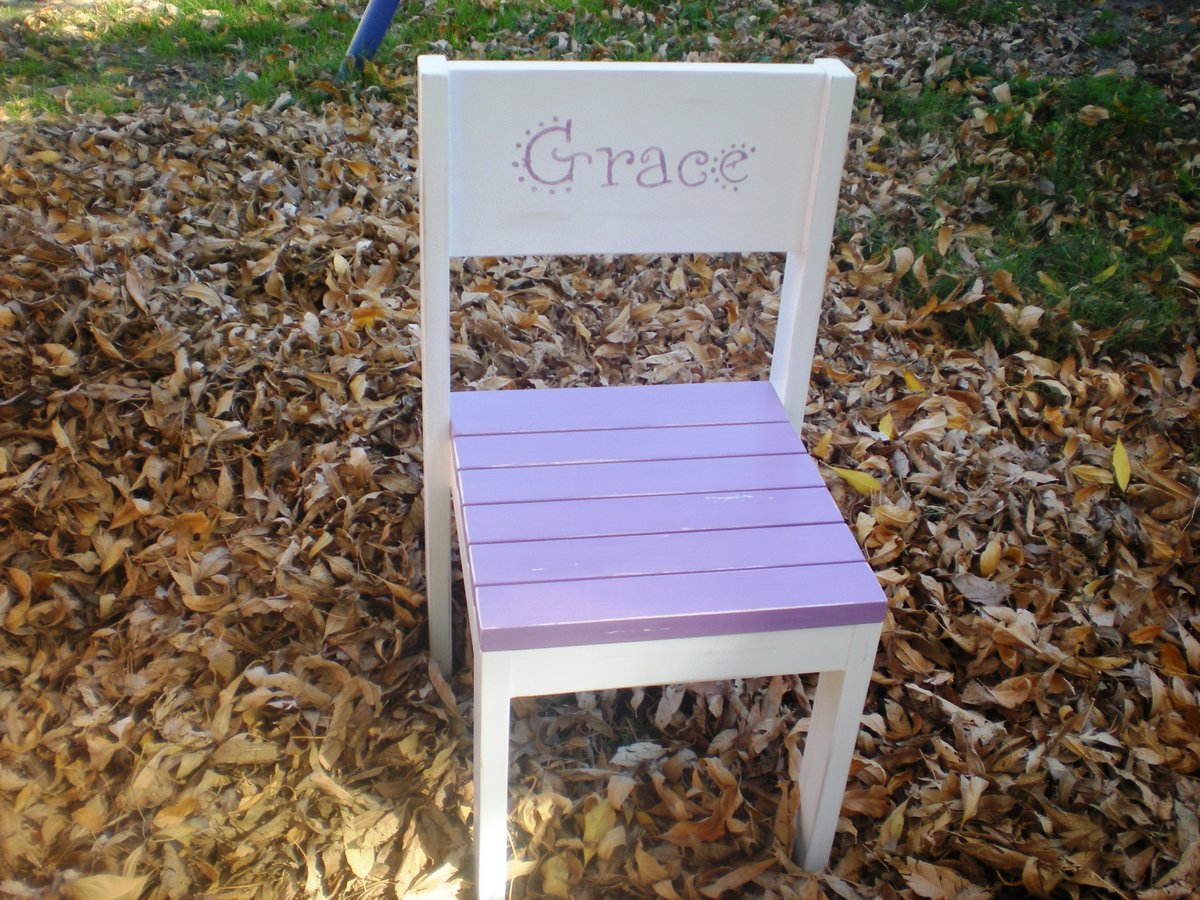
Two little girls we know recently celebrated their 1st birthdays, 4 months apart. I thought chairs would make perfect gifts. I finally got around to finishing both chairs around the time of the second girl's birthday. The other one was rather belated. The parents didn't know I was making it so it was still a nice surprise. My own 1 year old rather enjoyed testing them out.
I've previously made one of these full size chairs for my 8yo. but for these I changed the measurements to be smaller and easier for a one year old to sit on. I made the seat 28cm high and adjusted all the other measurements to suit. I enjoy using Sketchup so resizing the plan was a good excuse to use it again (I used an old ikea chair we had on hand as a guide for the sizing.)
I primed and painted the wood used for the slats before I cut it to size. This was so much easier than trying to paint in between them. Filling the screw holes was a bit of a chore and I'm not totally happy how some of them were still rather visible under the paint. A bit more practice needed I guess. Finishing took quite a while because of all the drying time. Chose to distress them to help disguise any bumps and marks they're likely to sustain. I discovered there is a fine line between distressing and distressing too much.
Really happy with how they turned out. Thanks for the fantastic plans!

Comments
Medickep
Mon, 09/02/2013 - 06:43
Love the name on the chair
Great job on the chair! What did you use to het the name on there so perfect!!
Thanks,
rosiejane
Sun, 09/22/2013 - 21:12
Thanks, I printed out the
Thanks, I printed out the name in the size & font that I wanted and traced over it using a ballpoint pen/dull pencil which leaves a slight indent. Then paint the outlines and fill it in. There's a great tutorial over at http://thatsmyletter.blogspot.com.au/2012/08/h-is-for-handpainted.html
SHaynes
Sun, 10/12/2014 - 18:30
Love the use of the 1x6
Love the use of the 1x6 instead of slatted for the back and the addition of the name takes it to a whole new level. So glad I saw this before making them for my littles. Btw, love the font you used for Brianna, so pretty. Well done!
sophet34
Mon, 11/03/2014 - 16:14
Beautiful work on the chair!
Beautiful work on the chair! What type of paint finish did you use?
Thanks!
sophet34
Mon, 11/03/2014 - 16:24
NEVERMIND I needed to read
NEVERMIND I needed to read further.
Thanks.