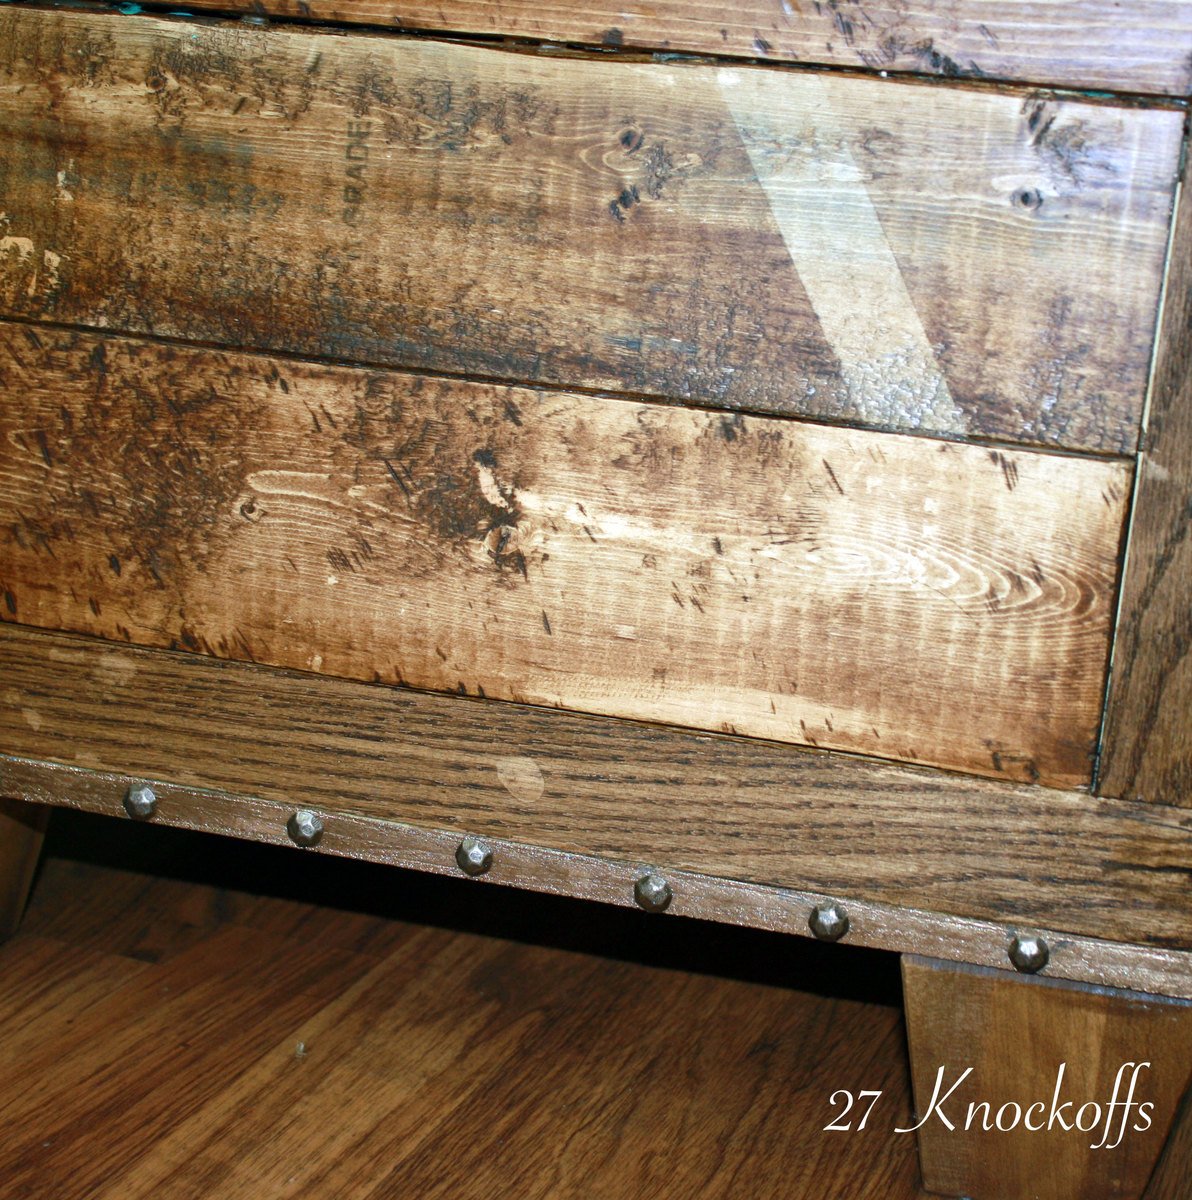
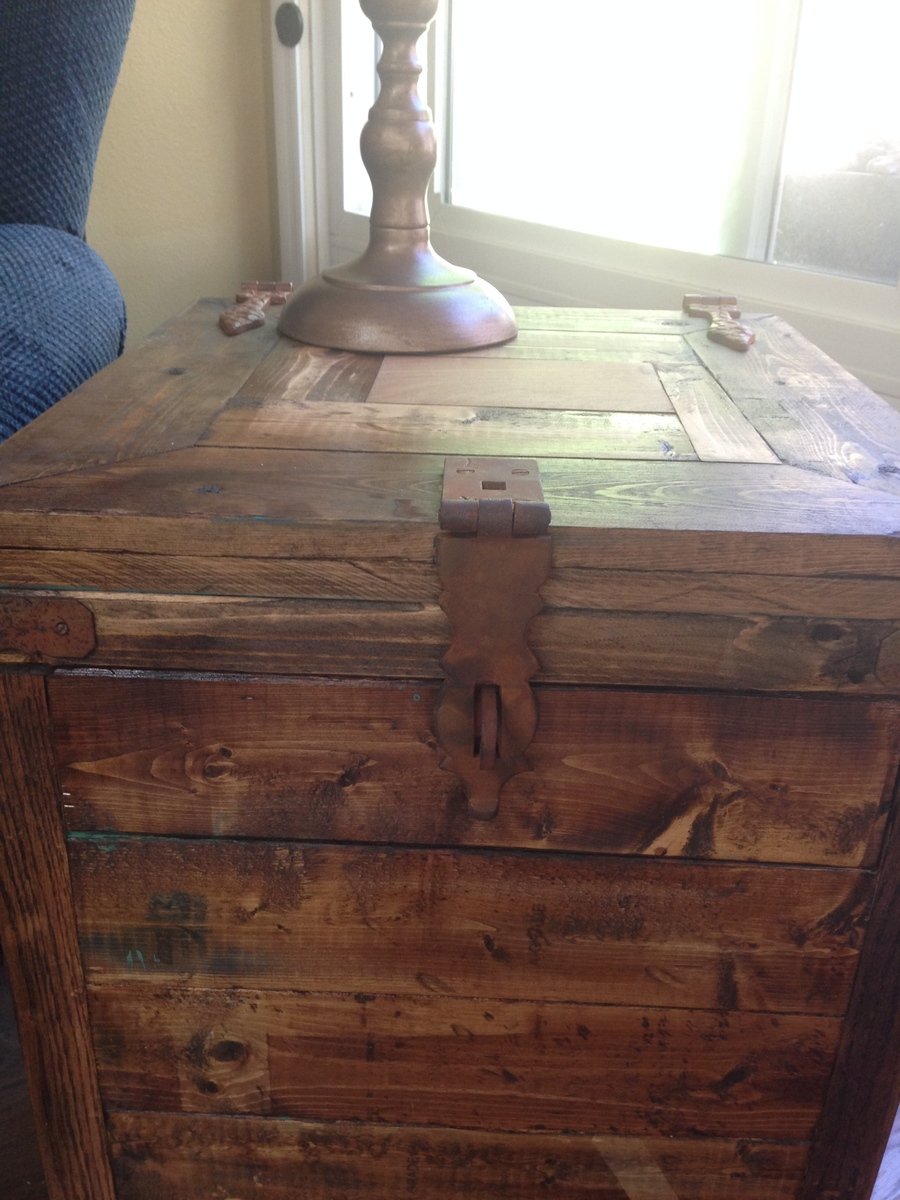
I'm in the process of upscaling my living area. It all started with my husband buying a new sectional that didn't match any of our decor. Instead of buying all new furniture, I decided to make a few pieces to help cut costs, and I did I mention how much I love making things? It was the perfect opportunity for me to hone in on my new wood-working skills. I instantly fell in love with Ana White's Emmerson Changing Table (by: West Elm). Pen to paper, I scetched my first plan. My idea became a reality in a few days and it was so simple. I love the rustic reclaimed wood appearance. What do you think?
Preparation
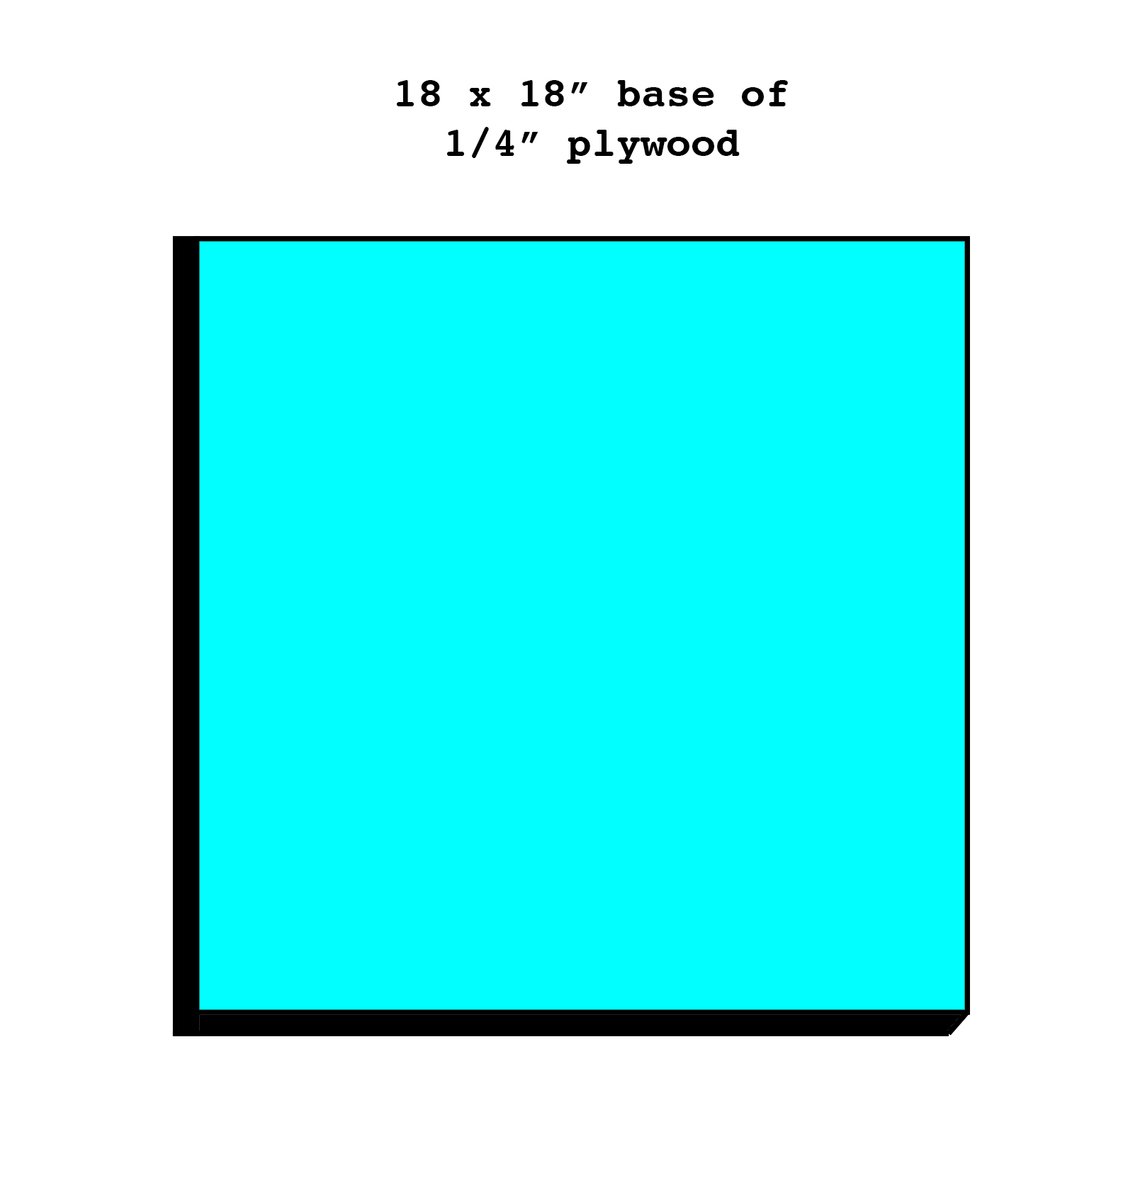
5 - 1x2 pine or white wood @ 6' 6 - 1x4 pine or white wood @ 6' 1/4" plywood cut to 18x18 for base 3 1/2" Bun Foot Wood Table Legs Handful of Nail Heads Hardware of your choice Minwax Provincial and Walnut Stain White paint
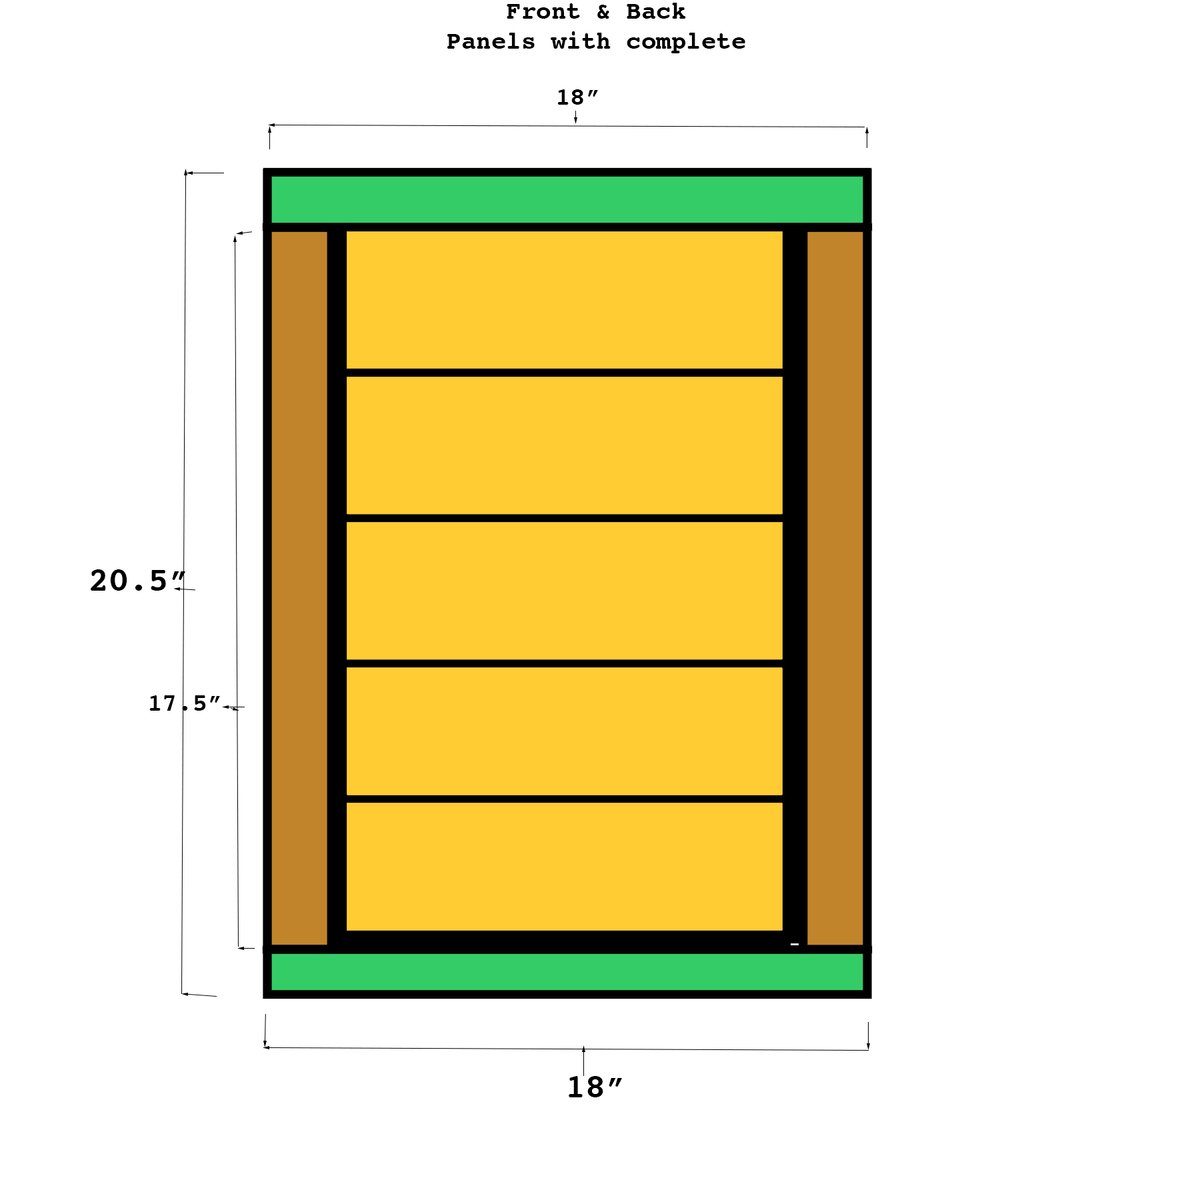
FRONT AND BACK PANELS: 4- 1x2's @ 17 1/2" (vertical) 4-1x2's @ 18" (horizontal) 10 1x4's @ 15" (all going horizontal) SIDE PANELS: 4- 1x2's @ 17" (horizontal) 10- 1x4's @ 17" (all going horizontal) LID: 4 - 1x4's @ 18" mitered at 45 degree angles (for the top) 2-1X2'S @ 18" (I screwed these under the lid mitered pieces) 2-1X2'S @ 15" (I screwed these under the lid mitered pieces) Random pieces to fit in the middle. I used scrap pieces and cut to fit or you could use an 11"x11" piece of 3/4" plywood.
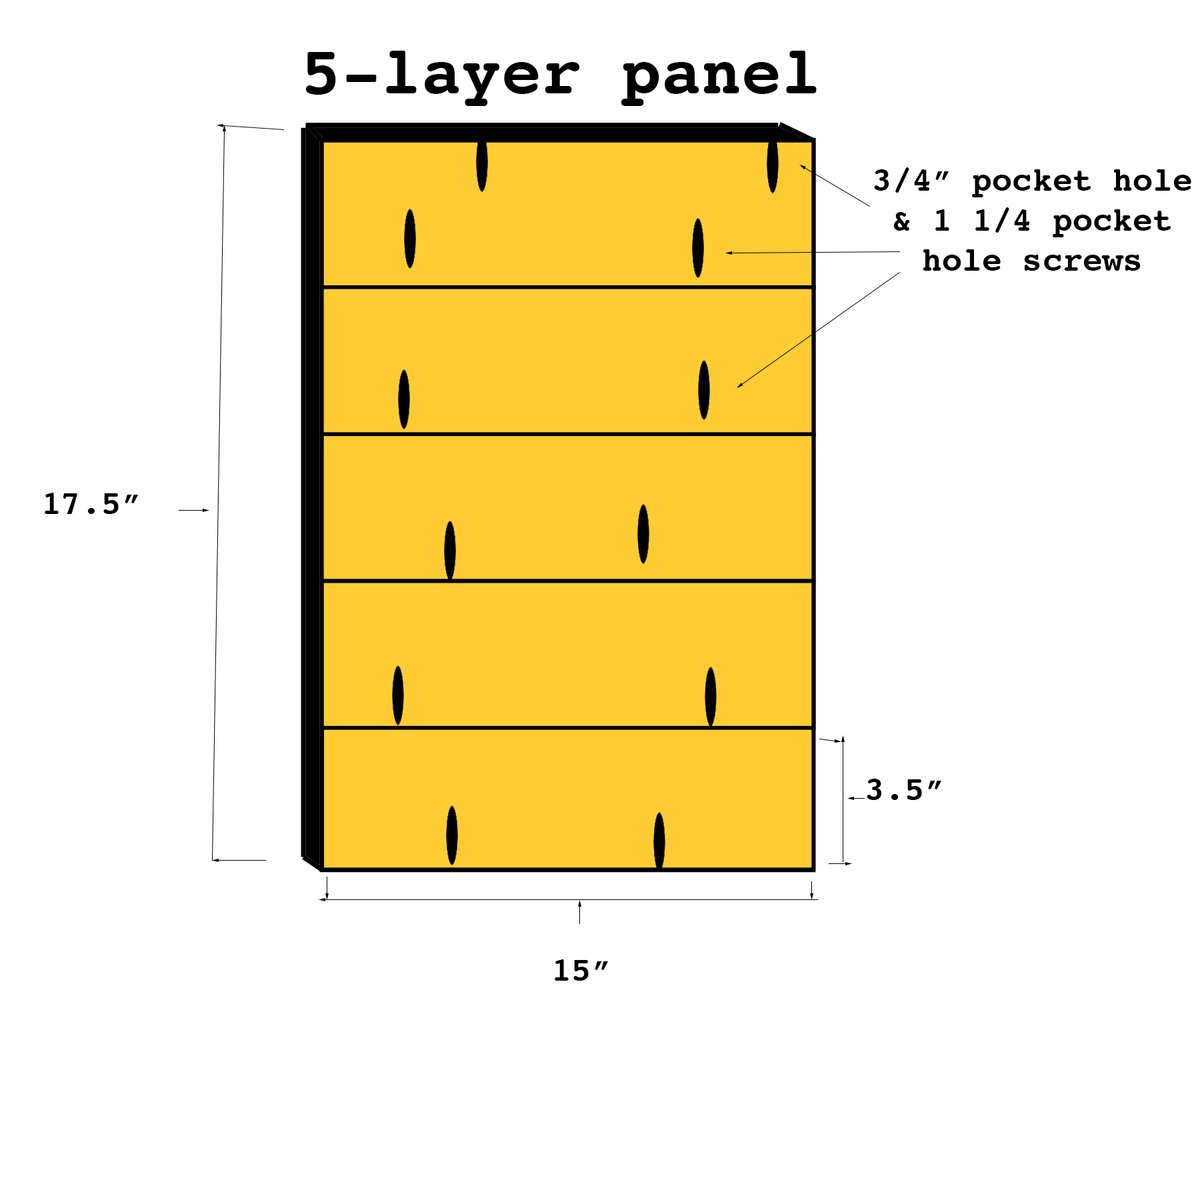
Take all your 1X4's and cut them to size. You will have a total of (10) 1x4's @ 15" for your front and back panels and (10) 1x4's @ 17" for your side panels. I saved cutting my wood for the lid until the very end. Next, cut your 1x2's to size. You will have a total of (4) 1x2's @ 18" (horizontal) and (4) 1x2's@ 17 1/2" (vertical) for the front and back panels. You will have (4) 1x2's @ 17" (horizontal) for the side panels.
Please read through the entire plan and all comments before beginning this project. It is also advisable to review the Getting Started Section. Take all necessary precautions to build safely and smartly. Work on a clean level surface, free of imperfections or debris. Always use straight boards. Check for square after each step. Always predrill holes before attaching with screws. Use glue with finish nails for a stronger hold. Wipe excess glue off bare wood for stained projects, as dried glue will not take stain. Be safe, have fun, and ask for help if you need it. Good luck!
Instructions
Step 1
Step 2
Build your frame for the front and back parts of your trunk. See below. Take your two 1x2's @ 17 1/2" long (brown) and drill pilot holes into the ends with your Kreg Jig. Next attach your bottom 1x2 @18" (green) by using your 1 1/4" pilot hold screws. Repeat this for your back panel. You will attach your last 1x2 after you add your 5-piece panel of 1 x 4's.
Step 3
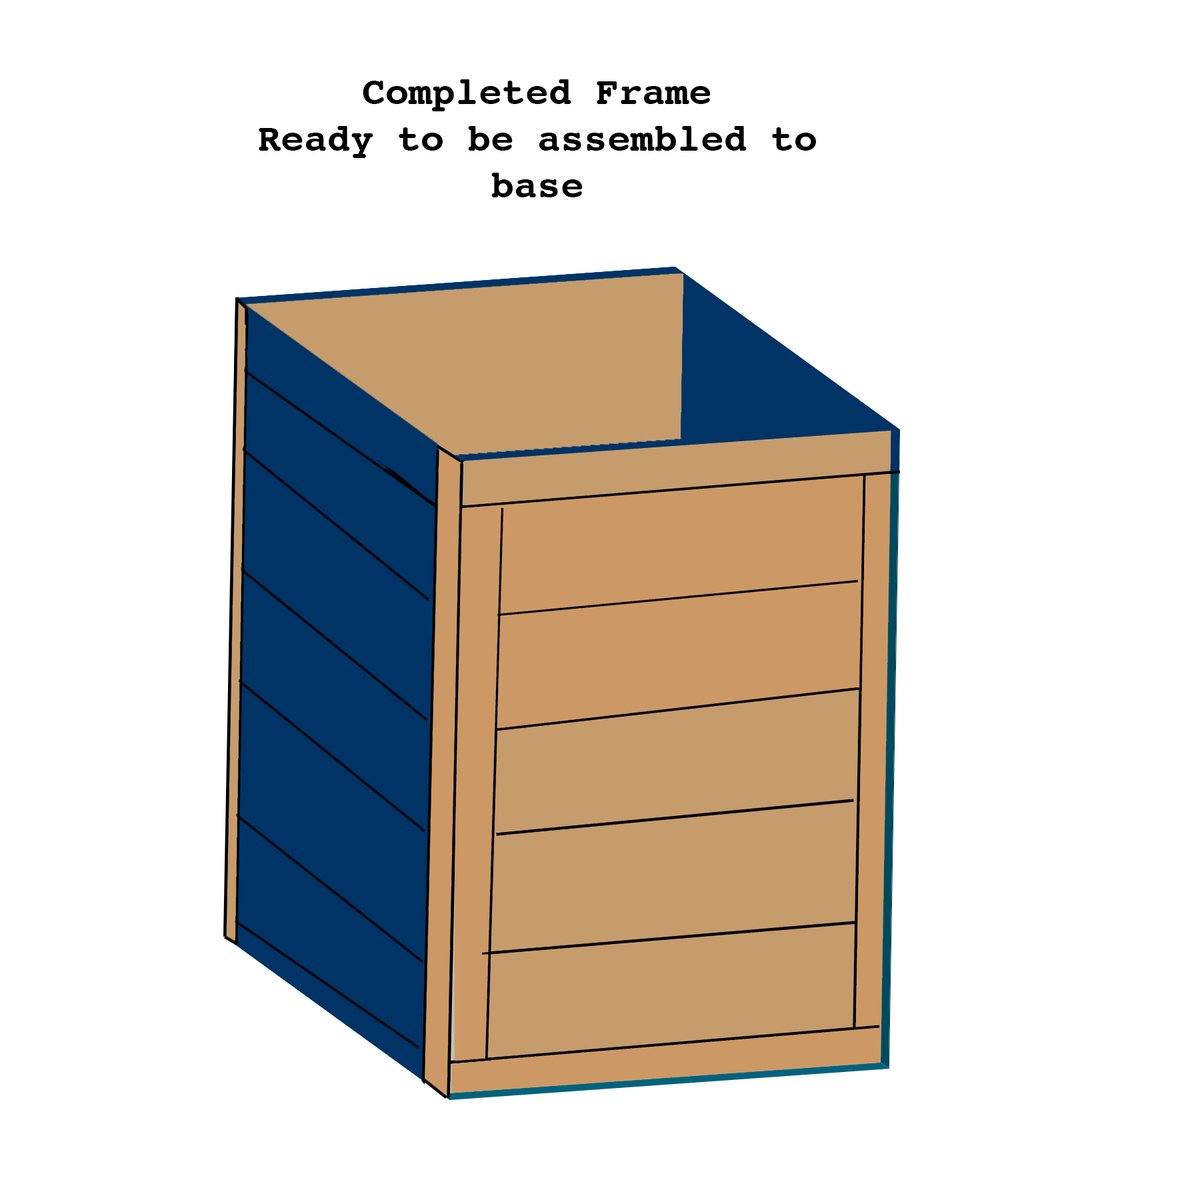
Make your side frames. Add your 17" piece of wood to the bottom. Attach it by using glue and nails with your nail gun. You cannot use your 1 1/4" ph screws because they are too long. You could use smaller size pocket hole screws. Do this for the other side too. Remember, you will add your top piece of wood after you insert your 5-layer panel of 1x4's.
Step 4
Step 7
Step 8
Add the legs per manufactorers instructions
Step 9
Make the lid. Use your miter saw to cut the 1x4's at a 45 degree angle. Attach them together using 1 1/4" pocket hole screws.
Use scrap pieces of wood to make the center portion of the lid. You can be as creative as you want or simply cut out a piece of wood that measures 11x11. You can use a kreg jig to drill holes and attach the pieces with 1 1/4" pocket hole screws.
**Optional Step**
I added a "lip" to my lid. I just took some extra 1x2 pieces of wood I had and drilled a screw through them to secure them to the lid. I layed my 1 x2's flat to the lid (see photo). My lid measured 1" tall (1/2" from the 1x4 from the lid & 1/2" from the side of the 1x2).
Step 10
Decide on whether you want to paint or stain it. I got all my inspiration from Ana White's Emmerson Changing table. So please visit her site to see the exact way I finished it. I did sand all the wood prior to application.
Add your decorative hardware and hinges. I also attached a handful of nail heads to the bottom piece (I attached them to the 1/4" piece of plywood that was visible).
hope you enjoy this affordable knockoff as much as I do. Total cost excluding the hardware was $65.00!! What a bargain. Price with hardware put me at $100, but still not bad.
It is always recommended to apply a test coat on a hidden area or scrap piece to ensure color evenness and adhesion. Use primer or wood conditioner as needed.








Comments
Ana White
Thu, 12/11/2014 - 09:41
Trunk Side Table Plans
Thanks so much for posting this awesome plan!!! It's a beautiful side table, I love the top especially!!! And the custom size!
ipd02
Sat, 03/21/2015 - 12:13
Plans
I'm trying to figure out your side frames...you have your front/back and side panel frames measuring the same top to bottom, but on the front/back frame I see the vertical boards flush with sides, but on the side frame, the vertical boards are flush with the bottom, but both are measured at 20.5". Is the cut list correct, or do you need to add a 20.5" cut?