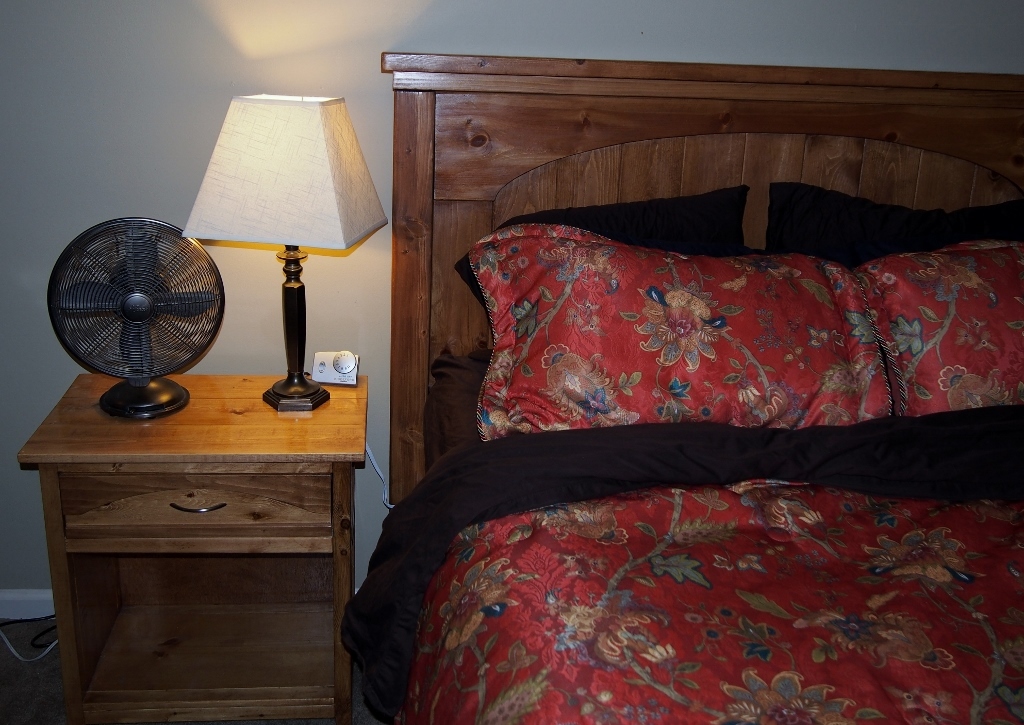
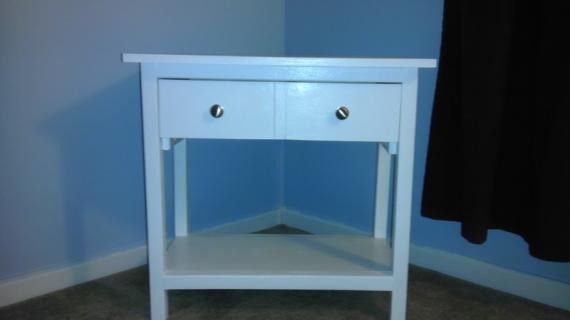
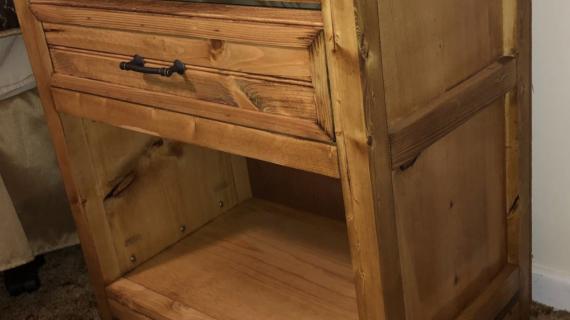
Build a nighstand to match the Farmhouse arch bed
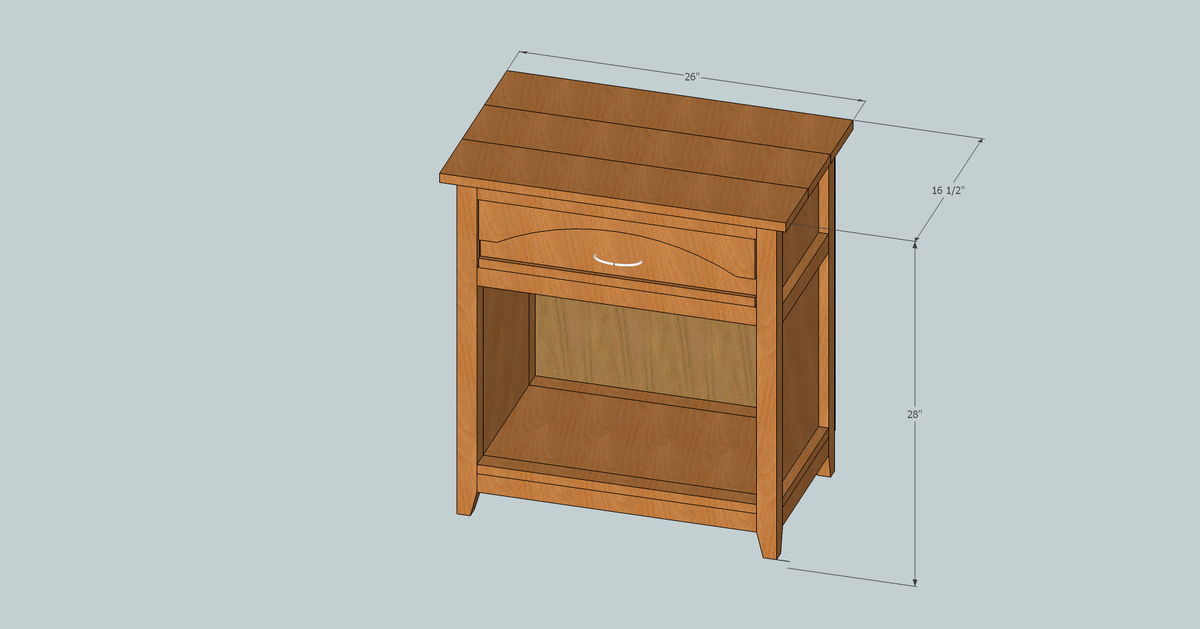
Preparation
2 – 1x2 @ 8'
2 – 1x6 @ 8'
1 – 1x12 @ 8'
3 – 2x2 @ 8'
1 – 3/8 x 4" @ 2'
1 – 3/8 x 1" @ 2' (You may have to cut this on a table saw, I can't remember if I bought it or not. Actual dimensions should be 3/8 x 3/4".)
1 sheet – 1/8" plywood @ 24"x 24"
Drawer pull, whatever you prefer
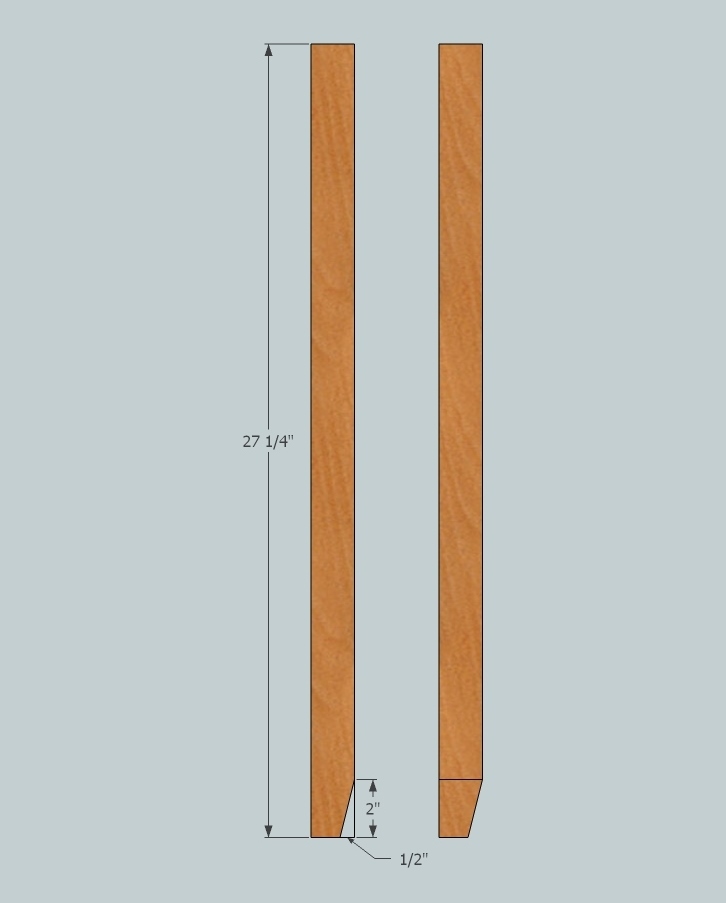
4 – 2x2 @ 27 ¼” (Leg) --See step one for profile cutting
2 – 2x2 @ 11 ¼” (Base Support Side)
6 – 2x2 @ 21” (Supports)
2 – 1x12 @ 23” (Side)
1 – 1x12 @ 24” (Base)
1 – 1x12 @ 19 ¼” (Drawer Bottom)
11 – 1x2 @ 11 ¼” (6xSide Trim, 2xDrawer Rails, 3xTop Supports) )
2 – 1x2 @ 21" (Front and Back Base Trim)
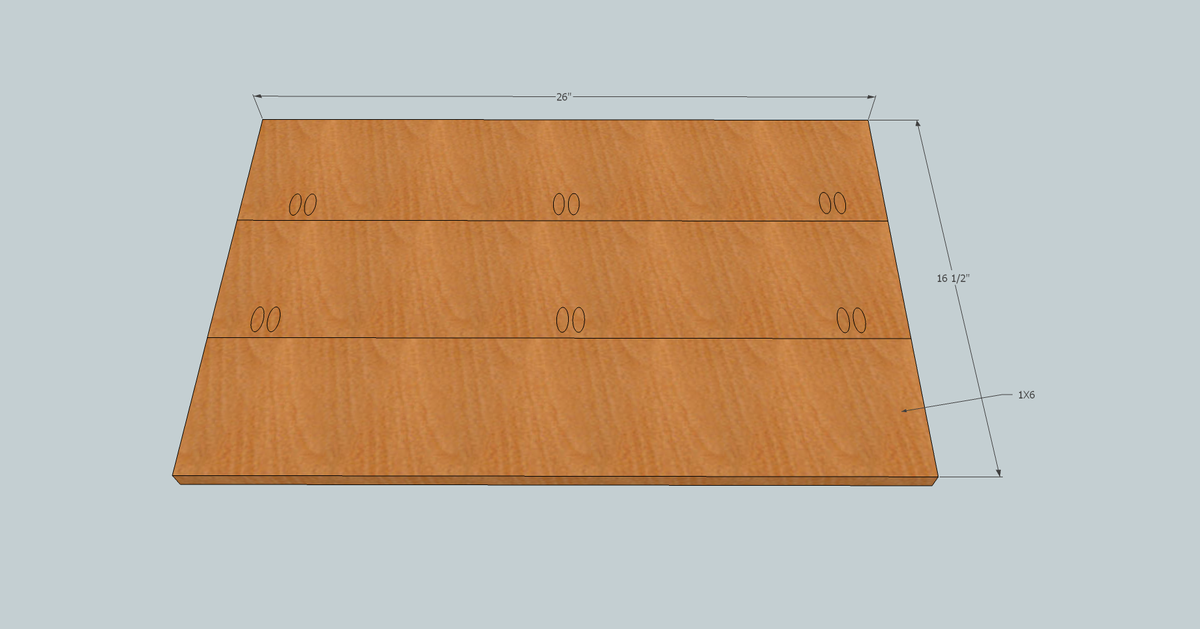
3 – 1x6 @ 26" (Top)
2 – 1x6 @ 20 ¾" (Drawer Front,Back)
2 – 1x6 @ 11 ½ " (Drawer Sides)
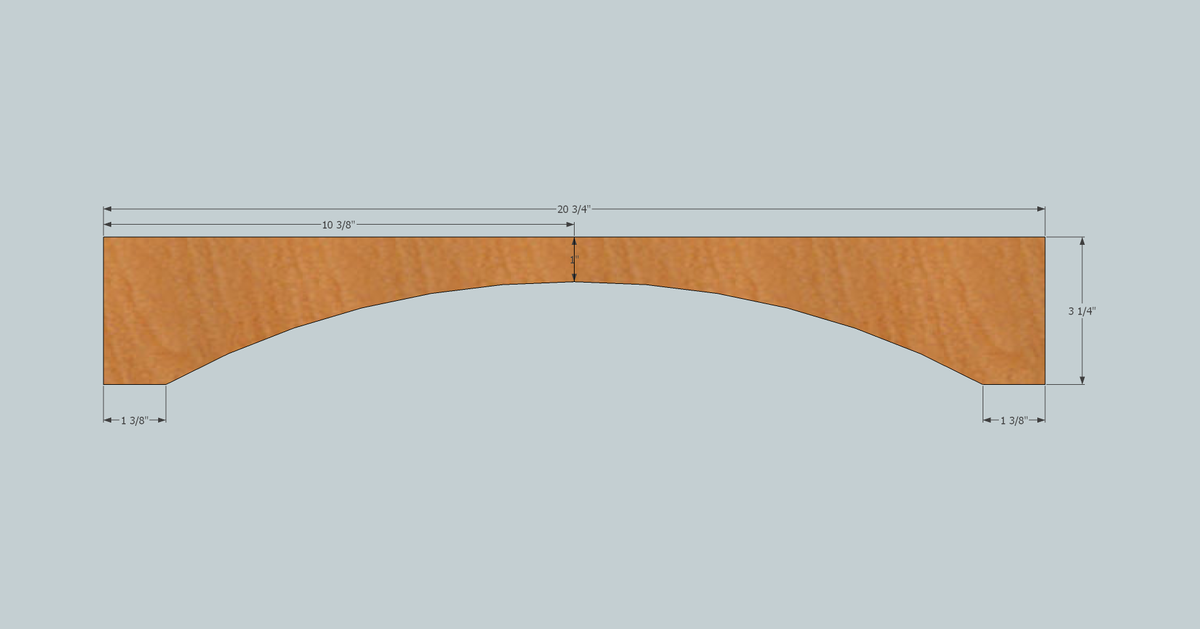
1 – 3/8 x 4" @ 20 ¾" (Drawer Top Trim)
1 – 3/8 x 1" @ 20 ¾" (Drawer Bottom Trim Optional)
For the 1x2 cut : 2 boards at | 11 ¼” | 11 ¼” | 11 ¼” | 11 ¼” | 11 ¼” | 11 ¼” | 21 |
For the 2x2 cut: 2 boards at | 27 | 27 | 21 | 11 ¼” | & 1 board at | 21 | 21 | 21 | 21 |
Please read through the entire plan and all comments before beginning this project. It is also advisable to review the Getting Started Section. Take all necessary precautions to build safely and smartly. Work on a clean level surface, free of imperfections or debris. Always use straight boards. Check for square after each step. Always predrill holes before attaching with screws. Use glue with finish nails for a stronger hold. Wipe excess glue off bare wood for stained projects, as dried glue will not take stain. Be safe, have fun, and ask for help if you need it. Good luck!
Instructions
Step 1
Step 2
Step 3
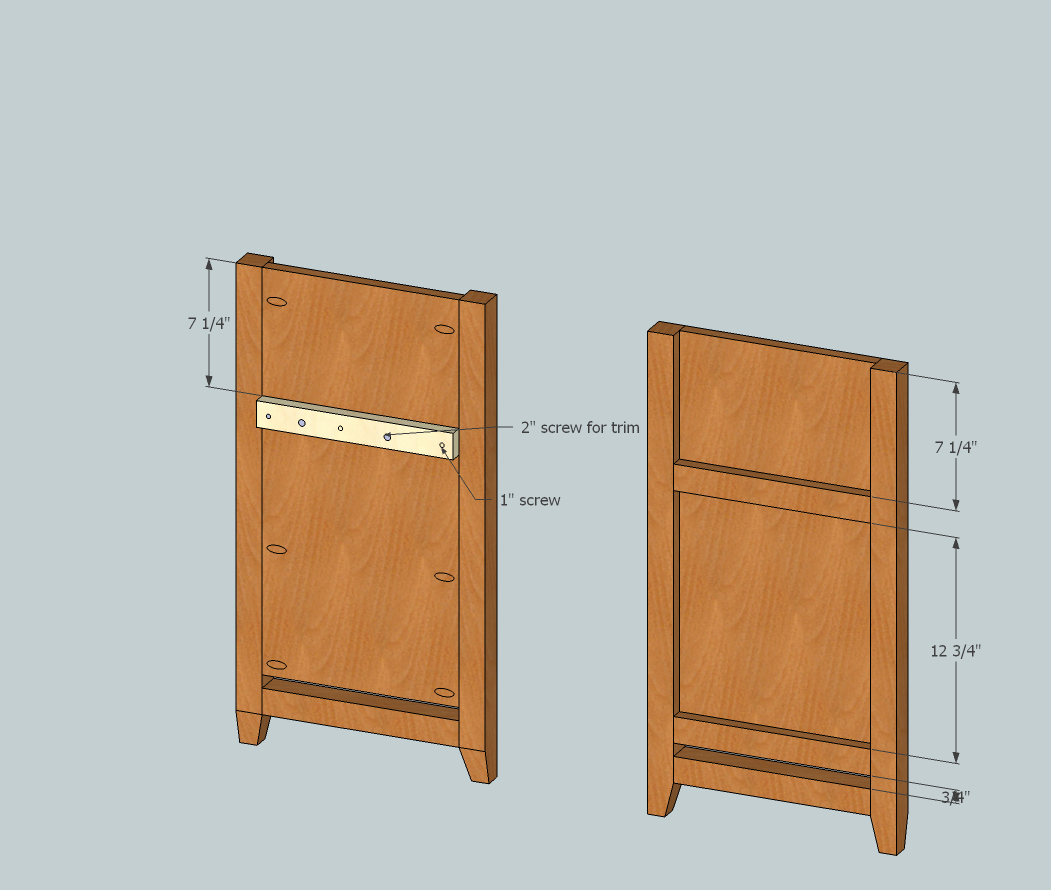
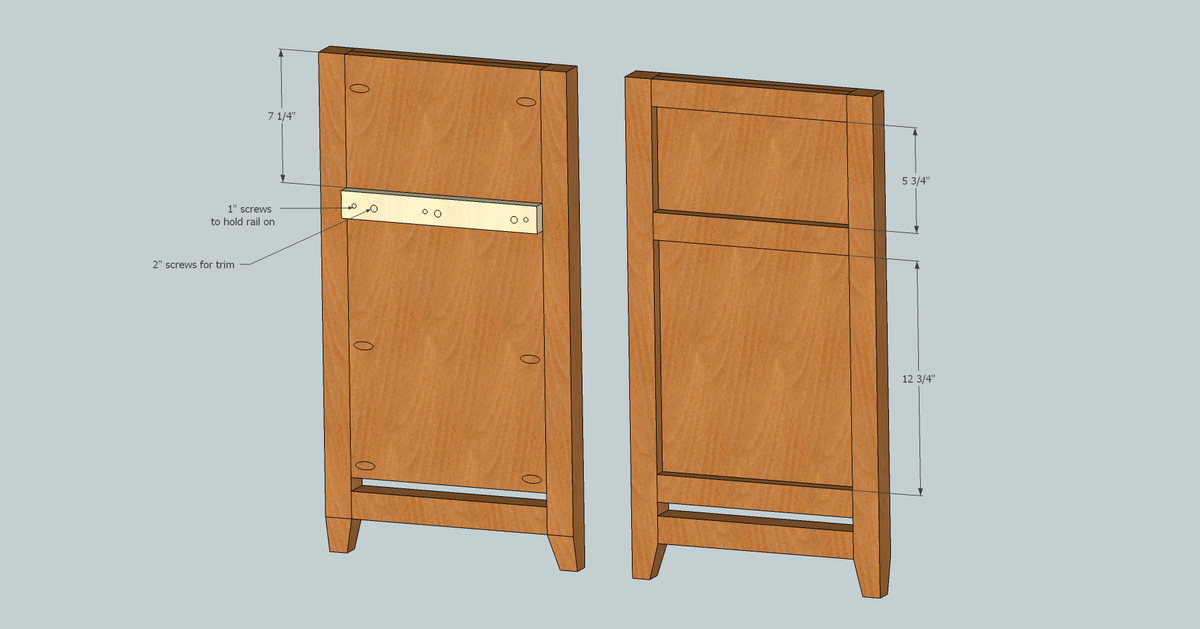
Add trim to the side with 1" screws from the inside. Maintain the gap at the bottom.
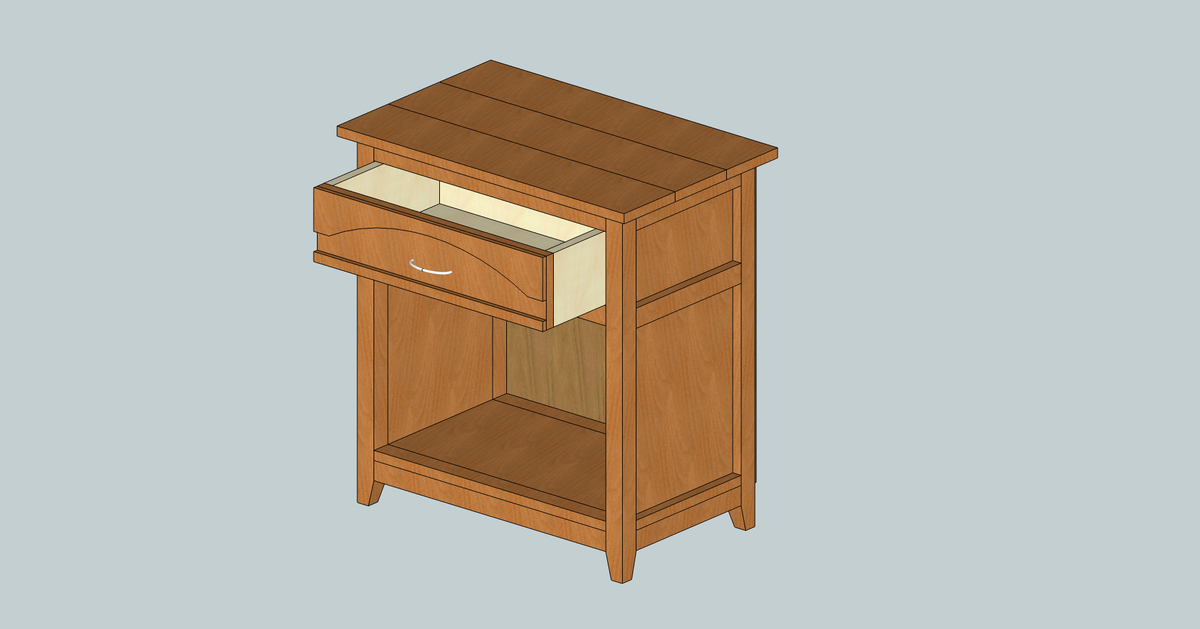
Attach the drawer rail to the inside of the side-unit, using 1" screws and glue. Then attach the outside trim using glue and 2" screws from the inside, through the drawer rail, the side, and into the trim. Note, pre-drill the holes for the 2" screws to prevent the rail from cracking.
Step 4
Step 7
Step 8
Step 10
It is always recommended to apply a test coat on a hidden area or scrap piece to ensure color evenness and adhesion. Use primer or wood conditioner as needed.




Comments
jputz2014
Thu, 01/15/2015 - 09:35
3/8 material
Is this something that can be purchased from a local big box store, or is this something that has to be milled/cut out of larger stock?
Would love to build two of these but cant seem to find this material anywhere.
In reply to 3/8 material by jputz2014
perchik
Sun, 01/18/2015 - 19:34
RE: 3/8 material
I got it at the big box store. There's usually a section of hard wood boards or craft boards, separate from the other lumber that are usually smaller thicknesses. Ask someone who works there for like red oak, poplar boards, or finished pine boards to get to the right aisle
jputz2014
Mon, 01/19/2015 - 09:32
Thanks perchik, will have to
Thanks perchik, will have to look there tonight.
roho_oklahoma
Sun, 01/18/2015 - 21:47
Drawer bottom?
Maybe I missed it, but I do not see the drawer bottom in the cut list. Is it missing or did I overlook it?
In reply to Drawer bottom? by roho_oklahoma
perchik
Mon, 01/19/2015 - 12:19
RE: Drawer Bottom
Whoops! Good catch. It should be 19 1/4, so you *do* need an 8' 1x12. I updated the cut list.
roho_oklahoma
Mon, 01/19/2015 - 20:54
Thank you.
Thank you.