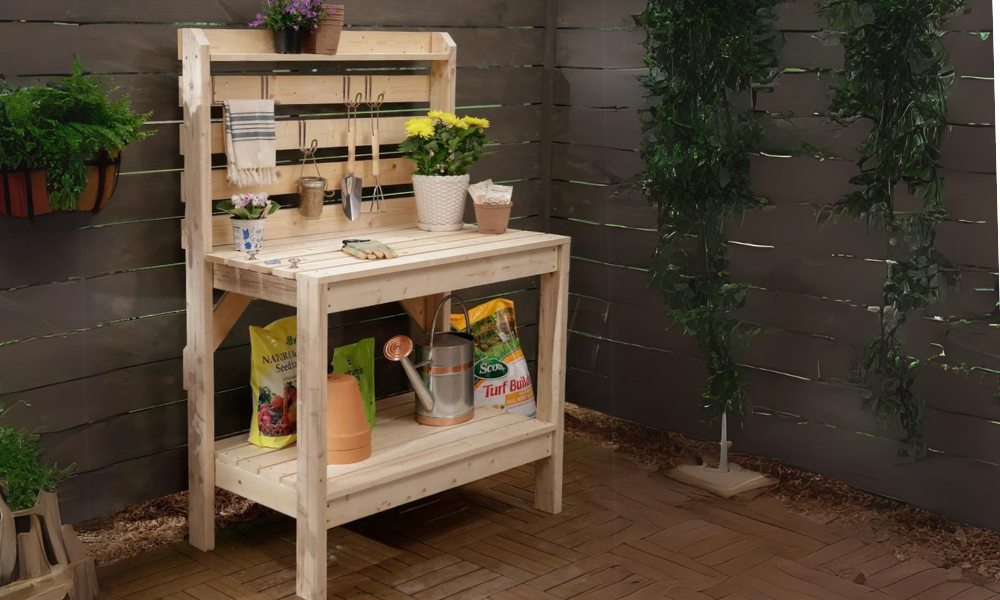


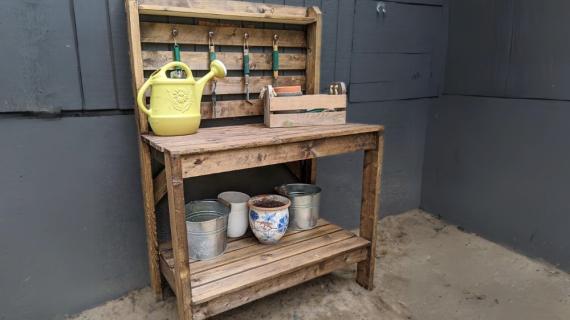
How to build a potting bench - super easy and looks great - this is a free woodworking plan featuring step by step diagrams, shopping and cut list, everything you need to build your own potting bench.
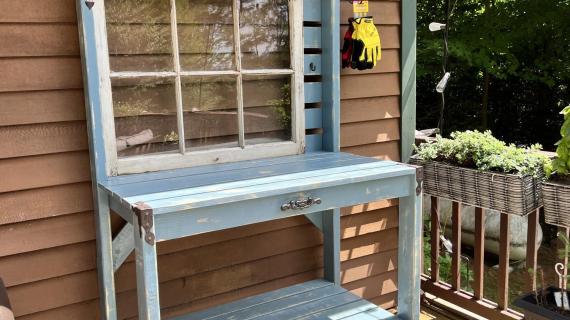
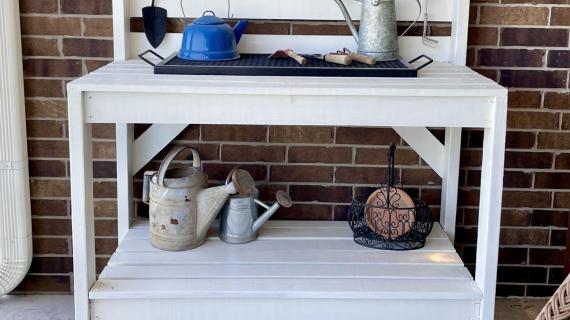
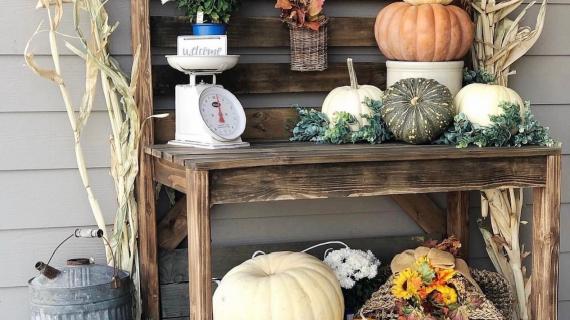
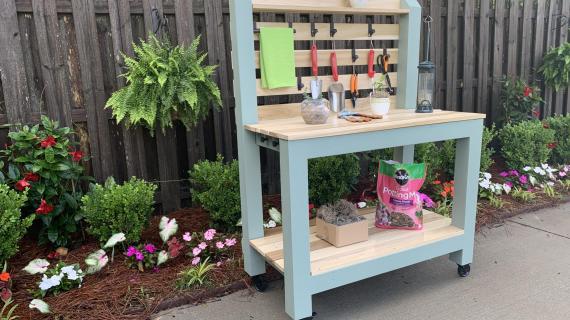
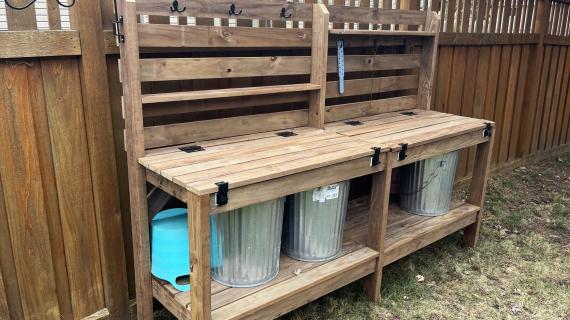
We love this simple design with a back hutch with shelf and rails for hanging tools. The bottom shelf is perfect for storing accessories and supplies for all your potting needs.

Why We Built this Potting Bench
This spring, I wanted to create new potting bench plans for you that are still super simple to make, but this time, I wanted to integrate more storage on the hutch and back.
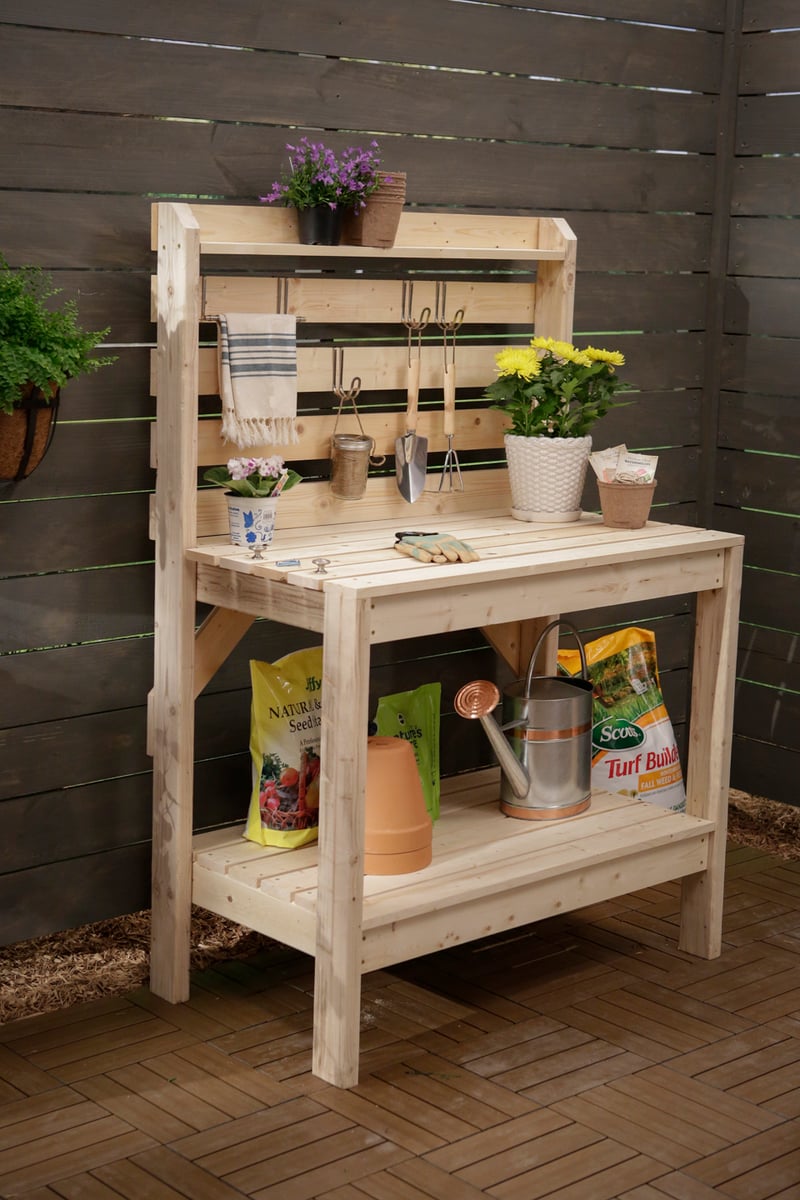
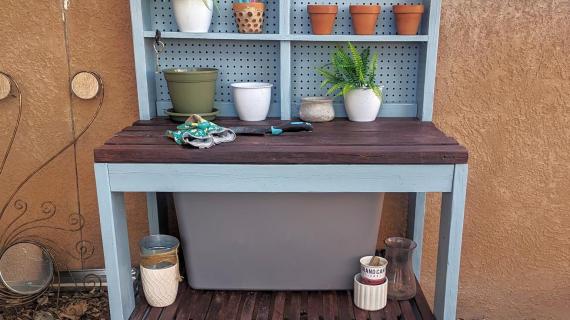
One of the things I love the most about this potting bench is the back is like a pegboard! You can use any "over-the-cabinet" accessories to customize your hutch for your needs.
You'll also love how quick and easy it was to build this potting bench!
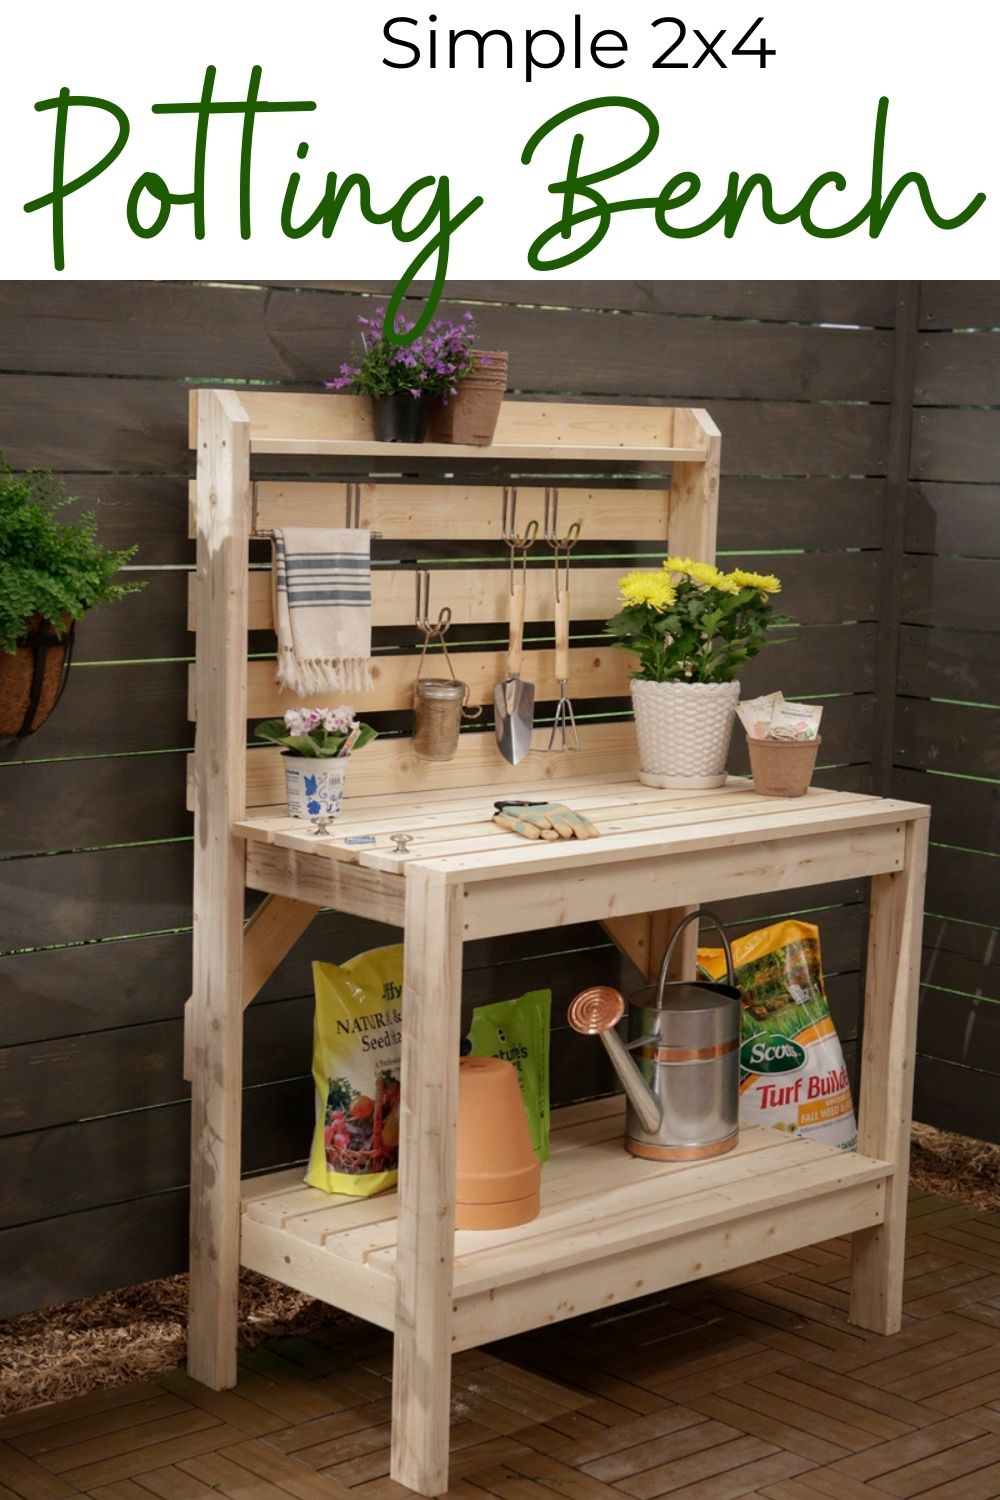
Pin For Later!
Preparation
- 8 – 1x4 @ 8 feet long
- 2 – 1x4 @ 10 feet long
- 4 – 2x4 @ 8 feet long
- 2-1/2” and 2” exterior self tapping screws
- Wood glue
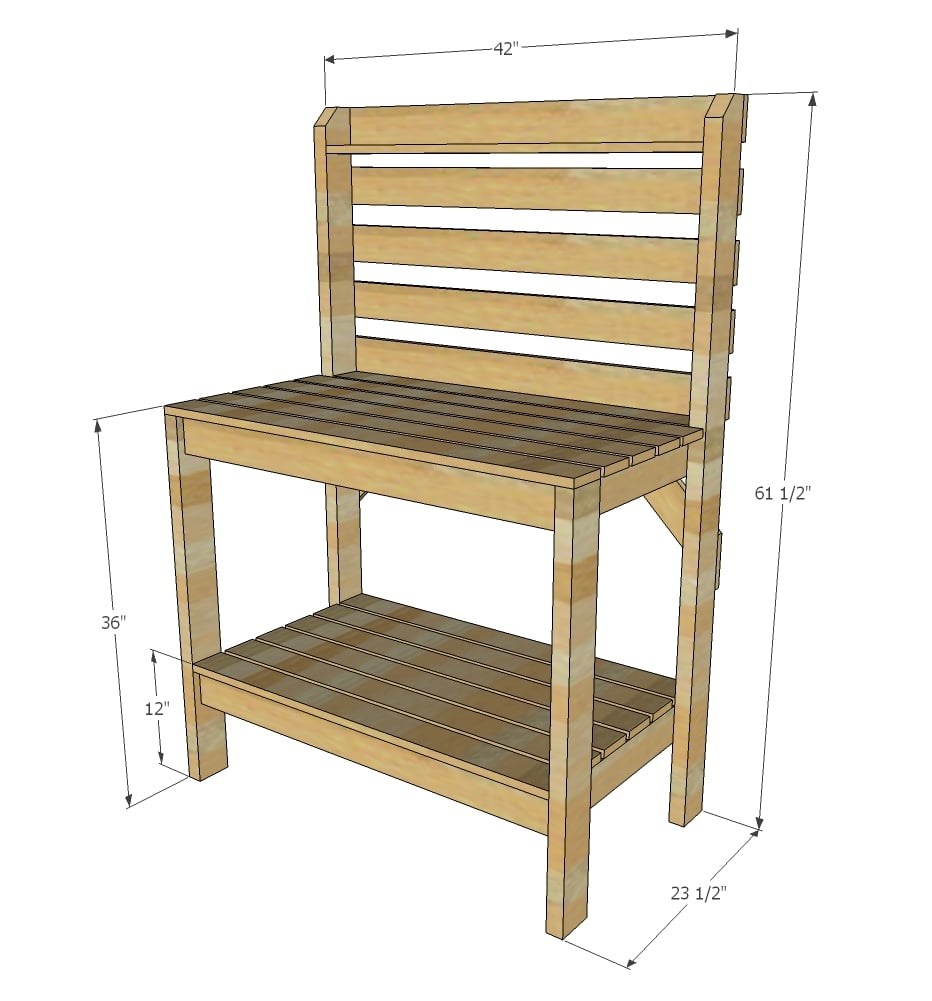
- 2 – 2x4 @ 61-1/2” (back legs)
- 2 – 2x4 @ 35-1/4” (front legs)
- 4 – 2x4 @ 22” (side aprons)
- 10 – 1x4 @ 39” (front aprons, short shelf boards, back shelf)
- 10 – 1x4 @ 42” (long shelf boards, back boards)
- 2 – 1x4 @ 24” both ends cut at 45 degrees, long point to short point measurement (cross support)


Instructions
Step 1
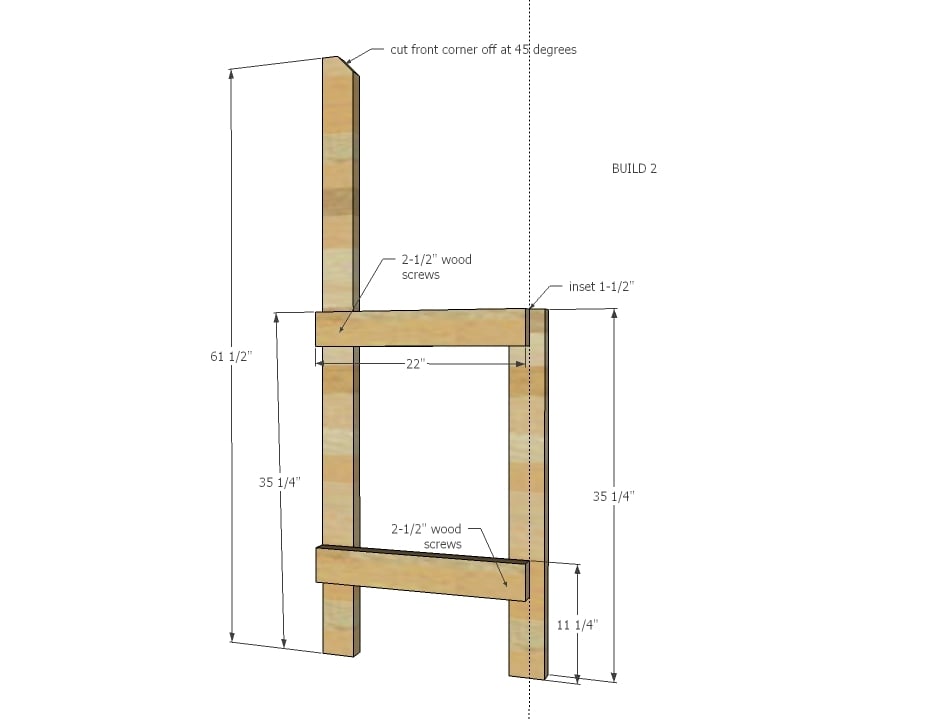
Mark the back legs from the bottom at 11-1/4” and 35-1/4”. Attach with 2-1/2” self tapping exterior wood screws the 22” long side aprons to the back legs, matching marks with tops of aprons. Then mark the front legs 1-1/2” in from front edge and also 11-1/4” up from bottom of leg. Attach other side of 22” long side aprons to the front legs.
Step 2
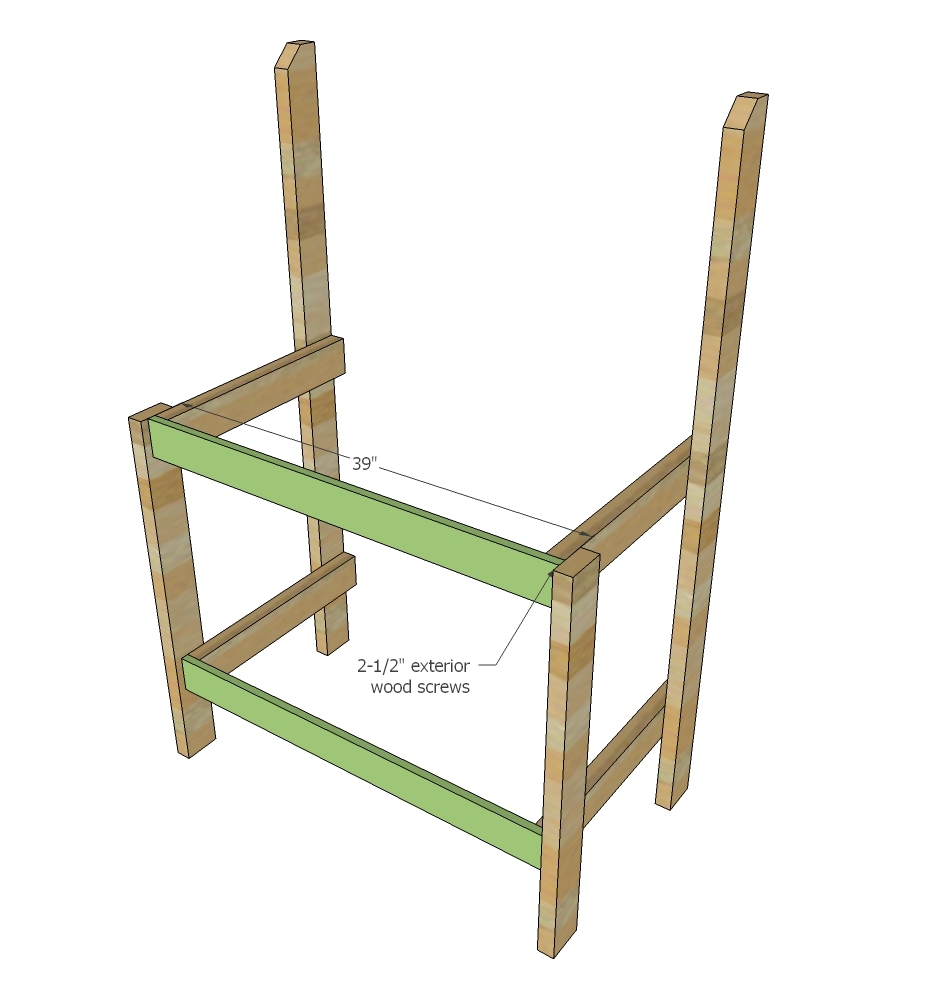
Attach front aprons to the side aprons with 2” wood screws and glue.
Step 3
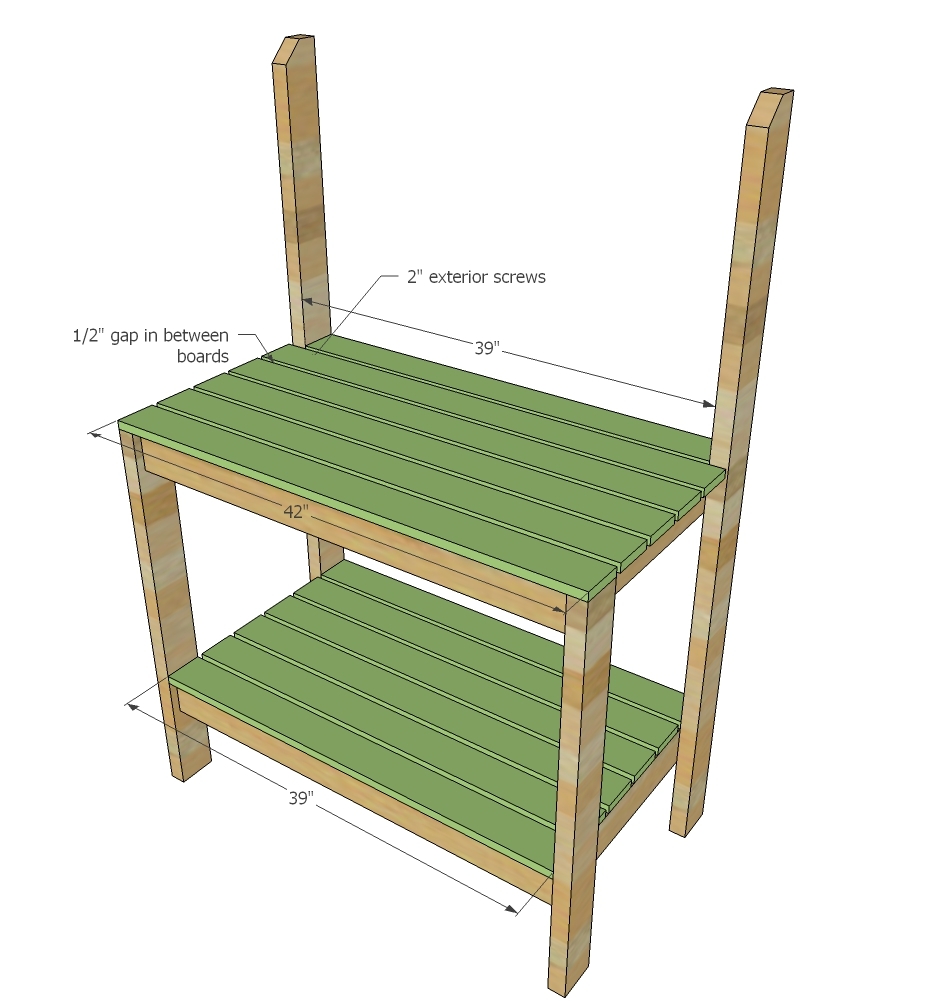
Shelving – Place shelving boards on bottom shelf. Attach with about a ½” gap in between shelf boards with 2” exterior wood screws. Repeat for top shelf.
Step 4

Cross bracing – cut cross bracing at 45 degree angles on ends. Attach to back legs and the back shelf board with 2” exterior wood screws and glue.
Step 5

Step 6
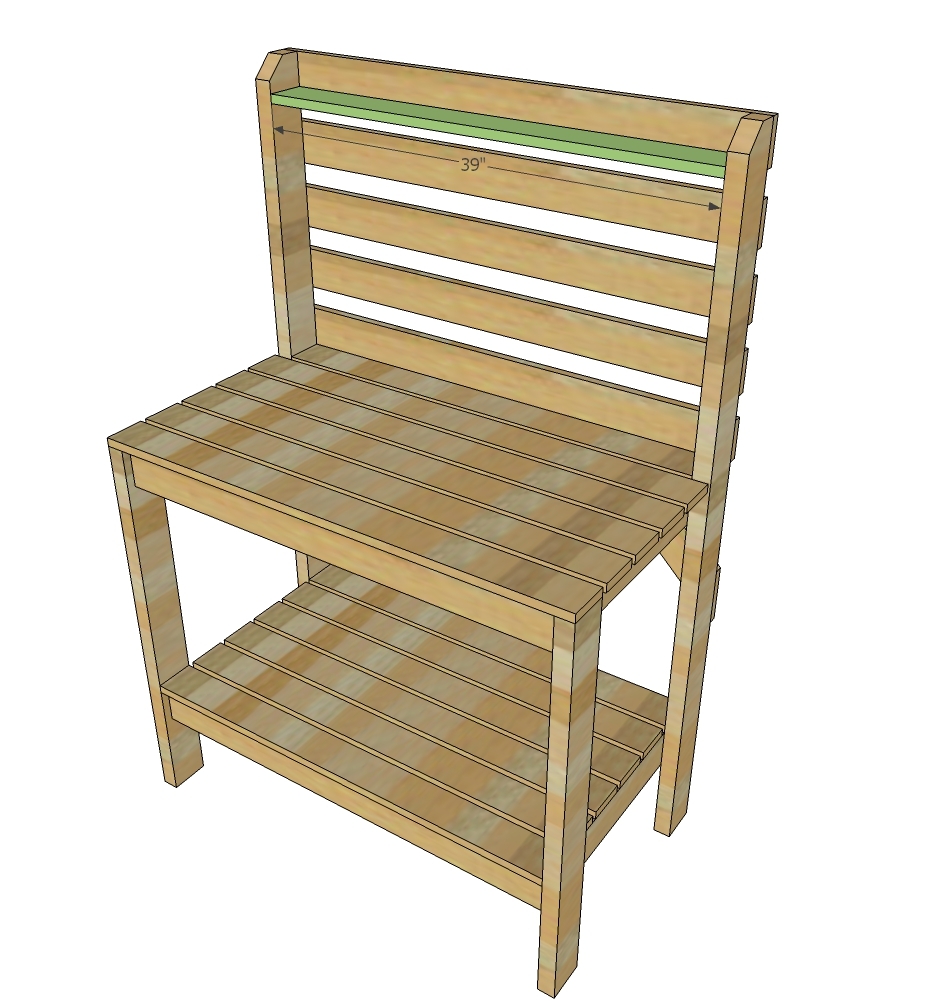
Hutch Shelf – Screw through back boards and back legs into the hutch shelf board sides and back to attach with 2” exterior self tapping screws.
It is always recommended to apply a test coat on a hidden area or scrap piece to ensure color evenness and adhesion. Use primer or wood conditioner as needed.


Comments
handmadewithash
Wed, 04/08/2015 - 19:08
Thanks so much for the video.
Thanks so much for the video. You make it look so easy! :)
biz_kid1
Sat, 04/11/2015 - 14:46
Love it!
And I need to make one, too, so I can work on our garden! :) Thanks for sharing!
ilove2create
Sun, 04/12/2015 - 22:36
Love the potters bench
I just built this bench and love it. I also really like those hooks. Where did you get them? Thanks for all the great plans, I've made quite a few pieces.
In reply to Love the potters bench by ilove2create
Ana White
Mon, 04/13/2015 - 11:30
You can get the hooks at just
You can get the hooks at just about any home improvement or home store.
Just ask for "over-the-cabinet" hardware.
kangel546
Sun, 04/05/2020 - 08:24
I can’t find these hooks…
I can’t find these hooks anywhere! :( I love them because they’re movable. Do you happen to have an online link as to where I could find them? TIA!
rmatteo94
Wed, 05/06/2020 - 06:28
They're a bit pricey, but…
They're a bit pricey, but this is the closest hook I could find! Good luck!
https://www.flyingbulldogs.com/liberty-b19376-sn-over-the-cabinet-singl…
Kimber1216
Thu, 06/16/2016 - 01:14
Material/cut list
Hi Ana,
So excited to make this bench! Was wondering, on the video you have a material list:
(8) 1x4x8
(2) 1x4x10
(4) 2x4x8
Could you please tell me what cuts are made to the (2) 1x4x10's? Thank you so much!
In reply to Material/cut list by Kimber1216
Ana White
Thu, 06/16/2016 - 10:00
https://www.ryobitools.com
https://www.ryobitools.com/nation/projects/4031
Rowland A Shepard
Thu, 03/11/2021 - 08:37
cuts optimized with cutlist optimizer
# Panel Cut Result
1 4×120 y=39 4×39 \ -
2 4×81 y=39 4×39 \ -
3 4×42 y=39 4×39 \ surplus
1 4×96 y=24 4×24 \ -
2 4×72 y=24 4×24 \ -
3 4×48 y=42 4×42 \ surplus
1 4×96 y=42 4×42 \ -
2 4×54 y=42 4×42 \ surplus
1 4×96 y=39 4×39 \ -
2 4×57 y=39 4×39 \ surplus
1 4×96 y=42 4×42 \ surplus
Rowland A Shepard
Thu, 03/11/2021 - 08:57
cuts optimized with cutlist optimizer
1 2x ( 120" @ 30, 39, 39 )
2 1x ( 96" @ 24, 24 and 42
3 4x (96" @ 42 and 42
4 2x (96" @ 39 and 39
5 1x (96" @ 42
seansun01
Sun, 06/02/2019 - 15:39
Fun Project!
This was an awesome project. I shopped for the materials in the morning and built it in the afternoon. The shopping list and plans were fabulous. I had to adjust slightly since I used pressure treated wood and the 1x4’s were 3/4 x 1 5/8 instead of 3/4 x 1 1/2. It came out perfect though and seems sturdy and quite functional. I added a piece of aluminum to the top to keep soil from falling through when potting plants. I love it when a project comes out as planned!
KendCo
Sun, 05/31/2020 - 22:45
Some tips
I've only made a hand full of wood workings projects but had no problem building this (in just a day too!)
The only issue I had was which cuts went where when it came to the 1x4s (since there's two different lengths) here's what I went with so I could have a bunch of useable offcuts:
All 8ft 1x4 boards: cut a 39" and a 42" from the same board. This will give you 8 of each of those and 8 15" offcuts
Both 10ft 1x4 boards: cut a 39", a 42" and a 22" in both
You should then have all the boards you need with the most useable offcuts. They're even the same length @15"! I have another project in mind for the leftovers making this a zero waste project :)
I didn't need to predrill the 2x4s but it's pretty much mandatory for the 1x4s
Hope this helps!
jess8336
Wed, 06/17/2020 - 12:11
Wood thpe
Is there a specific type of wood that should be used?
aimes91225
Wed, 07/08/2020 - 09:11
AWESOME POTTING BENCH!!!!!!
Thank you so much for this easy to do AWESOME potting bench. My dad and I built this in about 2 hours as a surprise for my mom. Got it stained and varnished the next day! Such easy to read instructions and pictures! Thank you again!!!
Copper21786
Tue, 03/09/2021 - 18:51
Do you think rolllers could…
Do you think rolllers could be put on this to move in and out of garage/shed? Too heavy?
mrgwt
Sat, 05/08/2021 - 20:50
Totally awesome thank you
Totally awesome thank you