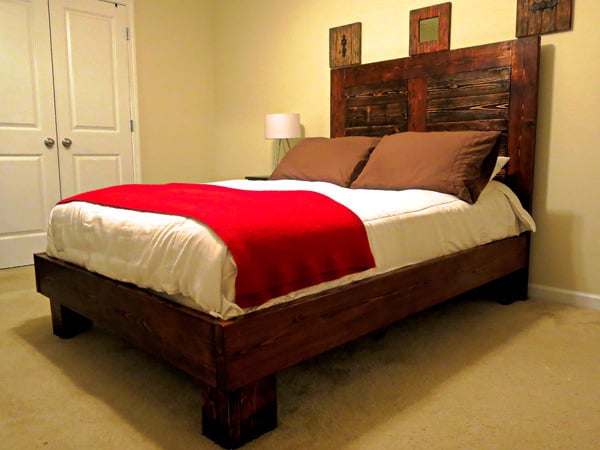
Bed frame for a full sized mattress. Made mainly from 2 inch thick wood.
Preparation
Size Length Quantity 1 by 2 6 Feet Quantity 2 1 by 4 6 feet Quantity 11 1 by 6 8 feet Quantity 3 2 by 4 8 feet Quantity 2 2 by 6 8 feet Quantity 4 2 by 8 6 feet Quantity 1 2 by 8 8 feet Quantity 2
See PDF file you can download for full cut list and which board to cut each piece from to minimize number of boards required
Please read through the entire plan and all comments before beginning this project. It is also advisable to review the Getting Started Section. Take all necessary precautions to build safely and smartly. Work on a clean level surface, free of imperfections or debris. Always use straight boards. Check for square after each step. Always predrill holes before attaching with screws. Use glue with finish nails for a stronger hold. Wipe excess glue off bare wood for stained projects, as dried glue will not take stain. Be safe, have fun, and ask for help if you need it. Good luck!
Instructions
Step 1
Step 2
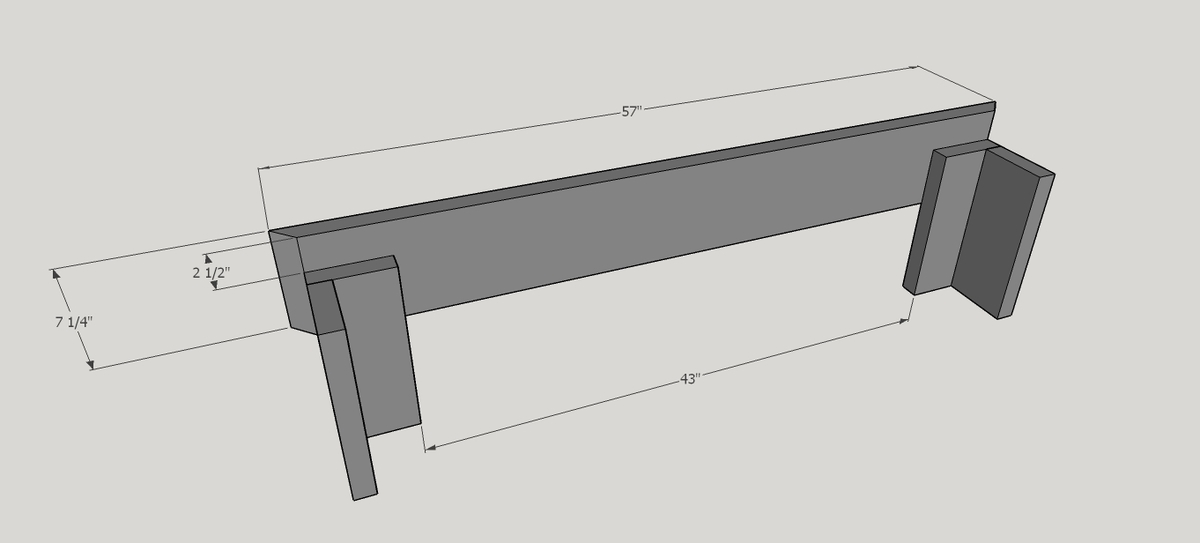
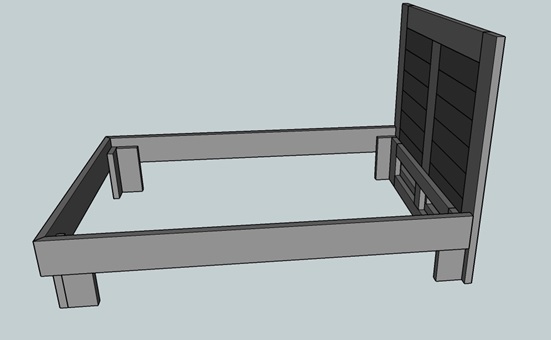
Attach two of the feet to the foot board as shown. I used four 2.5 inch wood screws to fix each foot to the foot board. If you don’t want to miter the corners that is fine you will just have to adjust the length of the side rails and make those a bit shorter. Use glue as well as screws for added strength.
Step 3
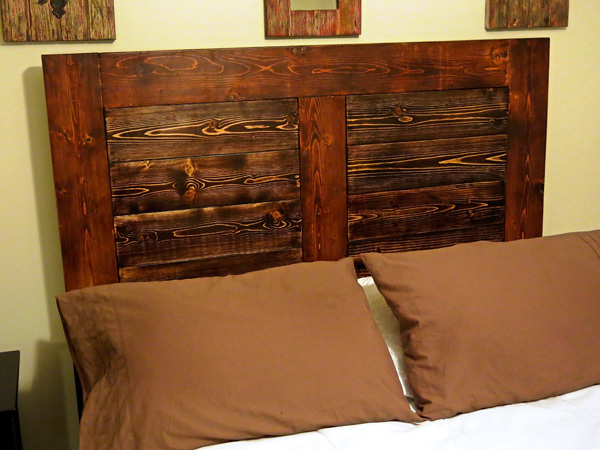
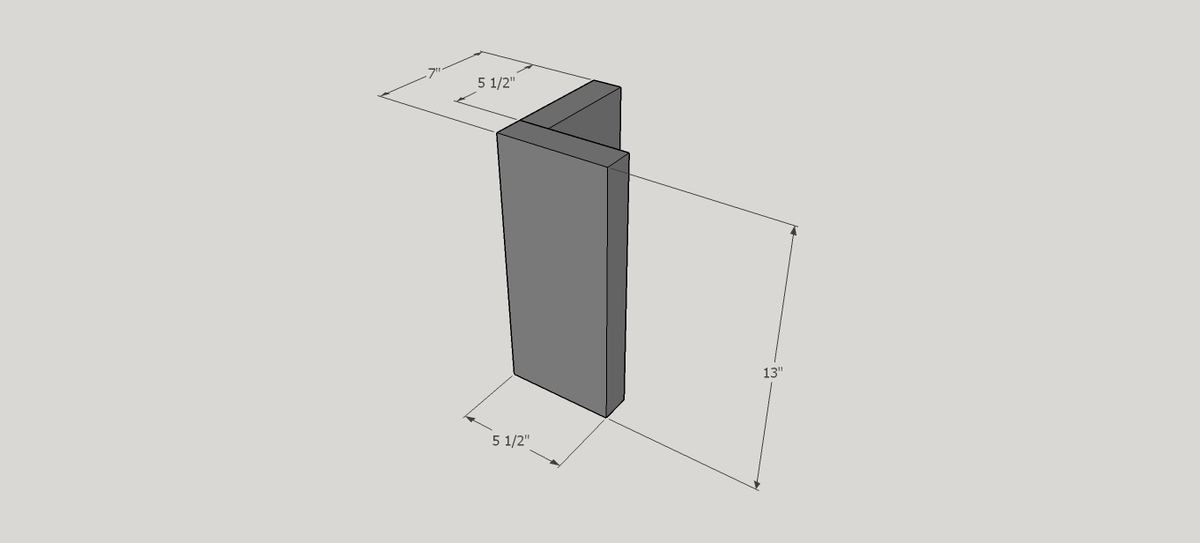
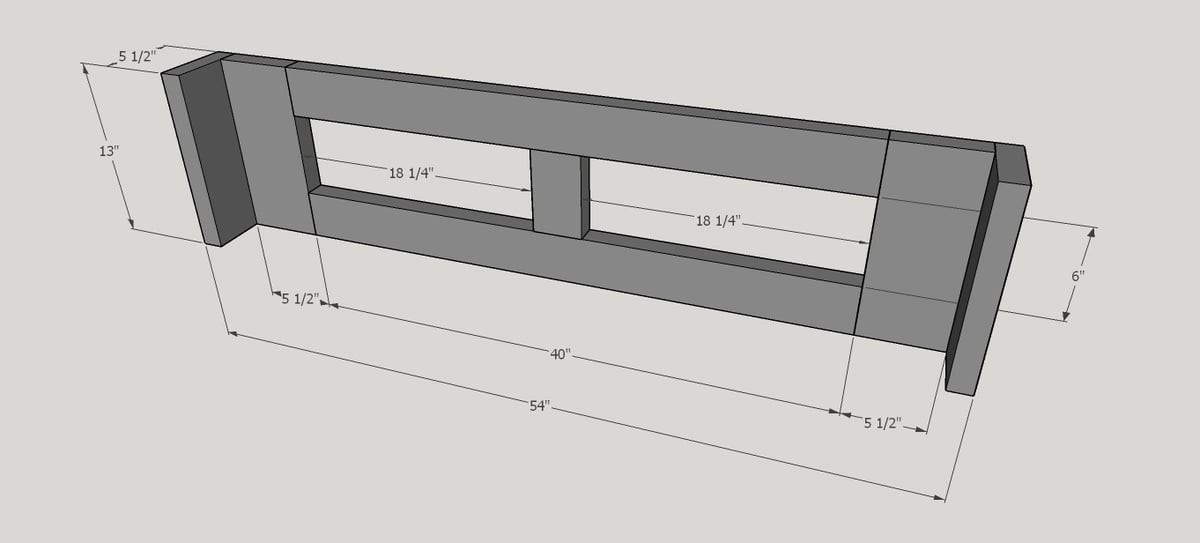
Make the headboard support from the other two legs already made and the two 40 inch pieces of 2 by 4 and the 6 inch piece of 2 by 4. The back of the headboard support will actually be hidden by the head board and so you can place the pocket holes on the rear side so they cannot be seen. Use glue as well as screws for added strength.
Step 4
Step 6
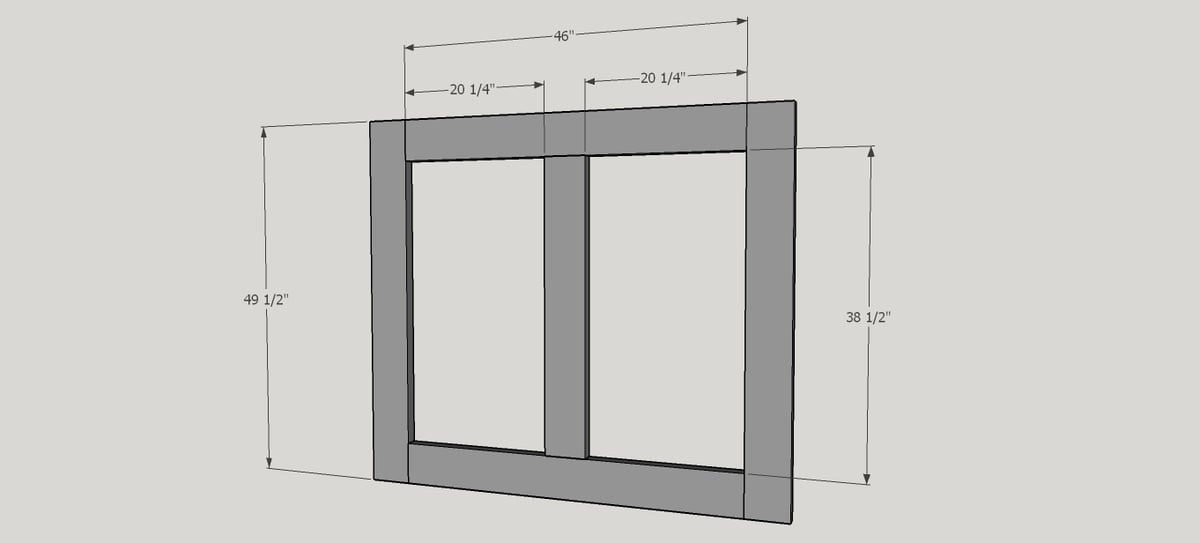
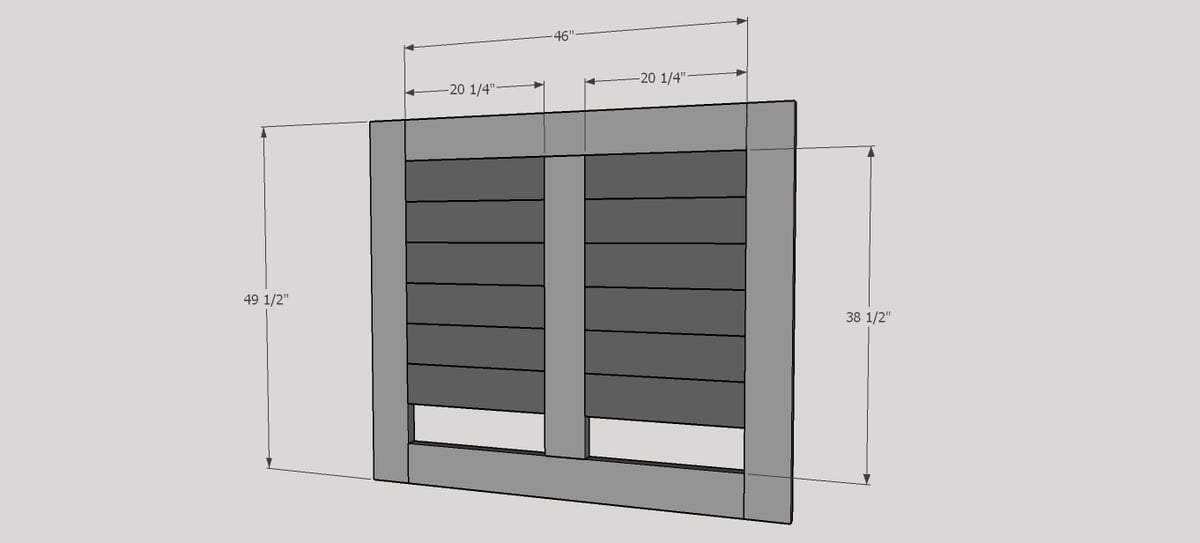
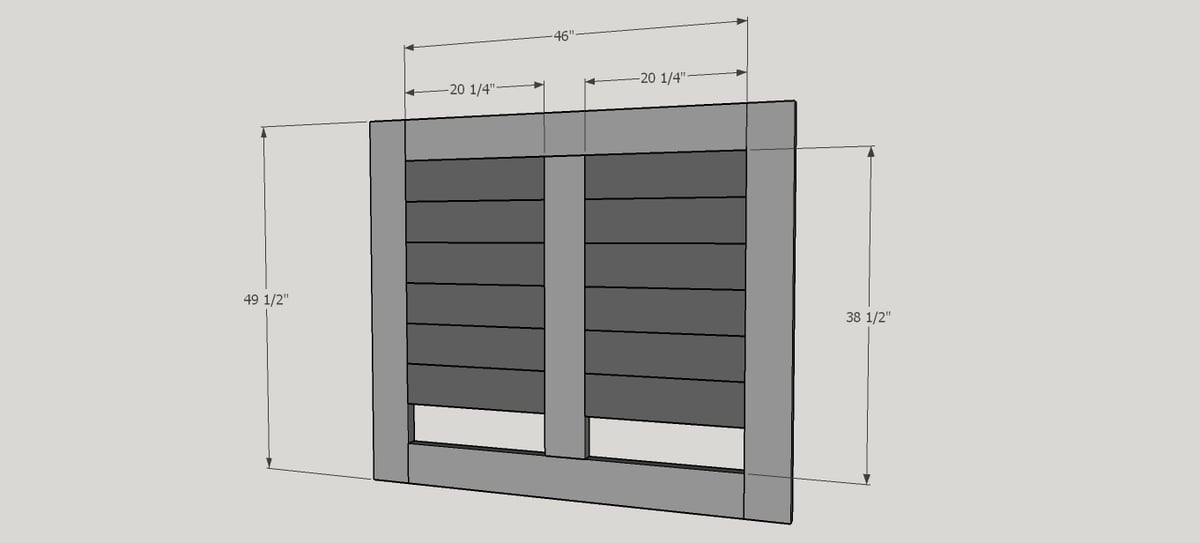
At this point I stained all the separate pieces of: • Foot board • Headboard support • Headboard • Headboard inserts • Side Rails • Centre support rail
Step 7
Step 8
Step 9
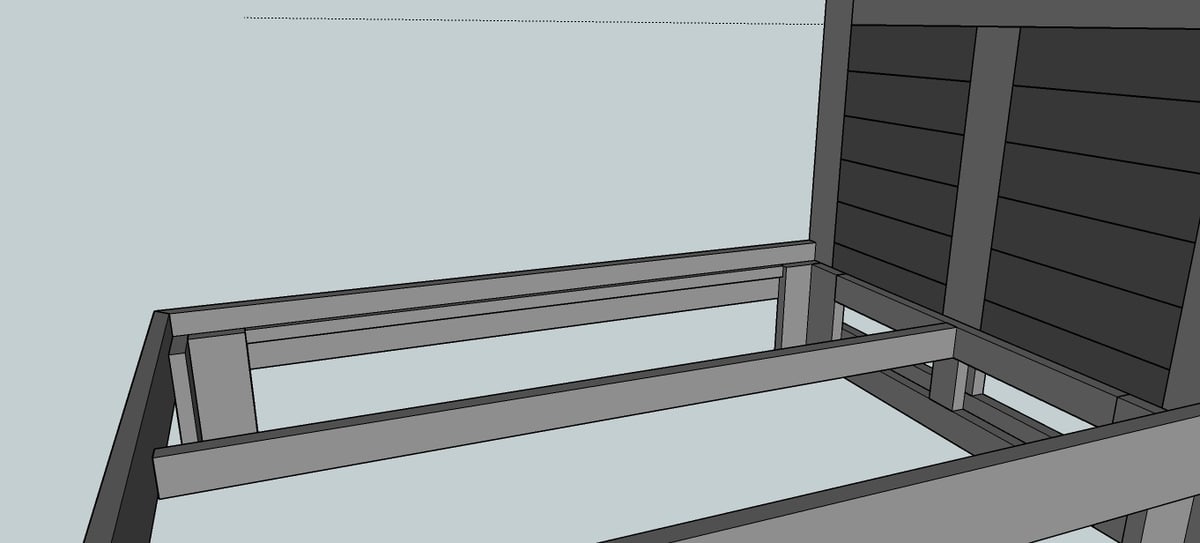
This bed is heavy and so once you have it in the room it is going fit the side rails to the foot board and headboard. I used 2.5 inch wood screws to fix through the inside of the foot into the rail and I also used pocket hole screws on the headboard end towards the top of the rail. I didn’t use glue as thought maybe I might need to take it apart one day to move it elsewhere.
Step 10
It is always recommended to apply a test coat on a hidden area or scrap piece to ensure color evenness and adhesion. Use primer or wood conditioner as needed.





Comments
shmitty
Sat, 04/04/2015 - 16:33
King Size Dimensions
Does anyone have the dimensions for this in King Size?
judyt200
Tue, 04/28/2015 - 10:02
how about the dimensions for
how about the dimensions for a queeny??
amatsumori
Wed, 11/04/2020 - 09:47
link not working
The link for the pdf for the cut list isn't working. Can you please fix it or send me a list to my email?