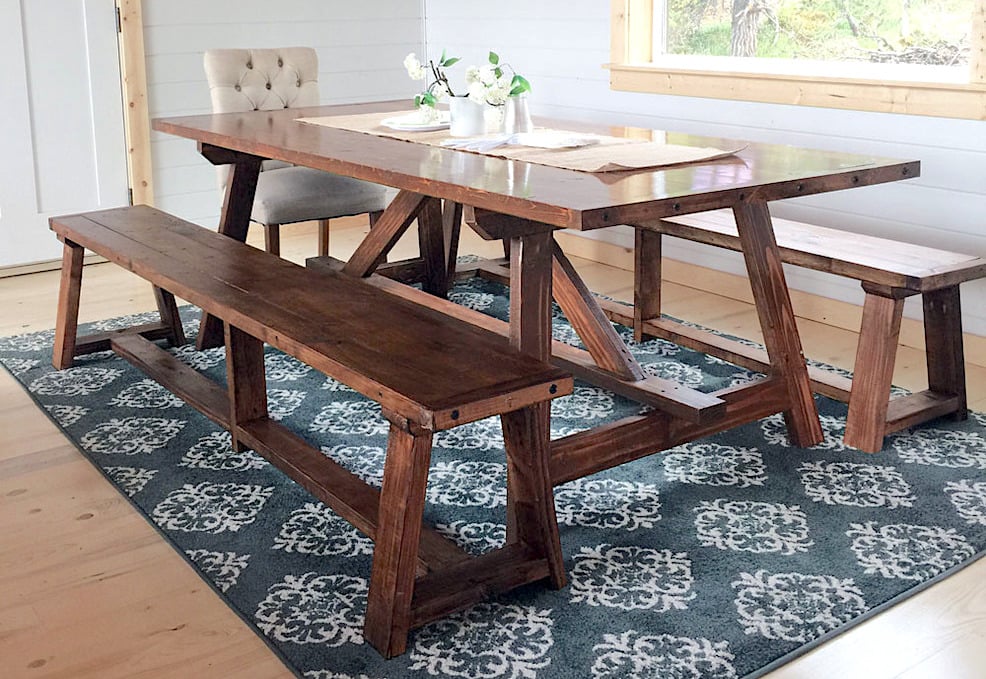
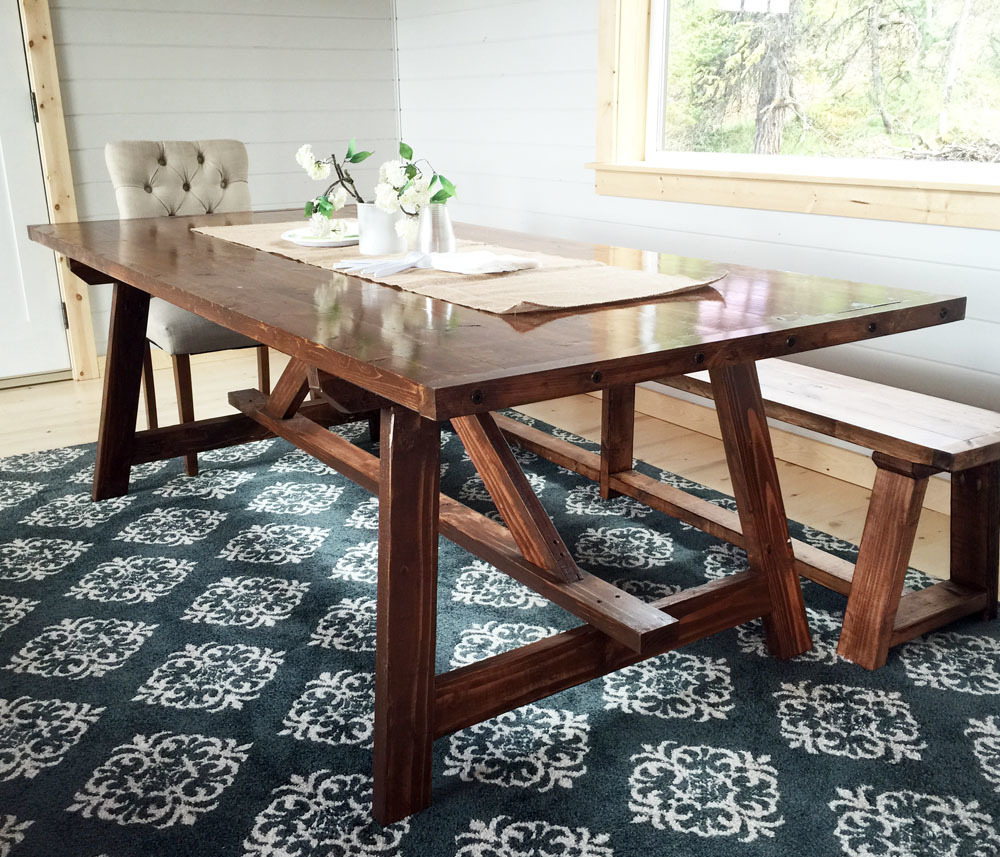
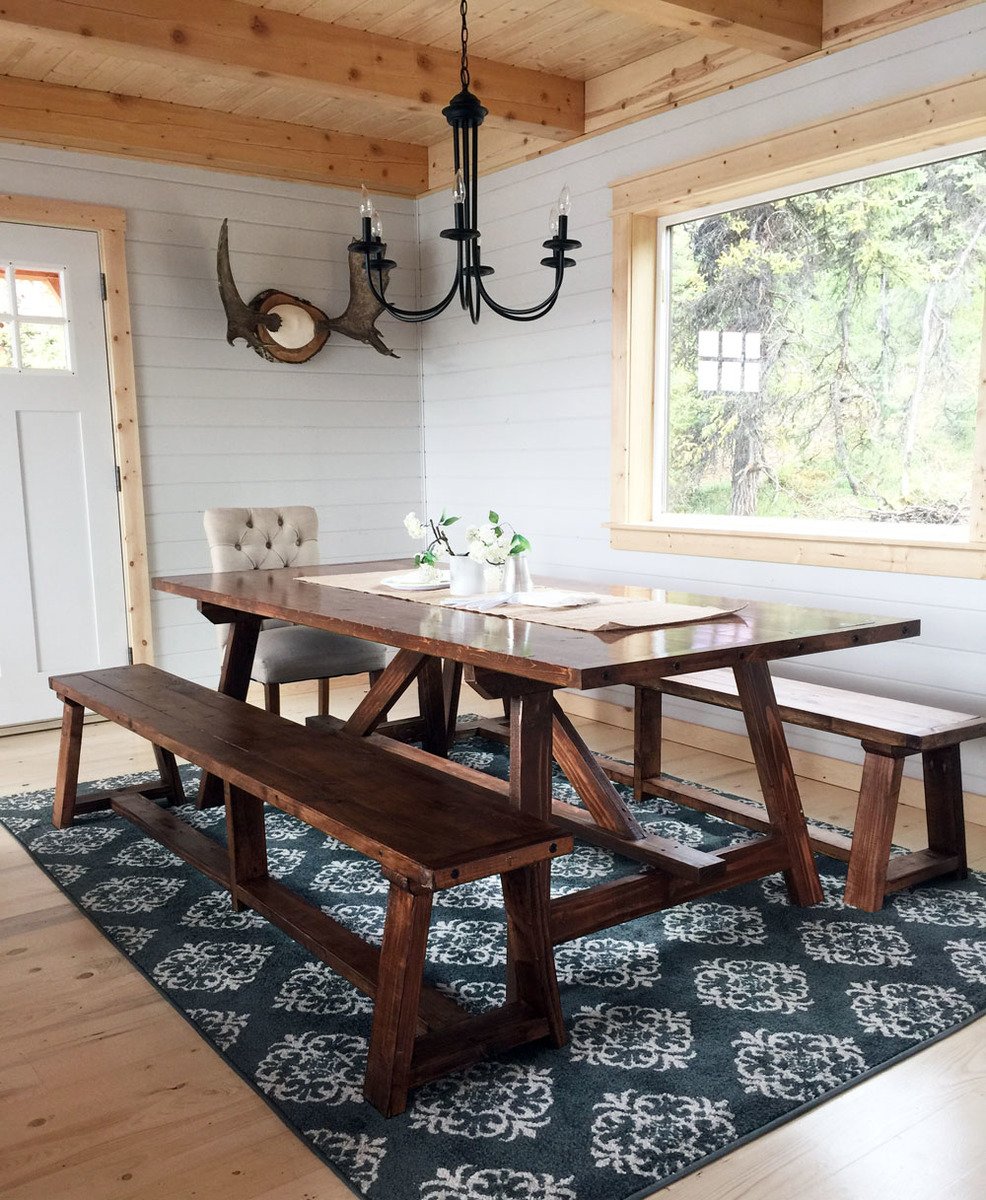
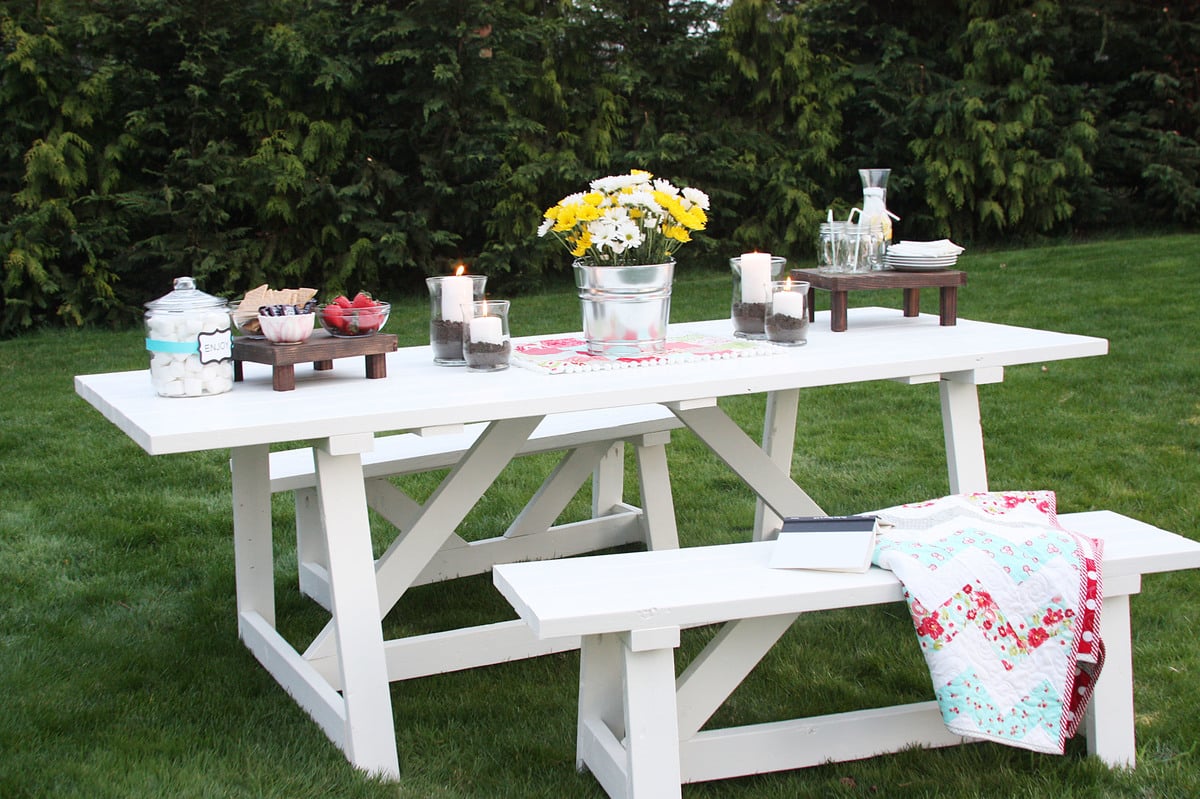
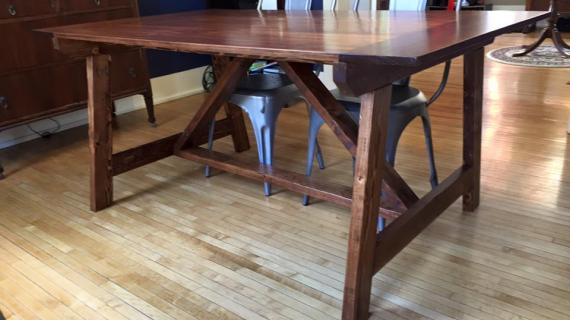
Make this table out of 2x4s! Free step by step plans by Ana-White.com
RELATED: Bench Plans
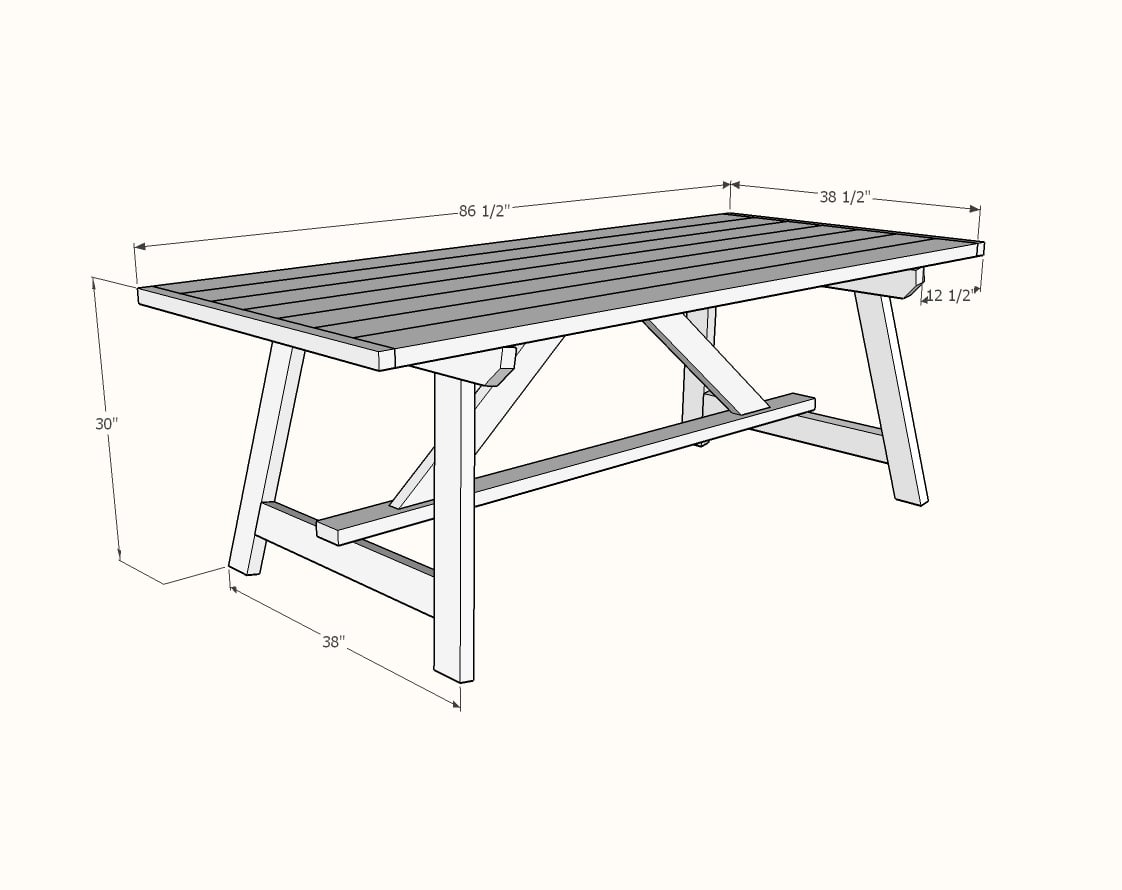
Preparation
- 5 - 2x4 @ 8 feet long
- 7 - 2x6 @ 8 feet or stud length
- 1 - 2x2 @ 8 feet long
LEGS
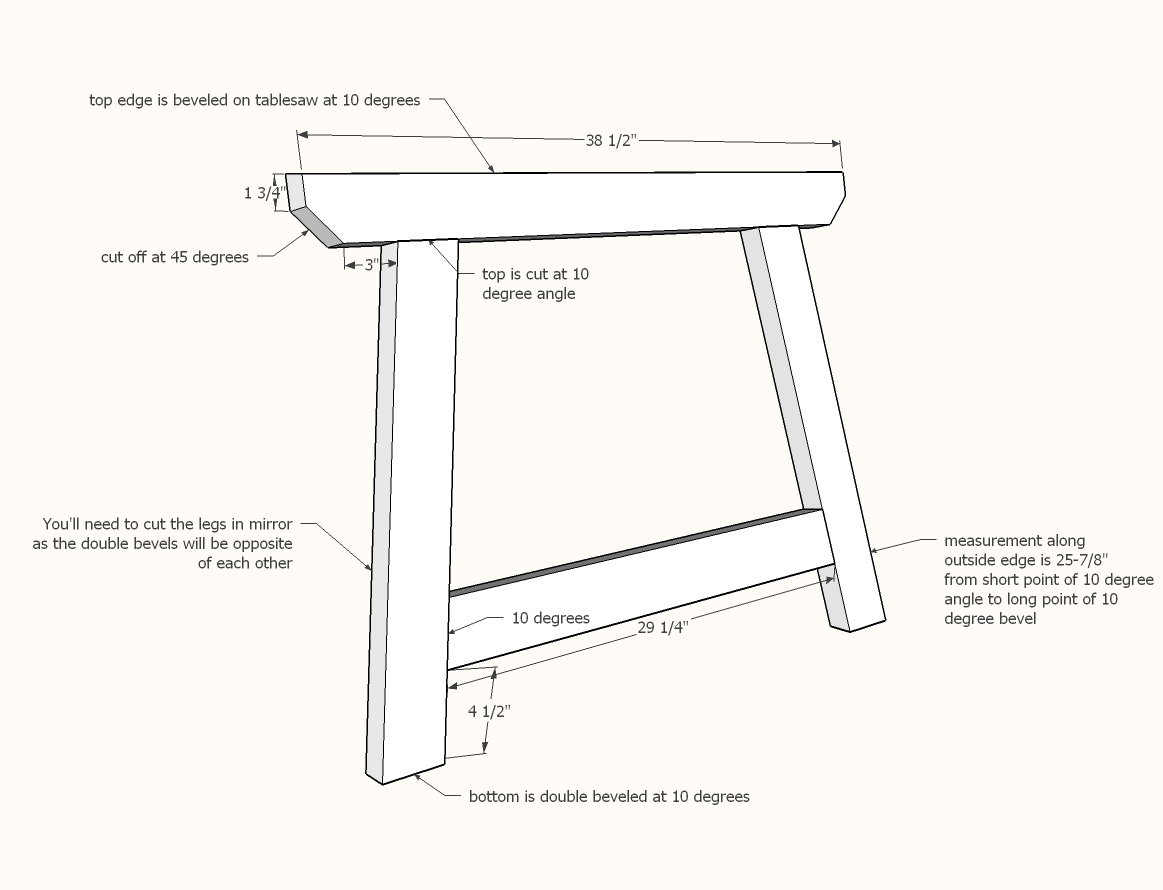
- 2 - 2x4 @ 38-1/2" long, top edge beveled at 10 degrees, bottom outside corners cut off at 45 degrees
- 4 - 2x4 @ 28" long, one end cut at 10 degree ANGLE, long point measurement (will need to double bevel other end in step 1)
- 2 - 2x4 @ 29-1/4" - long point to long point, both ends cut at 10 degrees off square, ends NOT parallel
TABLETOP
- 7 - 2x6 @ 83-1/2"
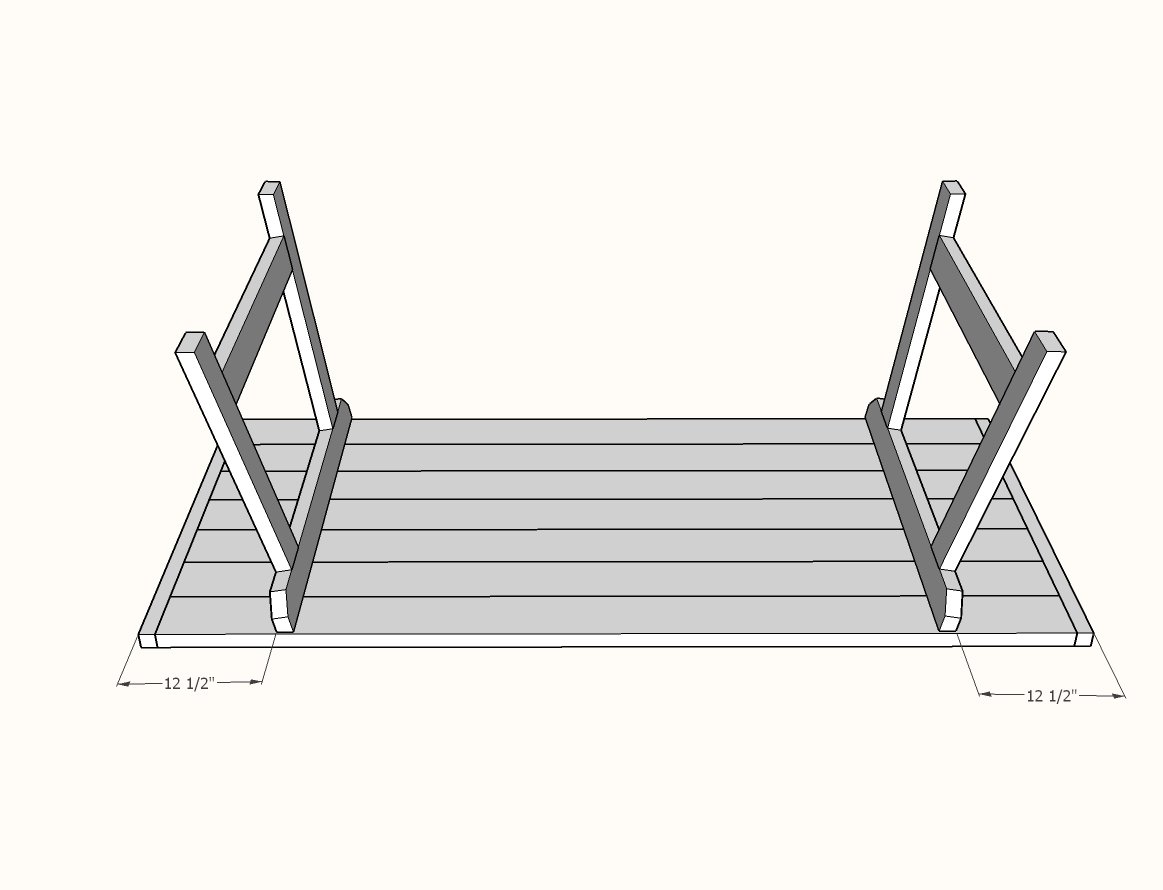
- 2 - 2x2 @ 38-1/2" (cut to fit)
TRUSS SUPPORTS
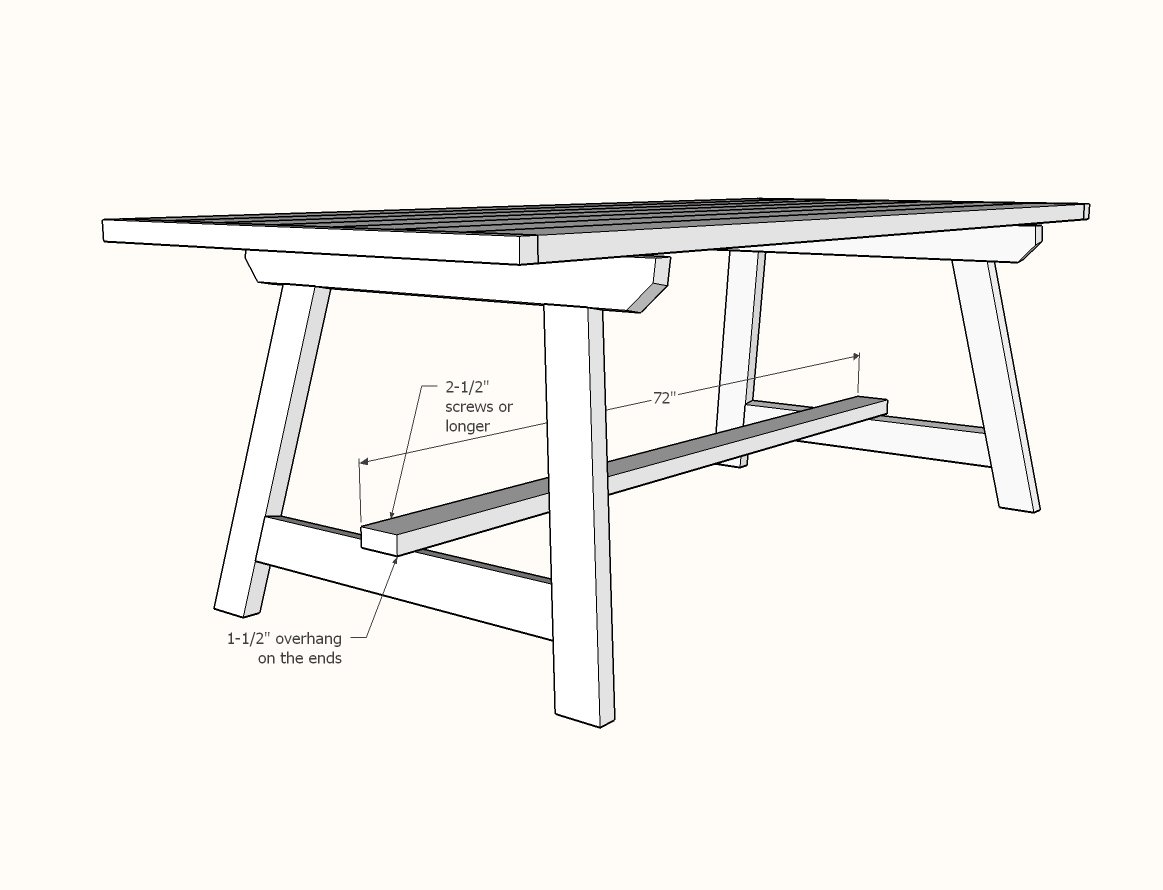
- 1 - 2x4 @ 72"
- 2 - 2x4 @ 29-7/8" - long point to short point, both ends cut at 50 degrees off square, ends ARE parallel
Please read through the entire plan and all comments before beginning this project. It is also advisable to review the Getting Started Section. Take all necessary precautions to build safely and smartly. Work on a clean level surface, free of imperfections or debris. Always use straight boards. Check for square after each step. Always predrill holes before attaching with screws. Use glue with finish nails for a stronger hold. Wipe excess glue off bare wood for stained projects, as dried glue will not take stain. Be safe, have fun, and ask for help if you need it. Good luck!
Instructions
Step 1
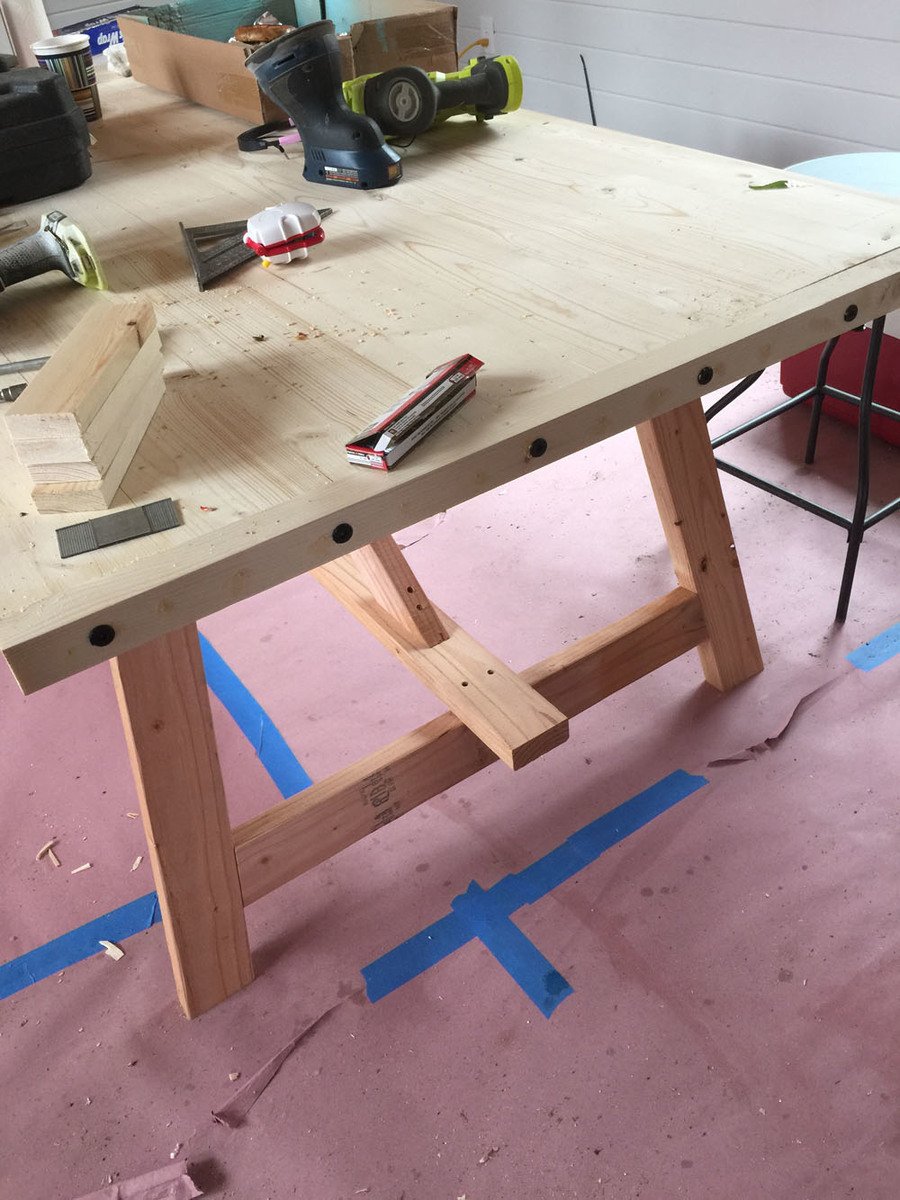
This step is a little on the advanced side, so please don't take this project on if you don't have building experience or a table saw. You'll need to bevel the top edge of your 2x4s that are 38-1/2" long at 10 degrees, keeping the full length on the long point side of the board. Also cut the ends off at 45 degrees, half way down the ends of the boards. Make two of these, they can be identical. The legs are a little trickier because you'll need to make the four legs up from the 2x4s with one end cut at 10 degree bevel - but two will be cut one way, and the remaining two cut in mirror to the first two. So set your compound miter saw to a 10 degree angle and a 10 degree bevel, and measure down 25-7/8" from the short point of your angle. This will be the outside edge of your leg (you should mark it on top and bottom as outside edge). Cut with the point you measured being the long point. Make two of these legs. Now you'll need to adjust your saw so it cuts a mirror double bevel for your remaining two legs. Repeat. Drill 1-1/2" pocket holes at all the joints, and attach with 2-1/2" pocket hole screws. Make sure you place pocket holes on the insides of the legs where they won't be as visible. Also drill 1-1/2" pocket holes facing upward for attaching the tabletop in later steps.
Step 2
Build your tabletop on a flat level surface with glue. Here are some tabletop building tips to check out before you get started.
Step 4
It is always recommended to apply a test coat on a hidden area or scrap piece to ensure color evenness and adhesion. Use primer or wood conditioner as needed.







Comments
FixitMike
Wed, 07/08/2015 - 09:22
Truss table
I would like to suggest adding one or two diagonals to the end frames. This would greatly increase their stiffness. (Frames that include triangles are the stiffest and strongest.)
Very nice appearing design with effective use of the materials.
blmare47
Sun, 09/27/2015 - 08:17
Hardware
What are the black screws/bolts you use on the edge of the table top? Size, etc.
In reply to Hardware by blmare47
Ana White
Sun, 09/27/2015 - 11:30
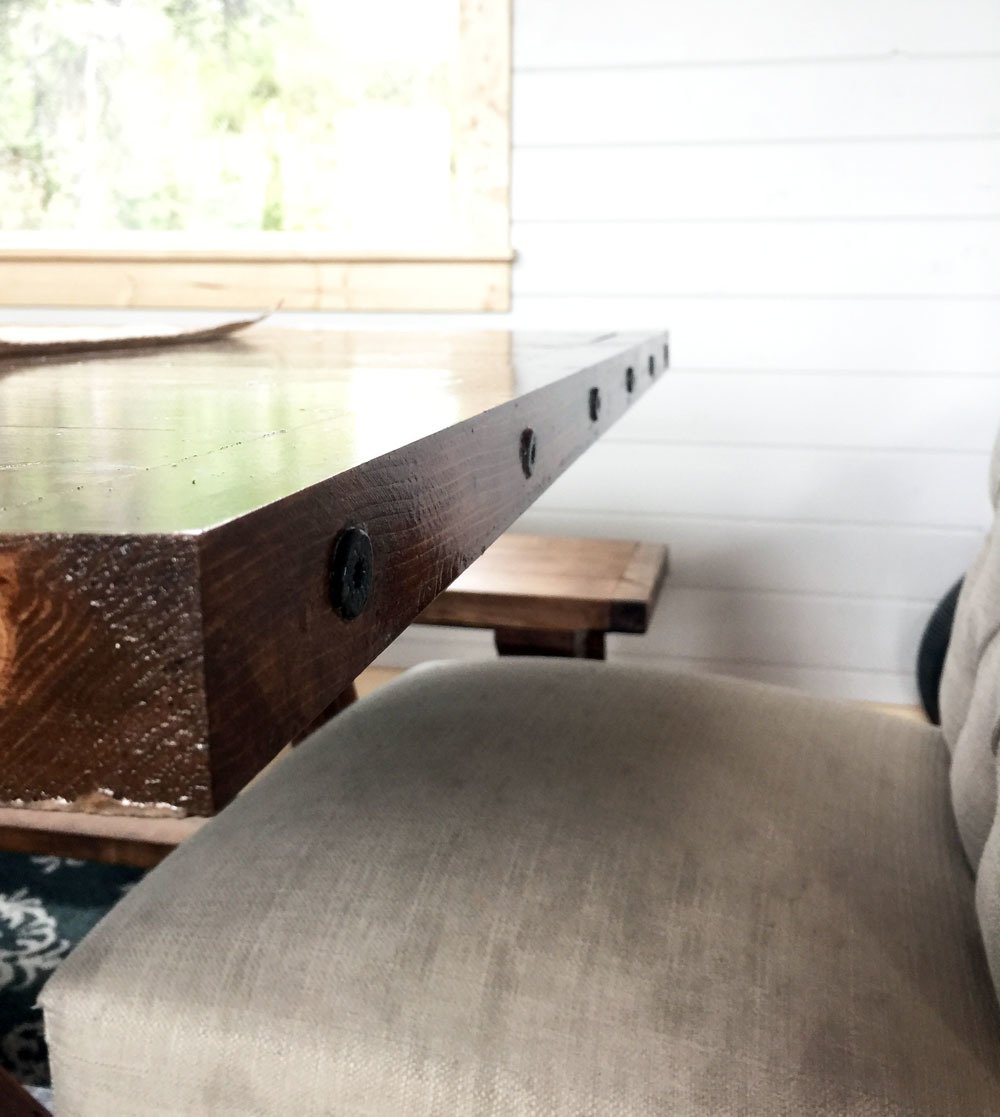
Just regular L brackets and
Just regular L brackets and hex bolts spray painted black. Hope this helps!
kelseykress
Thu, 10/01/2015 - 09:15
Hello! What is your favorite
Hello! What is your favorite type of wood to use when building a kitchen table?
In reply to Hello! What is your favorite by kelseykress
Ana White
Thu, 10/01/2015 - 12:30
Pine or Doug Fir
Pine or Doug Fir
FrugalFurbishing
Wed, 10/21/2015 - 01:58
Hi! Would this table top be
Hi! Would this table top be able to be adjusted to have "put-in" leafes on each side?
Can it stand the extra weight?
Thank you!
Crowens2
Mon, 12/07/2015 - 19:12
Steps
How do I get steps 6 through 27? I only see steps 1 through 5 here.
In reply to Steps by Crowens2
Ana White
Wed, 12/09/2015 - 17:57
Those are all the steps
Those are all the steps necessary for this project:)
claire.whitis
Thu, 05/24/2018 - 11:43
4x4 Truss Beam table
Hi Ana!
I was wondering what happened to the plan for the 4x4 Truss Beam table? Was REALLY wanting to build it but the link is down!
Please let me know, Thanks!!
Claire
jennavila
Thu, 05/31/2018 - 15:55
4x4 tables
Same here! Did you ever find them anywhere? I am supposed to build them for a friend and now that I have come back to it they are gone!? HELP!!!
In reply to 4x4 tables by jennavila
Brian Famous
Tue, 06/05/2018 - 05:03
Table plans
I can't seem to find Ana's plans either, but have similar ones on my site: http://famousartisan.com/diy-restoration-hardware-table-plans/
And would be happy to customize them for you (at no charge) if you need some changes.