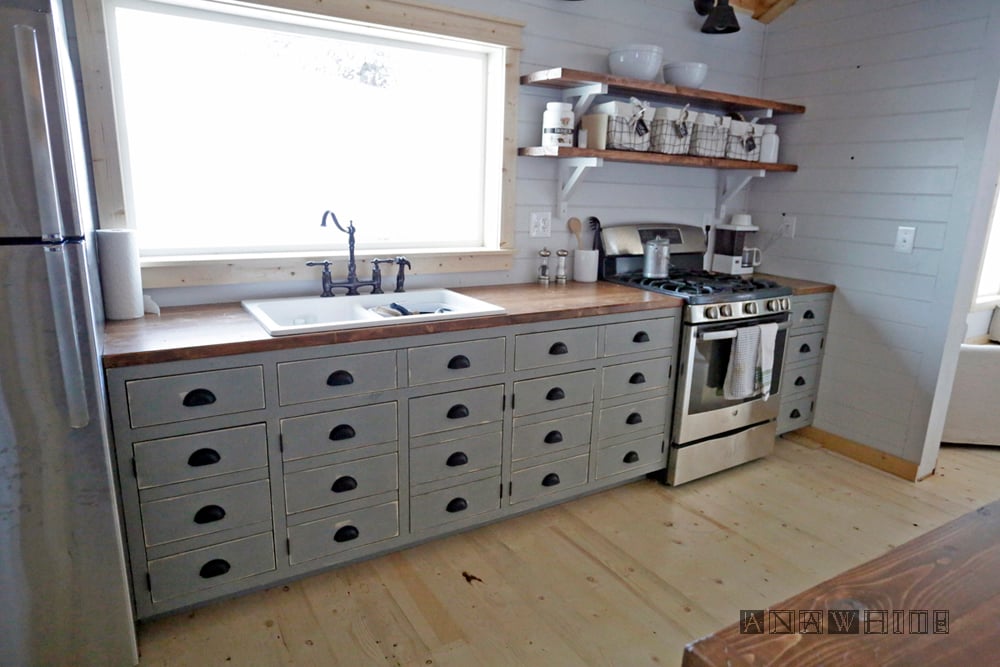
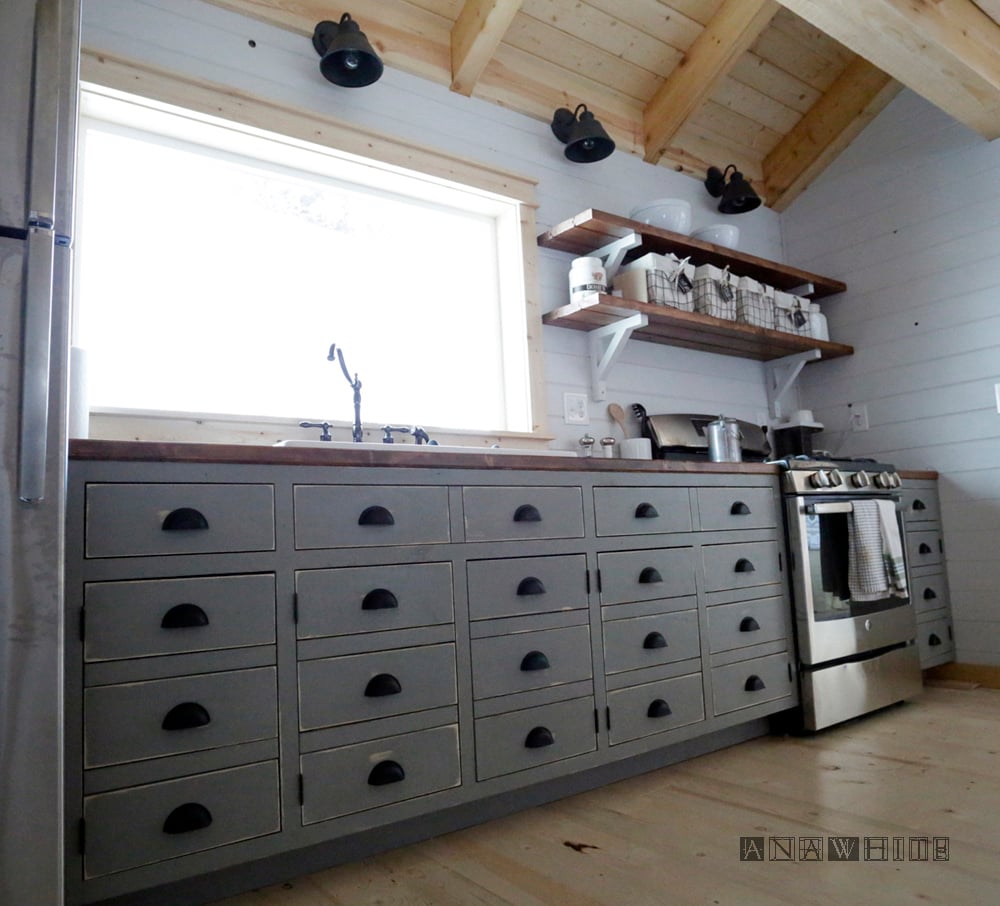
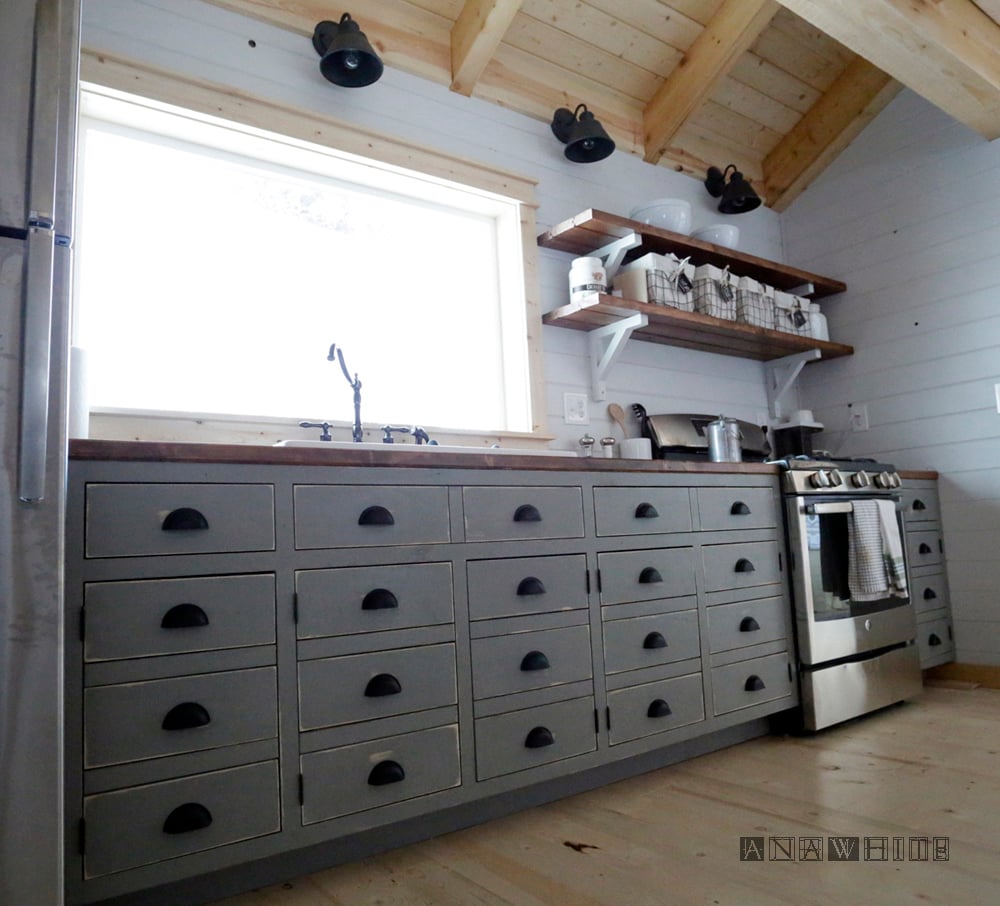
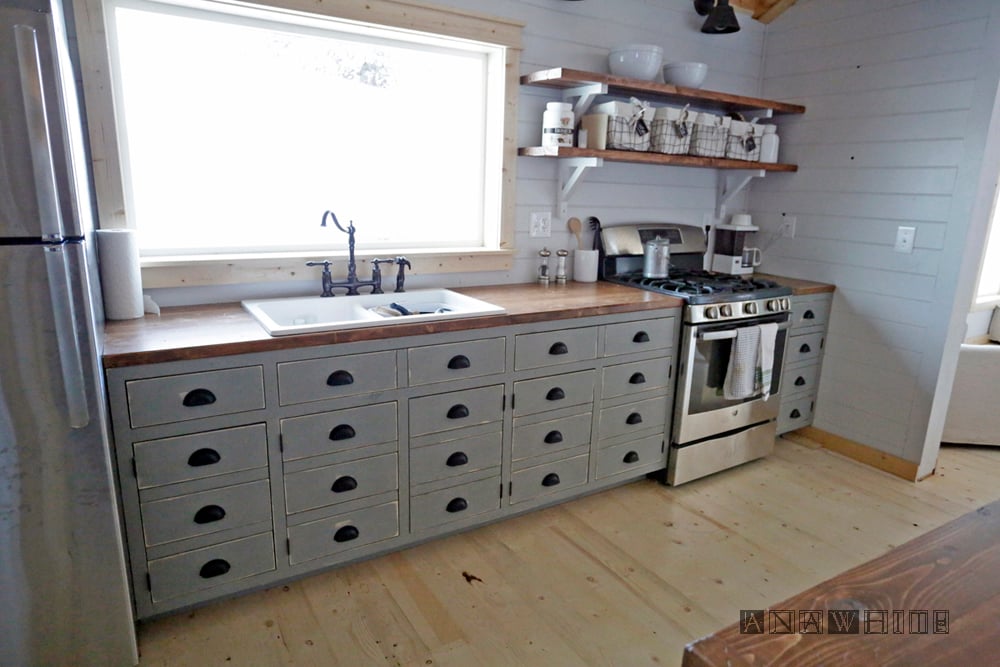
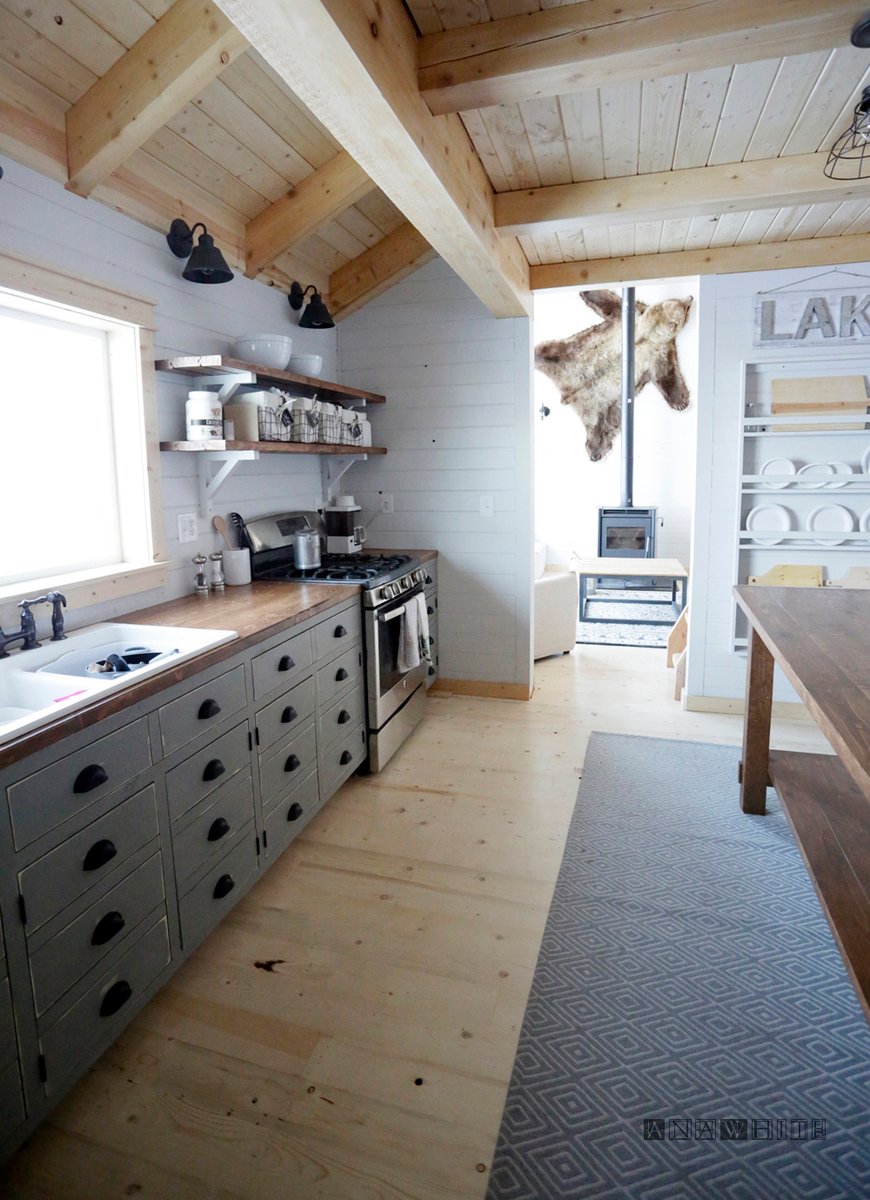
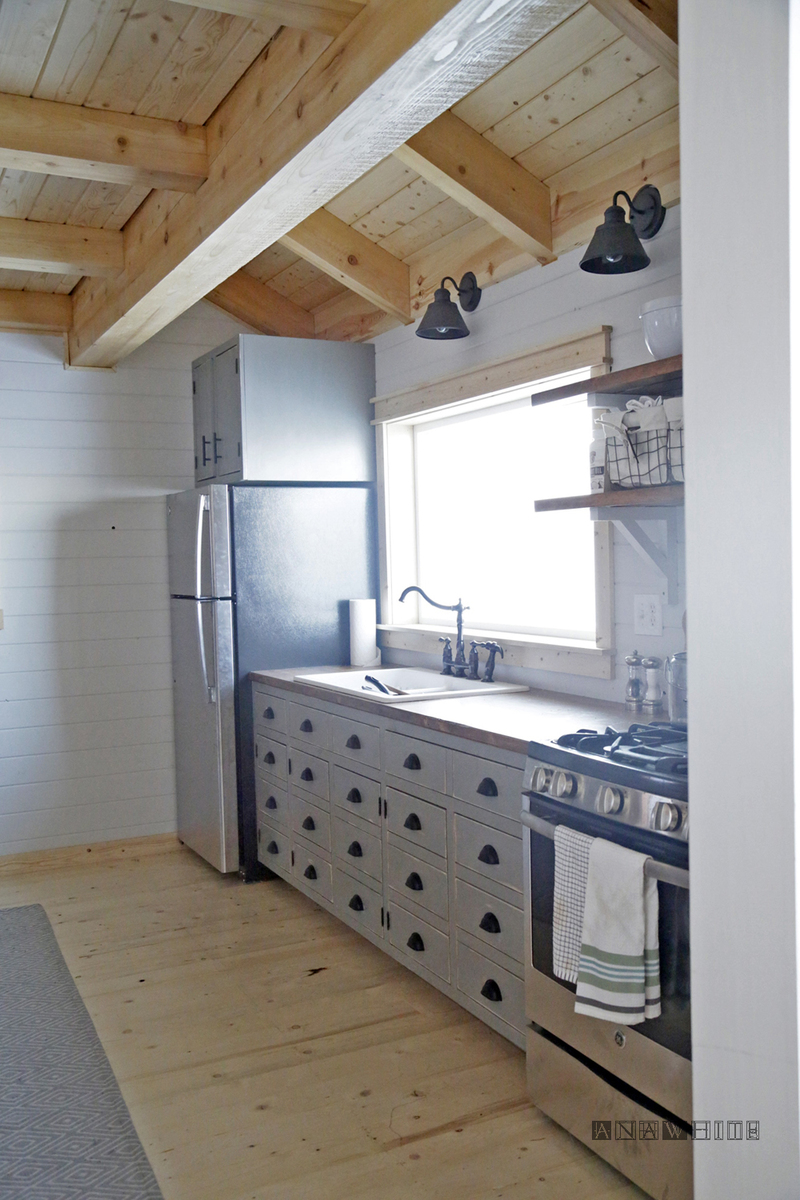
The easiest and fastest way to build kitchen cabinets! All these base cabinets for $400! Plans by Ana-White.com
Preparation
3/4" plywood - prefinished PureBond recommend for easier finishing, ripped into strips 23-1/4 wide (for 24" overall width cabinet including doors). Measure appliances and adjust if necessary for the right width. 1x2 boards, a true 1-1/2" wide for face frame and doors 1x6 boards, a true 5-1/2" wide for doors and drawer faces scrap 1x material (1x3 or wider width) for supports 2x4s for the toekick 1/4"plywood for attaching to back
Please read through the entire plan and all comments before beginning this project. It is also advisable to review the Getting Started Section. Take all necessary precautions to build safely and smartly. Work on a clean level surface, free of imperfections or debris. Always use straight boards. Check for square after each step. Always predrill holes before attaching with screws. Use glue with finish nails for a stronger hold. Wipe excess glue off bare wood for stained projects, as dried glue will not take stain. Be safe, have fun, and ask for help if you need it. Good luck!
Instructions
Step 1
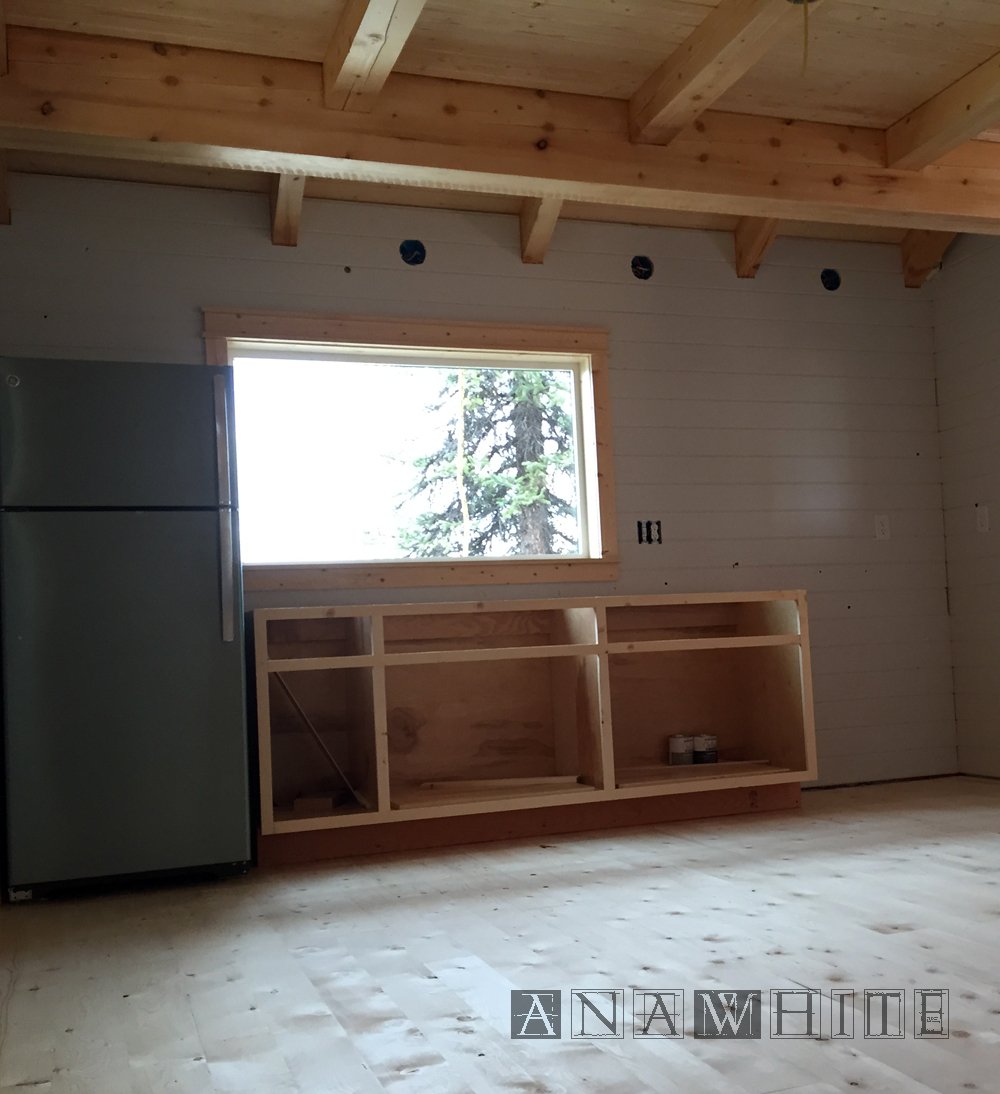
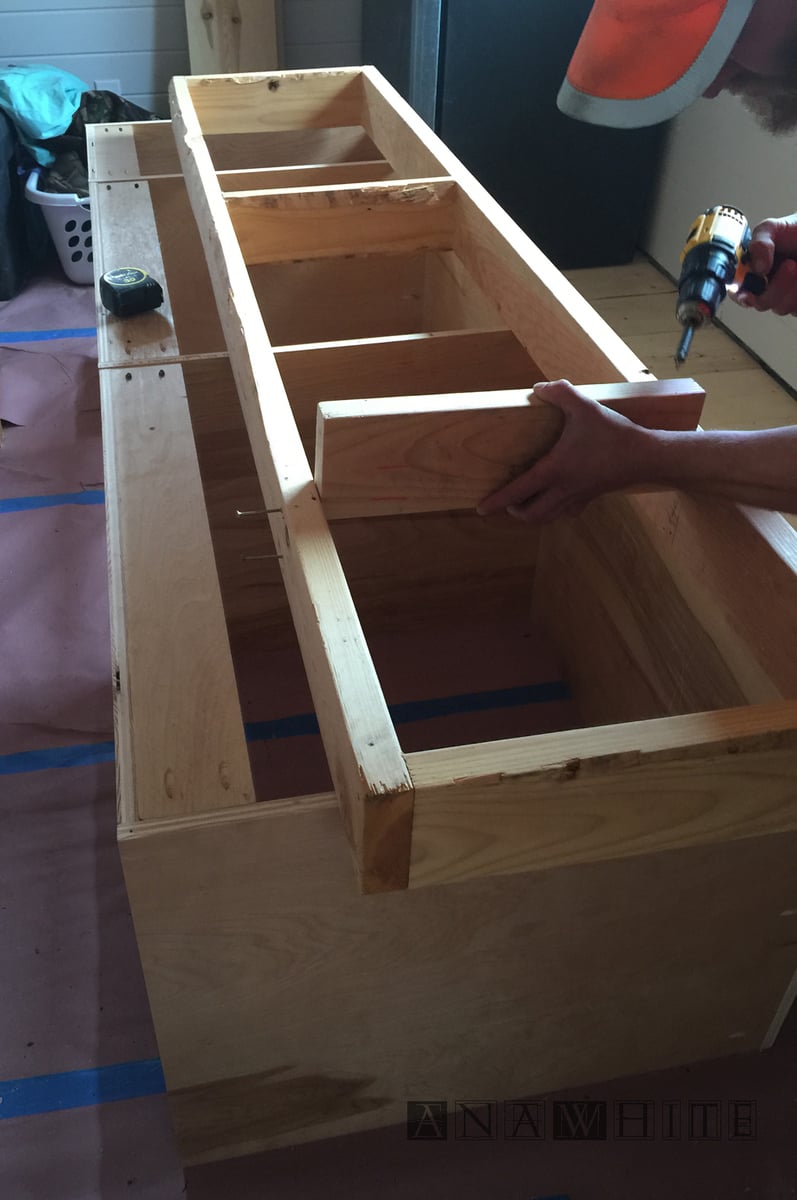
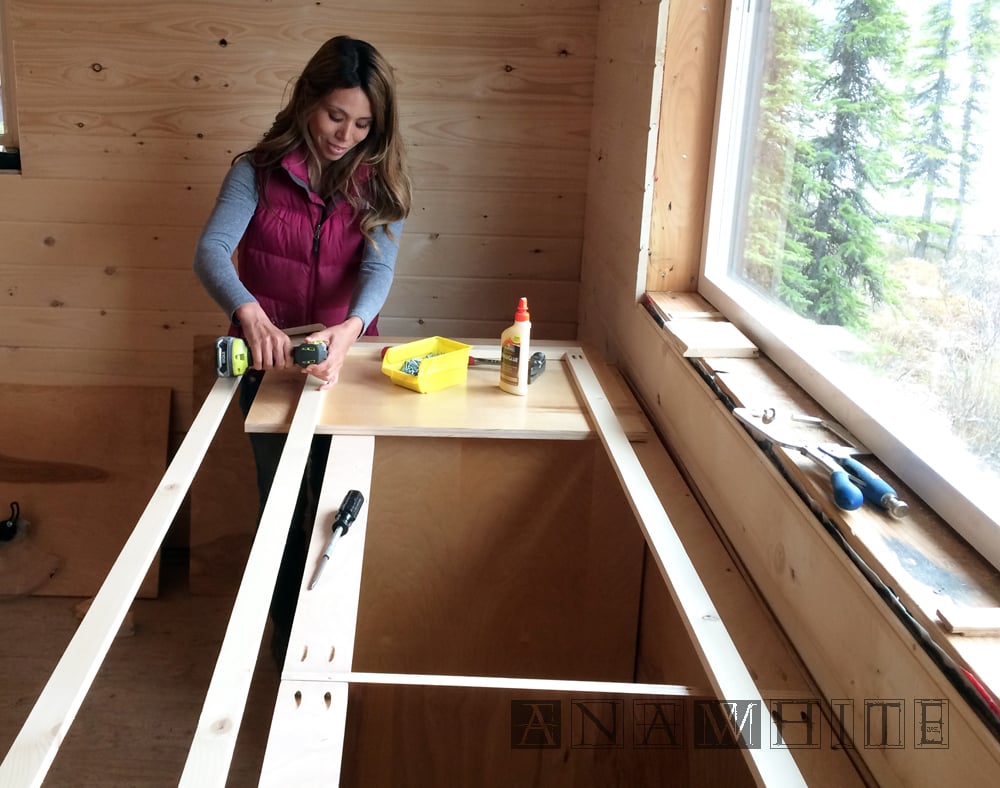
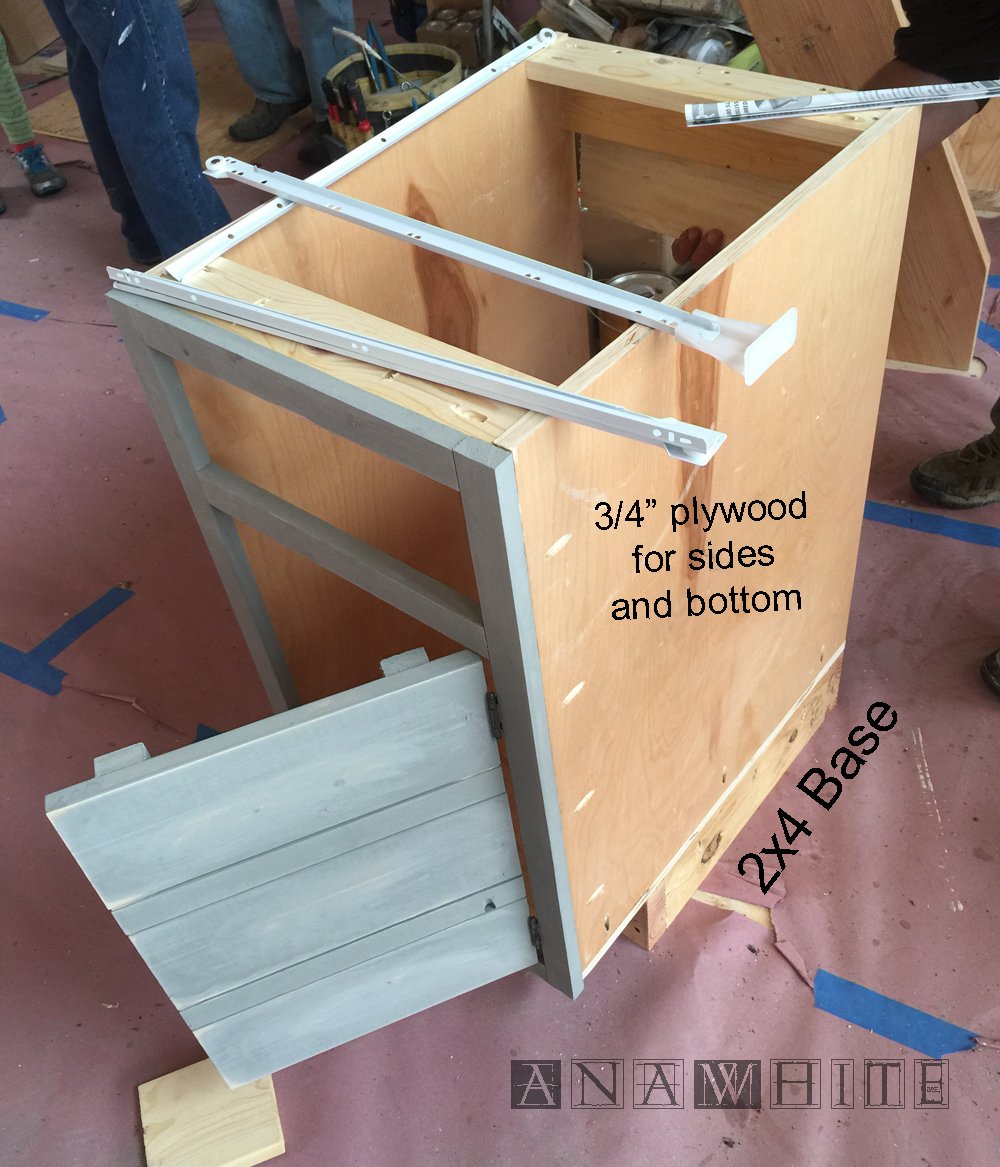
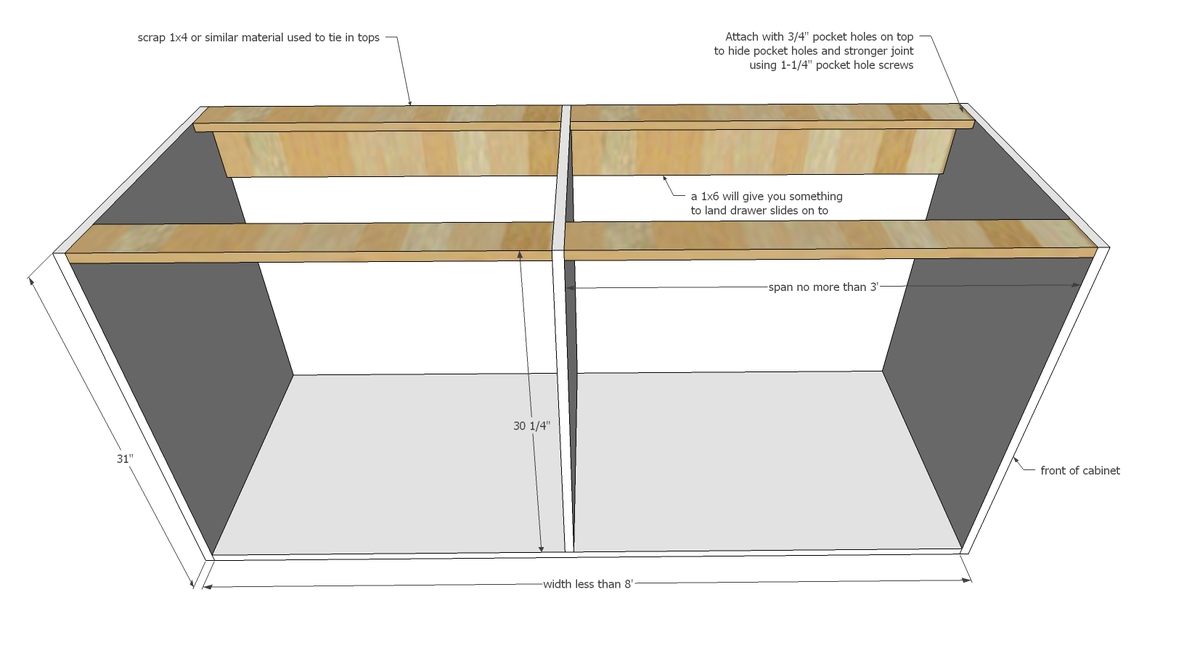
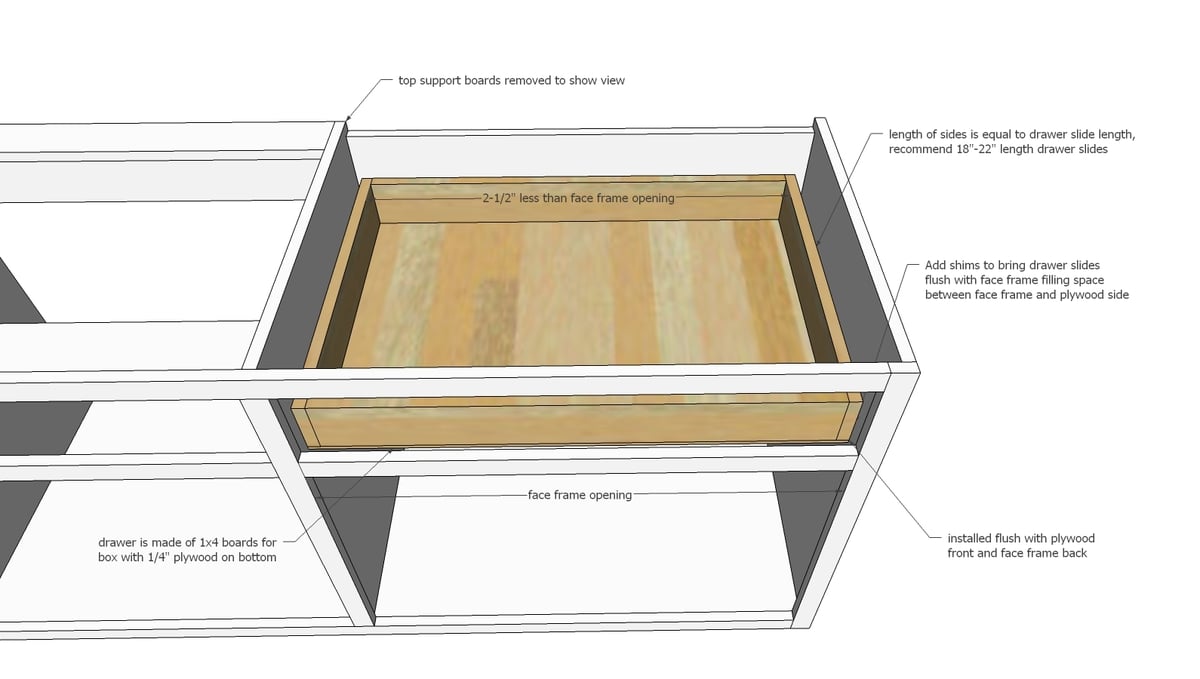
Carcass - The carcass is just 3/4" plywood and then scrap 1x material (or 3/4" plywood strips) as support on the top. I use 3/4" pocket holes and 1-1/4" pocket hole screws to build the carcasses. If I know the cabinet will be hidden on outside sides, I place my pocket holes on outsides. Do not span more than 3 feet per cabinet - perhaps even less if you plan on using a granite or concrete or other heavy countertop material. Drawers tend to work best less than 24" in width - an larger and they start to not slide as well.
Step 2
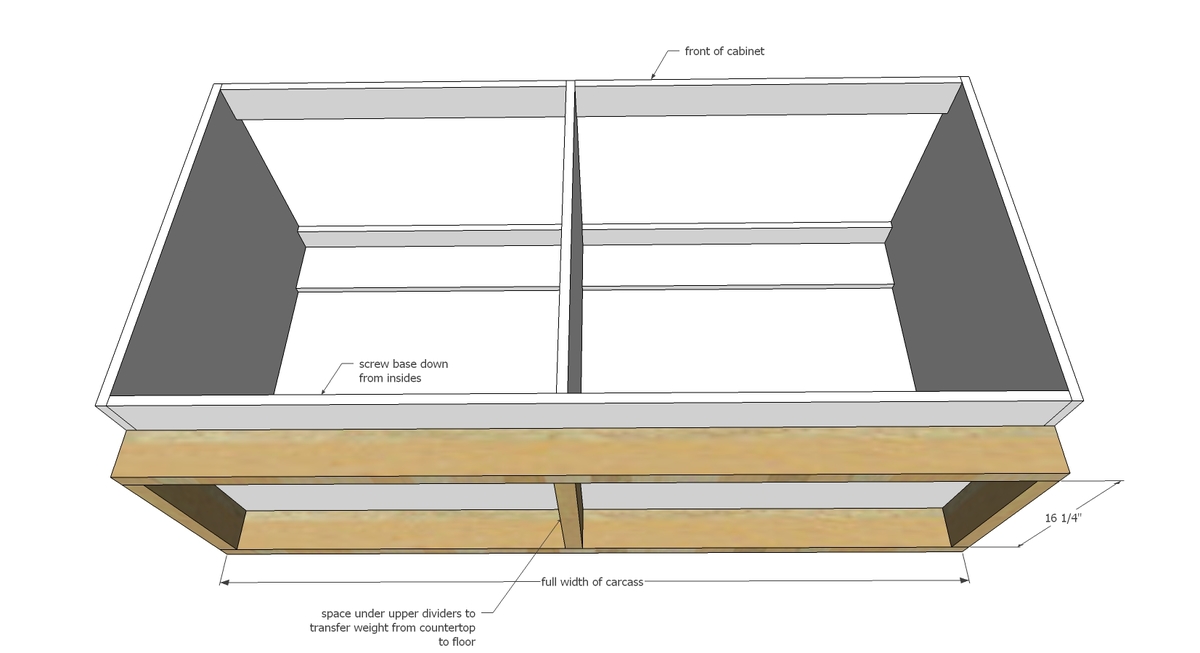
Toekick Base - This is an easy step, just cut and screw or nail together. Make sure boards are placed under all dividers in the carcass so the weight of the counter-top is transferred directly to the floor. You can use pocket holes, wood screws, even framing nails to build this base. On installation, 2" screws through the bottom of the cabinet is the easiest way to attach. You could also attach from underneath by using pocket holes (set for 3/4" stock and 1-1/4" pocket hole screws even though you will be drilling into 2x4s).
Step 3
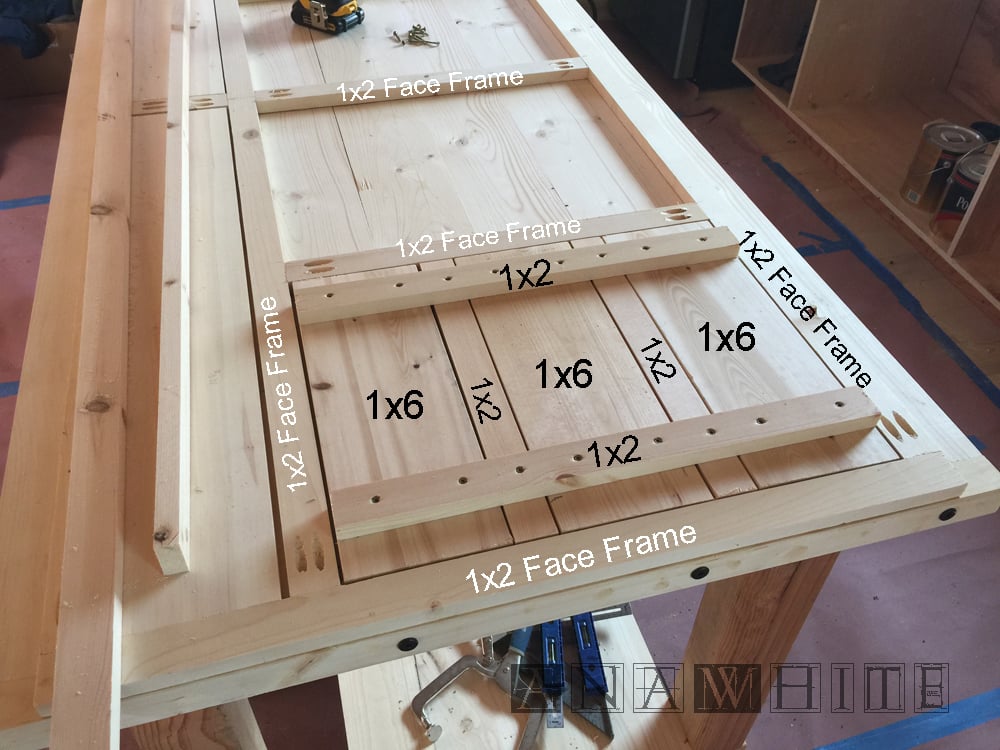
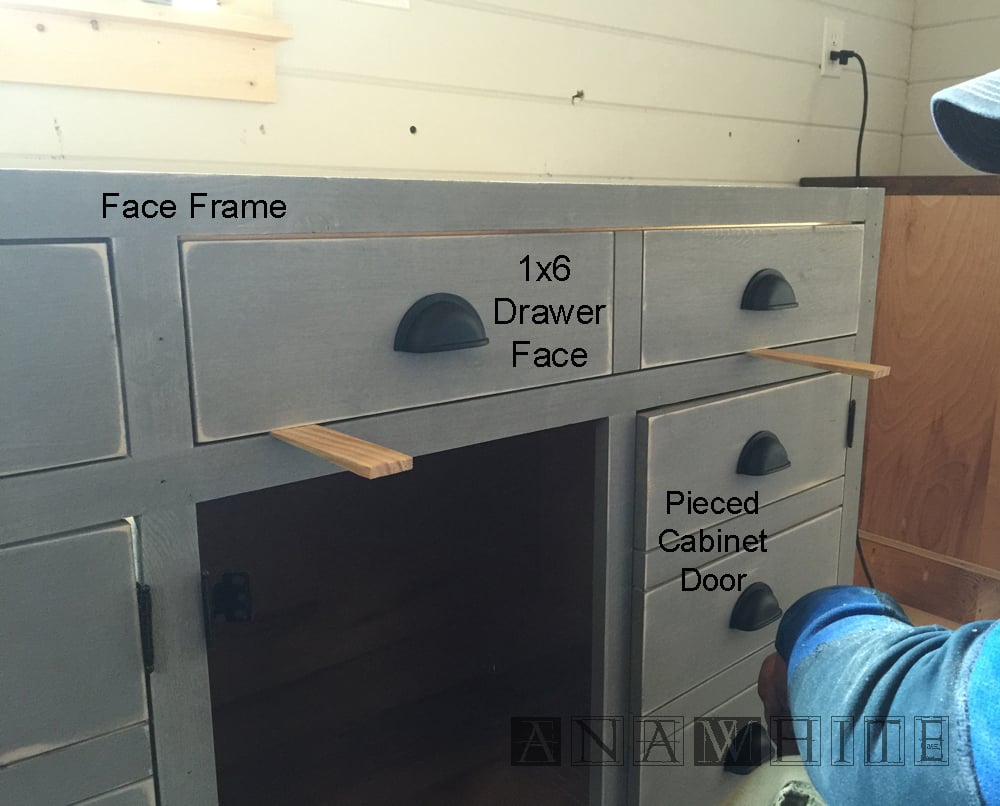
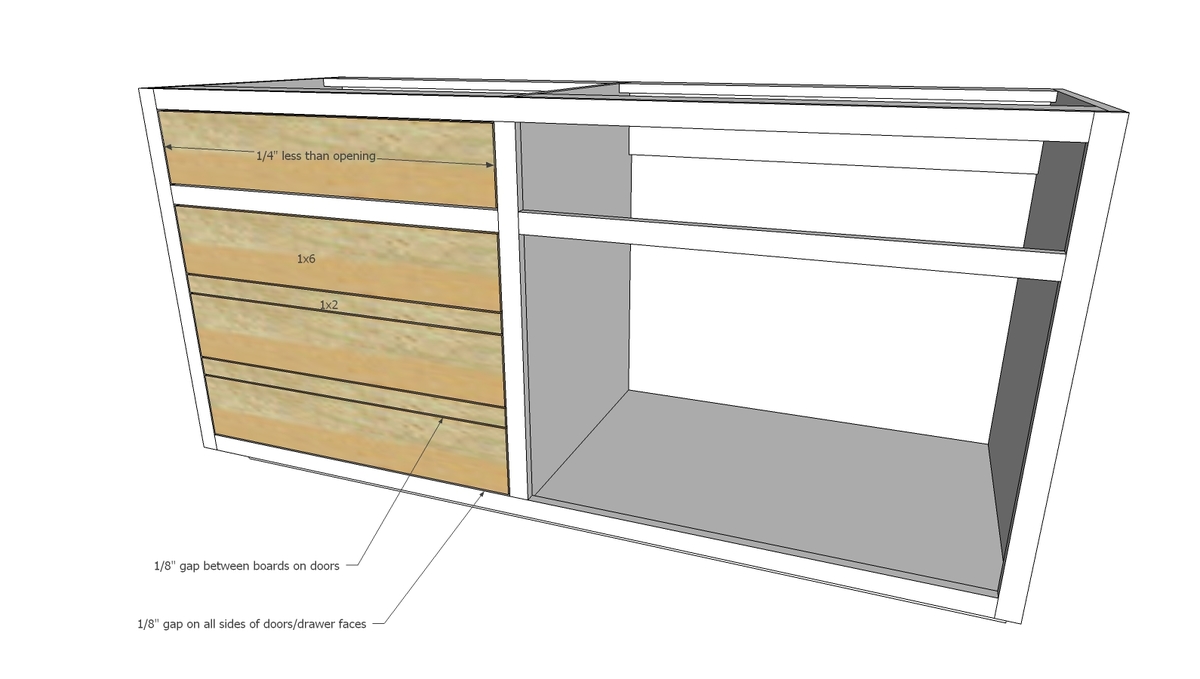
Face Frame - The face frame covers all of the plywood edges. Make sure your 1x2s are 1-1/2" wide. Use 3/4" pocket holes and 1-1/4" pocket hole screws to build. Attach to front of plywood cabinet with glue and 1-1/4" brad nails (I recommend building doors and fitting drawers before attaching. You could even attaching the door hinges to the face frame before installing face frame on carcass).
Step 4
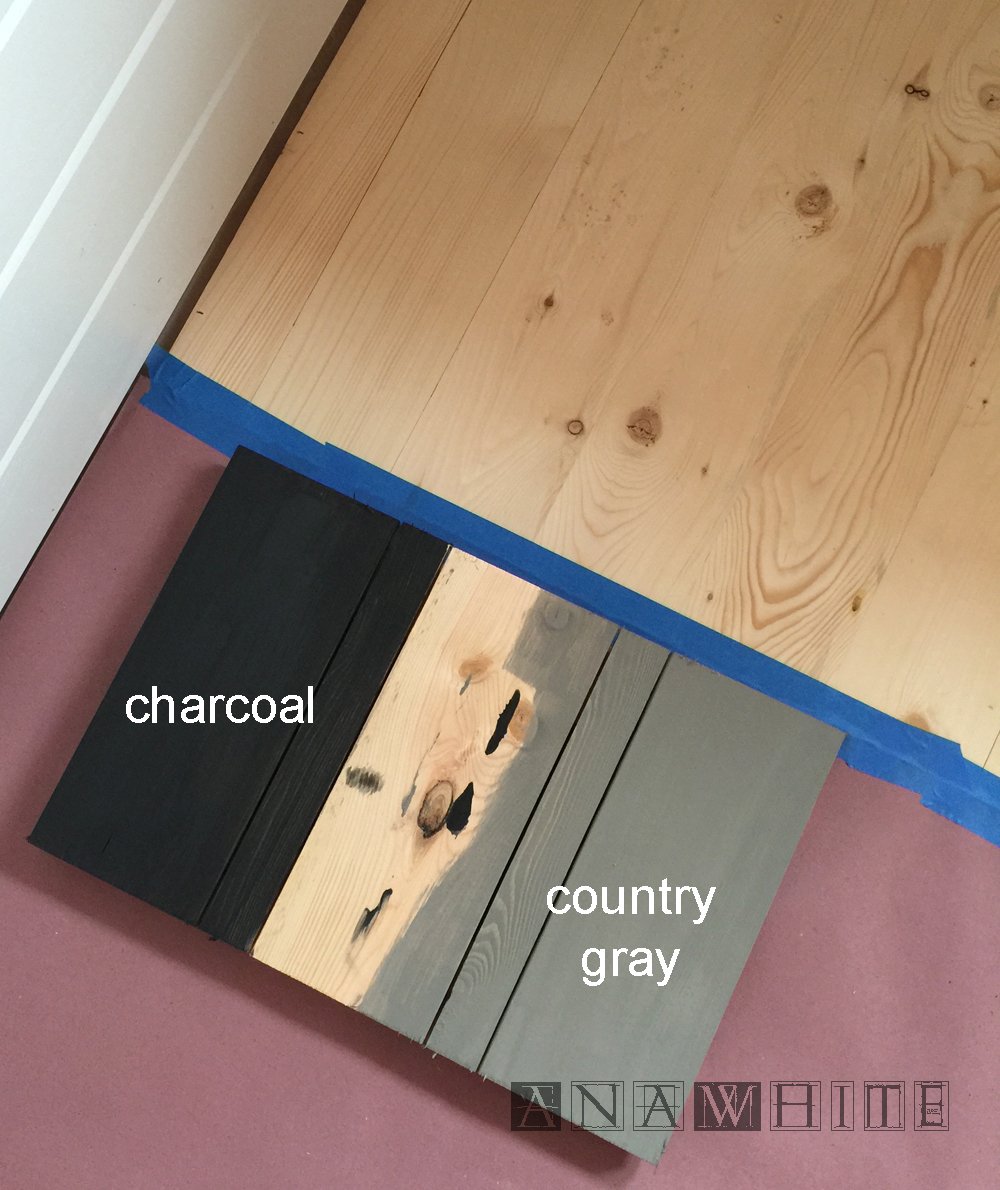
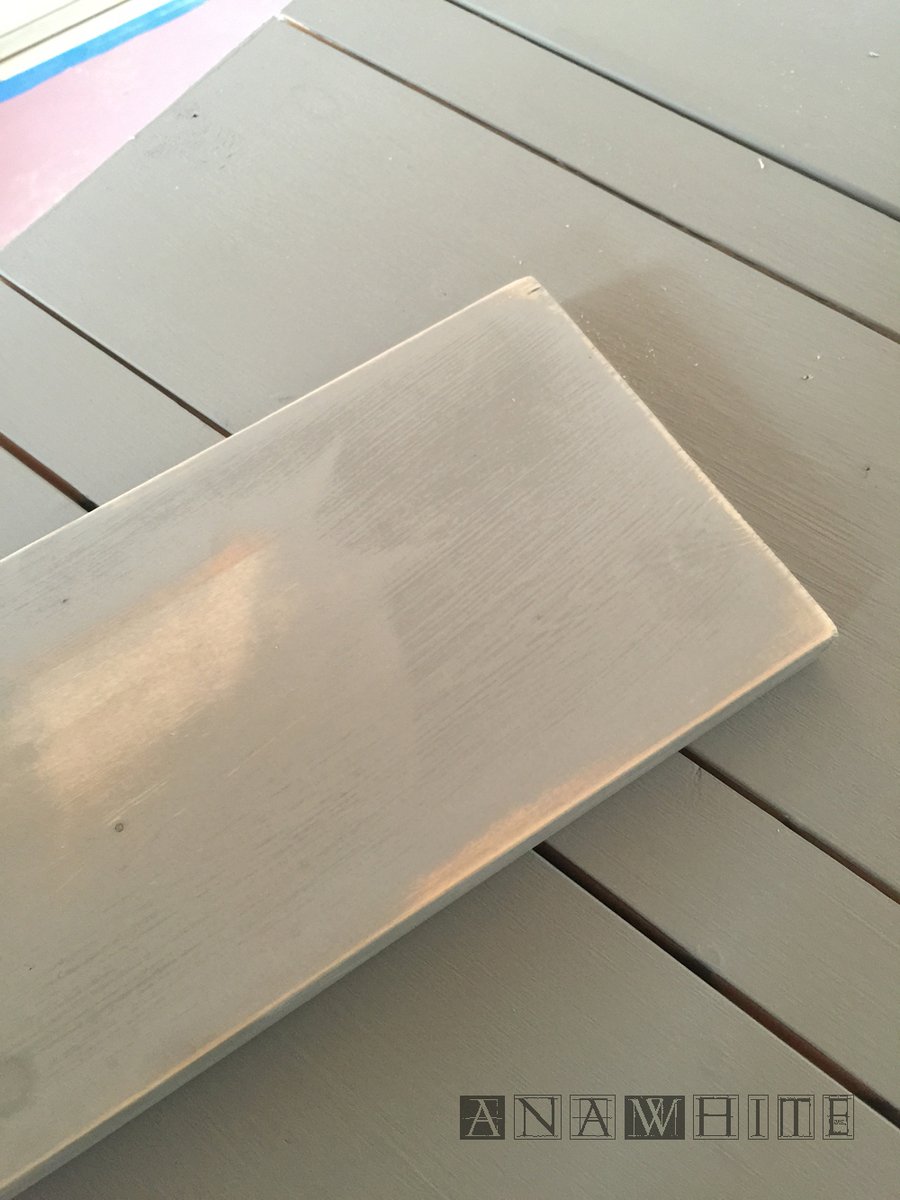
It is always recommended to apply a test coat on a hidden area or scrap piece to ensure color evenness and adhesion. Use primer or wood conditioner as needed.


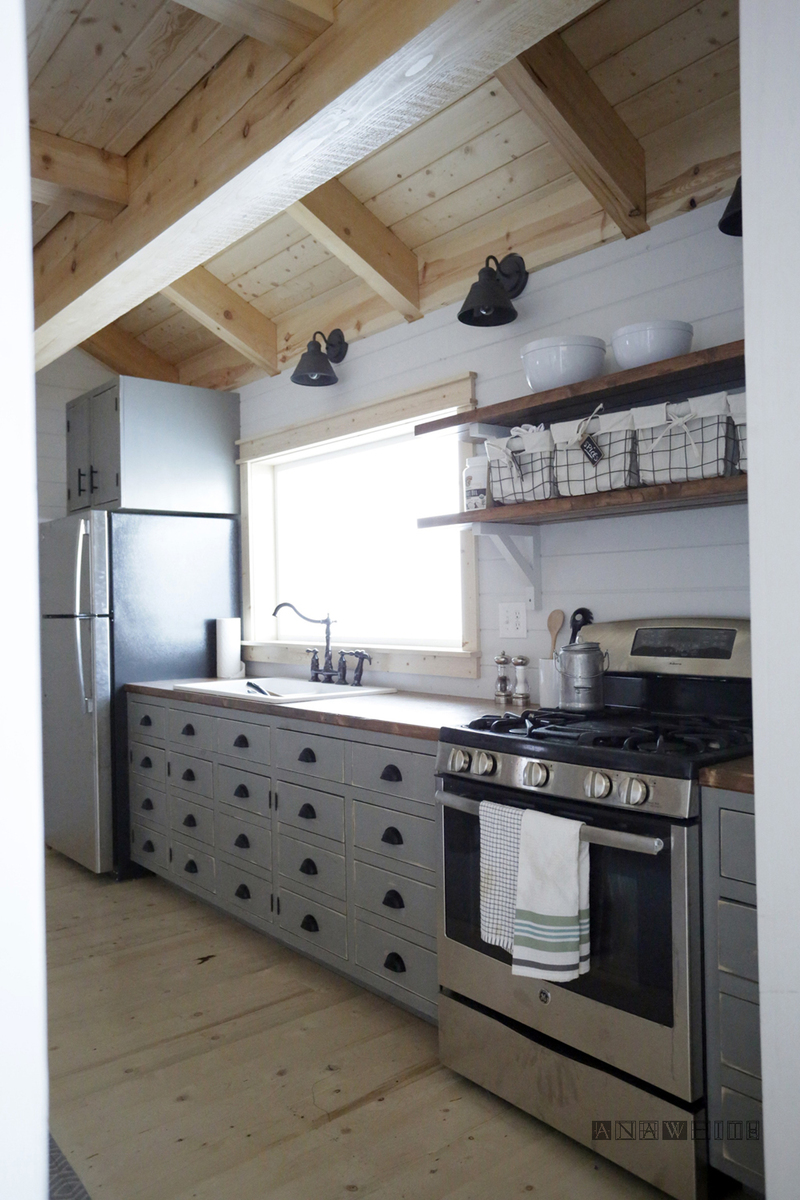
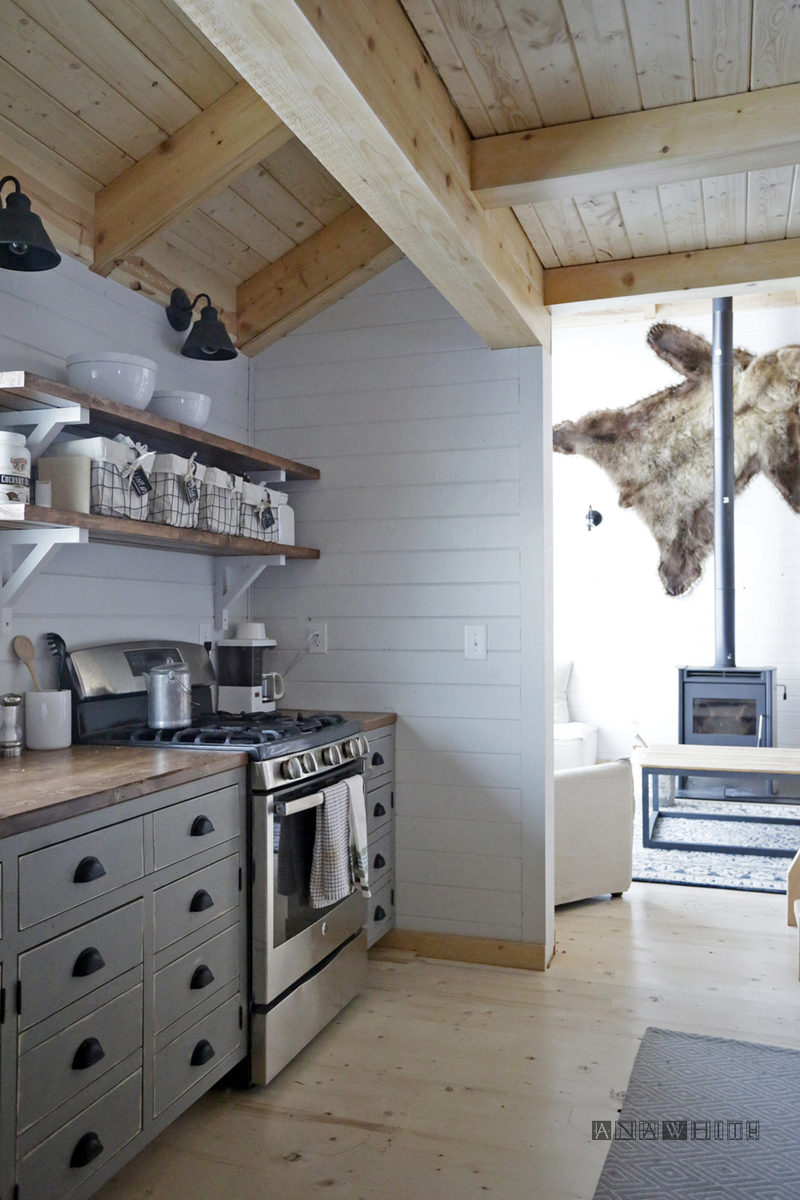
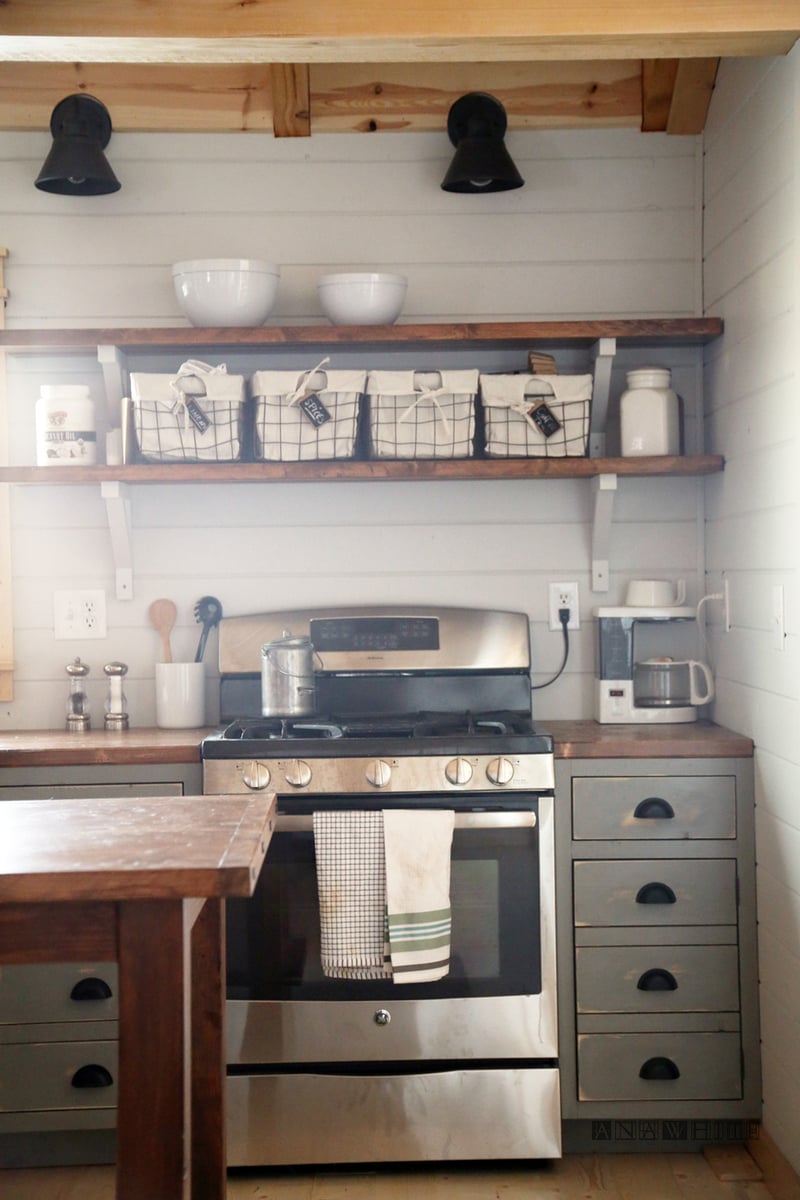






Comments
dananryan
Thu, 12/10/2015 - 11:39
This is gorgeous!
This is a beautiful and practical space! Are there any drawbacks to building the cabinets townhouse style instead of detached single family?
In reply to This is gorgeous! by dananryan
Ana White
Thu, 12/10/2015 - 21:38
Thank you!
Thank you!
I love building cabinets this way! It saves a ton of time and you don't have to line up cabinets between appliances. This was the fastest and easiest kitchen we've ever made, and I love it the most.
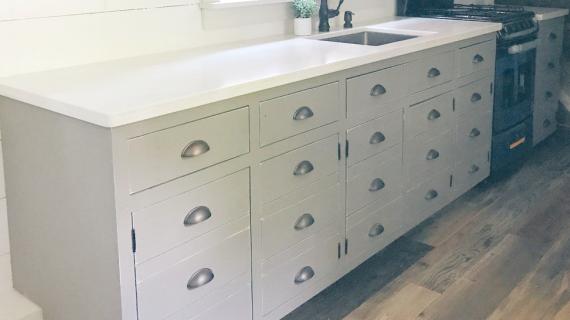
Doors could be a challenge if you do them differently - not so much the style, but how they are sized and installed. Townhouse style is suitable for inset door cabinets (where the cabinet door sits inside the face frame), if you want to try overlay doors you will need to use 1x3s between the doors to give enough room for hinges and overlays OR you could shim the insides of the cabinet where the face frame overhangs and just use euro style frameless hinges.
This is my preference for long runs of cabinets for sure!
Ana
niagra19
Thu, 12/10/2015 - 12:04
Counters
Are your counters stained in Special Walnut? They look amazing!
In reply to Counters by niagra19
Ana White
Thu, 12/10/2015 - 21:40
Countertops
Hi! I'll do a post soon on the countertops. They are actually stained Early American on spruce. This wood took the stain much darker than we were expecting, usually Early American is lighter. Thanks for reading! Ana
niagra19
Thu, 12/10/2015 - 12:37
Counters
Did you use Special Walnut stain on the counters? They are beautiful!
dananryan
Thu, 12/10/2015 - 19:15
Beautiful and practical!
I absolutely love the cabinet and it looks perfect in your space. There's a niche in my small kitchen that would be perfect for this build. Is there any drawback to building the cabinet townhouse style rather than detached single family?
Can't wait for your show to air! Thanks for being so generous and sharing your plans.
In reply to Beautiful and practical! by dananryan
Ana White
Thu, 12/10/2015 - 21:41
Share a pic when you get the
Share a pic when you get the niche cabinet done! Thanks for the support for the show! Ana
handmadewithash
Fri, 12/11/2015 - 19:21
wow Ana! I love this cabinets
wow Ana! I love this cabinets. They're gorgeous. You seriously have me wanting to remodel my kitchen and DIY the cabinets :) I really love the look the 1/8 gap give the doors.
mlmatteson
Fri, 02/12/2016 - 08:57
apothecary style cabinets
How did you secure the two bottoms of the cabinet divider, and what is Townhouse style ?
LauraArnold
Tue, 03/01/2016 - 11:13
Height of face frame
I was working on my buy and cut list to tackle these cabinets for my coffee station this weekend and had a question on the height. In step one you cut the carcass to 31 inches then in step three you cut the face frame to 30.5 inches the 30.5 seems to get me the right spacing for the drawers and doors but not sure what happened to the other 1/2 inch from step one. Please help. I think for the face frame to be 30.5 I want the sides of the carcass cut at 30.5 and any interior supports at 29.75.
mrscarpenter
Thu, 03/03/2016 - 06:02
Hope this helps
:-)
The other .5 inch went into the spaces between the drawers and doors... about 1/8 of an inch in each gap.
LisaSBarnard
Fri, 07/29/2016 - 02:37
Great work
Hey that is some good work. That is something innovative and easy to make as well. A few days back a friend of mine got his kitchen renovated from a contractor. He wanted to have a custom design for his kitchen so he looked for that sevice and he found a great site which provided him what he wanted and the contractor did some good work. He was complimenting their work.
Calmly
Wed, 03/15/2017 - 08:40
Mobile home
Can these cabinets be done in a mobile home. If so, should 3/4 be used or 5/8