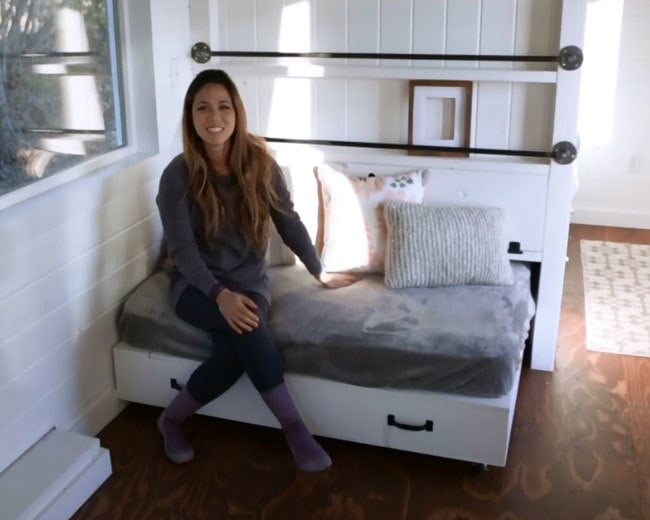
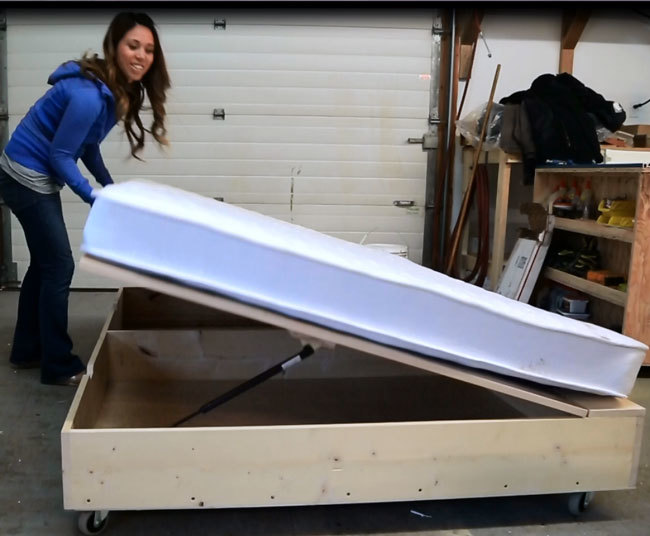
DIY a storage bed that lifts for lots of storage. Free plans by ANA-WHITE.com
Dimensions
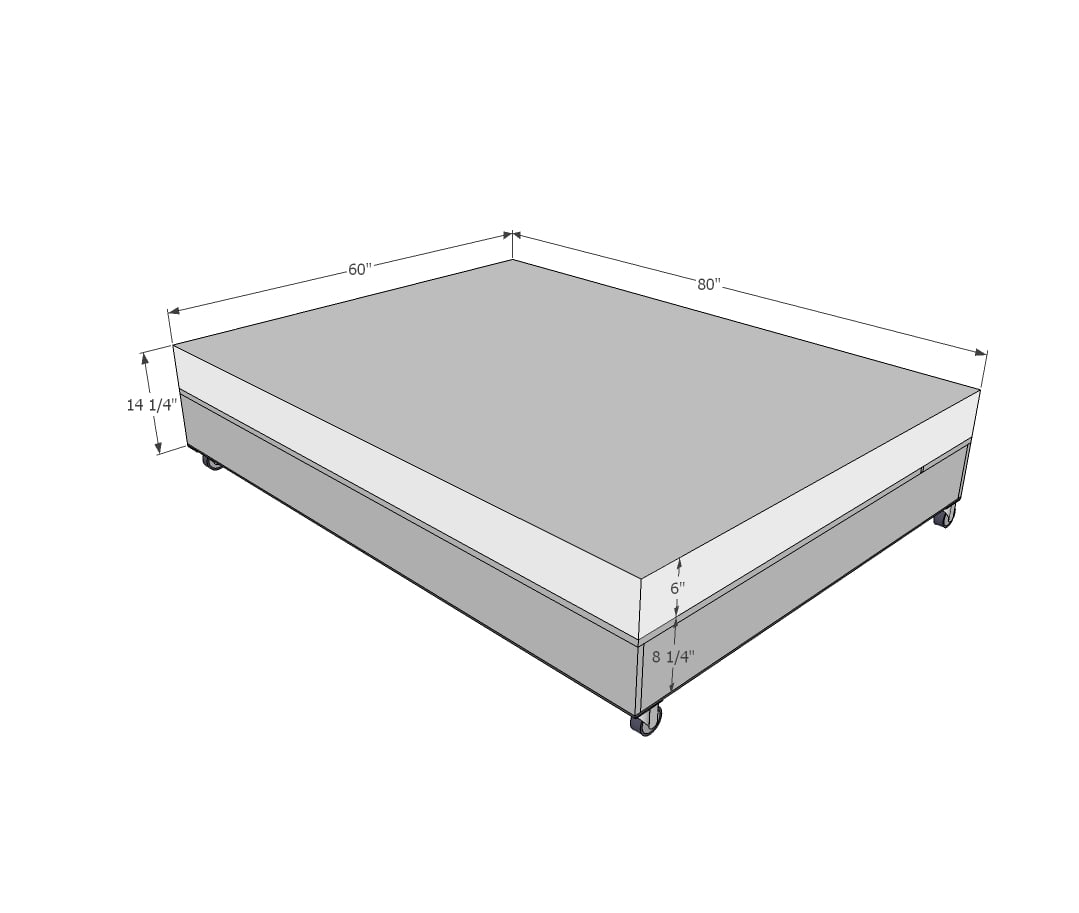
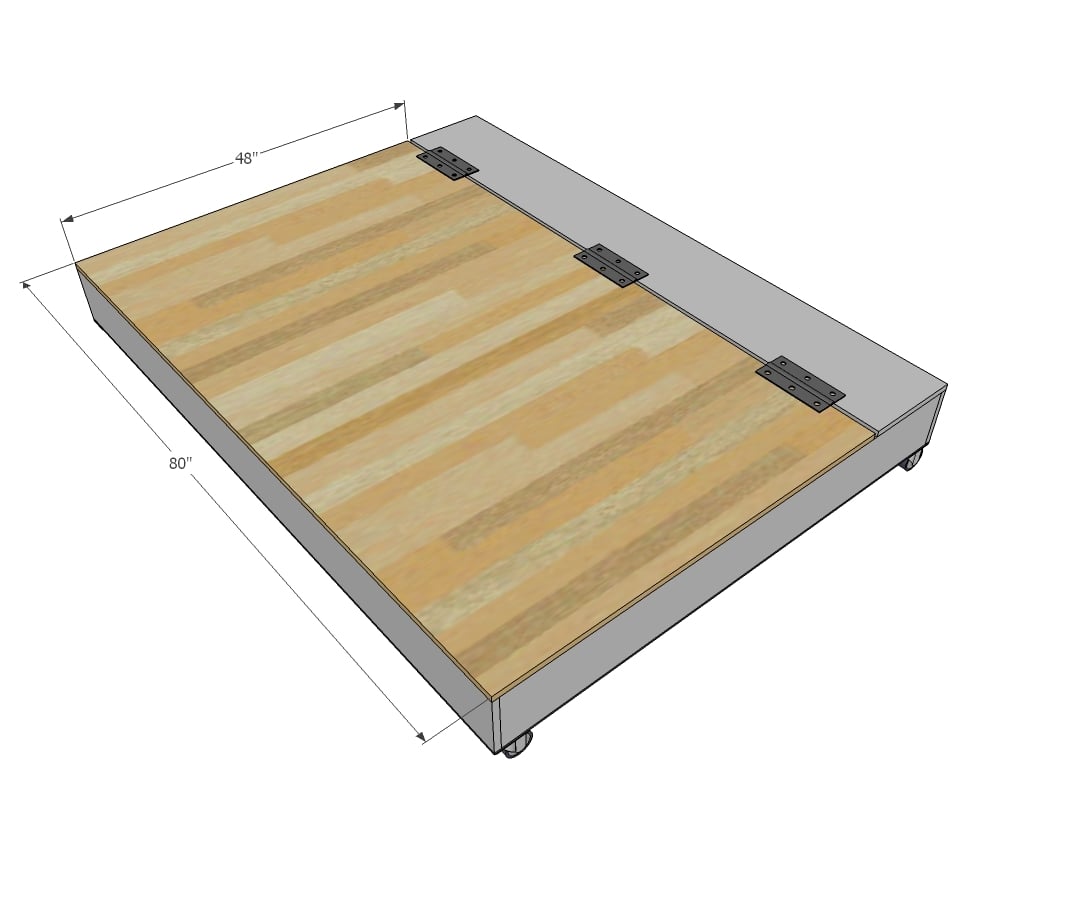
Queen sized, 18" height is standard seating height.
Preparation
Shopping List
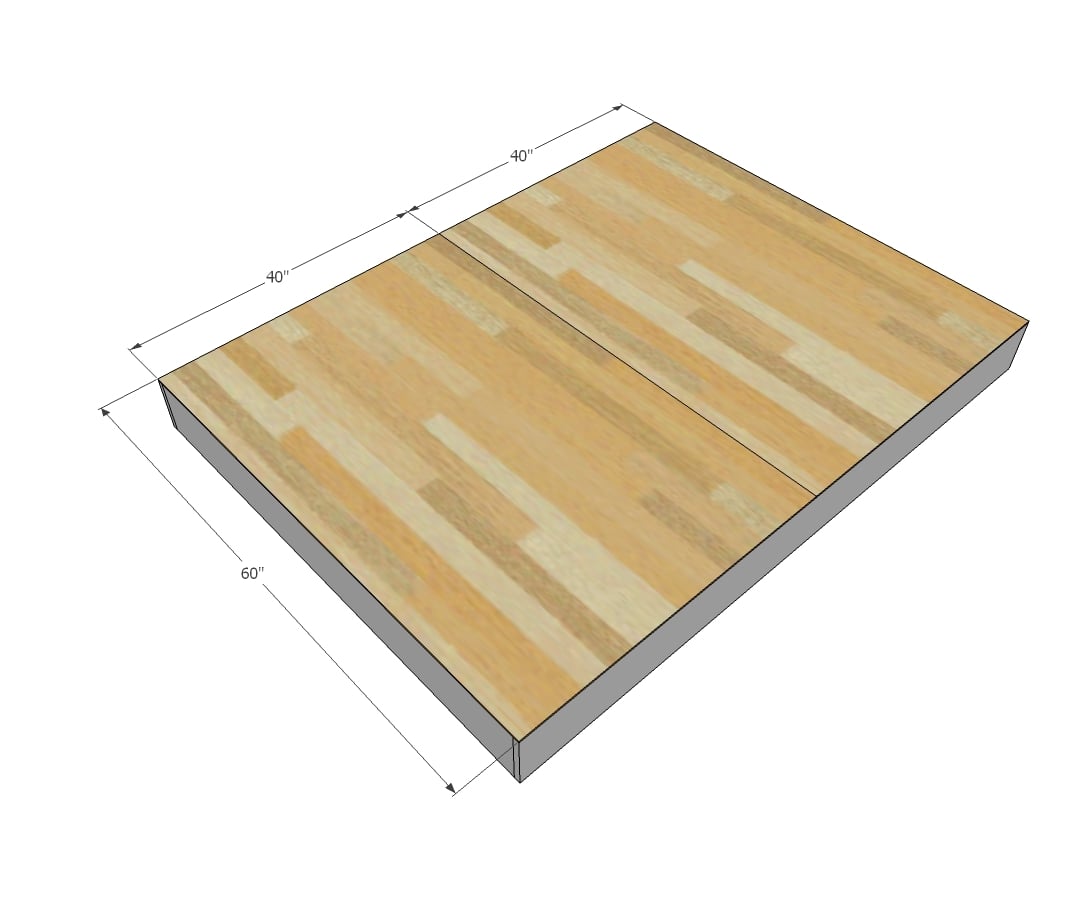
- 2 - 4x8 sheets 1/4" plywood for the bottoms
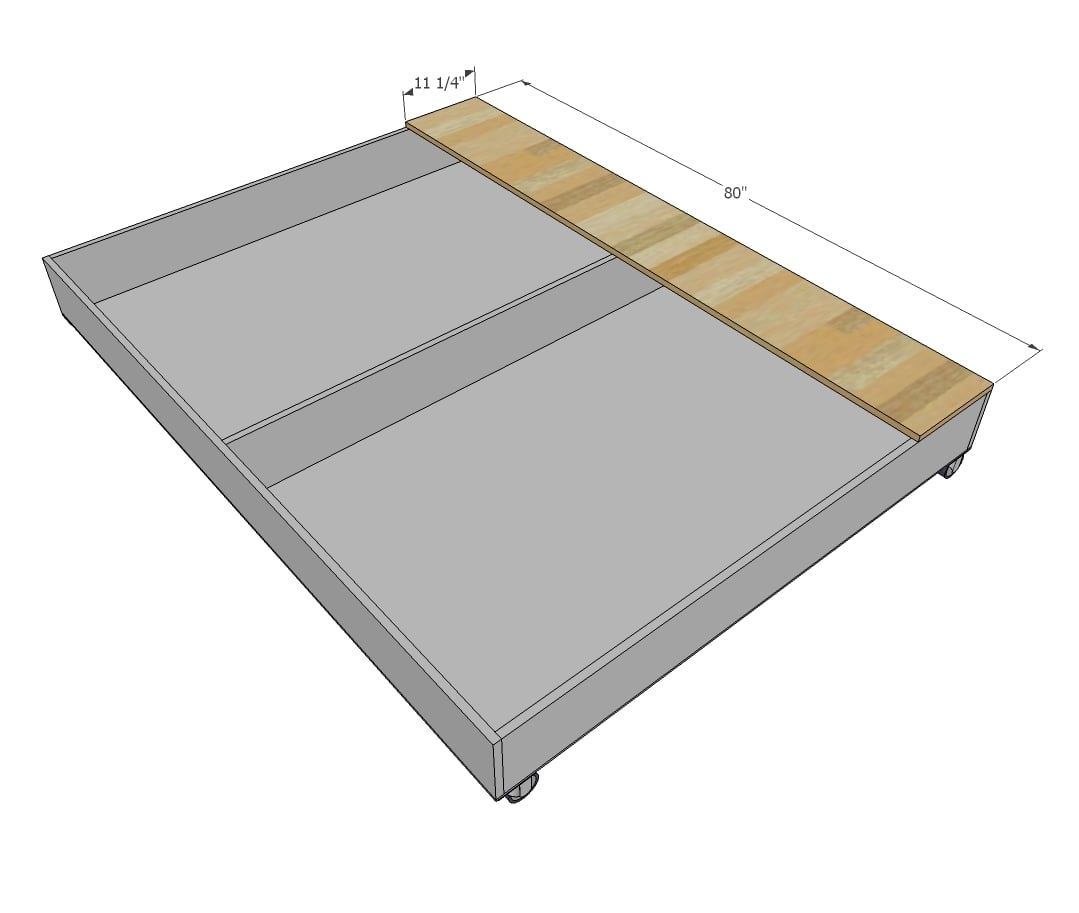
- 1 - 4x8 sheet 3/4" plywood
- 1 - 1x12 @ 8 feet long
- 2 - 1x8 @ 8 feet long
- 3 - 1x8 @ 6 feet long
- 2 - 2x4 @ 8 feet long
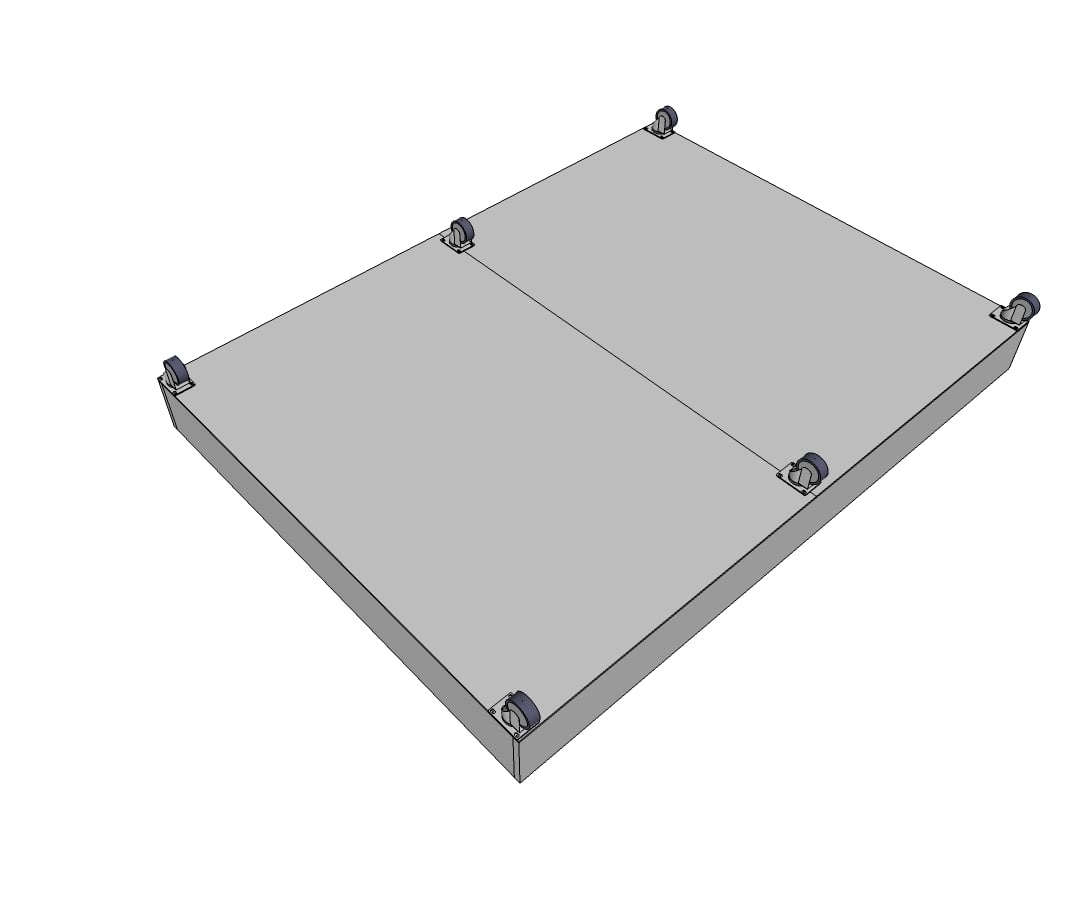
- 6 - 2-1/2" caster wheels (we did three swivels and two locking)
- 3 - large heavy duty hinges
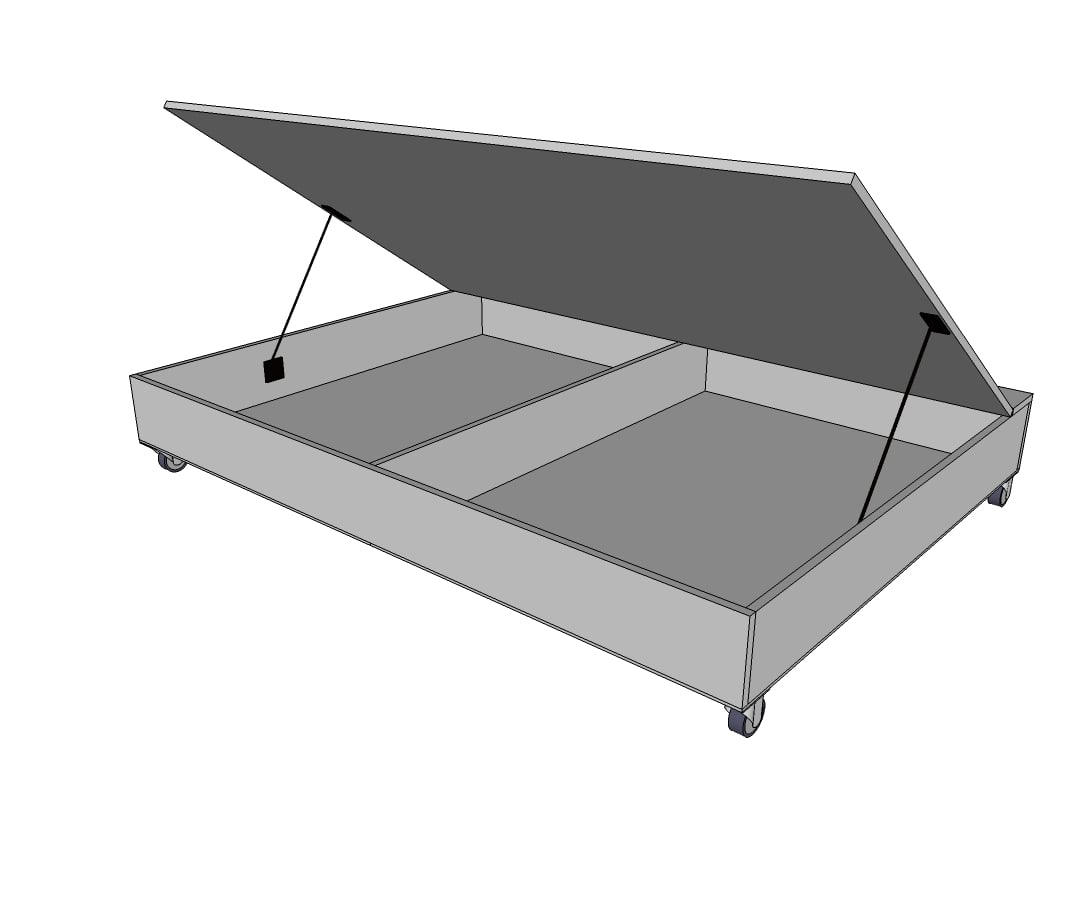
- Bed lift kit suitable for queen size mattress (we used this kit for a full size)
- Edge banding for finishing plywood edges
Common Materials
3/4 inch finish nails
1 1/4 inch finish nails
Cut List
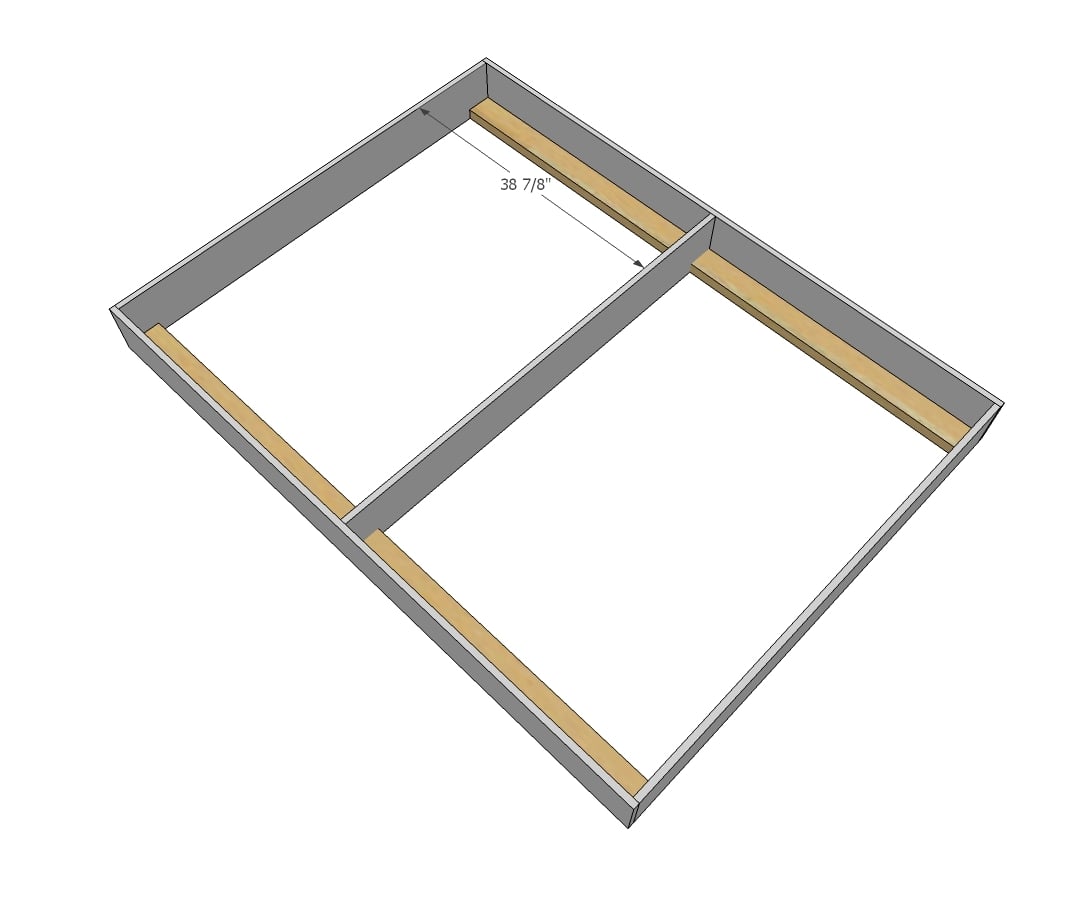
3 - 1x8 @ 58-1/2" 2 - 1x8 @ 80" 4 - 2x4 @ 38-7/8" 2 - 1/4" plywood @ 40" x 60" 1 - 1x12 @ 80" 1 - 3/4" plywood @ 48" x 80"
Instructions
Step 1
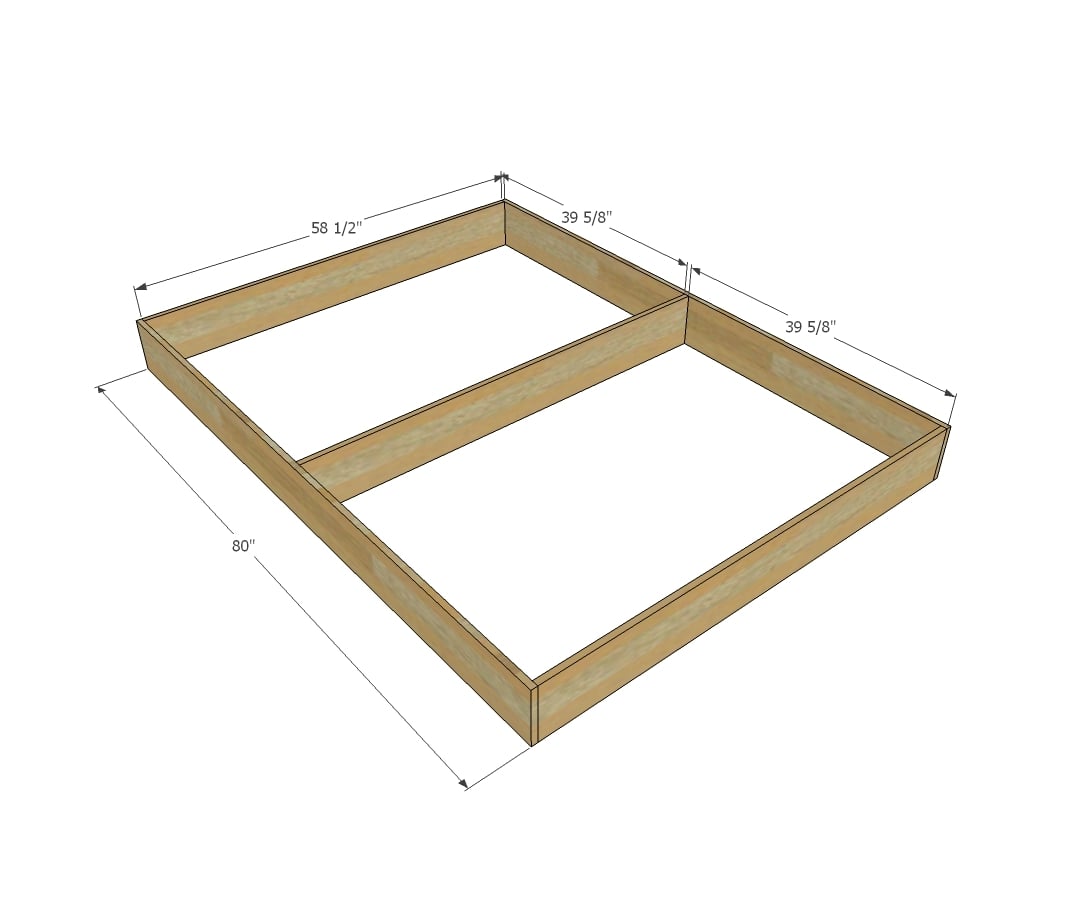
Build the basic frame of the bed with 1x8s. We used 1x8s to get the seating height, but for a taller bed (and more storage) you could go up in board width size (ie 1x10 or 1x12).
We used 3/4" pocket holes and 1-1/4" pocket holes for joints, but you could use wood screws or even 1-1/4" nails and glue since all joints will be reinforced.
Step 2
Step 3
Step 4
Step 6
Project Type
Room





Comments
mollywiechmann
Fri, 01/12/2018 - 07:47
Full size?
Do you have cut sizes for the full size bed?
Freehubby2015
Sun, 05/05/2019 - 22:16
Can we please get plans for…
Can we please get plans for the Lift Up Storage Bed in a King size?
Thyri
Fri, 06/21/2019 - 23:30
Broken link and idea for a knockoff project :)
FYI, the link for the lift is broken.
I'd like to see what you'd do to create something like this: http://www.diellemodus.it/camere/progetti_camere/progetto_14_letto_cont… . This article shows the same bed with the lifts holding up the mattress:
https://www.housebeautiful.com/lifestyle/organizing-tips/a4606/the-supe…