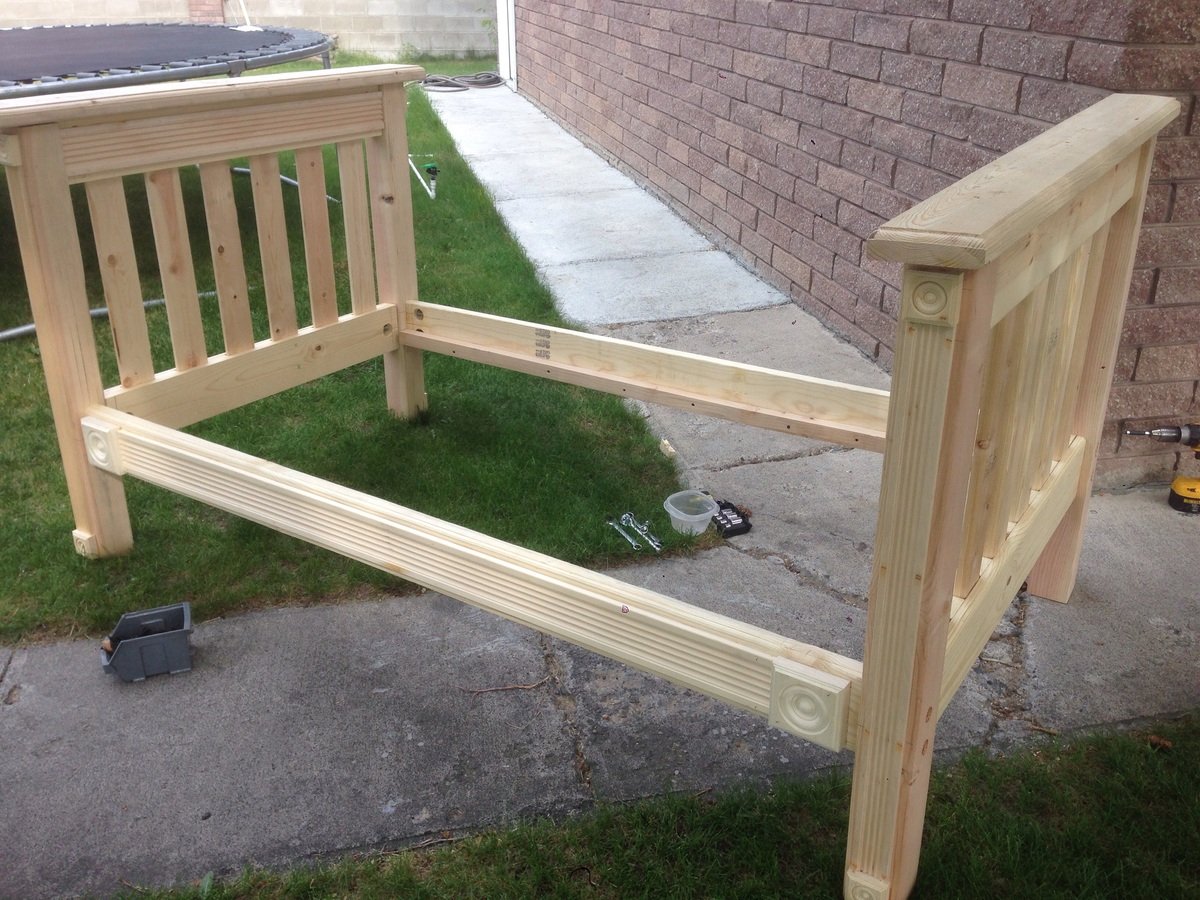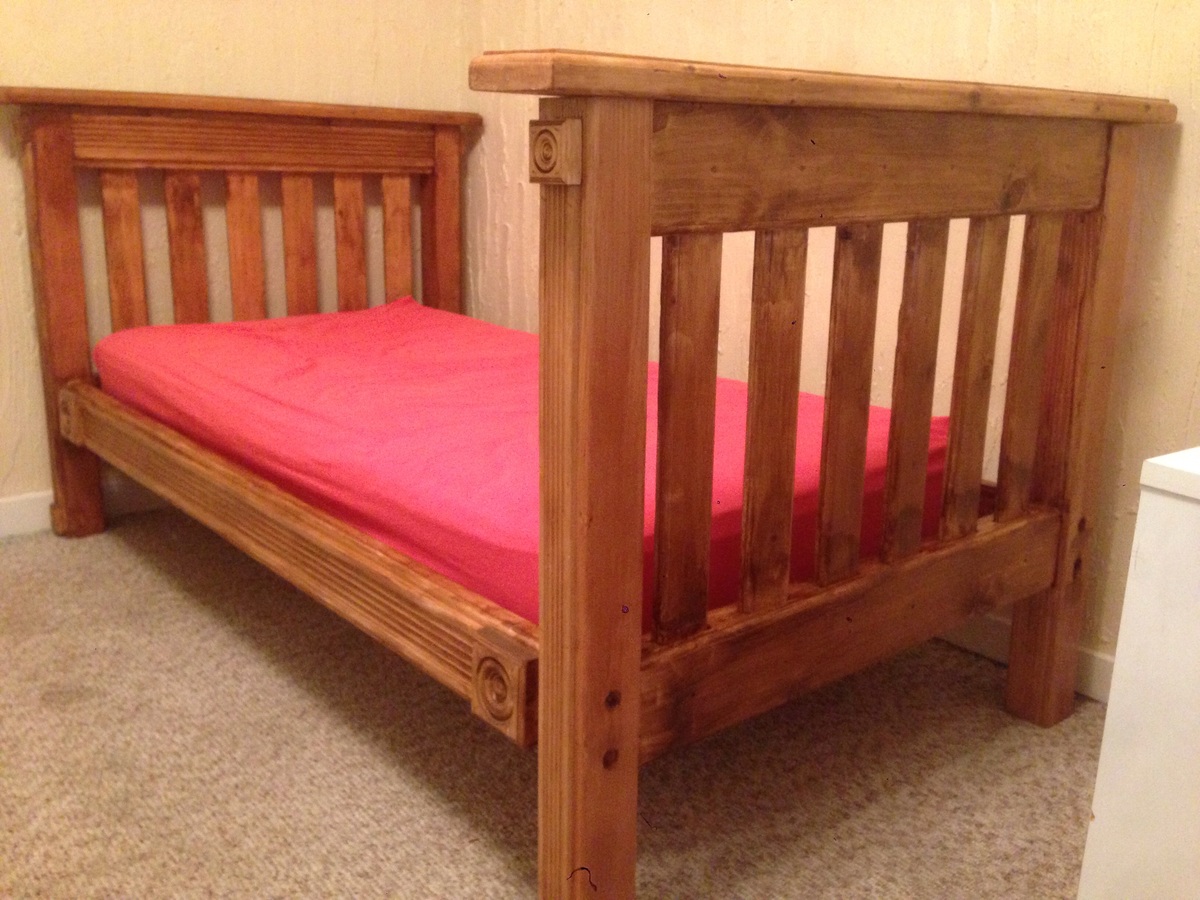
This was a pretty easy build. This was my first project and this looked like a pretty straightforward plan. I read over it several times before deciding what to do. I didn't like that it was held together using only screws. I anticipated that these beds will be moved several times over their lifetime and I did want to hassle with the screws stripping out the wood. Instead I used a 3/8 bolt and washer/nut set up so I could take the bed apart without worrying about stripping out the wood with screws. This necessitated drilling several large unsightly holes at the connection points. To help disguise this I trimmed it out using door casing and finished it out by staining the whole bed. The result was a classic look that will last my daughter's lifetime.
I will note that I changed a few parameters. I routed and the edges including the slats with a rounded corner edge. I used a 2x6 for the top cap of the head/footboards. With the addition of the trim work and bolt hardware, this did change the overall cost of the project. Total cost was probably close to $200. Had I stuck strictly to the plans I would have been closer to $100.


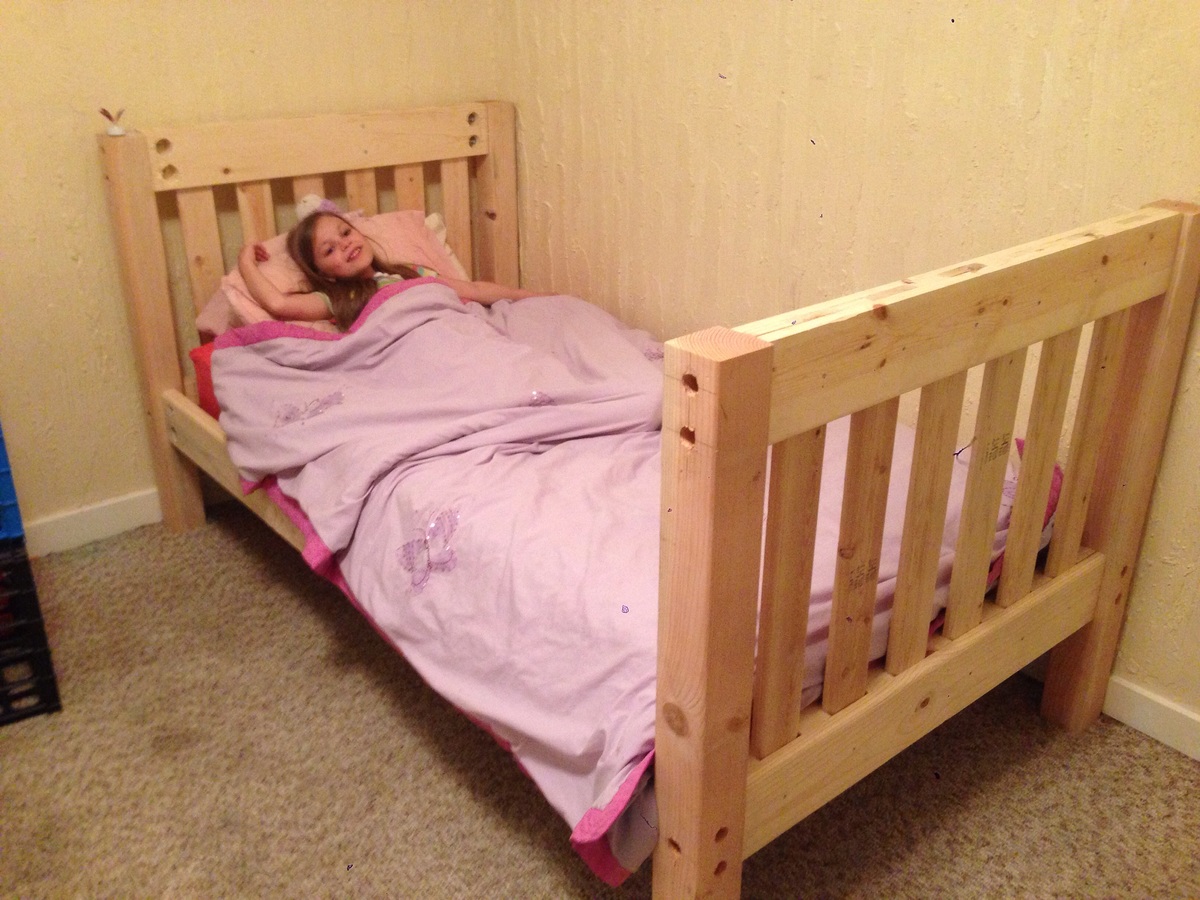
To make the bed I made, I made two headboards (in anticipation of making a bunk bed). Instead of using screws to hold the bed together I used a 3/8 4" bolt and nut combo. 4 bolts to hold the 4x4 posts to the head/footboard and 8 (2 on each end) to hold the side rails. I countersunk the bolts into the posts to hide the bolt head. I drilled 1 1/2 inch holes on the inside of the side rails and headboards to access the bolts and attache a washer and nut. Once tightened,the bolts holding the posts to the headboard will never have to come apart. Only the bolts for the rails have to be left accessible to take the bed apart for moving. However I was then left with huge unsightly holes in the outsides of the side rails and the insides of the head/footboards. I was going to leave it thinking it wouldn't look that bad but after assembling the bed I realized how unfinished it would look. That is when I decided to add the trim work which not only really made the bed look finished it hid all holes I had to drill. I did leave the holes in the backs of the posts uncovered since access to them is needed for assembly and dis-assembly.
Dimensions for the holes were calculated based on using the 1x6's in the headboard and the 2x6's in the side rails. If you want exact dimensions I can give you those. Just email me, however it was simple enough to figure out where to place them. The trickiest part is getting the holes drilled in the posts to line up with the headboards and rails.