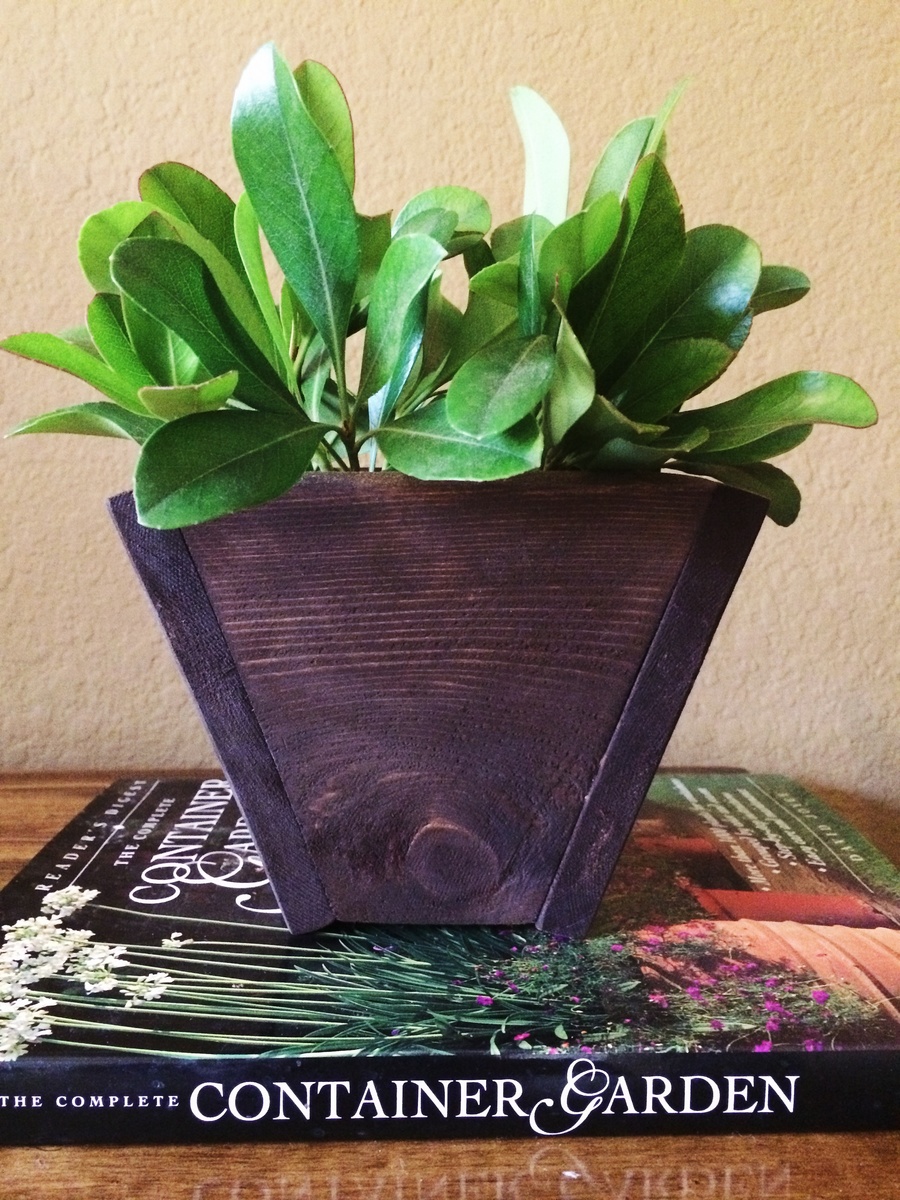
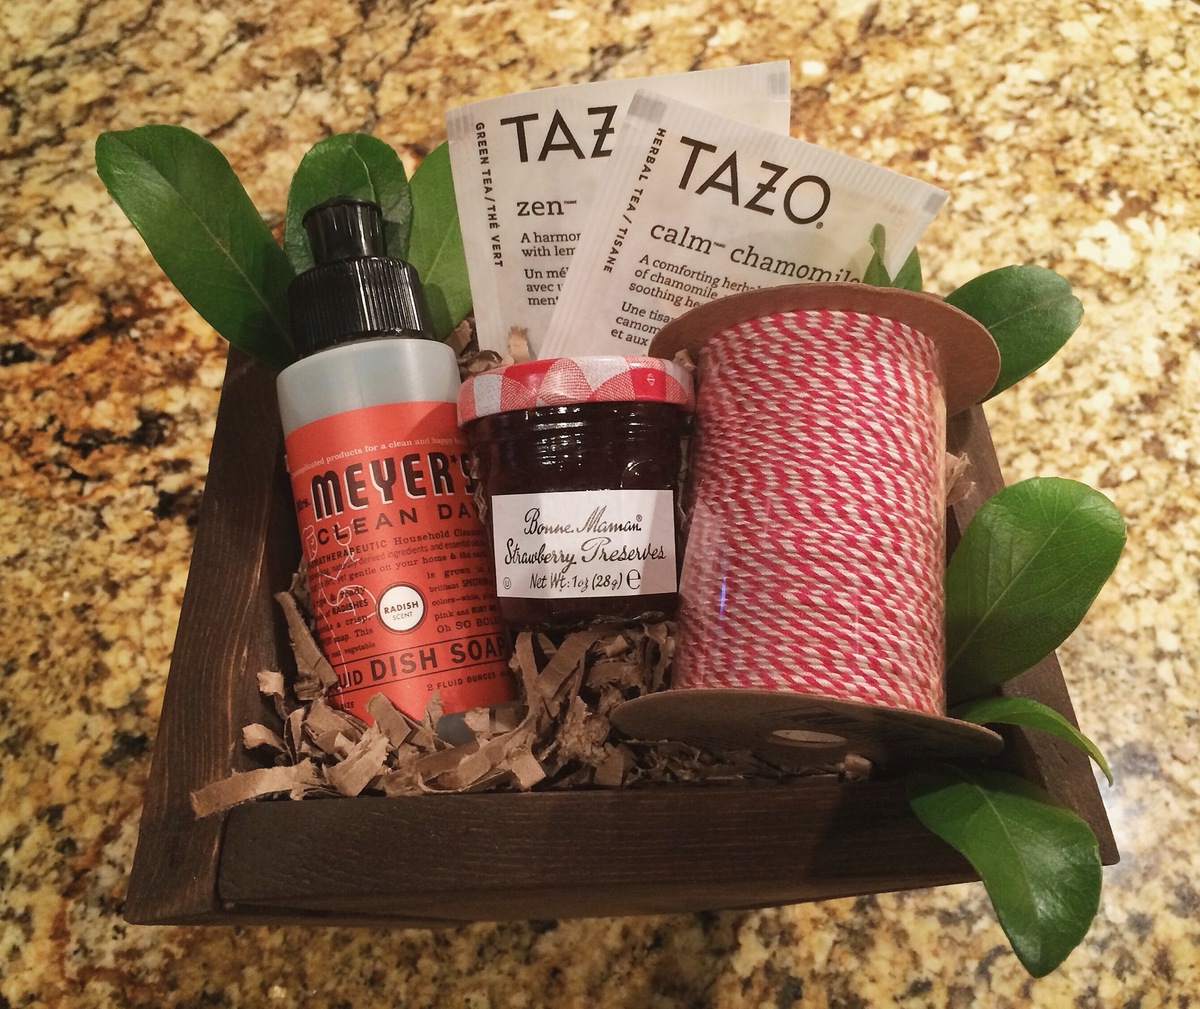
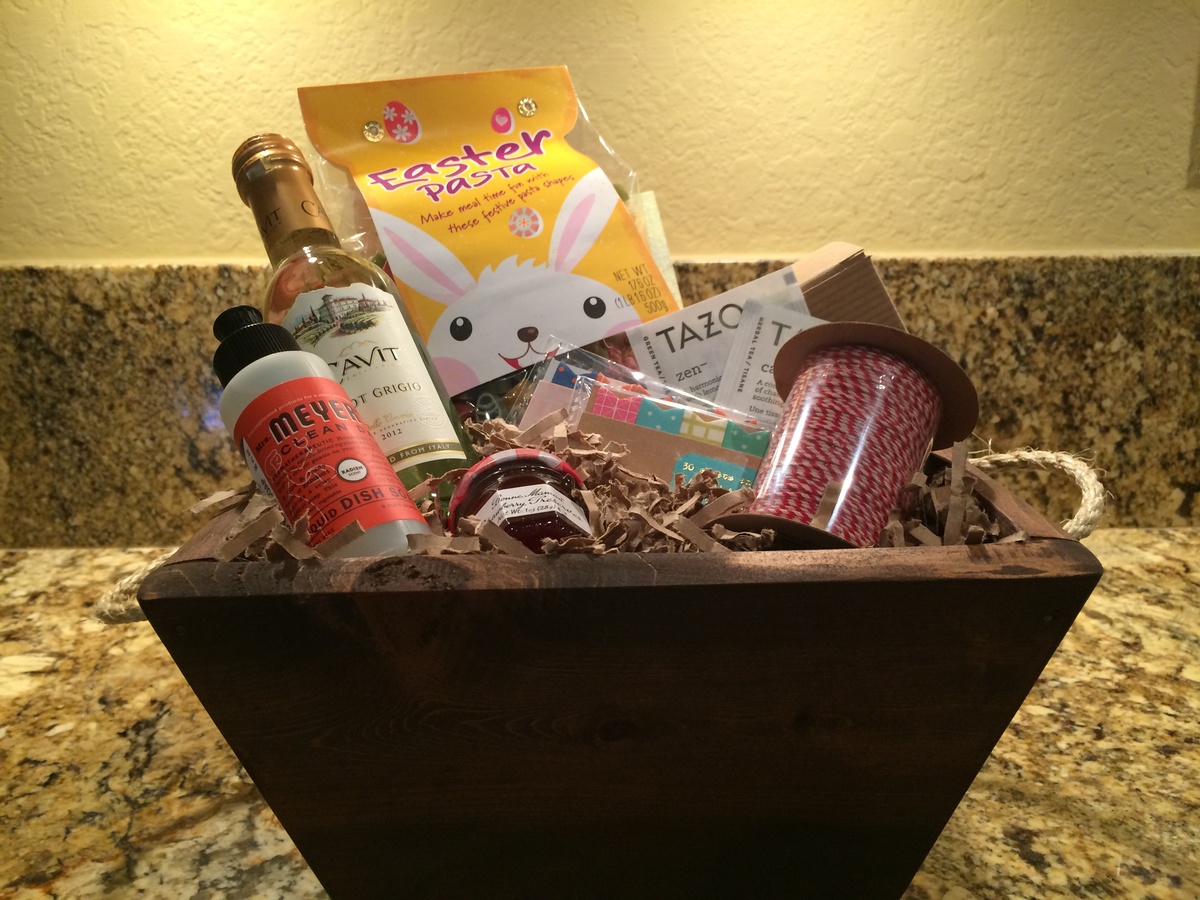
This was a super fun and simple project, and the planters can be used for anything!! Thank you Ana! I followed Ana's plans and used mine as an Easter Basket gift that could then be used as a planter. I also modified the plans to be the size I wanted for a smaller planter that I also gifted as an Easter Basket. I believe I made the smaller one measuring each side out to be 2 or 3 inches. Next, I measured the bottom opening and made a custom fitting removable piece for it. Like Ana mentions, I also did not attach the bottom piece as it already allows some room for drainage and simplicity for changing out soils. To attach the pieces together, it was not as quick of a project as it was for Ana because I currently don't own a nail gun. Owning one would definitely make this project a breeze! For the finish, I did sand the cedar posts with 80 grit as I didn't want anyone to get splinters (also because I was applying stain with a sponge and rough wood makes it sort of difficult). The stain is Rustoleum's Dark Walnut. I did not leave the stain on very long as the wood is very porous. This is one of my favorite projects thus far because it made gift giving and our Easter Baskets much more unique!
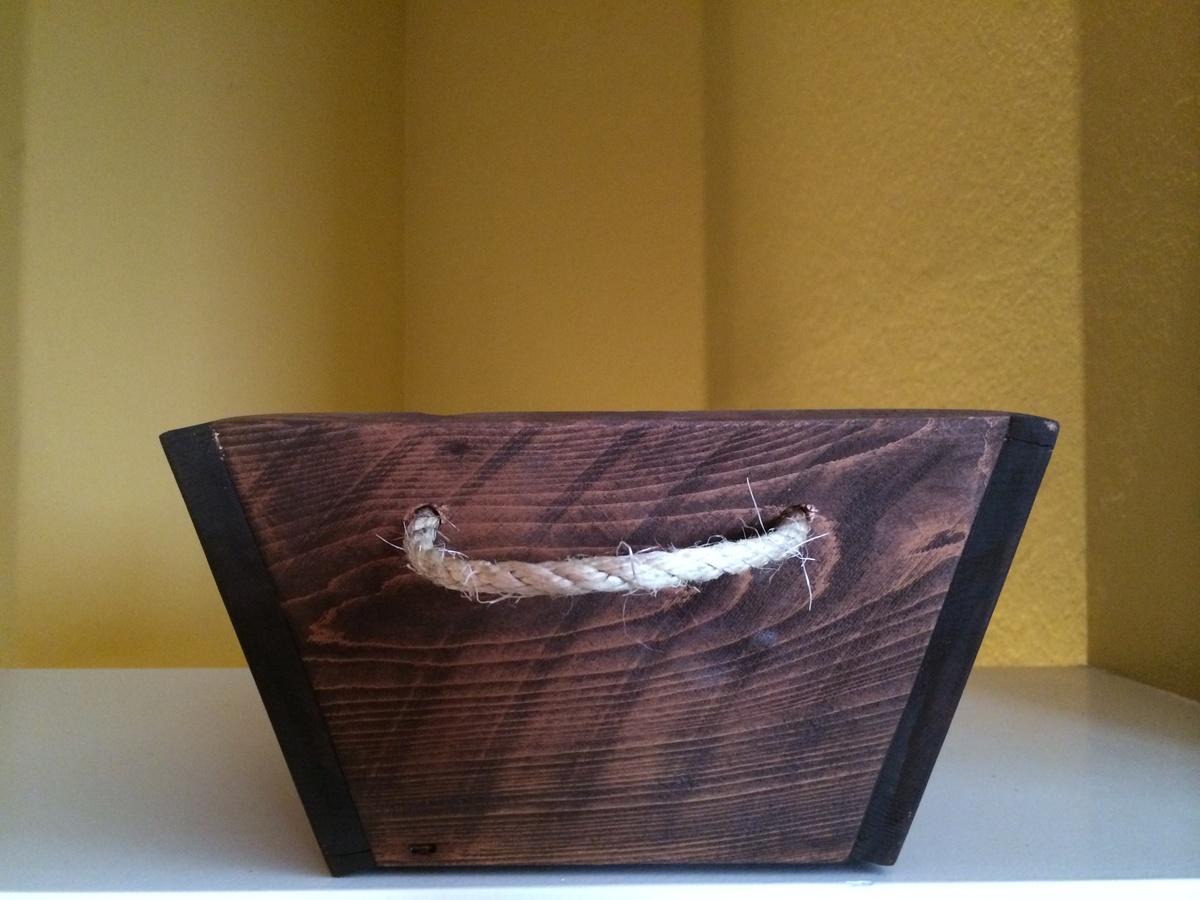
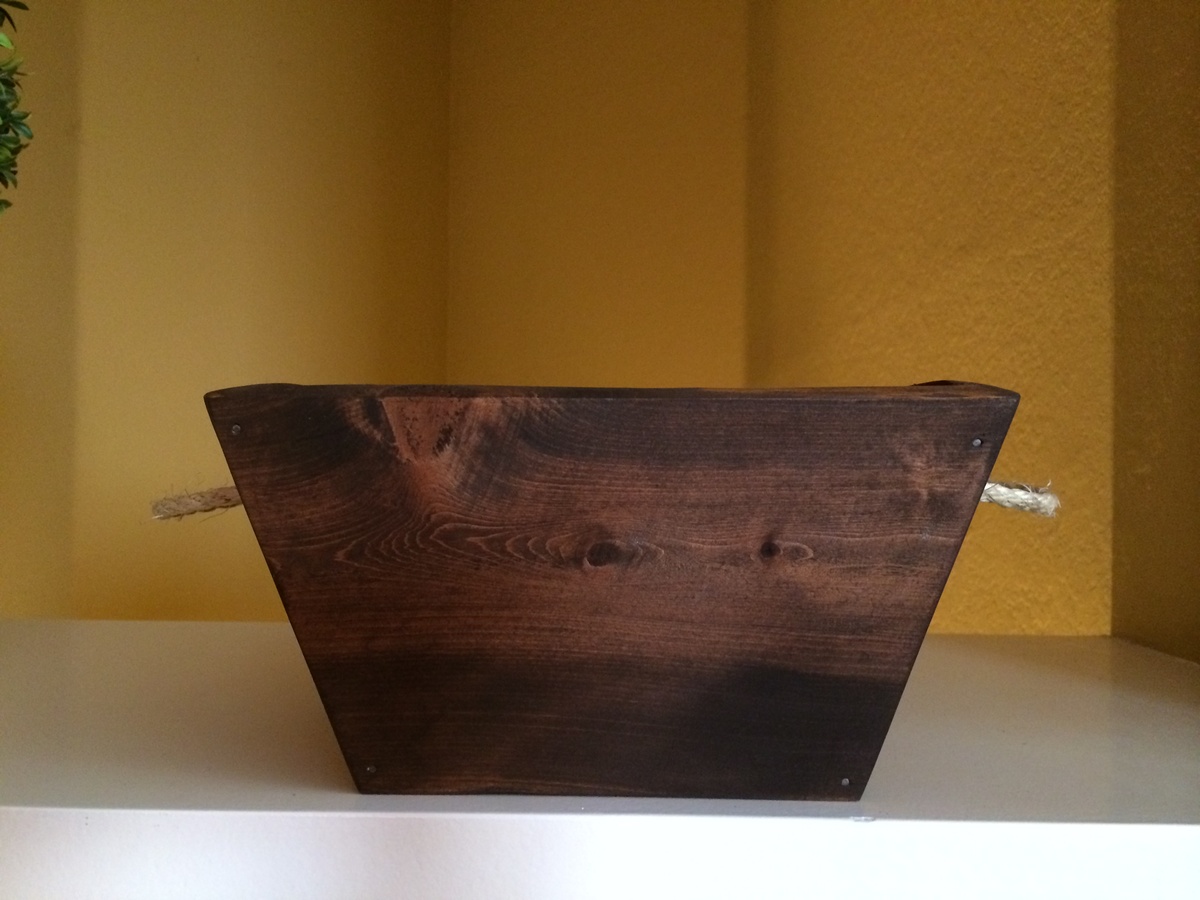
Rustoleum Dark Walnut