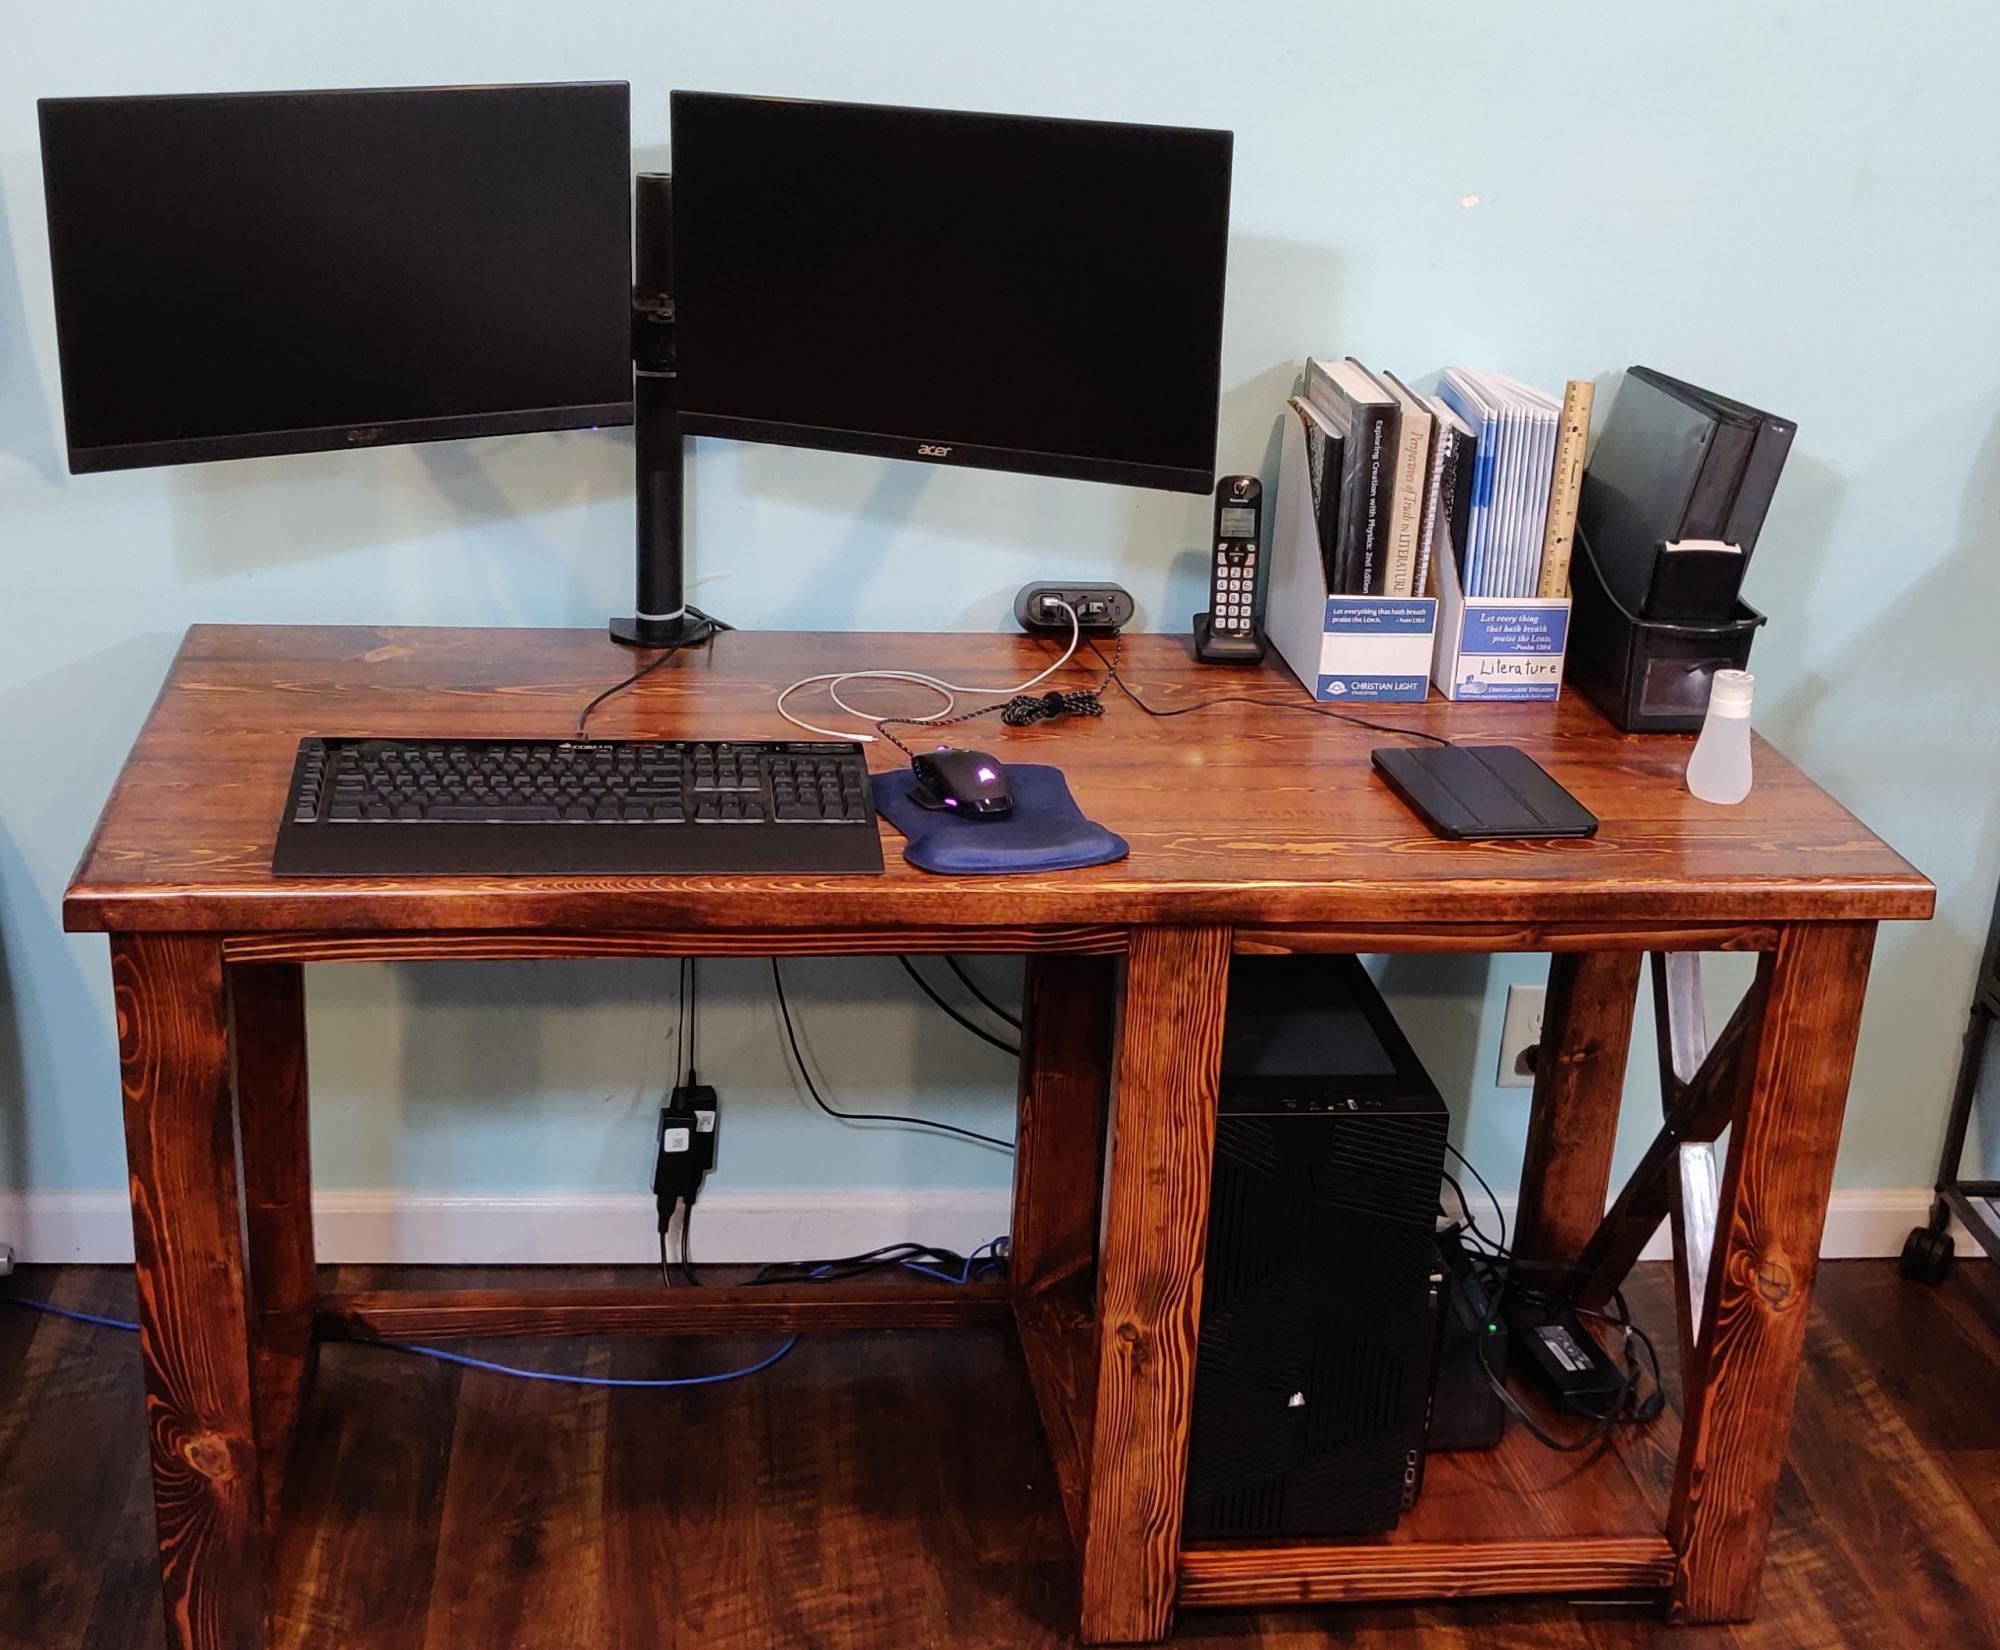
I built this iteration for my second son to give him a spacious workspace for his schoolwork, dual-enrollment activities, and for the occasional moments of kicking back and enjoying a bit of PC gaming.
We stained it with Minwax #215 Red Oak and used Minwax Satin polyurethane to finish ours.
I stuck to the Rustic X Desk plan for the most part and made the following modifications:
1) I used five 2x6 planks instead of four, to give it a 27.5-inch depth.
2) I used a 3/4-inch roundover bit to round off the tabletop to give it a smooth feel.
3) I left out the "middle" X, so my son could have easy access to the "guts" of his computer
4) I left out the middle shelf so my son could stow his PC tower "below deck"
5) Not really a modification; I used a 3/4" straight router bit to cut notches into the 2x2's used for the X detail so they would sort of lock together because I wasn't happy with the way the angles and all were coming out with the two half-leg parts of the X detail.
6) I hated the selection of furring strips at the local big box home improvement store and didn't want to travel all the way across town to see if the "lumber stores" had anything better, so I ended up milling my own on my table saw from cherry-picked 2x4 lumber. It was cheaper than buying the premium pine to boot, since a 2x4 would give me a pair of 2x2s and leftover 1/4x2 that I'll be able to run through a planer and turn into something useful. Not a modification, just more of a "if you're plagued with lousy selection, try this instead" idea.
7) Installed a Wiremold WMC220BK convenience 120V/USB power center to make it easy to plug in a desk lamp, charge a cell phone, etc. without making a cable mess. (https://smile.amazon.com/dp/B0768R2JDG)
8) Added felt pads under the feet to make it slide easily on wood/vinyl flooring
9) I set the bottom of the leg assemblies 1-1/2 inches above the floor instead of 3 inches, so our indentured robotic servant "Mo" won't get trapped underneath any of them. He isn't the sharpest tool in the shed but at least earns his keep. Mo is a late-model Roomba 675, if any are curious to know.
Between the "custom" milling and the fact that I should have run all this 2x4 and 2x6 through a planer to cut down on all the sanding and resurfacing needed, this ended up taking a lot longer than the initial couple weekends to build plus the staining and finishing time. I'm in the middle of building a second one of these with some slight modifications since the need/use case is a bit different. I'm also planning a third revision and build that will include some "geek-friendly" customizations, namely integrated cable management and will have two shelf bays instead of one, just half as wide (a single 1x10 on the left/bottom and another 1x10 on the right/bottom, with the seating area in the center). The third "generation" will be a Christmas present for a computer science student (who consequently also graduates at the end of this fall semester).