U-Shaped Banquette Bench with Storage
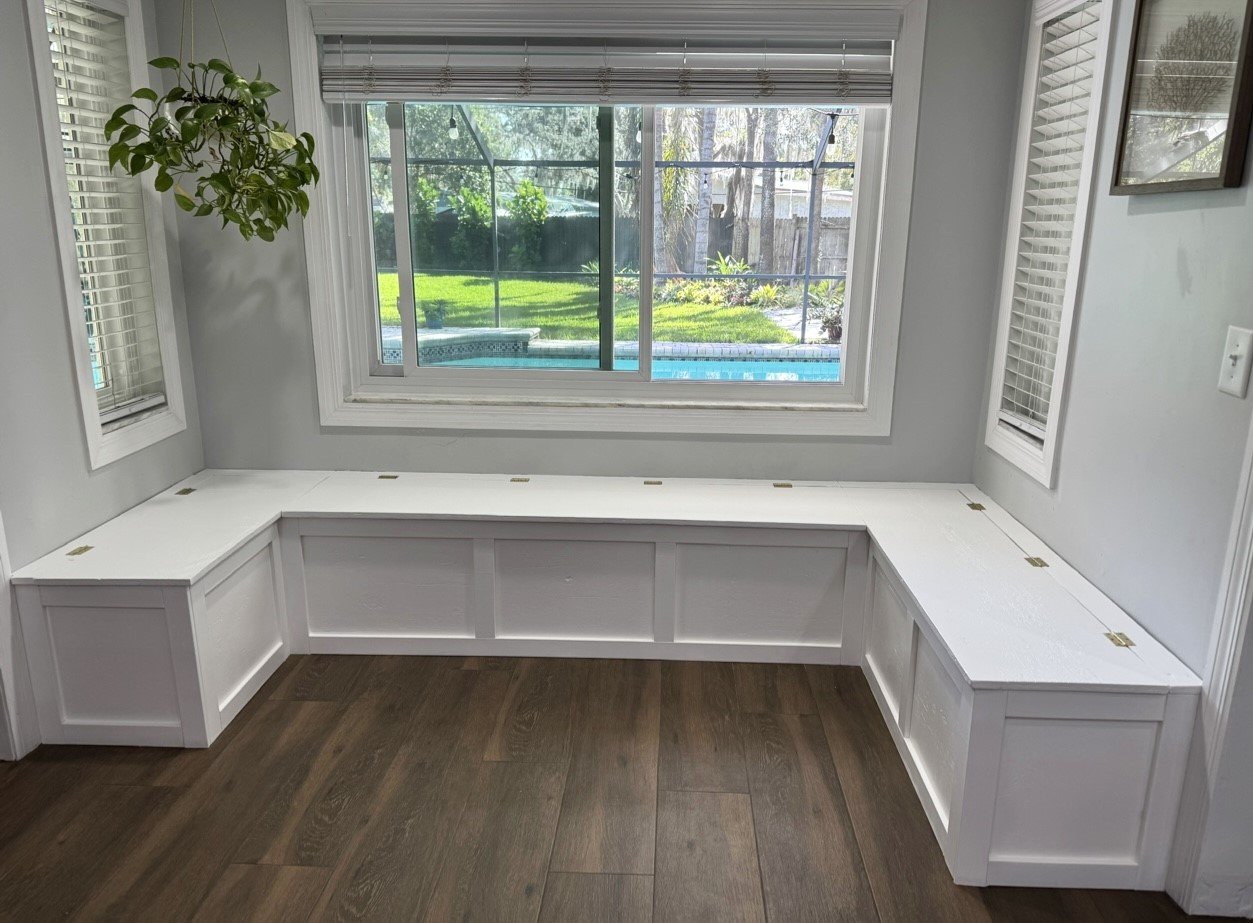
Hi! I just finished your bench plans! Omg it looks so good! Your plans are so easy to use. I am so pleased with the outcome! You have def inspired me! Especially for a beginner like me! - Andrea Eifel

Hi! I just finished your bench plans! Omg it looks so good! Your plans are so easy to use. I am so pleased with the outcome! You have def inspired me! Especially for a beginner like me! - Andrea Eifel
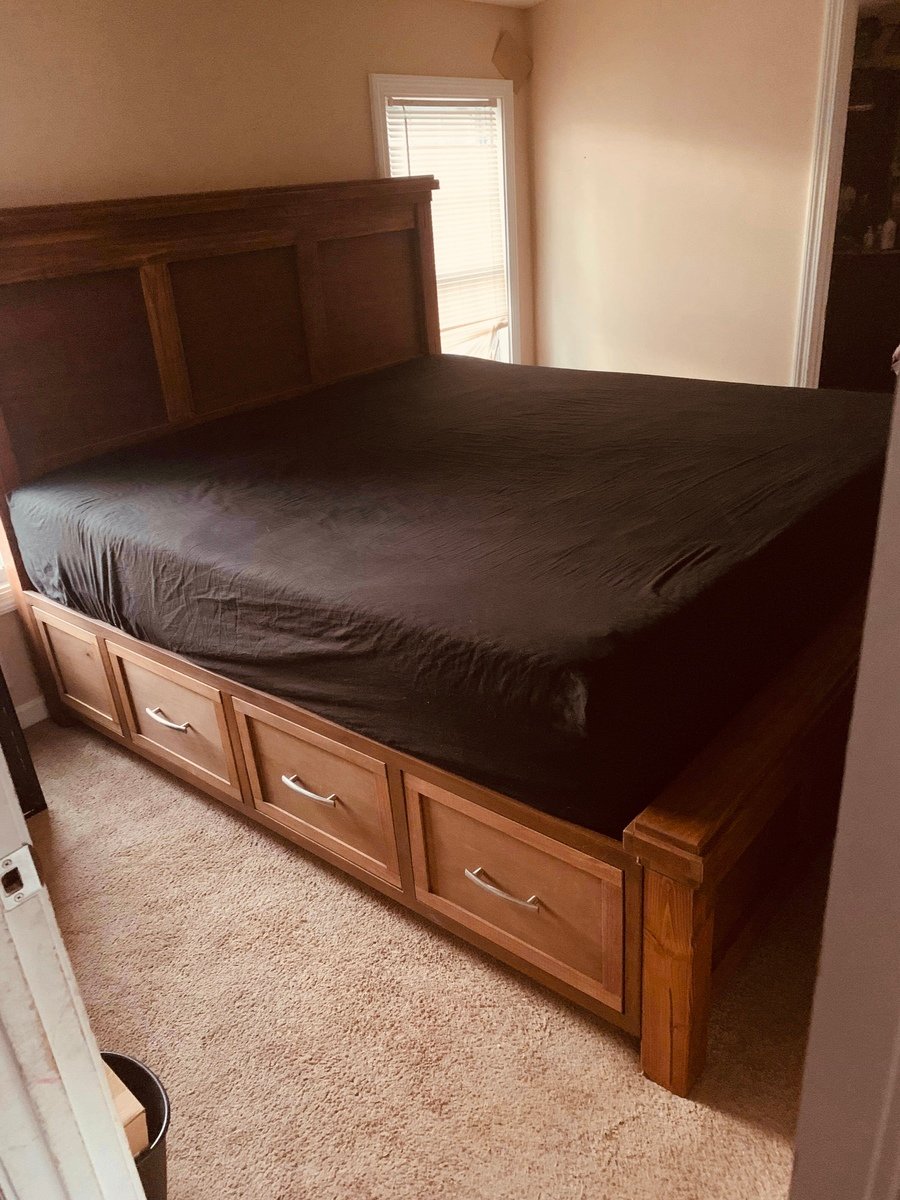
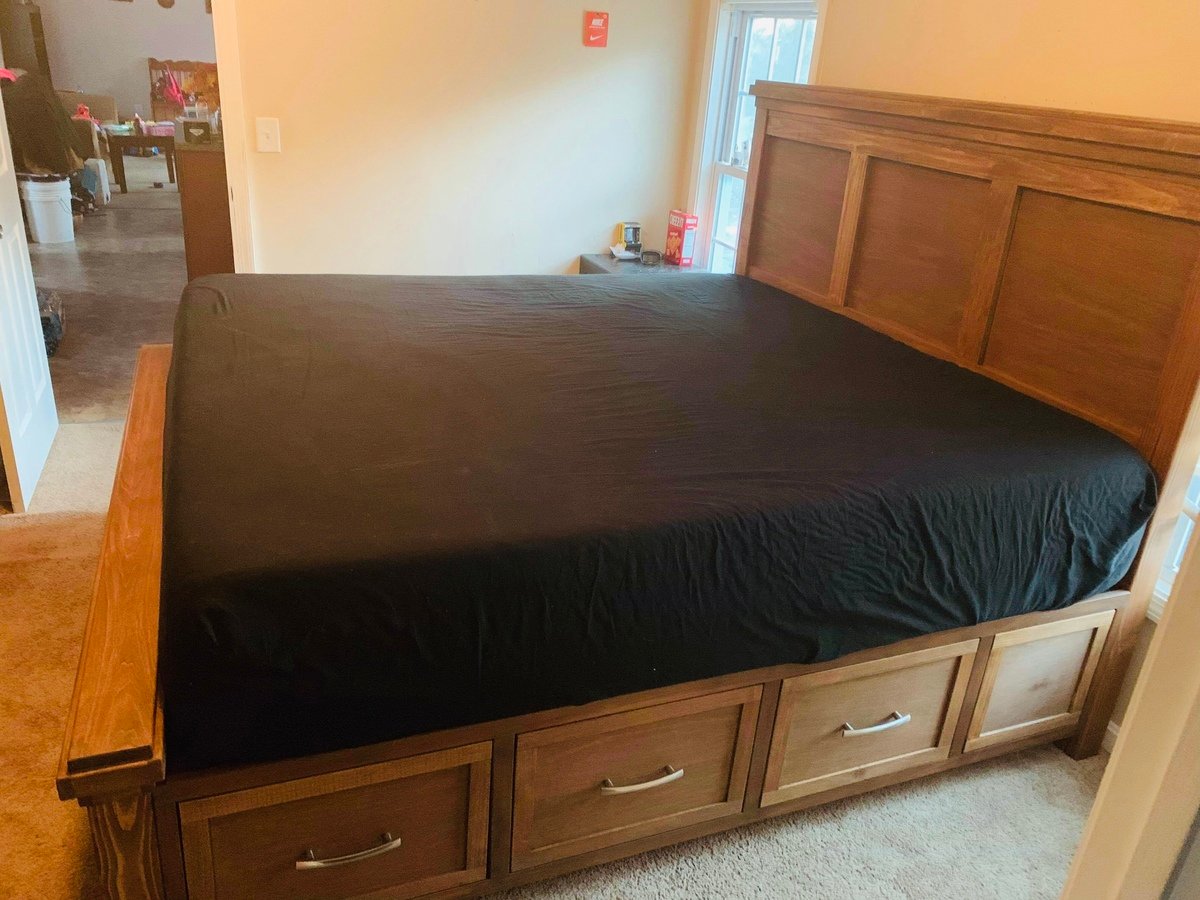
This bed was built using poplar, and pine wood. I used poplar for most of the stained pieces that are visible, and the stain is varathanes Early American. This is the fourth bed I’ve built with Ana’s Farmhouse Storage Bed plans, because it breaks down to four pieces, headboard, footboard and two side boxes, along with the drawers. This makes it easy to assemble on site.
Tue, 07/28/2020 - 14:33
I really like how you built this...I noticed you used the queen plans but made a king. Would you be able to share the changes you made to make this a king. I am still relatively new in my woodworking passion compared to your 25 years of experience. Thanks for sharing your end result...I would be open to pay for the updated plans if need be as I know your time and experience is valuable.
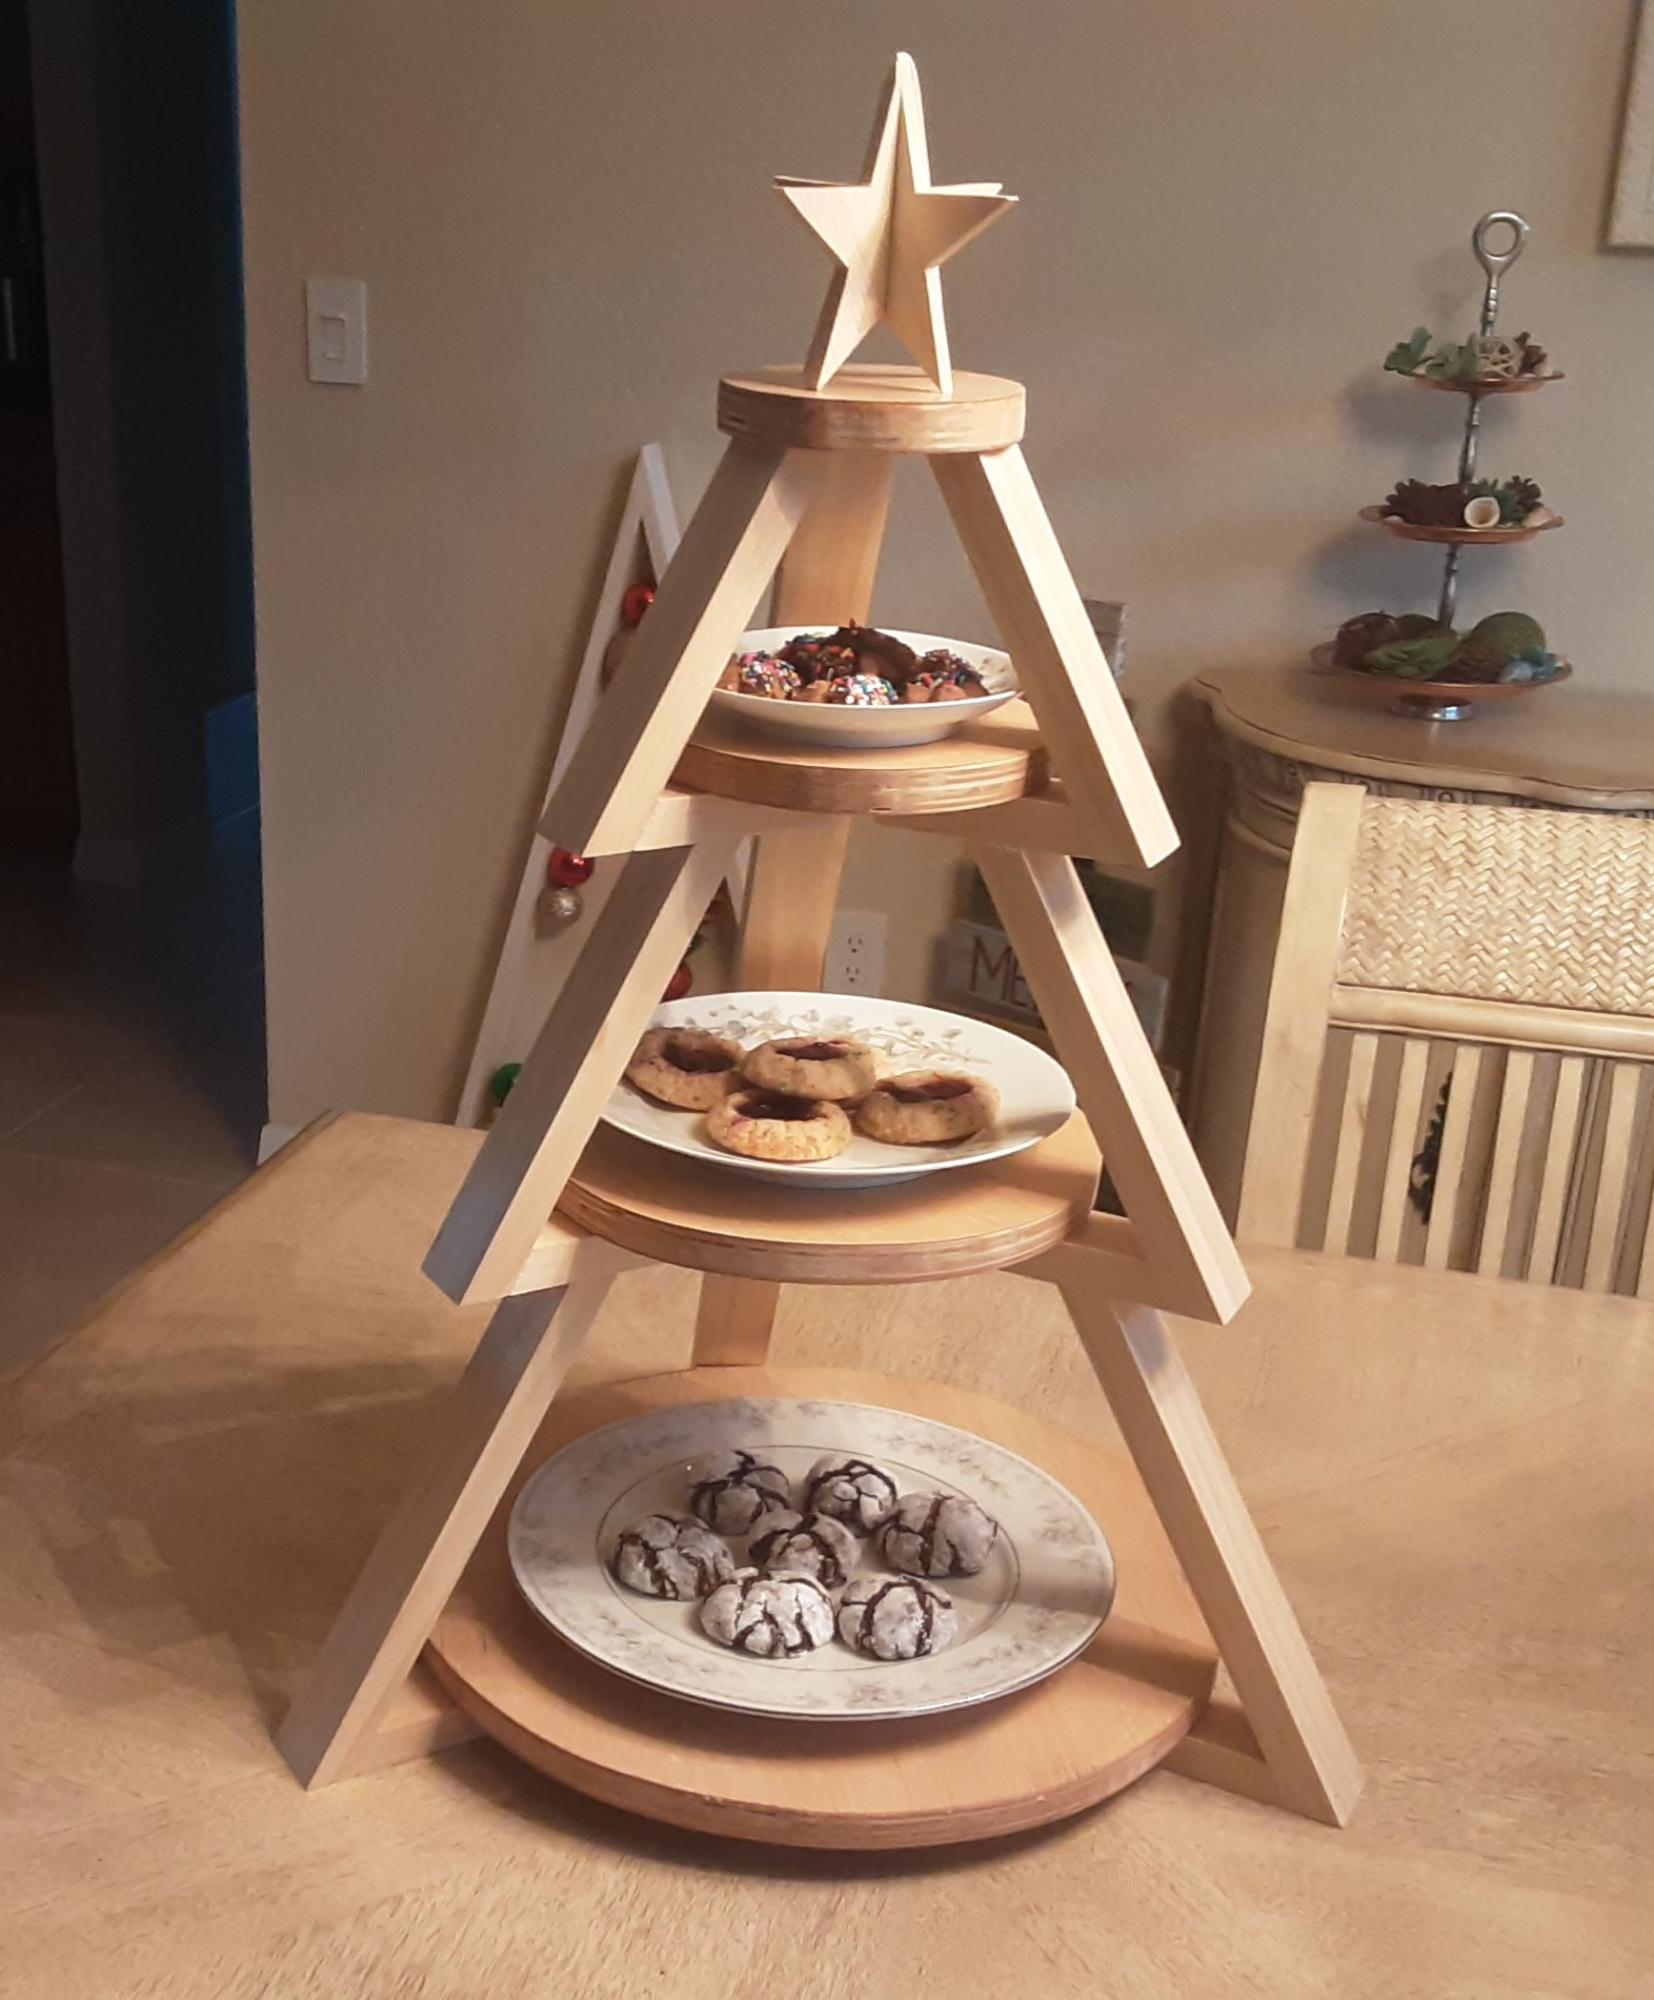
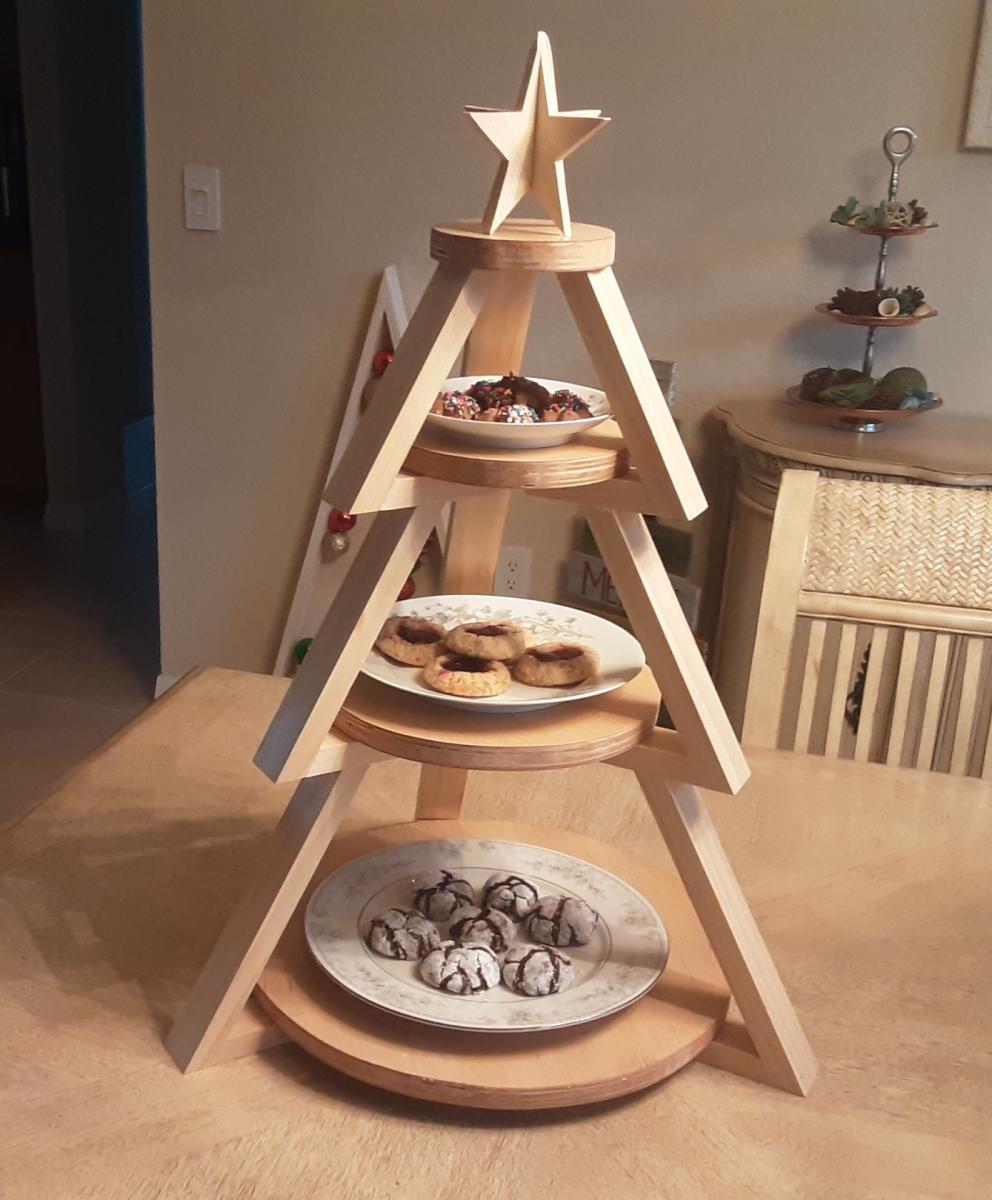
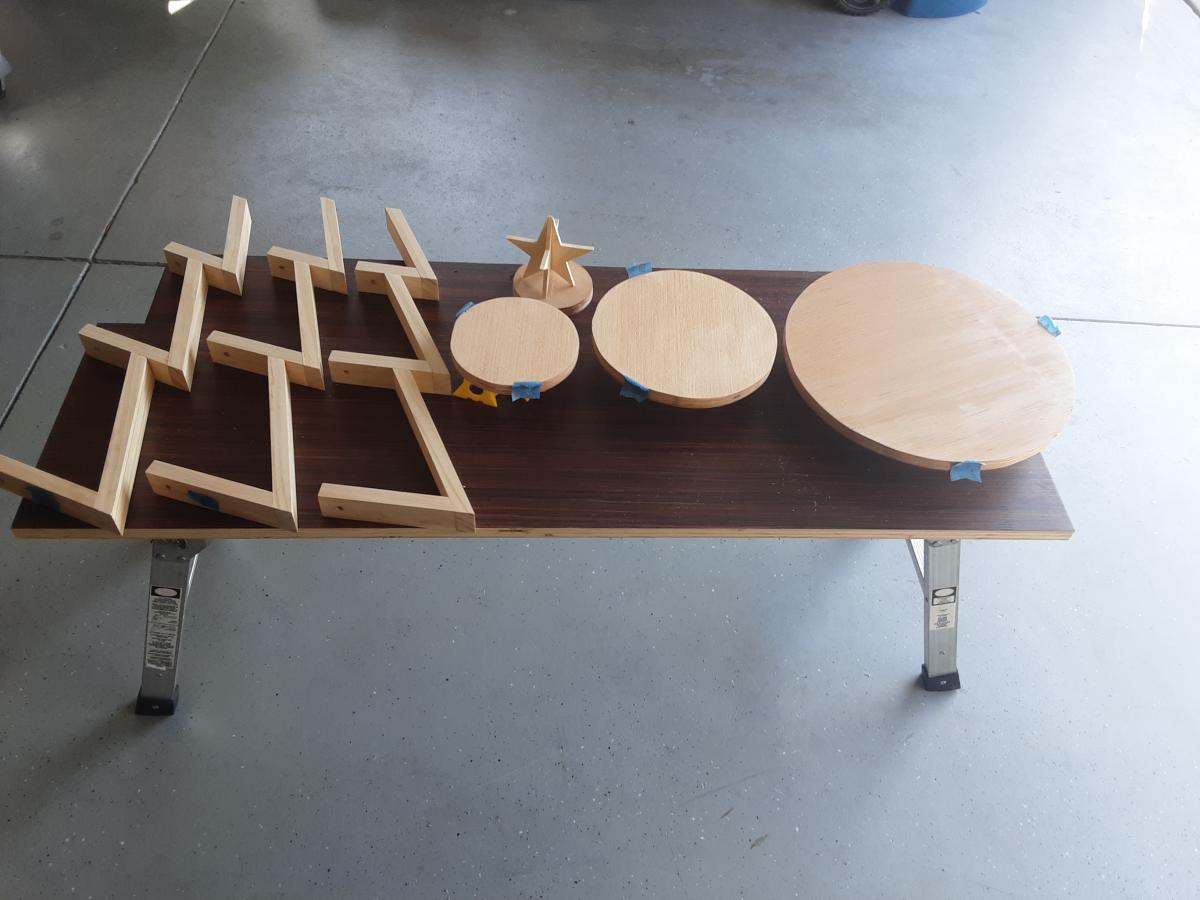
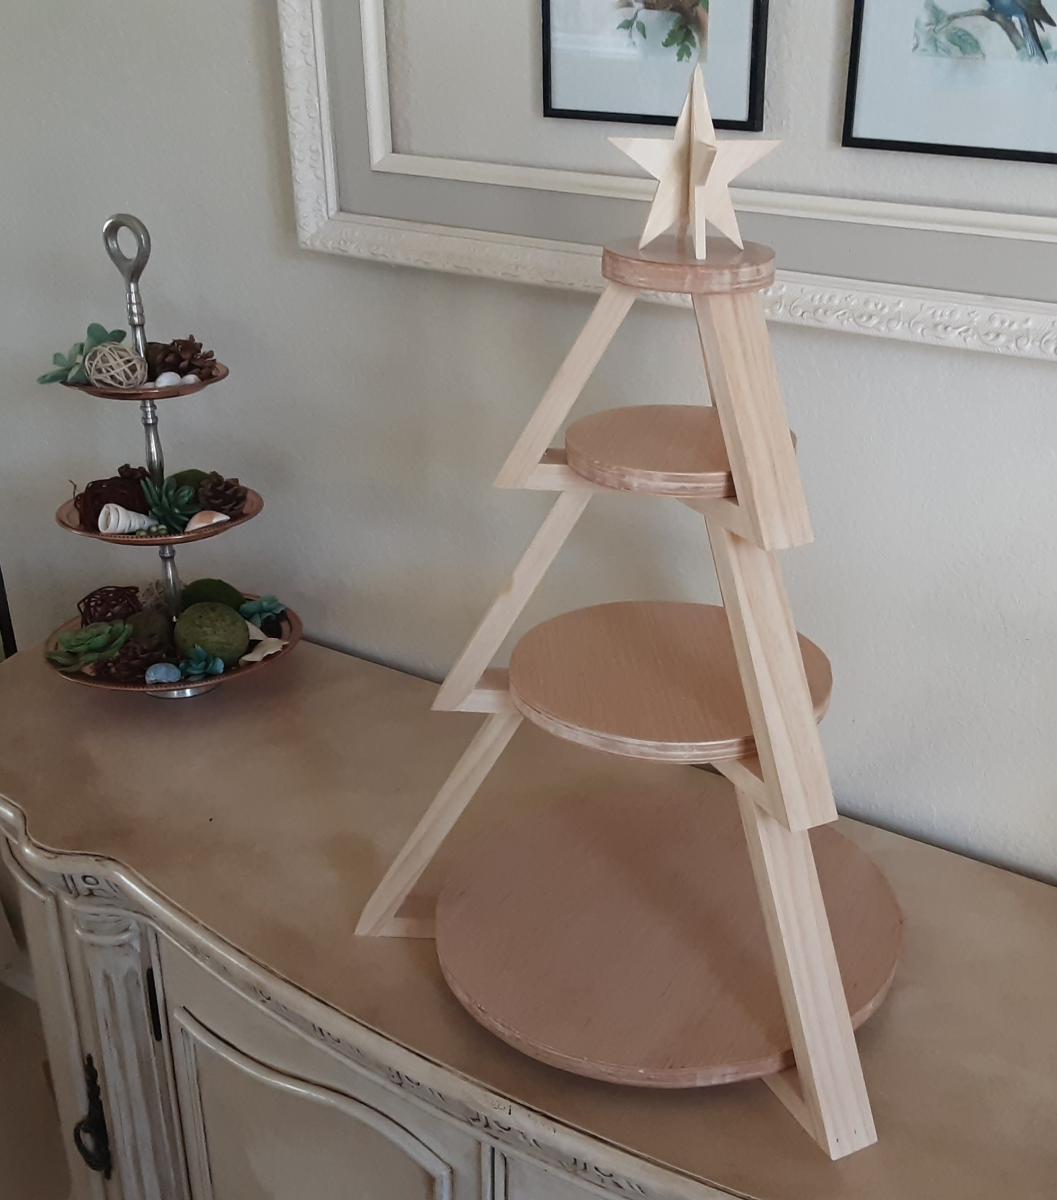
Inspired by Shara of Woodshop Diaries, created this 3 tier tray for displaying cookies for Santa. Added a 3 dimensional star as the topper and simply followed the excellent photos and schematics on Shara's website.
Potting Bench Build! 🪴🛠️❤️
.
Another project I’d been working on 😍💪🏼 I love building things and woodworking. Been wanting to build a potting bench for a couple years now. Finally decided to do it. Found a little plan on Pinterest by Ana White, headed to Home Depot, and bought a bunch of 8ft 2x4s and 1x4s. Customized the plan by adding additional shelves, lattice-like backing, hooks, and knobs.
Had a bunch of leftover paint and stain, finished it off with a few coats of spar urethane. - Kendra
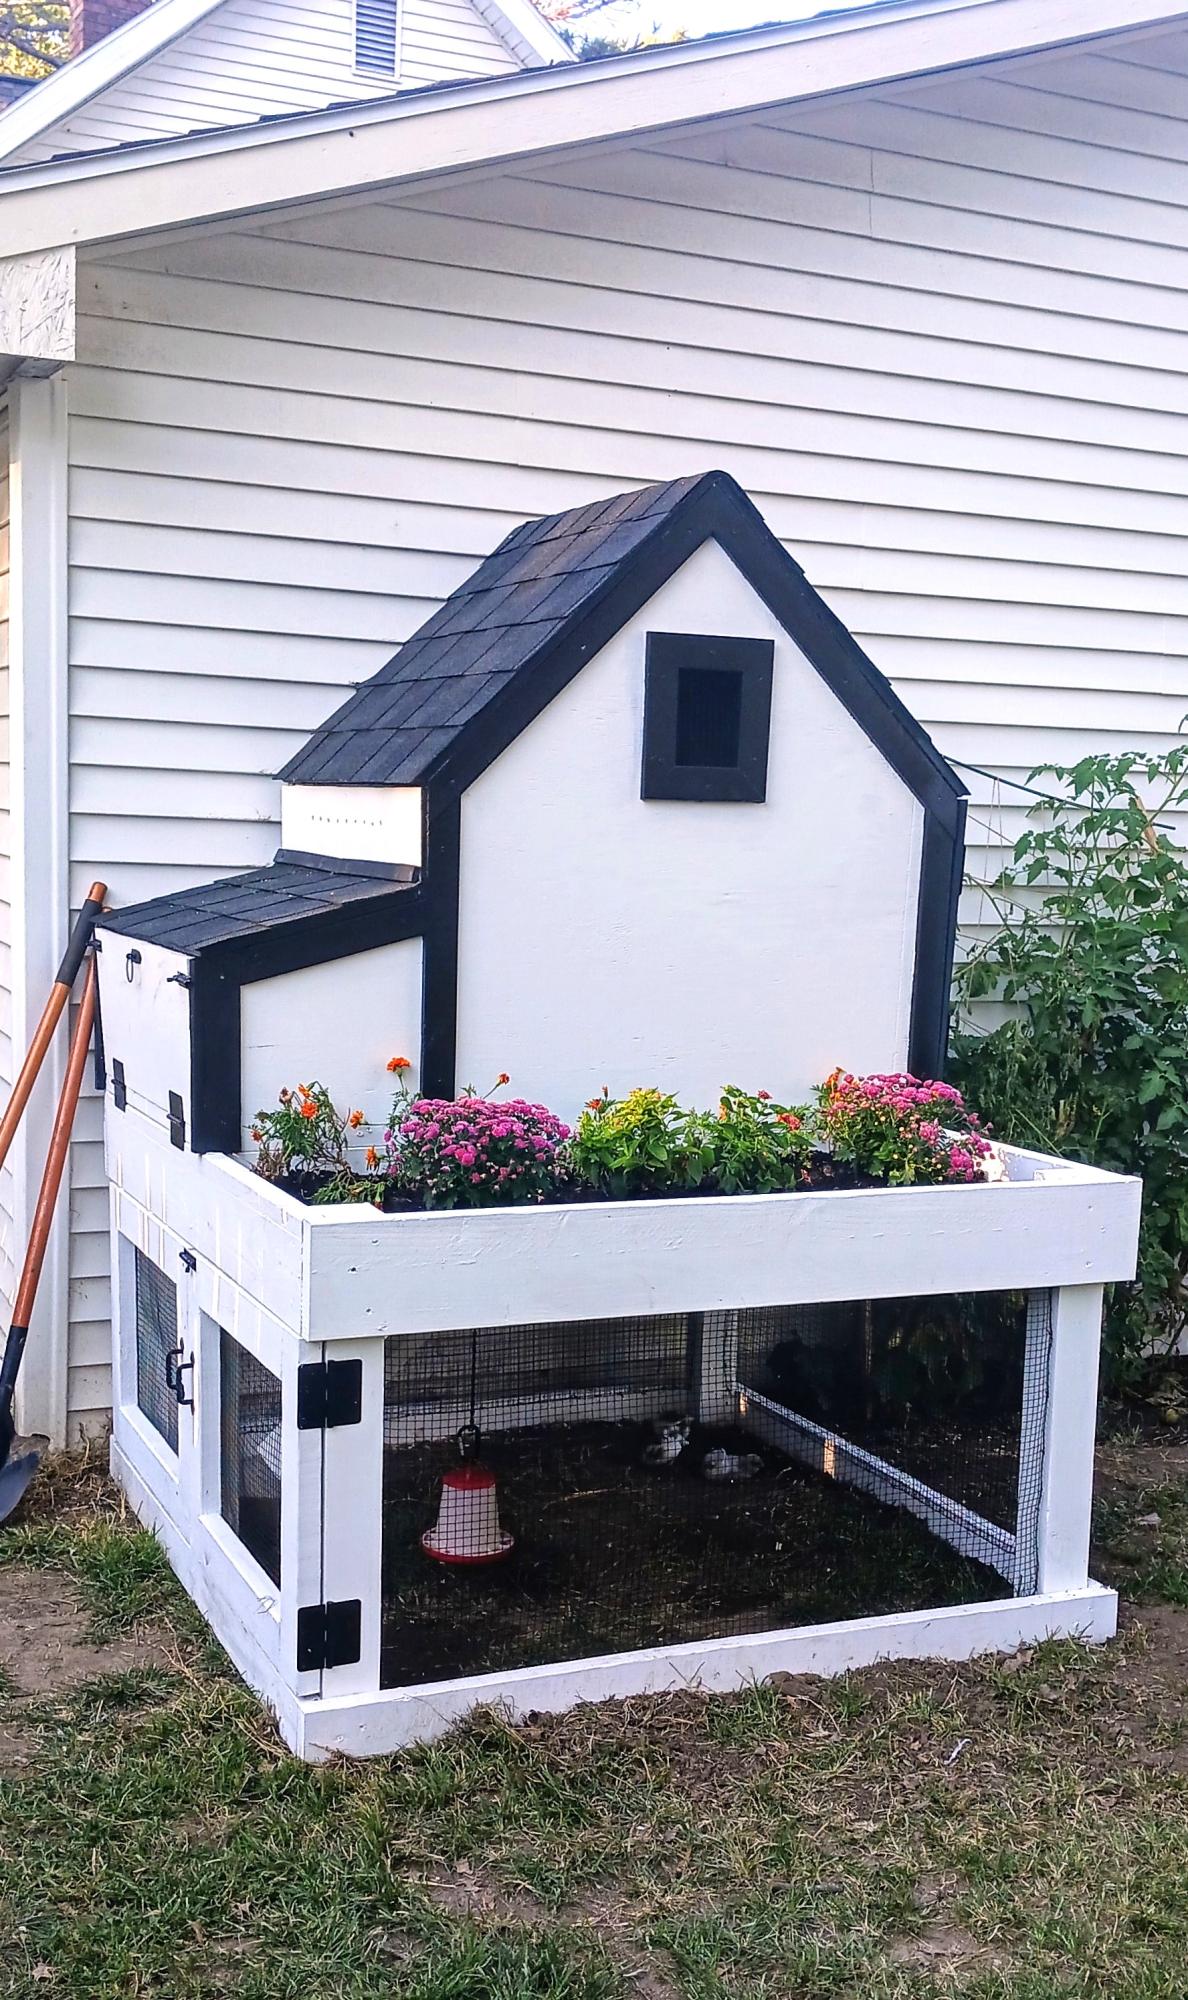
What a fun project, and my girls get to live in a beautiful home! Thank you for these plans!
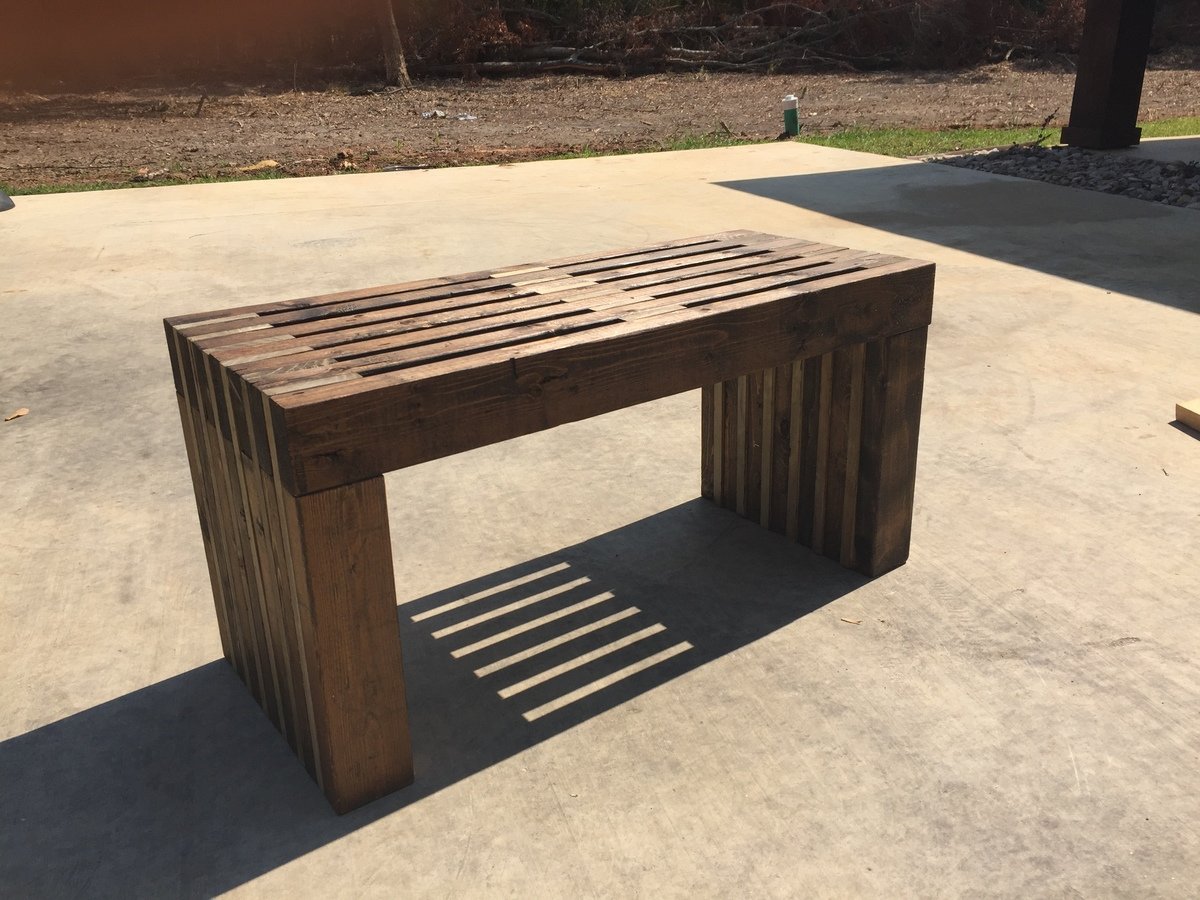
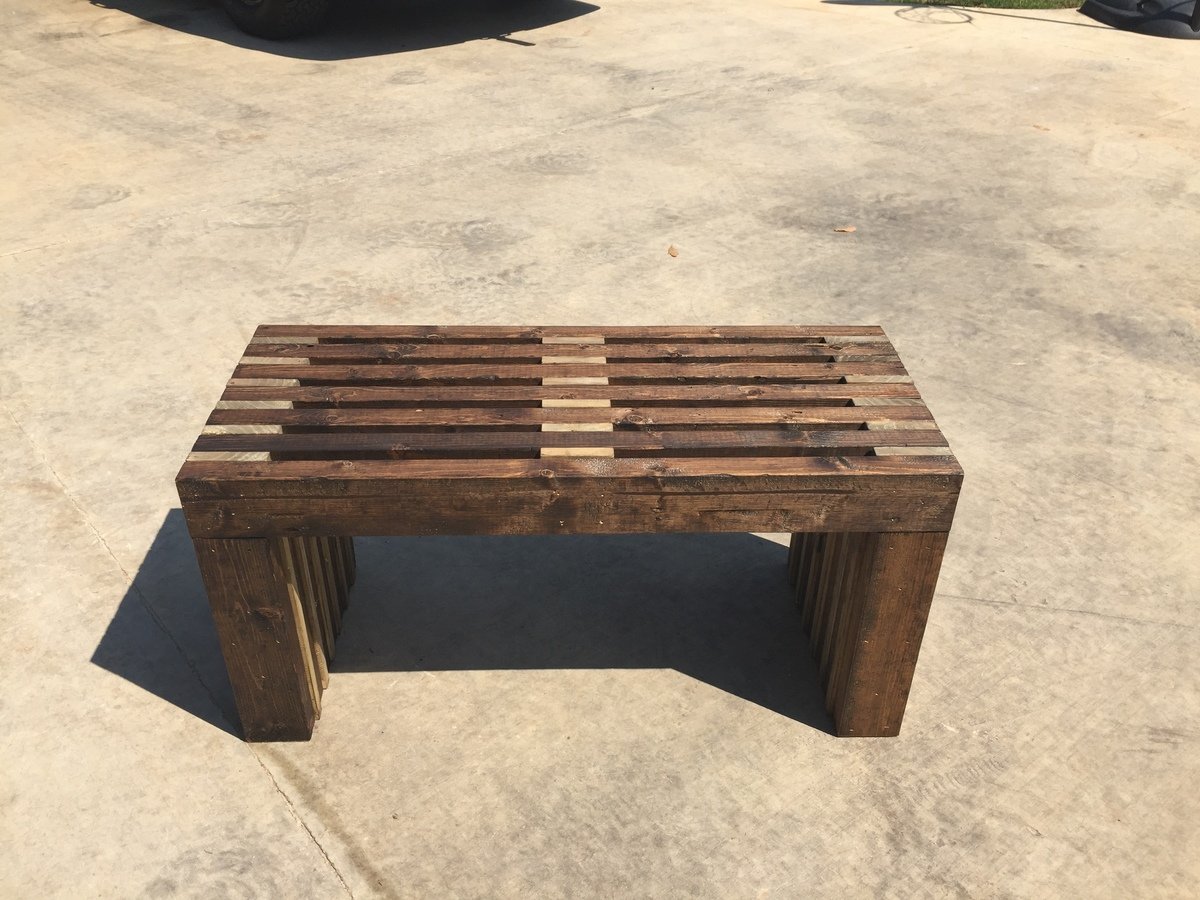
Two tone 3 ft long slat bench
Thu, 10/22/2015 - 05:16
I love the two toned rhytm. I wonder how you attached the slats. Did you just glue or did you nail / pocket hole etc..
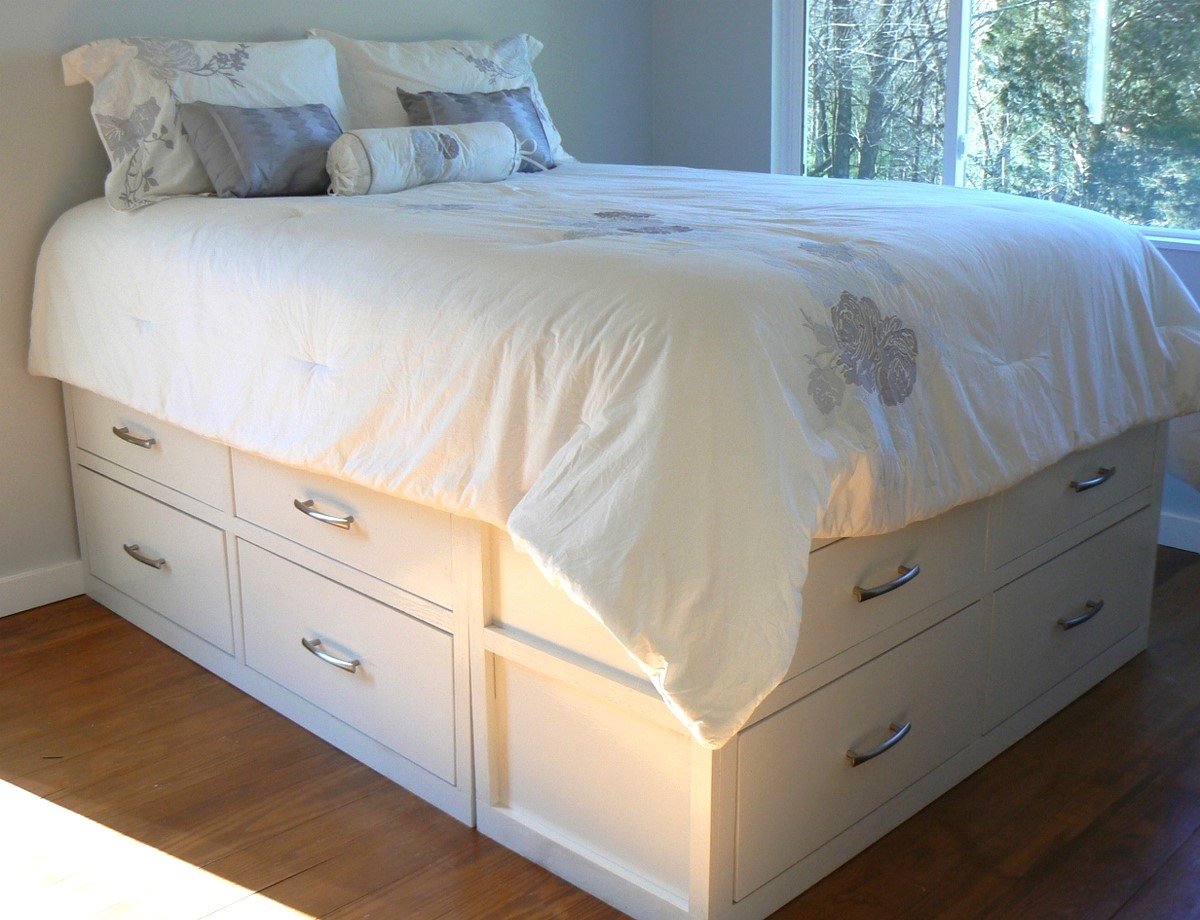
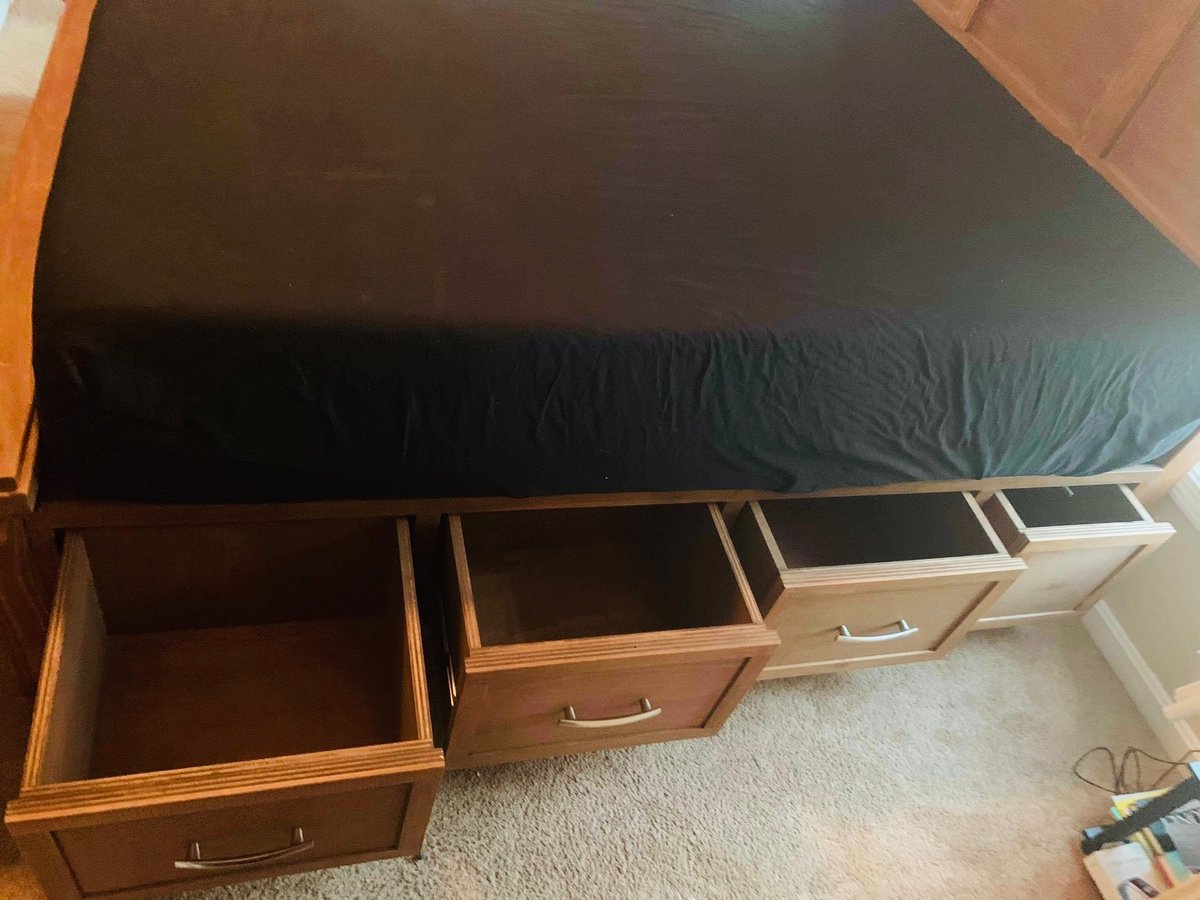
After we built the first level, we decided we didn't like how low to the ground the mattress was going to be, so we made another level. Our master bedroom is very small so this gives us plenty of storage space! The floor throughout the house is wavy, so theboxes do not meet perfectly ( you can see a slight gap at the bottom) which drives me crazy, but I will have to live with it for now. We kept the drawer face simple (less work, and we like the clean lines). Our mattress is quite thick, so I see myself building a step stool in my near future! This was our first project and very easy to follow. Already working on my next project. I am addicted! Thanks for the great site, Ana!
Wed, 02/22/2012 - 13:05
Total height is 25 inches. I love how tall it is, because the dogs cannot jump on the bed! I wish we would have thought about the double drawer height before we started as it would have brought the cost and time down significantly. We live and we learn. Enjoy your new bed!
Tue, 07/31/2012 - 19:48
Just wondering how you attached the double drawer layers together... Love the look of it...
Mon, 06/10/2013 - 17:41
Sorry for the delay in response. I haven't been on the site in awhile and I could not figure out my password! We used the Kreg Jig to attach the top level to the bottom. Looking back on it, we should have just built the walls as one piece, but since the top drawers were an addition, after the fact, we just had to deal. The 1x2 trim piece gave it a finished and less pieced together look. It has been so long since we built this, the details are fading!
Sat, 08/06/2016 - 20:37
I'm new to furniture making and was wondering if you had plans for your work since I like the height, queen and twin size? Also, I was wondering if any drawers are for storage purposes, as I would like them to be?
Mon, 10/08/2012 - 08:00
Hi this is exactly what I need to do!
we just bought a new bed and I new I'd be making this not thinking I decided not to buy the box spring, now I realize my bed will be on the floor...
I would love it if you could share everything you learned in making it double decker! please
thanks
Natasha
Mon, 06/10/2013 - 17:48
Better late than never, I hope...
First thing we learned, the bed is a little too high, so we should have made slightly smaller drawers. Still happy our dogs can't get up there, but I have to actually hop up on the bed every night, and still have yet to get around to making my step stool.
Second, cut the side pieces for the height needed for two drawers, then you have a cleaner look with no middle trim piece. I don't mind it, but I would like it more without, I think.
That is really all I would change. The plans were easy to follow and made it easy to alter for our needs.
Tue, 05/07/2013 - 23:52
I am flabbergasted by this AMAZING bed you MADE over the WEEKEND! This is simply unbelievable! I absolutely could never do something like this. Are you willing to make a King size one exactly like this and sell it to me??
Oh please?!
Renee
Mon, 06/10/2013 - 17:53
Thank you for those kind words! I was a little nervous about taking on such a big project, but we had a fun time building it { I can't say the same for sanding and painting :-) } and are very happy with the space it freed up in our very small bedroom! Just take your time, invest in a Kreg Jig, and you can do it too!
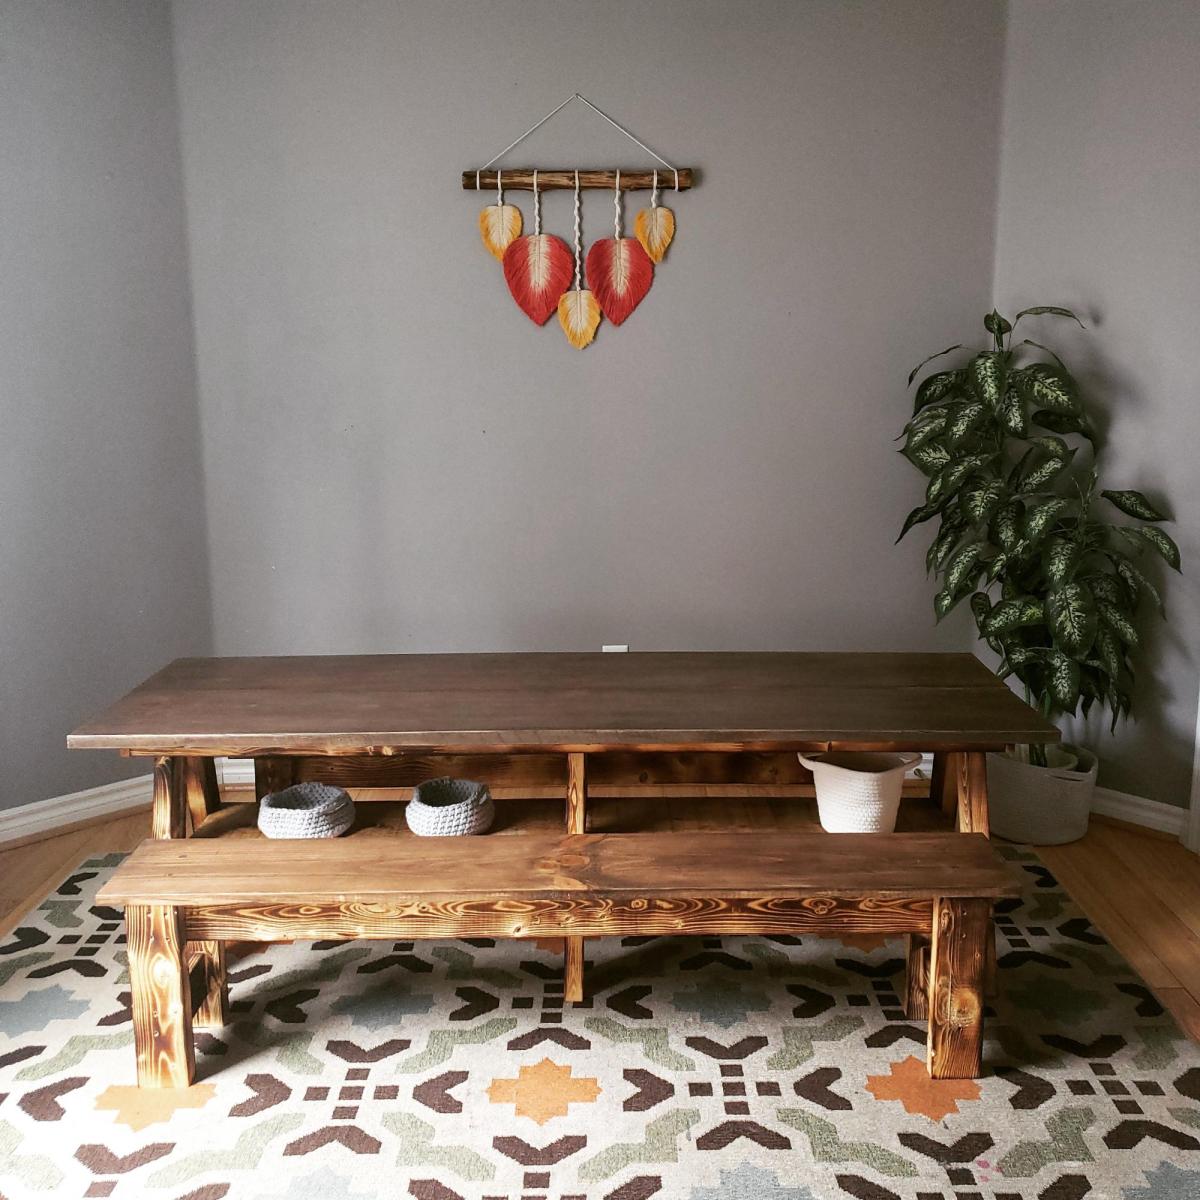
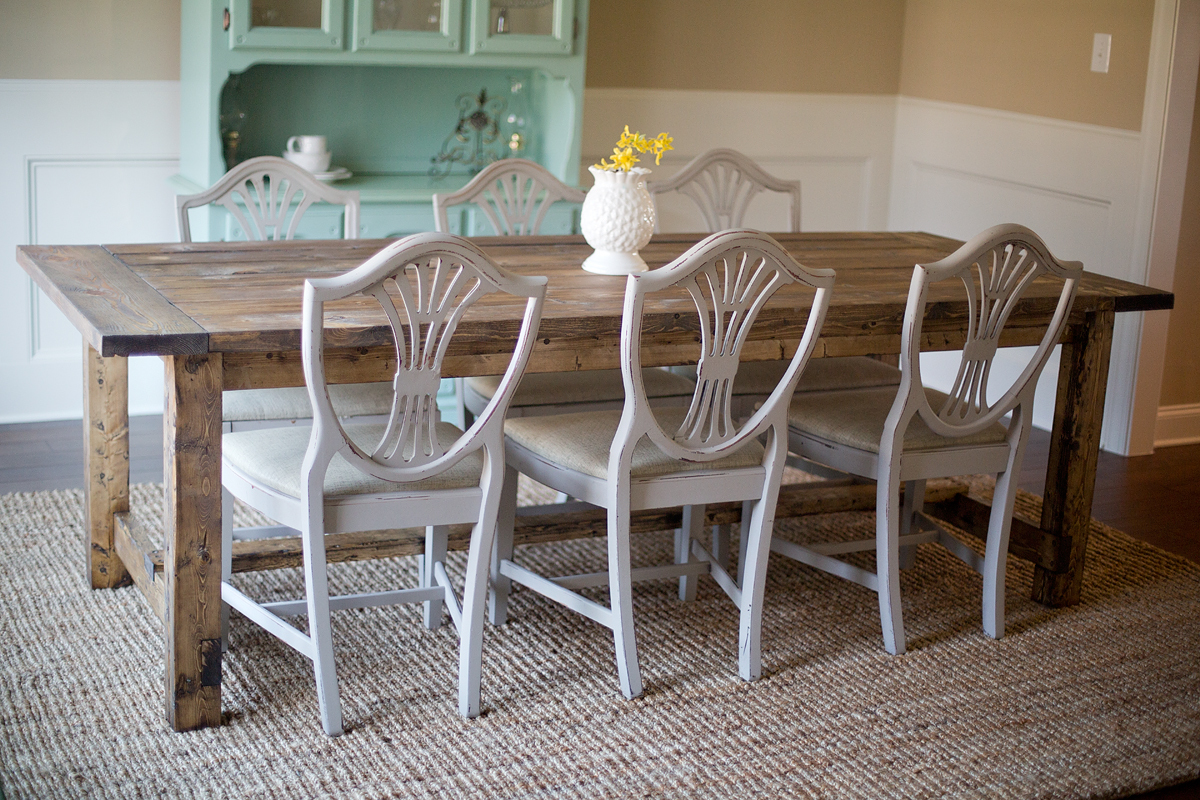
I tackled the Farmhouse Table over a long weekend while my boyfriend was away - he was surprised needless to say!
I have not attempted any woodwork projects since grade 8, but this was alot of fun - I did not find it very difficult and loove using power tools :)
I made the matching bench, however I guess I did not stir the bottom of the can well enough and my bench is now red :/ soo I am going to either stain it dark or paint it white and use it as a mudroom seat!
*I also made mine shorter - 7ft long to fit in our dining room and adjusted the bench to fit.
Fri, 10/07/2011 - 17:15
Thank you so much Ana! We are in the process of renovating our house and your website has inspired me to take on so many more projects now!! :)
Wed, 11/02/2011 - 04:52
I built a similar table and I am having problems with my kids getting food in between the pieces of wood. Do you have this same problem, is anyone having this same problem? Does anyone have any suggestion as to how to fix it, how to keep food and other particles from getting trapped between the cracks? Thanks! You did a great job!!
Wed, 11/23/2011 - 15:00
I am building this table as we speak. The thought occurred to me as well concerning the cracks attracting crumbs. I believe using clamps to make the fit as tight as possible will help. Also some poly finishes may be appropriate with children which may even seal the cracks... if sanded and clamped well.
Wed, 11/23/2011 - 15:11
I did try my best to clamp the wood together as tight as possible - due to the pieces of wood not being completely straight, they are there.
I haven't had this problem yet. I do use place mats when eating at the table, that generally stops any crumbs etc.That's probably the easiest way to avoid it :)
Thank you for your comments!
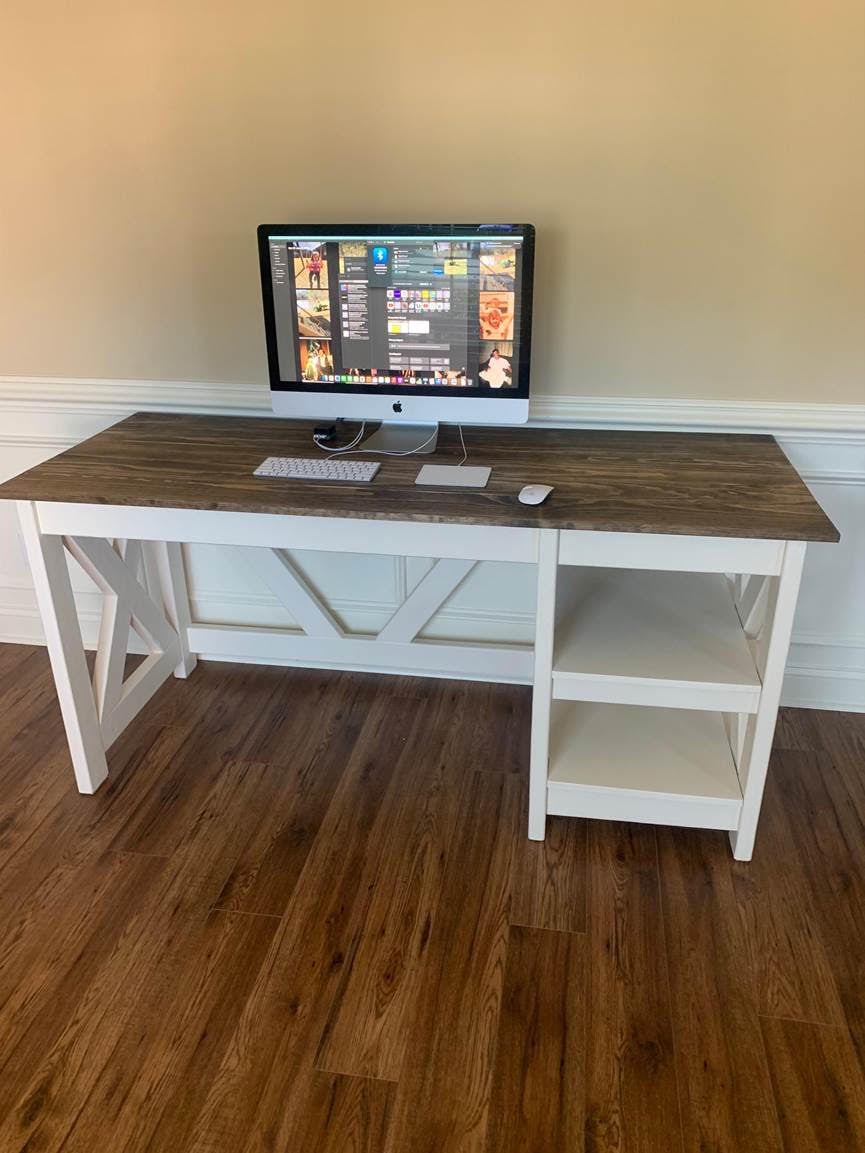
Two tone farmhouse Desk by Greg!
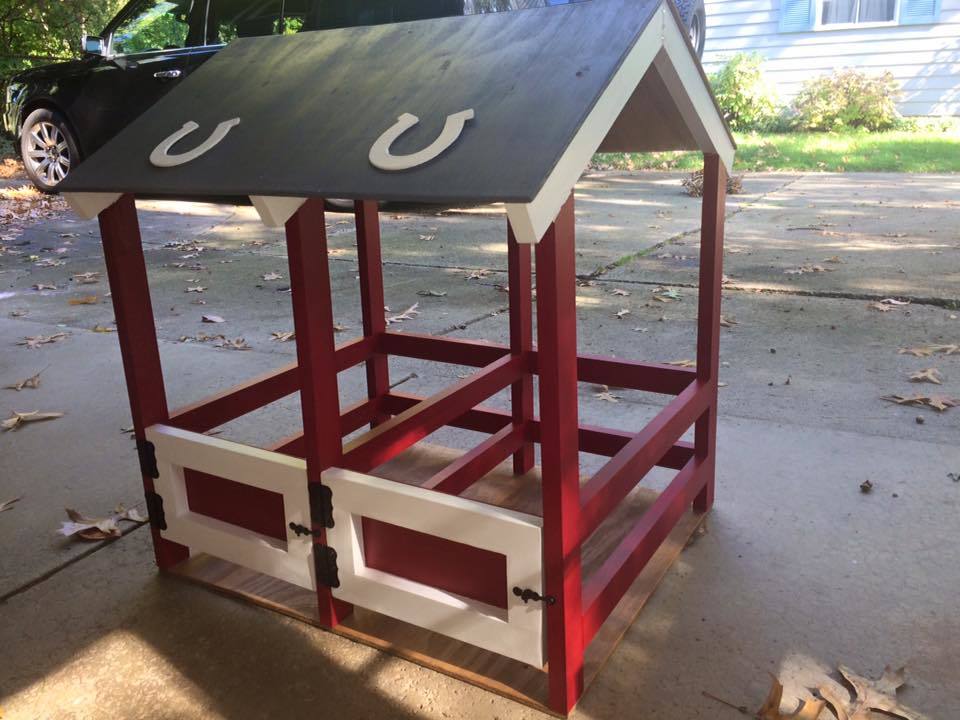
This took me much longer than I anticipated, mostly due to my being a novice and stubbornly trying to complete the project without the Kreg jig. Everything went much more smoothly once I had all of the proper tools.
I had to sneak to do all of this during my toddler's naptime on school days. It took me nearly 20 hours over two weeks to finish as I had to clean everything up and hide it so he wouldn't see it and tell his sister! If I would have had the Kreg jig from the start, I would have saved myself a significant amount of time and effort.
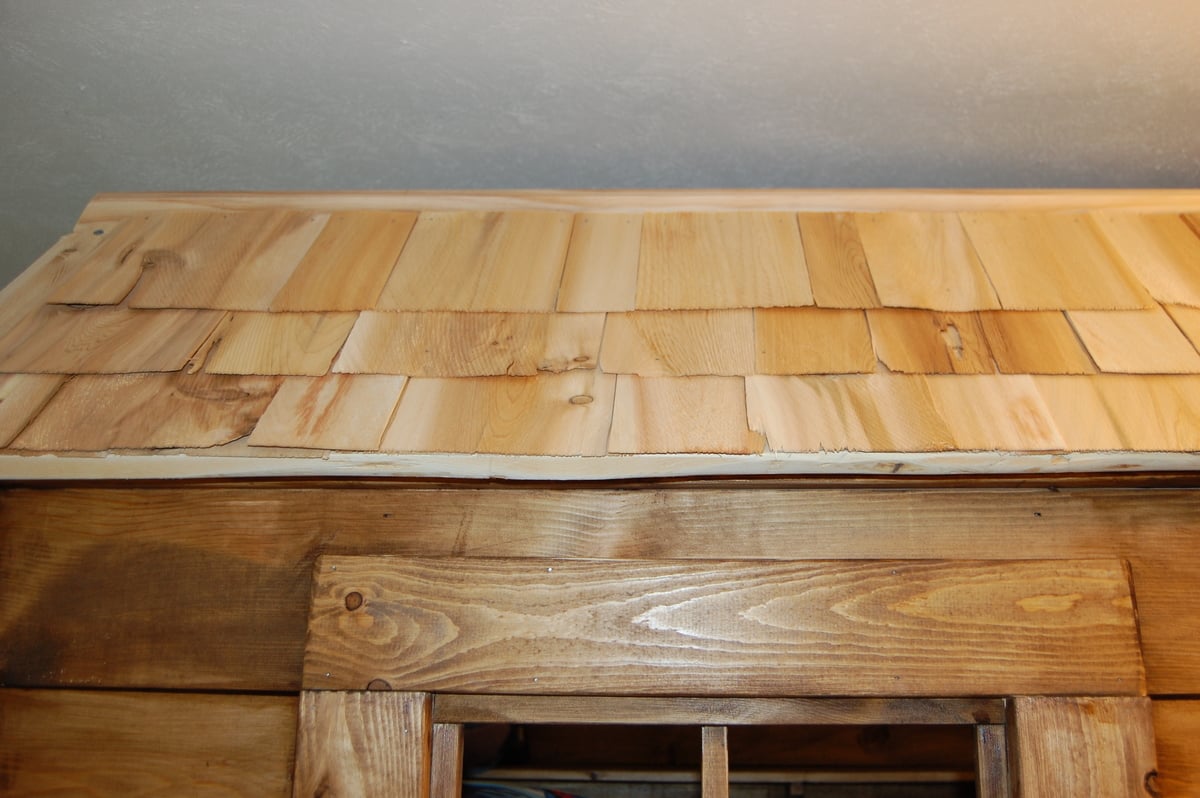
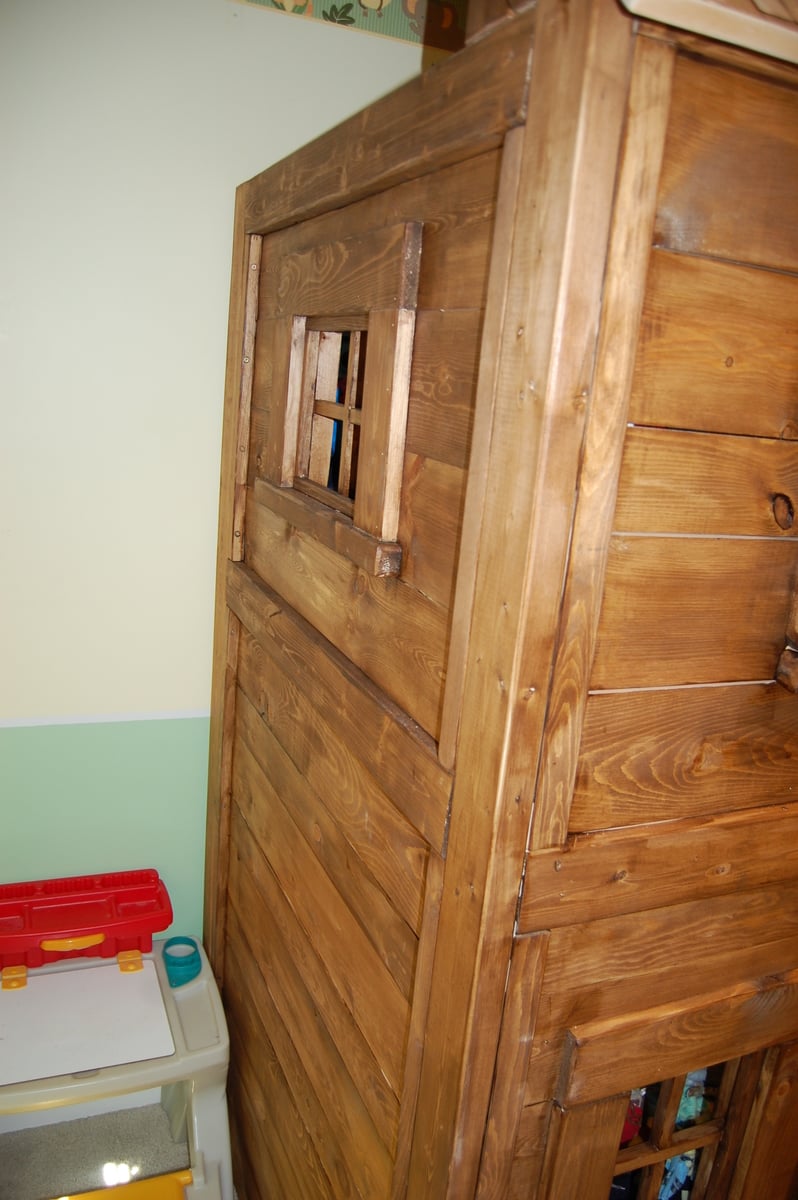
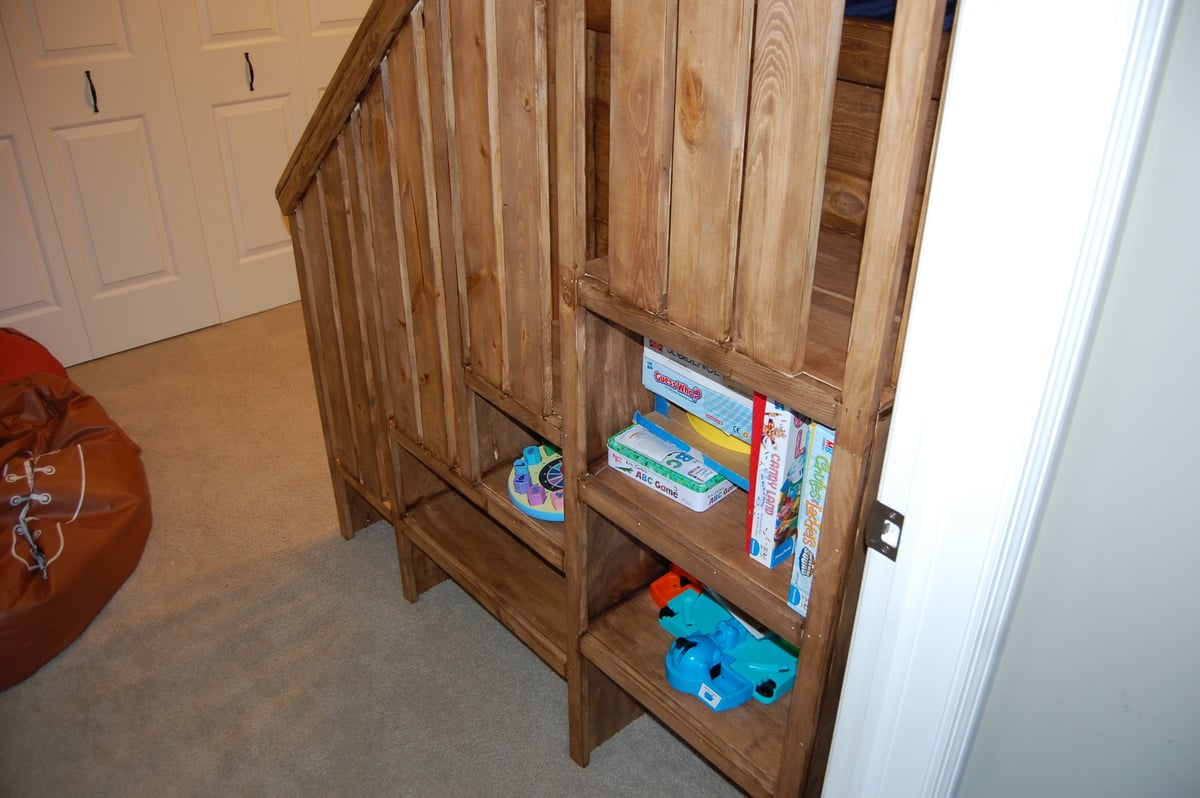
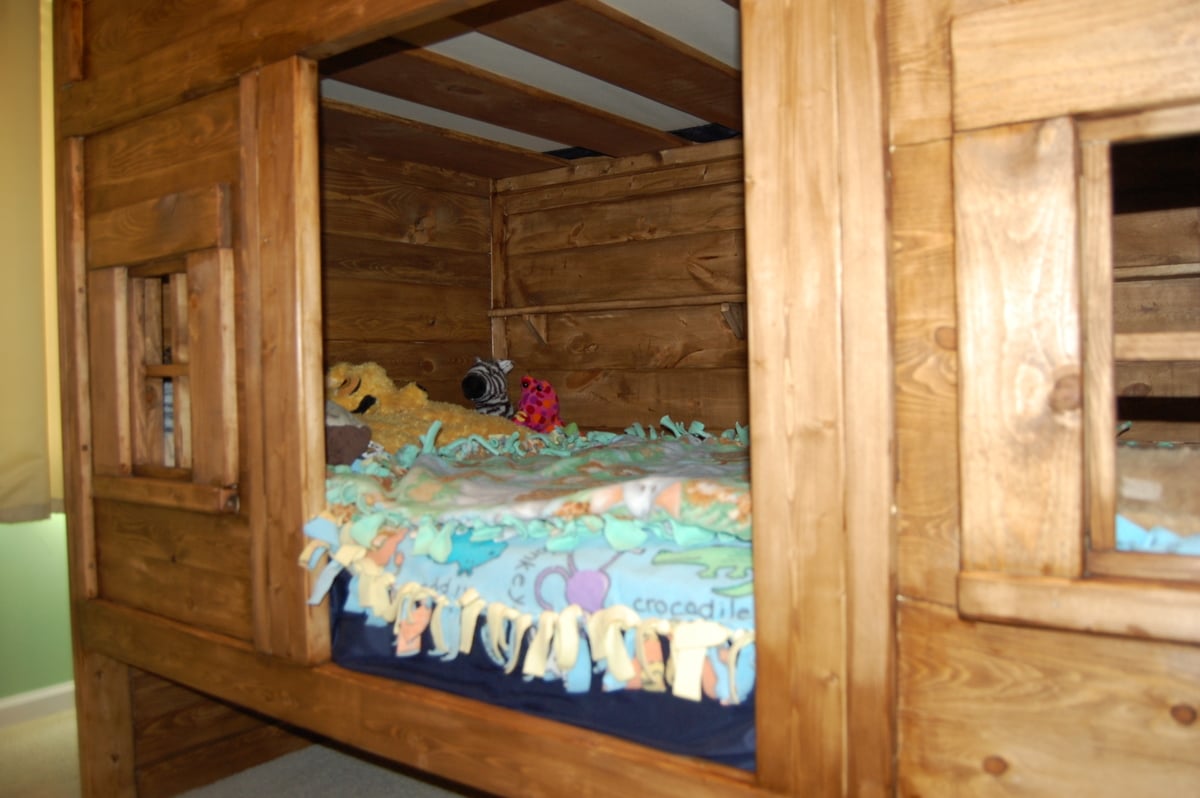
This took me and my father a few weekends to complete simply because that is all the time I had to work on it (was the weekends). We put a lot of effort into it and made sure everything was neat and safe. We modified the original plan a bit to give some more boy feel to this bed, and we added window bars to keep my children from climbing out of them. You know boys! We also added a window on the far side of the top bunk. We should have added one to the bottom too since it is so dark, but he likes it anyway! If you want to see some step by step photos, you can go to http://www.facebook.com/media/set/?set=a.10151477424866465.1073741825.5…
P.S. The estimated cost was for the bed only, not the mattresses or stain

Sun, 03/17/2013 - 14:53
My daughter walked in and said.....AH! I wanna sleep on the top! HAHA. Good job
Sun, 03/24/2013 - 08:08
I love this! You did a fantastic job. I think the stain makes it look great!

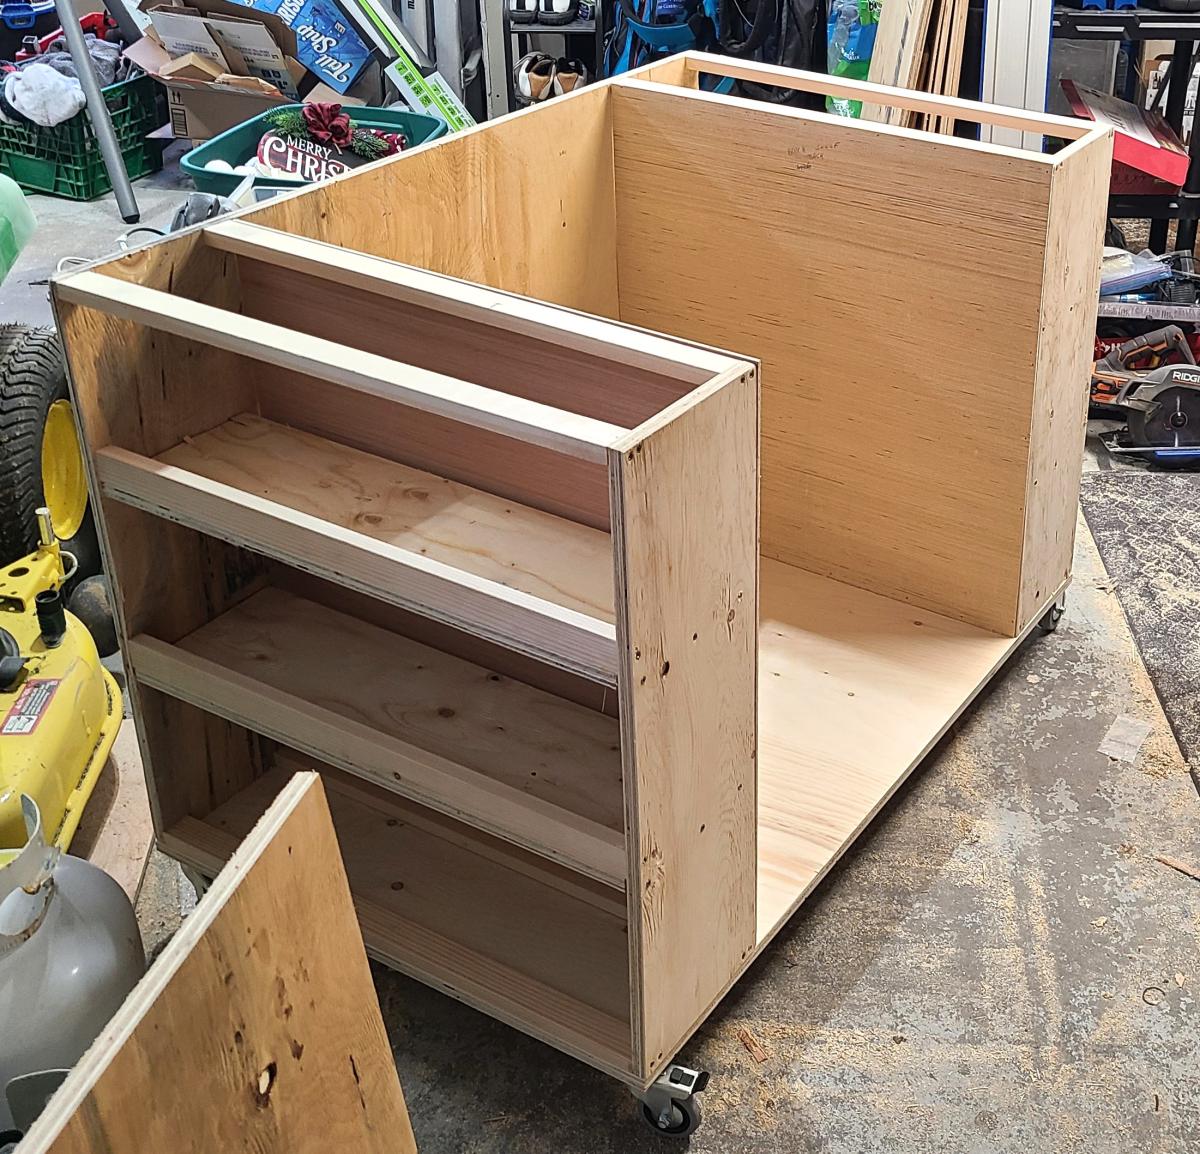
I'm so happy that I found the plans for Ana's miter stand and rolling carts! It was just what I needed for my garage shop... so everything can be organized and stored compactly but things can pull open and expand when I have a project (which is all the time, actually).
The actual miter stand was super easy to build - the carts took a few days working non-stop (when the kids permitted).
I made a few obvious changes from the plans:
-made deeper shelves on one of the carts
-added drawers on one of the carts
-added ped board on the end caps of miter stand
Something I didn't consider before building this was the slope of our garage floor. There's a 3" difference from one end of the legs to the other so I had to use riser blocks to get everything perfectly level. Unfortunately there's no way to level the carts as they aren't stationary but they slide in/out just fine.
I'd recommend this build to everyone! Check Home Depot clearance often for deals on plywood!


Wed, 02/07/2018 - 11:35
Would you be able to share the original plans? It seems that once the contest ended, the links to the plans stopped working.
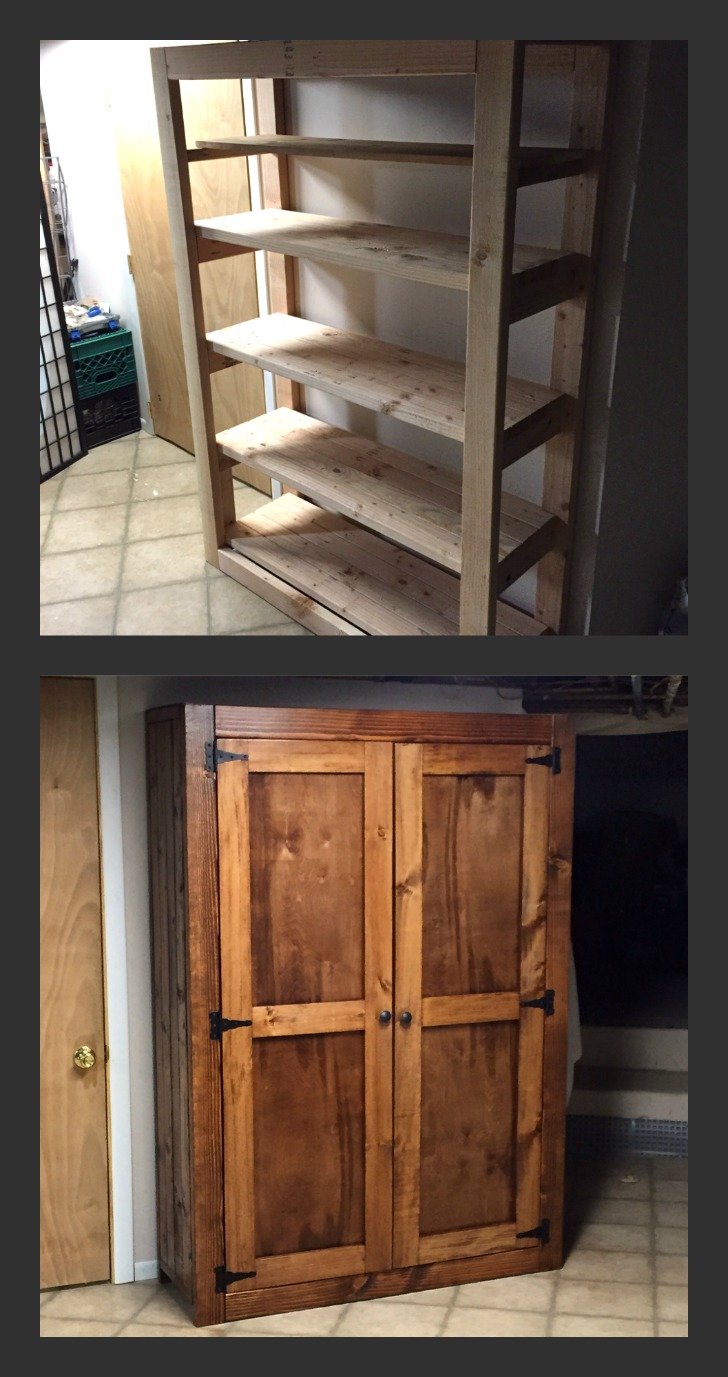
Anything is possible when you put your mind to it. This is my 4th DIY furniture project. First time working on cabinet/doors. Installing them straight was the biggest challenge. The side of the pantry is actually four 2x4's. I measured the frame so tightly that I had to use a hammer to bang in the fourth 2x4 on each wall, also adding a distressed look in the process. The pantry is very large, 48in wide and about 17 inches deep. Our kitchen lacks storage space and we could use a little more space for food and also pots, pans etc. The staircase to our basement is off our kitchen, so I placed the pantry right at the bottom of the staircase for easy access. I am thrilled with how this came out considering the time and effort it took. Very gratifying. Build on!
Thu, 03/05/2015 - 06:24
I really love how the finished turned out. I need to build something like this too! My current pantry just isn't big enough for bulk shopping :)
Thu, 04/16/2020 - 10:55
Building this from your pictures as we speak! What type/thickness of wood did you use for the back panel and door panels??
Sat, 07/23/2016 - 18:21
I am thinking about building one but I am not sure if my skill level is up to this yet. I am going to attempt to build the Kentwood Bookshelf and see how that goes. I am remodeling my office and want real wood shelves instead of that pressed wood junk. Great job on your build. I love this website!
Sat, 01/13/2018 - 18:09
Hey Michael I really love the pantry and would love to make this exact one but there is not enough info on the sizes and what all you used for all the wood. If you have time I would greatly appreciate it if you could give us some more info thank you
Thu, 01/09/2020 - 06:19
Is the top of this a single piece of plywood. Pictures are a bit vague. Trying my hand with this
Wed, 04/28/2021 - 16:38
Love it! I am in need of one too. Can we get the plans for this pantry?
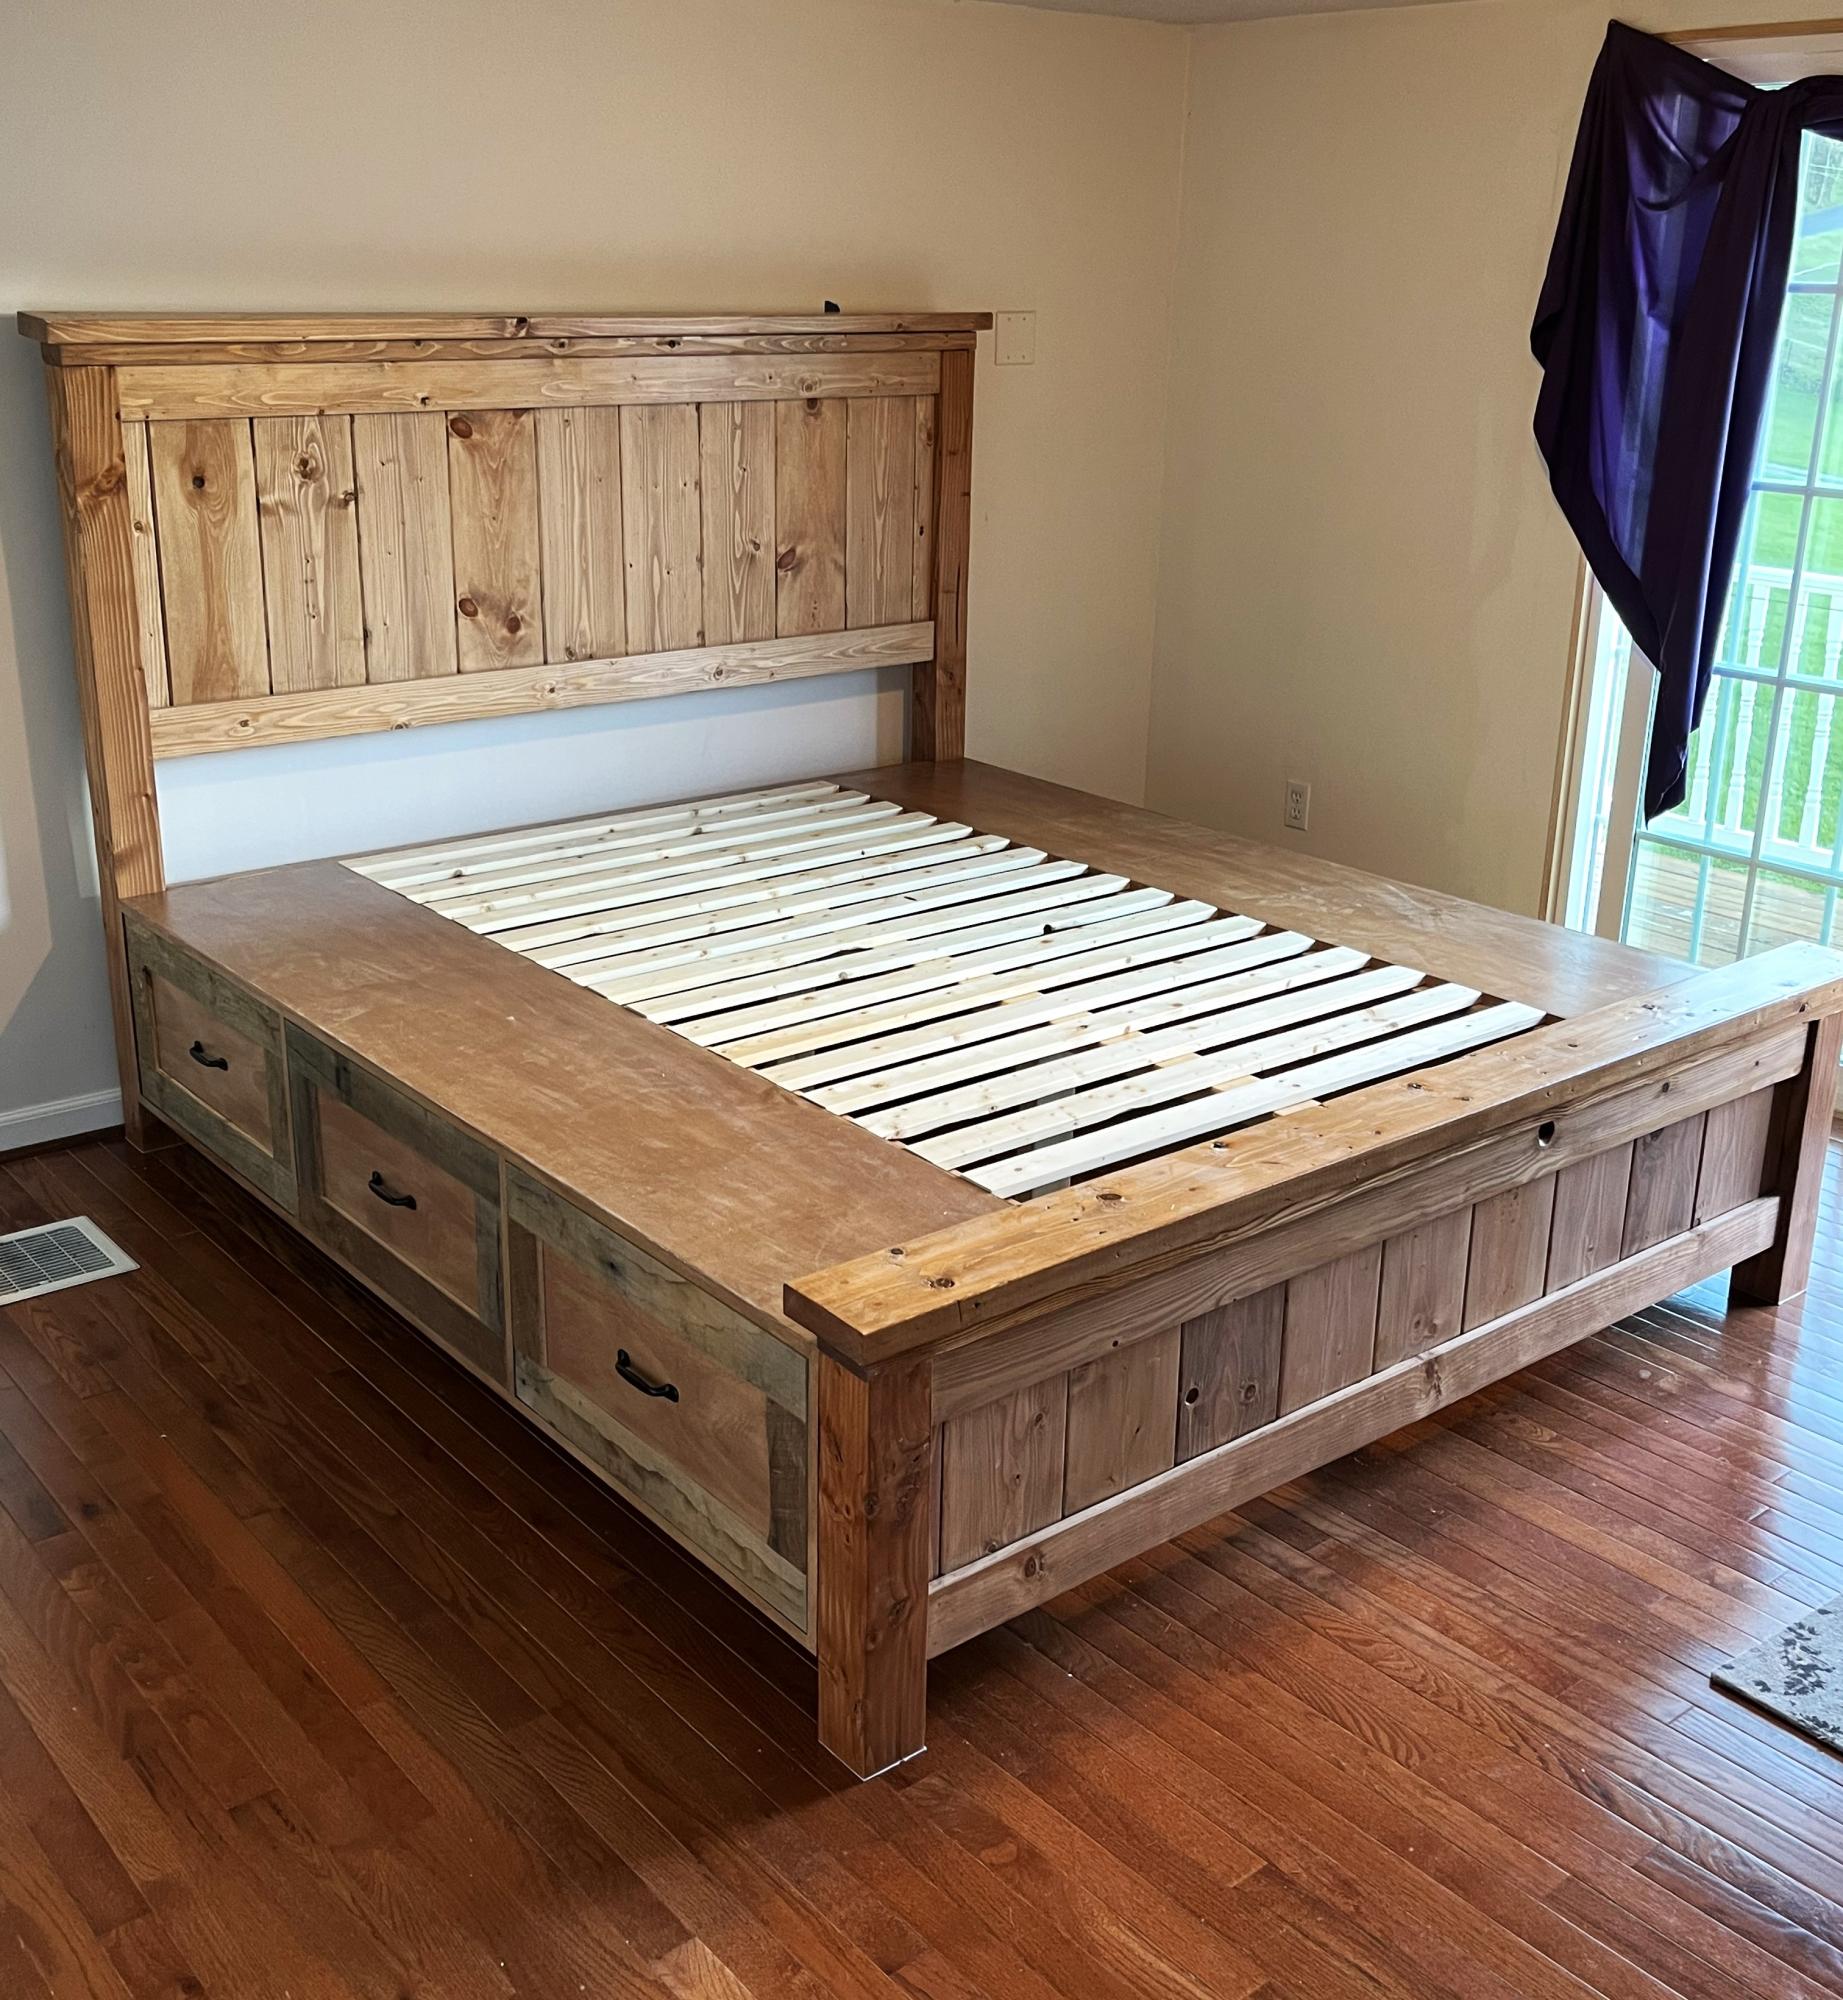
King size farm bed with storage, modified from queen bed plans. Used 1x10’s instead of a solid sheet of plywood and routed the slates to add some nice depth. Used reclaimed barn wood 1/4” for the border of the drawers.
Michael Gallatin
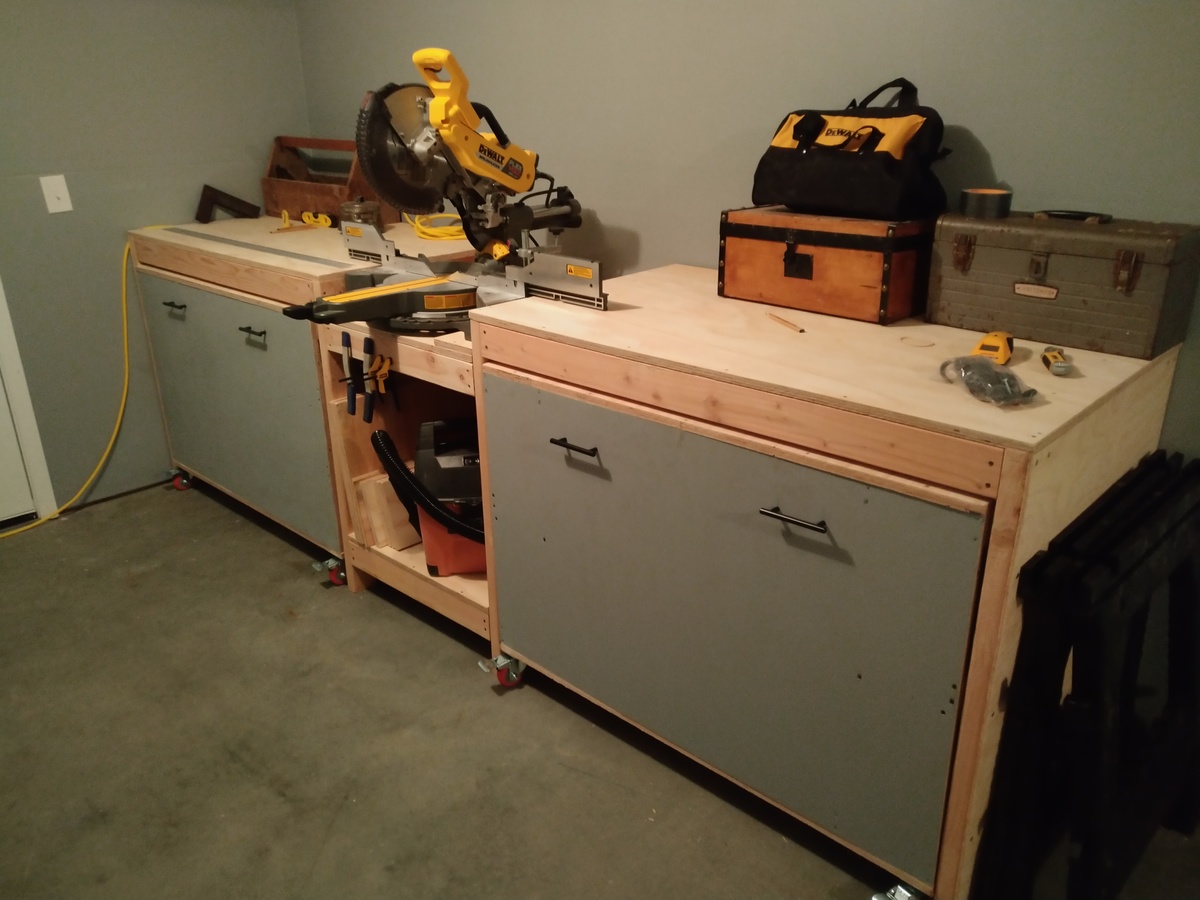
Really enjoyed the build.
You don't really need a Brad nailer or stapler, I did it with good old hammer and nails. Just brace it well when nailing into unsupported beams. You also don't need a tablesaw, I did all the plywood cuts with a circle saw. The shelves in the original plan are deceptively small. After building one side with the shelves how the plan has them, I decided to build the other cart with only one shelf for two on each side instead of four, gives a lot more space. I didn't add any shelves to the other side of the left cart, planning on adding hooks to hang extension cords and such in there. Make sure you predrill, I still had cracking issues even with the self drilling screws. I would recommend splurging on quality plywood especially for the tops and front.
I plan on adding a dust hood and shelves above each side. Also going to do the tablesaw and bench tool mods to the carts when I get those tools.
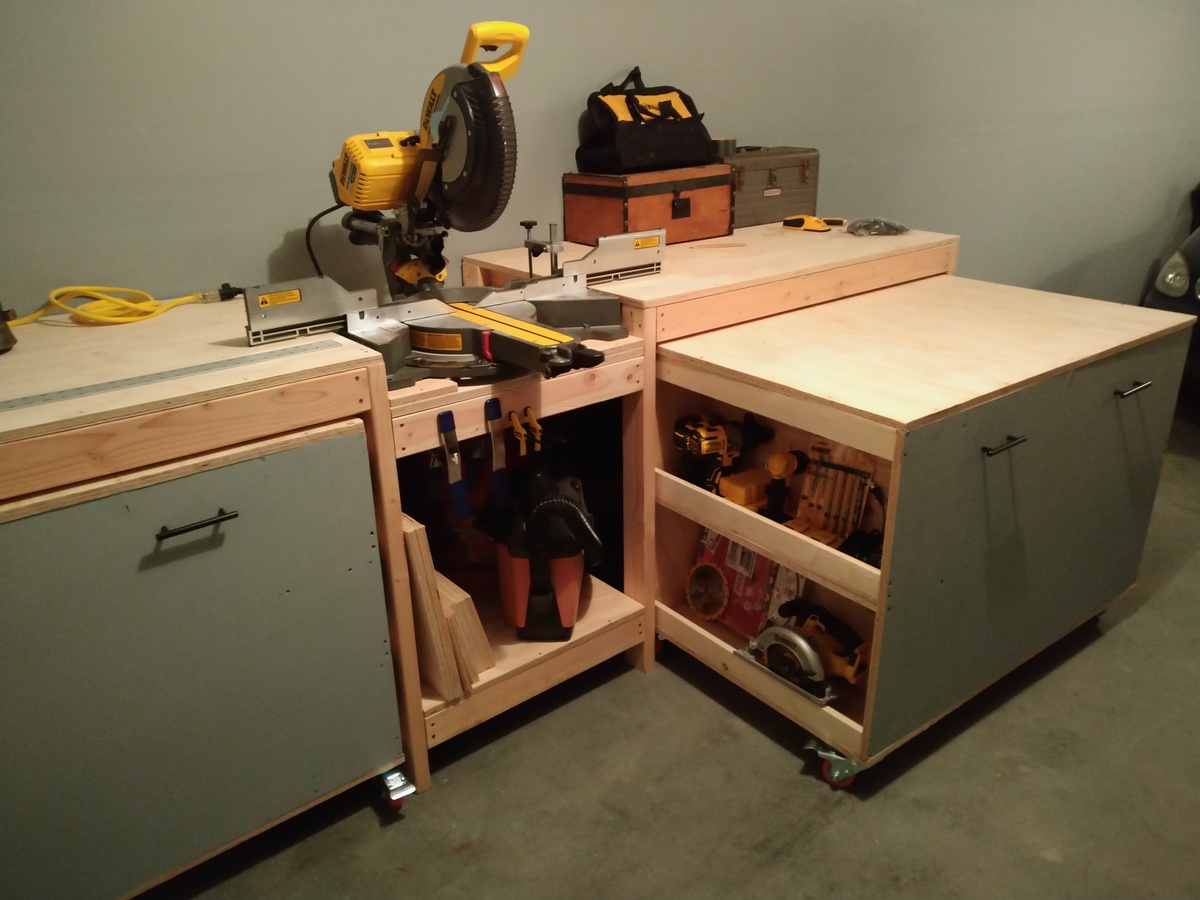
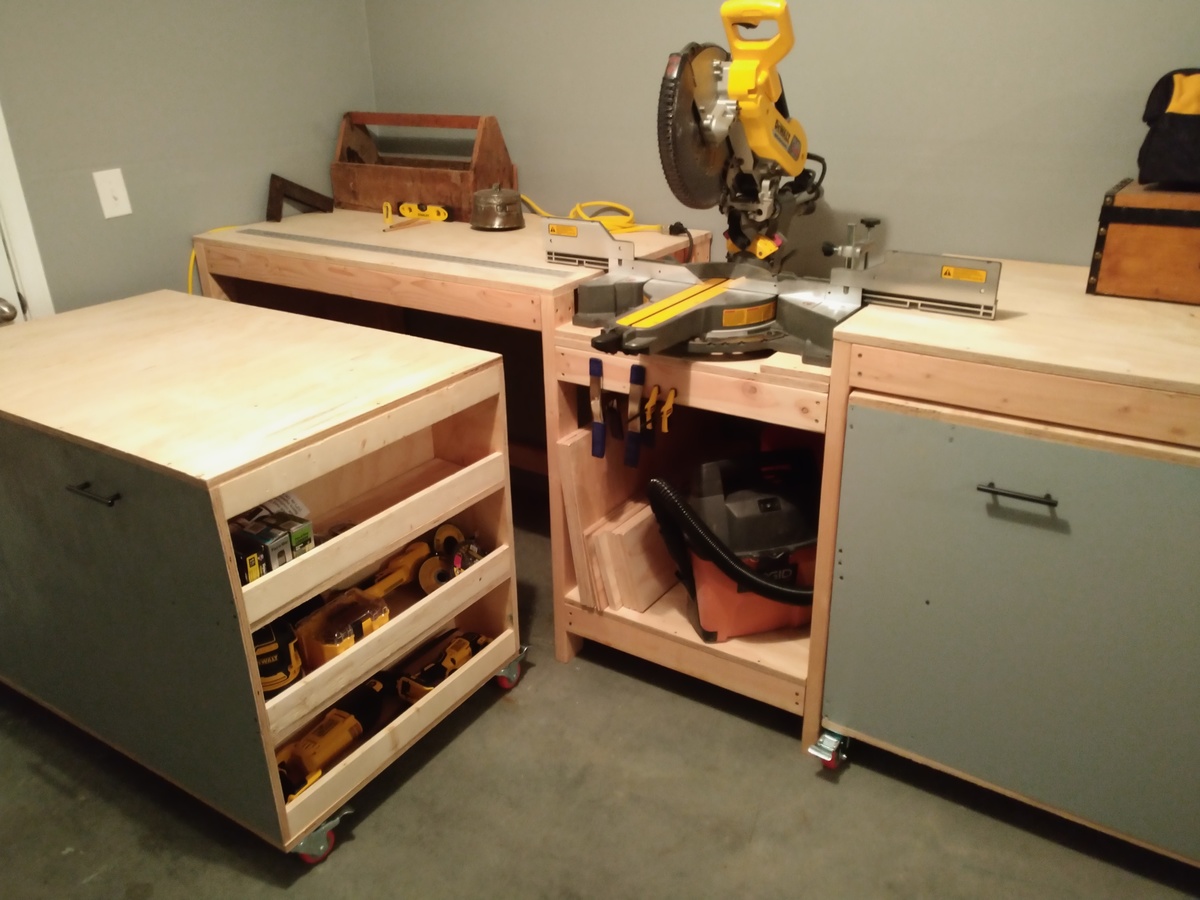
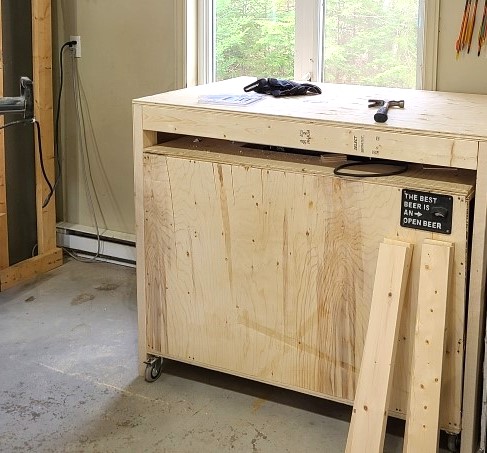
Tablesaw workbench. Clears up so much room in the garage when not using the tablesaw!
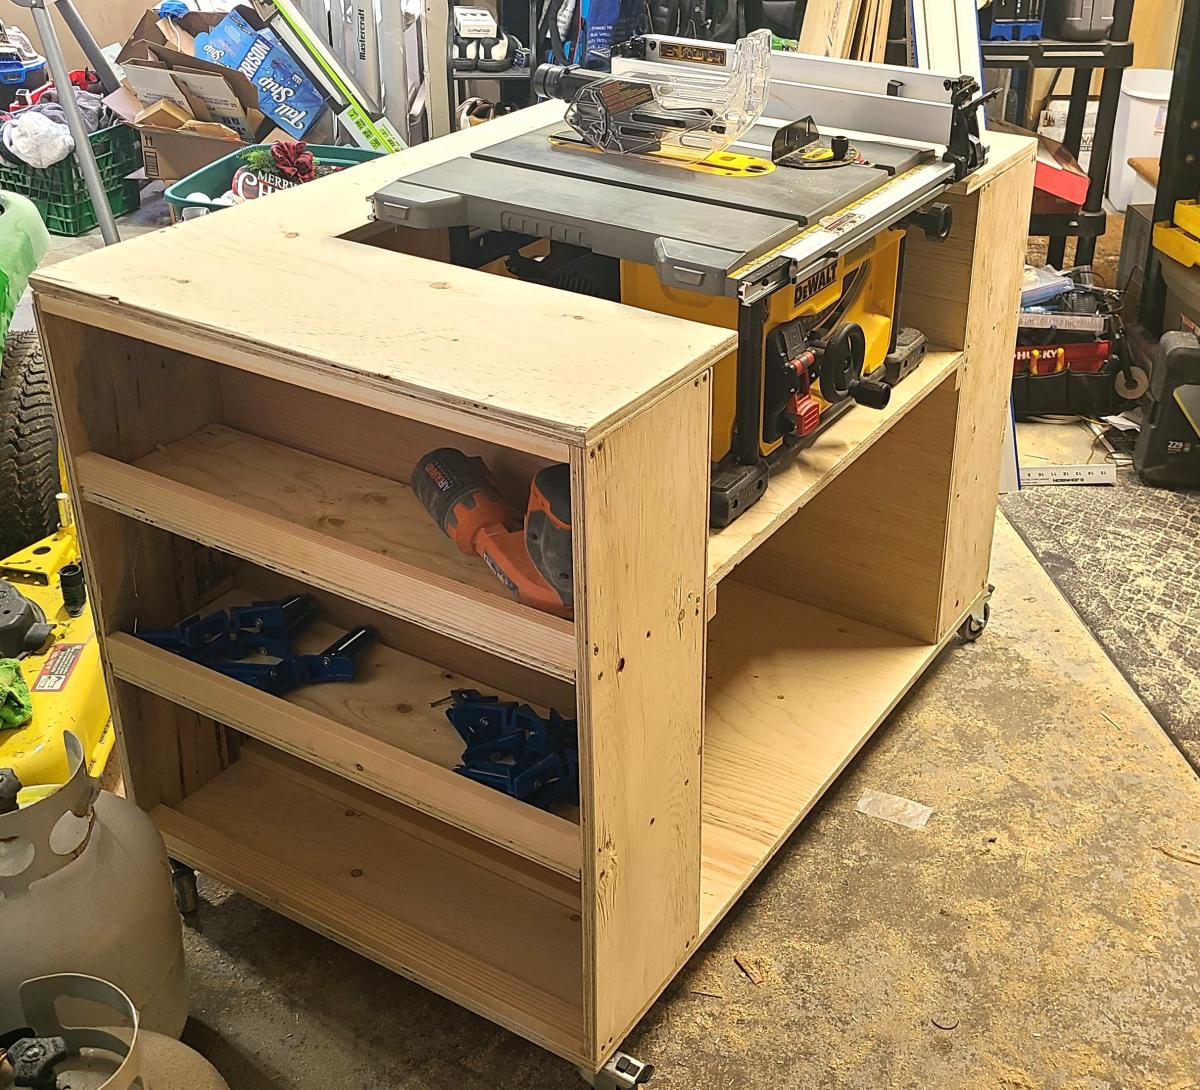
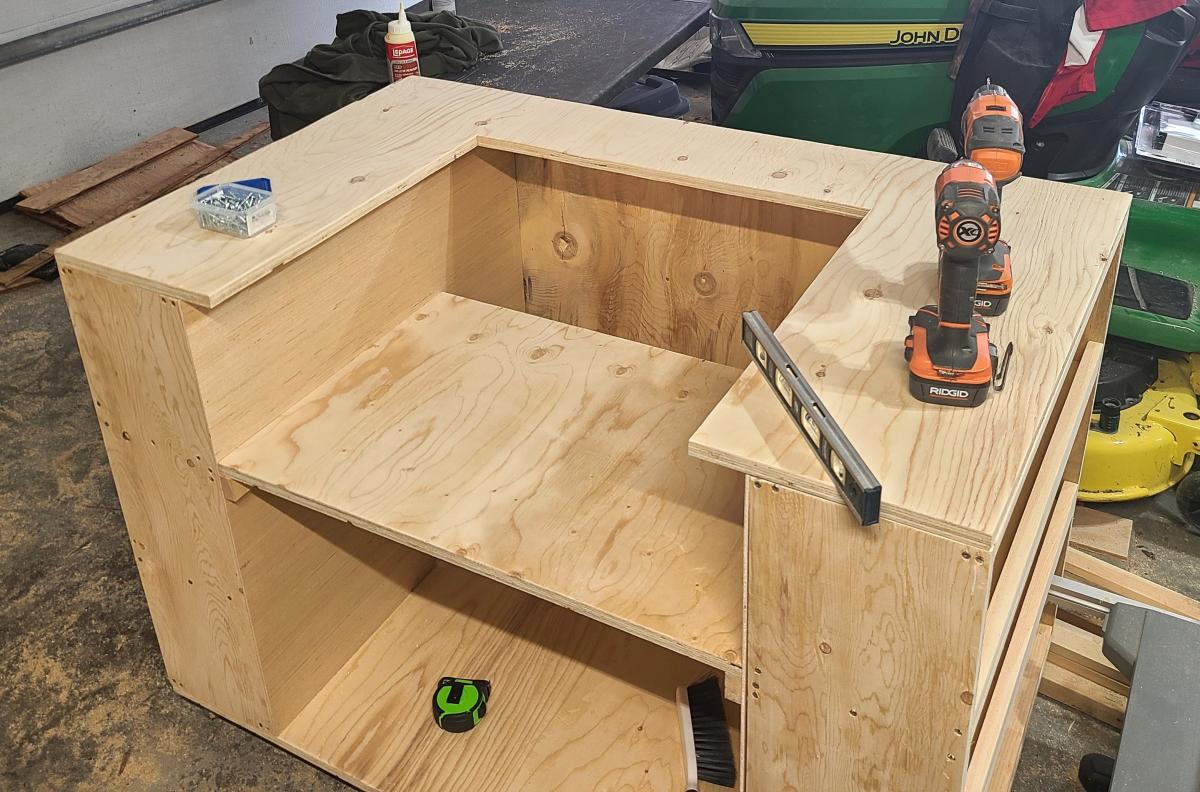
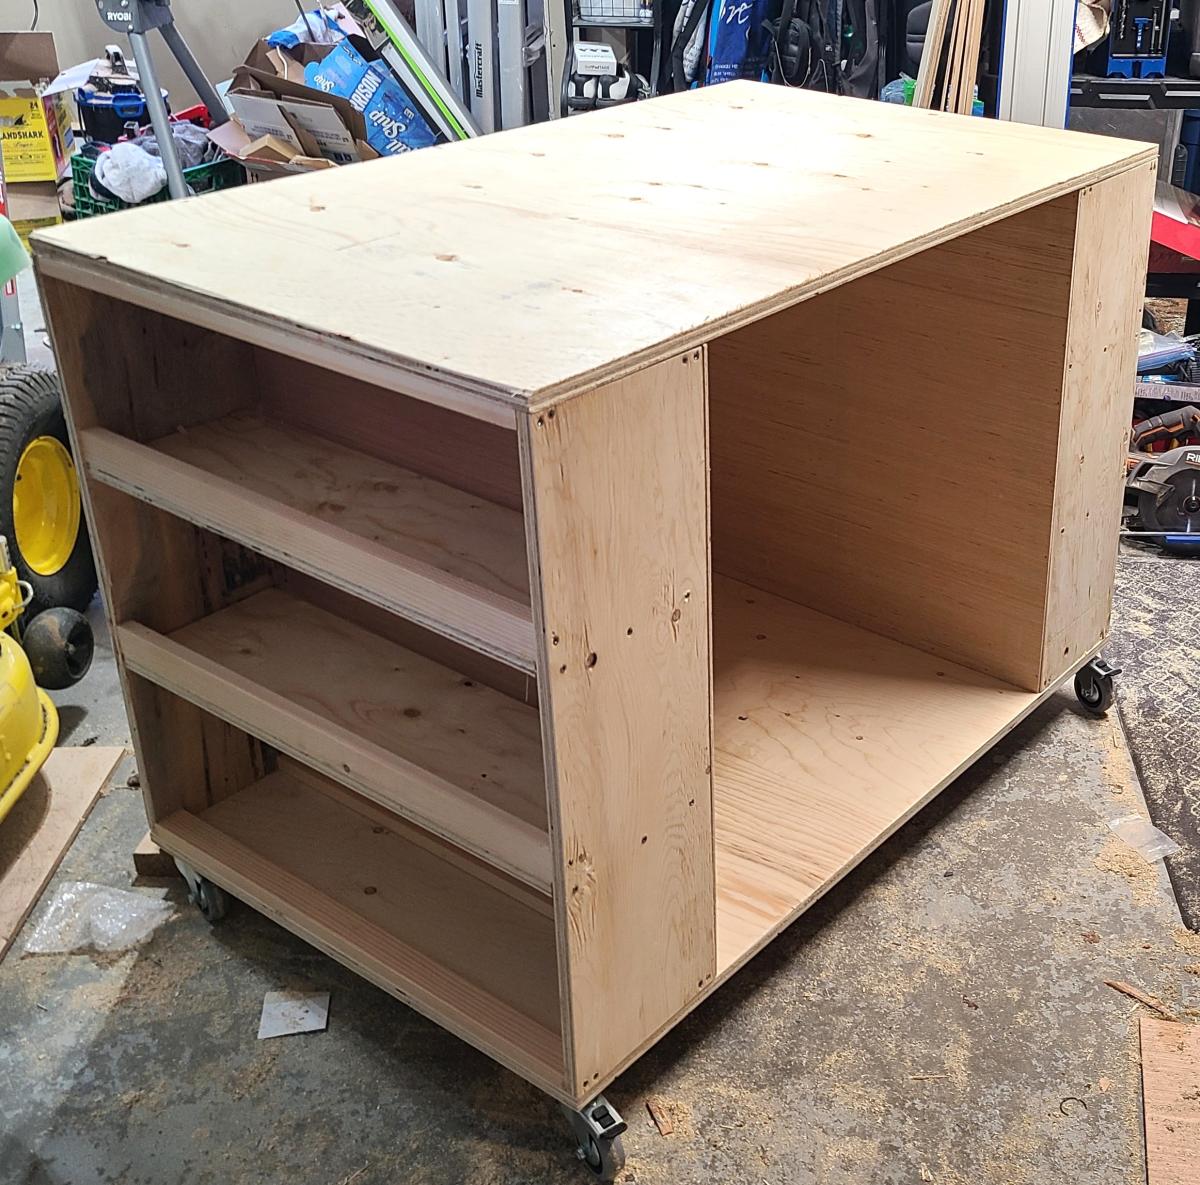
This is my first project and I am thrilled with how it turned out. Thank you Ana, you have empowered this stay at home mom!
Sat, 11/08/2014 - 12:03
I love the color of stain on this one! It really works well in this room!
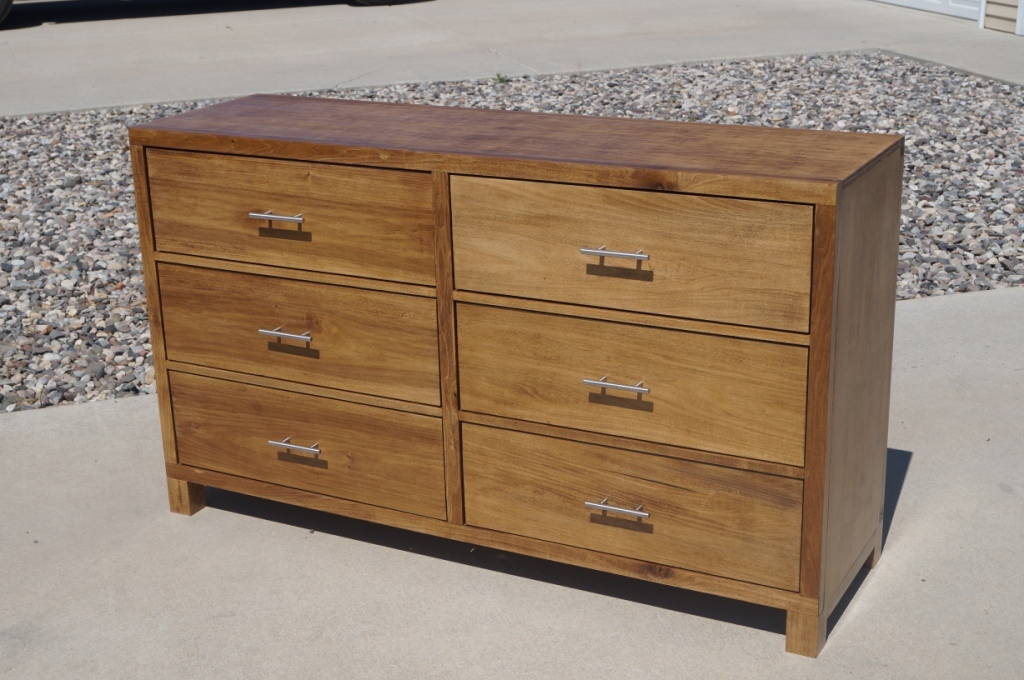
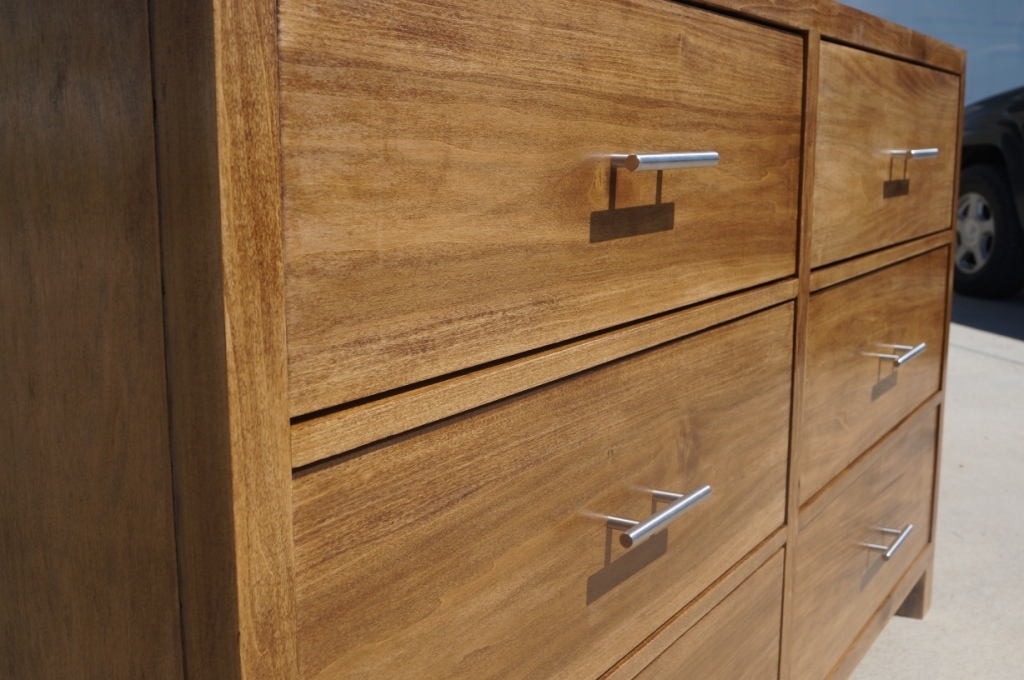
I modified Whitney's (Shanty2Chic) Rolling Rustic Wood Dresser slightly because I didn't want to have mine on wheels. Other than that, I basically followed her plans and advice! I used Maple plywood with poplar boards. With a dark stain they are a good match. I did use 3/4 maple plywood for the dresser drawers instead of 1x8" boards to save money. My wife is happy and my boys love their new dresser--that's all that matters!
Thanks, Anna, for this great site!
Wed, 08/14/2013 - 06:07
Really love how this came out! How big are those legs? I'm thinking of copying this design for my new place!
In reply to Awesome Job! by Adam Colburn
Mon, 08/19/2013 - 20:23
Thanks, Adam. The legs are 3x3 poplar you can get a piece at lowes or home depot (can't remember which) but they are actually 3 1x3s glued together but you'd never know it. Anyways, they are 3 1/2" tall and I put an additional piece of my 2x2s underneath to support them, then the strip of 1x2 between the legs on the side that are pockethole screwed into them as well--this is where the true strength comes in.
good luck!
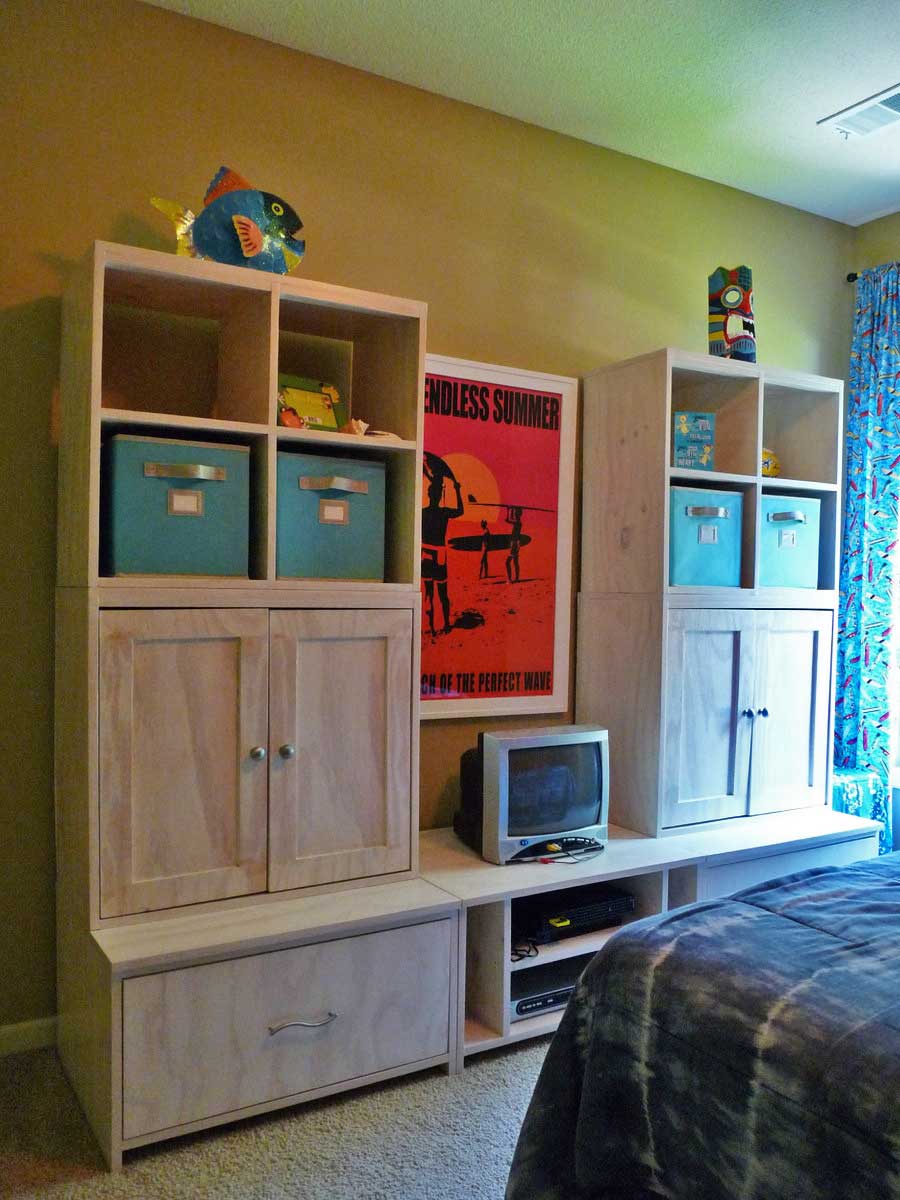
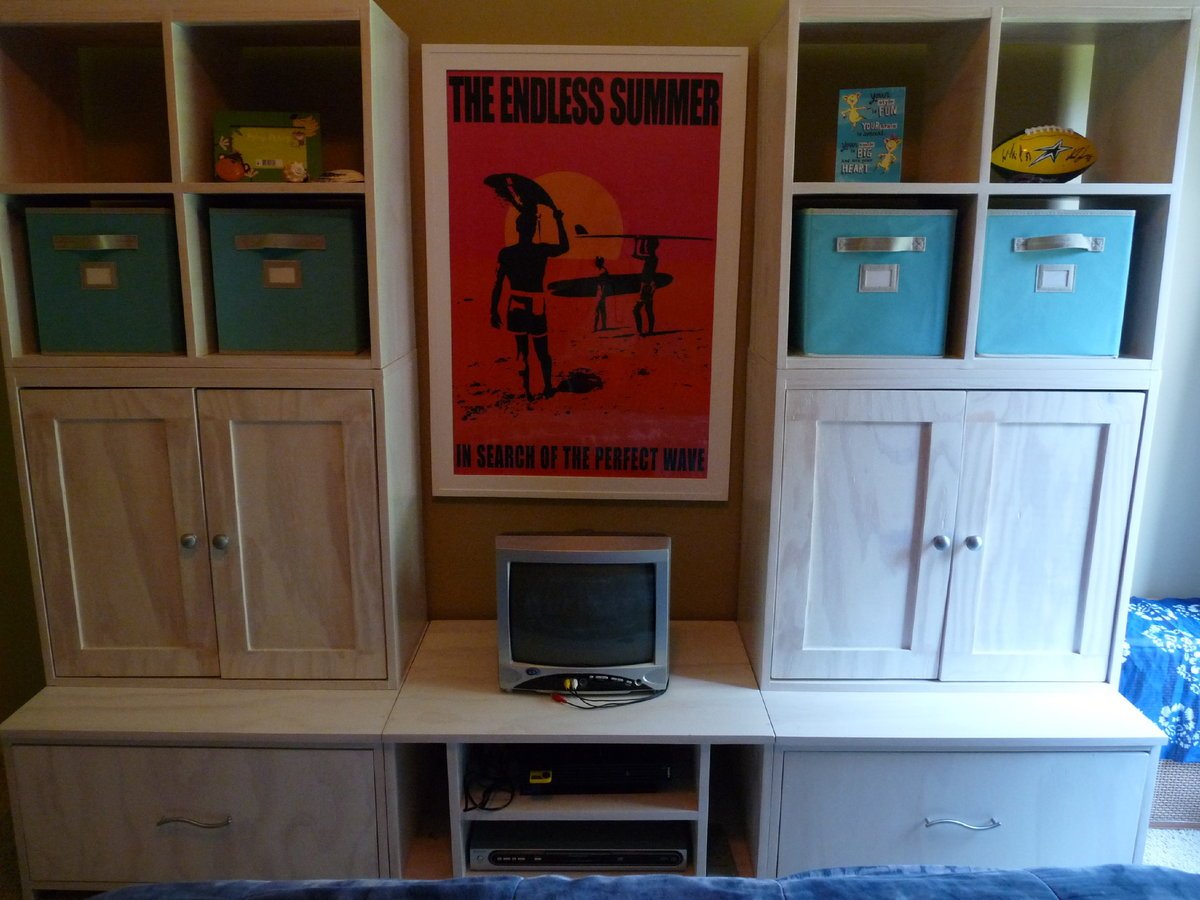
My husband and I built this for our son's bedroom using all five of Ana’s series of plans for the cubby wall system. We did pretty well, especially considering that it was our very first building project. We made the media component of the wall unit the same width as the two sides since we didn’t need it to fit a wide screen TV. My hubby was thrilled that the drawers went together beautifully. The doors turned out a little “off” -- luckily the room has a beach theme so this piece fits right in with the beach shack look!
Thu, 08/04/2011 - 01:55
Congratulations! It's gorgeous and an awesome organizational tool for the room...

After collecting my tools, I needed a place to store them that would protect them. I had already had two jigsaws break because I was storing them in a rubbermaid tote. When I saw this plan I knew it was going to be perfect for my shop. My husband was supper happy because I would finally have a central spot for my workshop. My boys were happy to help when they could.


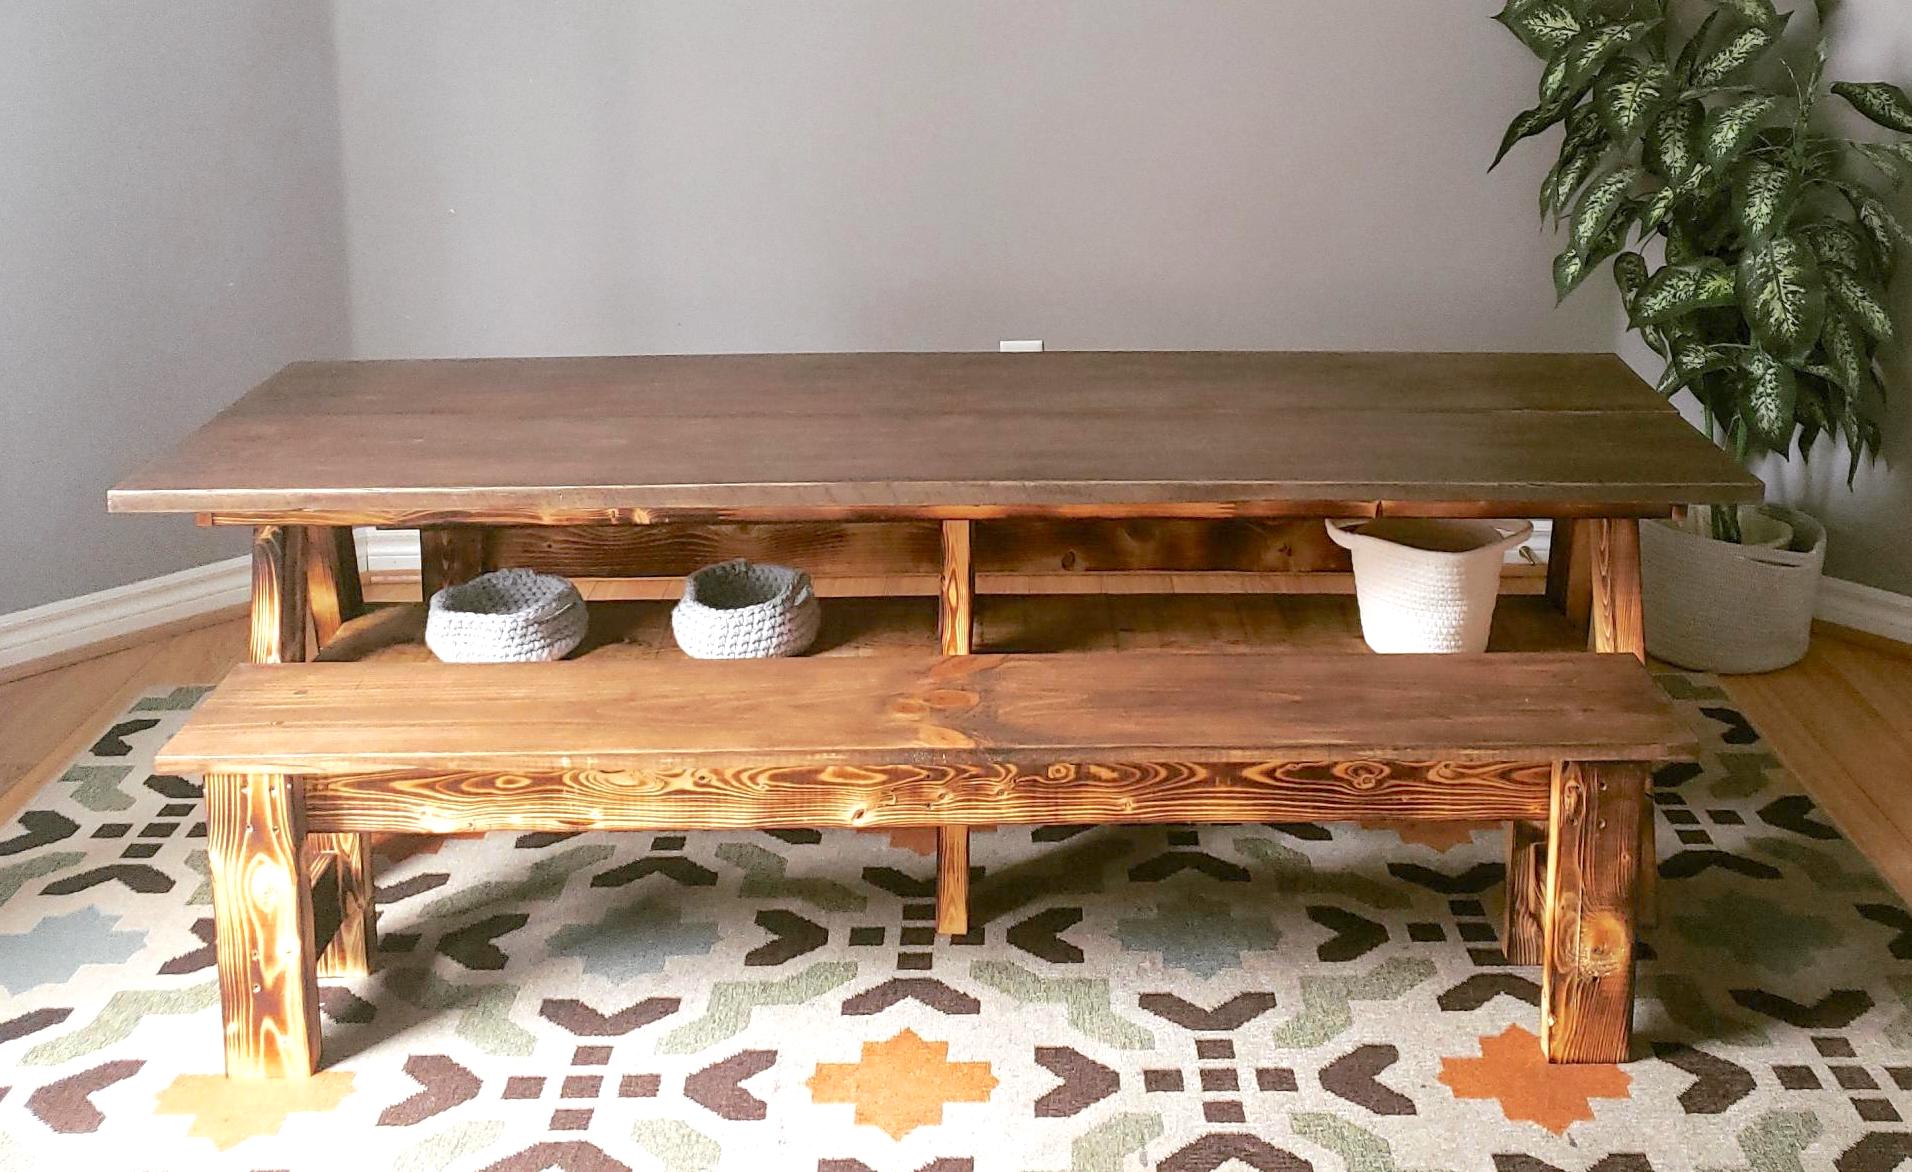
I loved this project!!! And am so happy with how it turned out!! I have 4 kids and this has so much space for everyone!
We paired the double trustle table with the farm table benches ( which I adjusted the length and height of the legs to make it kids size.)
The table top instead of a solid top we used 2 1x12 boards. And for the beaches we used 1x10 board for the seat.
Thank you for the amazing plans!
