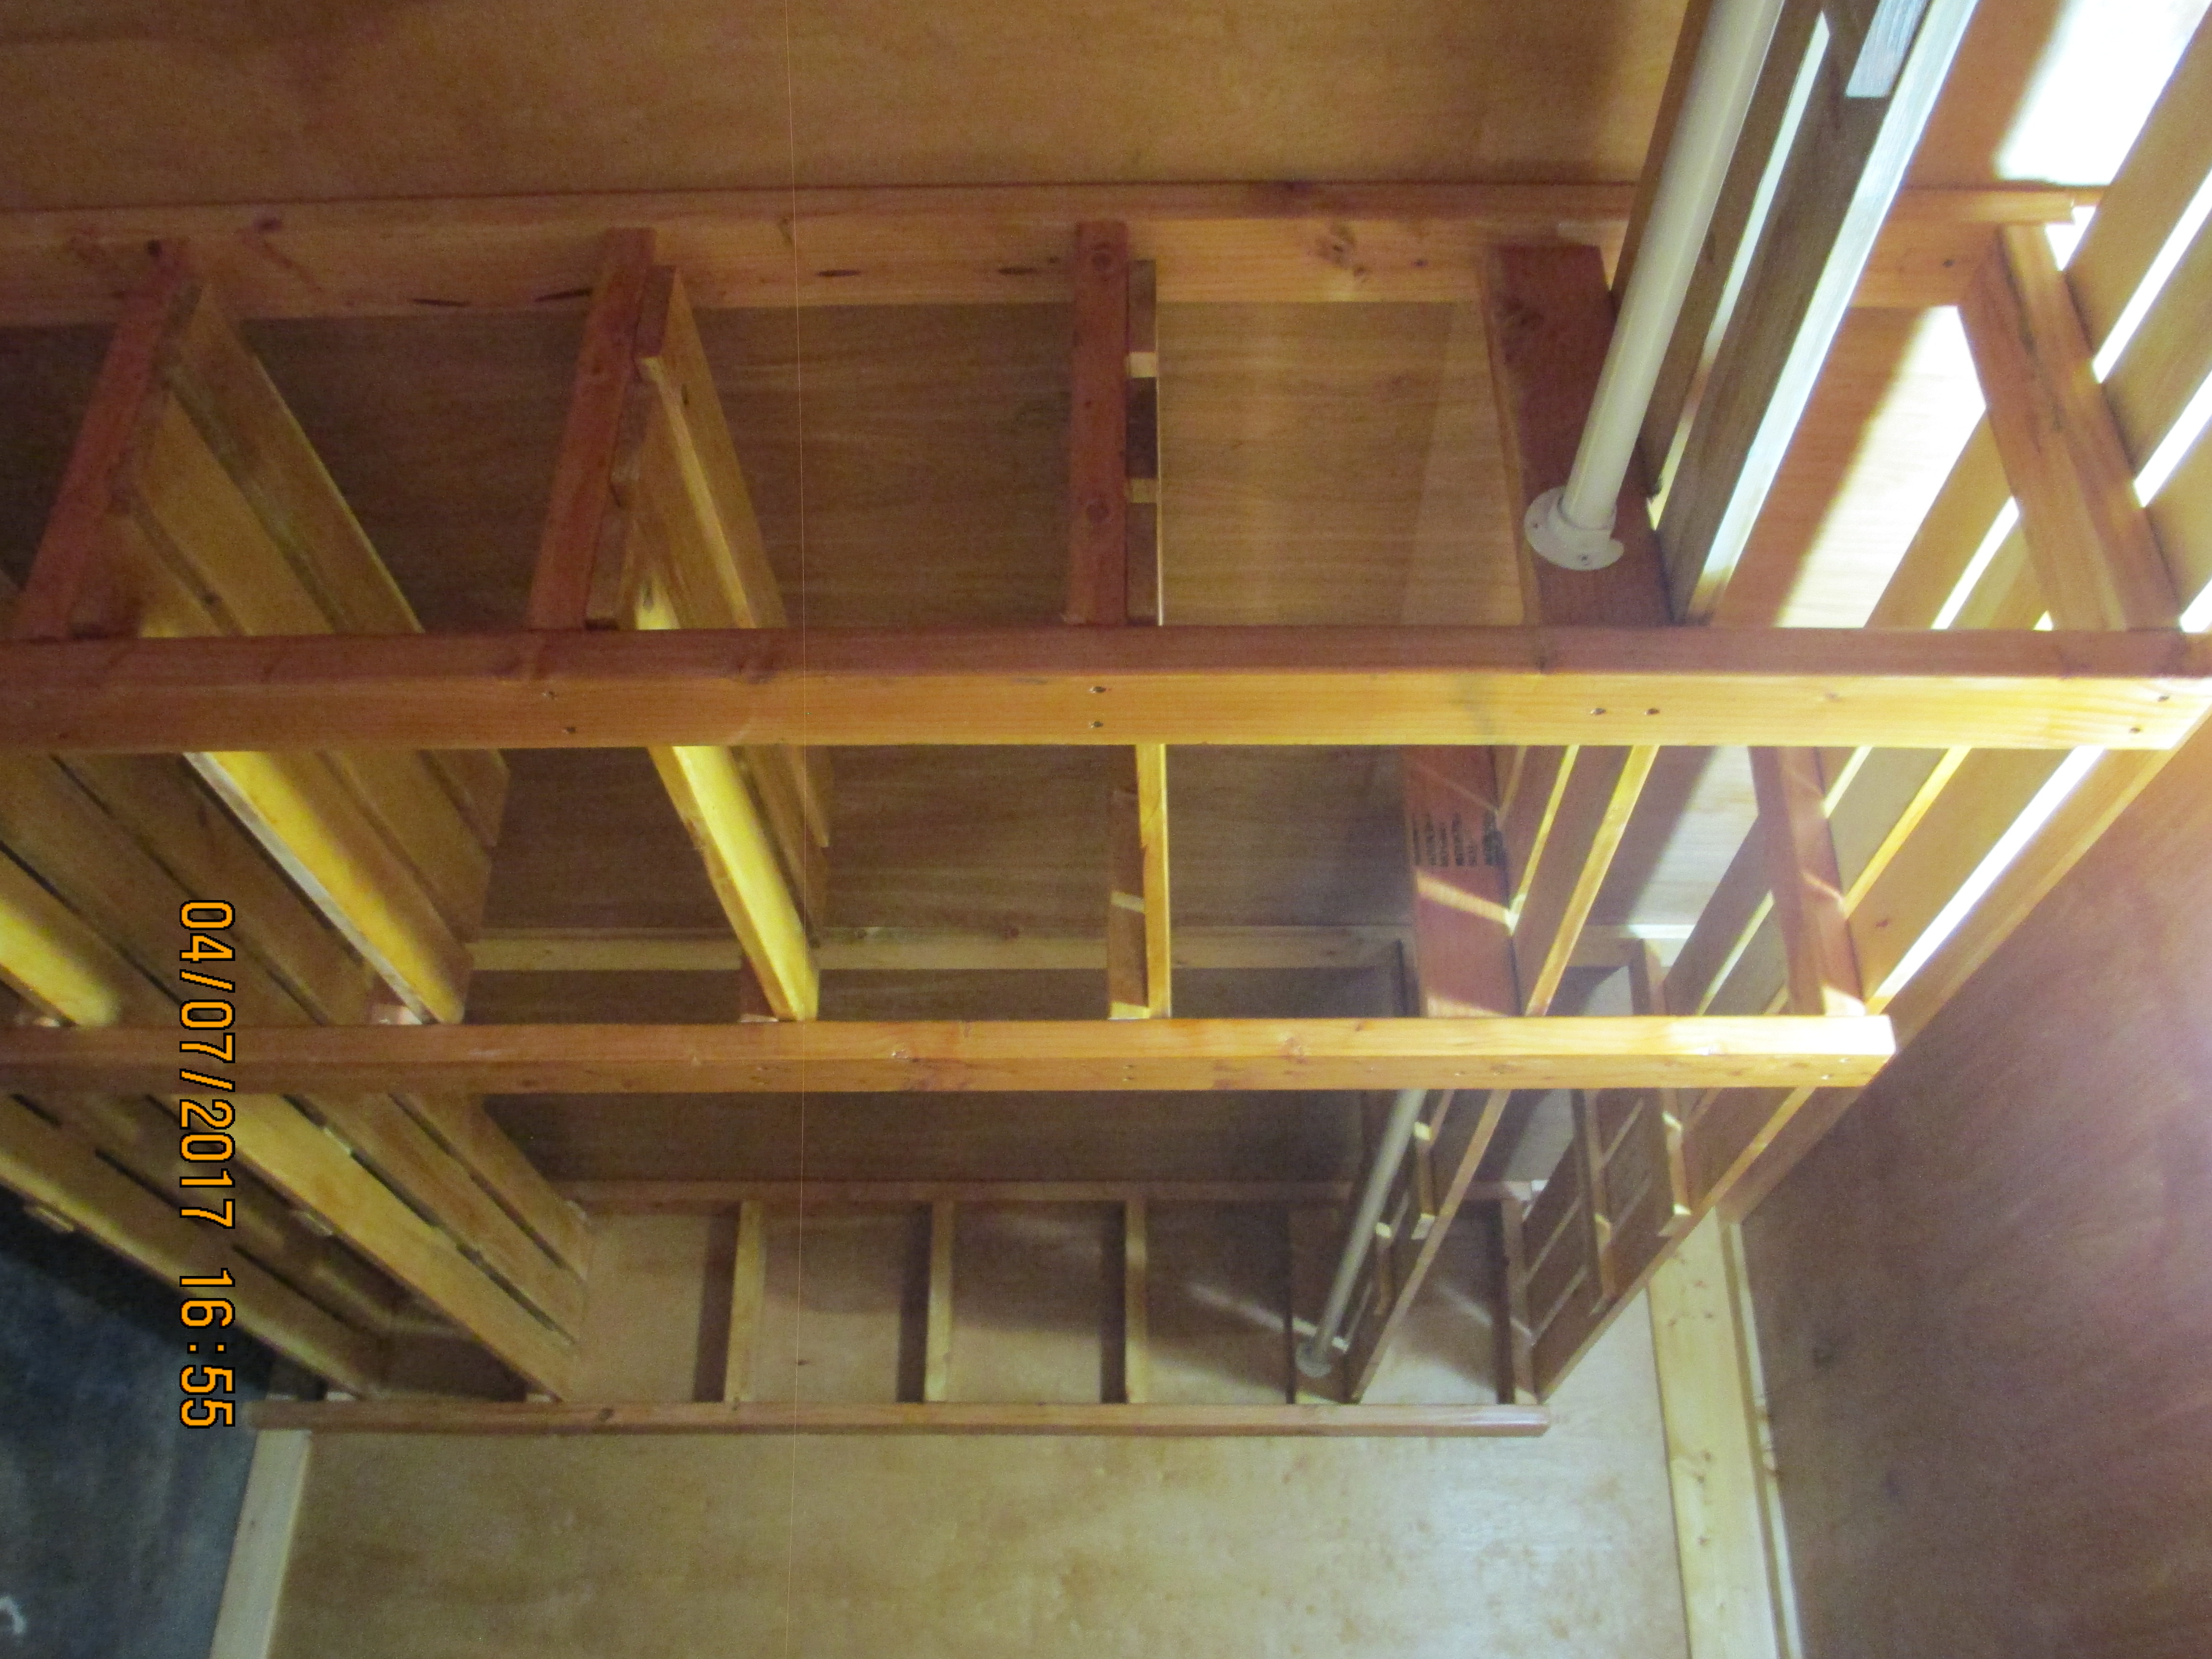
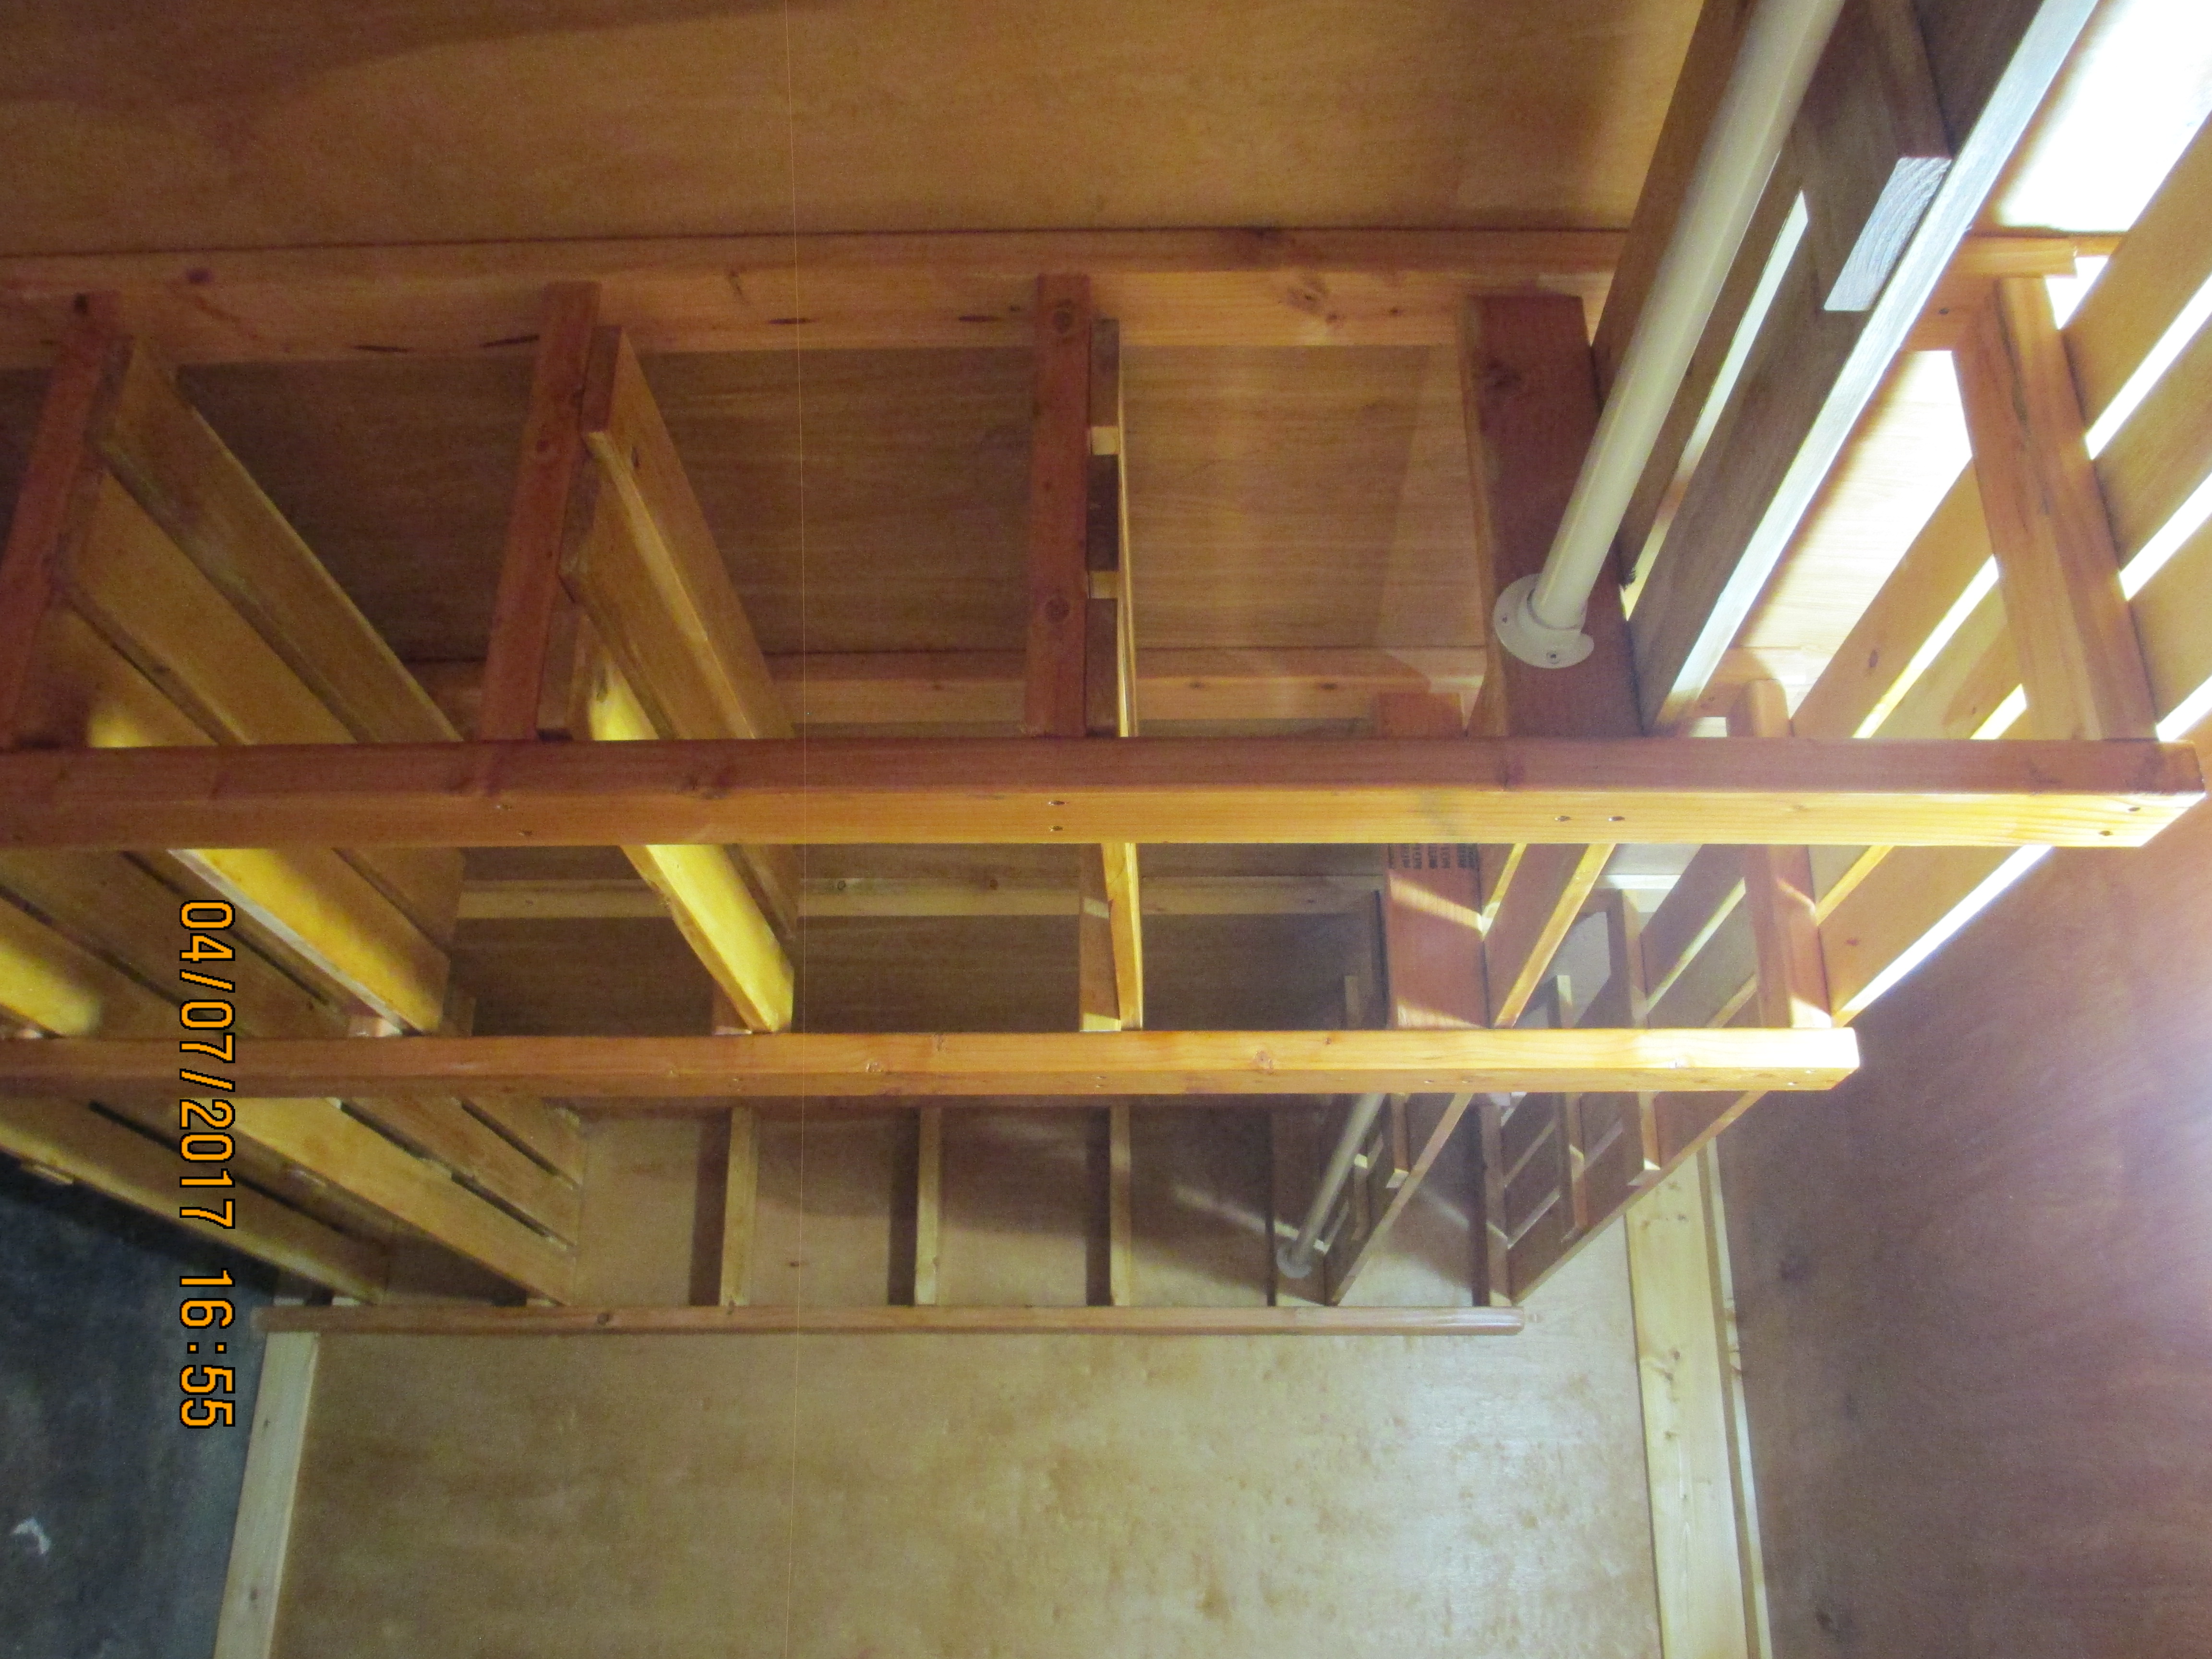
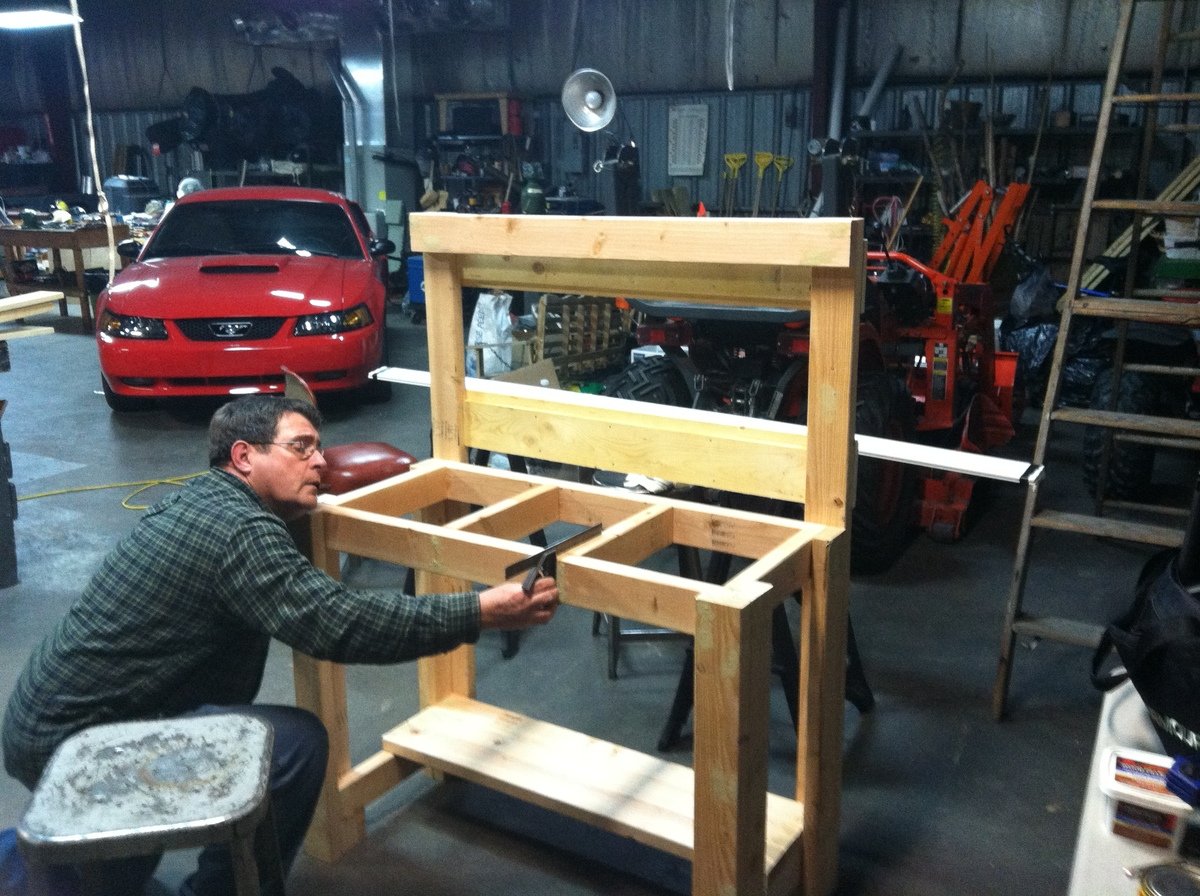
Two-tone open wardrobe
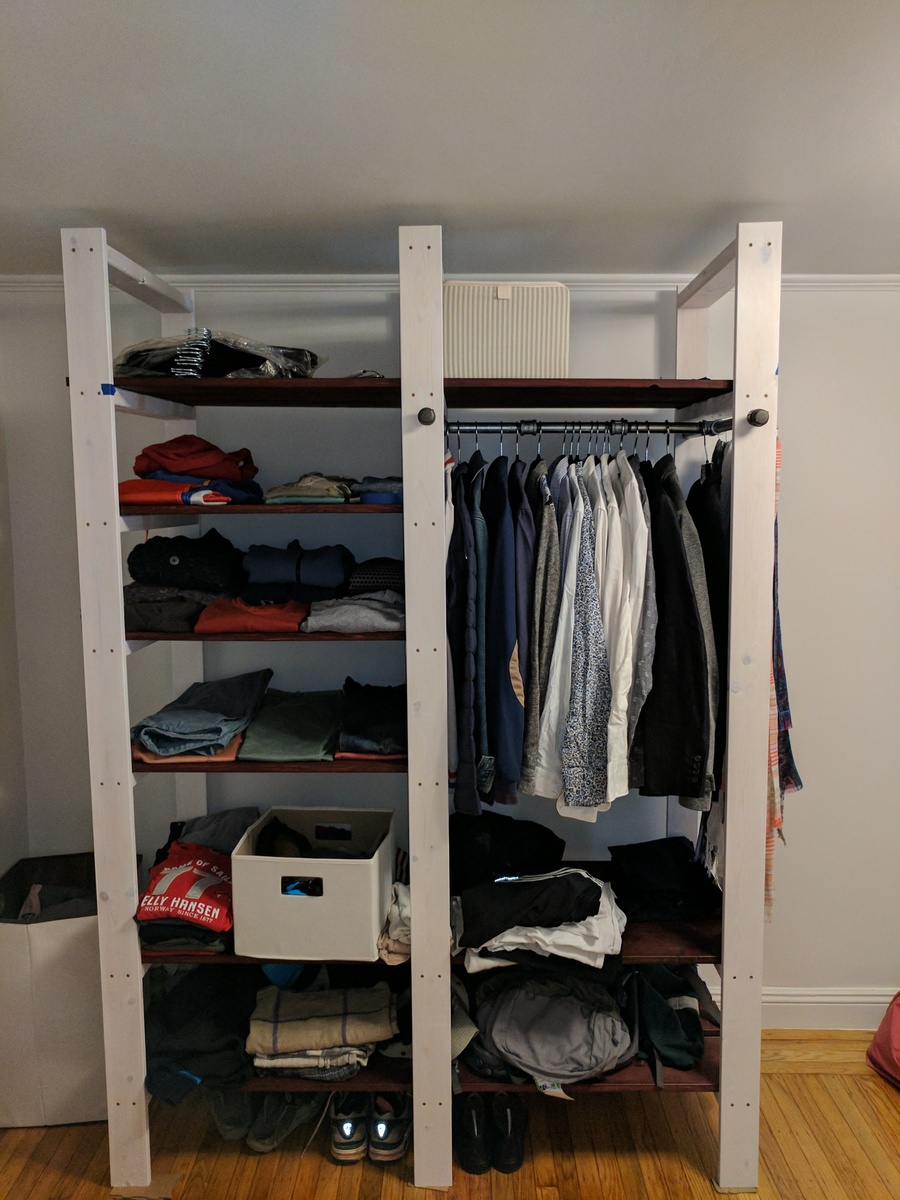
I couldn't find any wardrobe that I was really happy with - and then I stumbled upon Ana's design, and I loved it! I went for two different colors (white for the supports and rosewood for the shelves) to give it more presence. Dimensions are 60" wide X 22" deep x 86" tall
Built from Plan(s)
Estimated Cost
$300
Estimated Time Investment
Weekend Project (10-20 Hours)
Finish Used
General finishes rosewood stain (for dark wood, it gives a red hue) and whitewash.
Recommended Skill Level
Starter Project