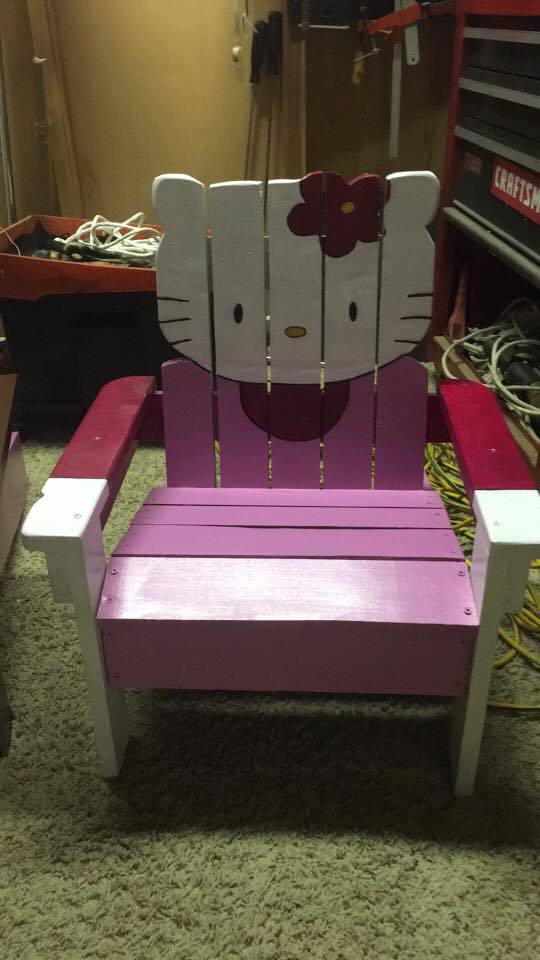
Adirondack Minnie Mouse
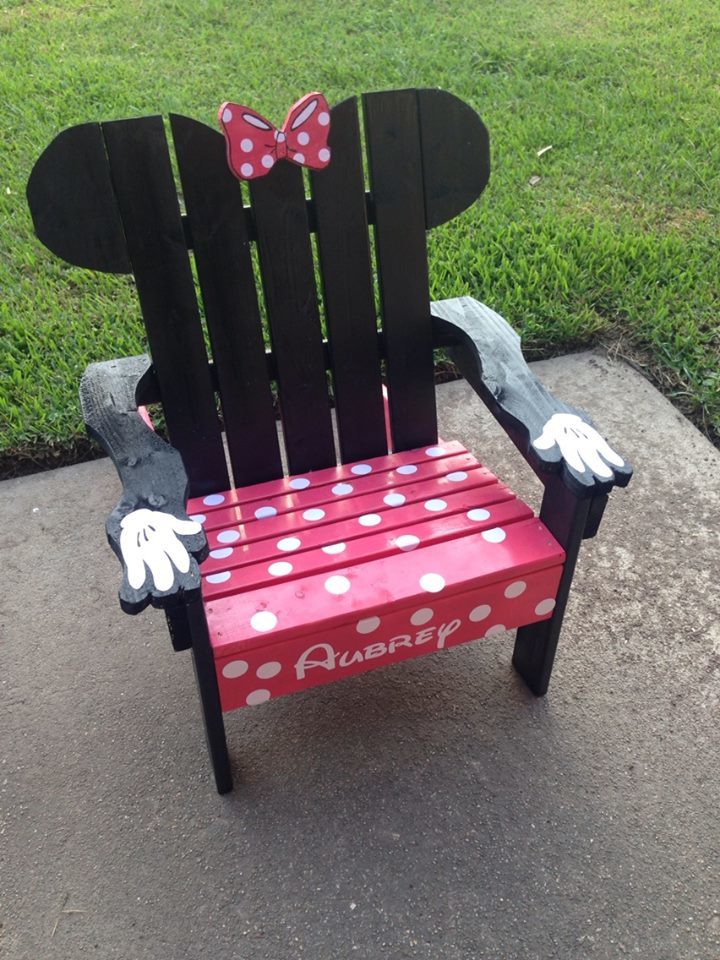
My daughter is into everything Minnie Mouse right now so I figured, why not!
Built from Plan(s)
Estimated Cost
$15
Estimated Time Investment
Afternoon Project (3-6 Hours)
Finish Used
I used stickers for the white details, but my daughter promptly peeled them all off. I suggest paint.
Recommended Skill Level
Beginner


Comments
Ana White
Fri, 11/14/2014 - 13:39
This is super cute! I love
This is super cute! I love the look!
CassandraMurdock
Tue, 04/28/2015 - 12:04
Is there any way to get the
Is there any way to get the plans for the minnie mouse chair? Would love to make this. I can open the plans for the basic adirondack chair, but not the minnie mouse one.
Thanks!
rmitchell527@g…
Sun, 07/24/2016 - 18:30
I am not able to download the minnie mouse chair plans
I am not able to download the minnie mouse chair
plans, can someone please assist?
pr22joyce
Thu, 09/08/2016 - 12:08
Plans
I have looked, clicked all over this site to download the plans for the Minnie Mouse Adirondack chair. Can someone please help?
bobo7899
Thu, 11/24/2016 - 09:04
MM chair
MM Chair
KelHad
Sun, 02/19/2017 - 13:28
MM Chair
Has anyone been able to locate the plans for the Minnie Mouse chair yet?
I still can't find them.
Baker06
Mon, 01/08/2018 - 07:39
Where can I find the plans
Where can I find the plans for this?
wdhenson66
Sun, 03/18/2018 - 19:24
Minnie Mouse Chair
Did you find the plans Minnie Mouse Chair?