Round Farmhouse table
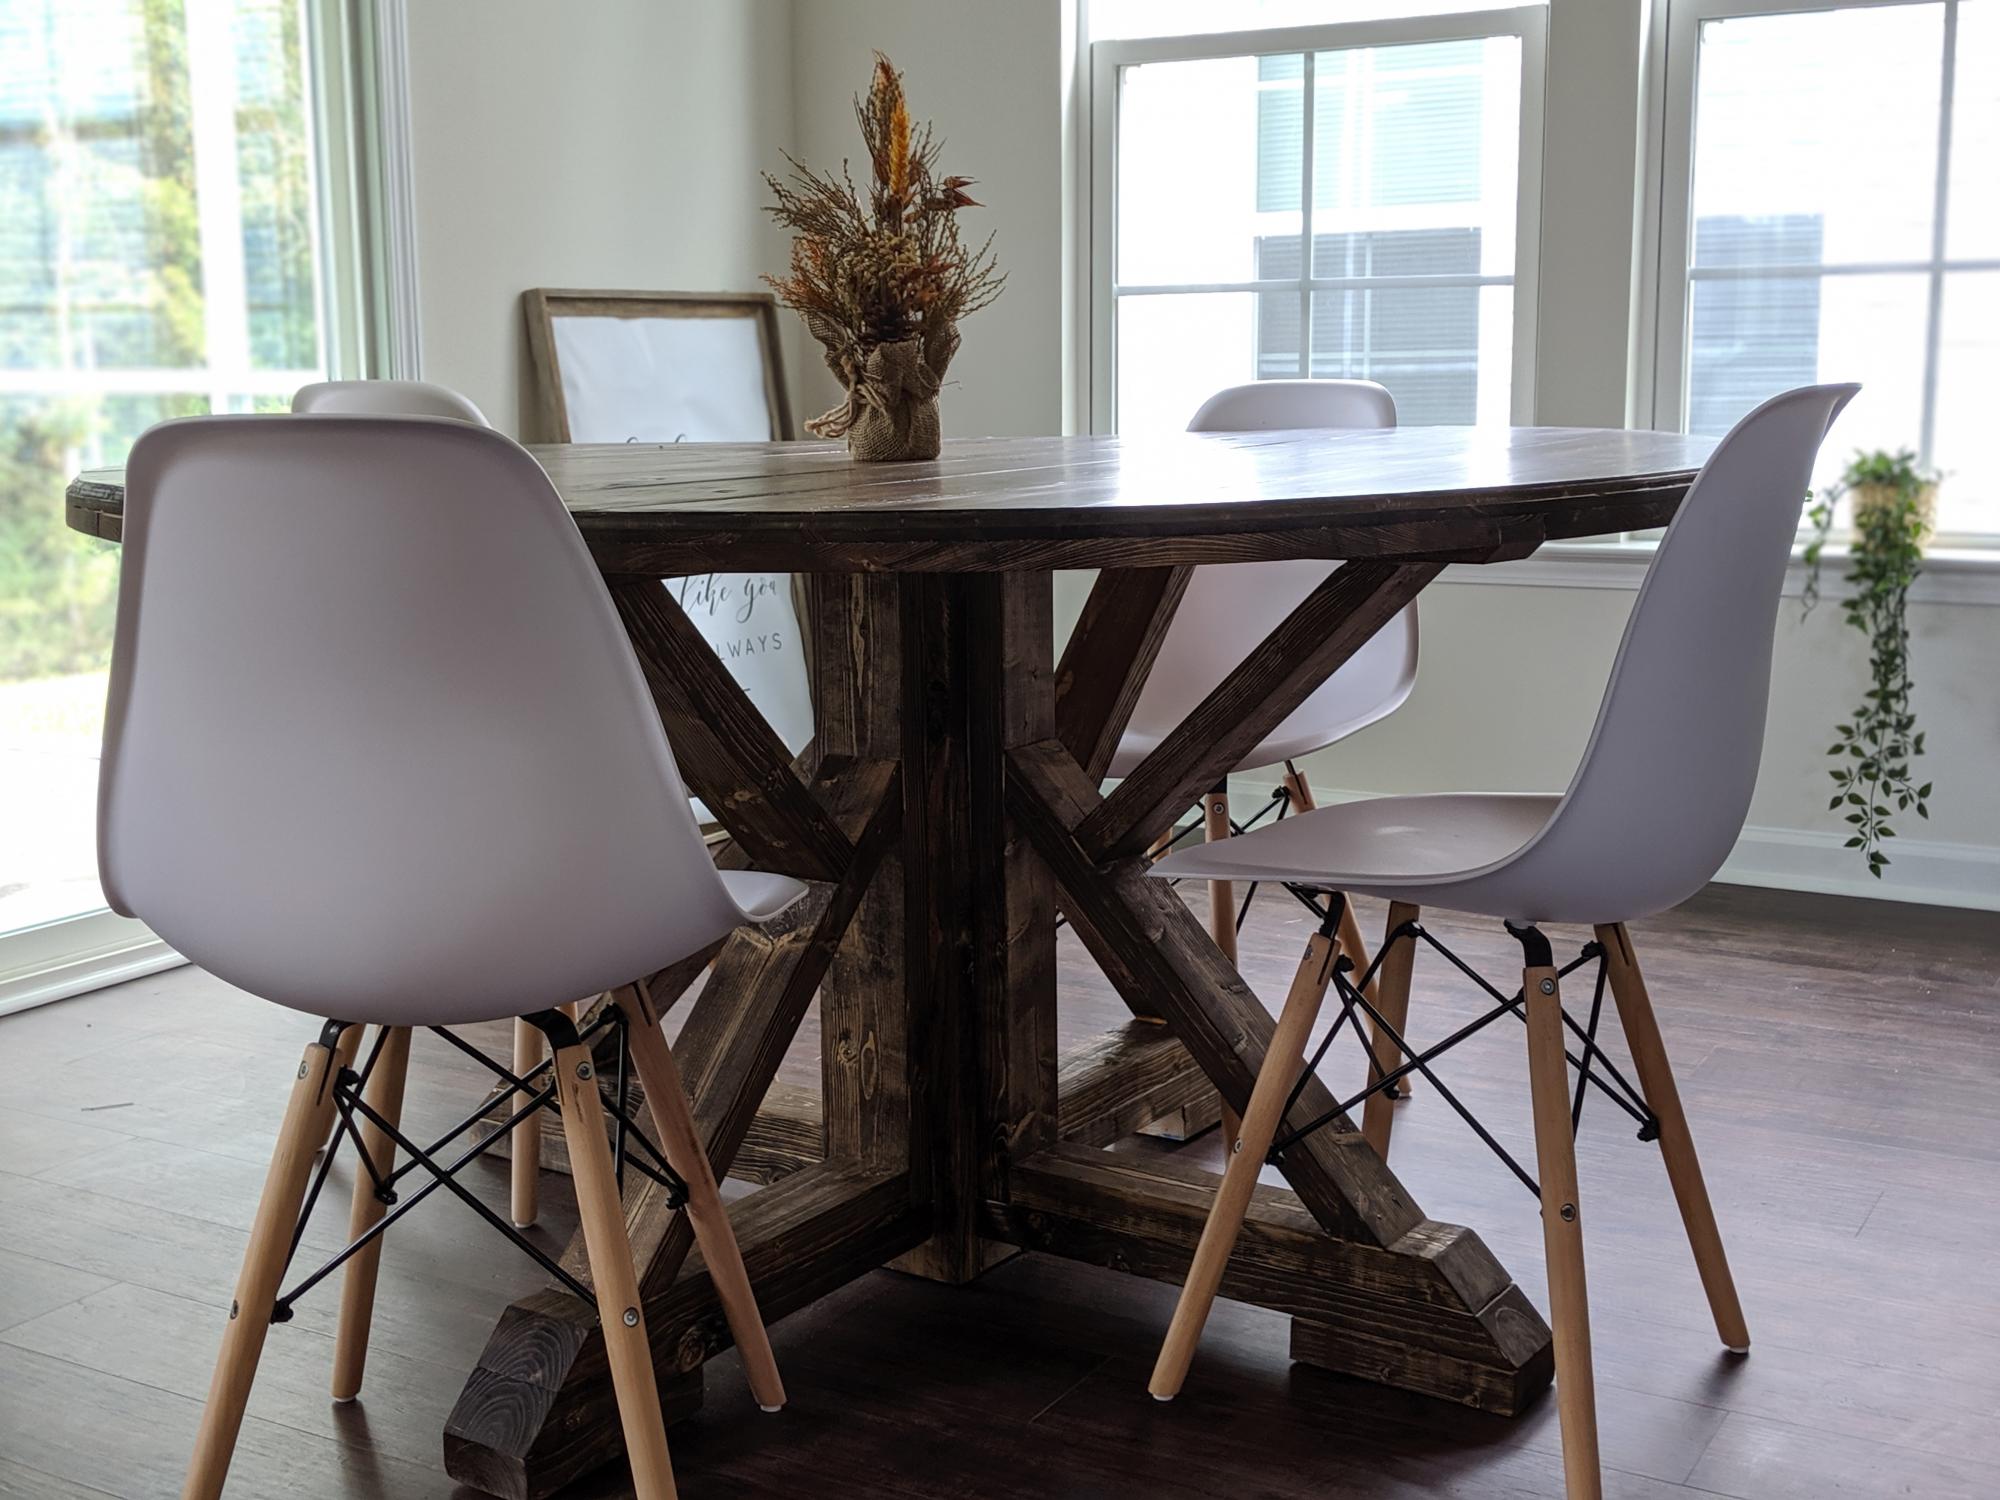
I took on a little bit more than I could chew with this one, but after a little R&I(Resourcefulness, and Ingenuity) I was able to figure it out. I love how it turned out though! Thanks for the inspiration!

I took on a little bit more than I could chew with this one, but after a little R&I(Resourcefulness, and Ingenuity) I was able to figure it out. I love how it turned out though! Thanks for the inspiration!
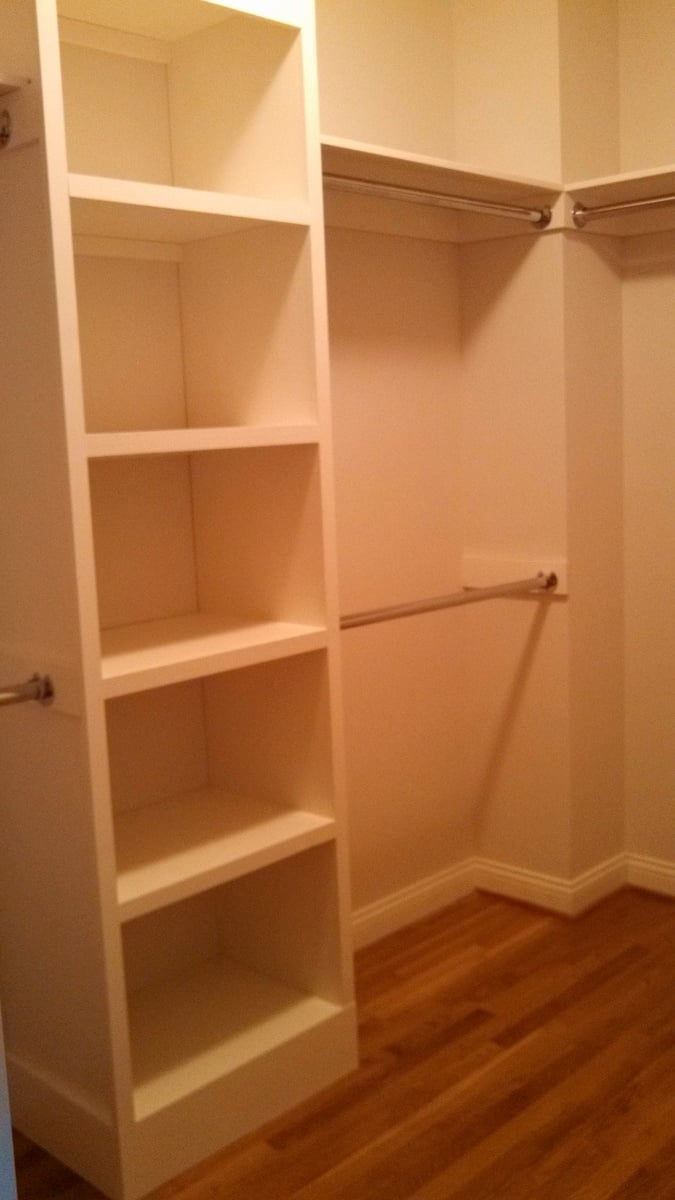
We built this master closet using the simple closet plan. It looks wonderful and wasn't too difficult to do once we determined the measurements we needed to use to fit our closet. My husband does not have much building experience at all, but he was able to do this with Ana's fabulous plans. Thank you so much for saving us hundreds of dollars! We have real wood in our closet and we love it!
We used plywood and painted all surfaces with indoor latex trim paint.
Sun, 01/12/2014 - 19:02
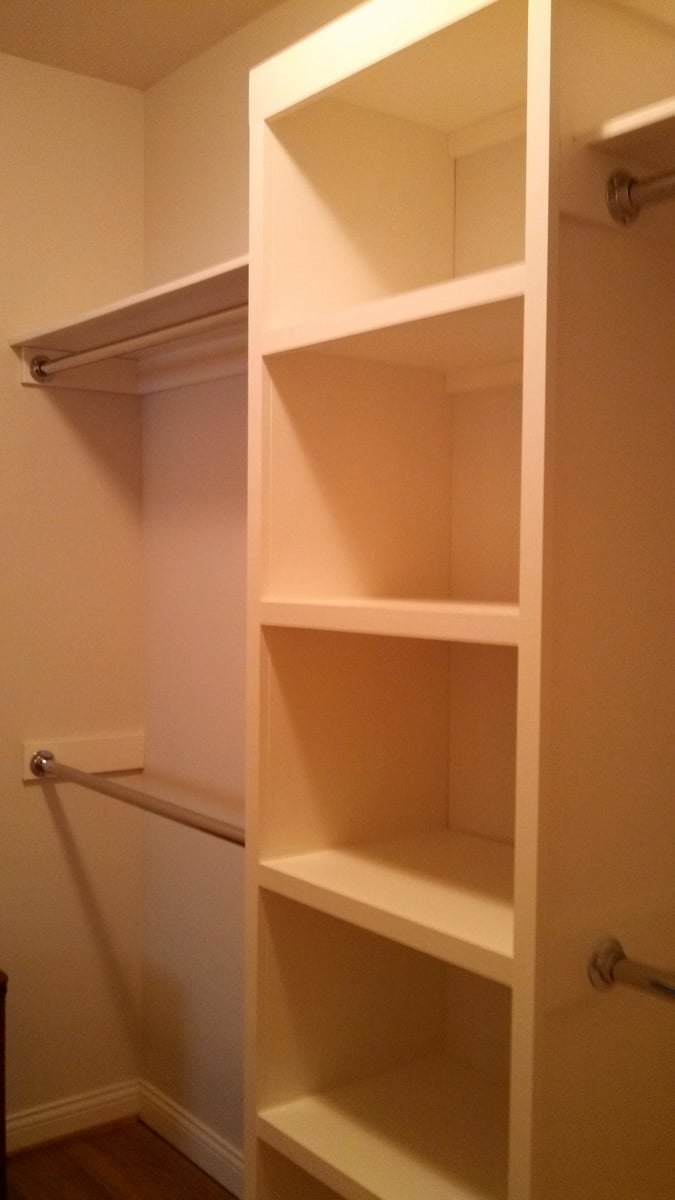
It looks very nice. May I ask what dimension of the plywood you used?
They look more than 3/4'' thick to me, right? My husband and I are planning our very first project!! Any info /advice would be highly appreciated.
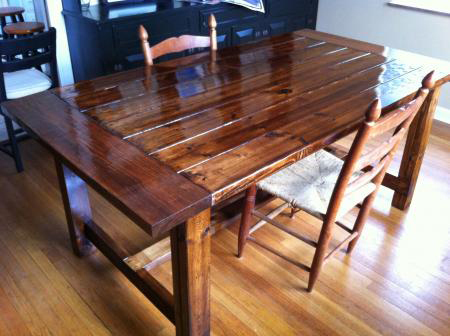
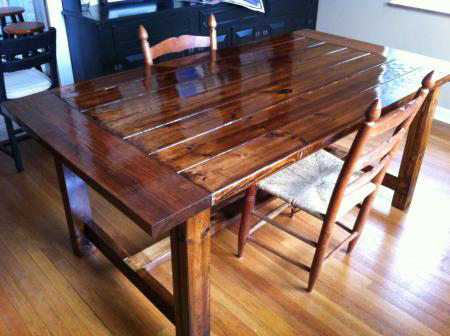
This was our first project; and definitley and inspiration to do more. I am so excited to have this in our dining room. Project took about 8 hrs to build and 4-5 days to stain and poly. We used a Gunstock stain with 2 coats of Walnut over that.
Overall cost was about $150 with wood, stain, materials and poly. We ended up working with 2 types of wood (yellow & white pine) which proved frustrating as we tried to match the stain color. All ended up OK after a couple of trial and error on some scrap wood.
I can't wait to make the matching benches. Thanks Ana!
Fri, 03/30/2012 - 10:01
Gorgeous table!!! I can't believe this is your first project! Yay! Now it'll never end! Ha! My husband thinks I'm nuts - I want to build everything!
I wish I had used Pine instead of Hemlock. I made a table very similar to this, but my HD only carries 2x stock in hemlock. Apparently Lowes carries 2x pine. I like the sharp square edges of pine better. Hemlock has rounded edges. Blah blah blah, your table looks awesome!
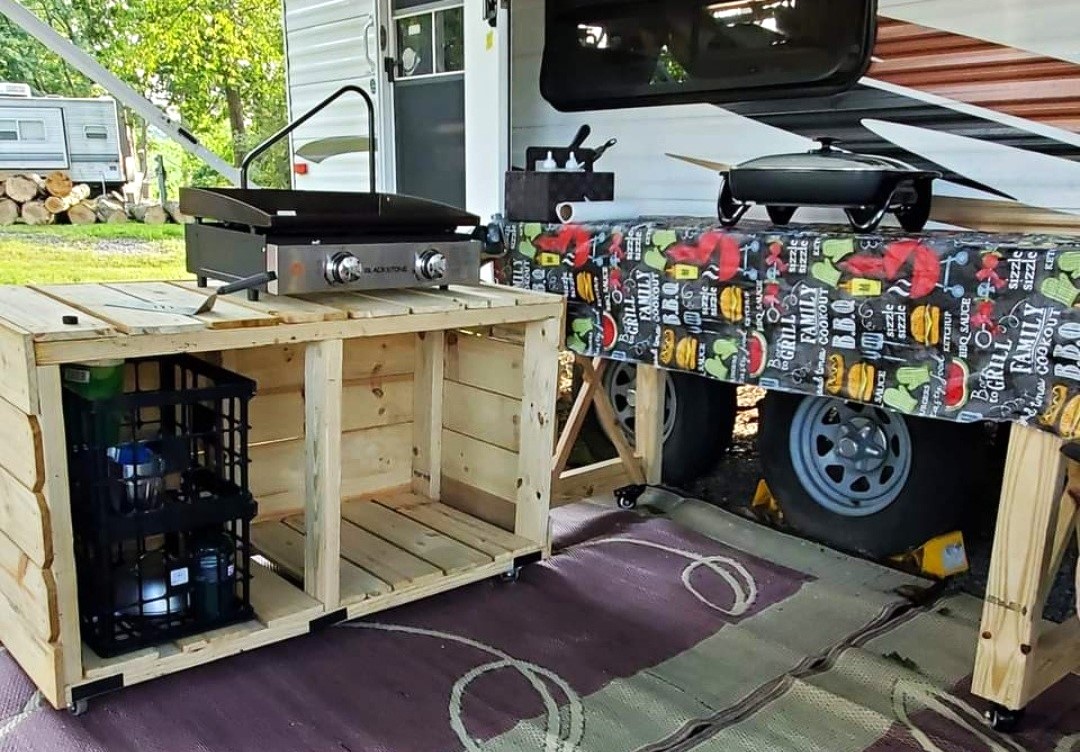
We made the grilling station to keep at our seasonal campsite and it's absolutely fantastic! We have since added some L brackets and 2 shelves, and this is where we store our extra cases of water, soft drinks, outdoor cooking utensils plus an air fryer! Super easy plans, with well written instructions for even the novice (me and hubs) diy builders!
Ali W.
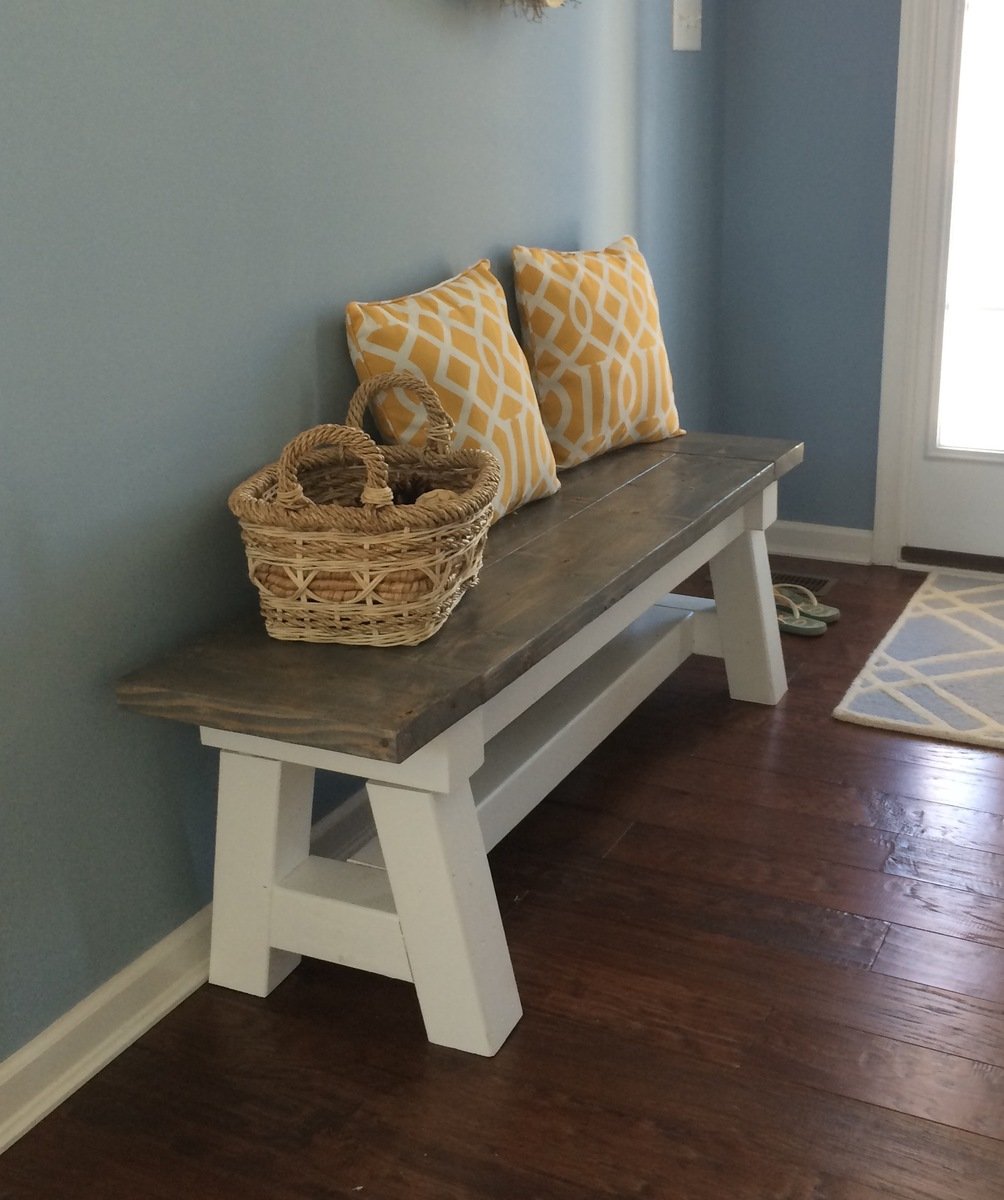
Thanks for the plans, Ana!
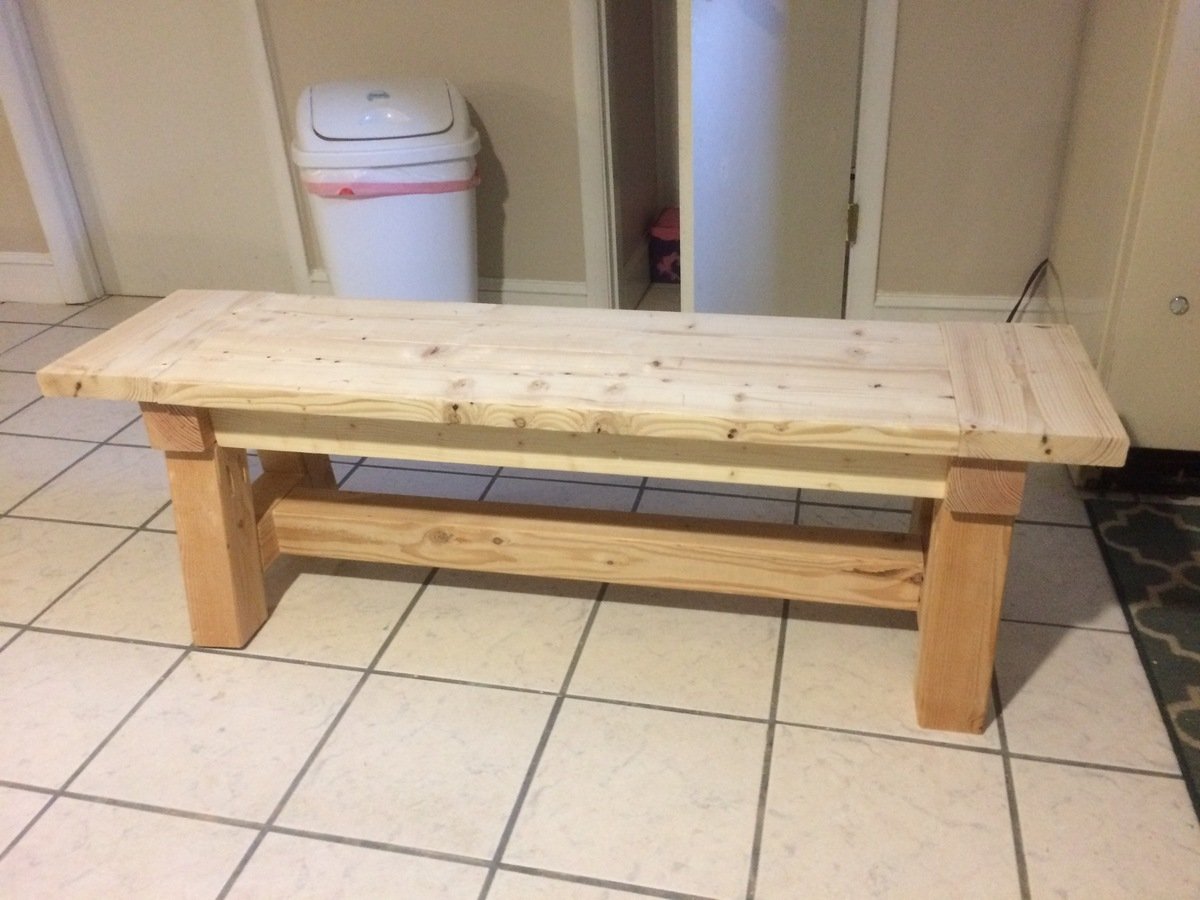
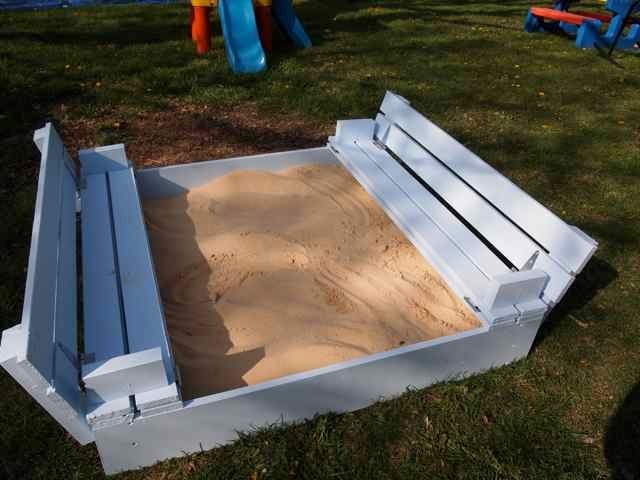
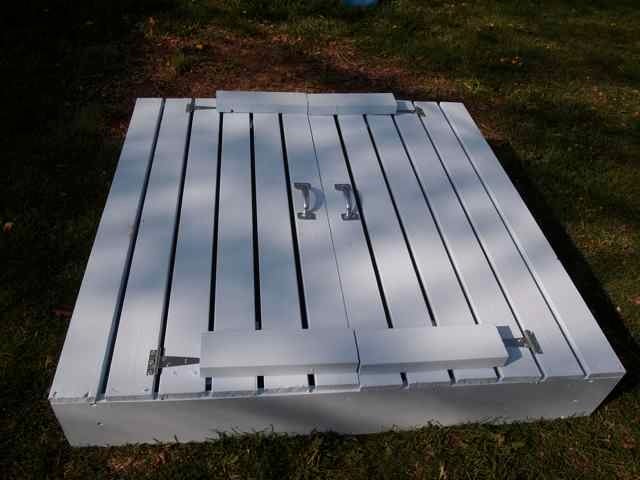
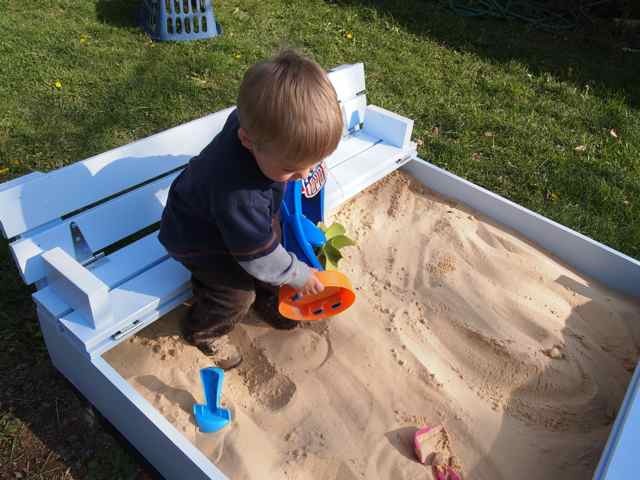
I knew I needed a sandbox for my toddler, and saw the original on pinterest. I was so happy when I came here looking for designs and saw that someone had created a plan for this. I think I'm more excited about it than my little guy is.
The plan was easy to follow, and it went together quickly. Thank you very much for these plans
Tue, 04/10/2012 - 10:45
Your son is adorable, and I totally "get it" when you say that you're more excited than he is! haha. Great job!
Wed, 04/11/2012 - 19:43
Great sandbox, it looks awesome! Your son is going to have so much fun in it this summer.
Tue, 10/16/2012 - 19:32
You rock Ana! Your plans are some of the best quick builds with lots of features. I built this sand box in two hours and my son is having the best time. This is a Texas winter replacement for the beach and the backyard pool.
Mon, 05/23/2016 - 19:44
So I just started making this box and it's truly an awesome design but I couldn't get 1x8 lumber instead I got 2x8... For the box base, will this make an difference in the mechanics of the seat and back opening..and the overall size of the box is 1.5" longer at 49" instead of the 47" the plans detail.. I was hoping that it won't but I think it might interfere with the 2x4 support the seat back..
I right in the middle of this project so I need to get on with it as it's nice tomorrow..
THANK YOU
ED
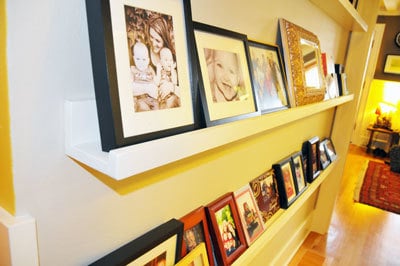
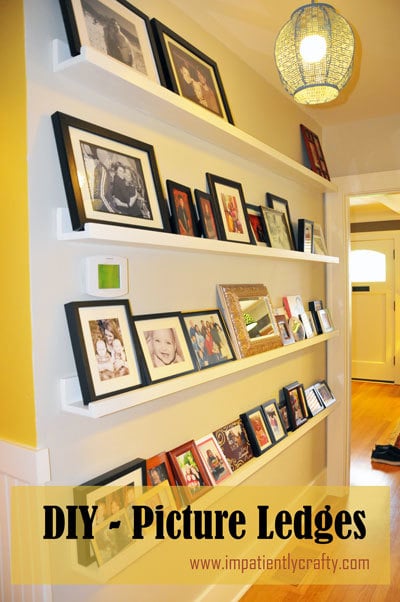
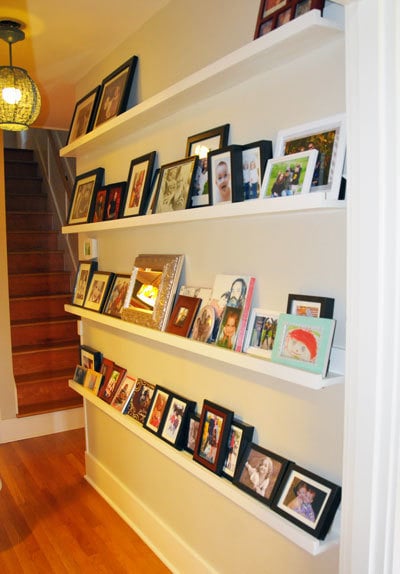
I think I get more compliments on these galley shelves/picture ledges than anything else I’ve made, and these were probably the easiest things to make!
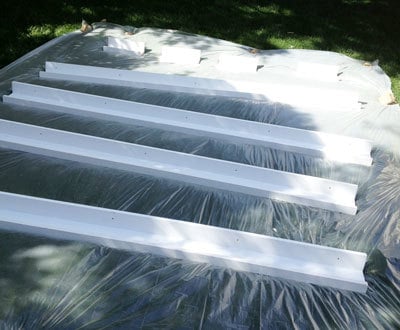
It cost me about $25 a piece but they were nearly 8 feet long each. I used a paint sprayer to paint them, WAY easier than brushing on the paint! watch for drips though (my first time using a sprayer, treat it like spray paint, light easy coats!)
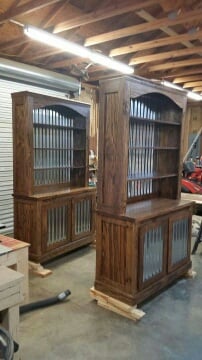
I saw this on Shanty2Chic and loved the plan. I had a friend that wanted me to build her two of these with tin in the door and back. The tin was a challenge but it all worked out. She loves them. Thank you for the plans. I could not have done this without them.
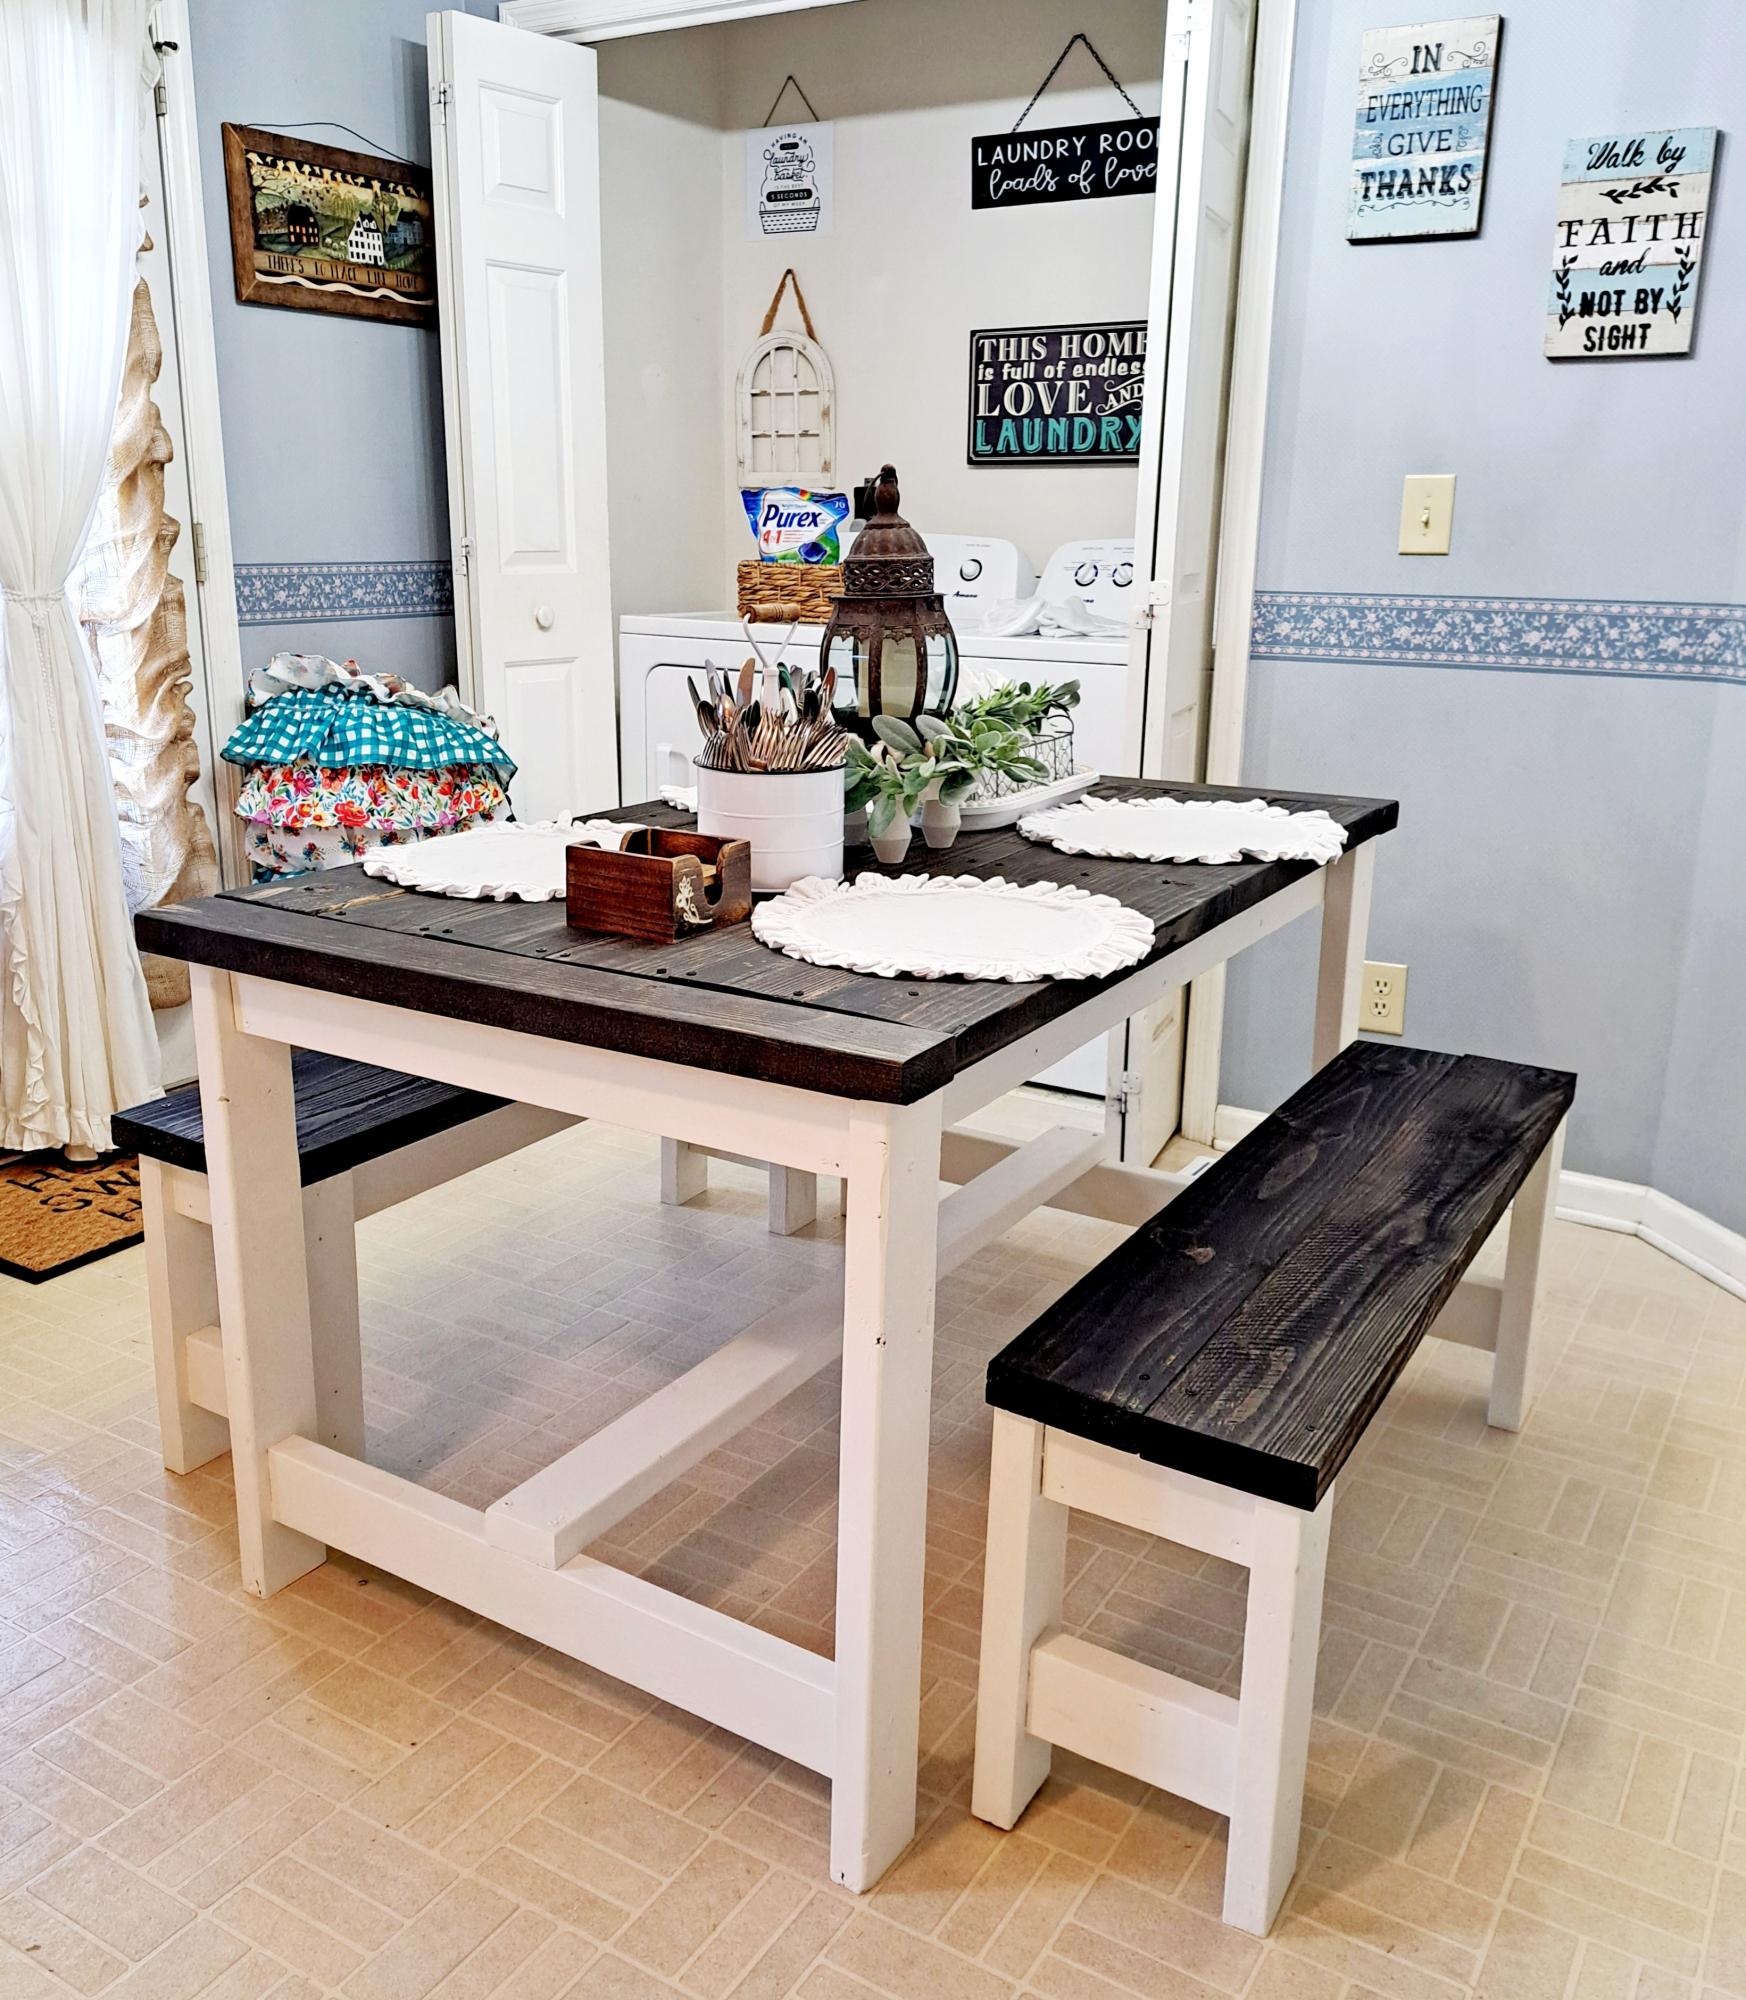
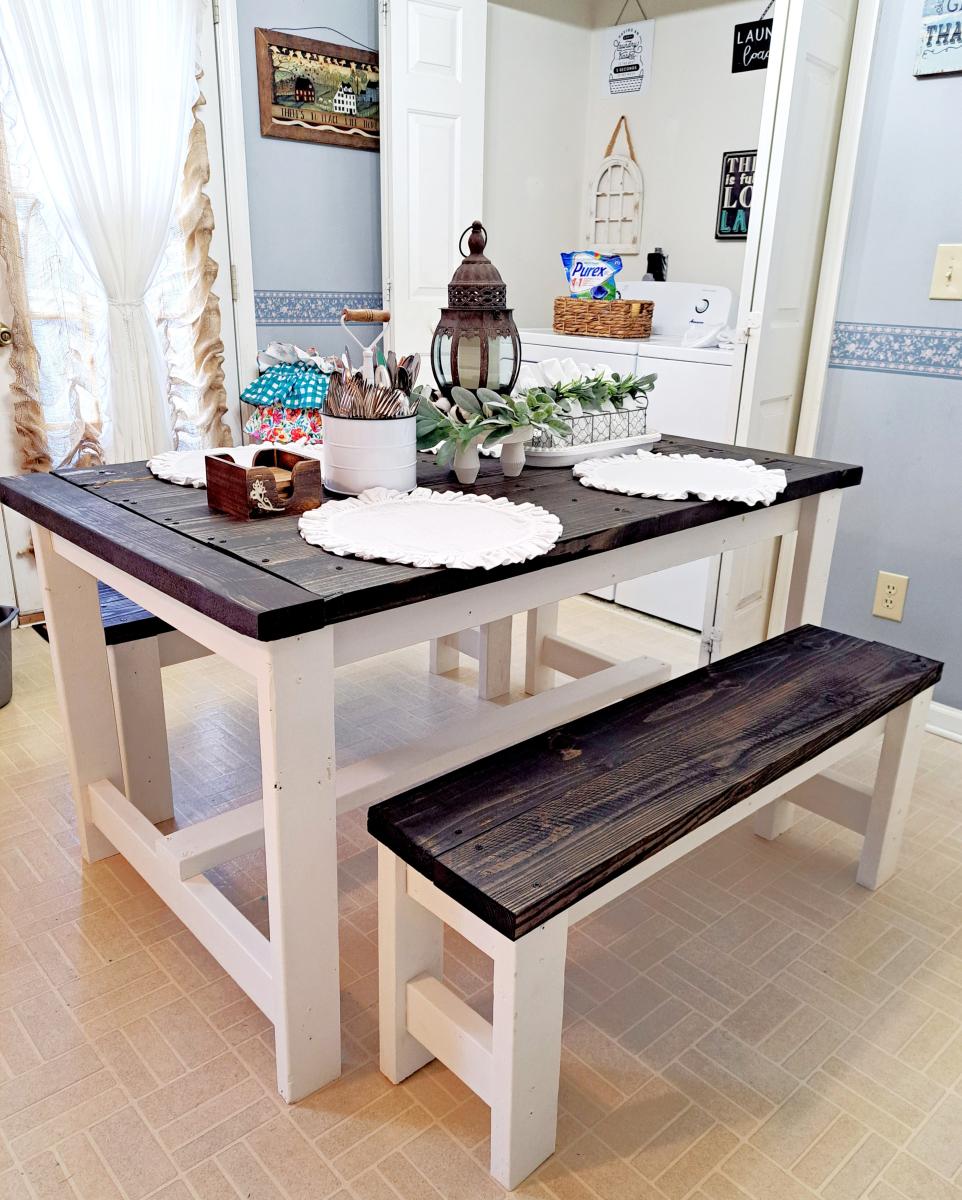
This was my first time building furniture. I've restored and refurbished antique furniture for years and but never imagined building my own before. I have a small kitchen and had to modify the size to accommodate area space. I also added breadboard ends to the tabletop. I am now planning to build more furniture using your plans. Thank you Ana White for providing such a wonderful resource to help beginners build their own furniture!
Fri, 09/22/2023 - 08:01
WOW, you did such a great job! Love the finish choice and added breadboard ends. Thanks for sharing:)
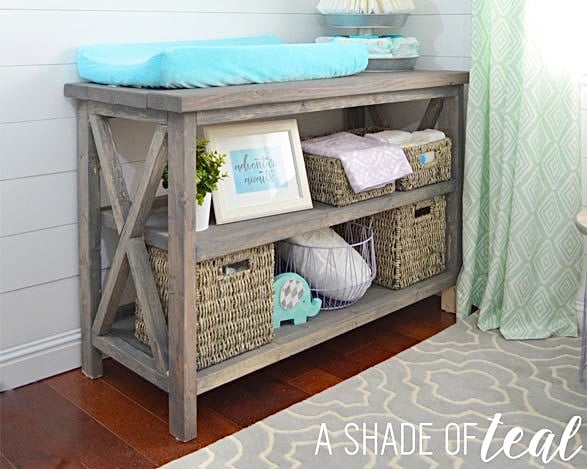
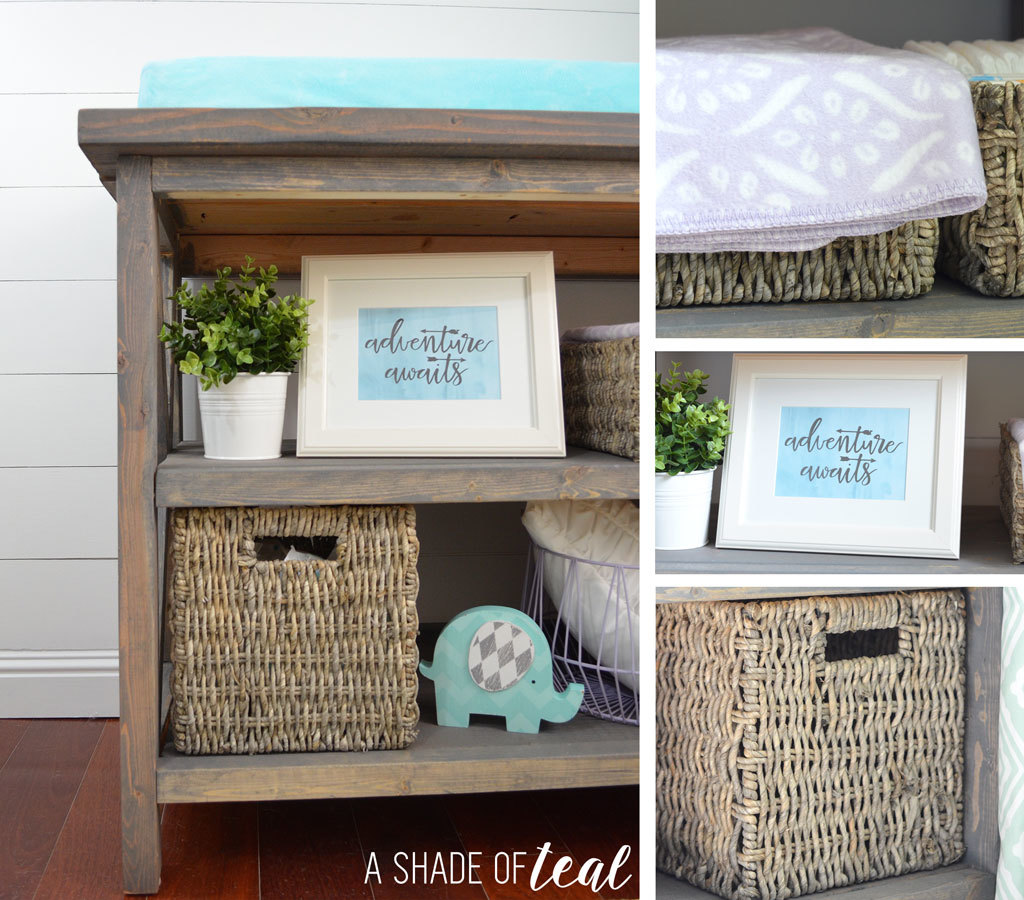
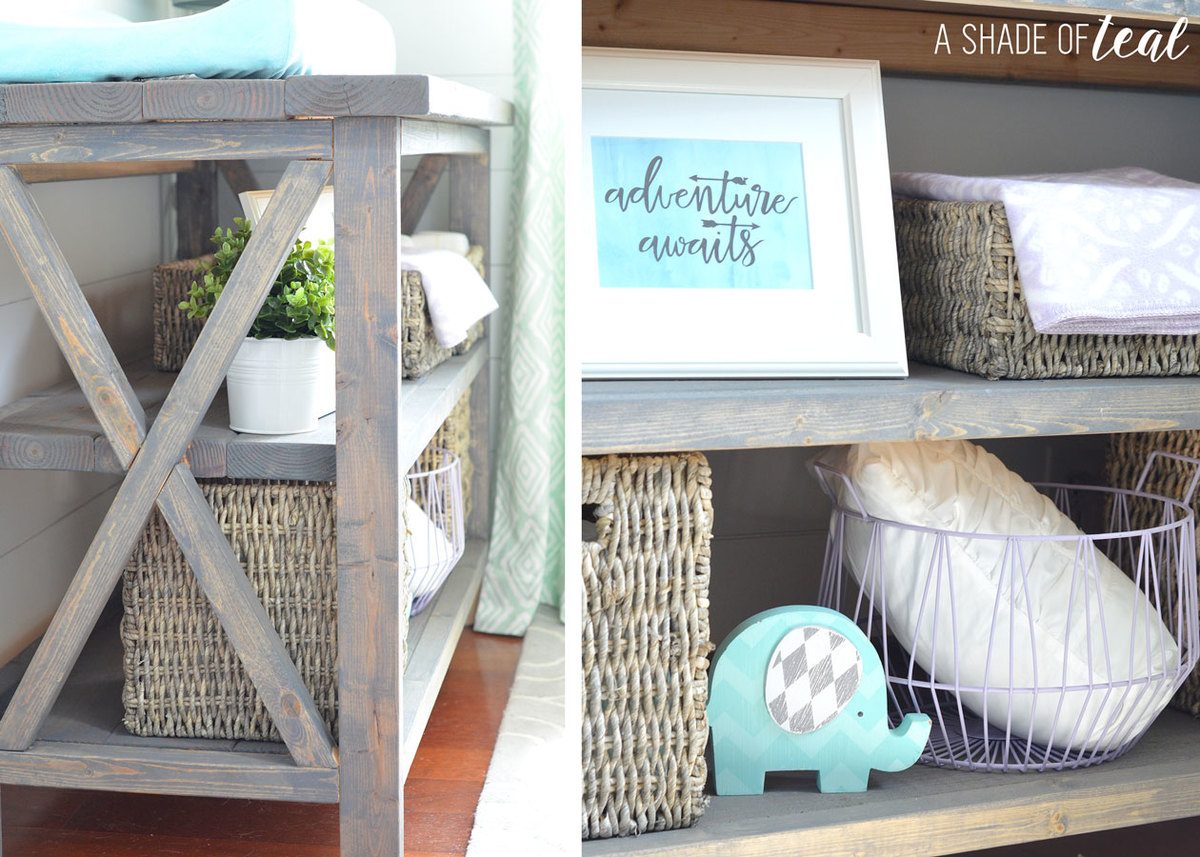
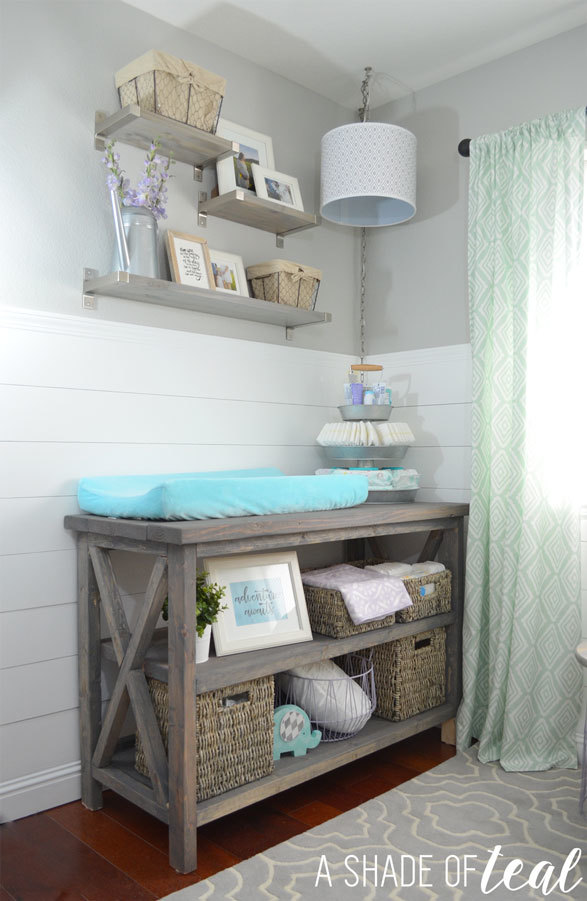
Rustic farmhouse changing table without the framed top box. I built this for my daughters nursery.
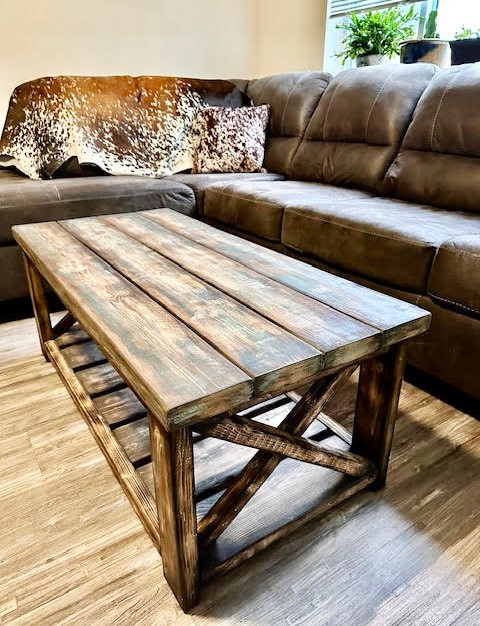
Great coffee table by April!
For the Finish:
First I lightly burnt the wood. The base is minwax in ebony. I actually sprayed water on the wood and used a damp cloth to apply.
The top I used random spots of regular satin paint in grey, a couple shades of blue and an olive green and a chalk paint white. Then sanded it down removing most of the paint and stained it with minwax provincial. And went over some of the edges with the ebony.
This was an after work project. (2.5 hours) Easy build. This bench is exactly to spec of the plans. This is a great little work bench already planning to build a couple more.

Inspired by Ana White's $25 Wood Baby Gate (https://www.youtube.com/watch?v=cPV6XfheqgA), I needed a gate for my miniature schnauzers. They loved going into the basement unattended ... and well ... potty accidents happen without me being the wiser. So, I modified the hardware used, and so far so good! The puppies and my little nieces and nephews are protected.
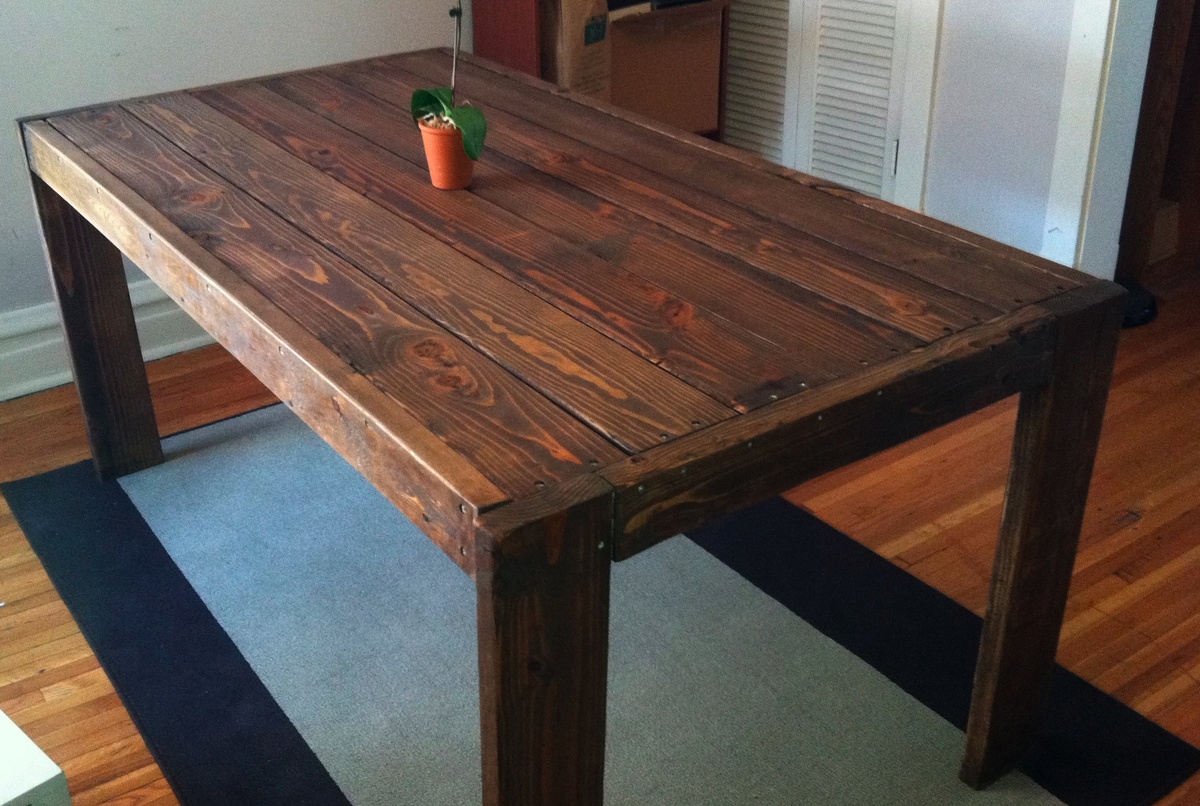
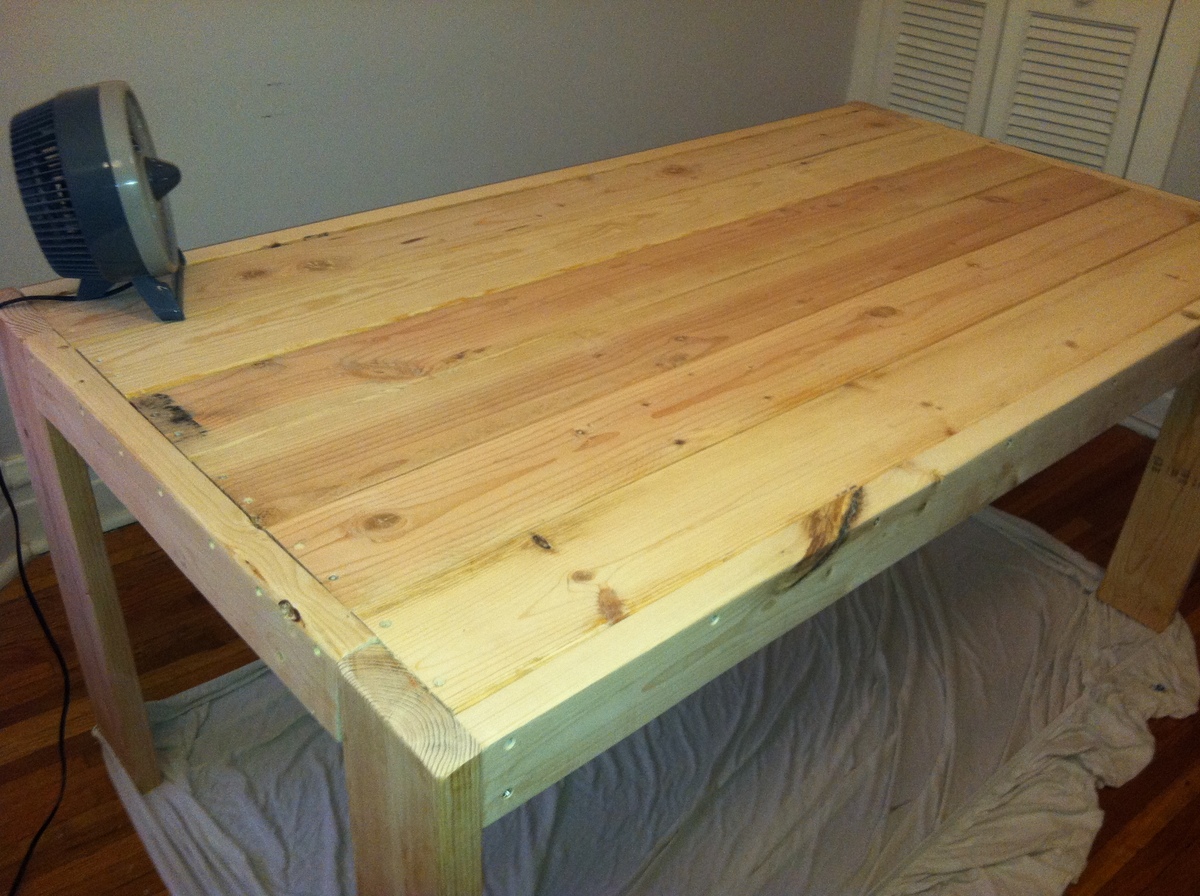
After spending weeks lurking on the site, I decided to go for it. I have no real experience doing this sort of thing, so everything was a learning experience. I had to invest in a lot of tools but the materials only cost about $100 ($50 in pine from local home store + ~$50 in other materials).
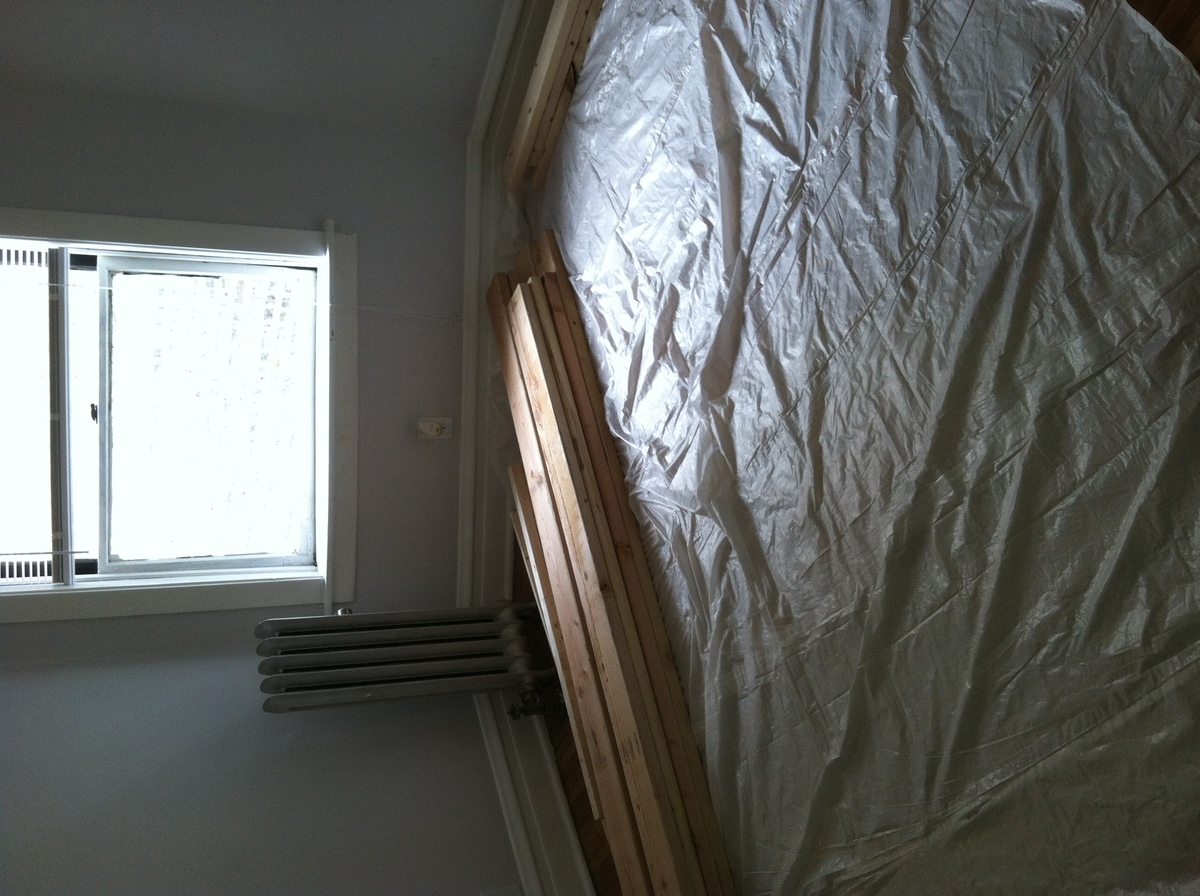
I live in a small apartment, so my workplace was less than ideal. I did a lot of sawing and sanding in the space you see so I made a HUGE mess, but I didn't really have any other choice.
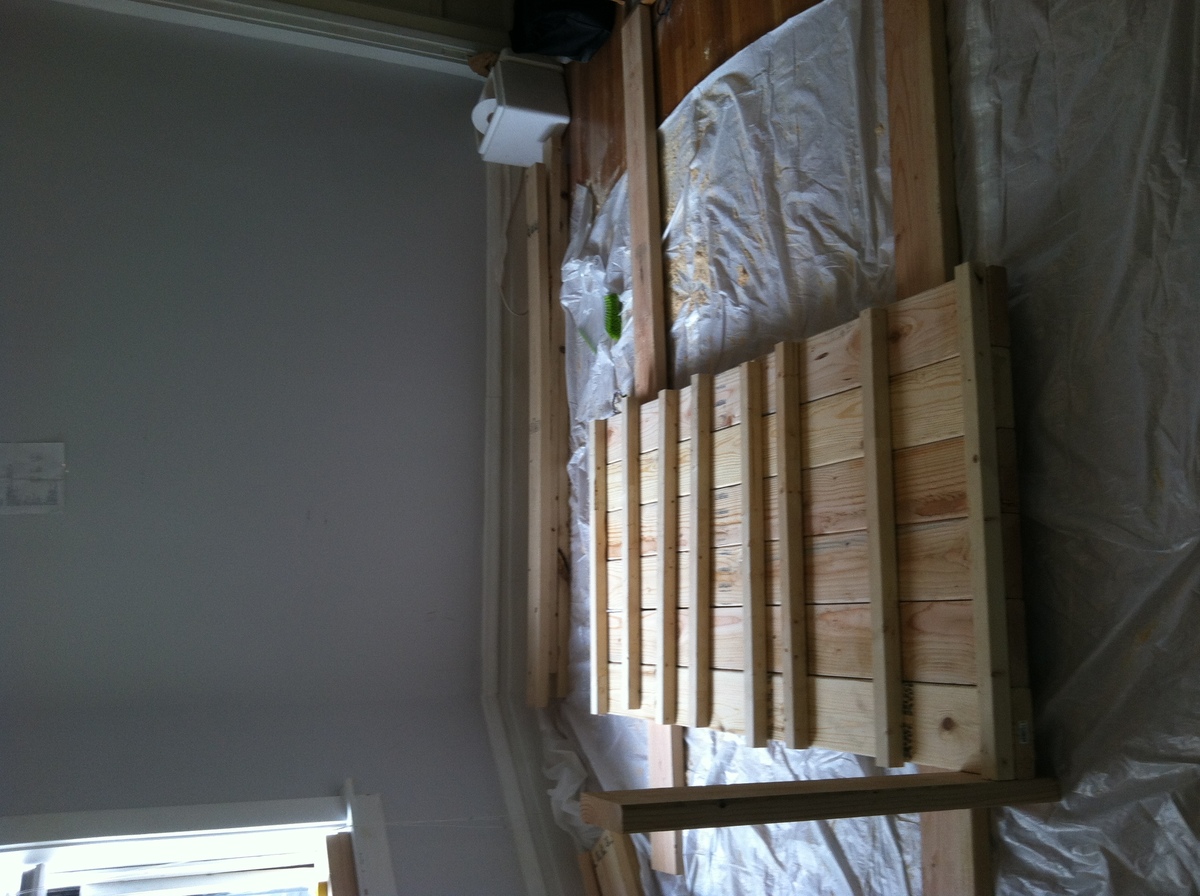
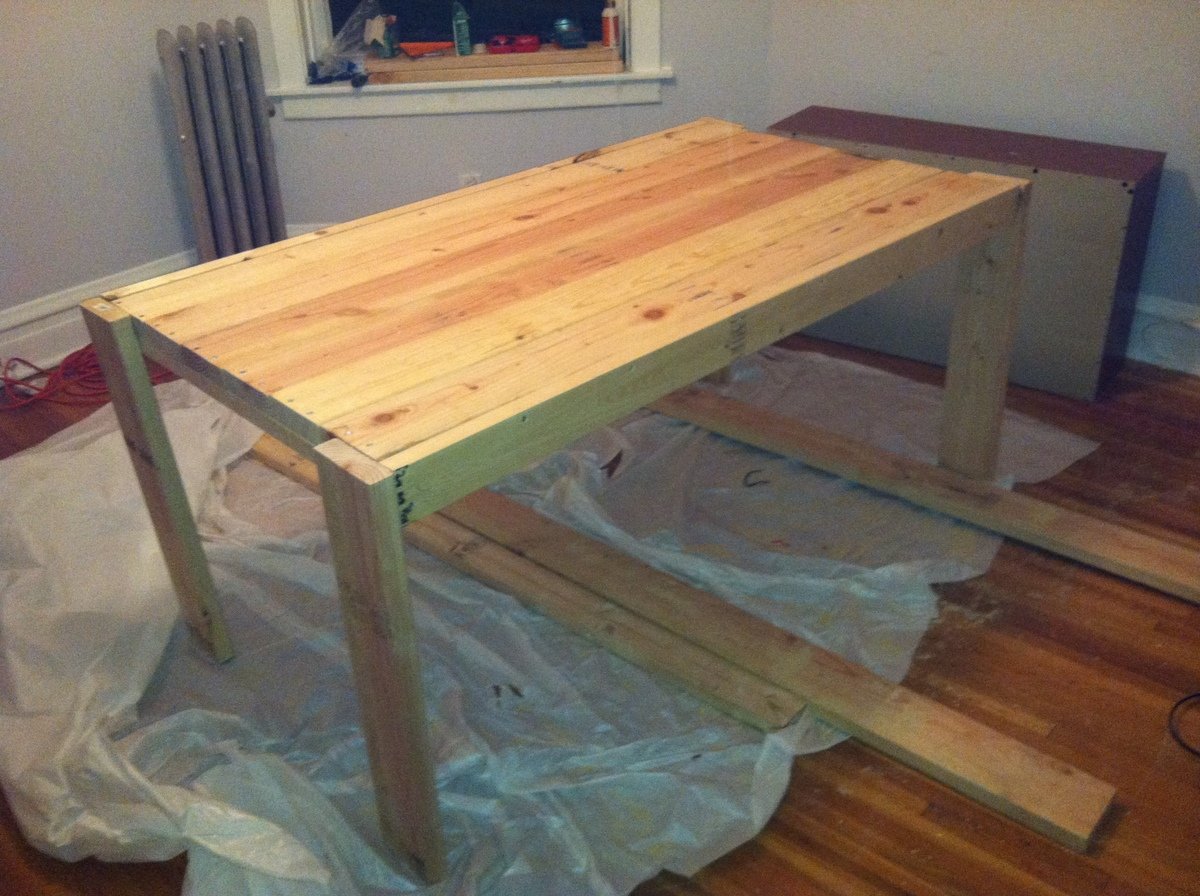
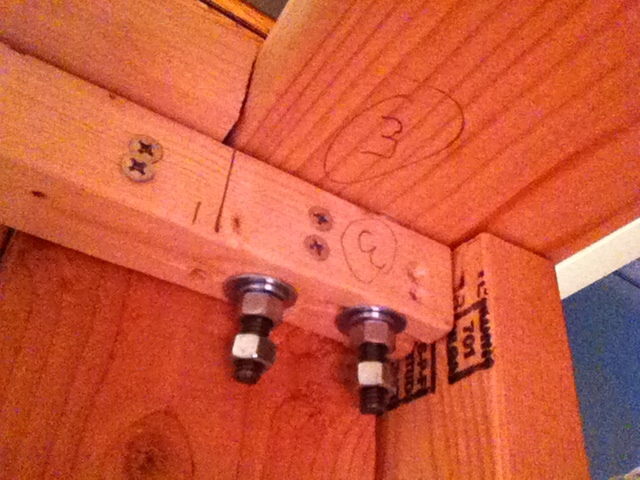
I'm really pleased with the outcome. It isn't perfect, but it doesn't have to be. There are gaps in the planks on the table top, but I can live with it. I didn't follow the plans exactly in order. I built the table top first which allowed me to add removable legs for when it comes time to move. Instead of screwing the legs, I hung hanger bolts and did a nut/bolt setup (as I type this, I realize this was not a necessary step - I could have bolted the legs instead of screwing them in per the stepwise instructions, which would have been easier. Alas, what's done is done!). The picture shows two sets of nuts per bolt, but this is only because I had extra bolts and this ensure that I don't lose them.
I plan on finishing with a polyurethane and building the benches but that will be in the future. My advice to anyone on the fence is to just do it. It's easier than you think and if it doesn't turn out exactly perfect, no big deal. My project goes to show that even with a tiny Chicago apartment, as long as you're willing to make a mess, it can be done. Good luck, thanks for reading!
*sorry my photos are aren't right-side-up - just tilit your head :)
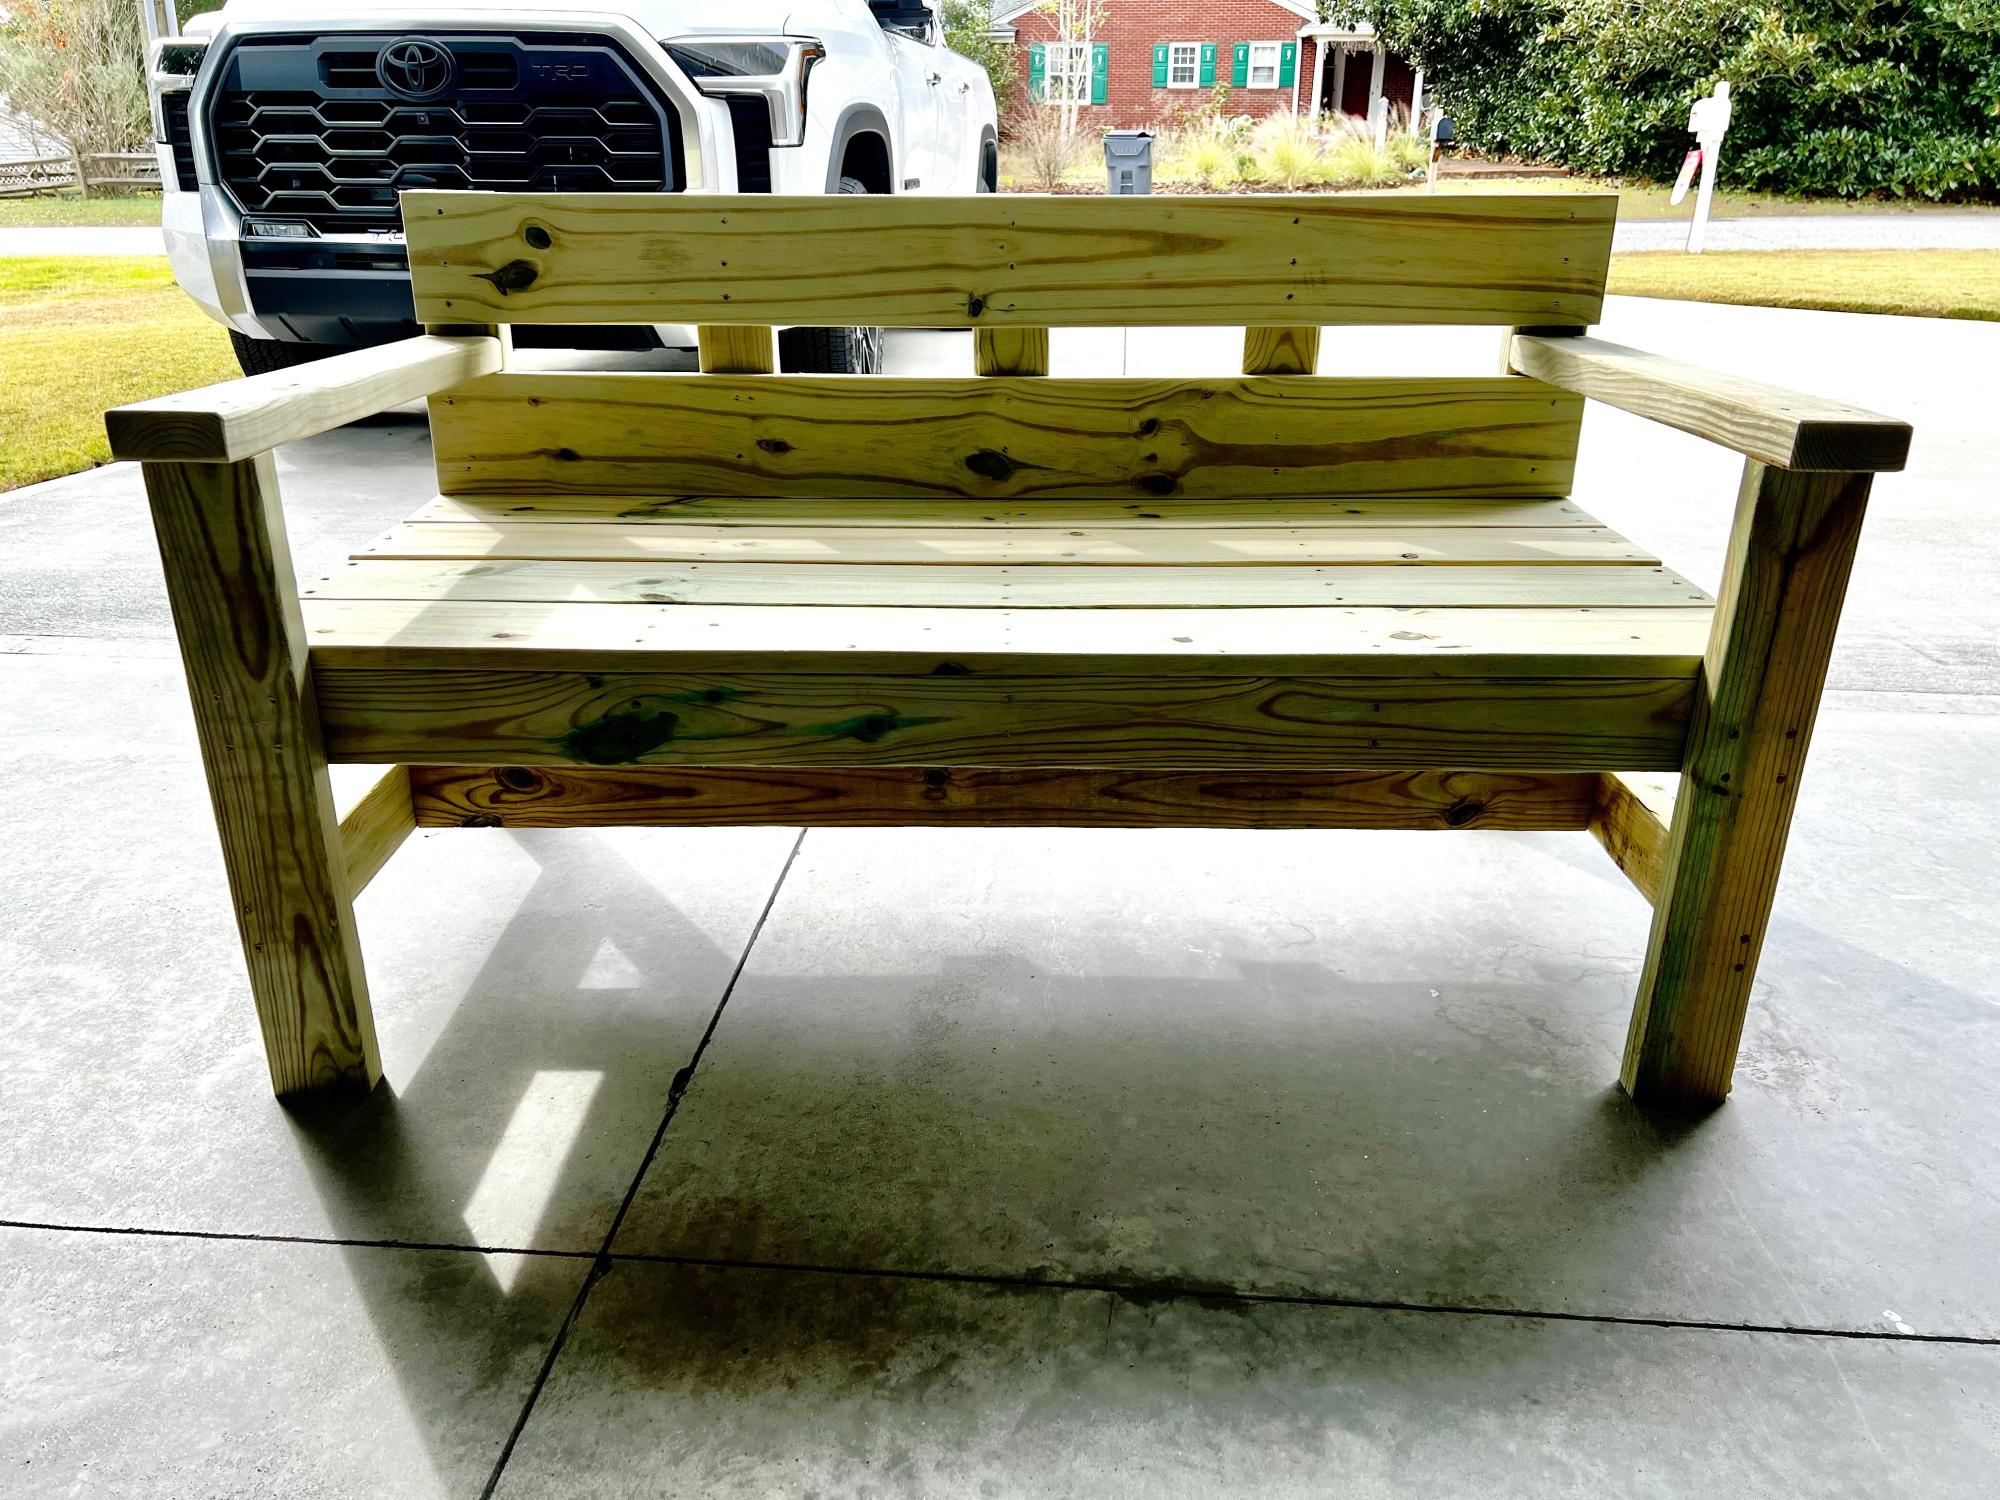
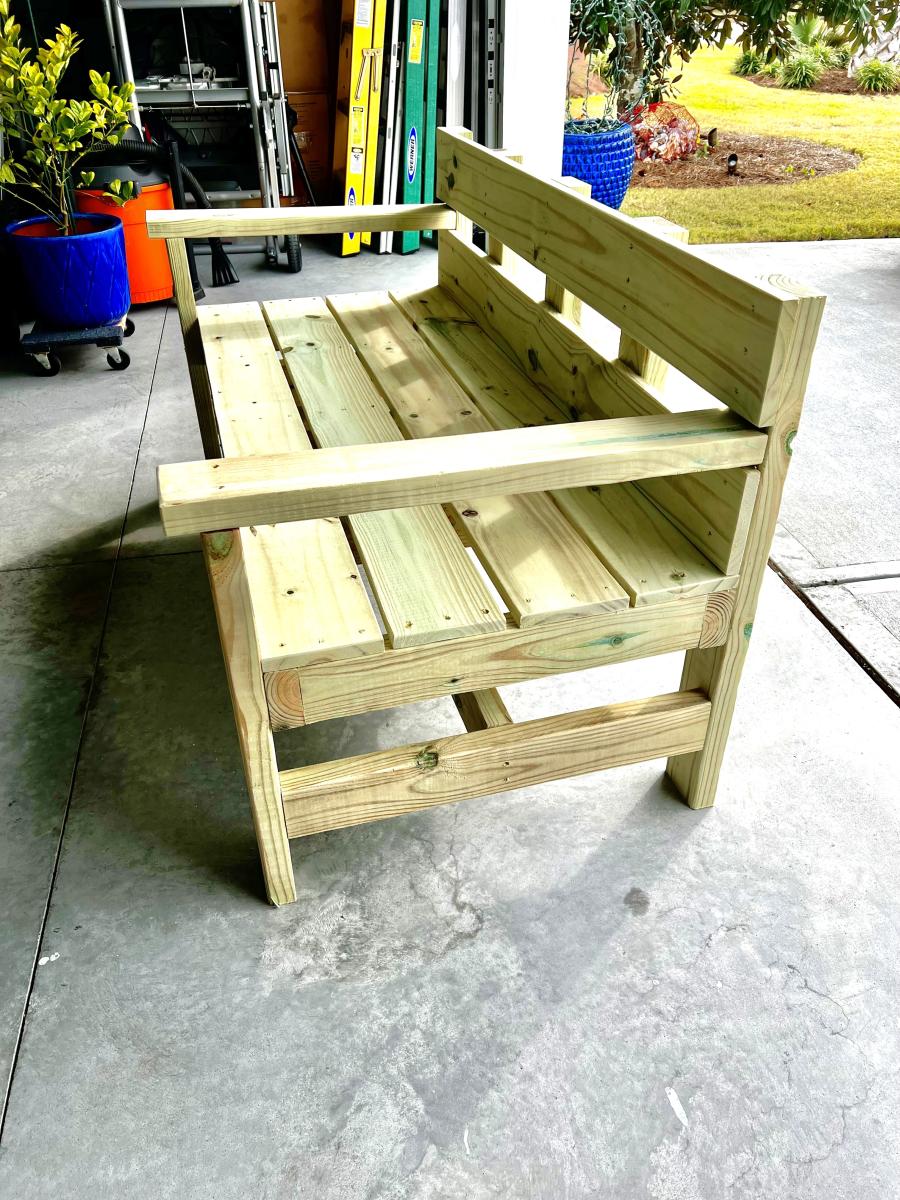
Garden Bench Project. Christmas Gift for my daughter-in-law. Cost of materials $75 and invested about 5 hours into the project. I modified the length to fit their porch. I sanded all the material and slightly rounded over all of the material edges. Recommend installing the seat BEFORE you install the arms as it is much easier to fasten. I extended the arms by an inch because I thought it looked better than cutting it flush to the leg. We will paint it in the Spring after the material dries out and can accept paint. It was fun to build. I have seen similar benches on Etsy for over $500.
Hi Ana,
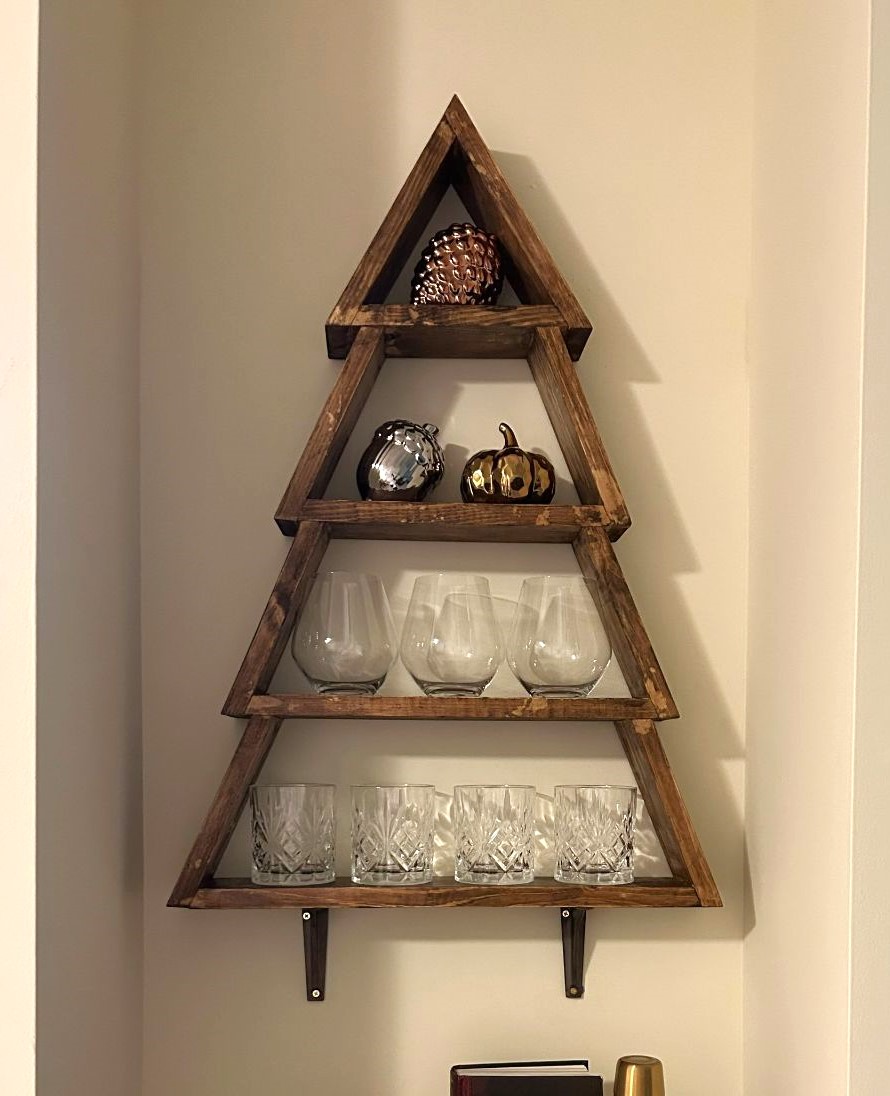
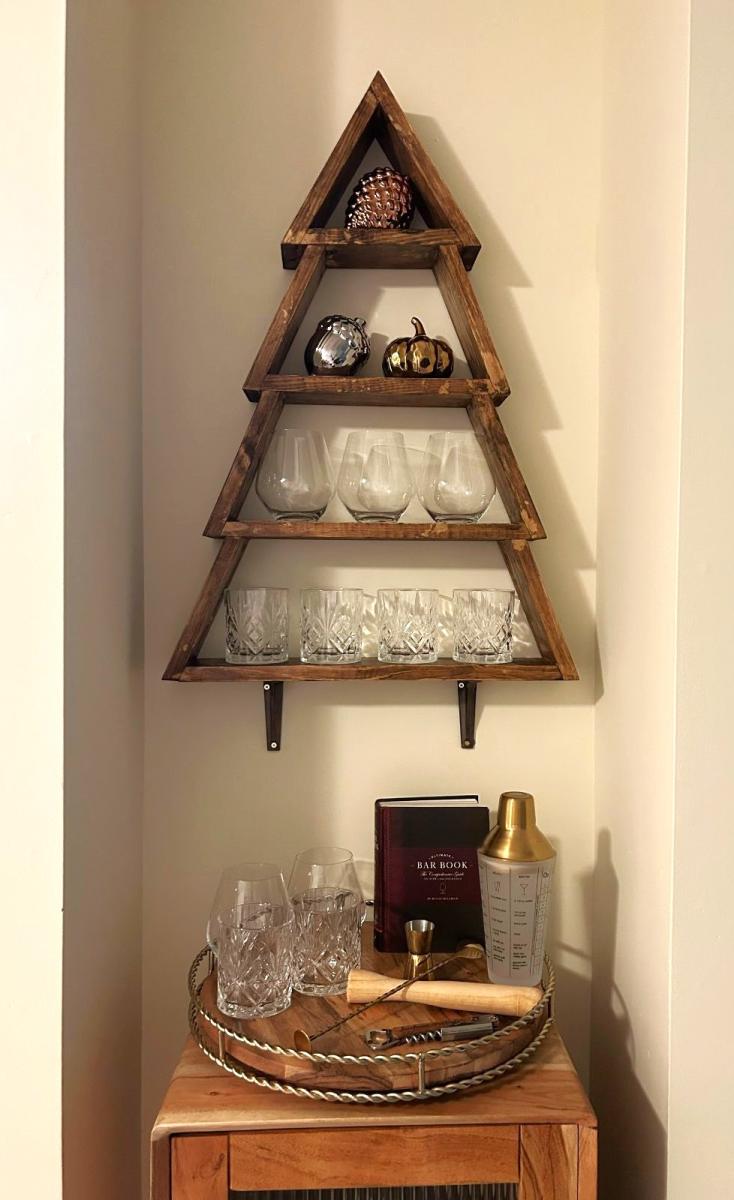
I just want to thank you for sharing your projects. My father is 92 years and was always a "maker." For the last three years he is living with and being cared for by my sister, but while he no longer has use of his basement workshop, he still gets up early each morning and goes to his small work area in her craft room where he does small projects like bird feeders. He had made and given away so many bird feeders that we were searching for another small project he could take on. I came across your Christmas Tree shelf. My husband cuts the pieces to size and then my dad completes the projects. He has made enough to give his six children and 10 grandchildren each one as a keepsake. Pictured is the way one of the grandchildren has recently used the shelf he was given. So thank you for being so generous with your ideas and plans!
Mary Beth Sharp
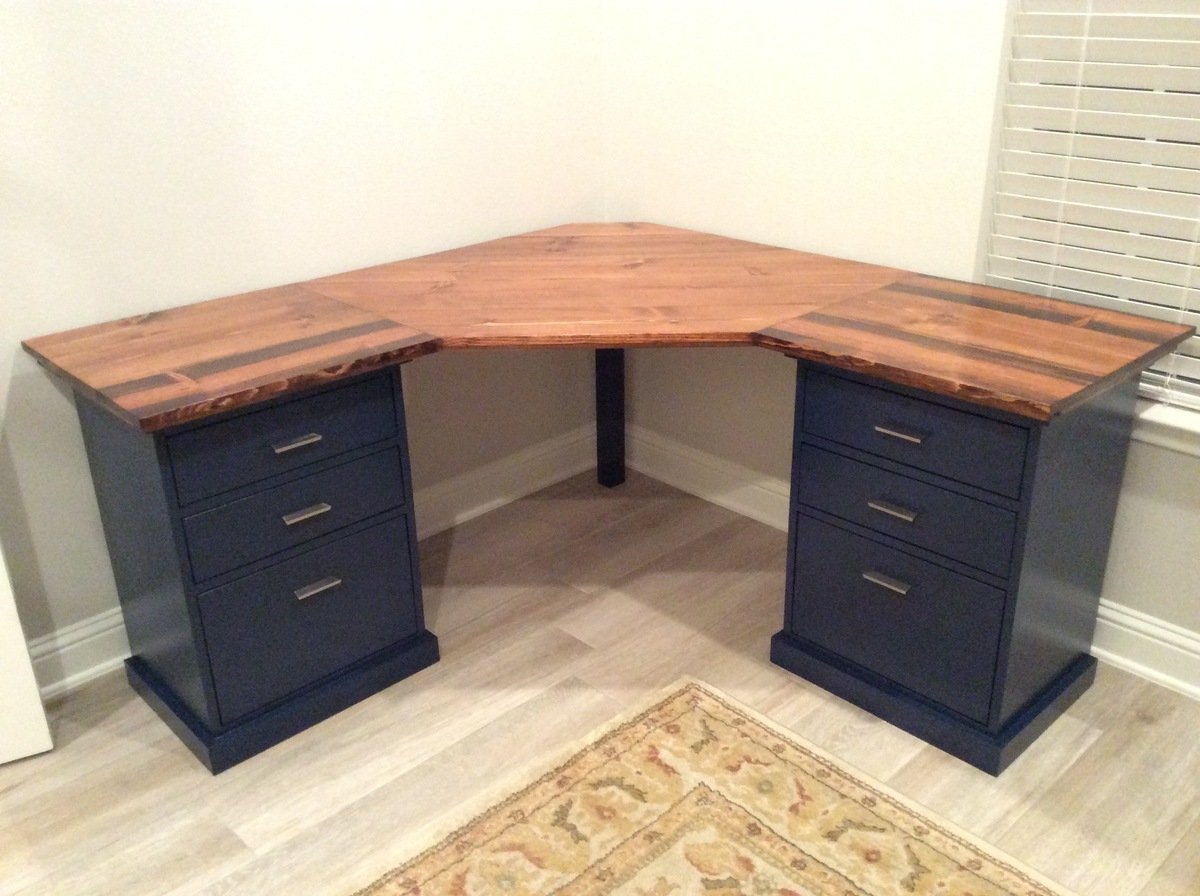
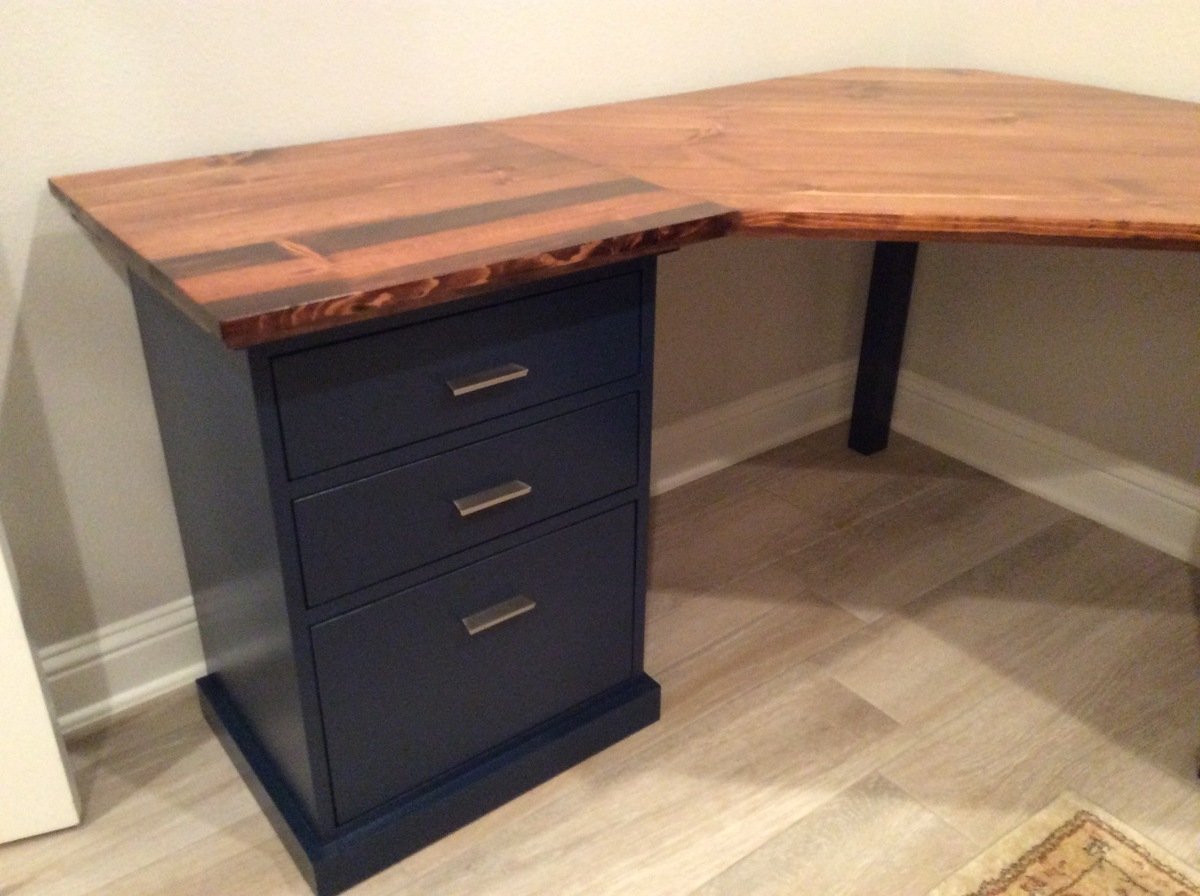
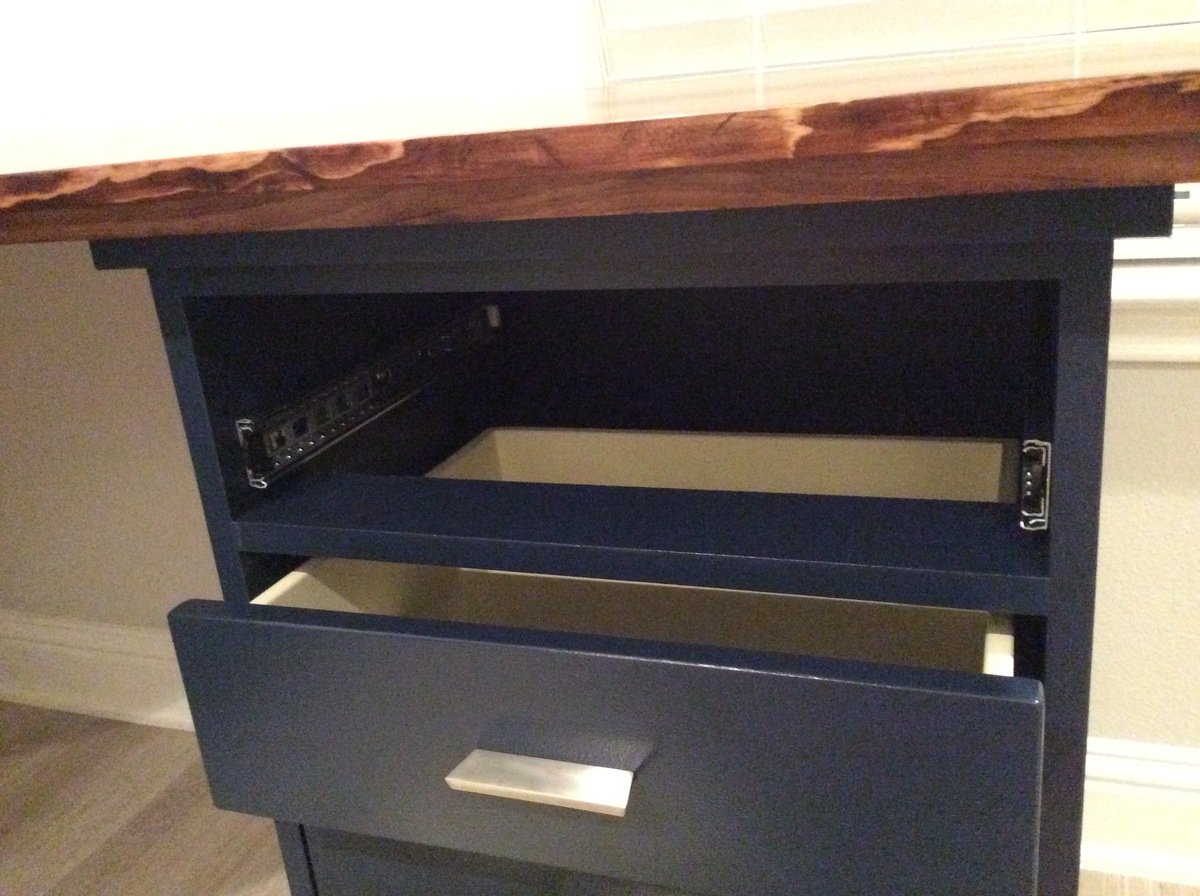
I followed the plans pretty closely. I added dividers to make 3 drawer units but I didn't find it necessary to have the top shelf go all the way to the back since it would never function as a shelf. I used scrap pieces for that and they weren't big enough to be full shelves.
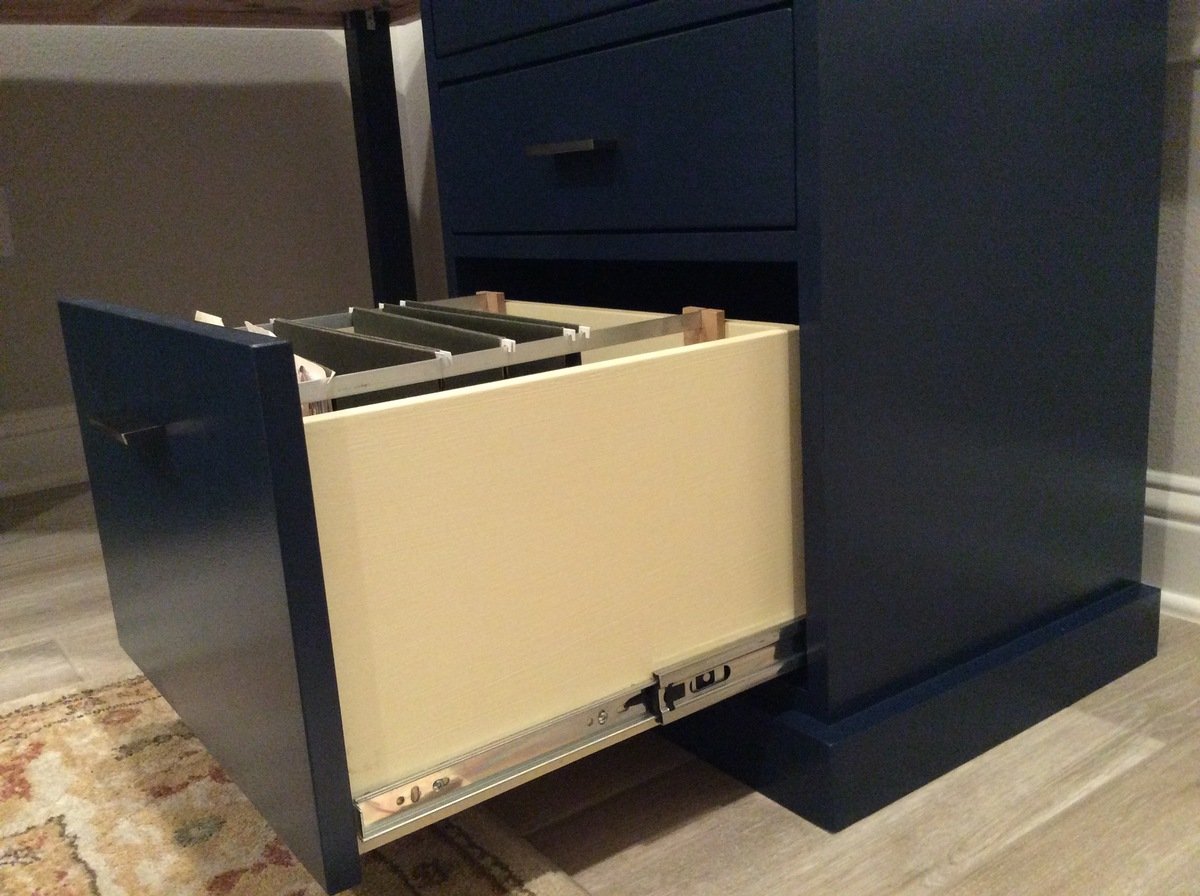
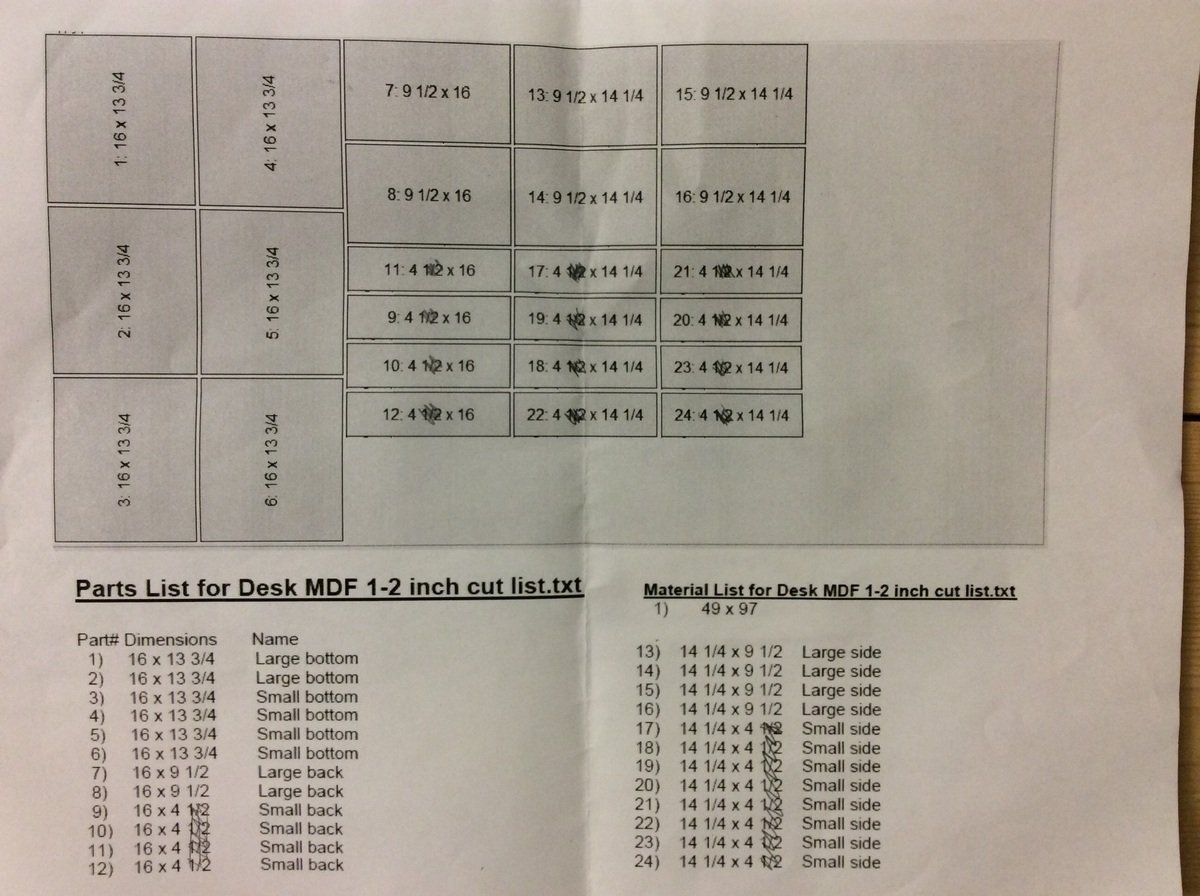
I used 1/2" MDF for the bottom, sides, and backs of the drawers to cut down on weight, cost, and general bulkiness. I used this free app called Cut List to figure out the easiest way to have the guys at Home Depot cut all the drawer panels after I learned I'm not that good with a circular saw. I used a hack saw to cut aluminum bars for hanging files and used scrap wood to make the little brackets to hold the bars upright in the drawer. The full extension drawer slides are functionally and asthetically better but it would have been so much easier to put in basic bottom mount slides.
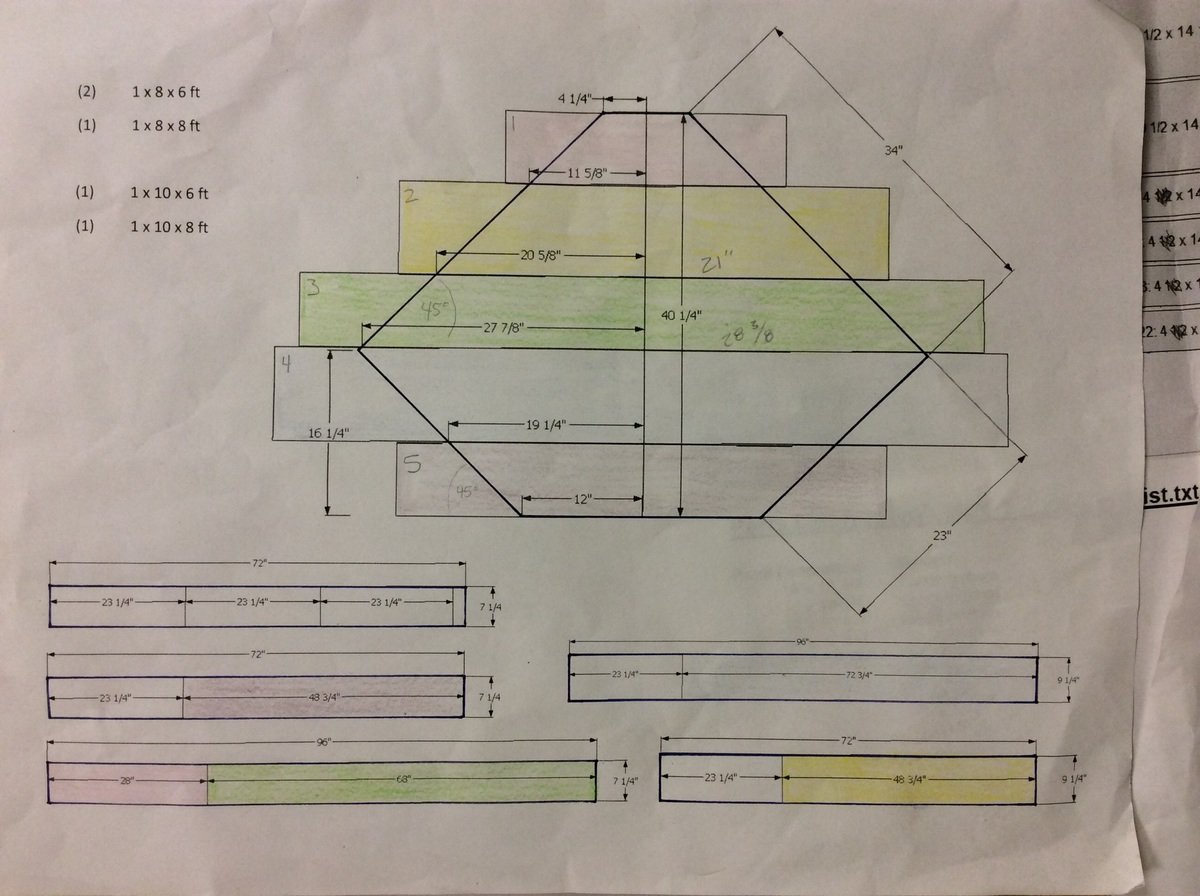
I wanted a wood grain top and ended up with common pine boards over more expensive poplar or oak and I would use pine again without hesitation. I used Google SketchUp to figure out the widths of boards I needed to make the top with minimal cuts. Then joined them with glue and mending plates and sanded the hell out of them. I altered the dimensions slightly to make it the same size desktop as the Bedford desk. My two wing sections are 23" x 23" but I should have made them 23" deep by more like 24" or 25" long. I had to hack the bottom bracing to make a spot for the drawer units to slide into. If you alter the dimensions make sure you can secure a brace between the main body and the wing of the desktop and still have room for the brace at the edge of the wing.
My cost includes things like a Kreg jig, saw blade, clamps, paint brushes etc. so you may be able to do this for less. I could have gone with a middle of the line paint I think. This project was a beast for me because a) I'm not a furniture maker b) I don't own a table saw which would have been amazing c) I picked the hardest way to make the desktop and d) I modified some of the dimensions from the basic plans. I worked on this thing for weeks (granted sometimes I didn't touch it for several days or a week). But it was a fun and rewarding project.
Tue, 08/27/2019 - 19:28
This is AMAZING!!! I'm so sad I did not see this earlier. Thank you so much for sending in pics!
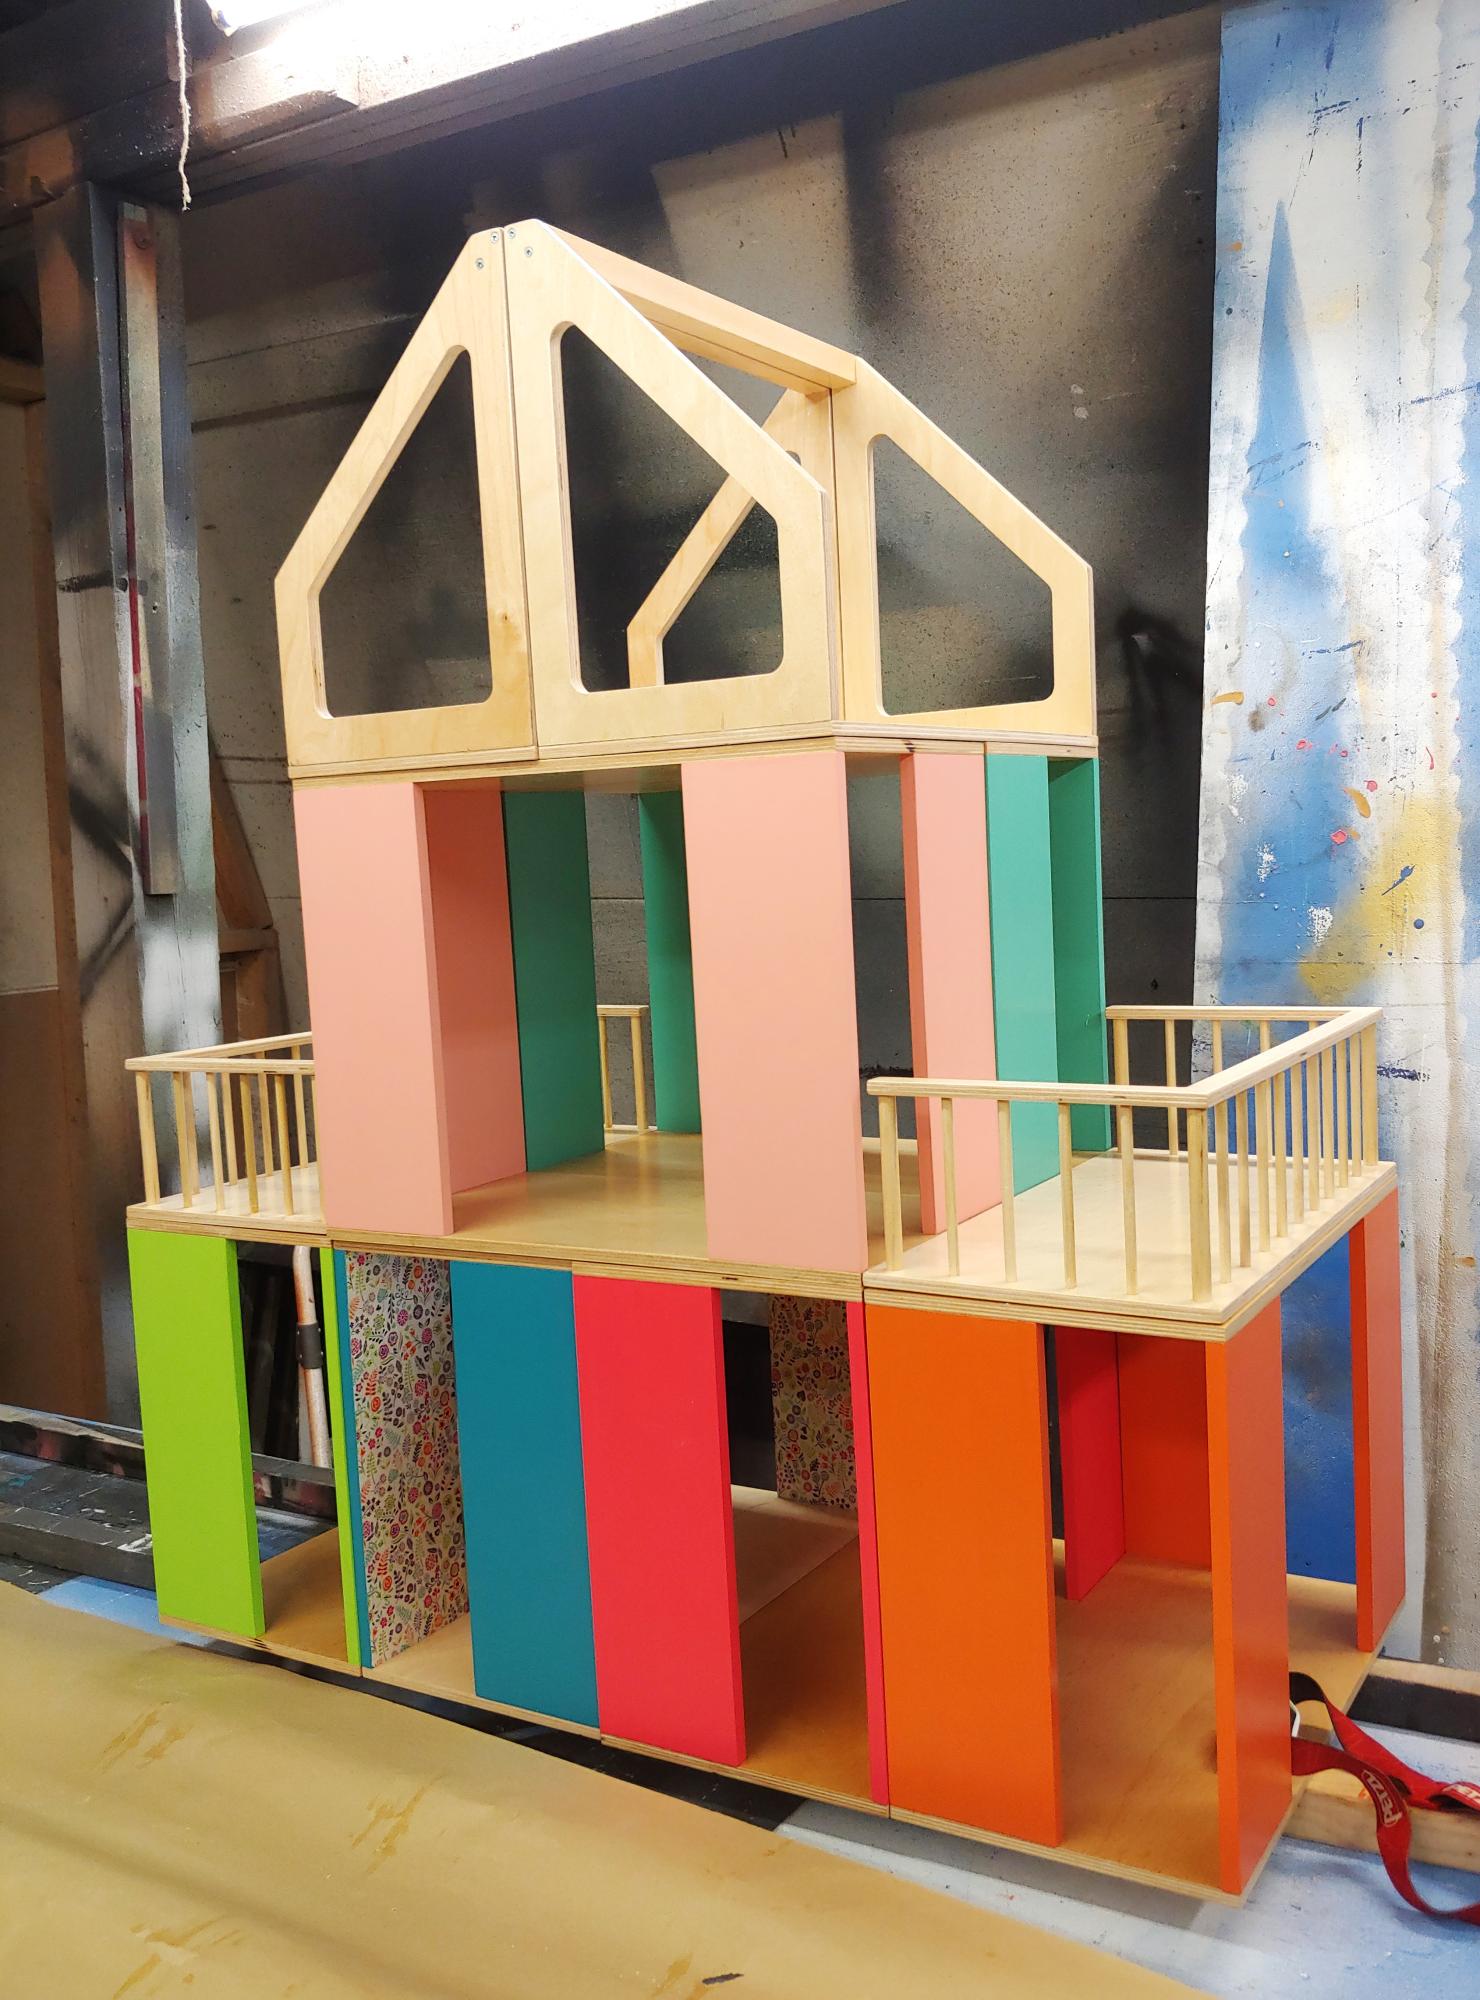
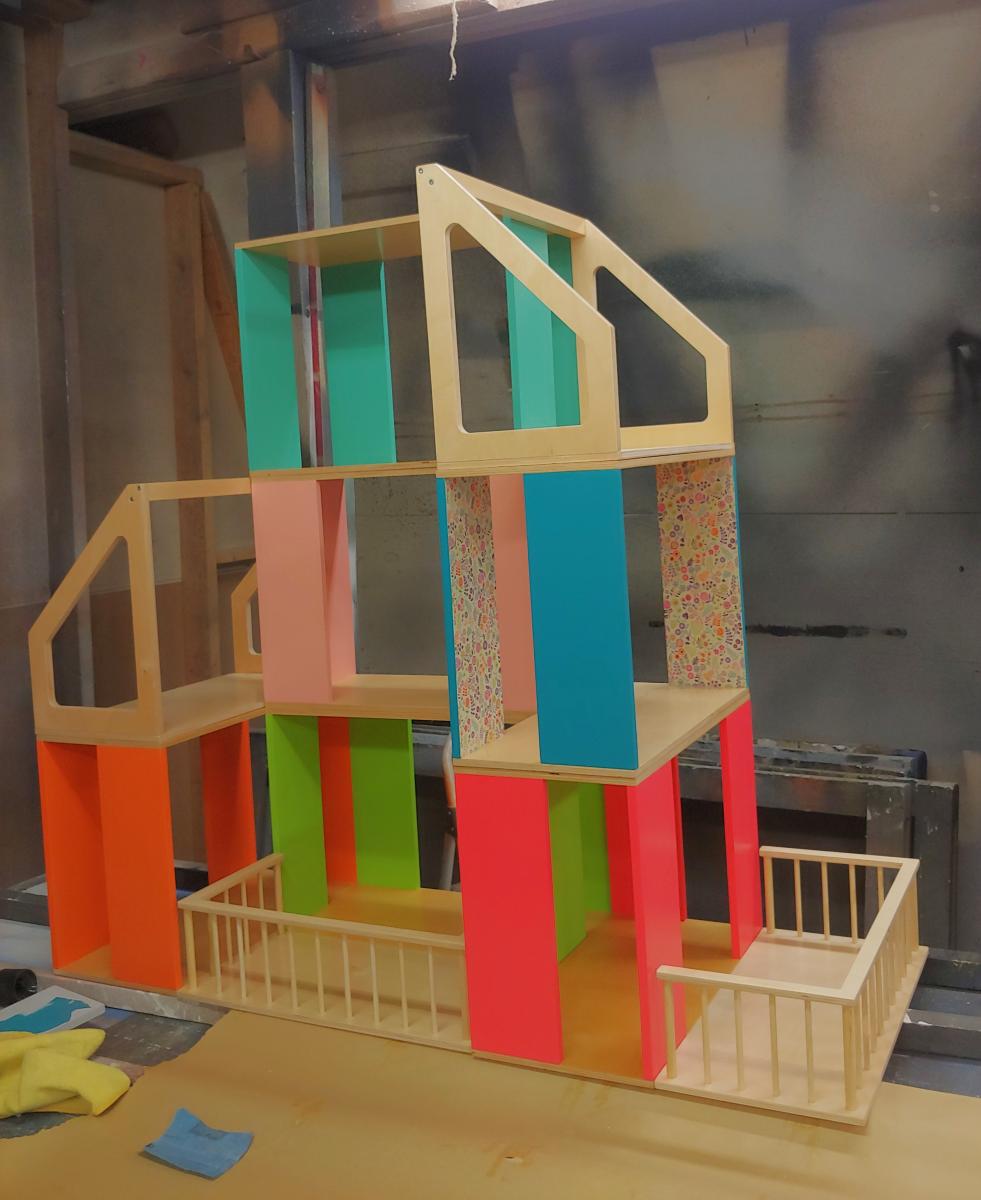
We modified the Ana-White modular dollhouse meant for small dolls to build this Barbie size house! (Please ignore the workshop walls in the background of our pics! Lol!) Our daughter loves to set up all sorts of houses/school/hospital/stores, and commercial modern barbie houses are all covered in specific printed paper that restricts what a room can be used for. This way she can make buildings however she likes! It isn't much bigger than her old barbie house, and the pieces/room boxes are easy for her to move/stack. Each room box is 9" (w) by 18"(L) by 13"(h), with wall panels 4.5" wide. We also love that these room boxes can become bookshelves once she outgrows barbies! Thank you!
Siemens Family, Alberta CA
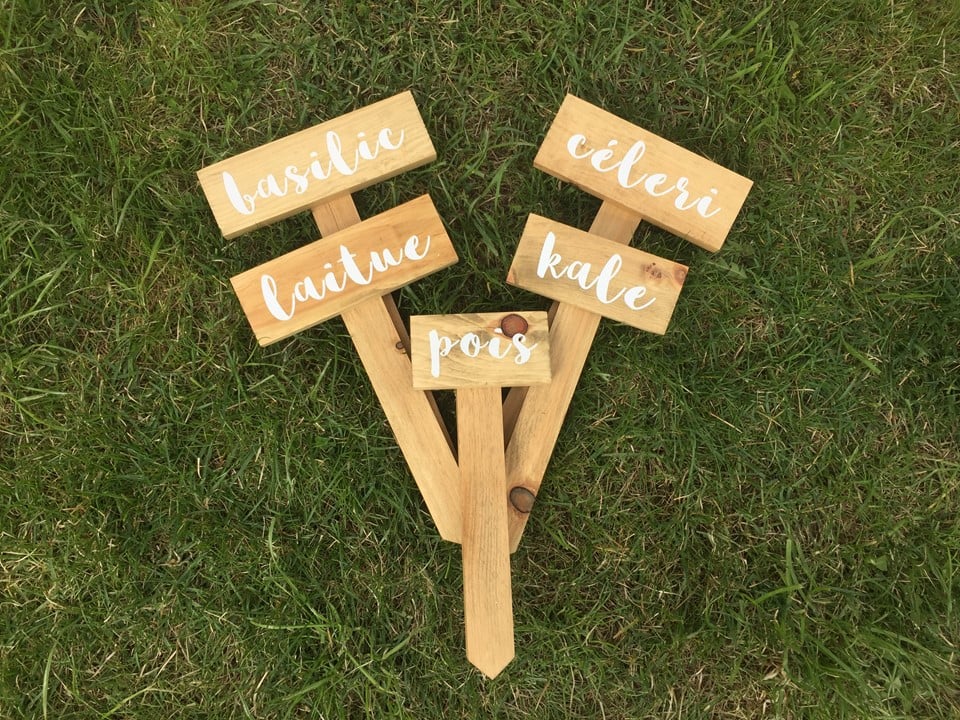
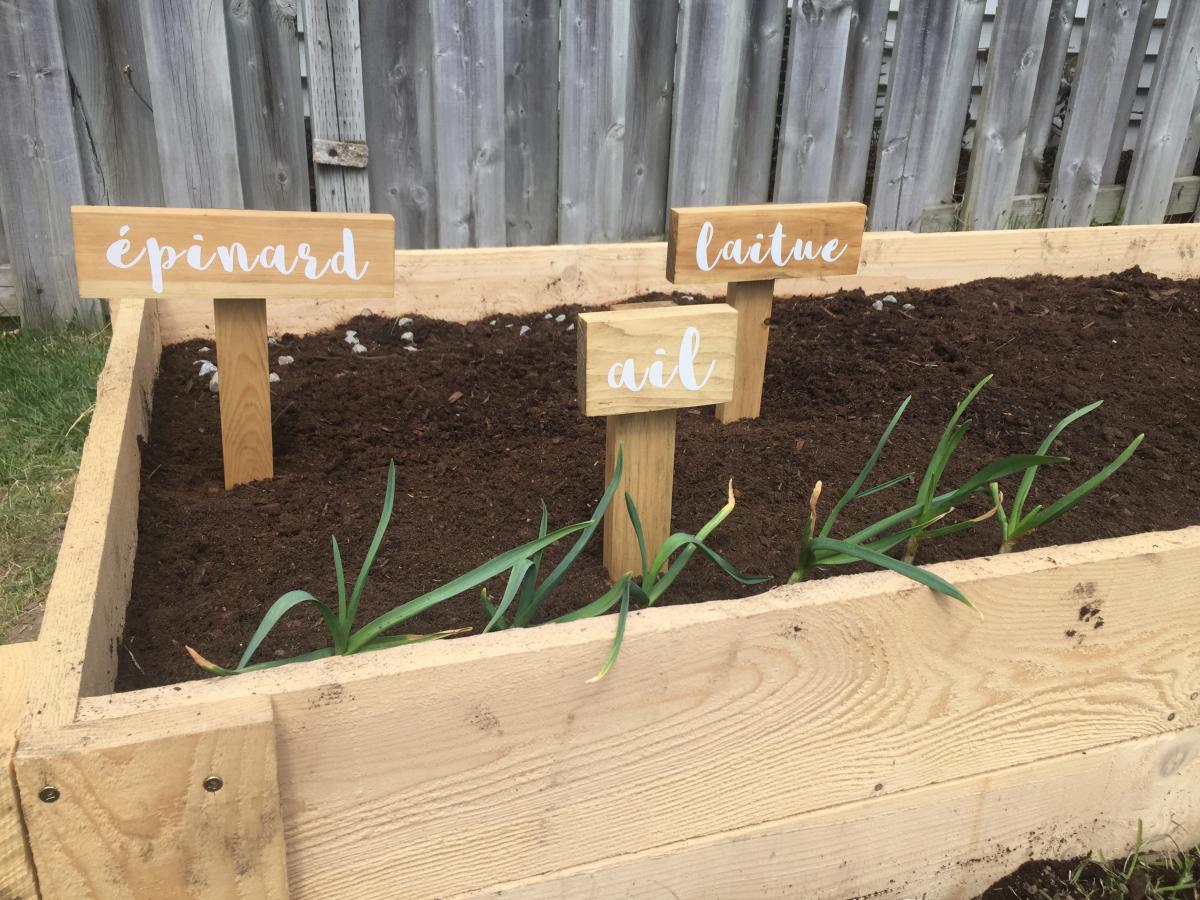
Who doesn't like a great scrapwood project? I made these beautiful garden markers with pine, but cedar would have been even better! I just didn't have any on hand. I used 1x3 to put the name of my vegetables and 1x2 for the pickets. I screwed them with 1 1/4 inch exterior screws.
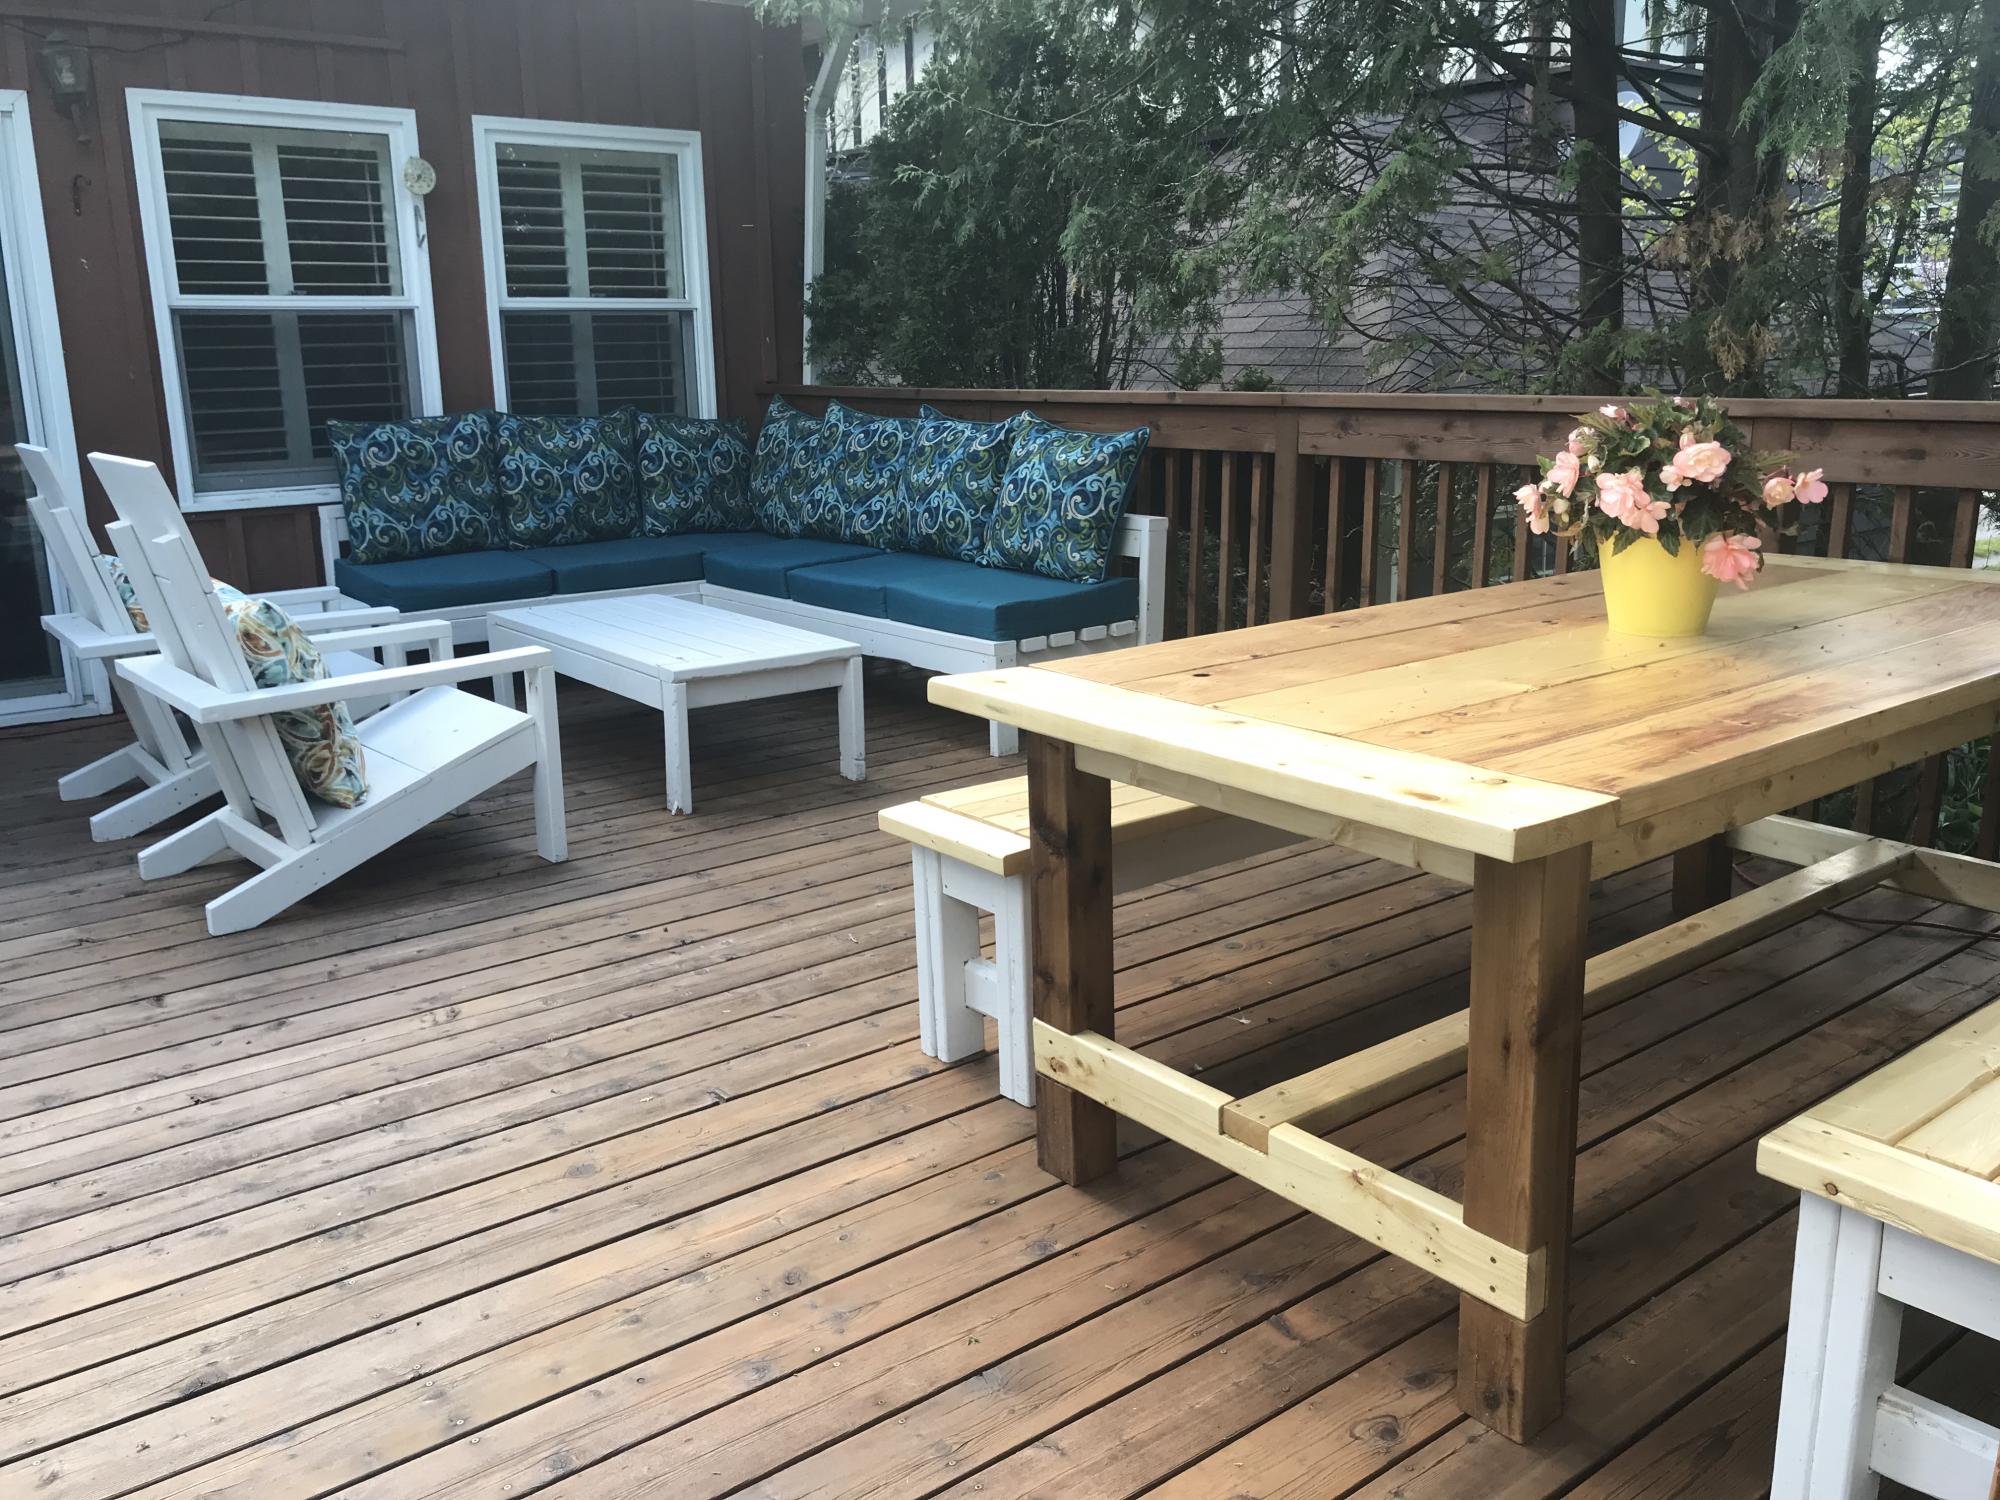
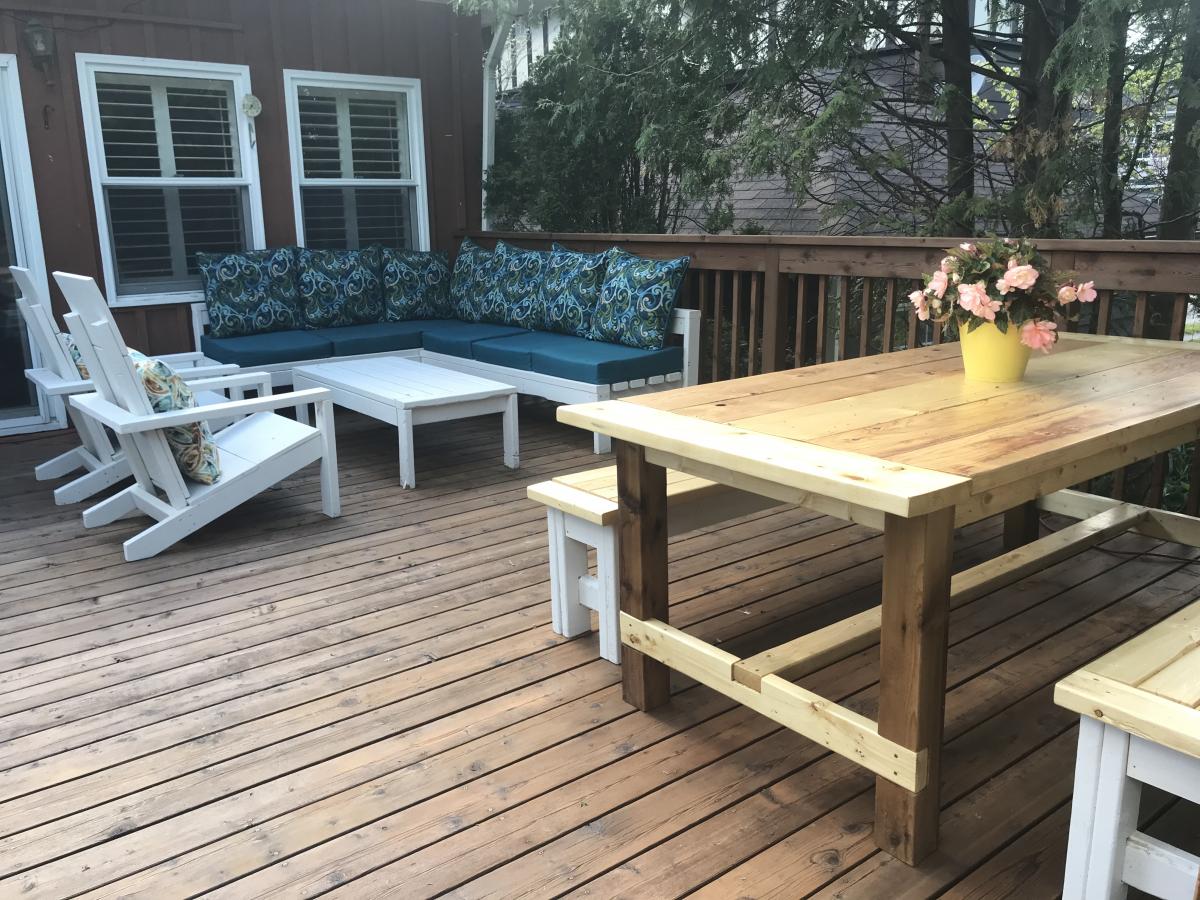
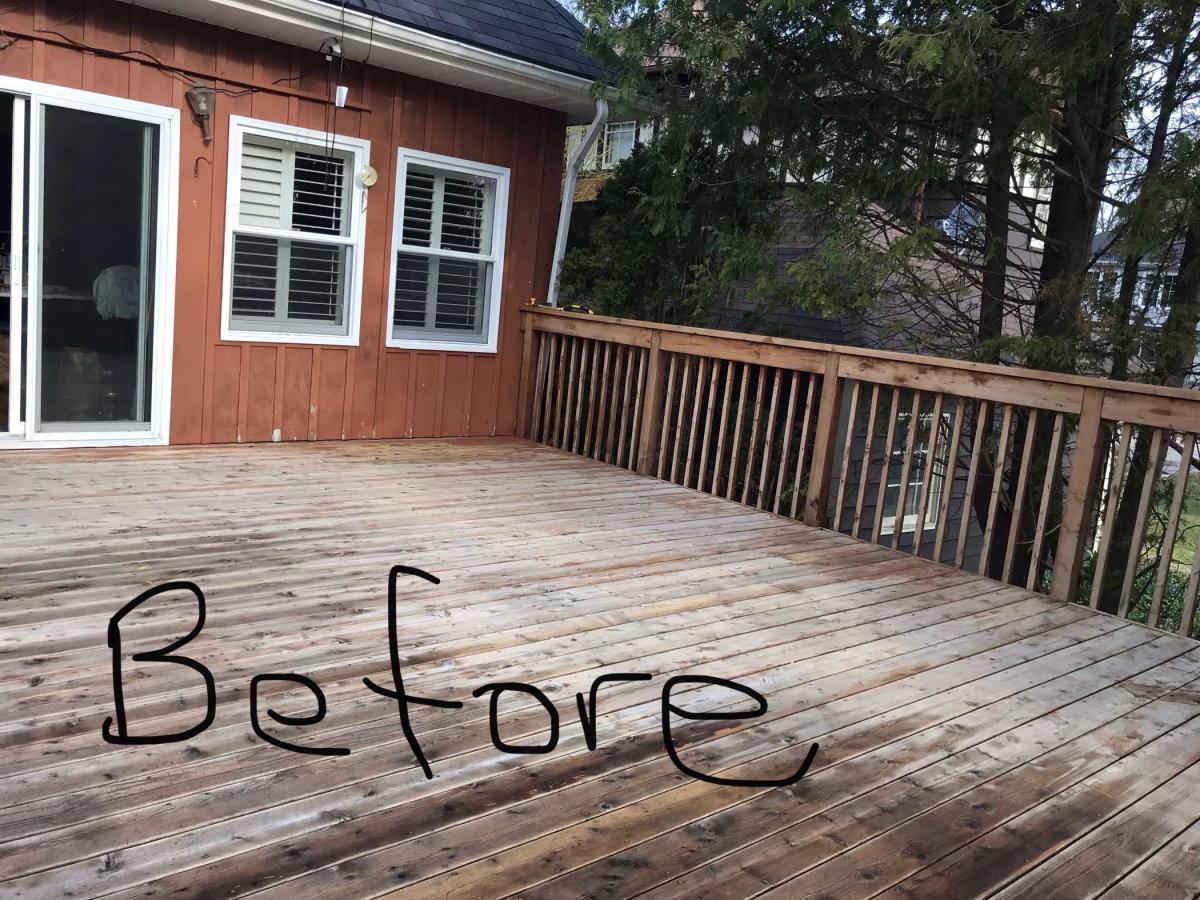
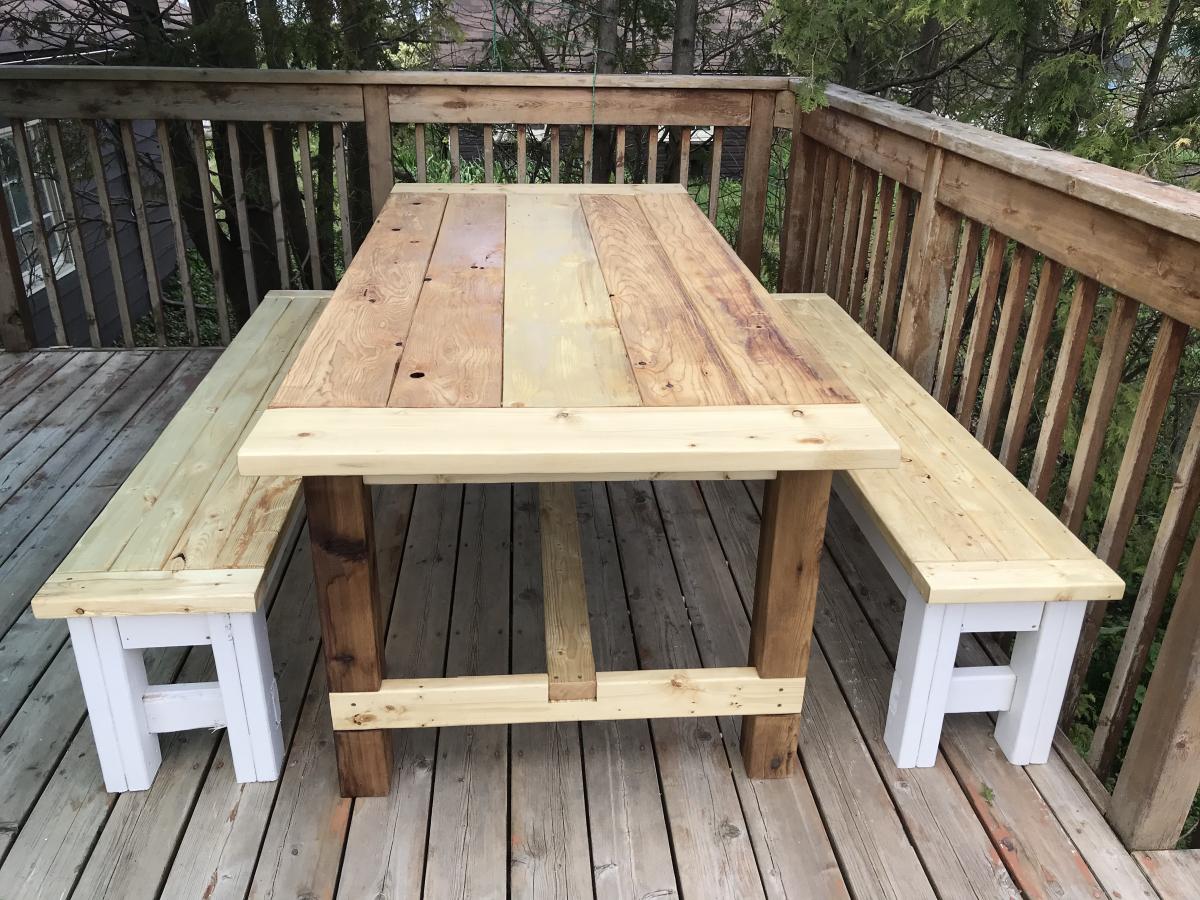
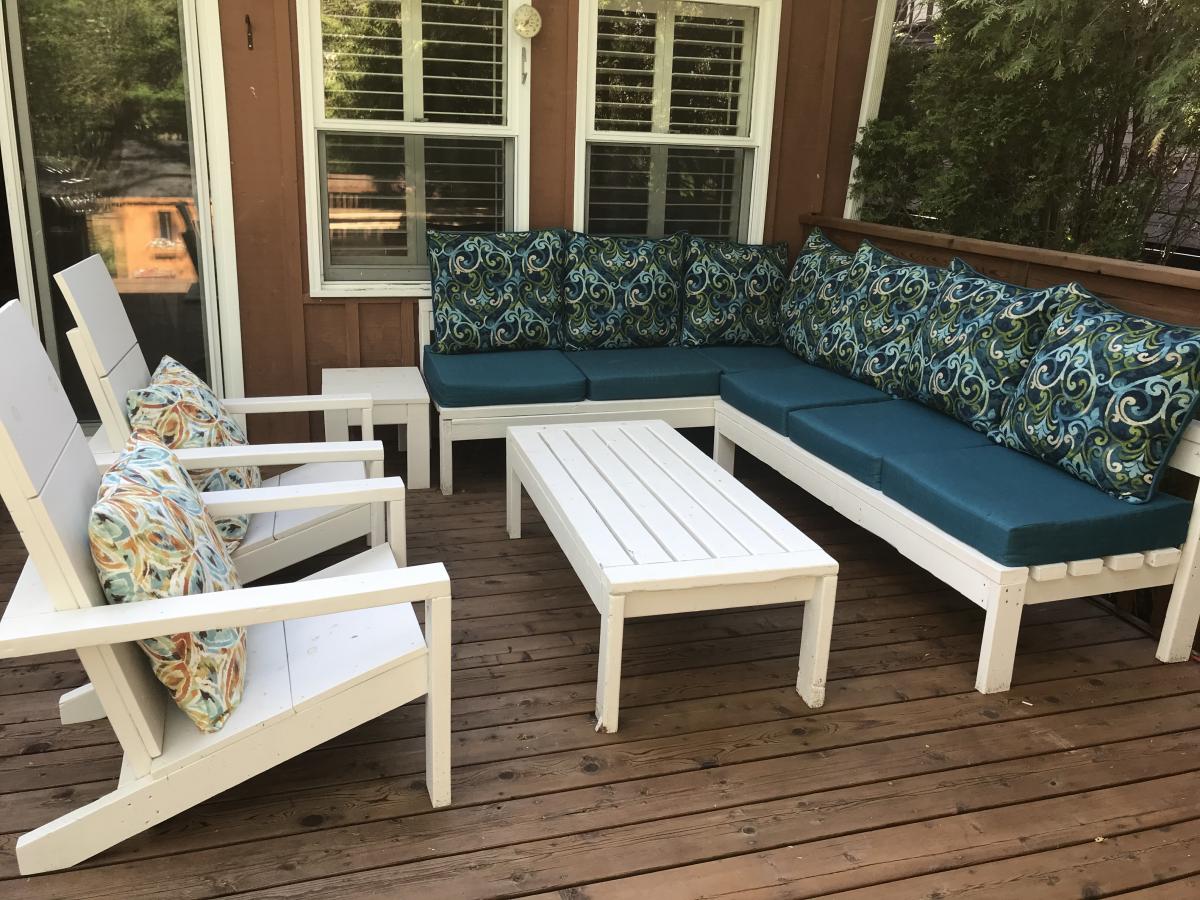
Thank-you so much Ana White! We took on our back deck as a family COVID19 “homeschool” two weekend project! Why just build a sectional sofa when you can build a sectional sofa, coffee table, farmhouse table with two benches, two Adirondack chairs and a side table that the 11 year old designed and built himself! Mission accomplished, he’s a builder for life.
Our deck was brutally neglected and the boys had had some exposure to power tools and small builds. We decided that the best way to remedy the situation was to set up a family build all at once so that the tools are out and then put back away after the build is complete!
The plans were easy to follow and incredible! Thanks again so very much!
Comments
Ana White Admin
Thu, 09/16/2021 - 13:22
GORGEOUS!
Love the whole look and set up, wonderful job!