Community Brag Posts

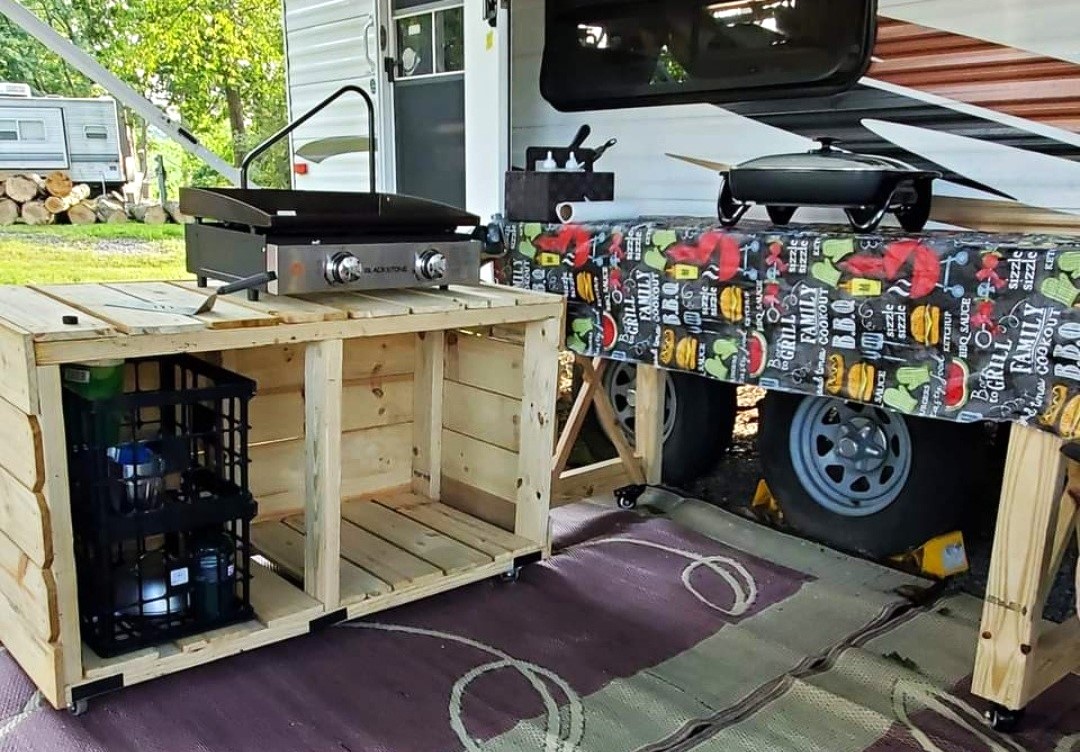
DIY Campsite Outdoor Storage and Grill Station

Submitted by Anonymous (not verified) on Thu, 08/31/2023 - 11:28

We made the grilling station to keep at our seasonal campsite and it's absolutely fantastic! We have since added some L brackets and 2 shelves, and this is where we store our extra cases of water, soft drinks, outdoor cooking utensils plus an air fryer! Super easy plans, with well written instructions for even the novice (me and hubs) diy builders!

Ali W.

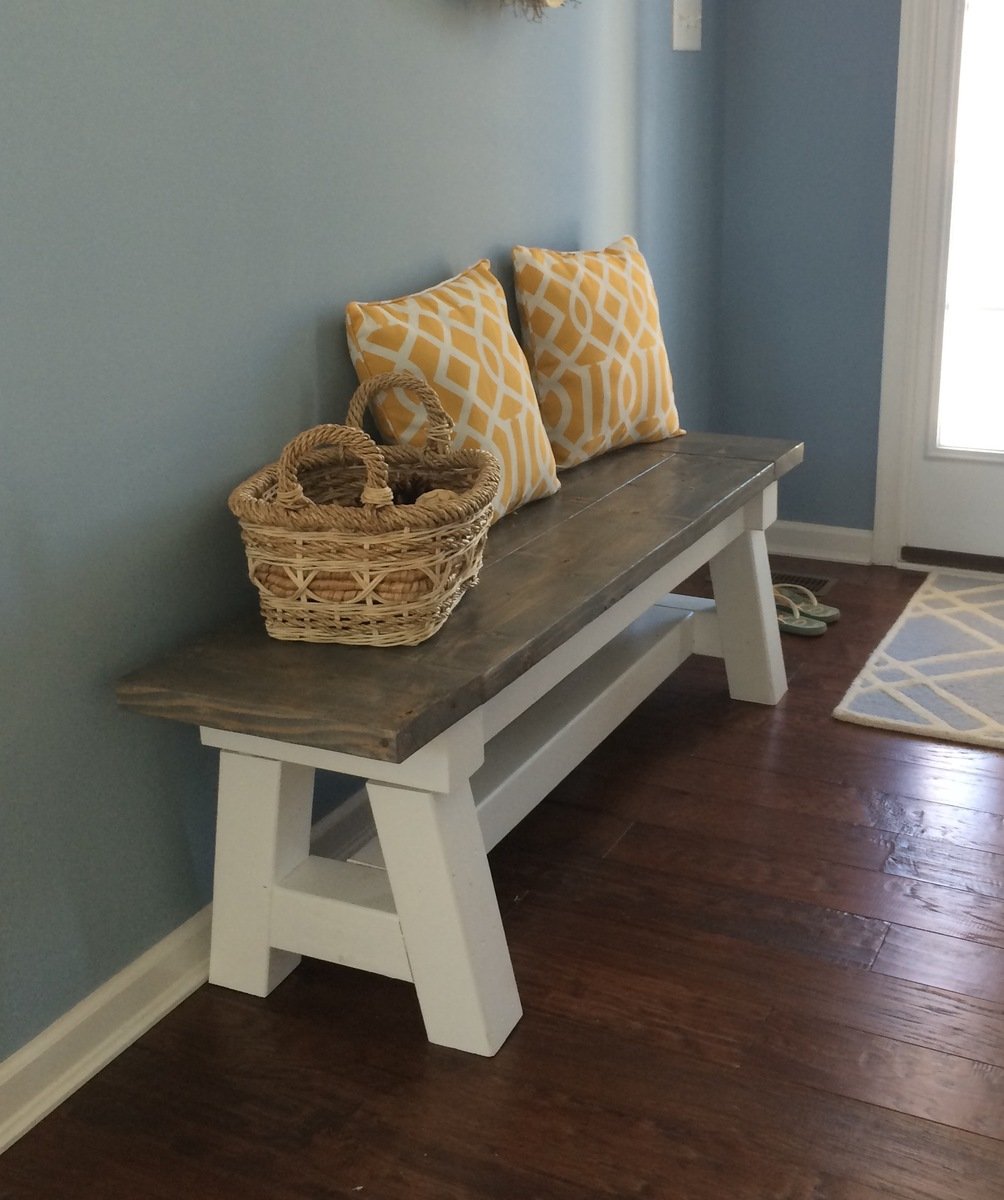
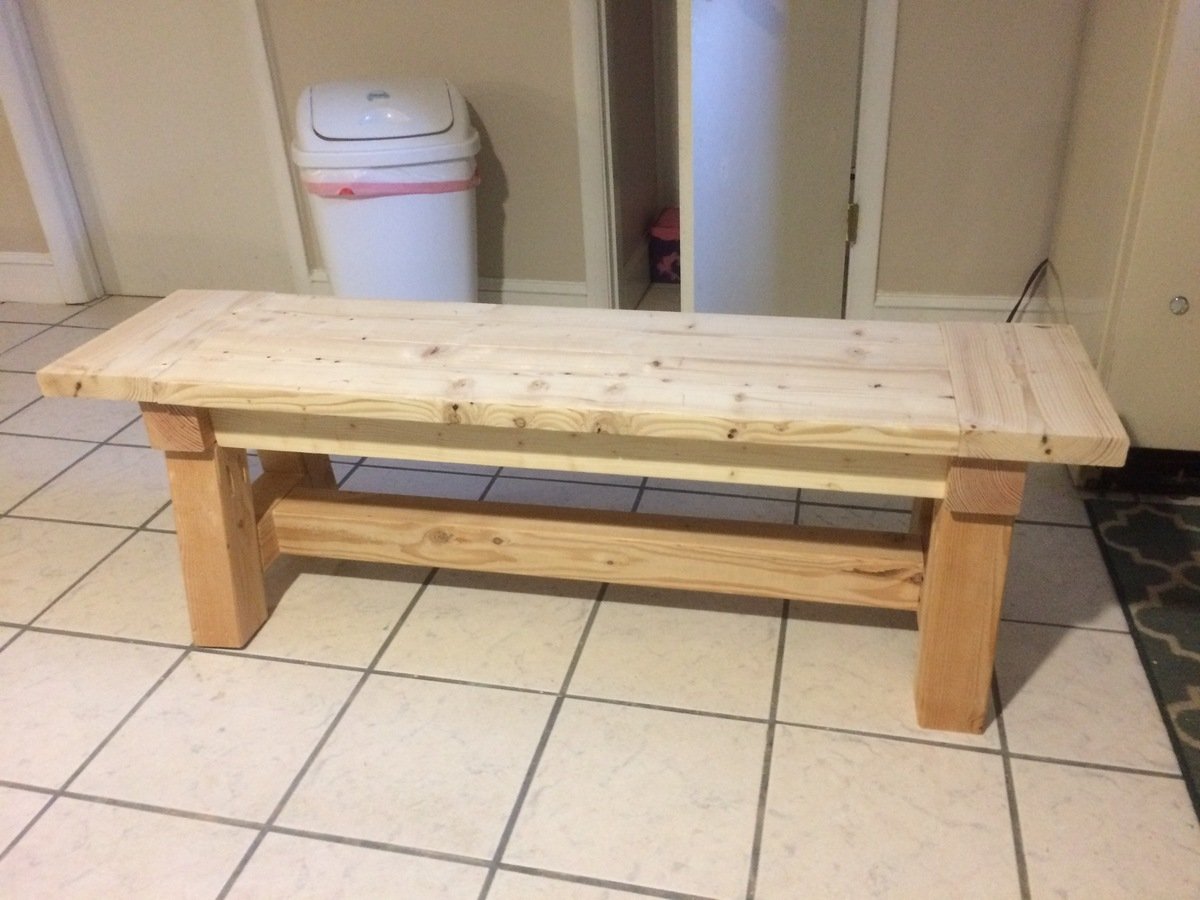
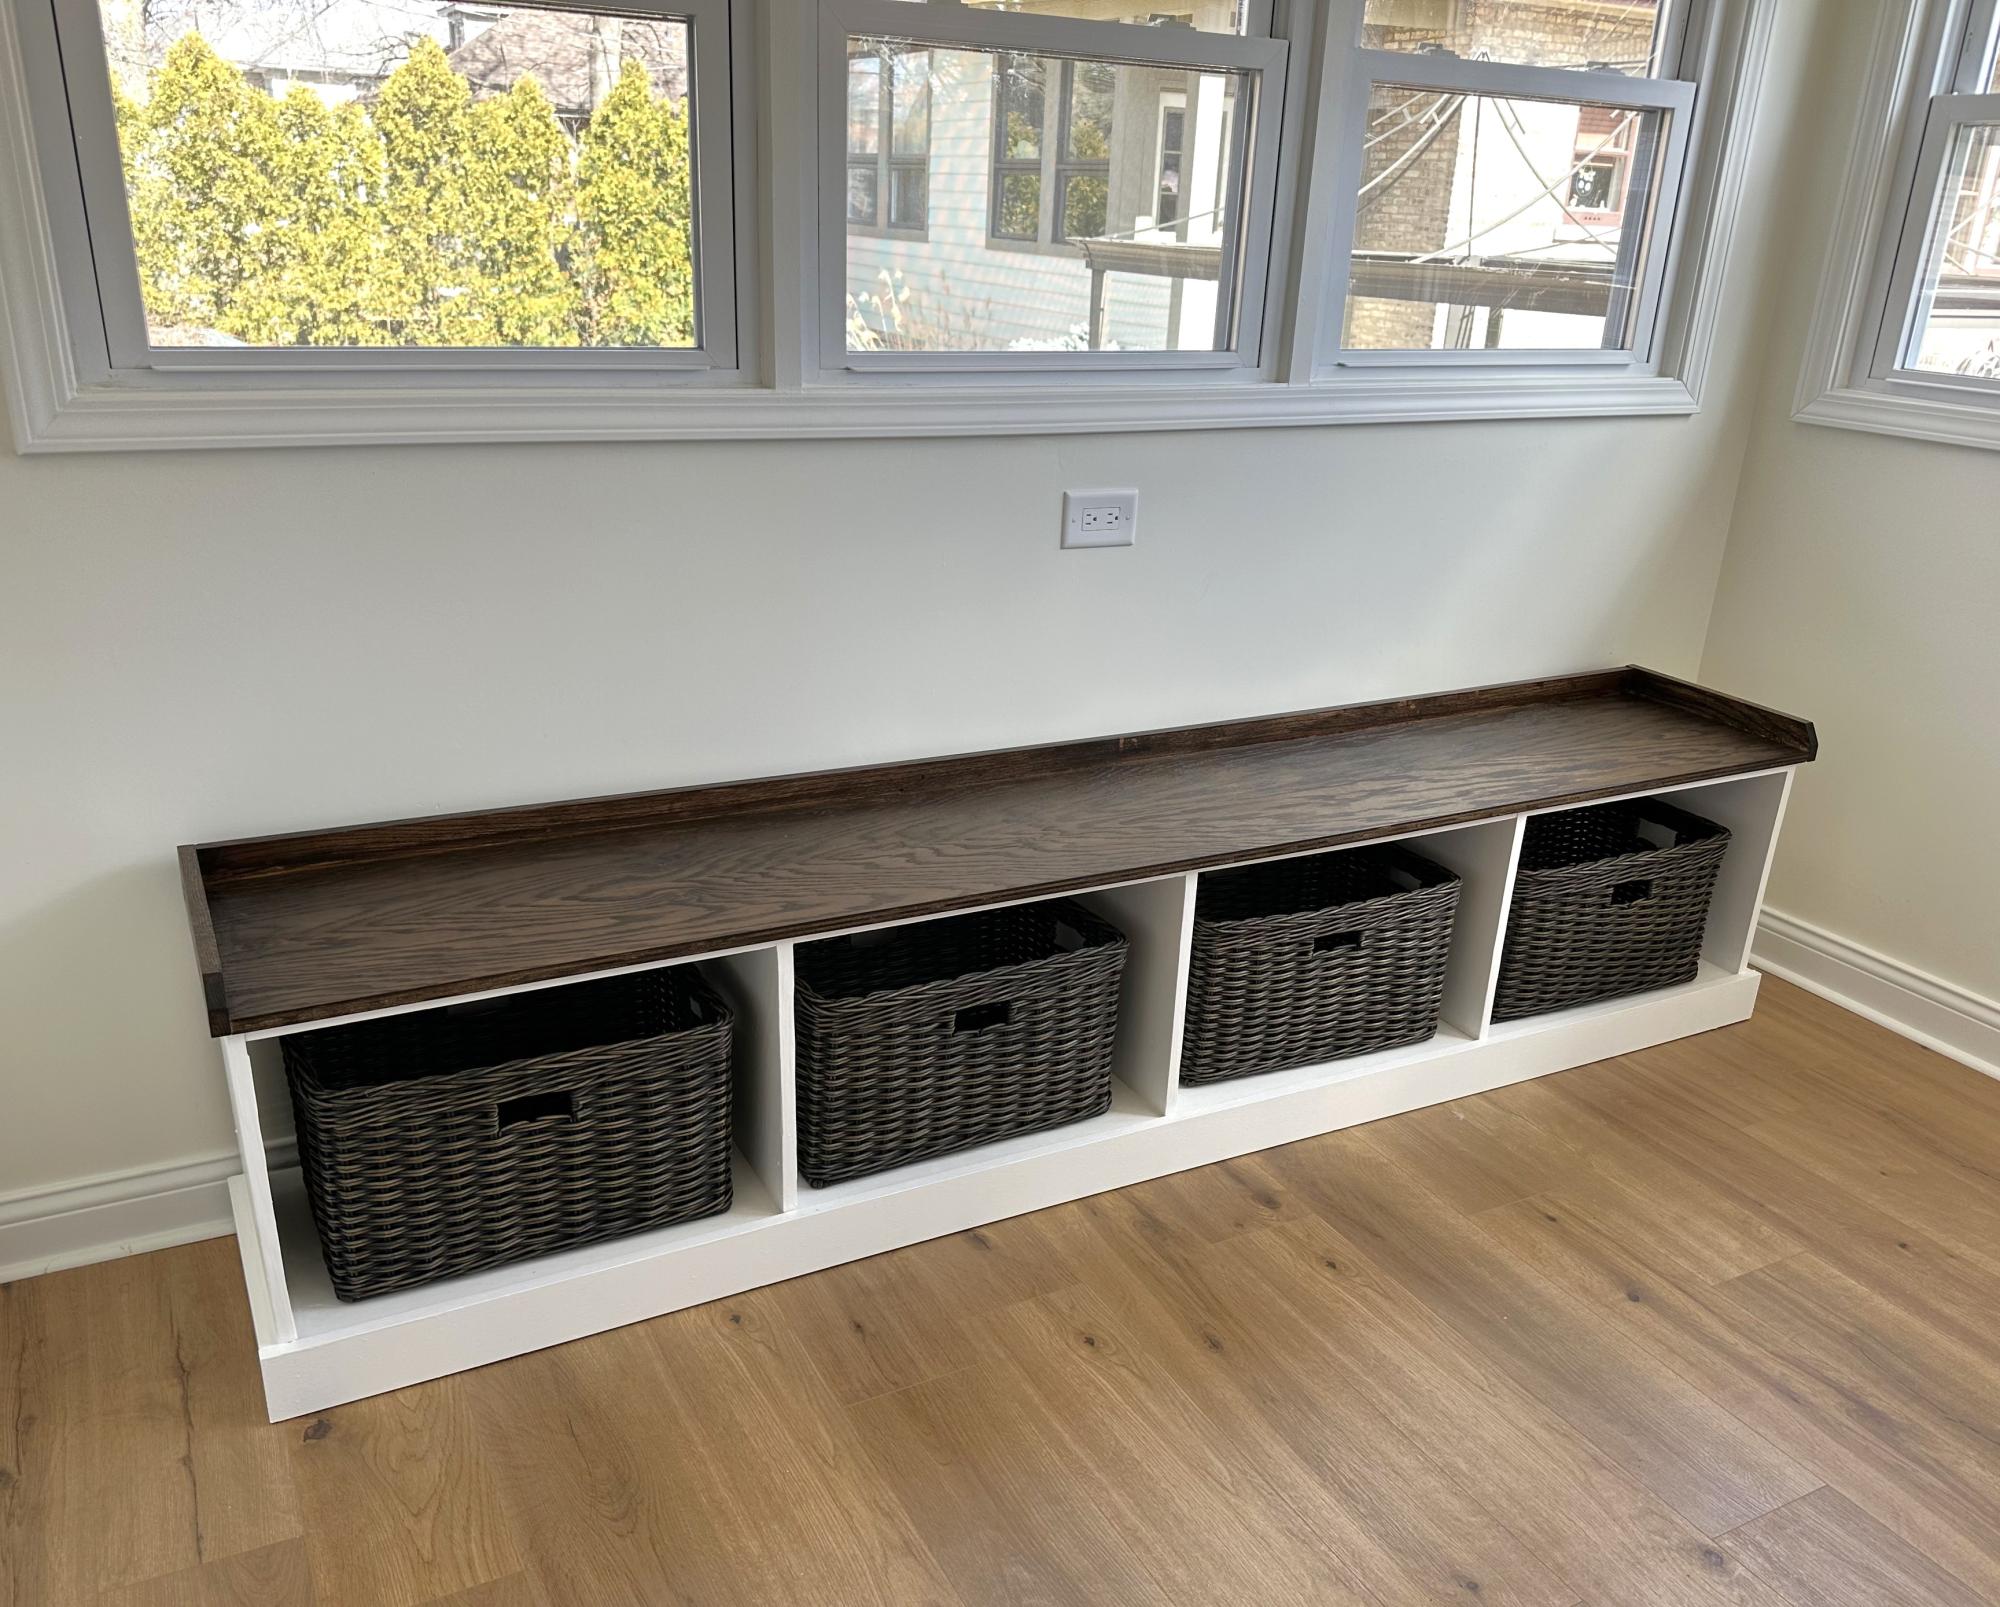
Beach Bench

Submitted by Anonymous (not verified) on Sat, 04/16/2016 - 14:26

Thanks for the plans, Ana!

Built from Plan(s)
Estimated Time Investment
Afternoon Project (3-6 Hours)
Finish Used
Weather Gray stain with a white paint finish for the bottom.
Recommended Skill Level
Intermediate

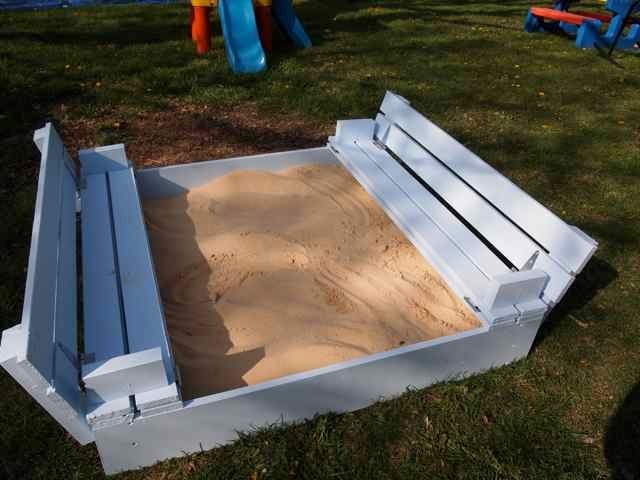
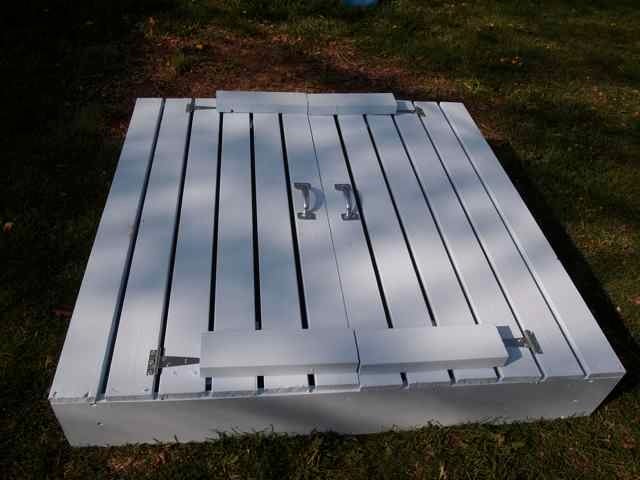
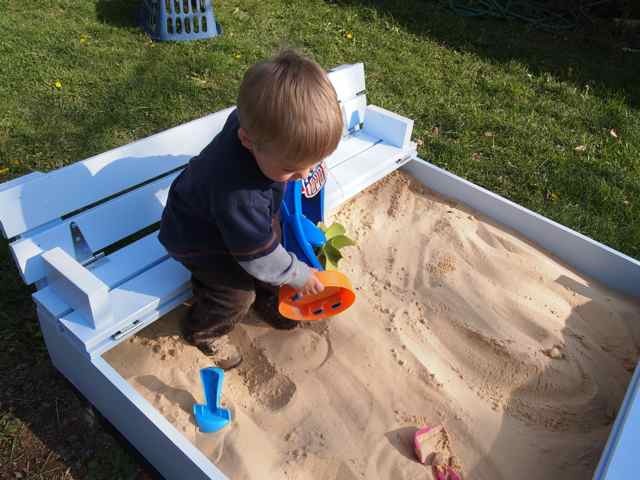
Sandbox with benches

Submitted by h.abbott on Tue, 04/10/2012 - 05:43

I knew I needed a sandbox for my toddler, and saw the original on pinterest. I was so happy when I came here looking for designs and saw that someone had created a plan for this. I think I'm more excited about it than my little guy is.

The plan was easy to follow, and it went together quickly. Thank you very much for these plans

Built from Plan(s)
Estimated Cost
$50
Estimated Time Investment
Afternoon Project (3-6 Hours)
Finish Used
Exterior paint in light blue.
Recommended Skill Level
Starter Project

Comments

hippyengineer (not verified)

Tue, 10/16/2012 - 19:32

You rock Ana! Your plans are some of the best quick builds with lots of features. I built this sand box in two hours and my son is having the best time. This is a Texas winter replacement for the beach and the backyard pool.

edkeogh

Mon, 05/23/2016 - 19:44

So I just started making this box and it's truly an awesome design but I couldn't get 1x8 lumber instead I got 2x8... For the box base, will this make an difference in the mechanics of the seat and back opening..and the overall size of the box is 1.5" longer at 49" instead of the 47" the plans detail.. I was hoping that it won't but I think it might interfere with the 2x4 support the seat back..

I right in the middle of this project so I need to get on with it as it's nice tomorrow..

THANK YOU
ED

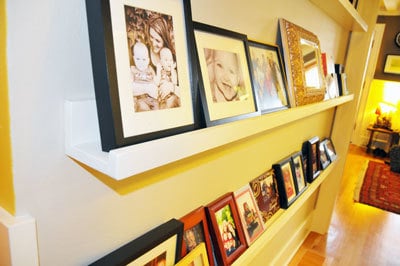
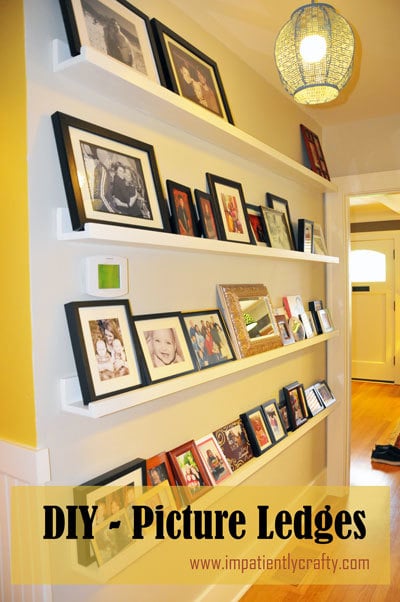
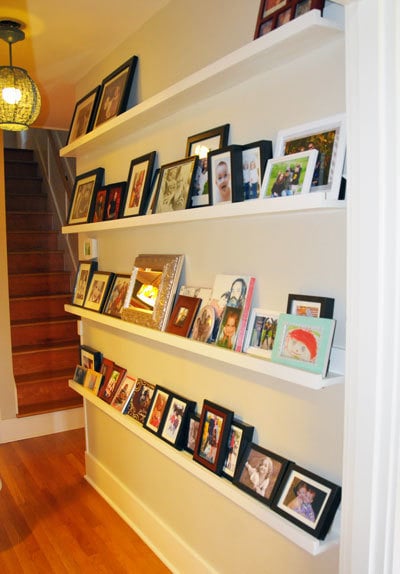
My version of ten dollar picture ledges/galley shelves.

I think I get more compliments on these galley shelves/picture ledges than anything else I’ve made, and these were probably the easiest things to make!

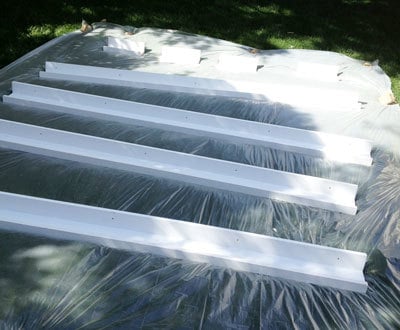
It cost me about $25 a piece but they were nearly 8 feet long each. I used a paint sprayer to paint them, WAY easier than brushing on the paint! watch for drips though (my first time using a sprayer, treat it like spray paint, light easy coats!)

Built from Plan(s)
Estimated Cost
$100
Estimated Time Investment
Afternoon Project (3-6 Hours)
Finish Used
used a satin white paint. that is the same as our molding in the house.
Recommended Skill Level
Starter Project

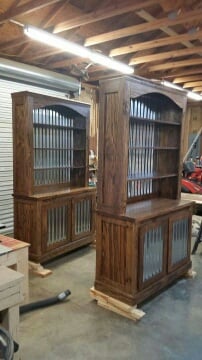
Hutch with cabinet

Submitted by wgbeecher on Fri, 01/24/2020 - 09:29

I saw this on Shanty2Chic and loved the plan.  I had a friend that wanted me to build her two of these with tin in the door and back.  The tin was a challenge but it all worked out.  She loves them.  Thank you for the plans.  I could not have done this without them.

Built from Plan(s)
Estimated Cost
150.00 each
Estimated Time Investment
Week Long Project (20 Hours or More)
Finish Used
Special Walnut Minwax
PolyWipe
Recommended Skill Level
Advanced

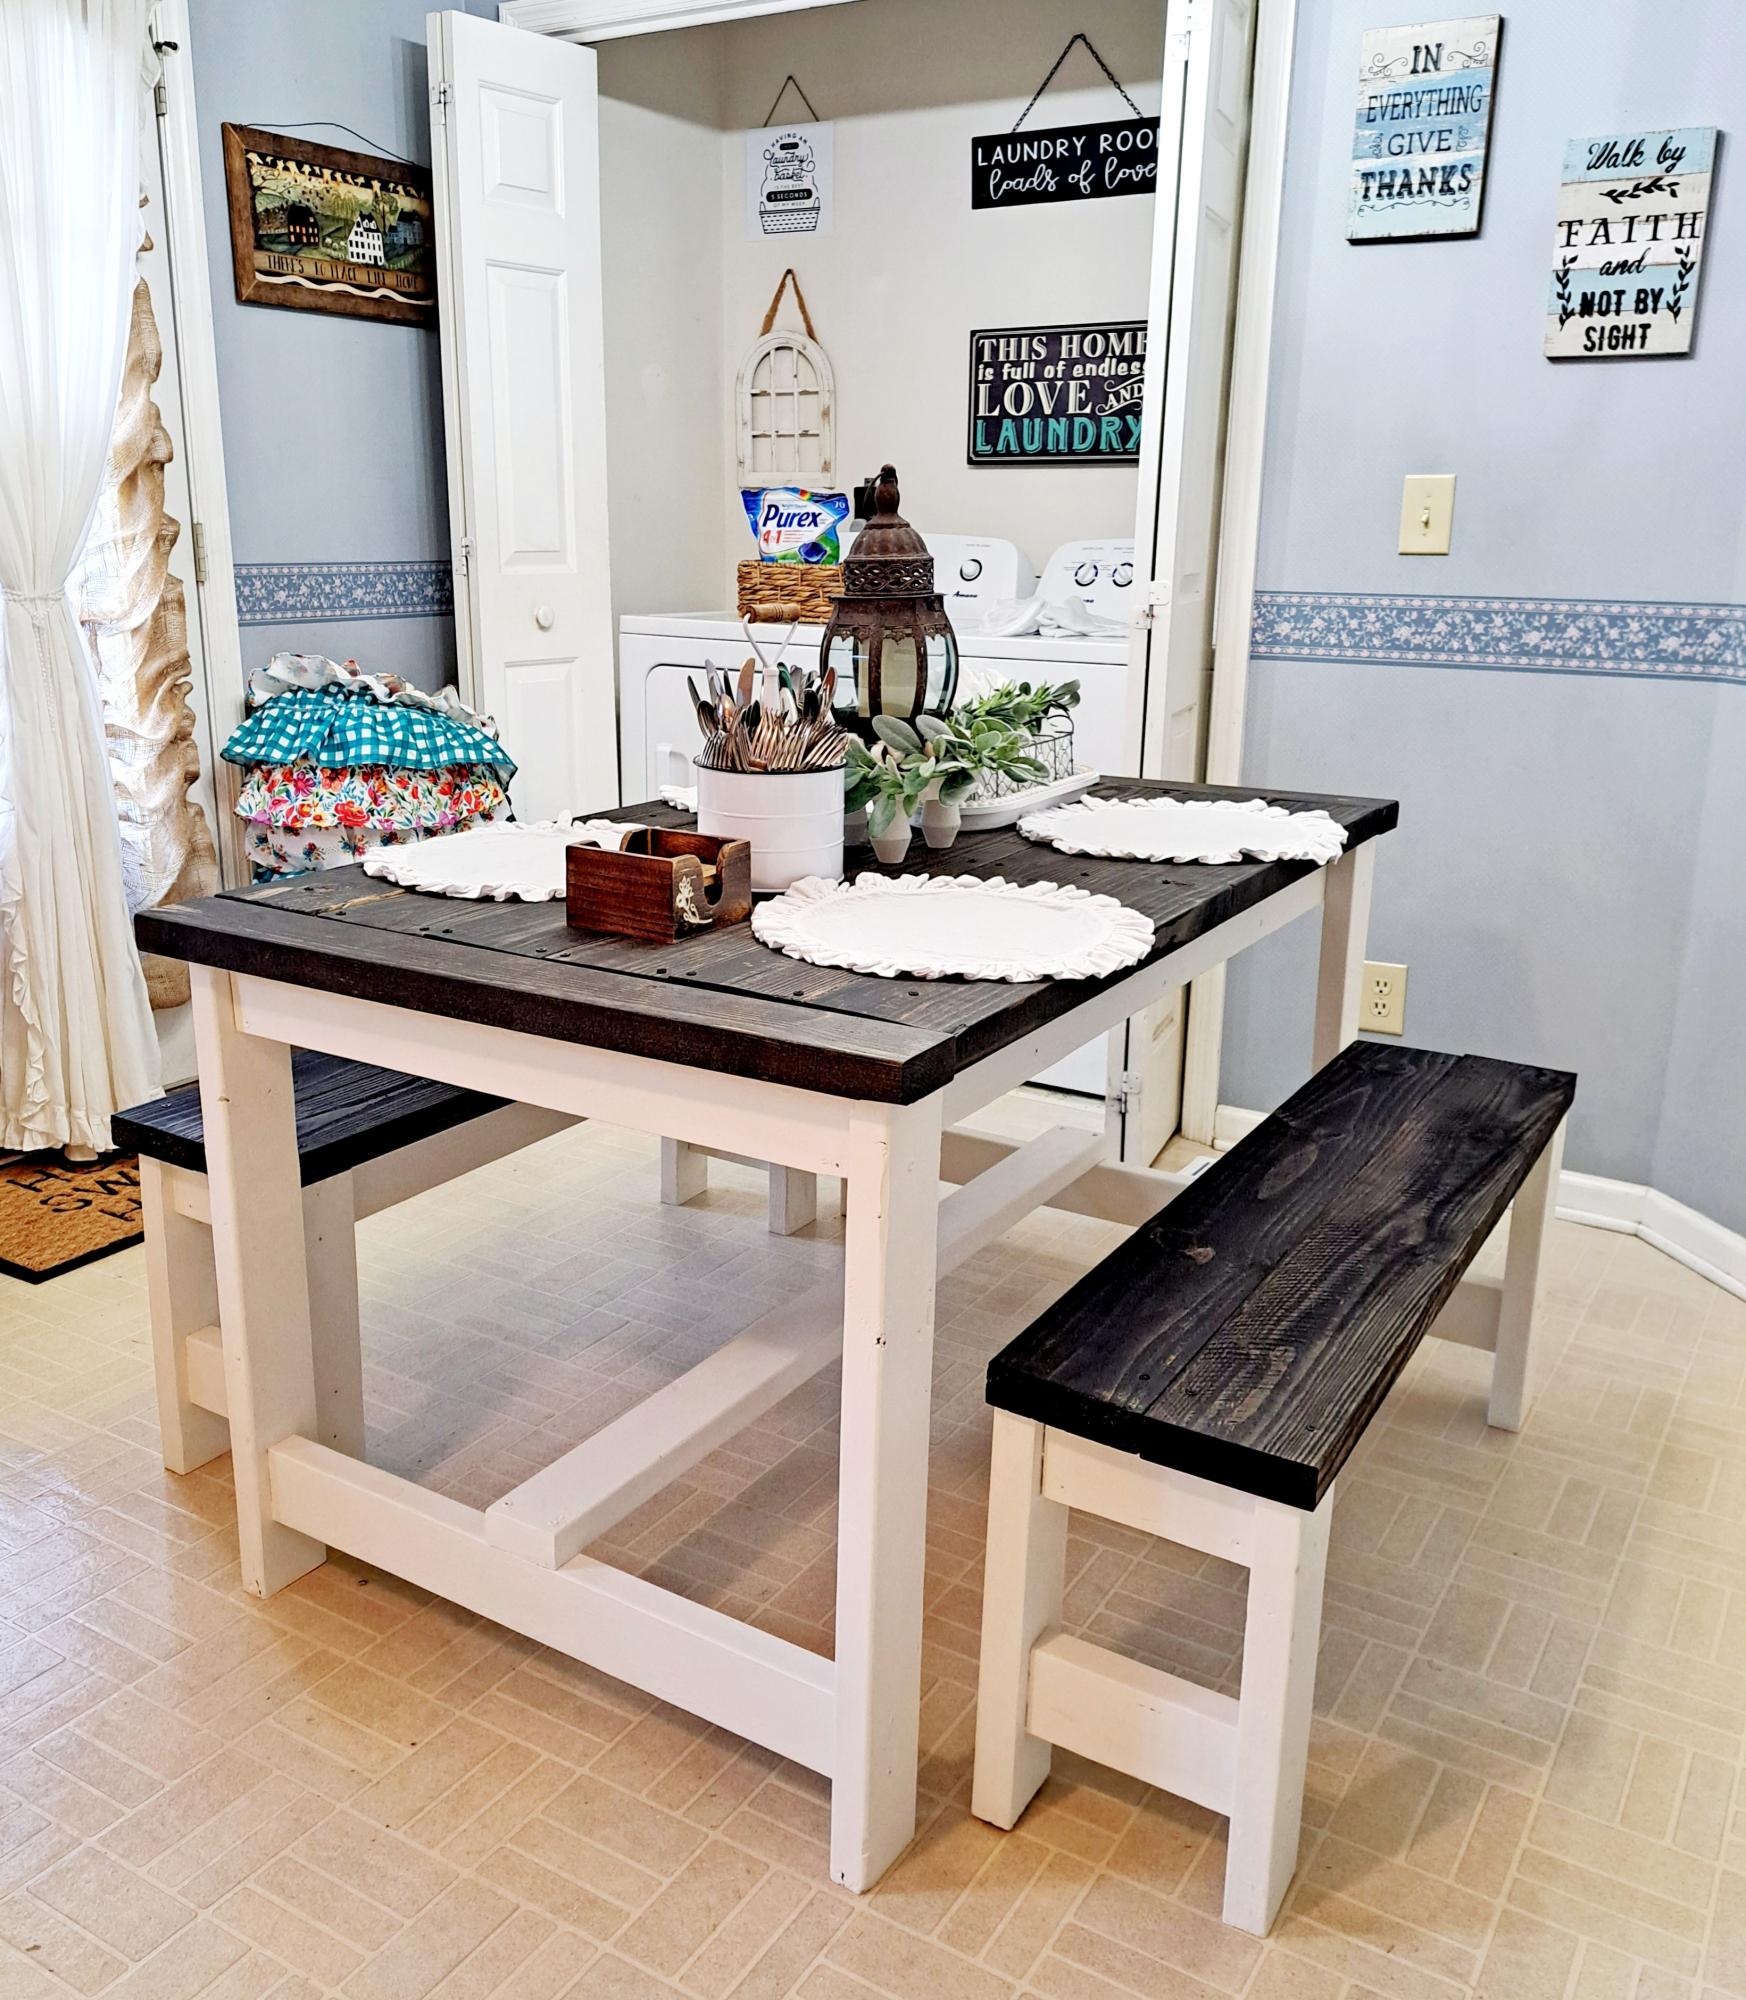
Small Farm Table

Submitted by Anonymous (not verified) on Fri, 09/22/2023 - 07:54

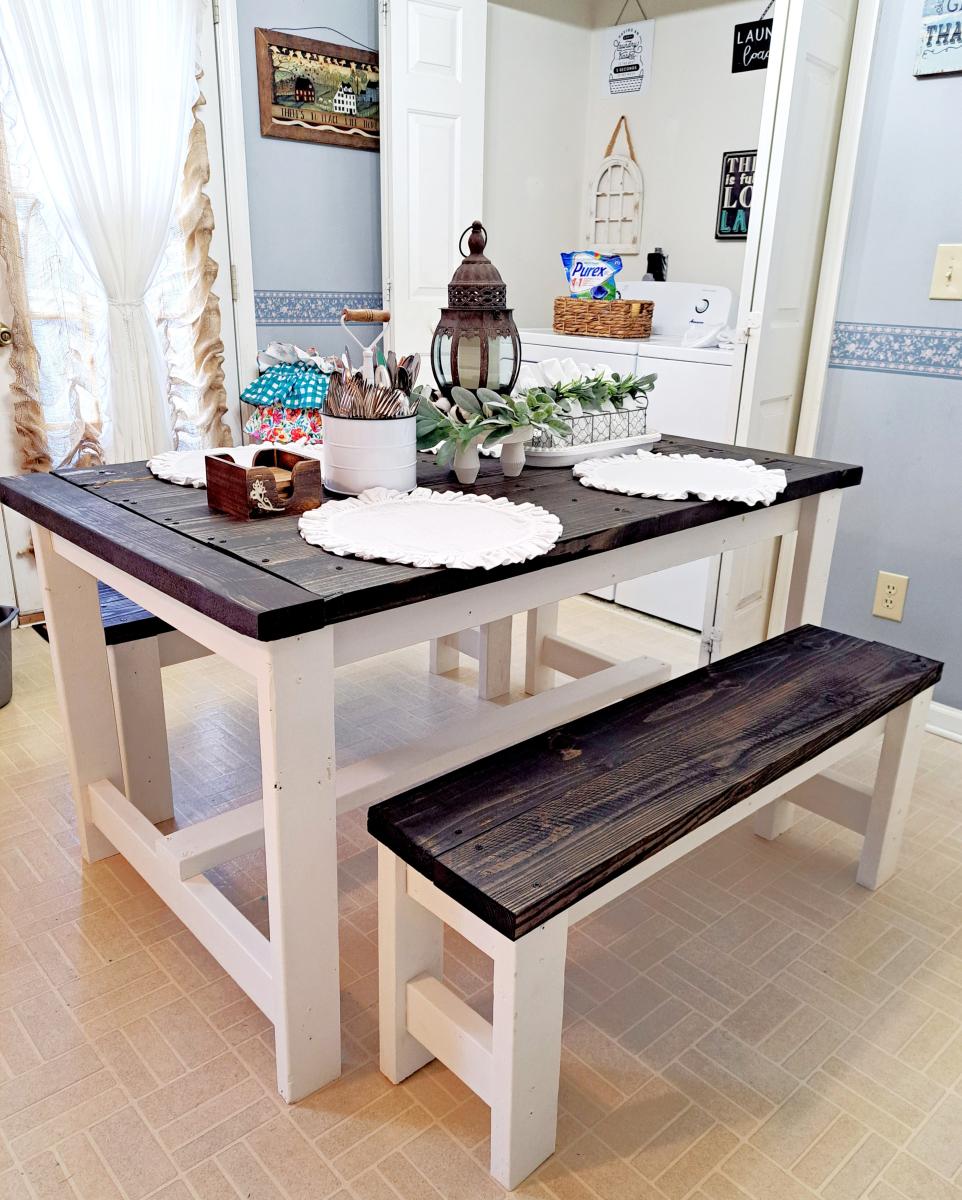
This was my first time building furniture. I've restored and refurbished antique furniture for years and but never imagined building my own before. I have a small kitchen and had to modify the size to accommodate area space. I also added breadboard ends to the tabletop. I am now planning to build more furniture using your plans. Thank you Ana White for providing such a wonderful resource to help beginners build their own furniture!

Comments

Seasonal And Holiday

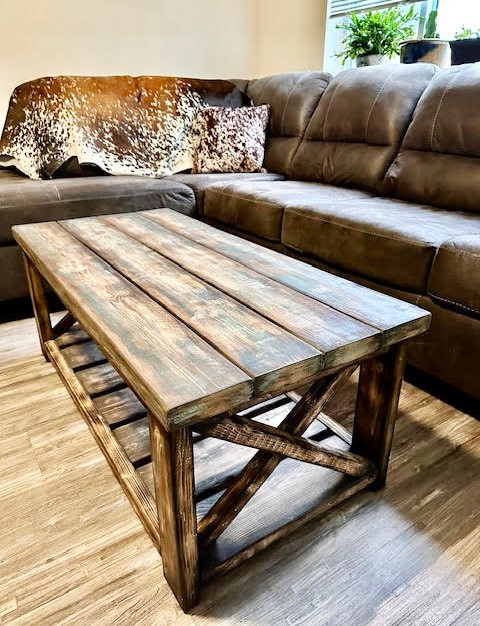
DIY Rustic Coffee Table with Custom Finish

Submitted by Anonymous (not verified) on Sun, 10/29/2023 - 19:41

Great coffee table by April!

For the Finish:

First I lightly burnt the wood. The base is minwax in ebony. I actually sprayed water on the wood and used a damp cloth to apply. 

The top I used random spots of regular satin paint in grey, a couple shades of blue and an olive green and a chalk paint white. Then sanded it down removing most of the paint and stained it with minwax provincial.  And went over some of the edges with the ebony. 

Easy DIY Work Bench

This was an after work project. (2.5 hours) Easy build. This bench is exactly to spec of the plans. This is a great little work bench already planning to build a couple more.

Estimated Cost
$65.00
Estimated Time Investment
Afternoon Project (3-6 Hours)
Finish Used
None
Recommended Skill Level
Beginner

Dog/Baby Gate

Submitted by advanlente on Sat, 03/28/2020 - 11:53

Inspired by Ana White's $25 Wood Baby Gate (https://www.youtube.com/watch?v=cPV6XfheqgA), I needed a gate for my miniature schnauzers. They loved going into the basement unattended ... and well ... potty accidents happen without me being the wiser. So, I modified the hardware used, and so far so good! The puppies and my little nieces and nephews are protected. 

Farmhouse Table for house

Submitted by N8Heinrich on Thu, 03/13/2014 - 08:52

My wife wanted a new table for our dining room in our new house. I have been eyeing this project for a couple of years and finally convinced my wife that I could do it since we had the space. The plans on this site were easy to follow and I was able to really put it together. As far as the color of the stain, that is all my wife as she has the eye for colors and matching. Overall, this was a fun project and I can't wait to put the bench together next.

Estimated Cost
$150
Estimated Time Investment
Week Long Project (20 Hours or More)
Finish Used
Minwax Jacobean Stain; then 3 coats of Poly all brush applied
Recommended Skill Level
Beginner

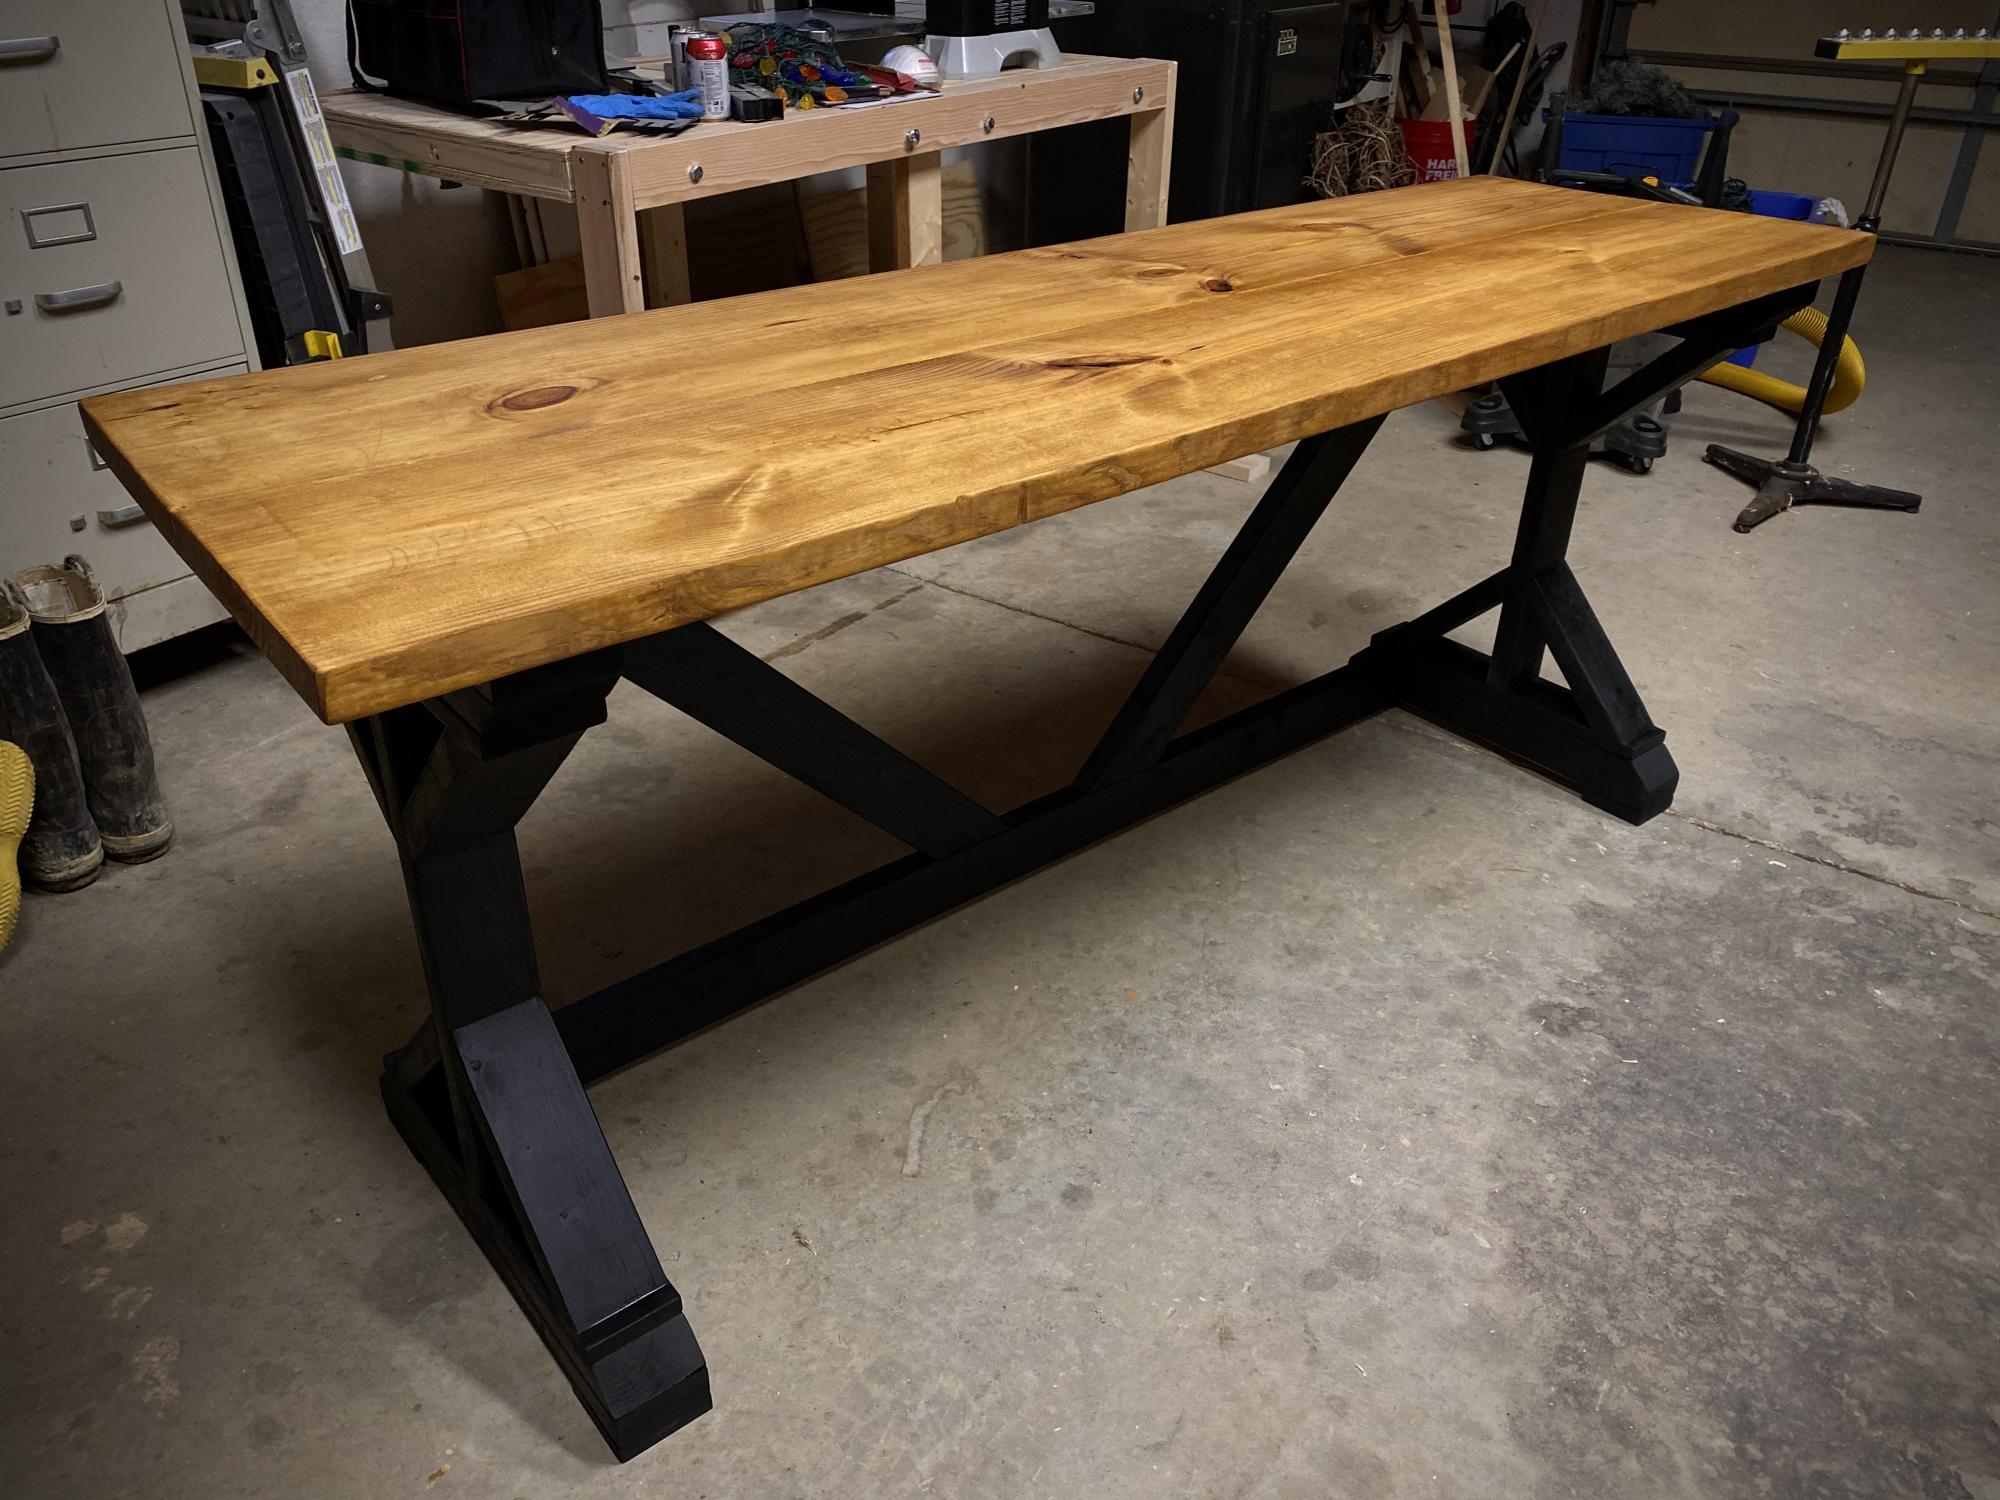
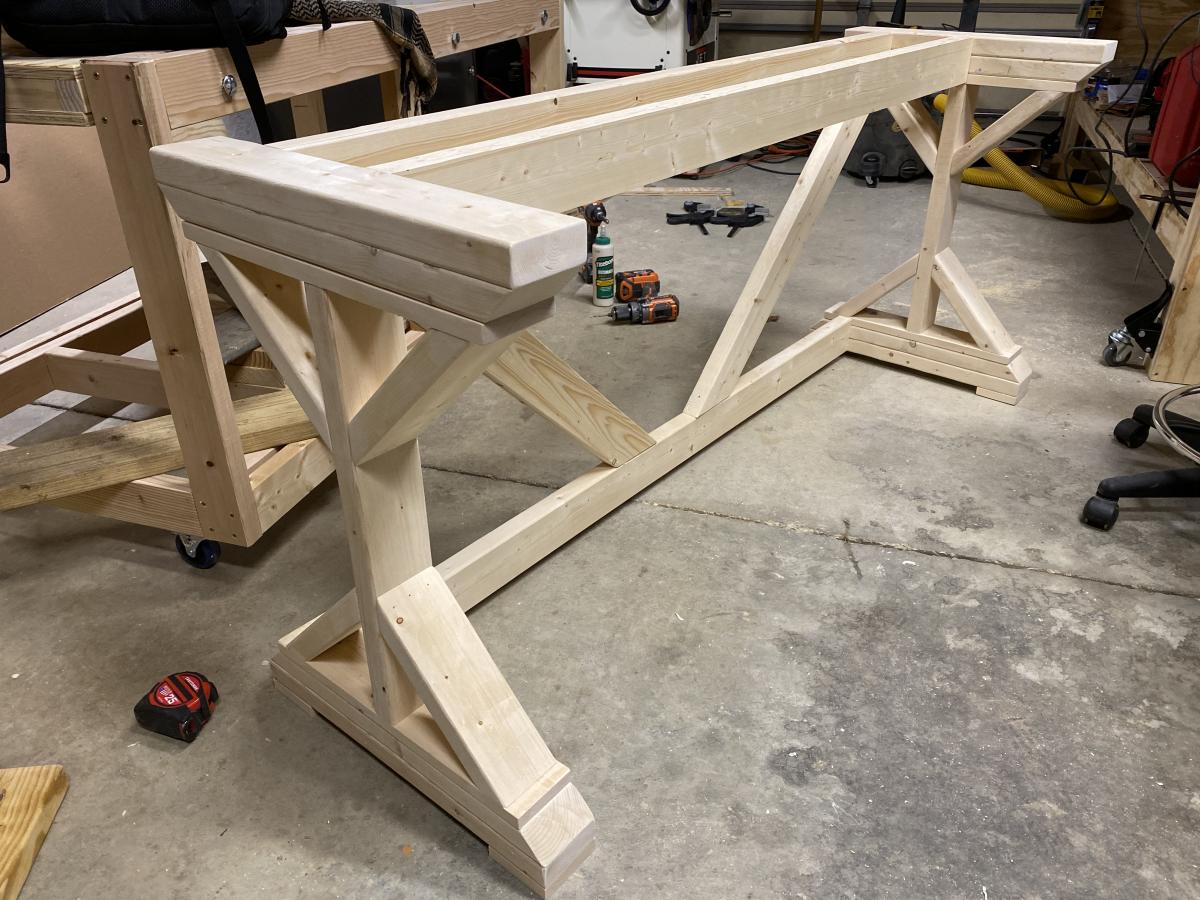
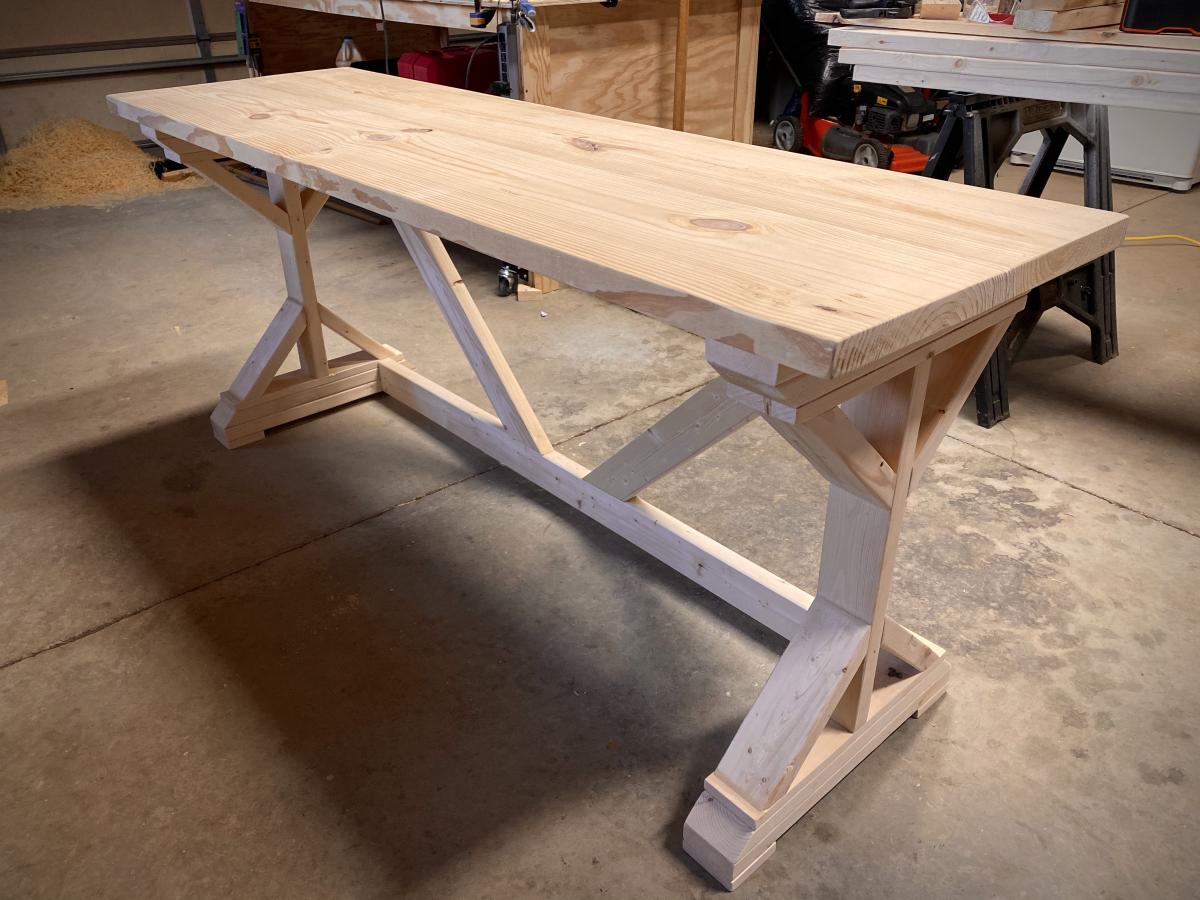
Fancy X Desk For Home Music Studio

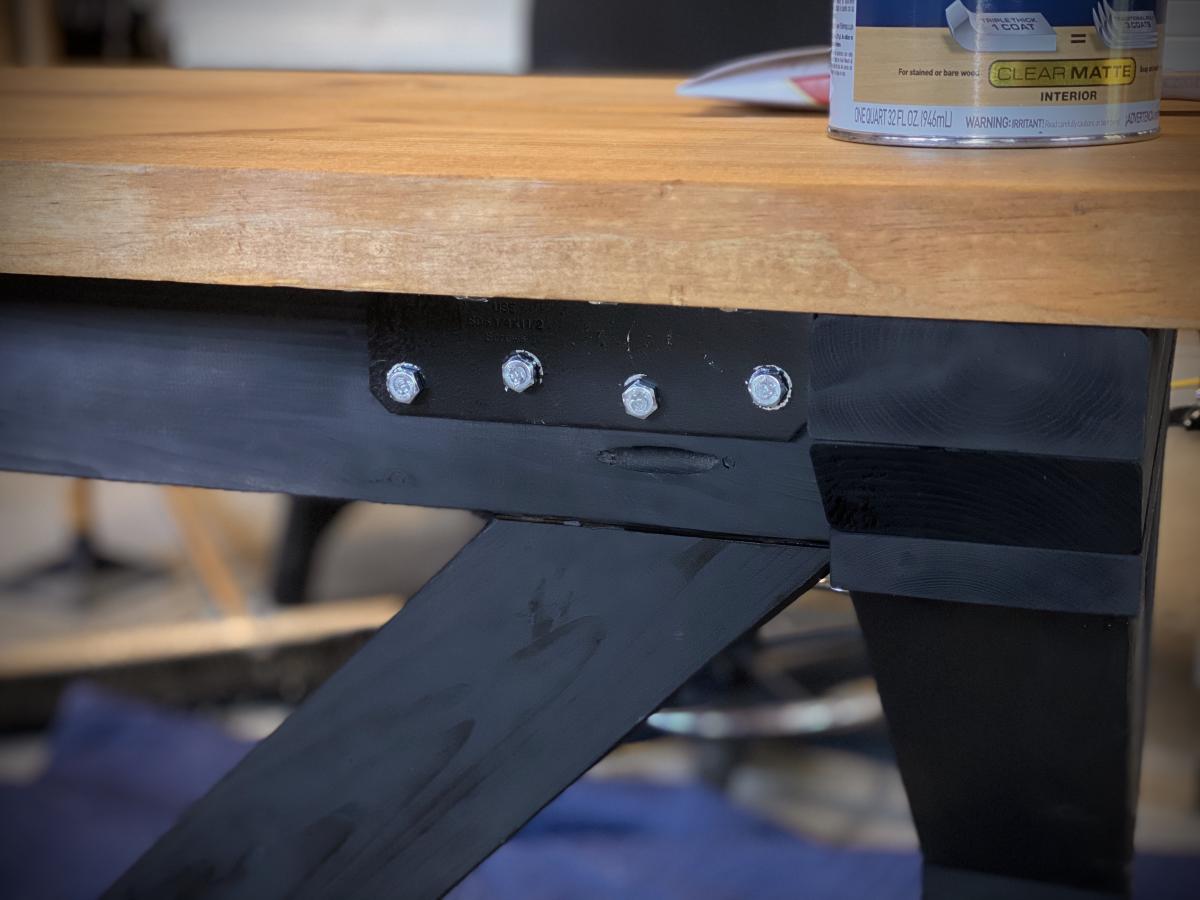
This is only my second ever furniture project. I modified the height to give me extra clearance for a full sized synthesizer underneath. I spray painted the base matte black, stained the top with Minwax Puritan Pine, and sealed it with Varathane Triple Thick Water Based Polyurethane.

I attached the top with heavy corner brackets and 1" hex head lag screws to add a bit of an industrial look.

Built from Plan(s)
Estimated Cost
$60
Estimated Time Investment
Day Project (6-9 Hours)
Finish Used
Used a single coat of Minwax Puritan Pine for the top, and a single coat of black matte spray paint with primer for the base.
Recommended Skill Level
Beginner

Comments

Wishing well projects

Submitted by Jason48 on Thu, 04/03/2014 - 08:02

Started these wishing wells as only having fun and for family it seems now that it is going to be a little more than I thought now taking orders from family friends

Estimated Cost
120.00
Estimated Time Investment
Week Long Project (20 Hours or More)
Recommended Skill Level
Intermediate

Comments

In reply to by Jason48

crafty_love

Tue, 11/19/2019 - 07:33

I love the wishing wells, but I can;t find a plan.  My mom has wanted one of these forever! She now has stage 4 squamous cell carcinoma Stage 4 and I would love to build her one before it is too late.

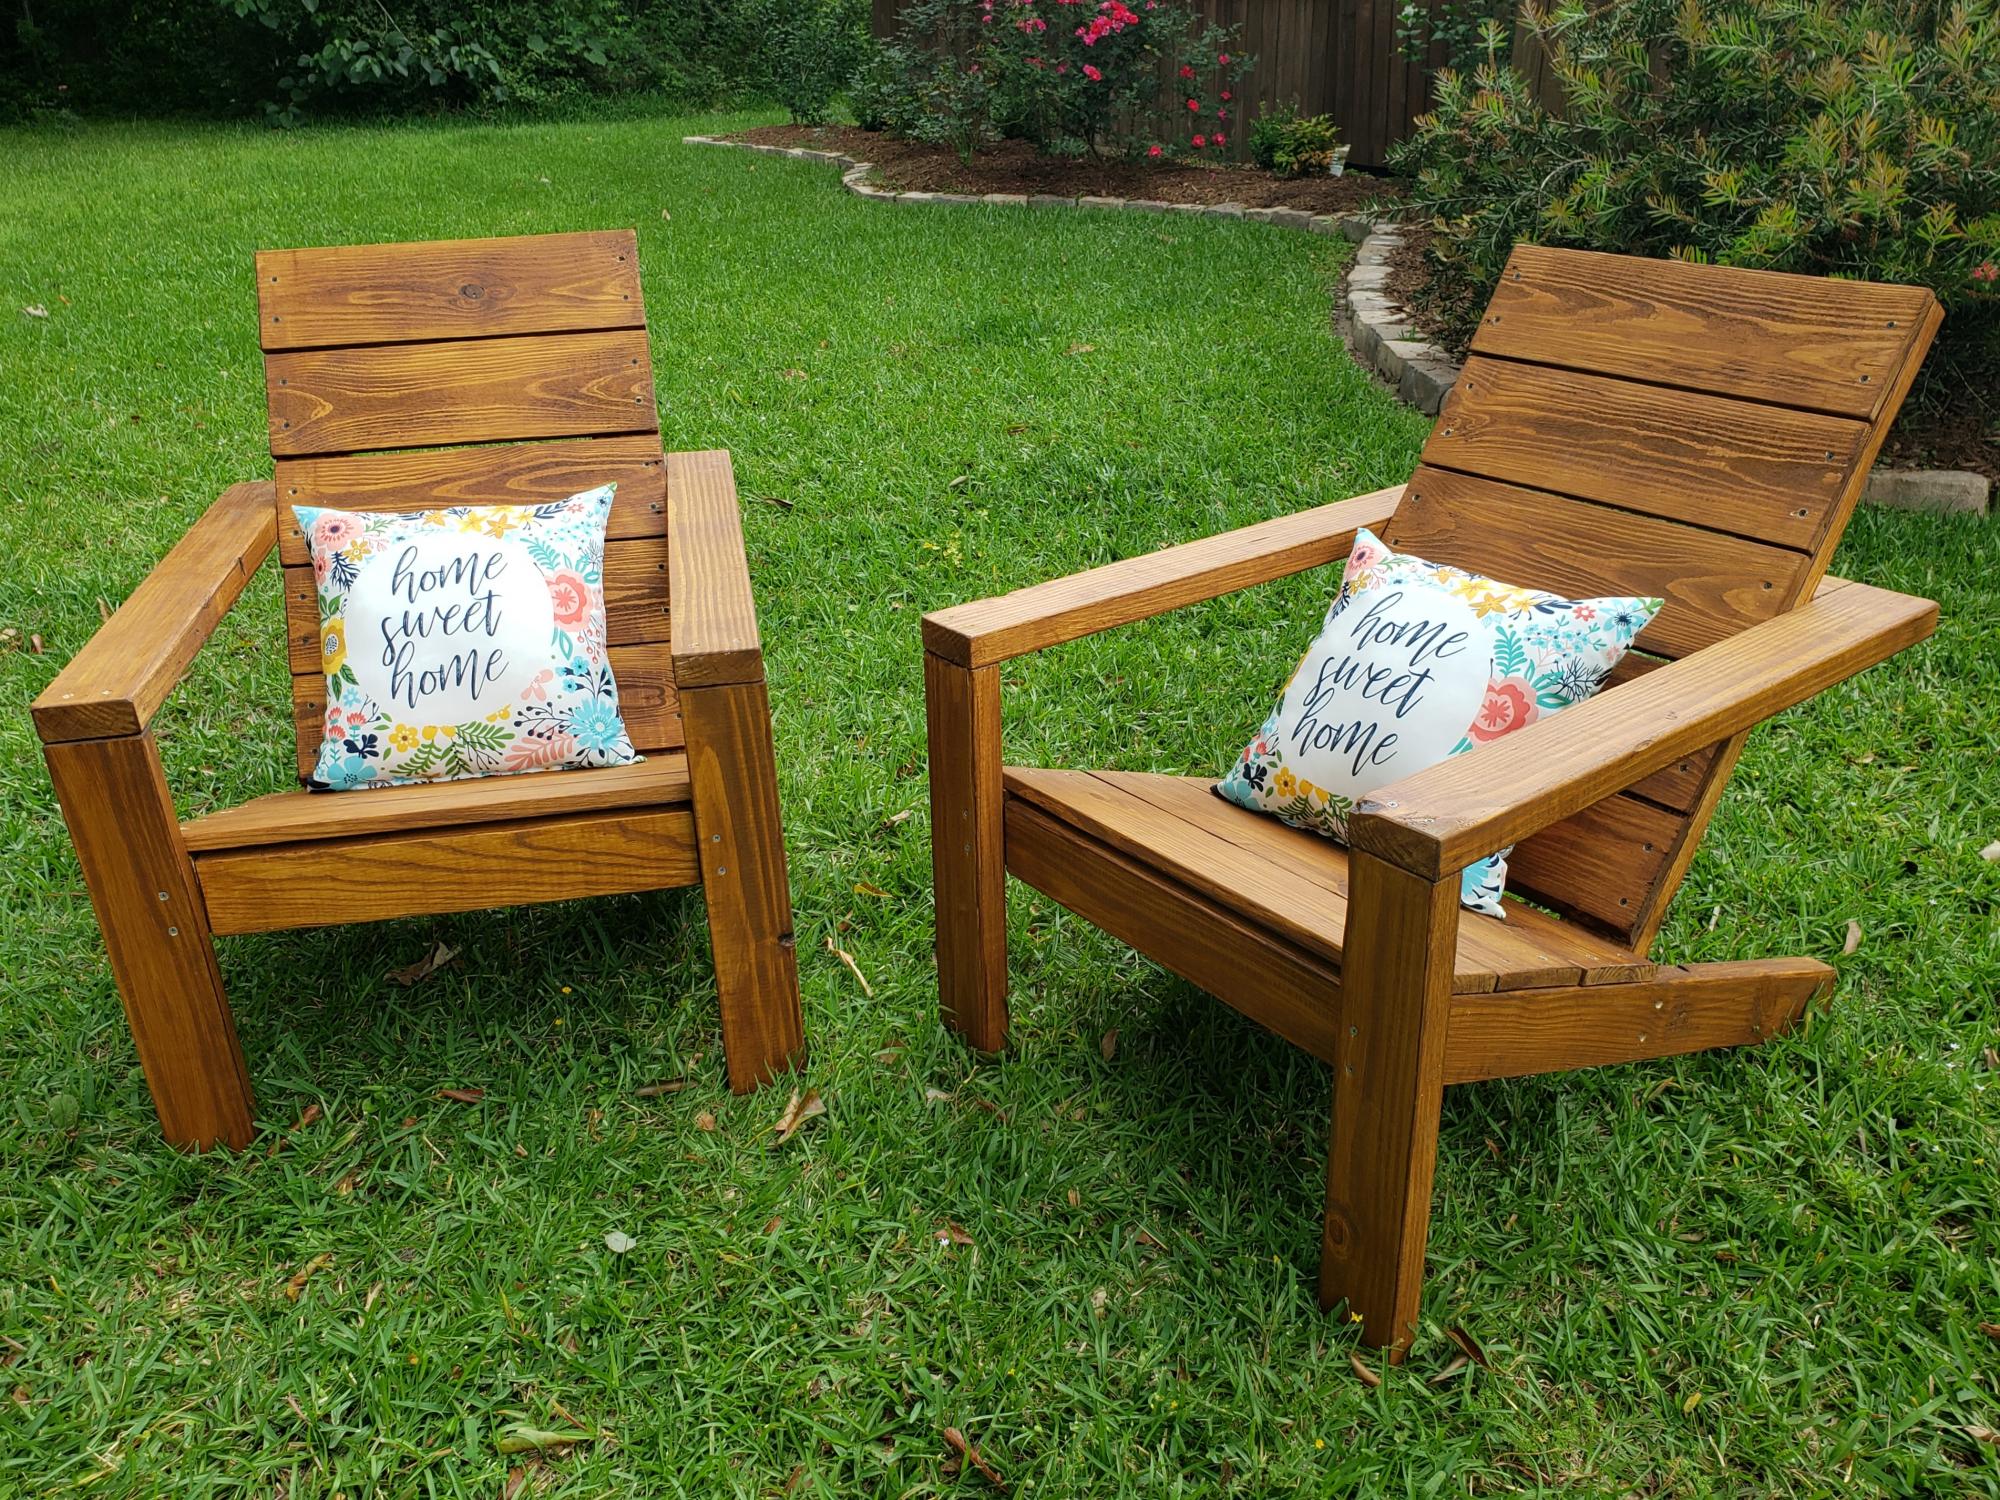
Modern Adirondack Chairs using reclaimed pallet wood

Submitted by Anonymous (not verified) on Wed, 05/06/2020 - 06:20

The plans were easy to follow and the finished result was perfect! We subbed 1x6s for the 1x10s, because we were using some reclaimed pallet wood. We cut, sanded, and stained/weatherproofed all pieces before assembly, which I would also recommend.

Estimated Cost
$20 per chair (we used some reclaimed pallet wood)
Estimated Time Investment
An Hour or Two (0-2 Hours)
Finish Used
Valspar Canyon Brown Transparent Exterior Stain
Recommended Skill Level
Intermediate

Rolling Cart - pallet recovered wood

Submitted by jgrunwaldt on Thu, 08/25/2016 - 19:36

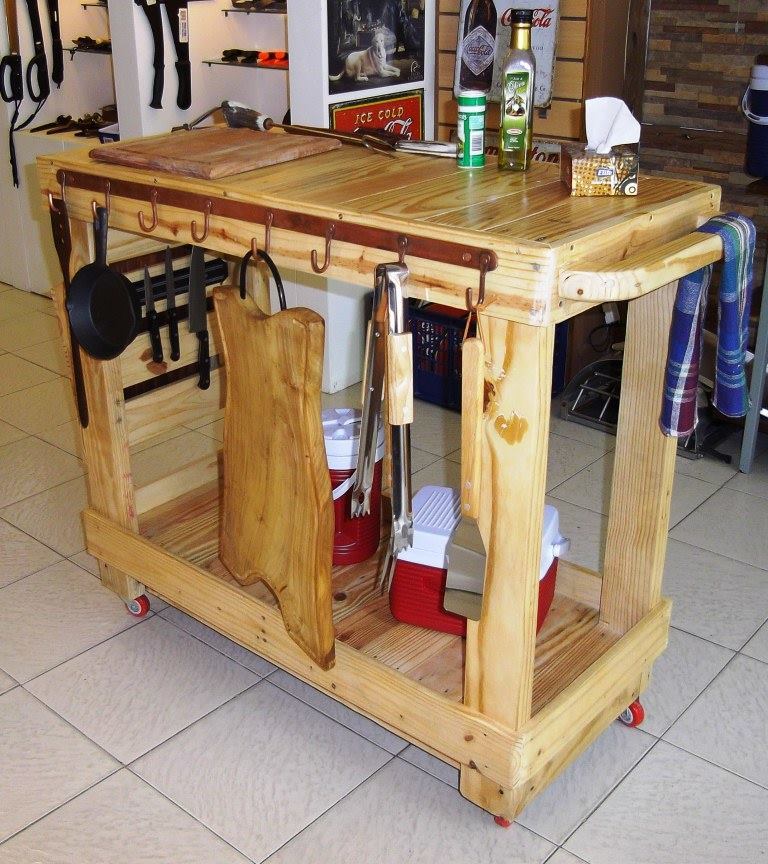
Rolling bar cart made entirely from recovered pallet wood.

Based on original Ana White's plan, I've just added a side pocket and rails on the lower shelf to prevent sliding of items placed on it. 

Later on I made another one for a friend who attached a hanger plate and a magnetic knife holder.

Built from Plan(s)
Estimated Time Investment
Weekend Project (10-20 Hours)
Finish Used
wax
Recommended Skill Level
Intermediate

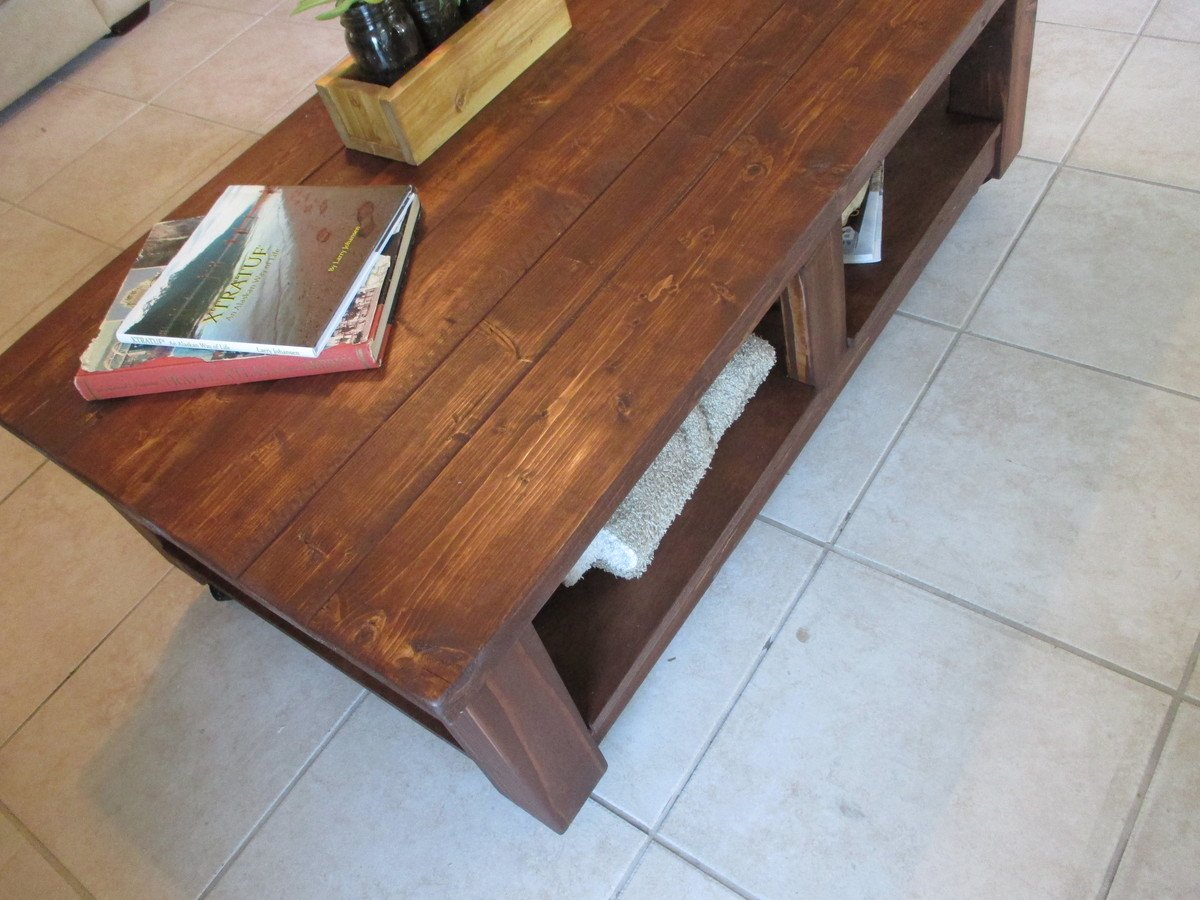
Taylors Coffee Table

I've made several of Ana's pieces, but this is my first brag post.

I actually made this for one of my husband's co-workers, but now I want to make one for myself.

I don't know the actual amount of hours it took, but like any project, the sanding was the most tedious part!

This one was built with 4 2x6, and 2 2x4 boards on top, as the friend wanted it a little wider than the original plan. I modified the other dimensions accordingly.

The wheels used in the Shanty2Chic build post were too large for my 4x4 posts. The wheel plates were too wide. They measured about 3.75" and my 4x4's were only 3.5". Also, speaking of the 4x4's, I used untreated Douglas Fir, purchased from my local Lowes. I typically shop at Home Depot, but they did not carry any untreated 4x4's.

The wheels I used were the same style by Everbilt, but the next size down, the 2" wheels. However, their overall height was 3", and so the height of the table ended up being perfect anyhow!

I finished the table in Minwax English Chestnut and used the Minwax rub on satin polyurethane.

I put the time as a week long, primarily because of sanding and finishing. But, I think that if you devoted your time to it, you could do it in a weekend.

OH! Also, Ana doesn't mention it in the plans, but the Shanty Chics do... put the plywood shelf in BEFORE adding the second side. I had to remove pieces which were already glued, and it made that step a bit annoying!

Otherwise, all was well. Enjoy!
Built from Plan(s)
Estimated Time Investment
Week Long Project (20 Hours or More)
Finish Used
Minwax English Chestnut stain
Minwax Rub On polyurethane Satin finish
Recommended Skill Level
Intermediate

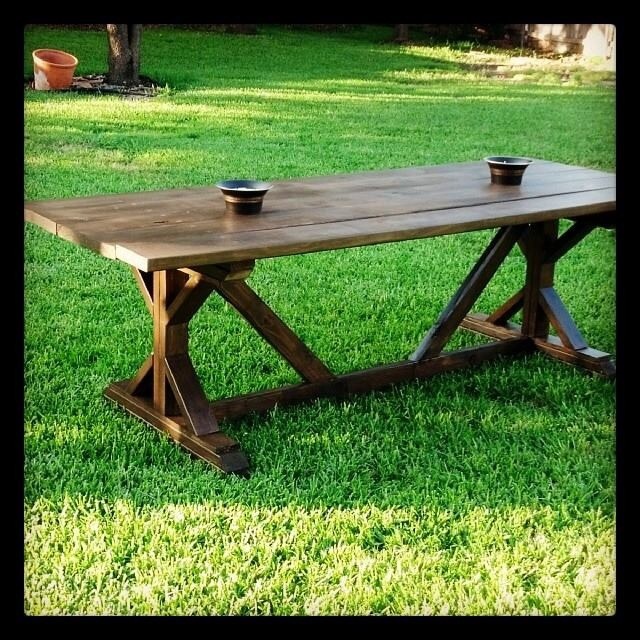
Patio table

Submitted by Matt Shane on Sat, 06/07/2014 - 19:30

Needed a patio table for this space and decided on this plan. After the build portion, the stain finish really made it complete. Now time for some summer get togethers.

Built from Plan(s)
Estimated Cost
120
Estimated Time Investment
Weekend Project (10-20 Hours)
Finish Used
Behr Premium Wood Coatings Semi-Transparent Weatherproofing All'-In-One Wood Stain and Sealer
Color-Coffee (ST-103)

2 coats
Recommended Skill Level
Beginner

DIY Murphy bed made from solid wood

My husband used the plans from this website to make a single Murphy bed. He didn't make any changes, save for building the frame out of solid poplar and using birch plywood for the flat surface the mattress sits on when it's unfolded. We trimmed it to mimic the the lines of a built-in in the same room, and stained it Jacobean to make it look dark. It's a solid piece of furniture and is saving us tons of space.

Estimated Cost
$200
Estimated Time Investment
Weekend Project (10-20 Hours)
Finish Used
Minwax Jacobean
Recommended Skill Level
Intermediate

Distressed console

Submitted by dmather82 on Sat, 06/21/2014 - 17:33

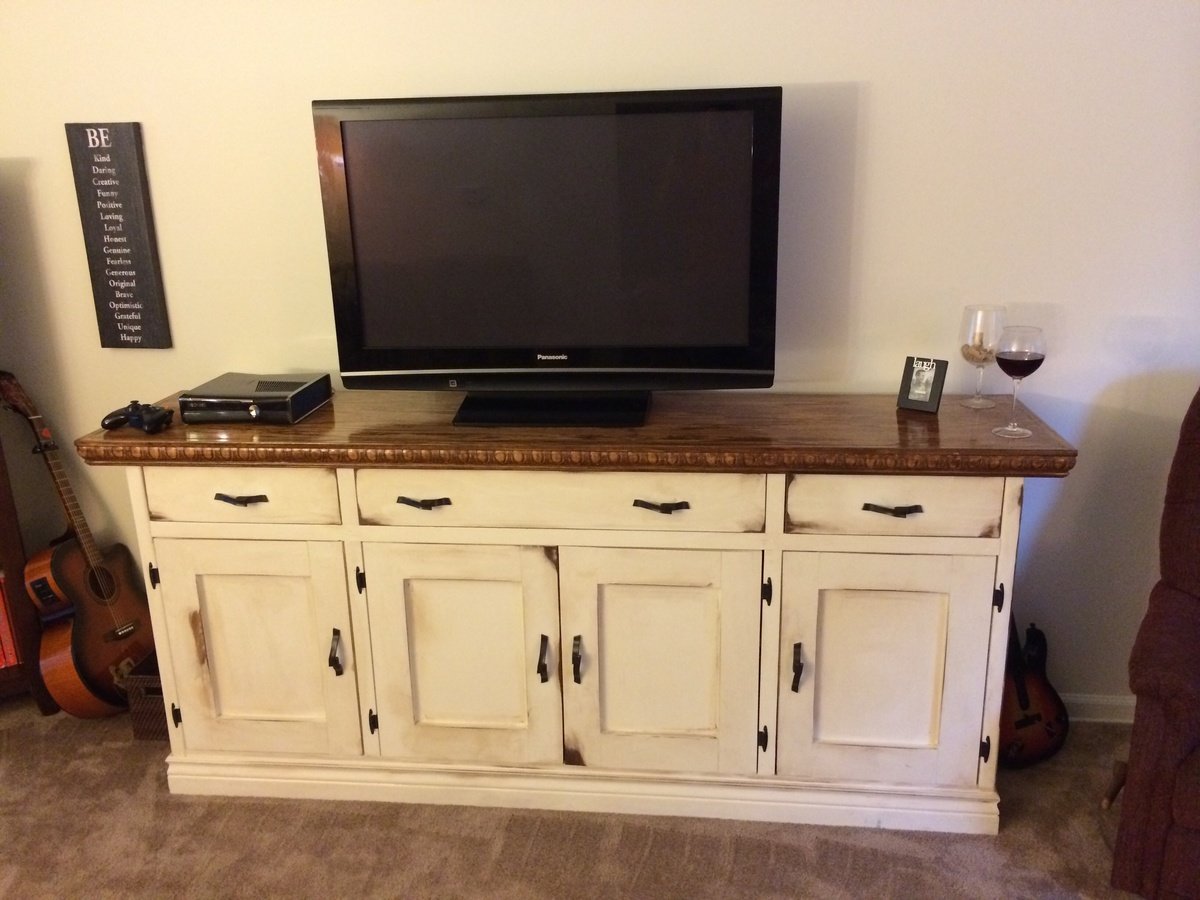
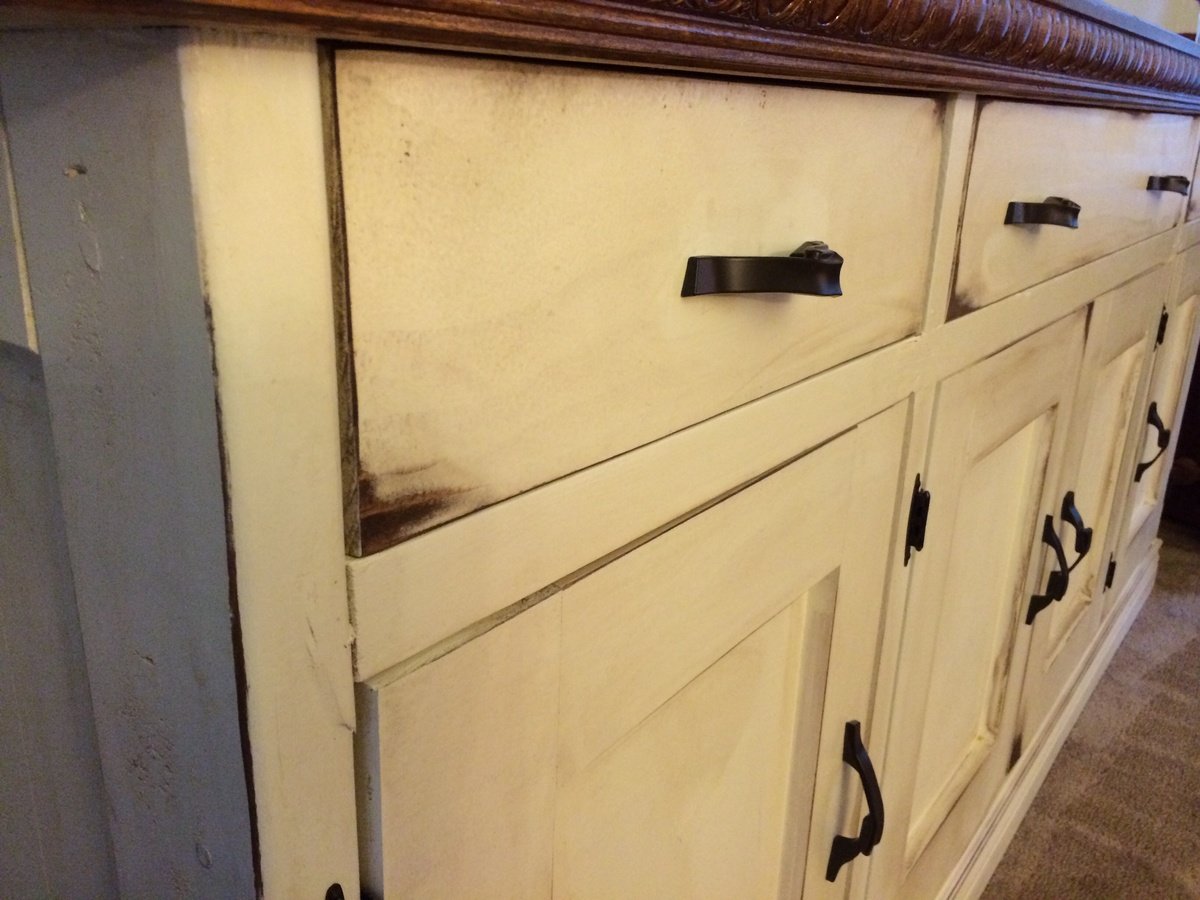
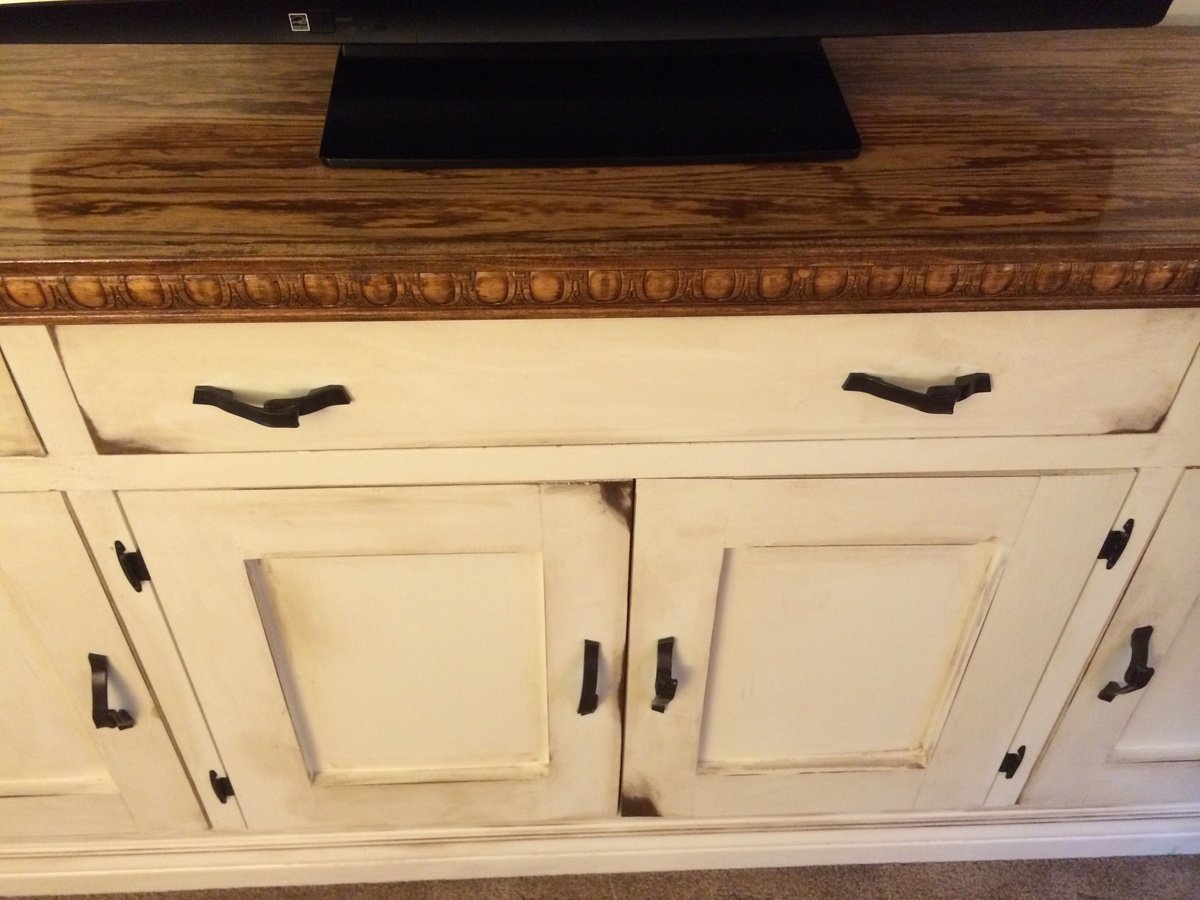
This project was nearly the emotional equivalent of pure hell. I began this as a buffet for someone who decided midway that they no longer wanted it. Secretly I was happy because I fell in love with it. The problem was it was started in late fall and this winter in ohio was more Ana's norm than ours. My I heated garage created a warped piece and an untenable workspace for a few months. I'm pretty happy all and all.

Built from Plan(s)
Estimated Cost
$600-$700
Estimated Time Investment
Week Long Project (20 Hours or More)
Finish Used
Antique white pine distressed and stained over with rustoleum cherry and walnut. The top is some crazy mix of stains and finishes.
Recommended Skill Level
Advanced

Comments