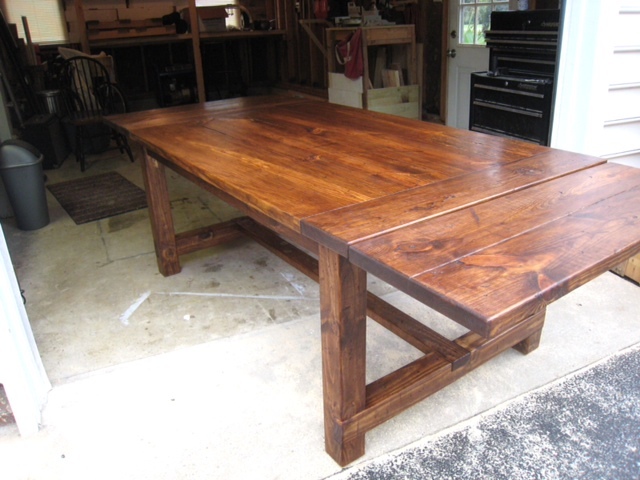
Truss harvest table with white stain
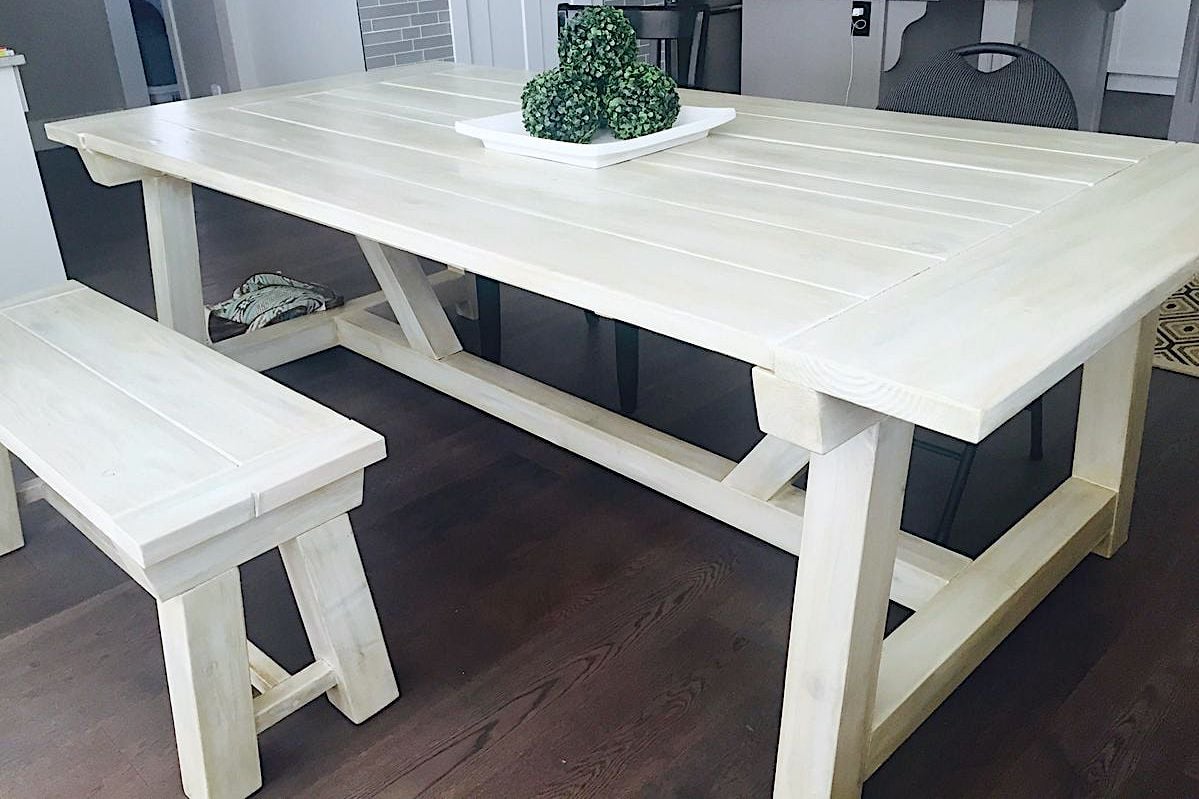
Absolutely love the finish on this table.

Absolutely love the finish on this table.
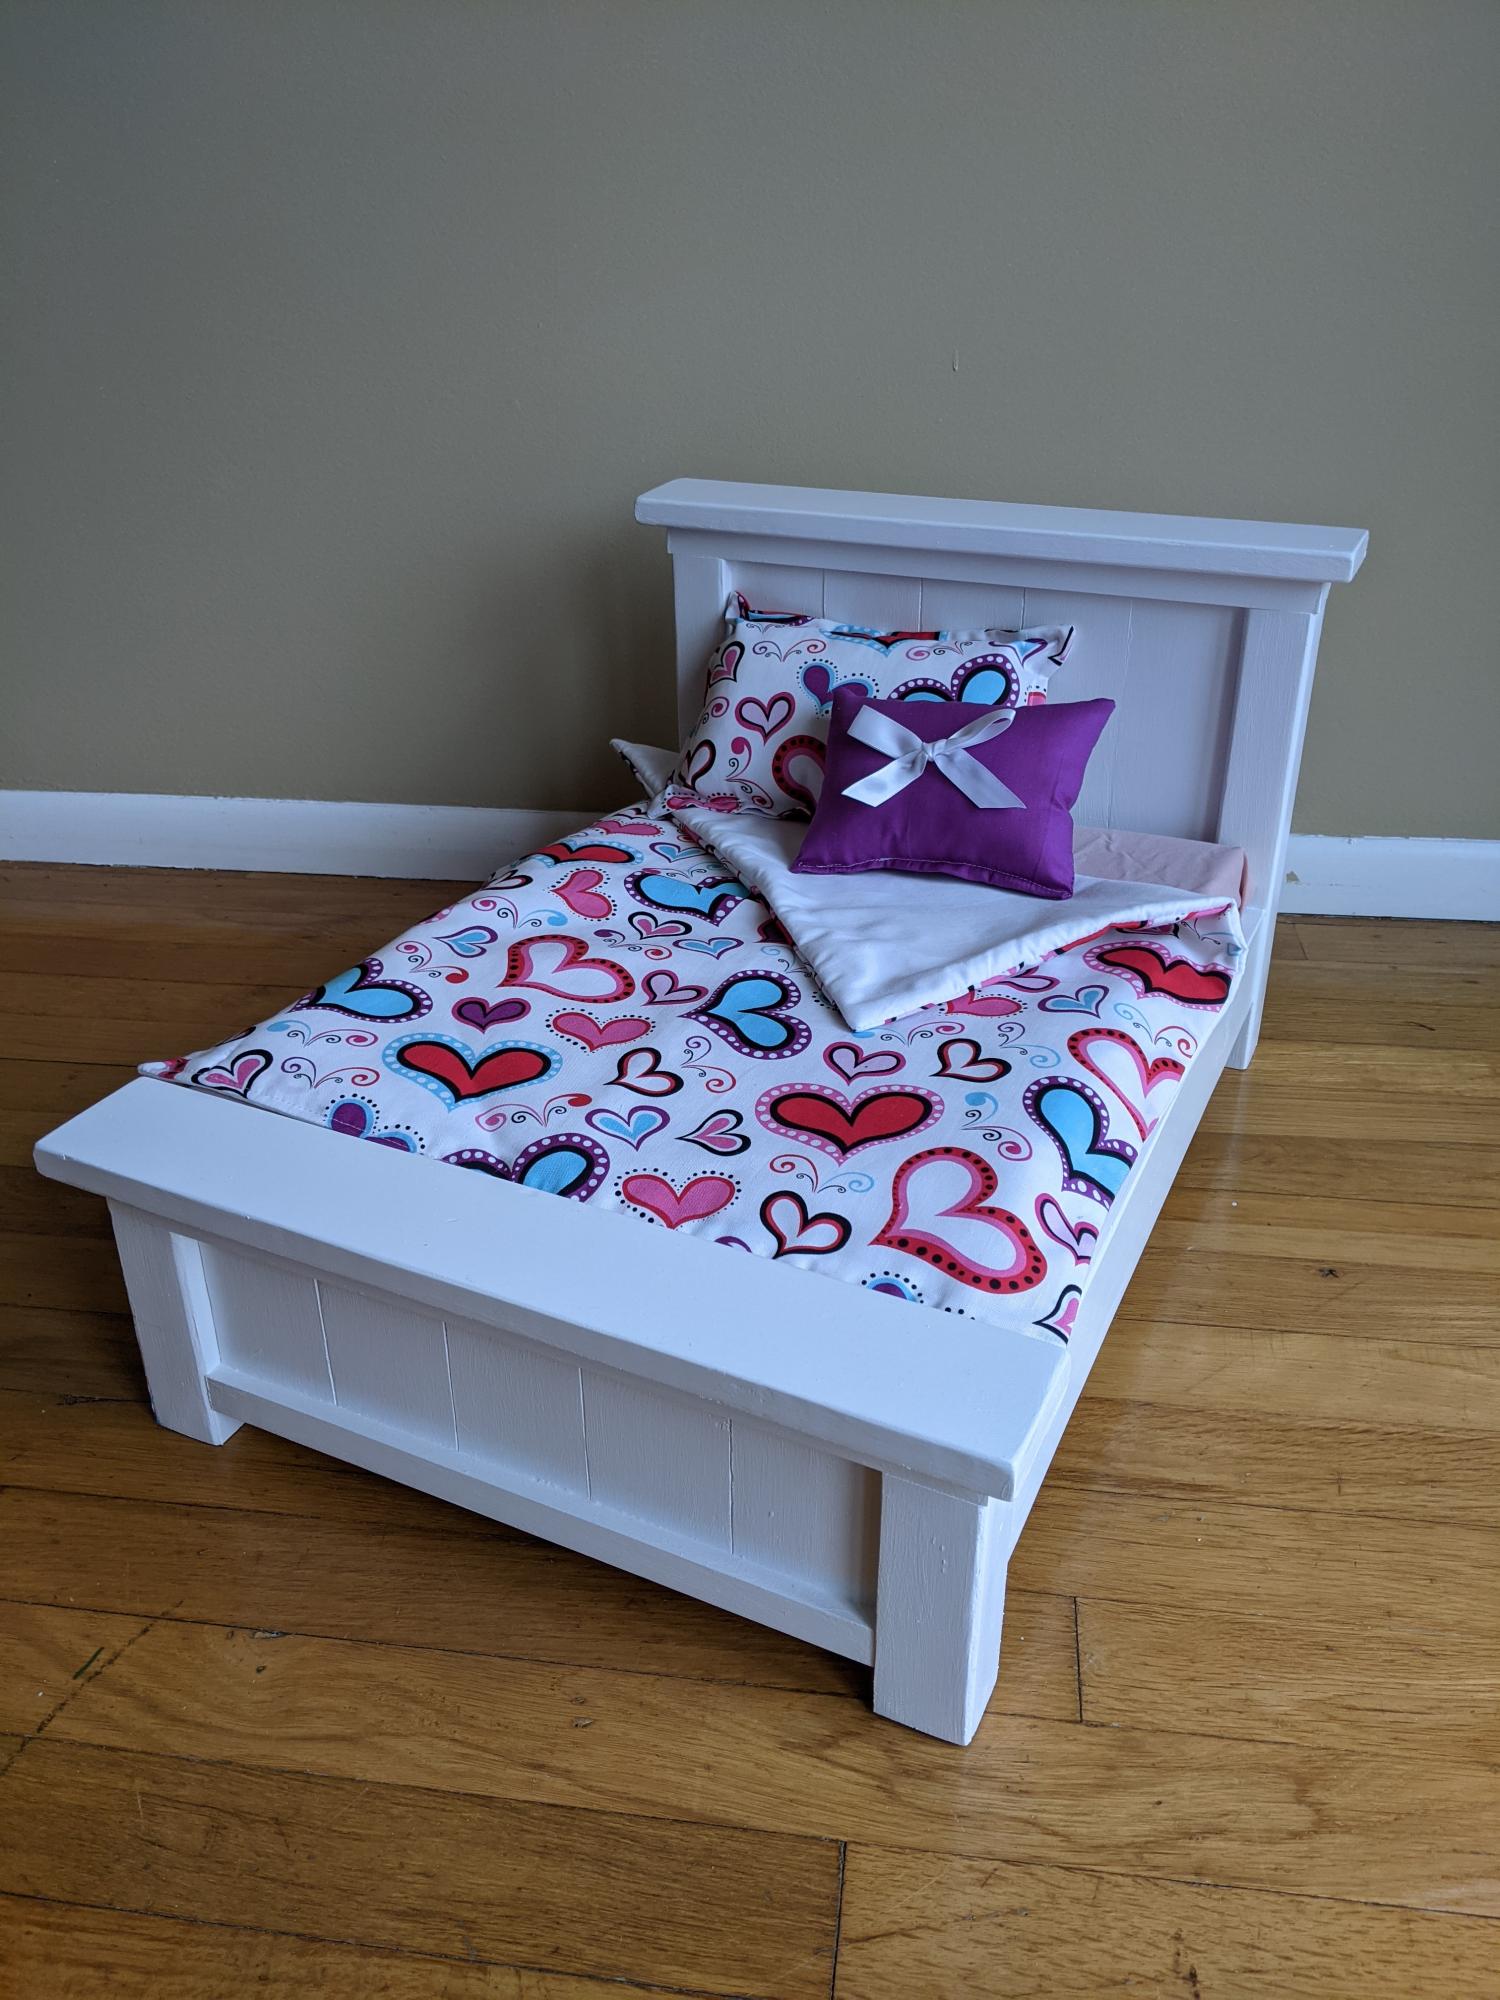
Made from 1x3 and 2x2 pine furring strips and a piece of 1/4" scrap plywood. I added an additional support across the center of the bed to provide some extra strength as was suggested in the tutorial. Painted with Benjamin Moore Select Soft Gloss White. Mattress is a foam pad inserted into a pillow case which is folded over to make it easy to wash. The bedding was purchased through TreasuresDollShop located on Etsy. https://www.etsy.com/shop/TreasuresDollShoppe
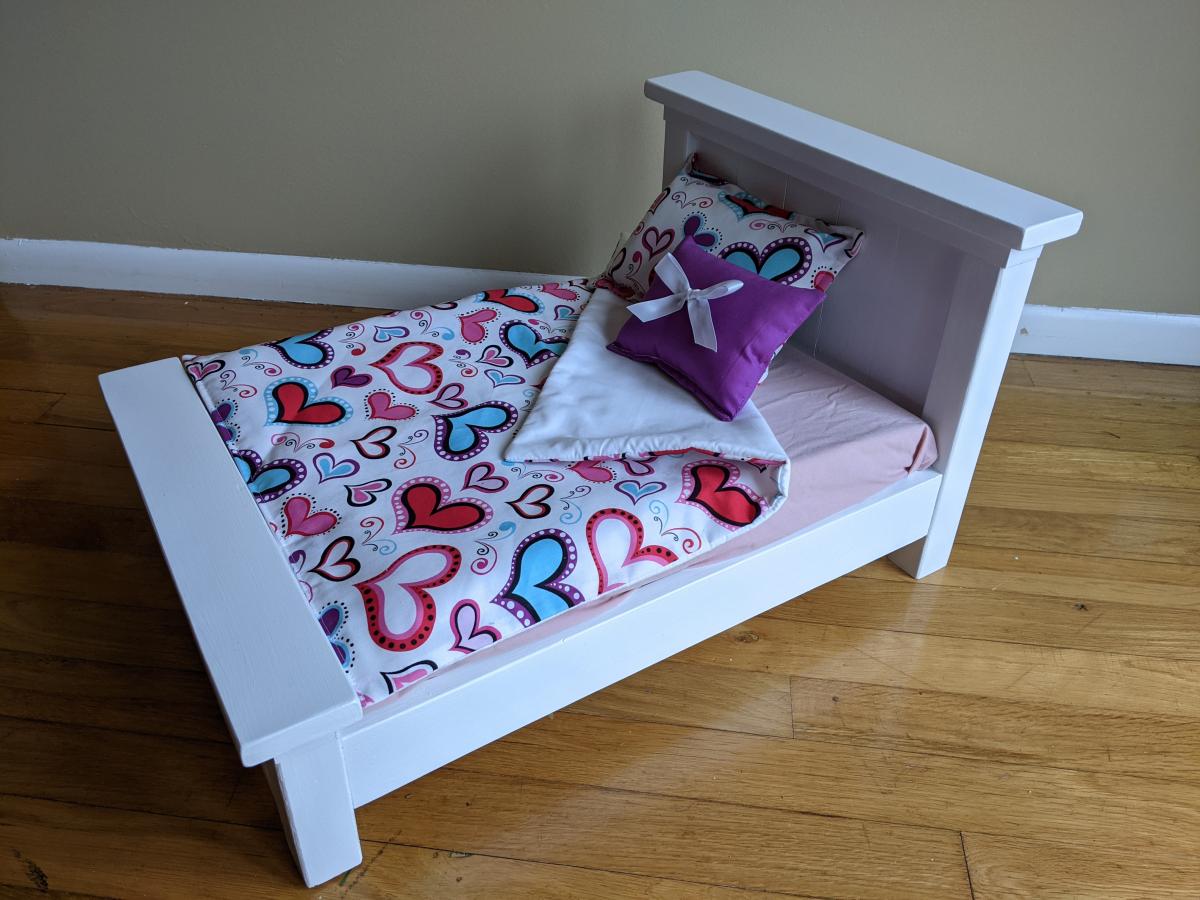
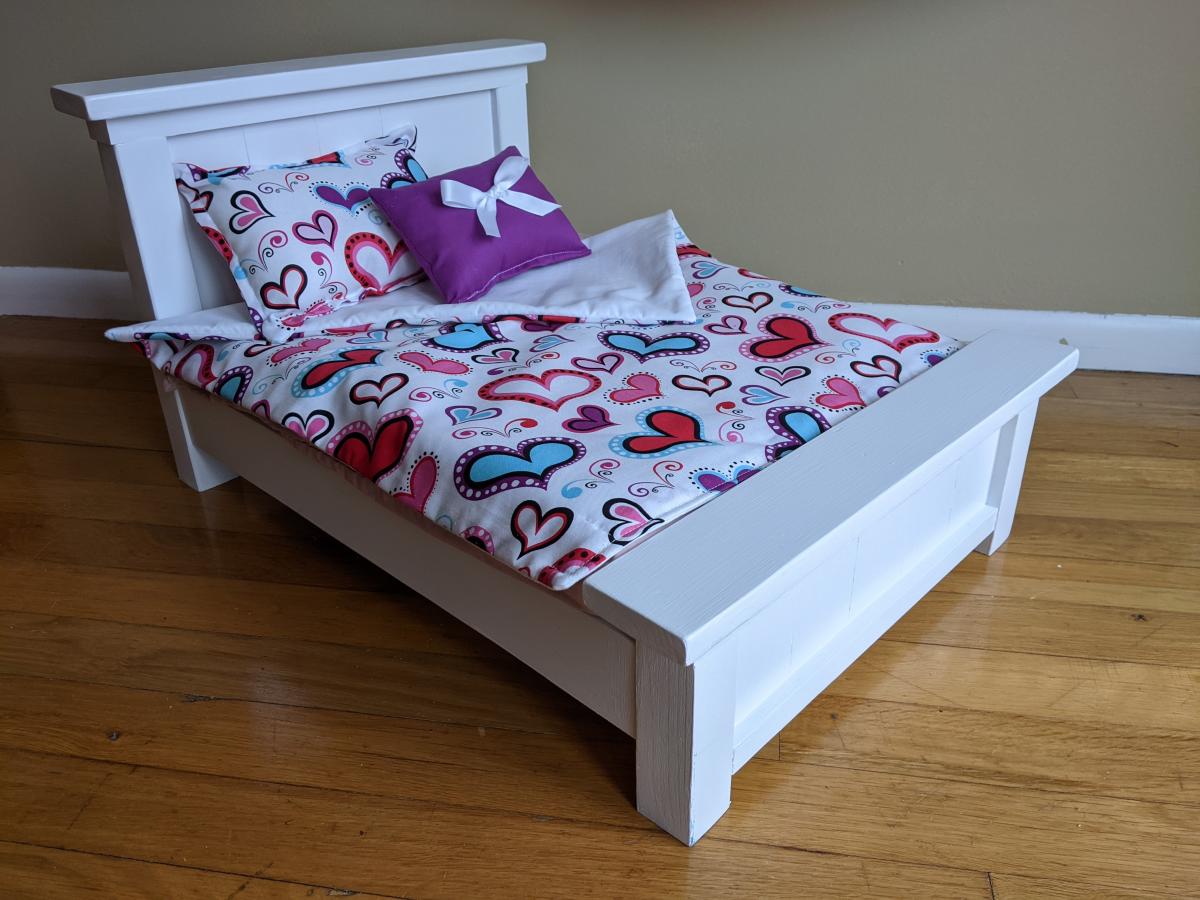
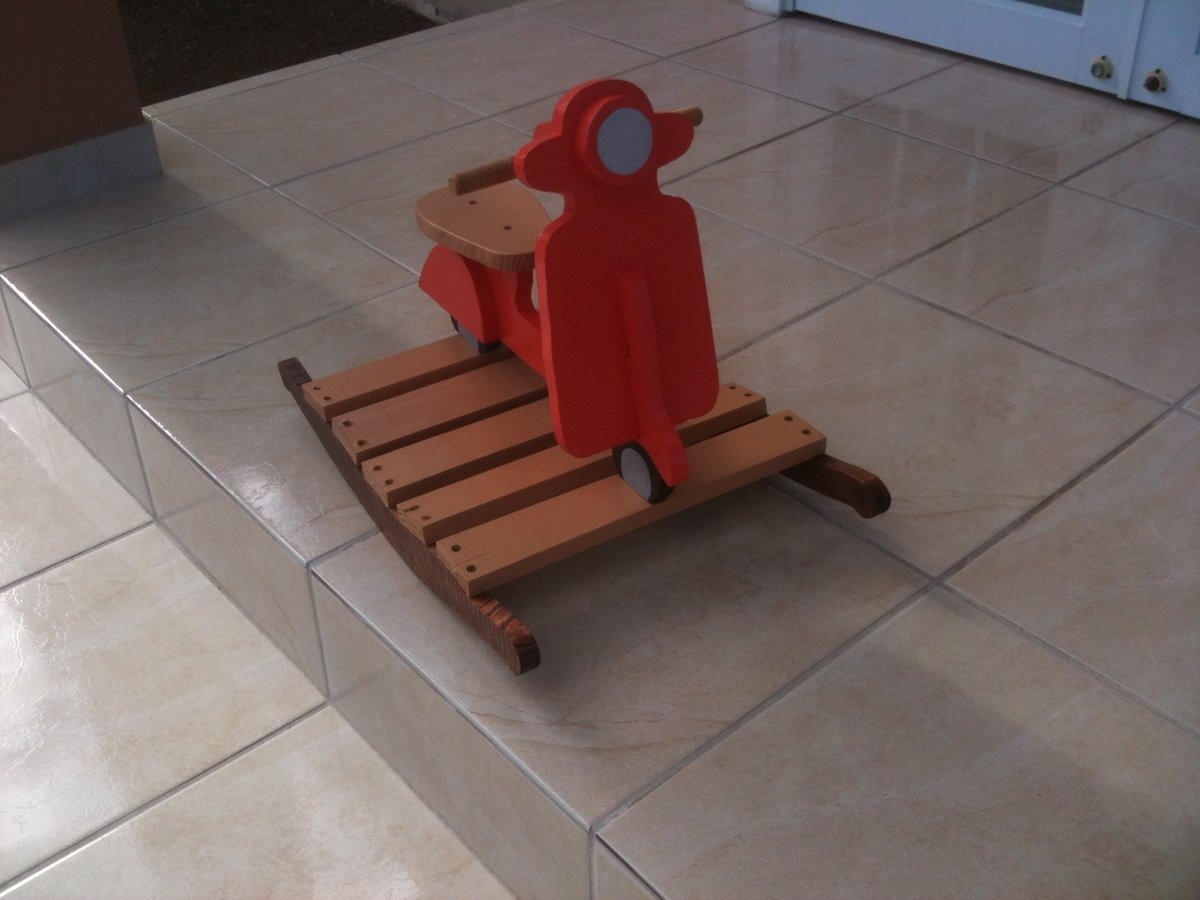
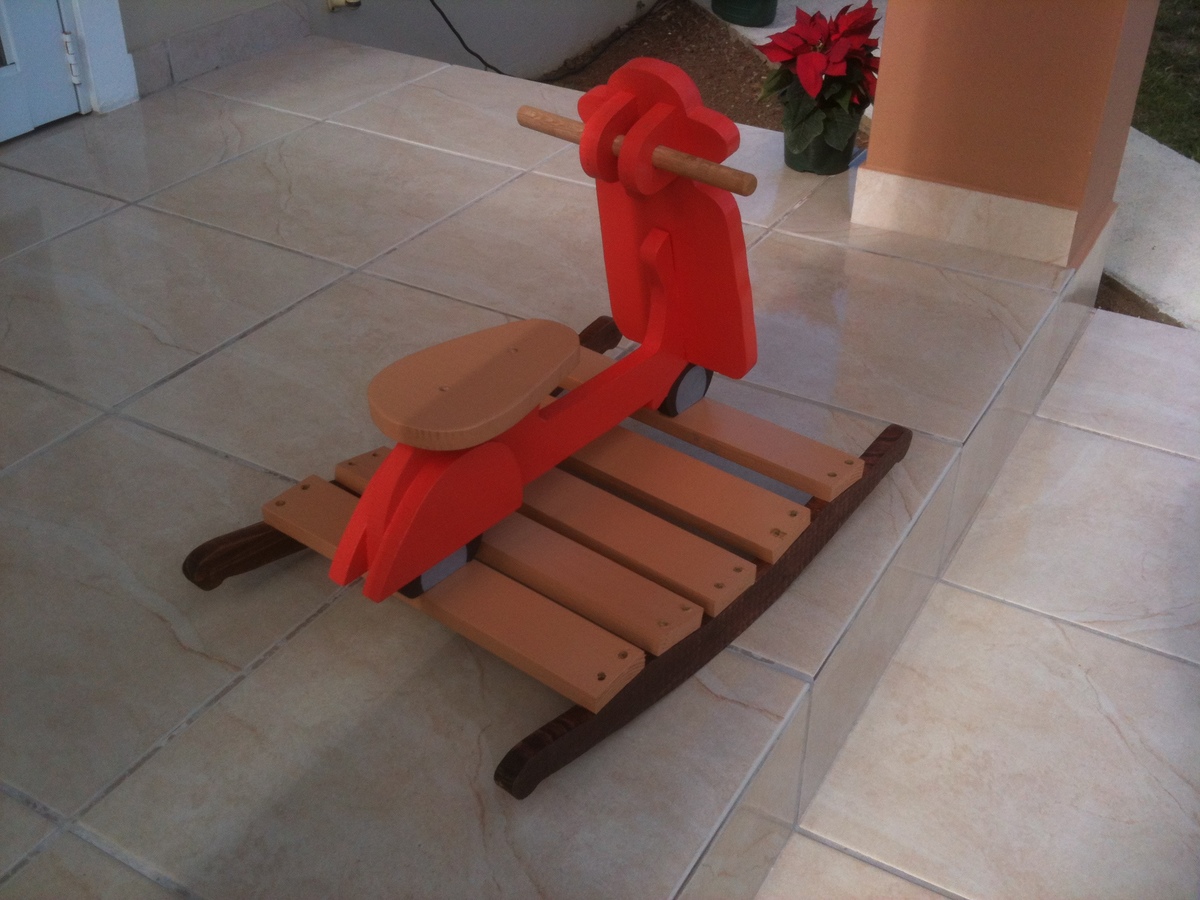
fun project for begginers, I made this one for my grandauther she's just a year and a half old and she loves it. This was a good chritsmas gift...
For some time I've wanted to build a sturdy coffee table for our family room. I've also been experimenting with and bulidng lots of furniture for the kids rooms with low cost, paint grade, maple veneer plywood. I love the ease of working with this material and results have been great. I never thought that raw edged plywood furniture would have a place outside of the kid's bedrooms until I saw this slab of bamboo counter top at our local big box store and I got the idea for this piece. Although I still would'nt consider this "fine furniture", I think it turned out pretty cool. The design is my own, and it's the first time I've tried flaring legs in two directions which was real easy to do with a bandsaw. I have the plan drawn up in sketchup if anyone is interested.
Fri, 01/09/2015 - 13:33
What a cool project! Love the bamboo top! To do your table legs, did you glue the plywood pieces into a block and then cut with the band saw? Beautiful job!
Fri, 01/09/2015 - 14:11
Hey Thanks for the comment. Yes the legs are just 4 pcs. of 3/4" plywood glued together then cut out on the band saw.
A few things that would be helpful - power tools! Nail gun, drill and table/miter saw would all be helpful. I also would stain the pieces beforehand and touch up after. But overall, SO pleased with the final result.
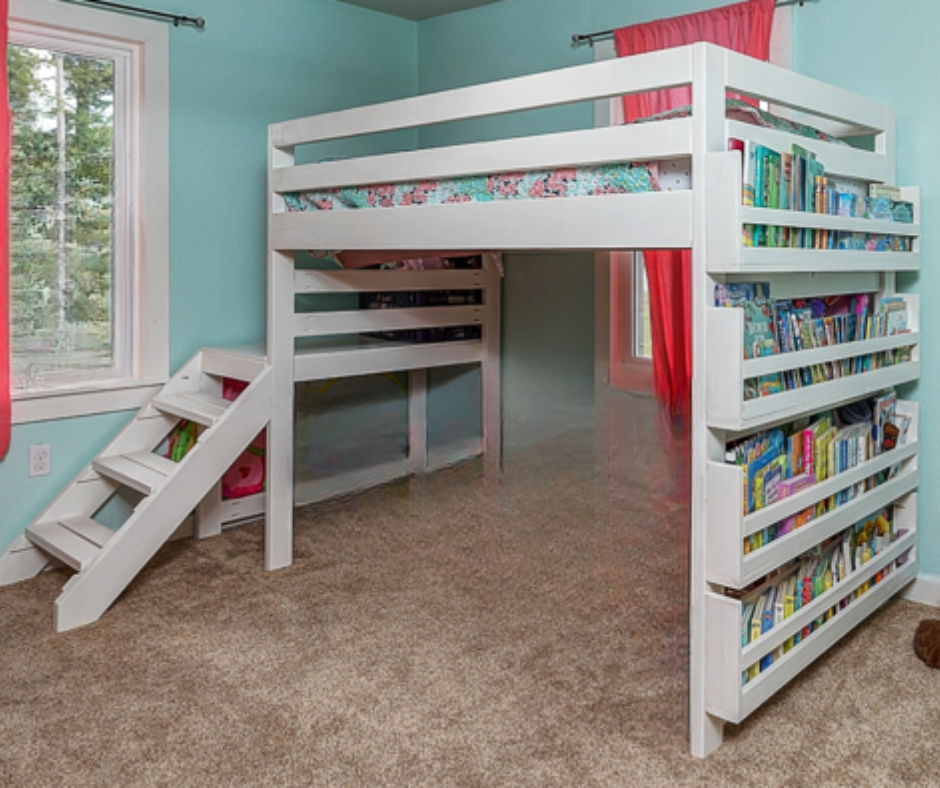
We love the loft bed! She always wanted a bed with stairs and this one was the perfect height for me to still help make the bed.
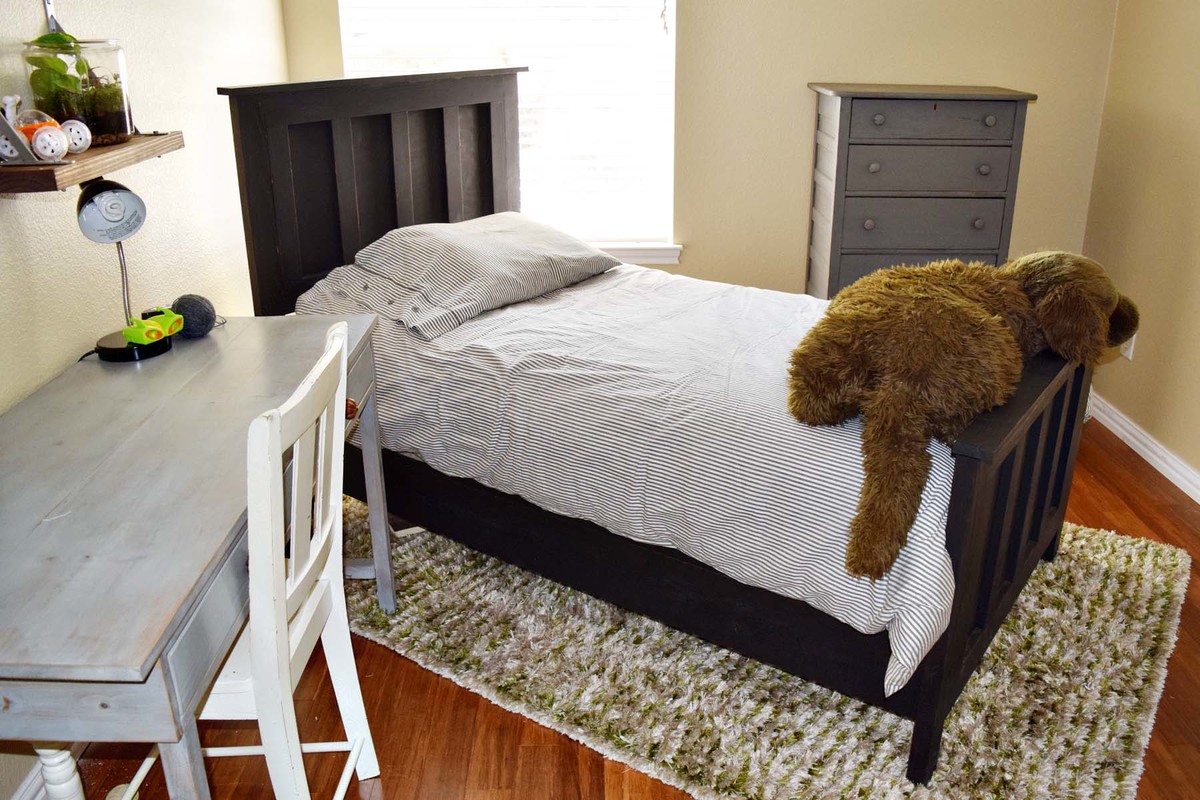
My son used to have a flimsy headboard and frame that drove me crazy so I decided to build him a bed from these plans. I couldn't be happier with his bed. I used pocket holes and everything has been holding up quite nicely. Love these plans.
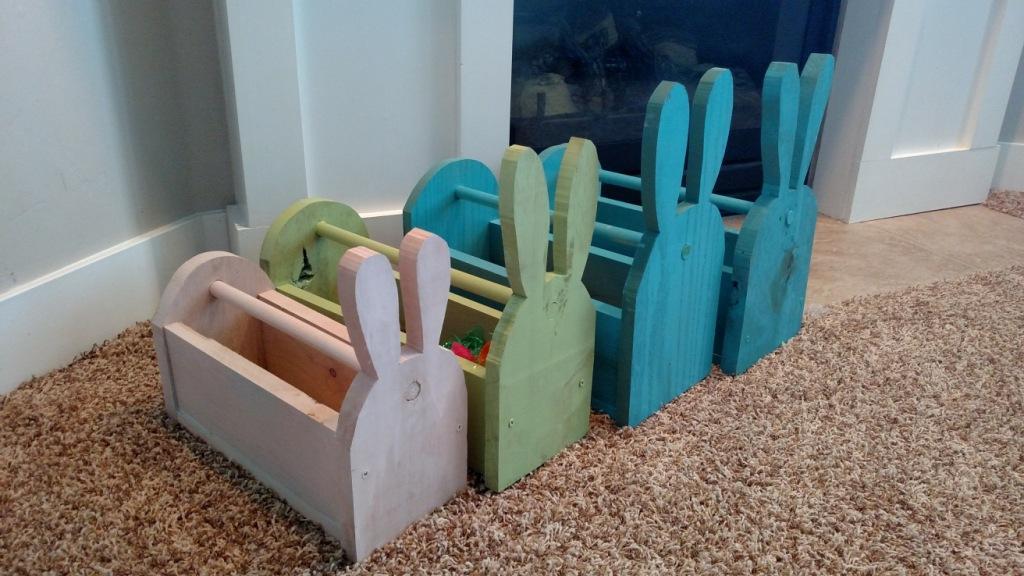
Check it out on iamhardware.com ! Thanks Ana for the plans!
Sun, 03/08/2020 - 20:58
This is great starter project for the diyer I want to personally thank you ana for this plan I'm a modest wood worker and sell my stuff for profit I will say these were a big hit in my area with selling 50+ baskets which is the most I've built of one thing in all my 7 years of woodworking these are the cutest little baskets thanks again
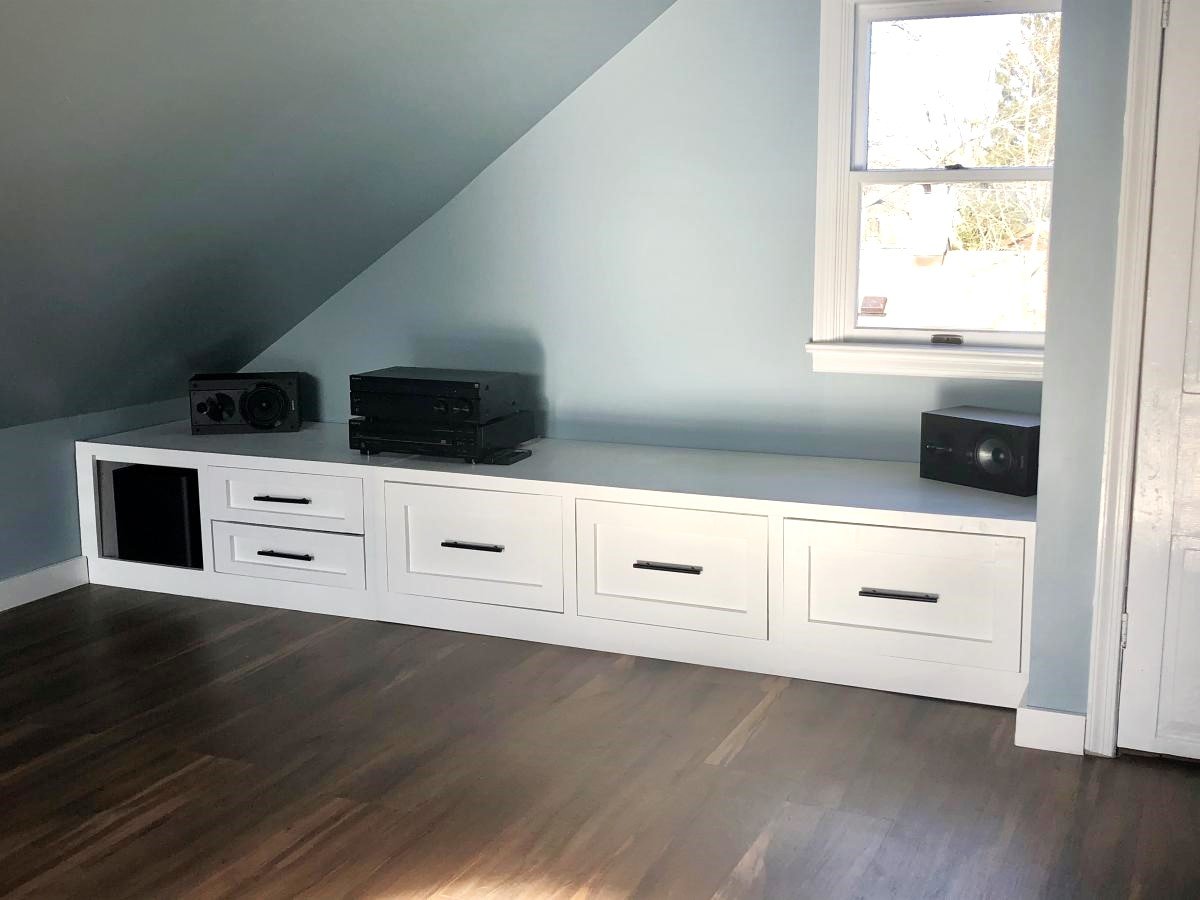
This was my first-ever woodworking project, which followed a pretty significant renovation of my attic. The built-ins were inspired by the plans and videos from this site. The renovation started with removal of the wall-to-wall carpeting (including 20k nails and staples), repairing the subfloor, replacing the stairs and landings, including the drywall. I used Home Depot’s Lifeproof floating vinyl flooring, which I’m really pleased with.
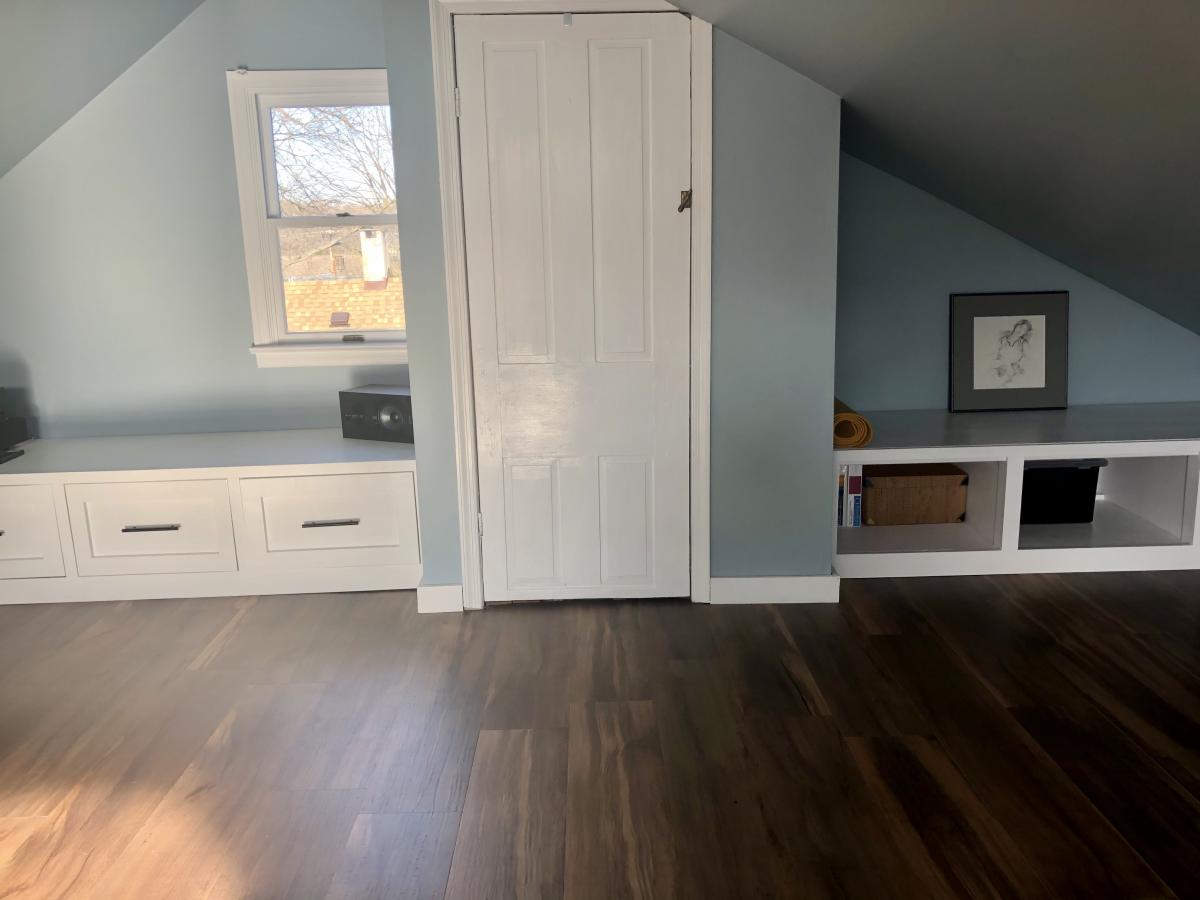
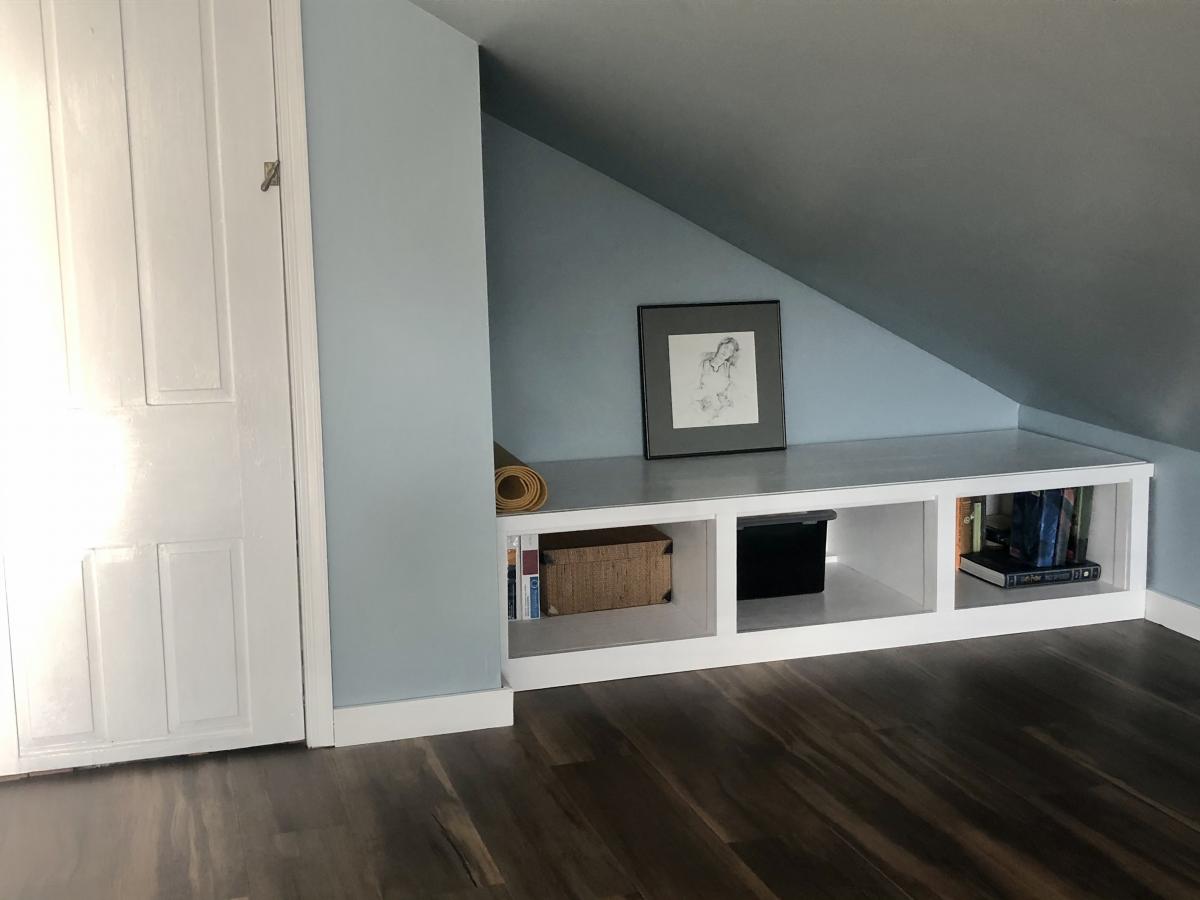
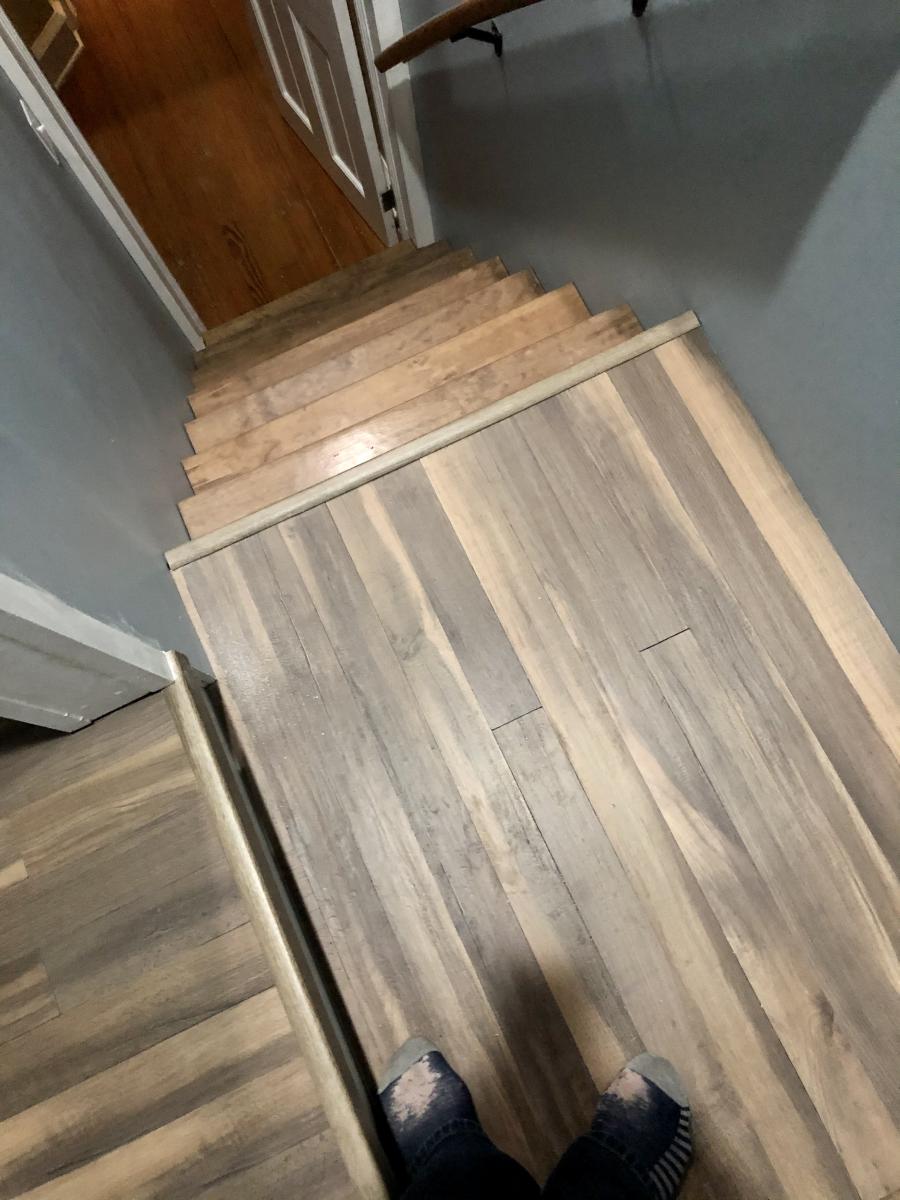
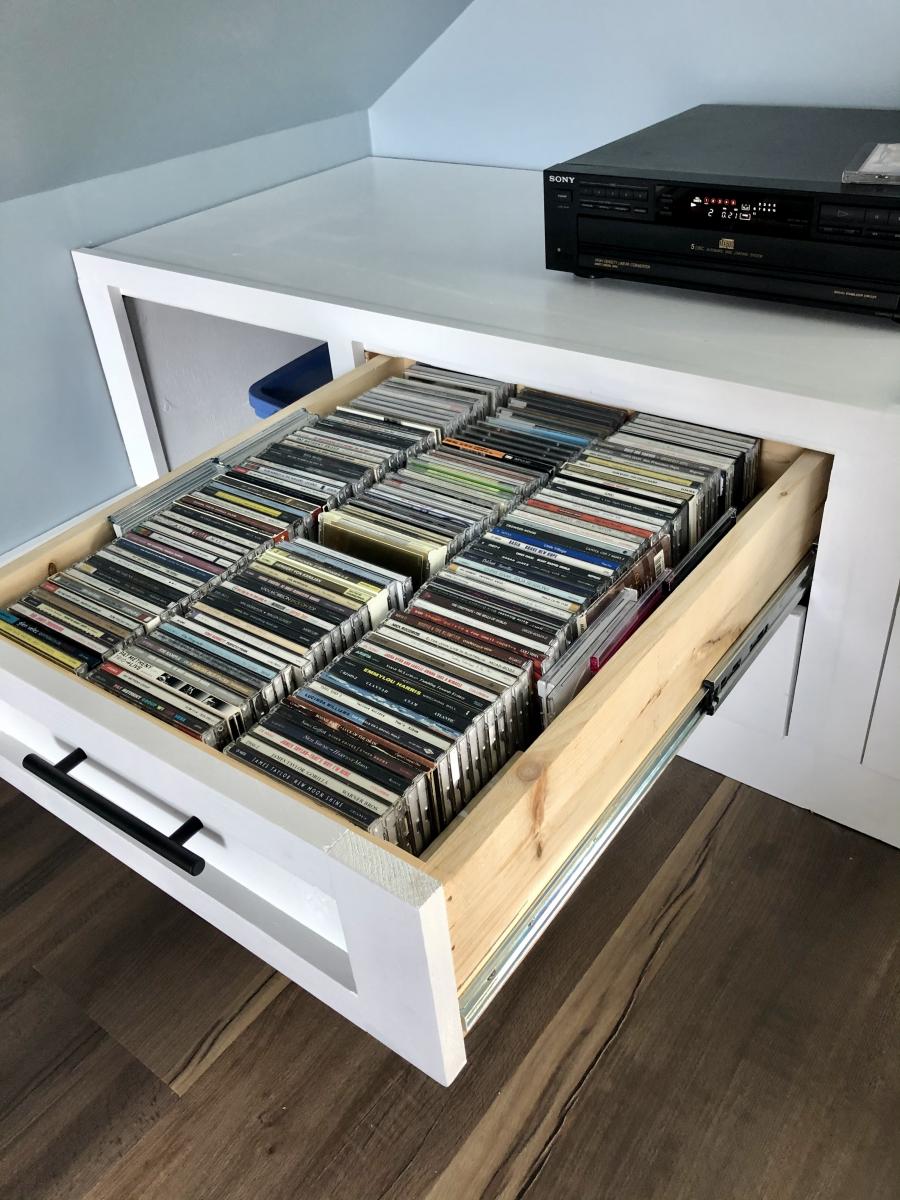
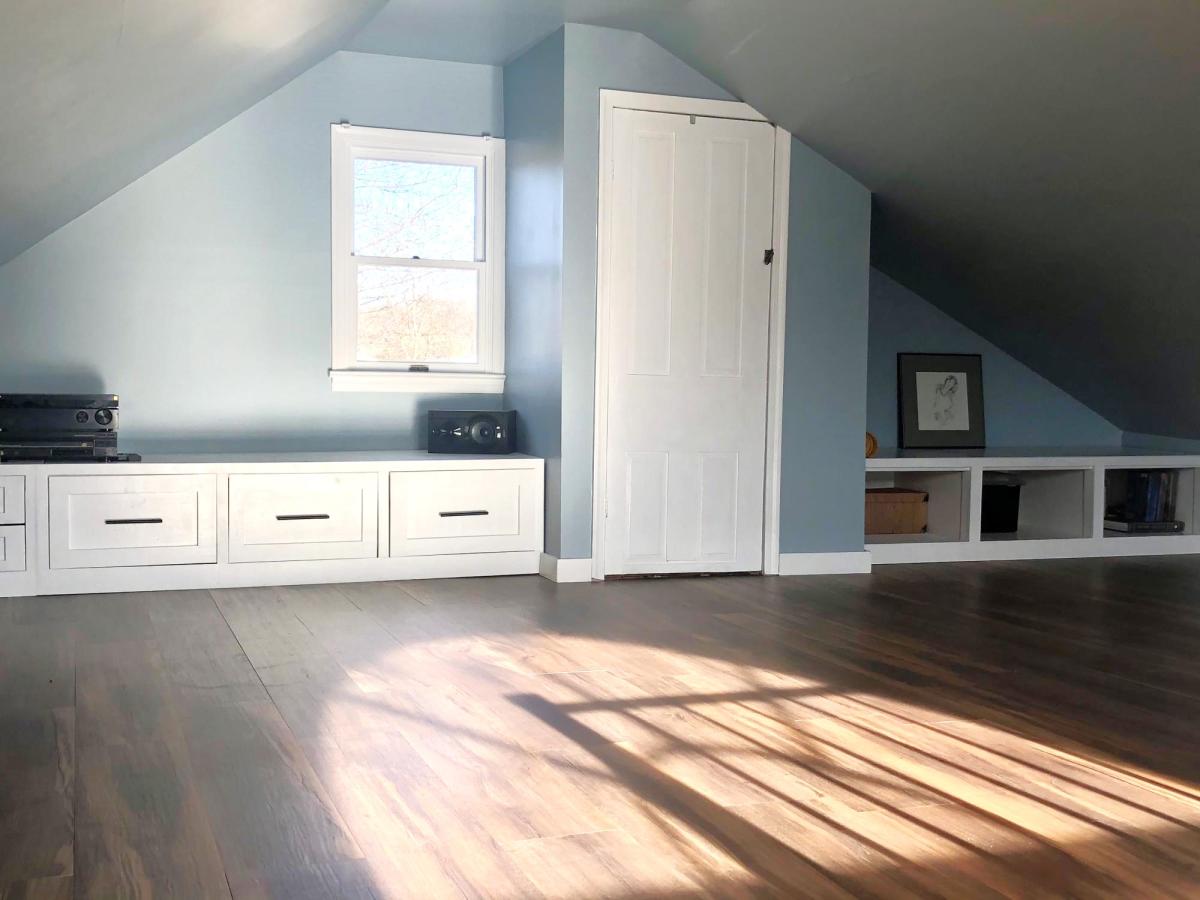
Mon, 03/15/2021 - 21:33
Wonderful choices, love the flooring and built-ins!
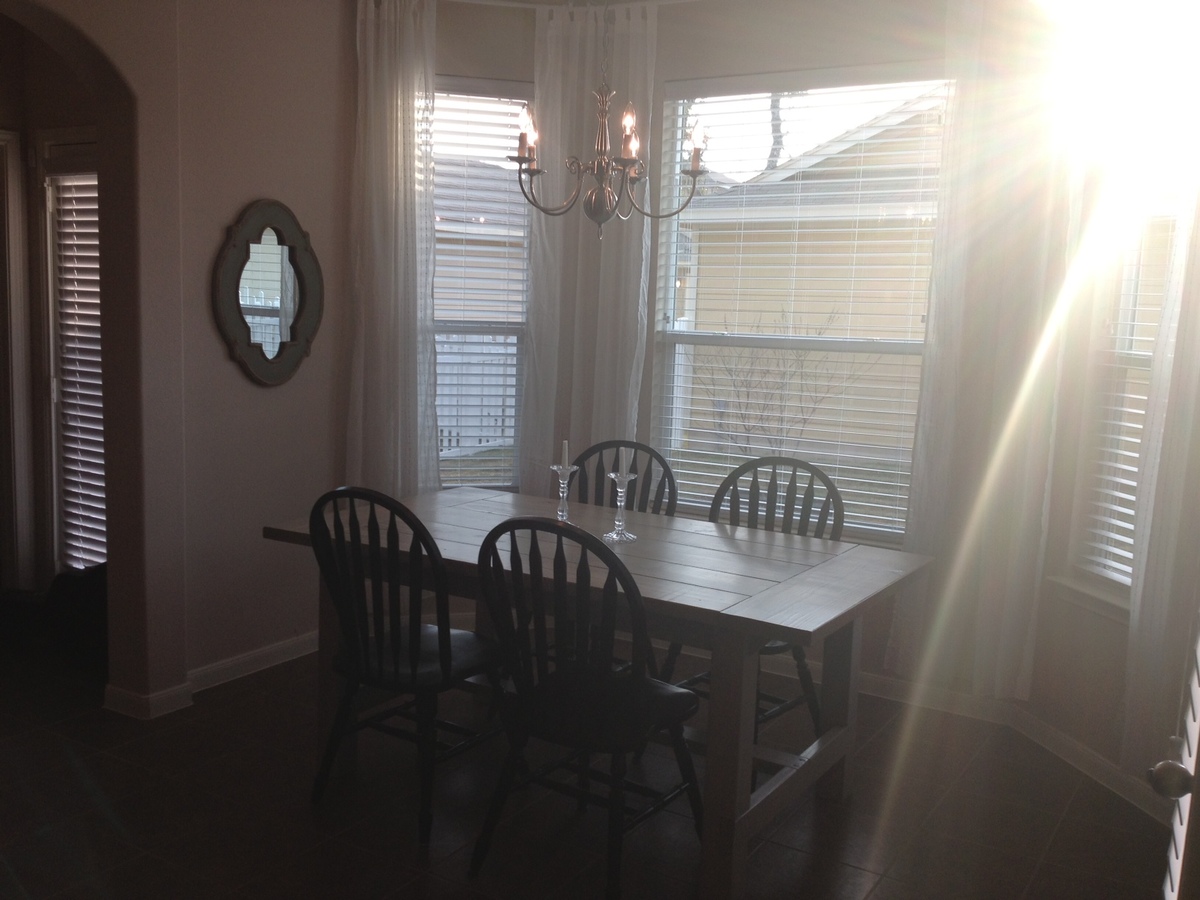
My husband and I recently bought our first home right outside of Austin, Texas. One of my favorite features of the house were the beautiful bay windows in the kitchen. I wanted to have a table that accented the windows and created a centerpiece in the kitchen. I stumbled upon this blog, found the Farmhouse Table, and decided I was going to build this table! With the help of my dad, I was able to complete my first wood-working project, and I couldn't be more thrilled with the way it turned out!
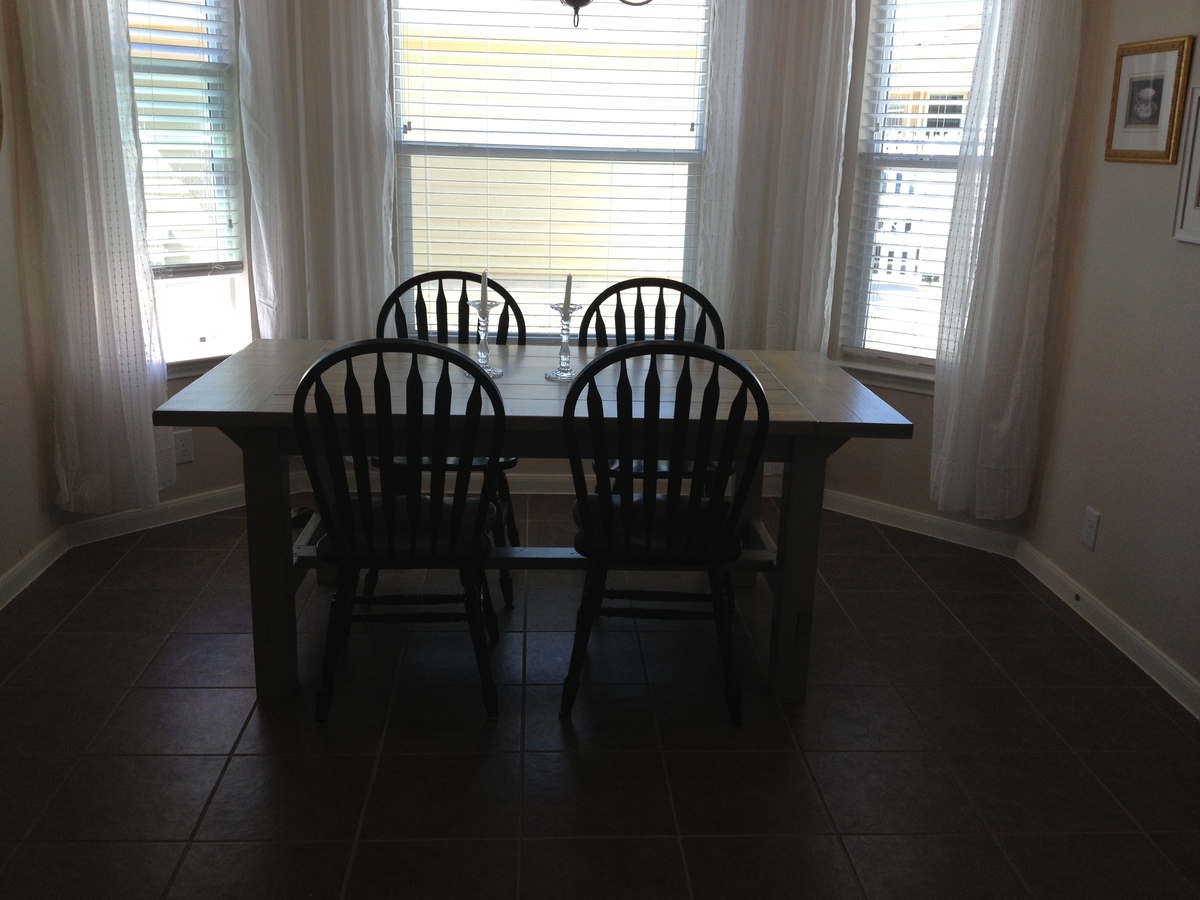
Sat, 10/19/2013 - 10:44
I was wondering if this table was white? I cant tell by the lighting, but I was looking to make this table for myself stained white. Yours is the first I've seen that looks white, if so could you tell me the color of the stain? Thanks the table is beautiful!
Modified the plan in order to use 12 inch drawer slides and to fit the 1X24x48 project panel found at Lowes. The 2 inch swivel casters and drawer hardware were found at Home Depot.
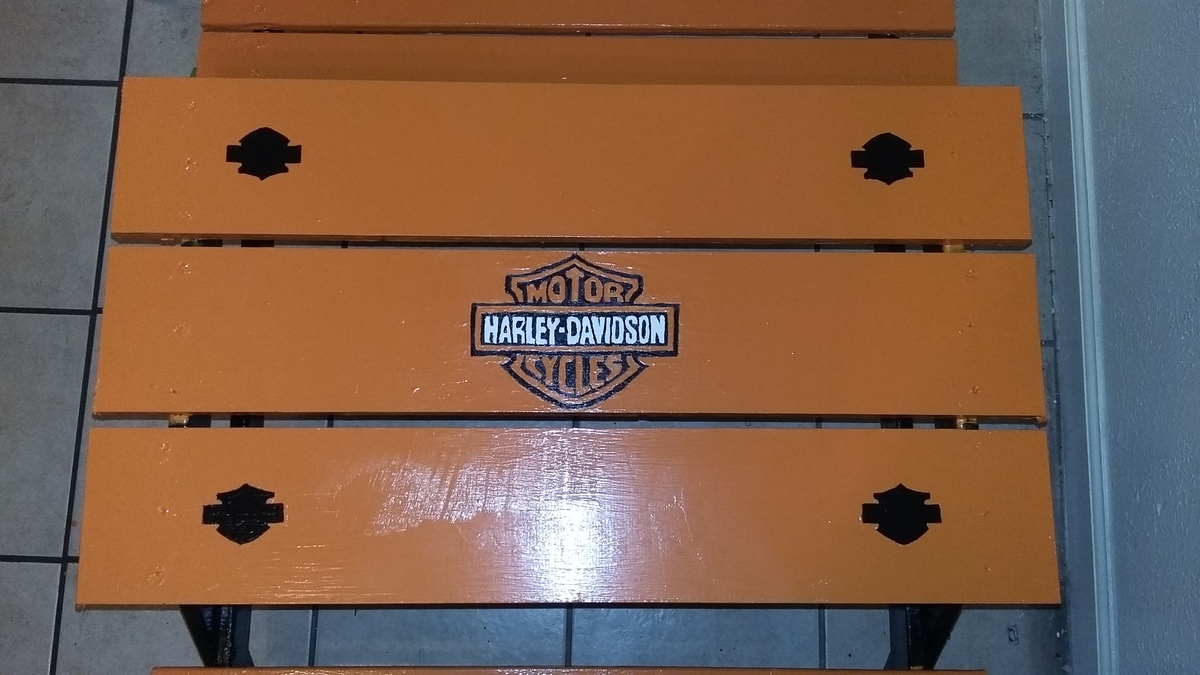
Simple to build, took longer to paint it than it did to build it!
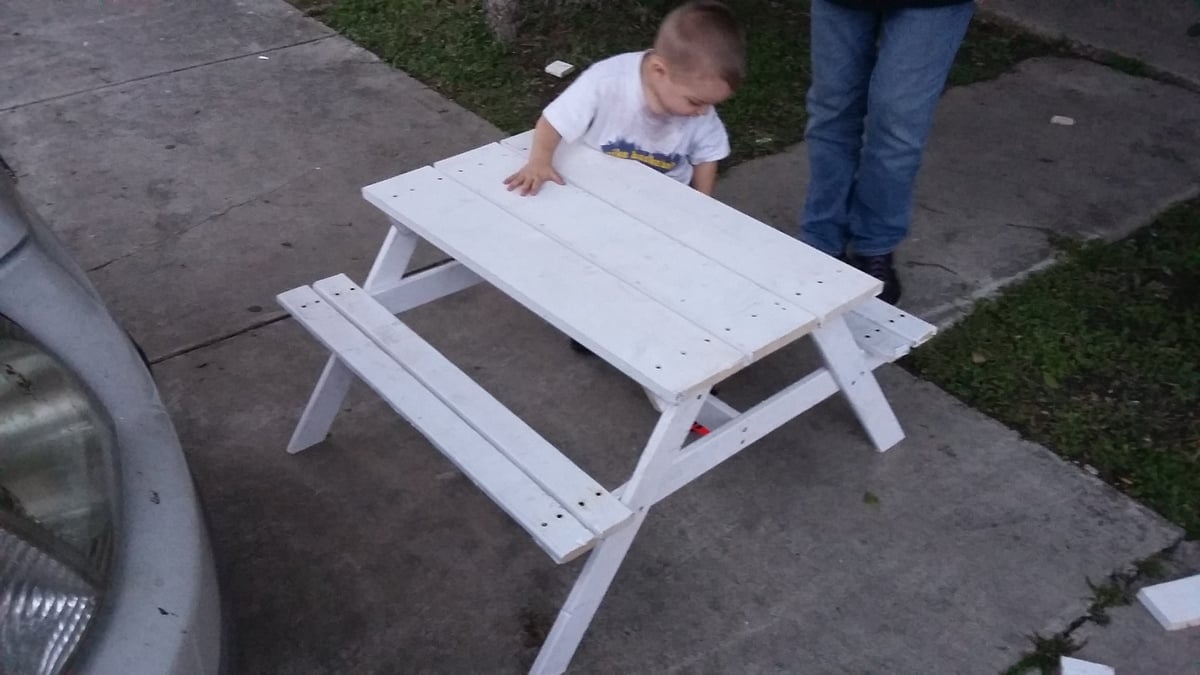
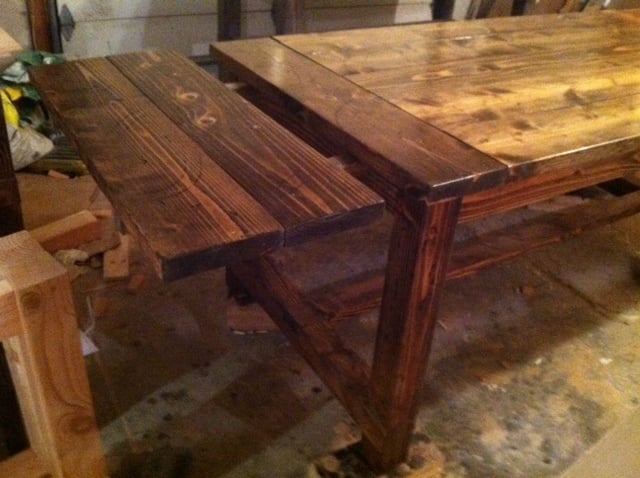
Great Plan from Tommy and Ellie Farmhouse Table. Have built 3 for family members for holiday gifts. I thought I found his plans from on here but don't remember where. So all I do to refer back is google tommy and Ellie Farmhouse table.
Fun and challenging build, be sure to square the edges of lumber before assembly to get a better fit
Built this table using the Ana White plans everything worked great.
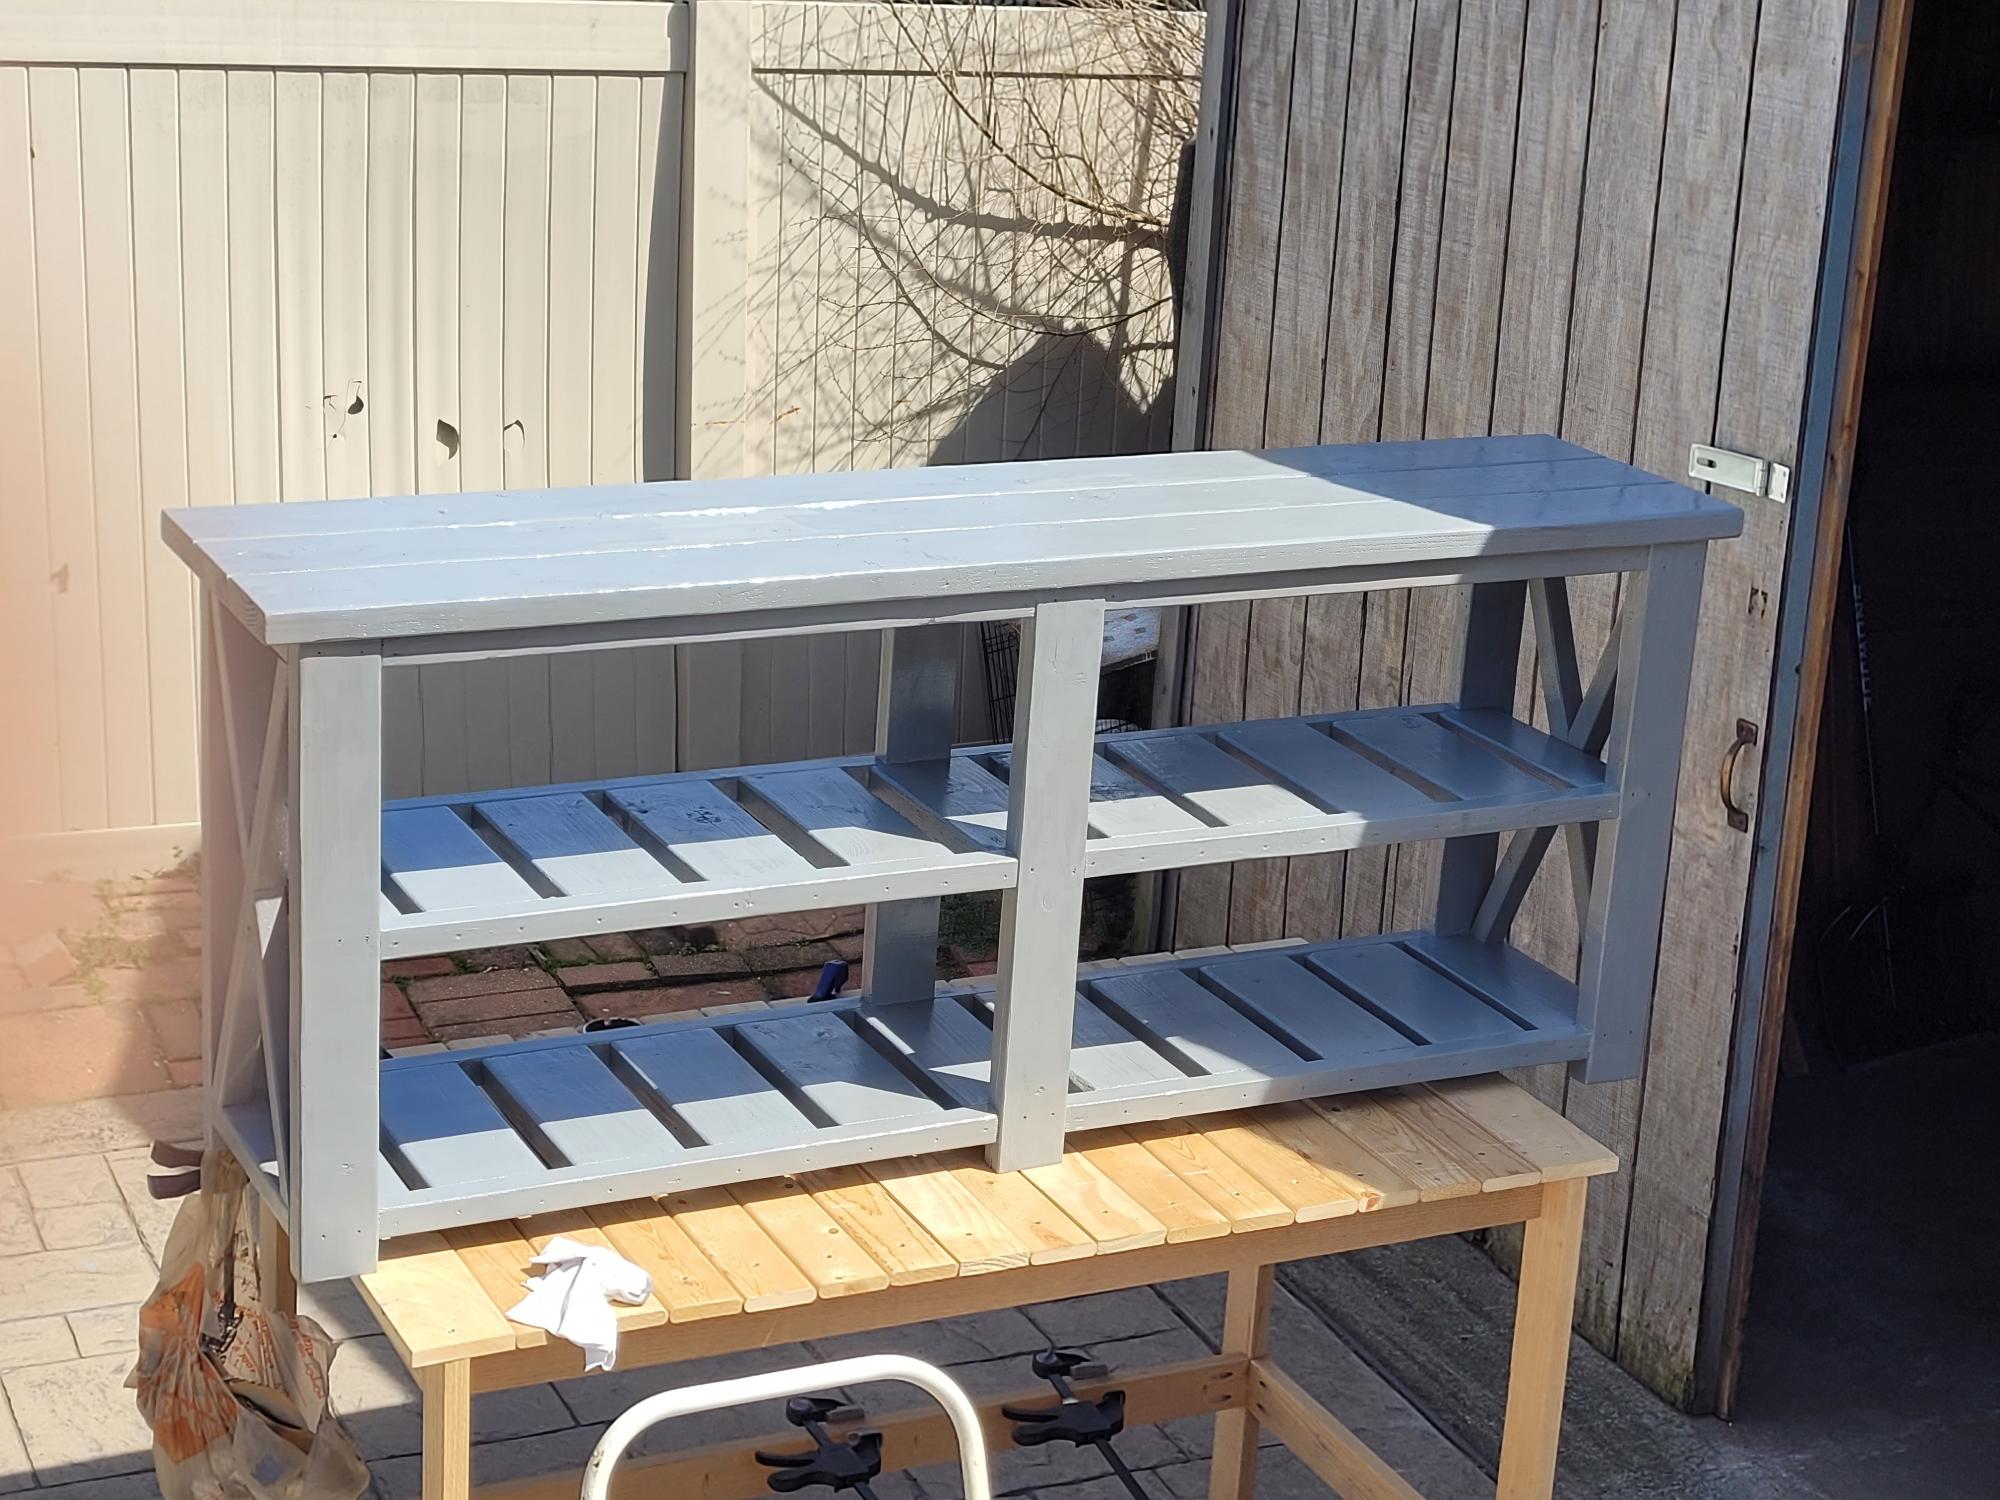
My first build in my new house I didn't think it would come out so well. Thanks for the plans. I love working with my hands
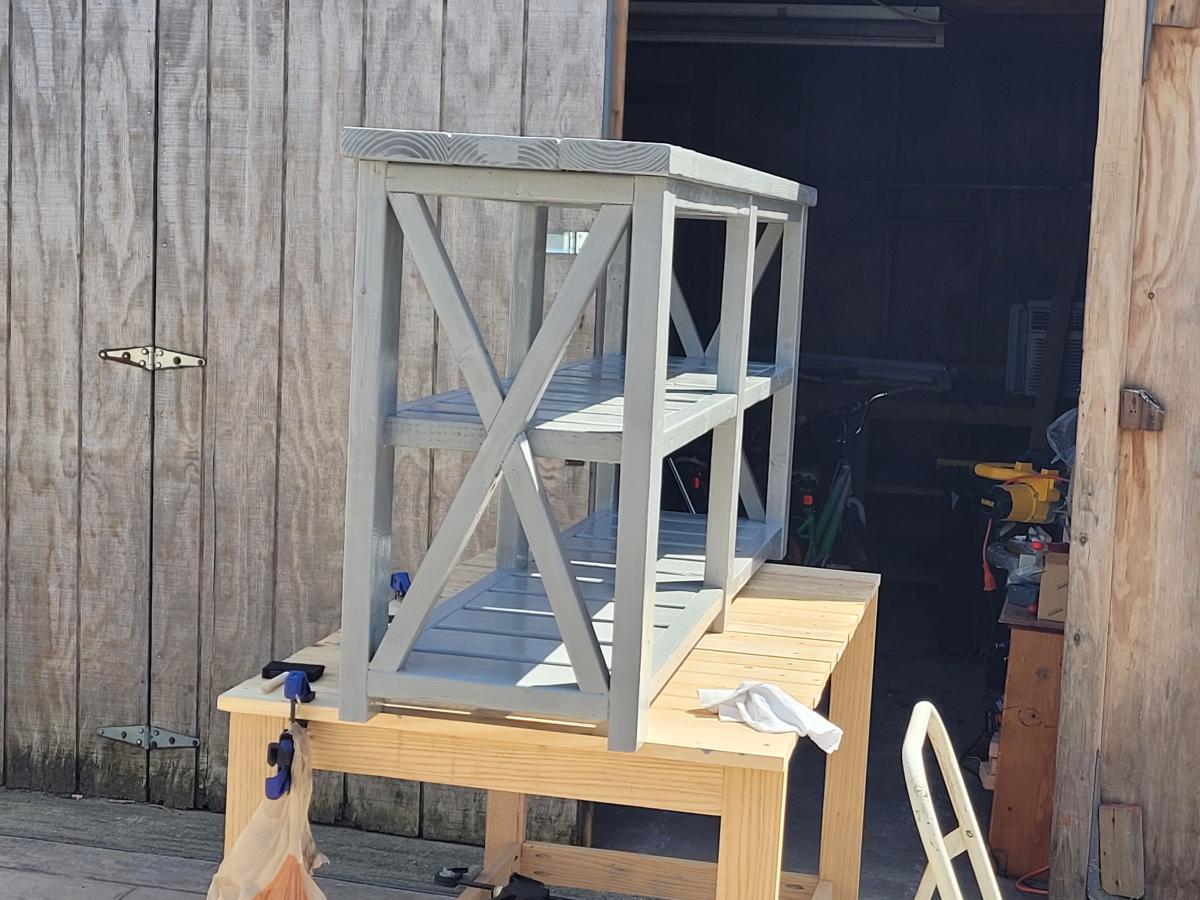
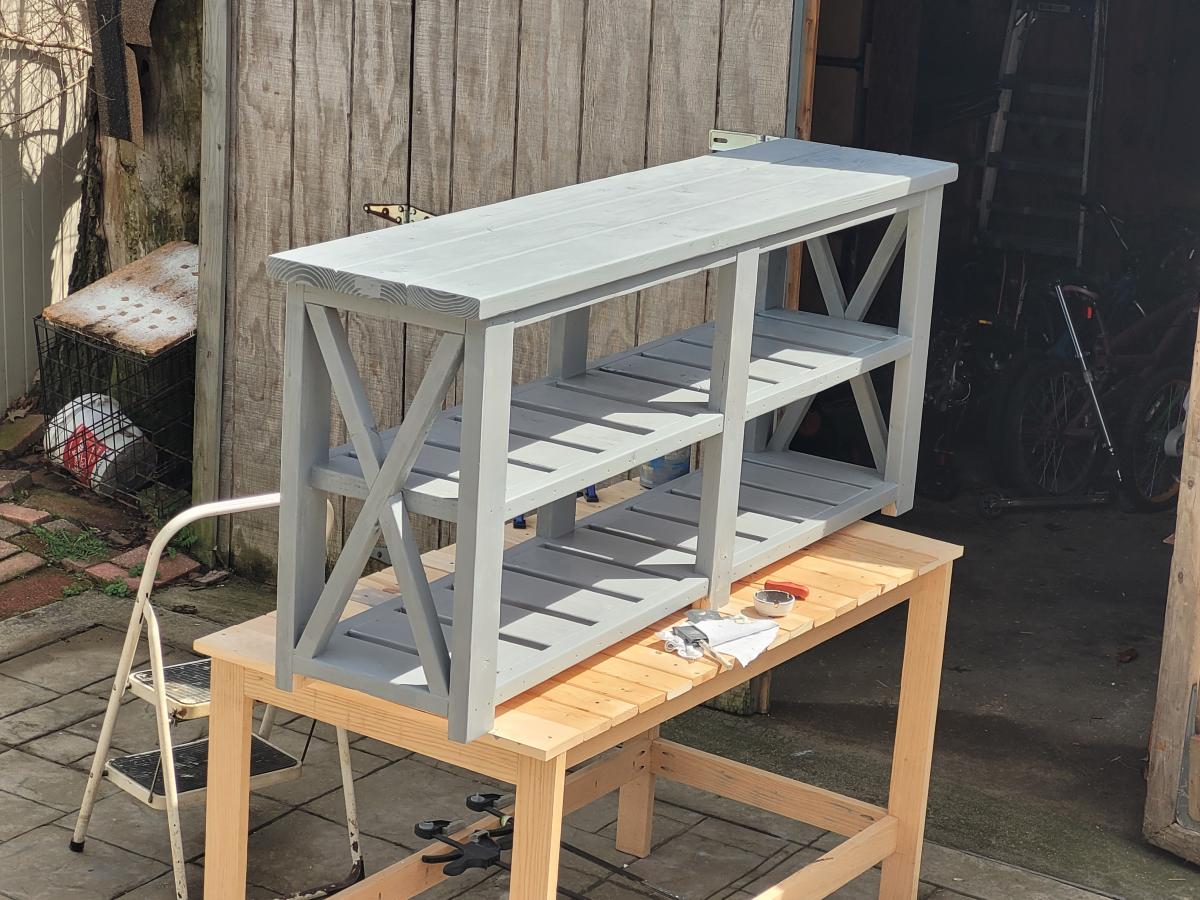
Sat, 04/24/2021 - 05:20
Lumber is quite expensive right now so I'm not sure what's next but once I figure it out I'll be sure to post it :)
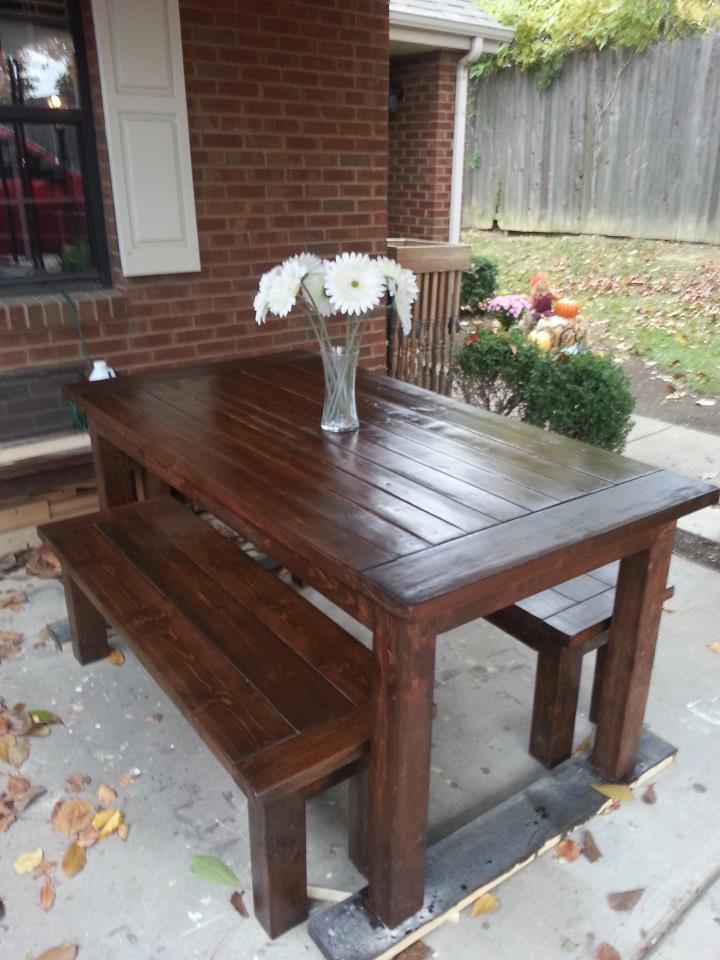
I used the idea of the Farmhouse Table and Coffee Table to build this table and benches. I used simple whitewood for the table because it's cheap. This table doesn't take long to build, only a few hours. But this time I used oil-based stain and had to swap out a few boards because they were warped so it took longer than expected.
Thu, 03/14/2013 - 13:32
love it great patio table. what are the dimensions, looks great for 4 people
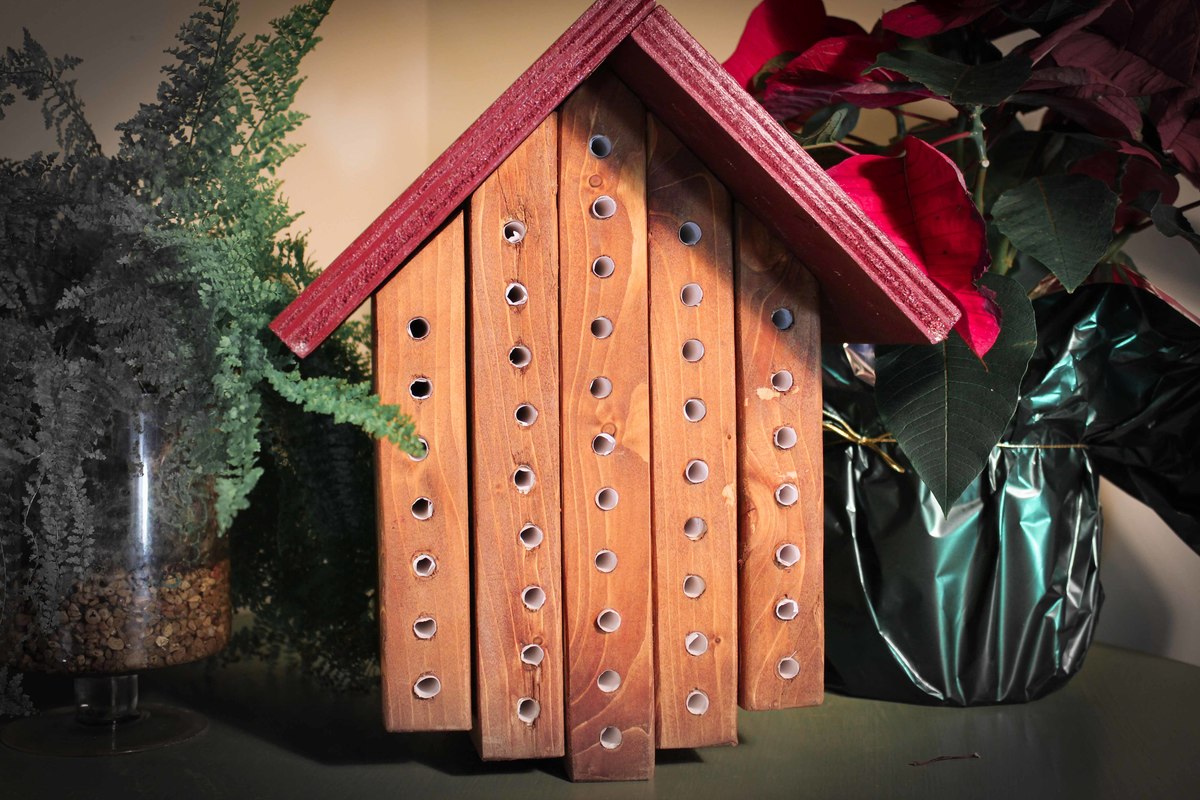
Video of Build:
https://www.youtube.com/watch?v=yDwXPVC4m58
Build Instructions:
http://www.instructables.com/id/Mason-Bee-House/
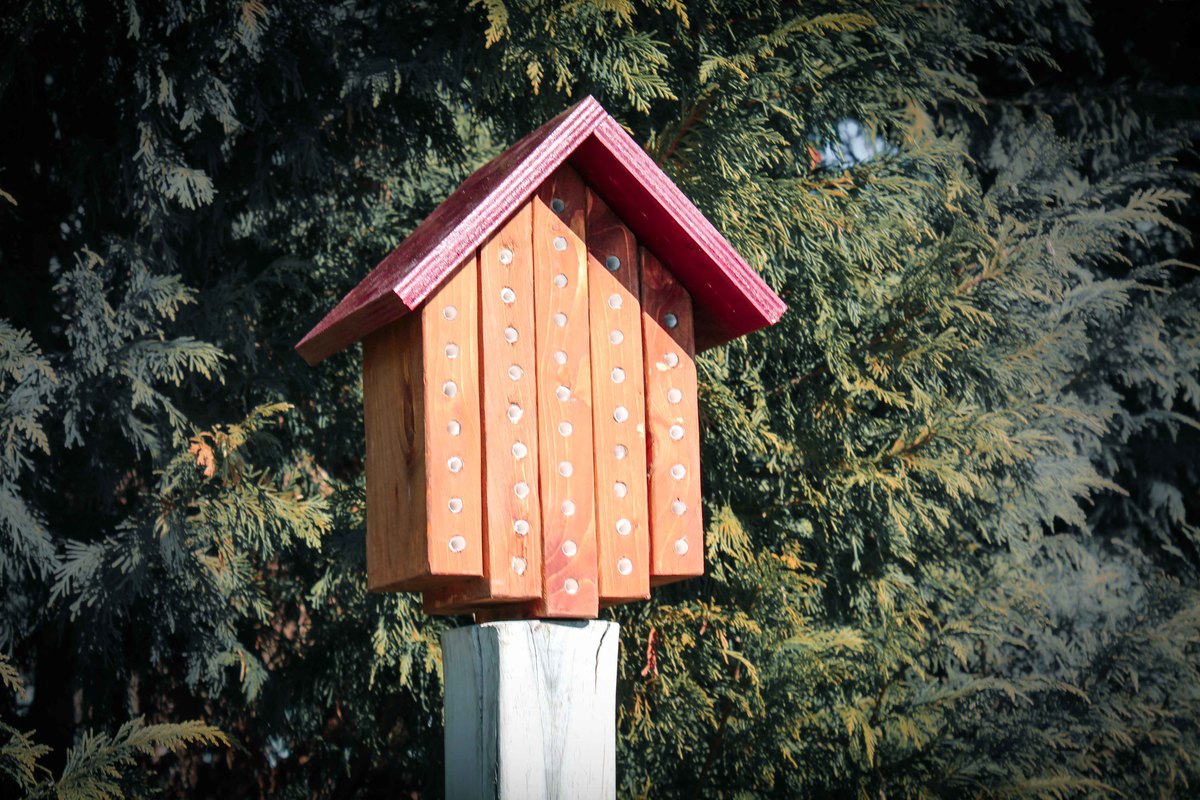
Native mason bees can be housed to protect them from pests, diseases and predators. They are excellent early season pollinators for orchards and other early season fruit crops. Mason bees can do more work than non-native honey bees, even on a cloudy rainy day. Also, mason bees are solitary non-aggressive bees, which makes them ideal for folks with pets or children. The initial step for the care of mason bees is to build a nest block or mason bee house.
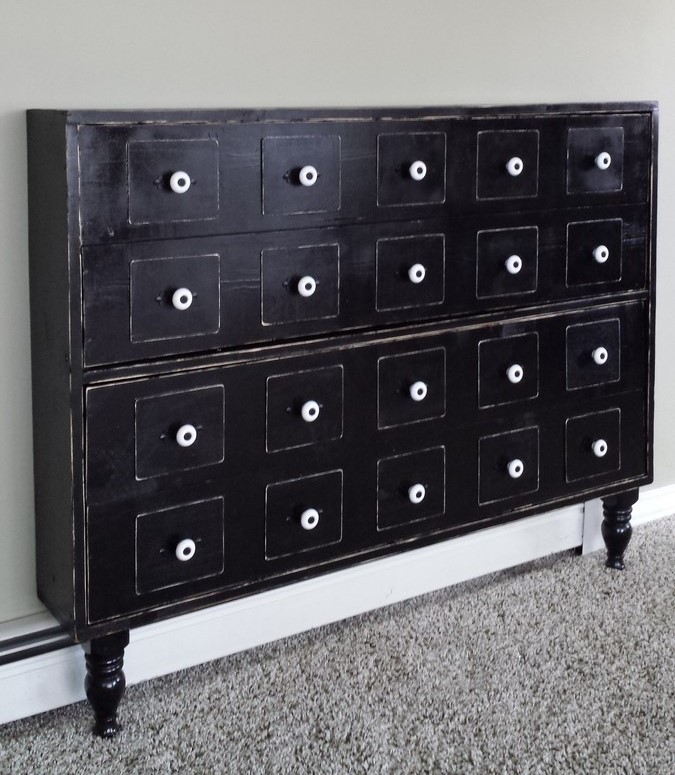
Loved this project! We had an old headboard so my wife came up with the idea to cut off the top posts and use them as legs.
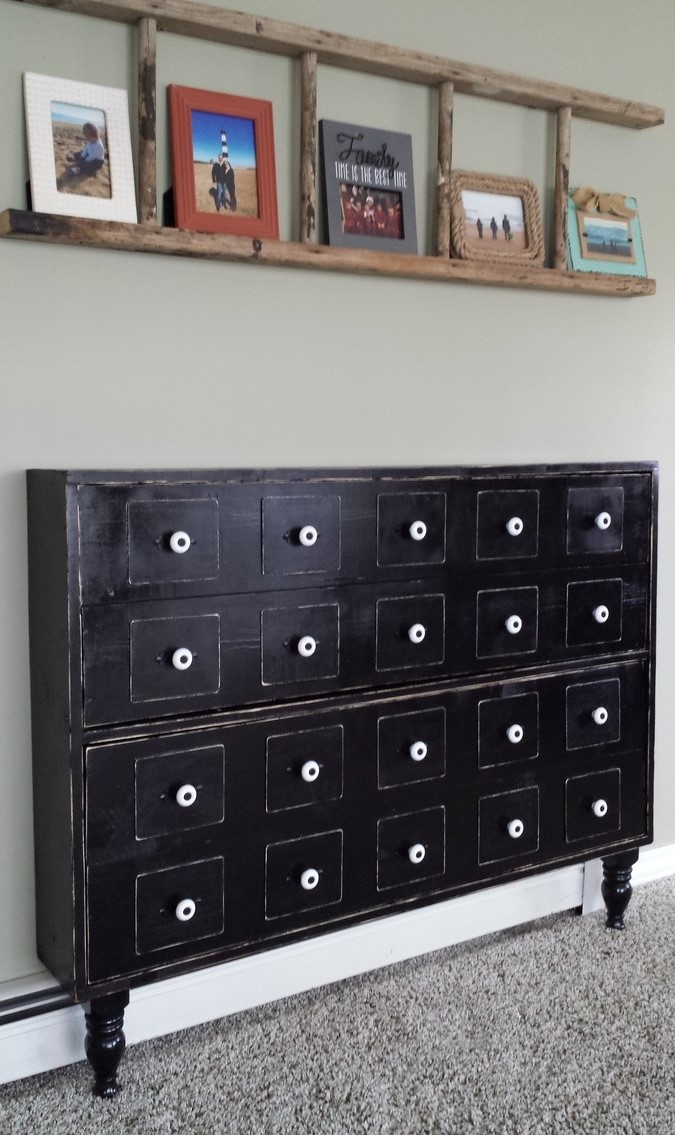
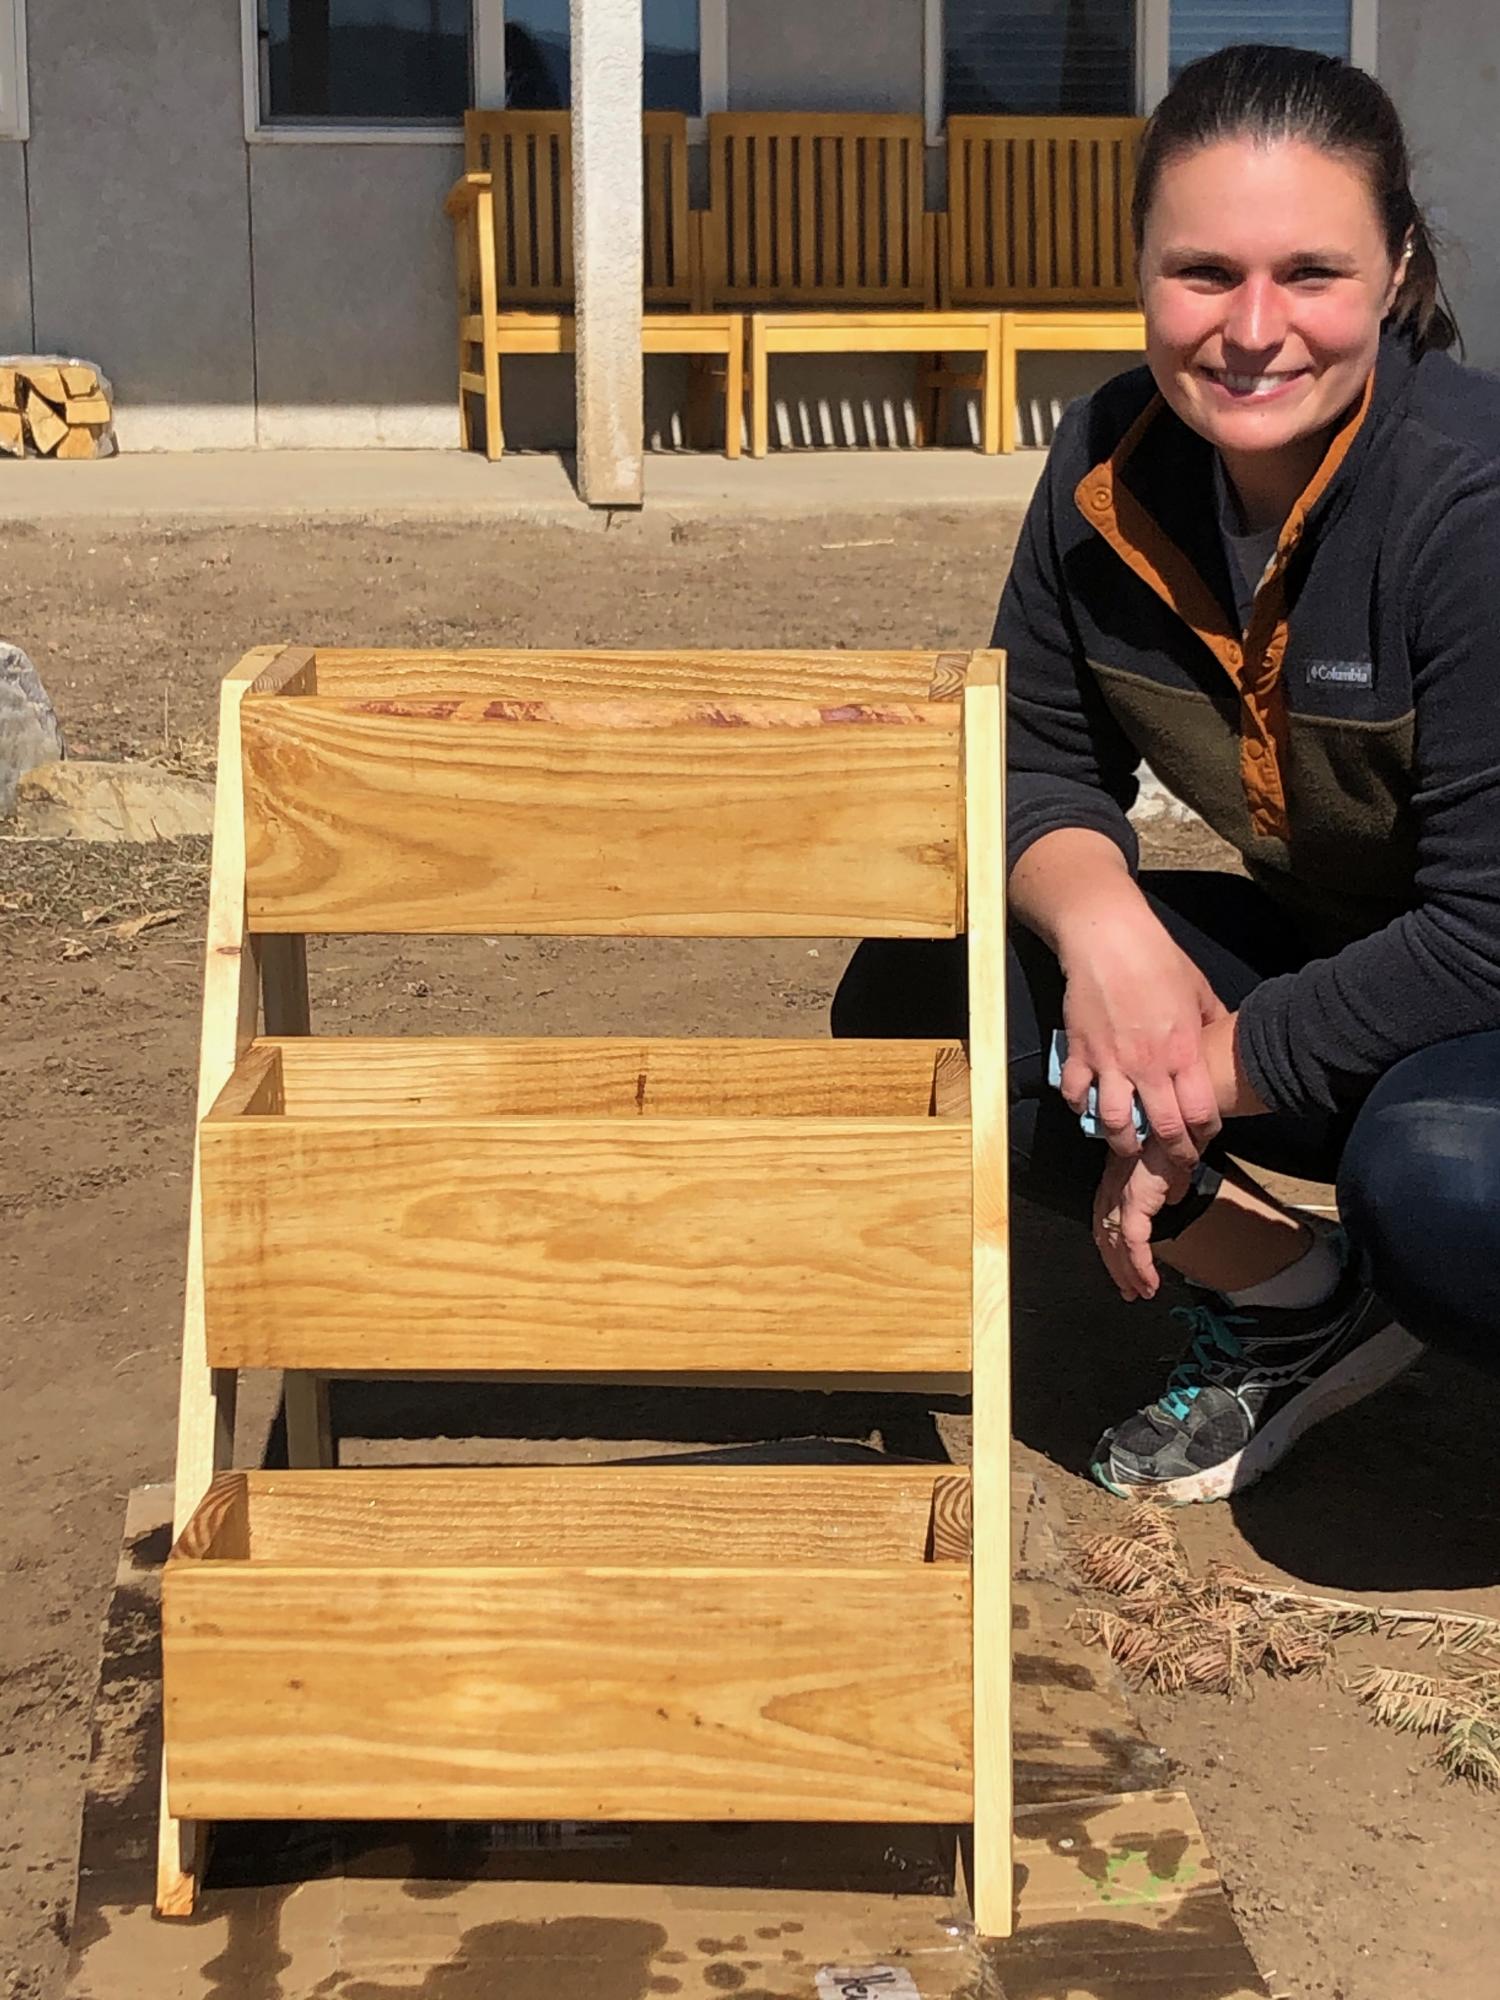
I had the fun of working with my daughter on this project.We recently moved closer to her in Colorado and we are just starting to get into wood projects. Thanks for the great projects!
Aron
Comments
Ana White Admin
Sat, 06/04/2022 - 13:18
Pretty finish indeed!
Love it, thank you for sharing!