Community Brag Posts
Modern Angle Chair
I built 6 of these chairs to go with my Farmhouse Table I built. I did change them a bit. I changed the angle on the back legs and the seat. I posted some pictures of the process and went a little more into detail about my changes on my blog.
White and ceder nest boxes
I mostly followed Ana's plans but used 1 5/8 screws and had a problem with wood splitting so for the ceder I used a finish nailer instread which worked great. I also painted before nailing the ceder pieces so they would really stand out and I also cut a few inches off the front ceder piece as I think 5.5in is too high and covers too much of the entrance.
2x4 full outdoor patio set
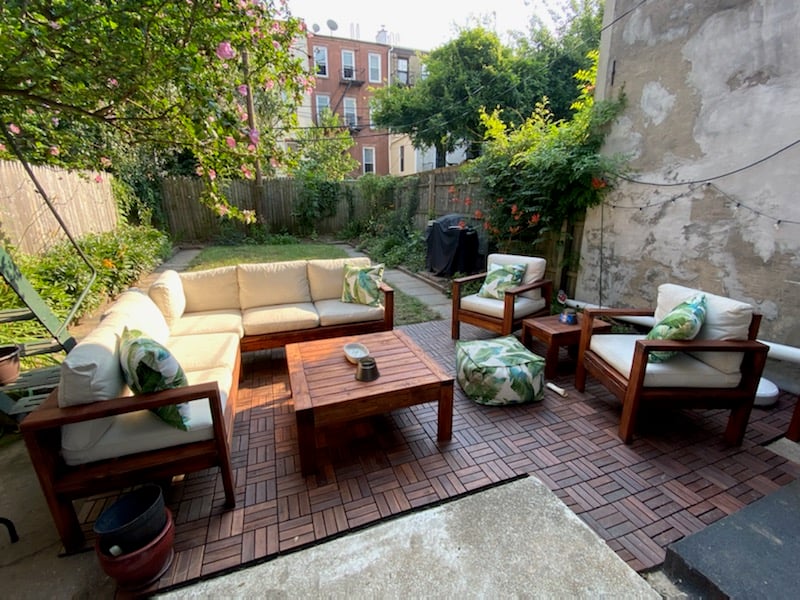
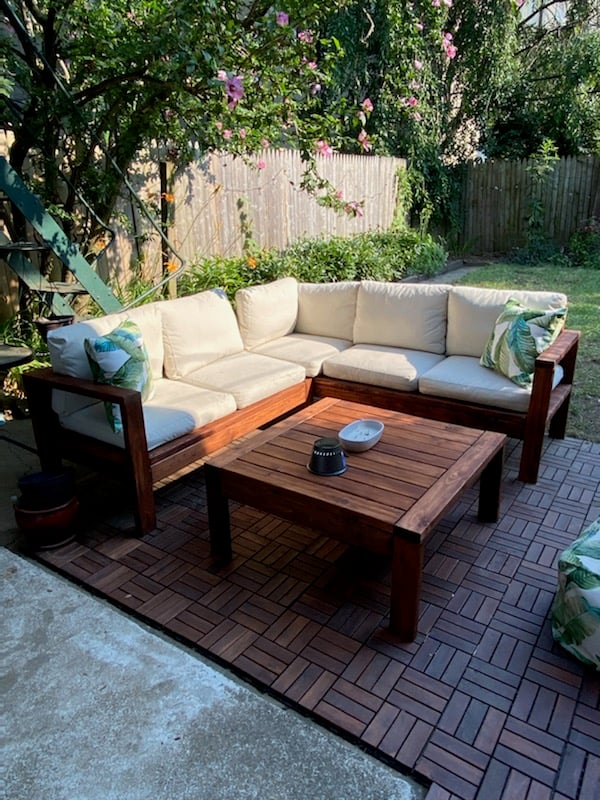
Used the plans for the 2x4 outdoor sofa. Modified the dimensions to better fit my personal needs. Made the coffee table a square instead of the rectangle plans posted here
Comments
Wed, 07/07/2021 - 10:16
Fantastic!
That is amazing, love the square table for the space! Thank you for sharing:)
Farmhouse queen bed

This is my first project working with wood. My husband and friends are very amazed by what I built.
Comments
My first project!
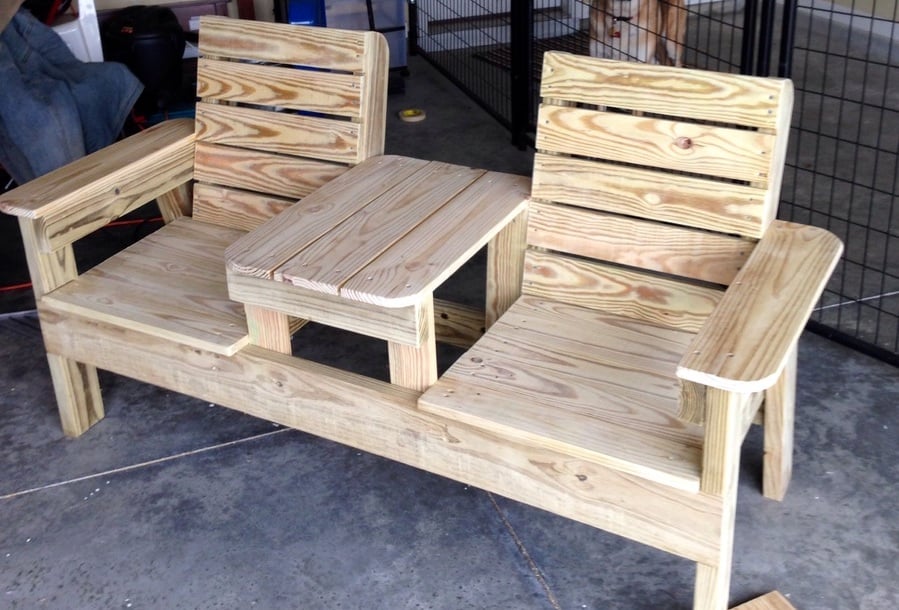
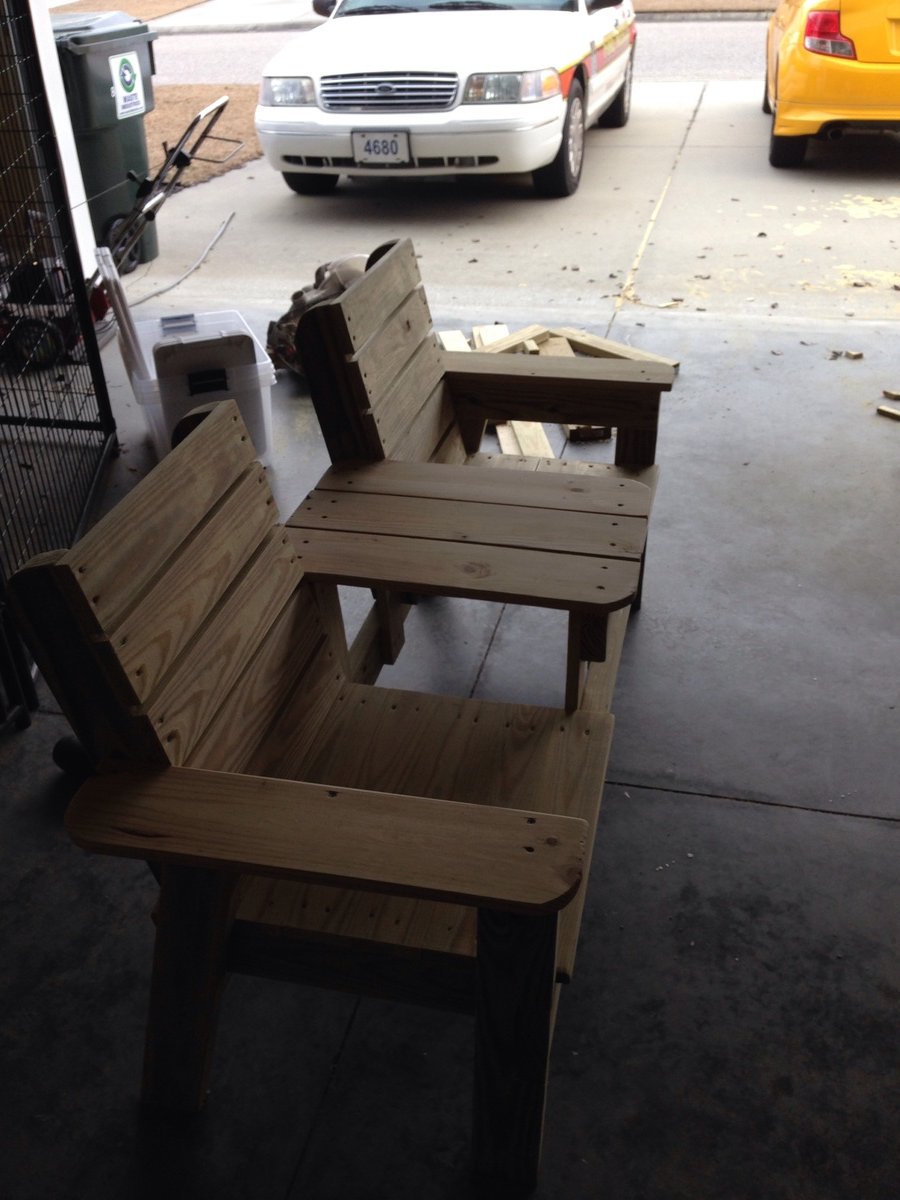
Thanks for the awesome, easy to follow plans!! All that's left to do is stain it and build another one- I'm going to have 2 on my back patio! A successful first project! Thanks!!
Comments
Sat, 03/07/2015 - 12:27
Awesome job!
So awesome!!! Especially for your first project! Super inspiring for those of us who would like to attempt a project like this! Thank you for sharing!
Mon, 07/20/2020 - 07:15
Niiice...I'm thinking about…
Niiice...I'm thinking about this for my next project. Great work.
Modified to Personalize

I probably took this project on at a bad time (final semester of college, planning to move for my first job, and getting married) but this was my wedding present to my wife. I modified the plans and made everything (except for the drawer boxes) out of white oak cut from my father in law's farm. The headboard, footboard, and drawer faces are edge glued planks. I made the corner posts by gluing 2x4s together (actual dimension of the post is 3x3). I used threaded inserts to make it come apart into 4 pieces (headboard, footboard, and drawer boxes). This thing is HEAVY (the headboard alone probably weighs ~150lbs) I learned a lot during this project and these planse were a great guideline!


Exterior farmhouse table for the farm

we needed an exterior table big enough for 8 on short notice. It's hard to find nice exterior furniture on the Big Island of Hawaii so we decided to build ourselves using borrowed tools. only wish i had my kreg jig nearby :).
*this is July 2021 (pandemic) so wood prices have shot up. that's the reason the cost of the project is higher than normal.
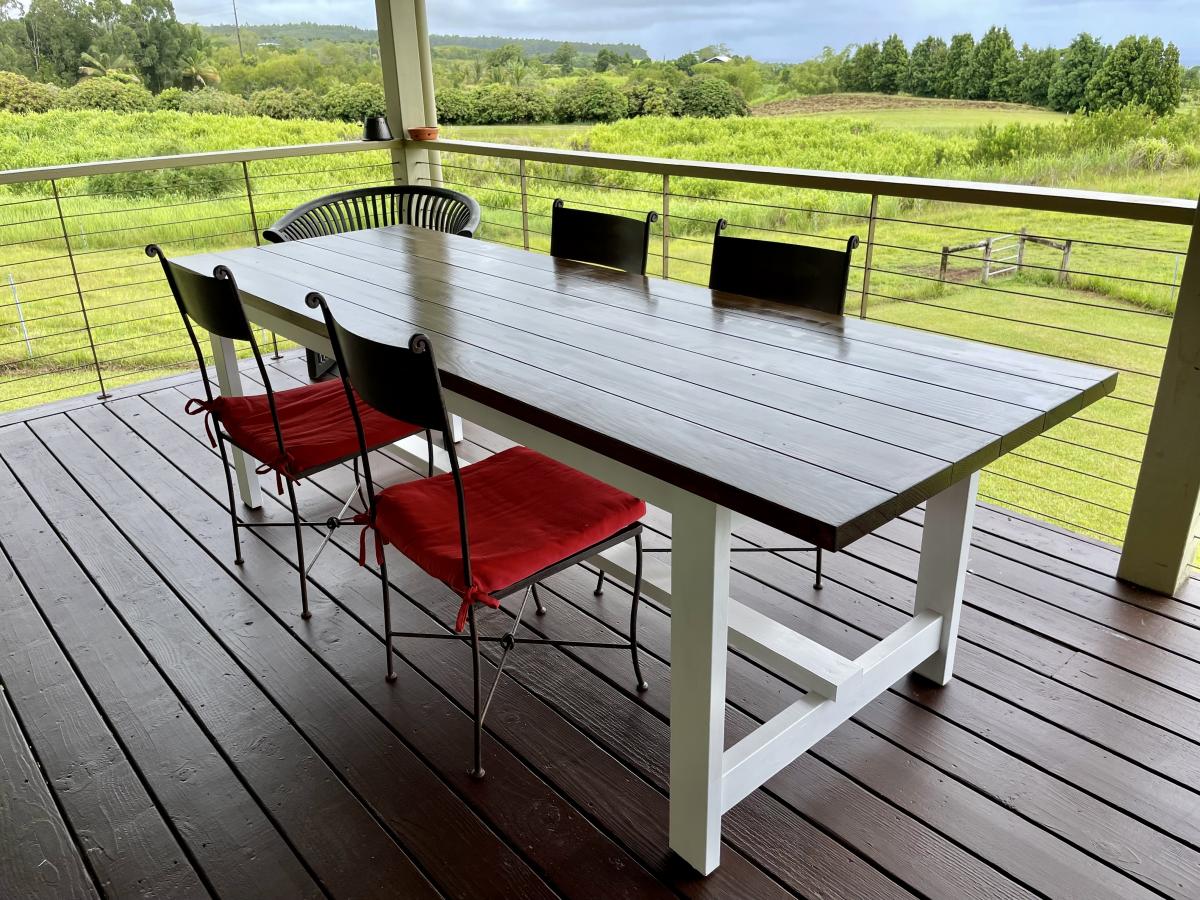
2. Wood conditioner: Varathane pre-stain wood conditioner
3. Paint – Legs: Benjamin moore soft gloss finish premium exterior paint in white
4. Stain – Top: Varathane premium poly+stain in Satin Jacobean
5. Varnish: Minwax Helmsman Spar Urethane
6. #9 x 2-1/2 in. Star Flat-Head Wood Deck Screws by Deckmate
Comments
Library ledges
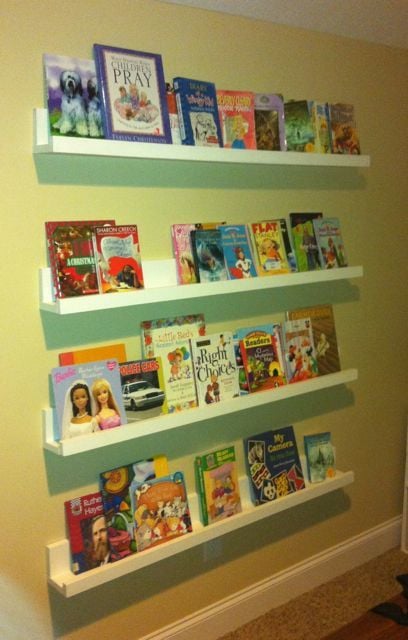
I really enjoyed this project. I would suggest painting as much as possible before assembly. I used pocket screws to hide which are hidden on the back side and a nail gun to attach the front 1x2s. I made a total of 8 ledges.
One thing I did different from the project plan is that I connected the bottom board on top of the back board to give me a little more space on the bottom for layering my books.
Move over Restoration Hardware!
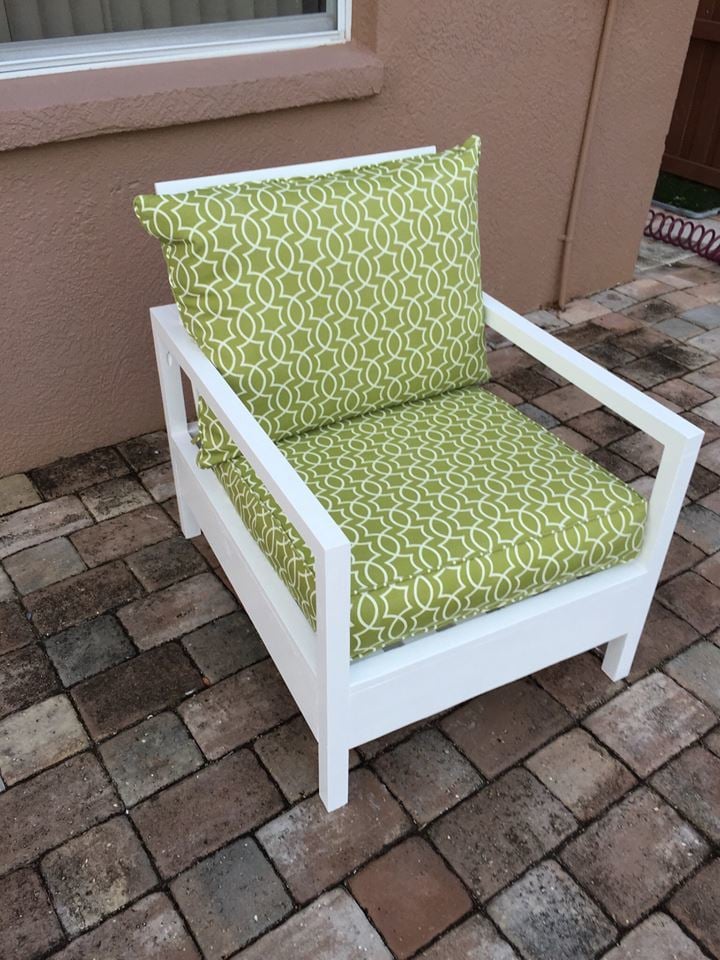
I actually emailed Restoration Hardware and although they no longer carry this chair , it was priced starting at 795$!! Not even close to what it cost me to make it myself. I spent 88 $ on the cushions, 5$ on screws and approx 65$ on the wood so all together this chair cost me about 158$. Thanks Ana!
Modified Garage Shelf (w/ Workbench)

Great plans allow for versatility and easy customization. Put the whole thing together in a day w/ one other person. My set up is 16' long - 5' on the side shelves and 6' for the workbench. Added a pegboard and fluorescent light under the top middle shelves. I'm also designing a slim drawer to go under the workbencheck area. Thanks a bunch!


Comments
Farmhouse Desk
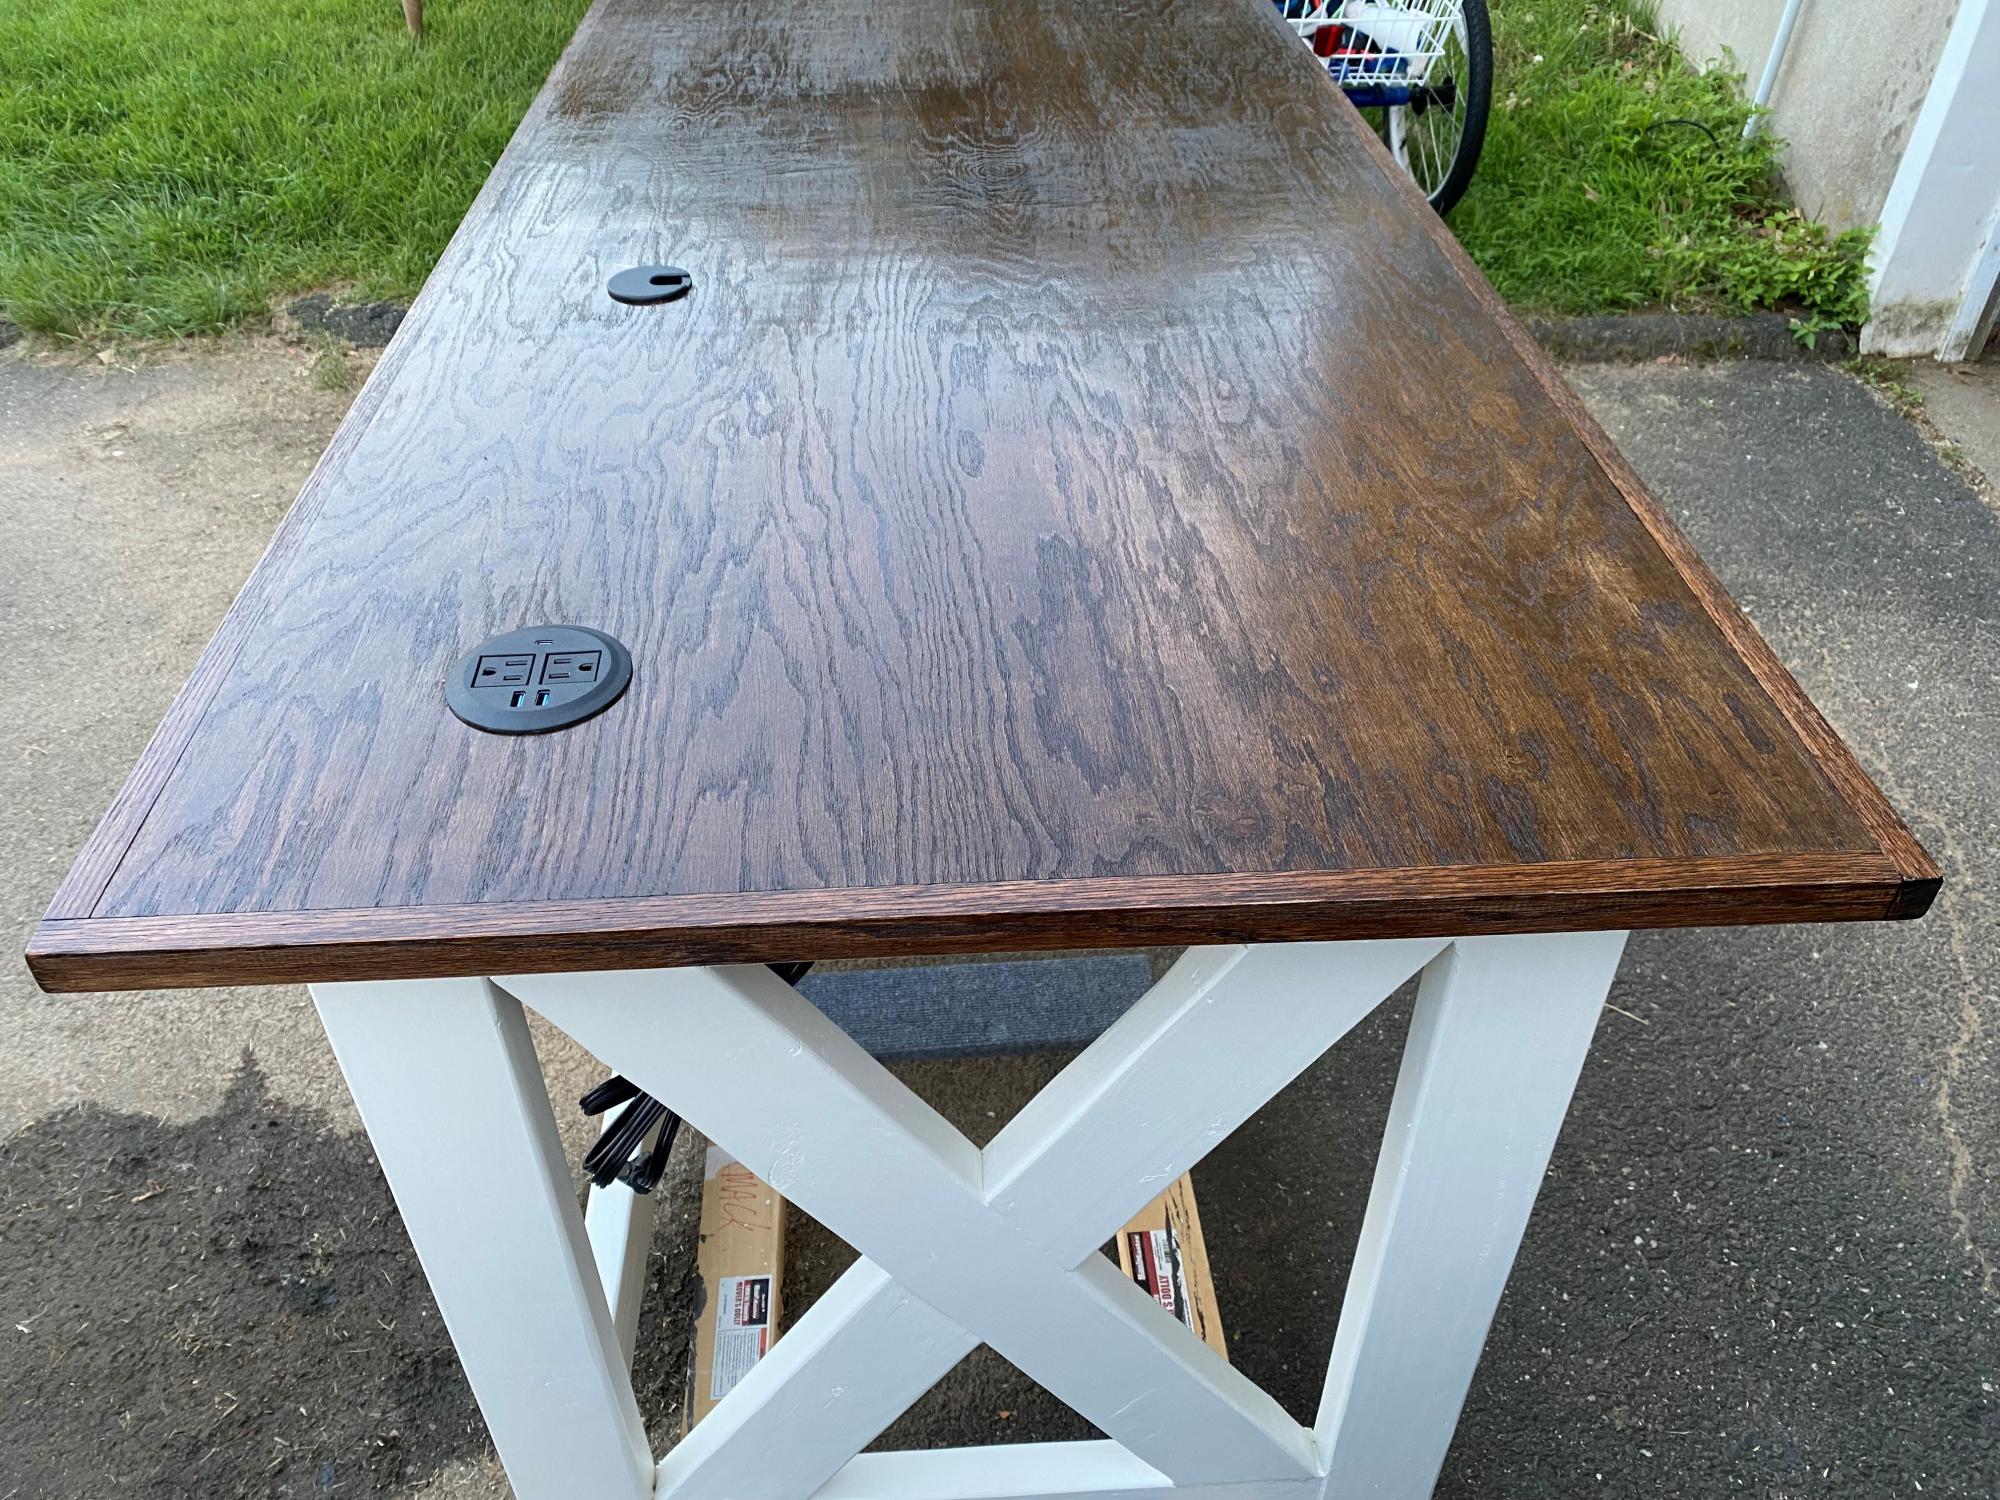
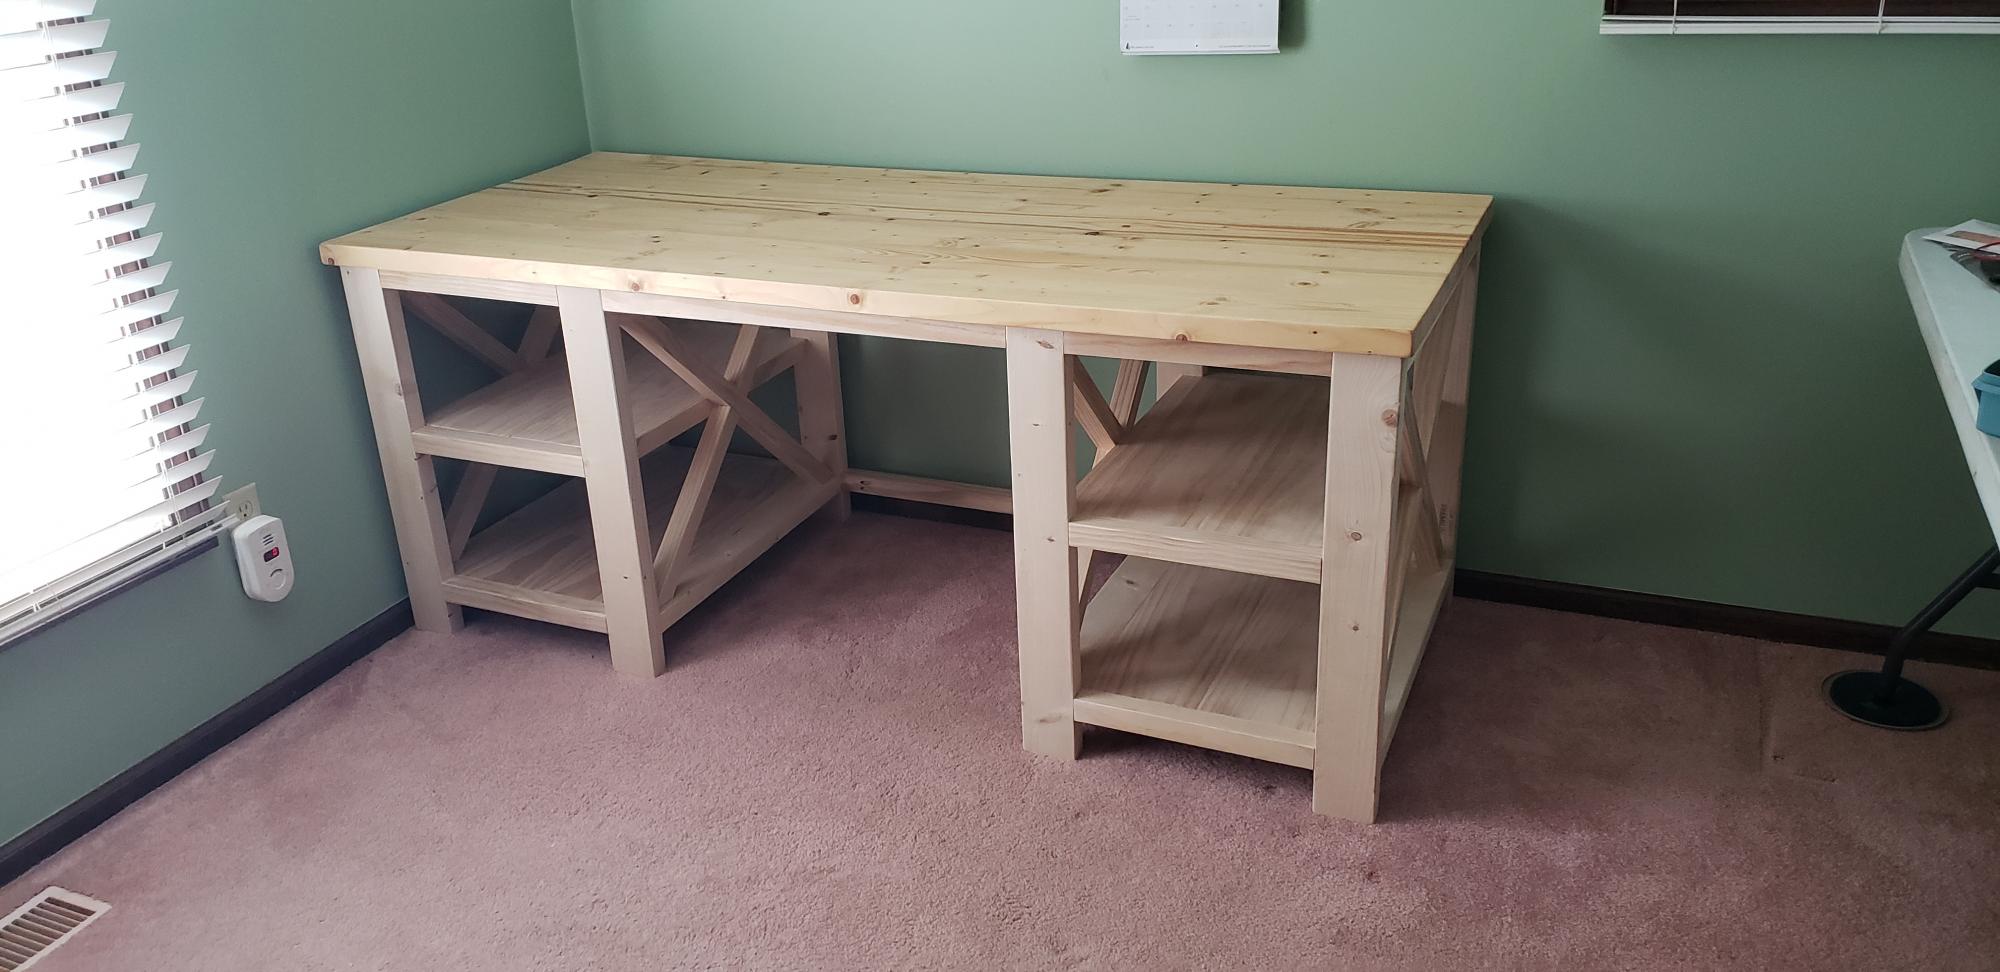
My wife needed a desk to work at home from and nothing on the retail market interested us, so I offered to build one. I followed the plans for a Farmhouse Desk, but with a change for the top. I chose a pre-sanded 3/4" red oak top and trim to cover the plywood edges. We didn't want the lips or edges that may show up using the planned 1x6" planks. The desktop measures 31.5 x 71.5" which is large, but allows for a lot of work to be accomplished. I added a grommet hole for the wires and a 3 1/8" hole for a desktop outlet with 2 USB's, 1 USB-C and two regular outlets. I also added a 9-input power strip / surge protector on the underside of the desk that the desktop outlet plugs in to. So only the power strip plugs into the wall and everything is surge protected.
It took me 4 weeks and about 25 hours, as I made it around my work schedule and family life.
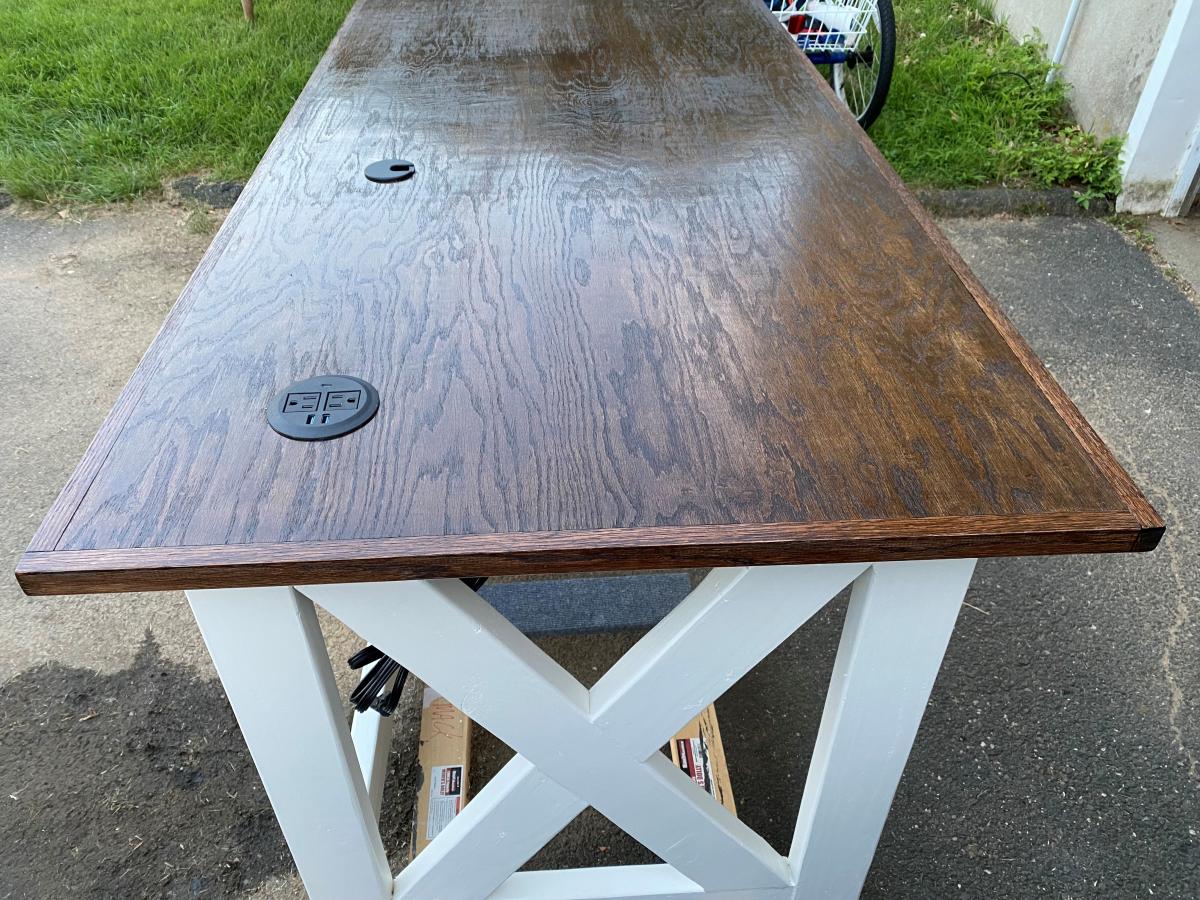
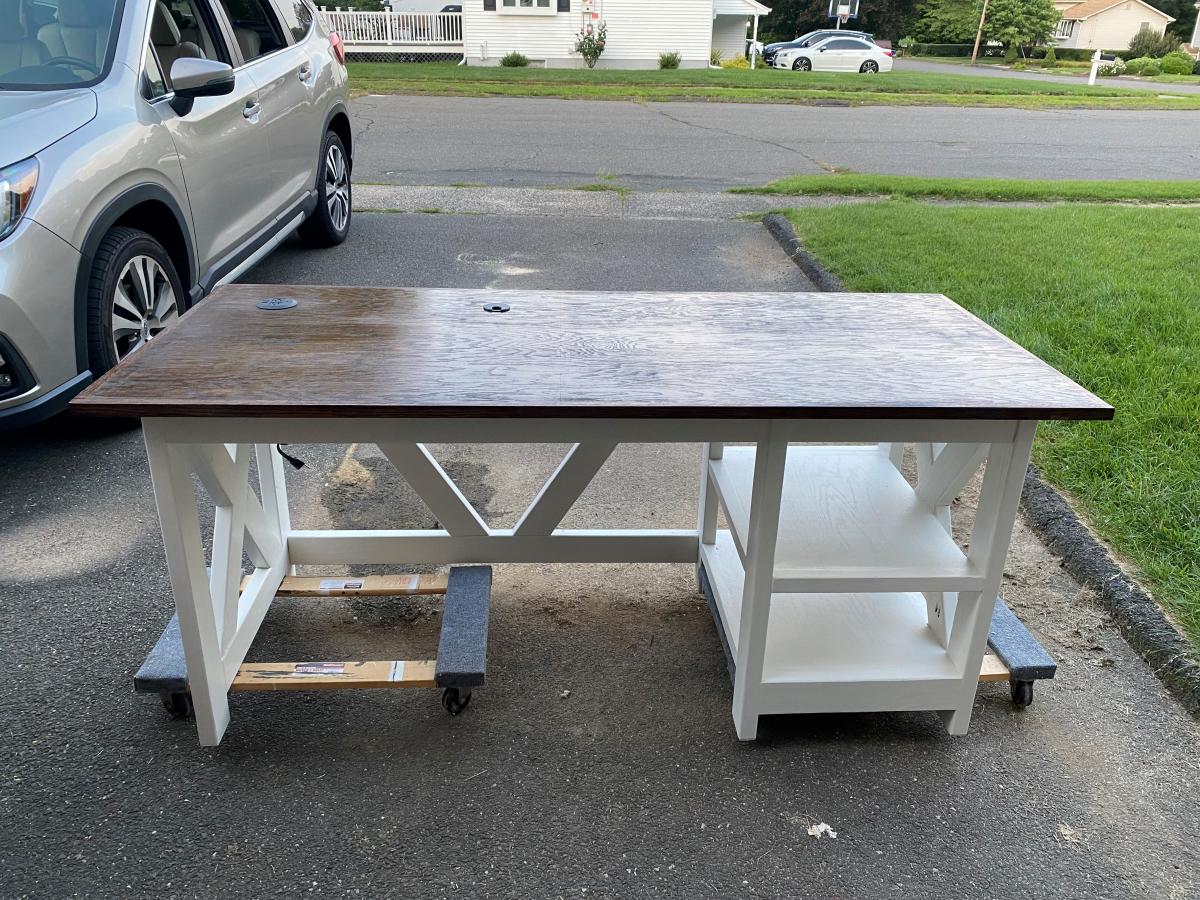
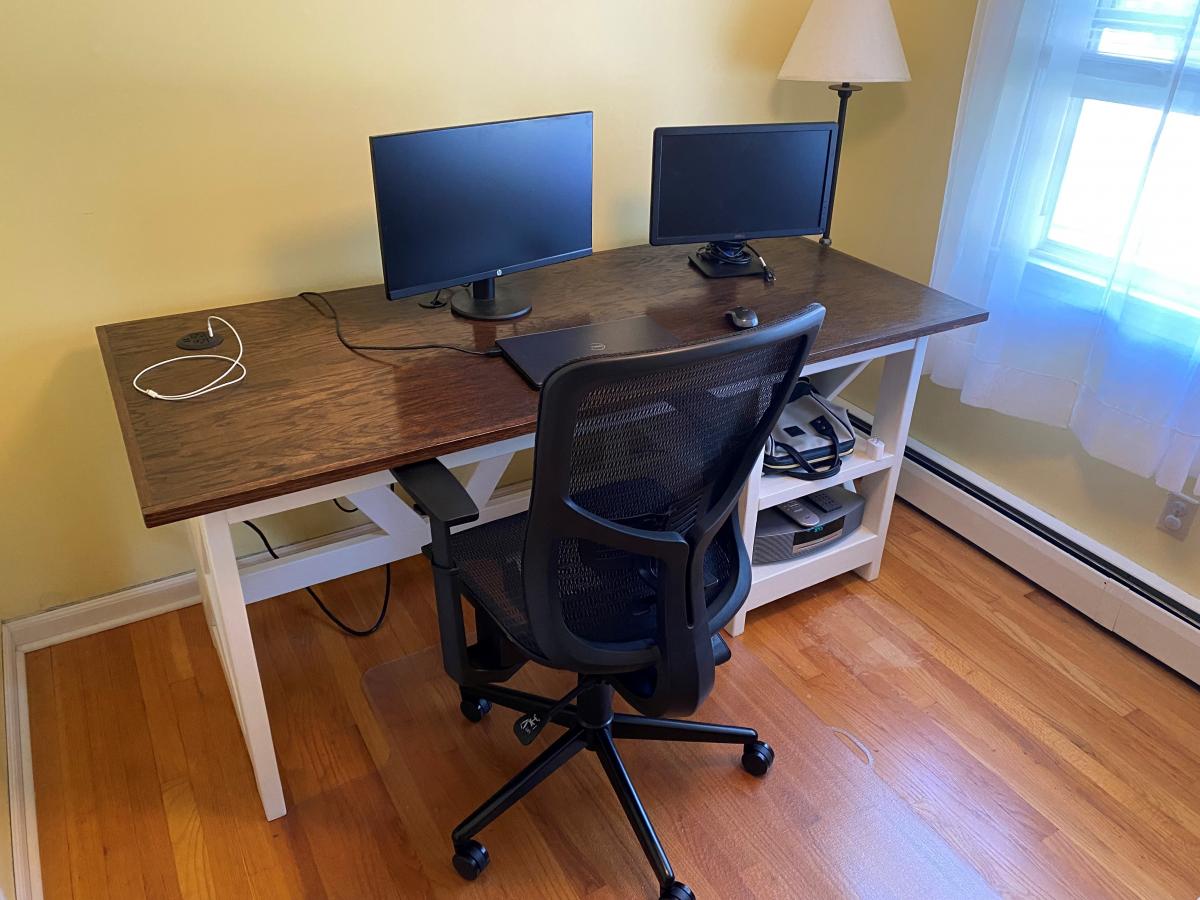
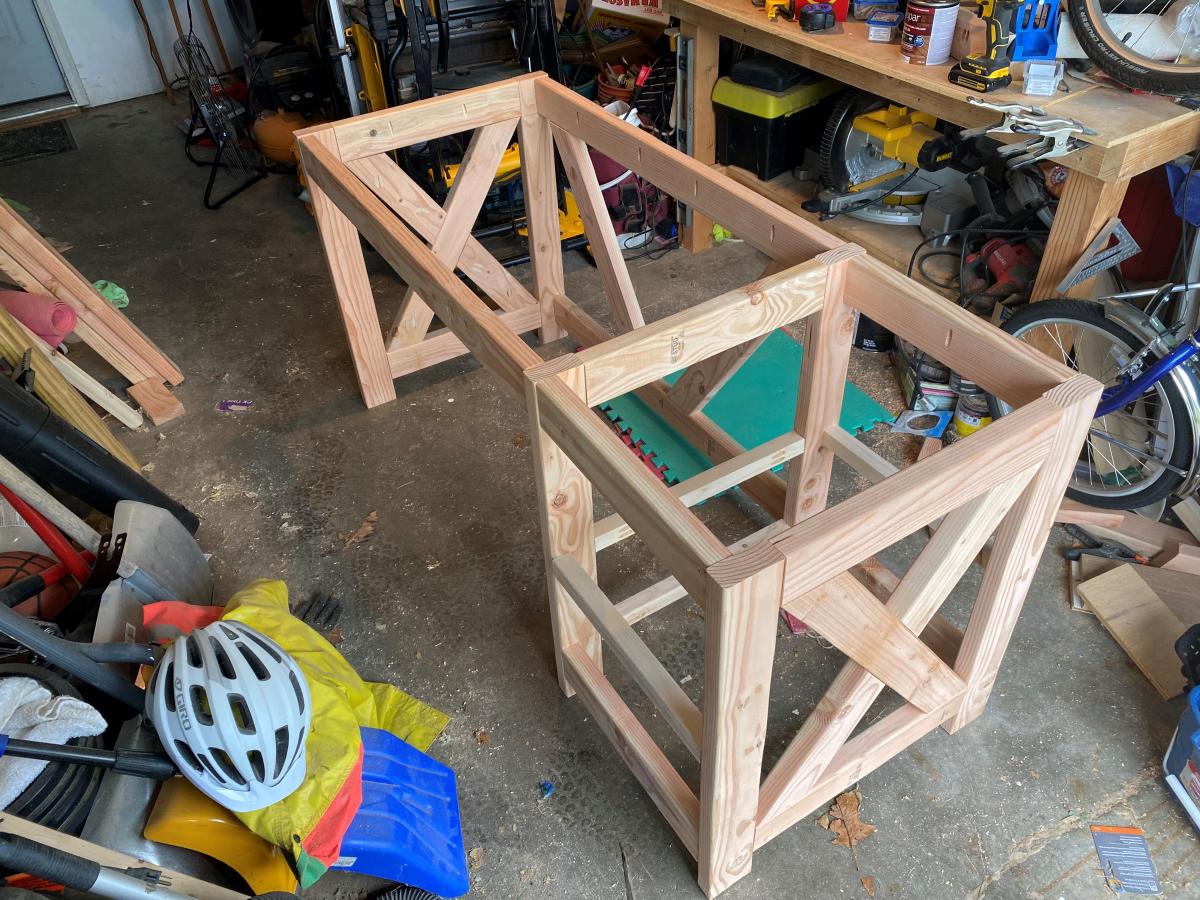
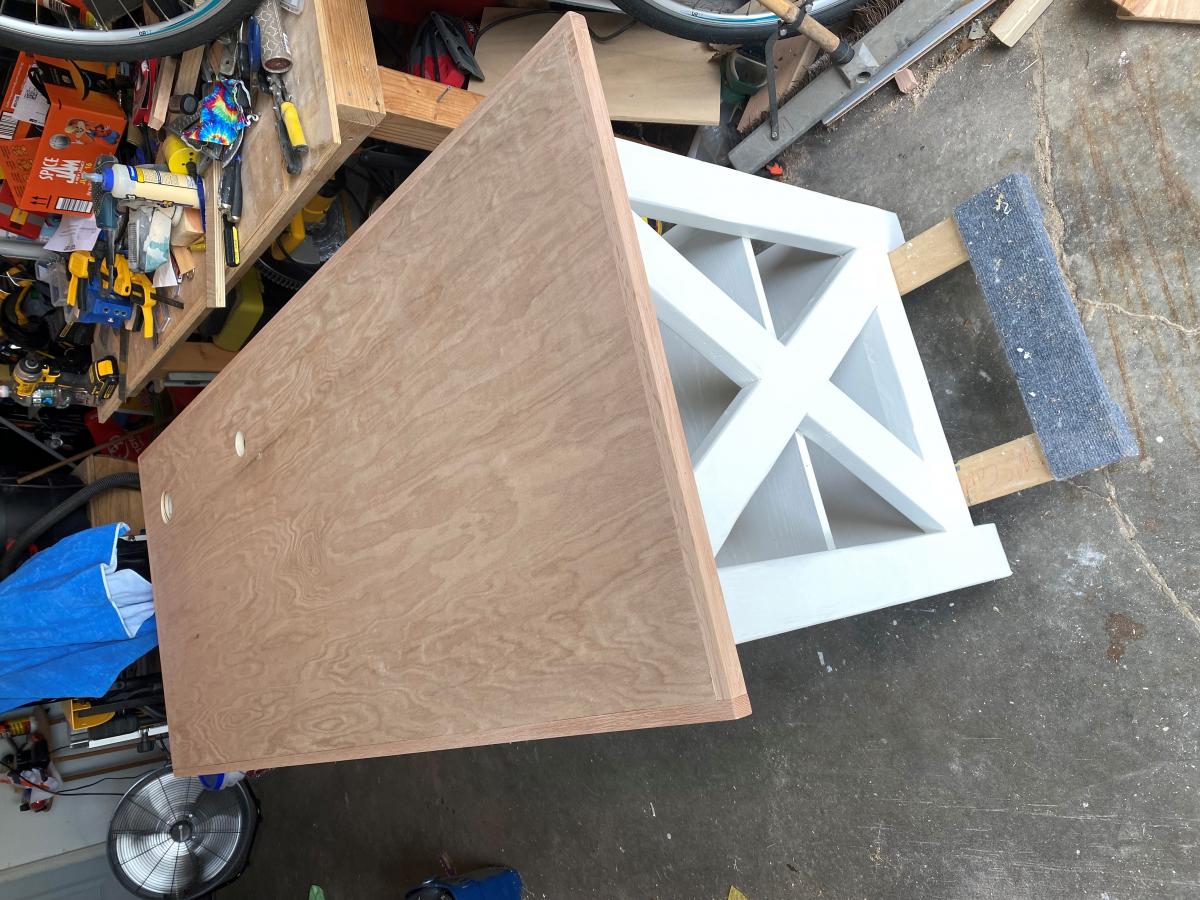
Base: Valspar All-weather White Solid Exterior Stain
Comments
Entertainment Center for 60" Flat Screen LED TV
I used the plans from JRLwoodworking and the pictures from AZCA33 and combined them to create an entertainment center to hold my new 60" flat screen tv. I priced new entertainment centers at furniture stores for a nice entertainment center to hold a large tv and the price was around $2000. I looked around online and found a couple of websites of handmade entertainment centers and decided to give it a try. I had never made anything remotely his large or detailed, but with the plans and some patience, I was able to bring this thing to life. I couldn't have done it without the help of this website or jrlwoodworking. I am very proud of this piece of furniture and plan to cherish it for a long time....
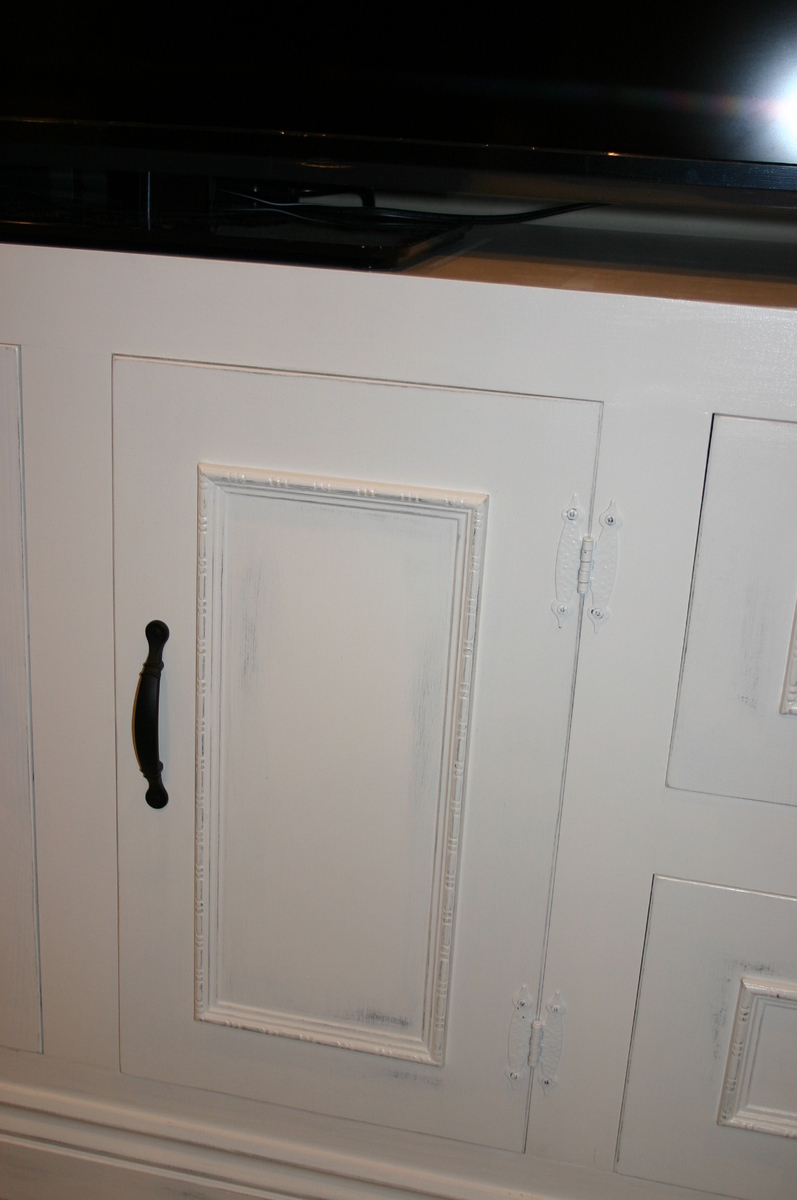
We painted the bare wood with the white latex paint first. After a couple of coats, my wife used the black paint on the areas that she planned to look distressed. We painted over the black with the white until fully covered. She sanded the white until the black came through like she wanted and then we coated the entire thing with a polyacrylic coat.
Comments
Sat, 06/01/2013 - 19:21
So impressed!
Hi RAZORBACKFAN, I am so excited to see this build from our plans at jrlwoodworking.com! This is absolutely beautiful. It looks like a very difficult project, but with the step by step instructions and going through it a few times, it really can be done by a handy do-it-yourselfer. I hope you enjoy yours as much as we enjoy ours. The best part of it is telling everyone you built it. Nobody would believe it unless we had the pictures to prove it.
Harvest Basket
Build Instructions:
http://www.instructables.com/id/Harvest-Basket-Garden-Trug/
Video of Build:
https://www.youtube.com/watch?v=3DlhZ6-gpak&feature=youtu.be
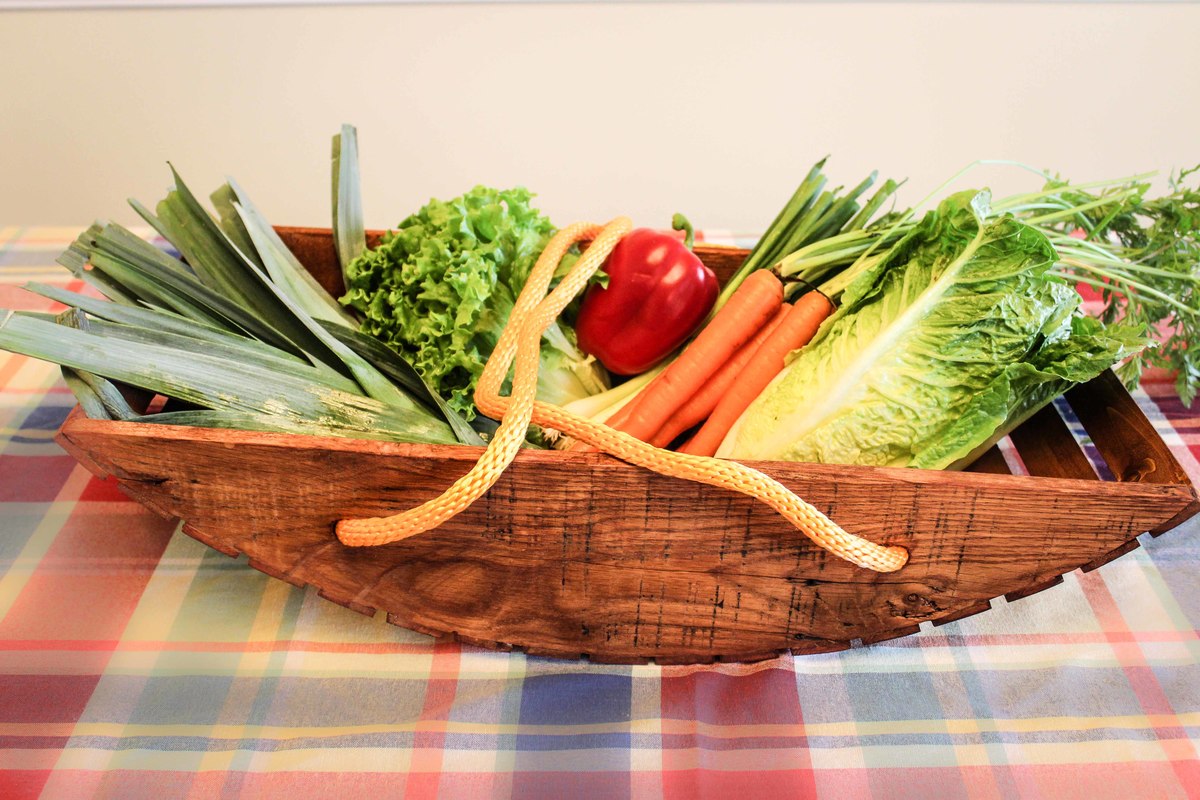
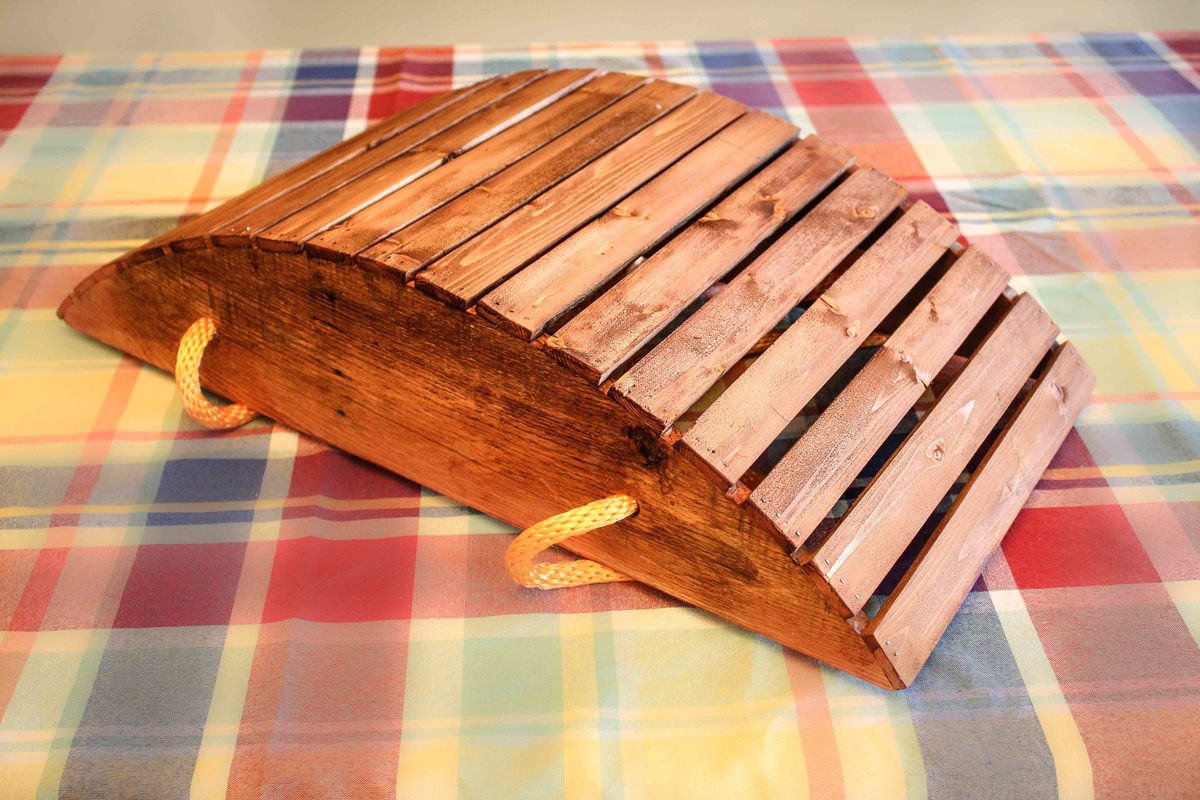
This is a simple design built from reclaimed wood and purchased ¼” wood slats. It cost very little and only took a couple of hours to complete the build. The goal was light weight, shallow and wide for collecting leafy vegetables, easy to handle and somewhat attractive.
Comments
Faux Driftwood Finish Media Console
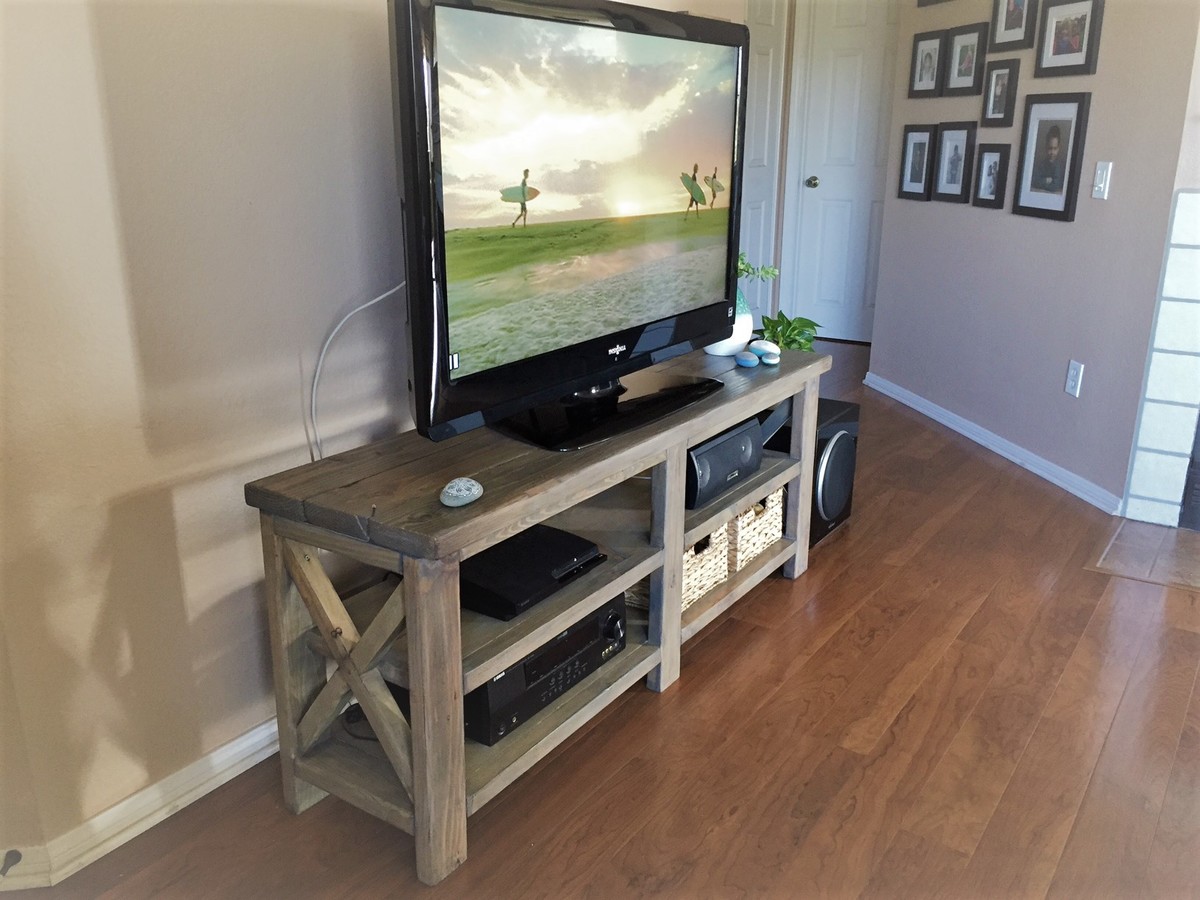
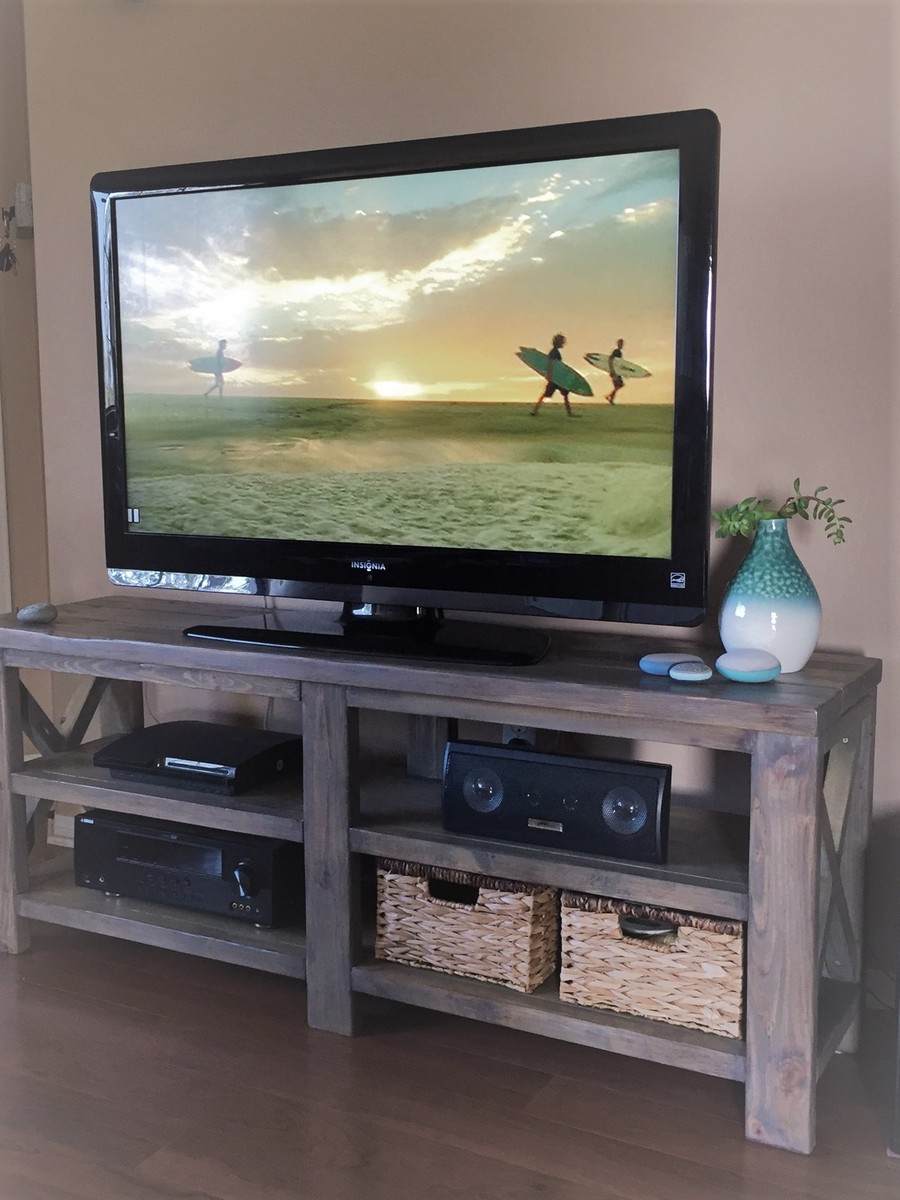
My girlfriend requested I make this stand for our TV which is 46". (It looks like something she wanted from a furniture store that was being sold for around $1,100.) I followed the plan, but customized the size. My table is 60" long and 24" high.
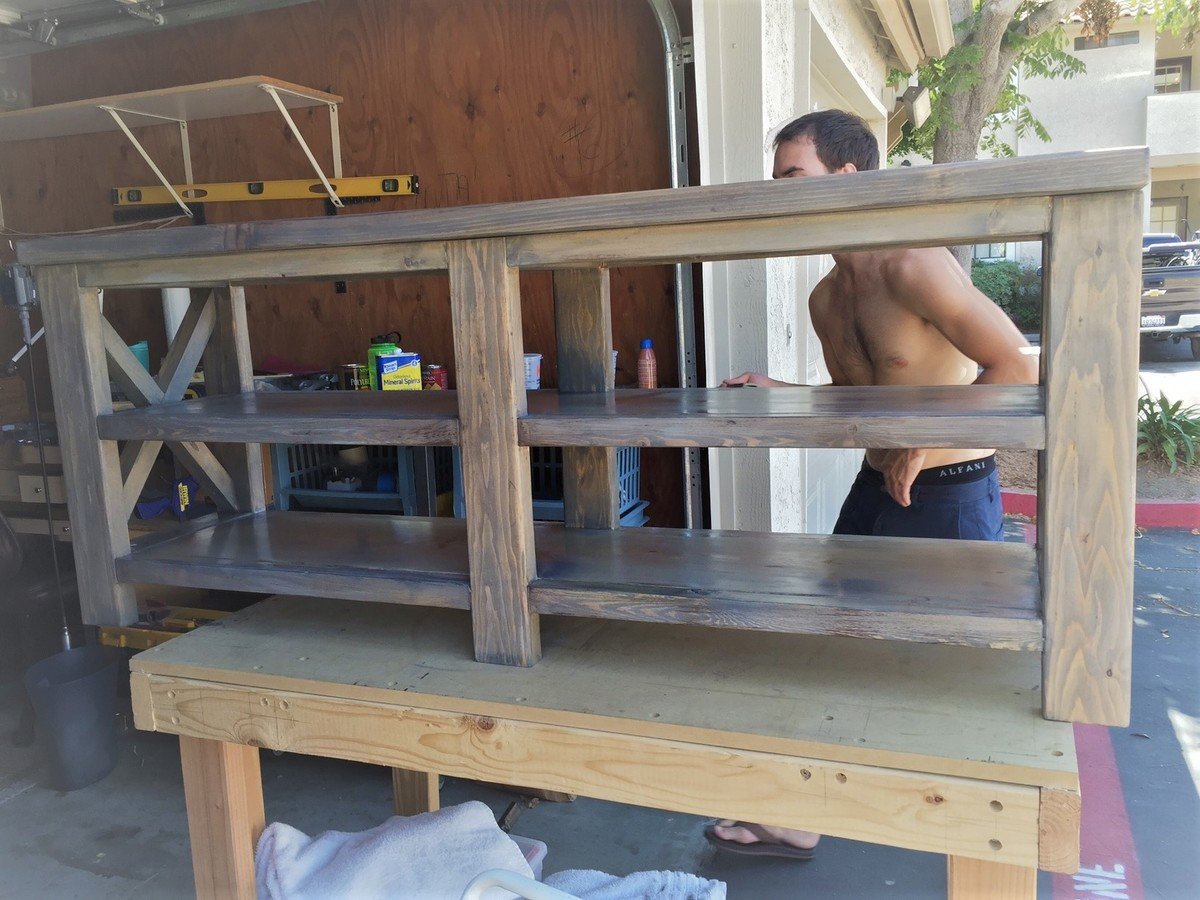
We wanted to make a weatherbeaten "driftwood" look. The Classic Gray was darker and had more opacity with one coat than expected, so we stopped at one coat. Classic Gray is a lot "cooler" in tone before the clear coats, because the clear polyurethane I used has a warm tint to it. (In the future, I also want to try the crystal clear Minwax Polycrylic, which would not warm the tone of the gray.) After the stain, we added some brown dry brushstrokes to make it look rustic or aged.
I lightly sanded between each of the clear coats. Two coats on the under parts and three coats on the top.
I added felt pads that I cut to fit to protect our floors from scratching.
The wood is part pine and part common board.
Girlfriend loves it! It is a huge hit. Lots of compliments from neighbors as I worked, too.
1 application of Minwax pre-stain Wood Conditioner
1 coat Minwax Wood Finish Penetrating Stain, color Classic Gray
Dry brushstrokes of Martha Stewart Vanilla Bean Multi-Surface Satin Acrylic Craft Paint at edges (color is a neutral grayish brown)
2 coats of Minwax Polyurethane, Clear Satin
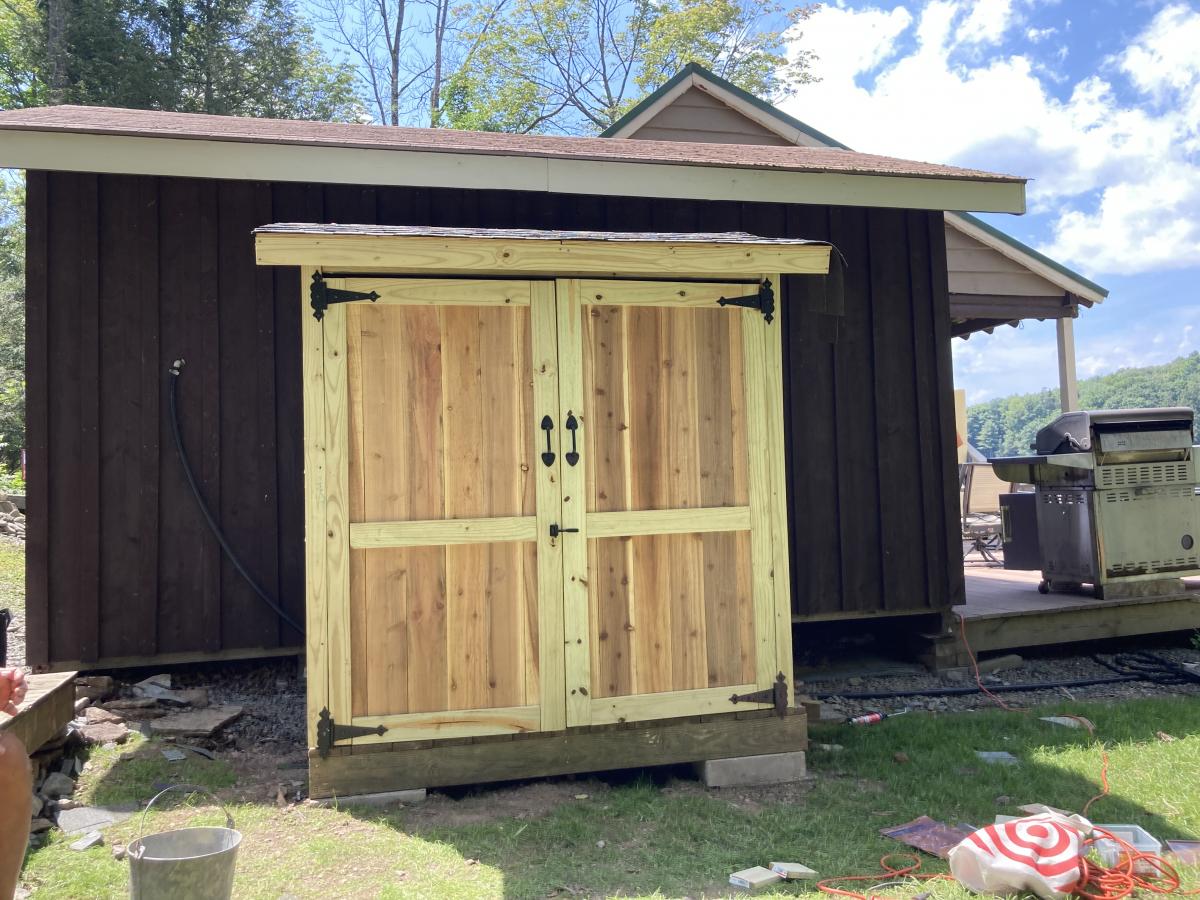
Small cedar shed
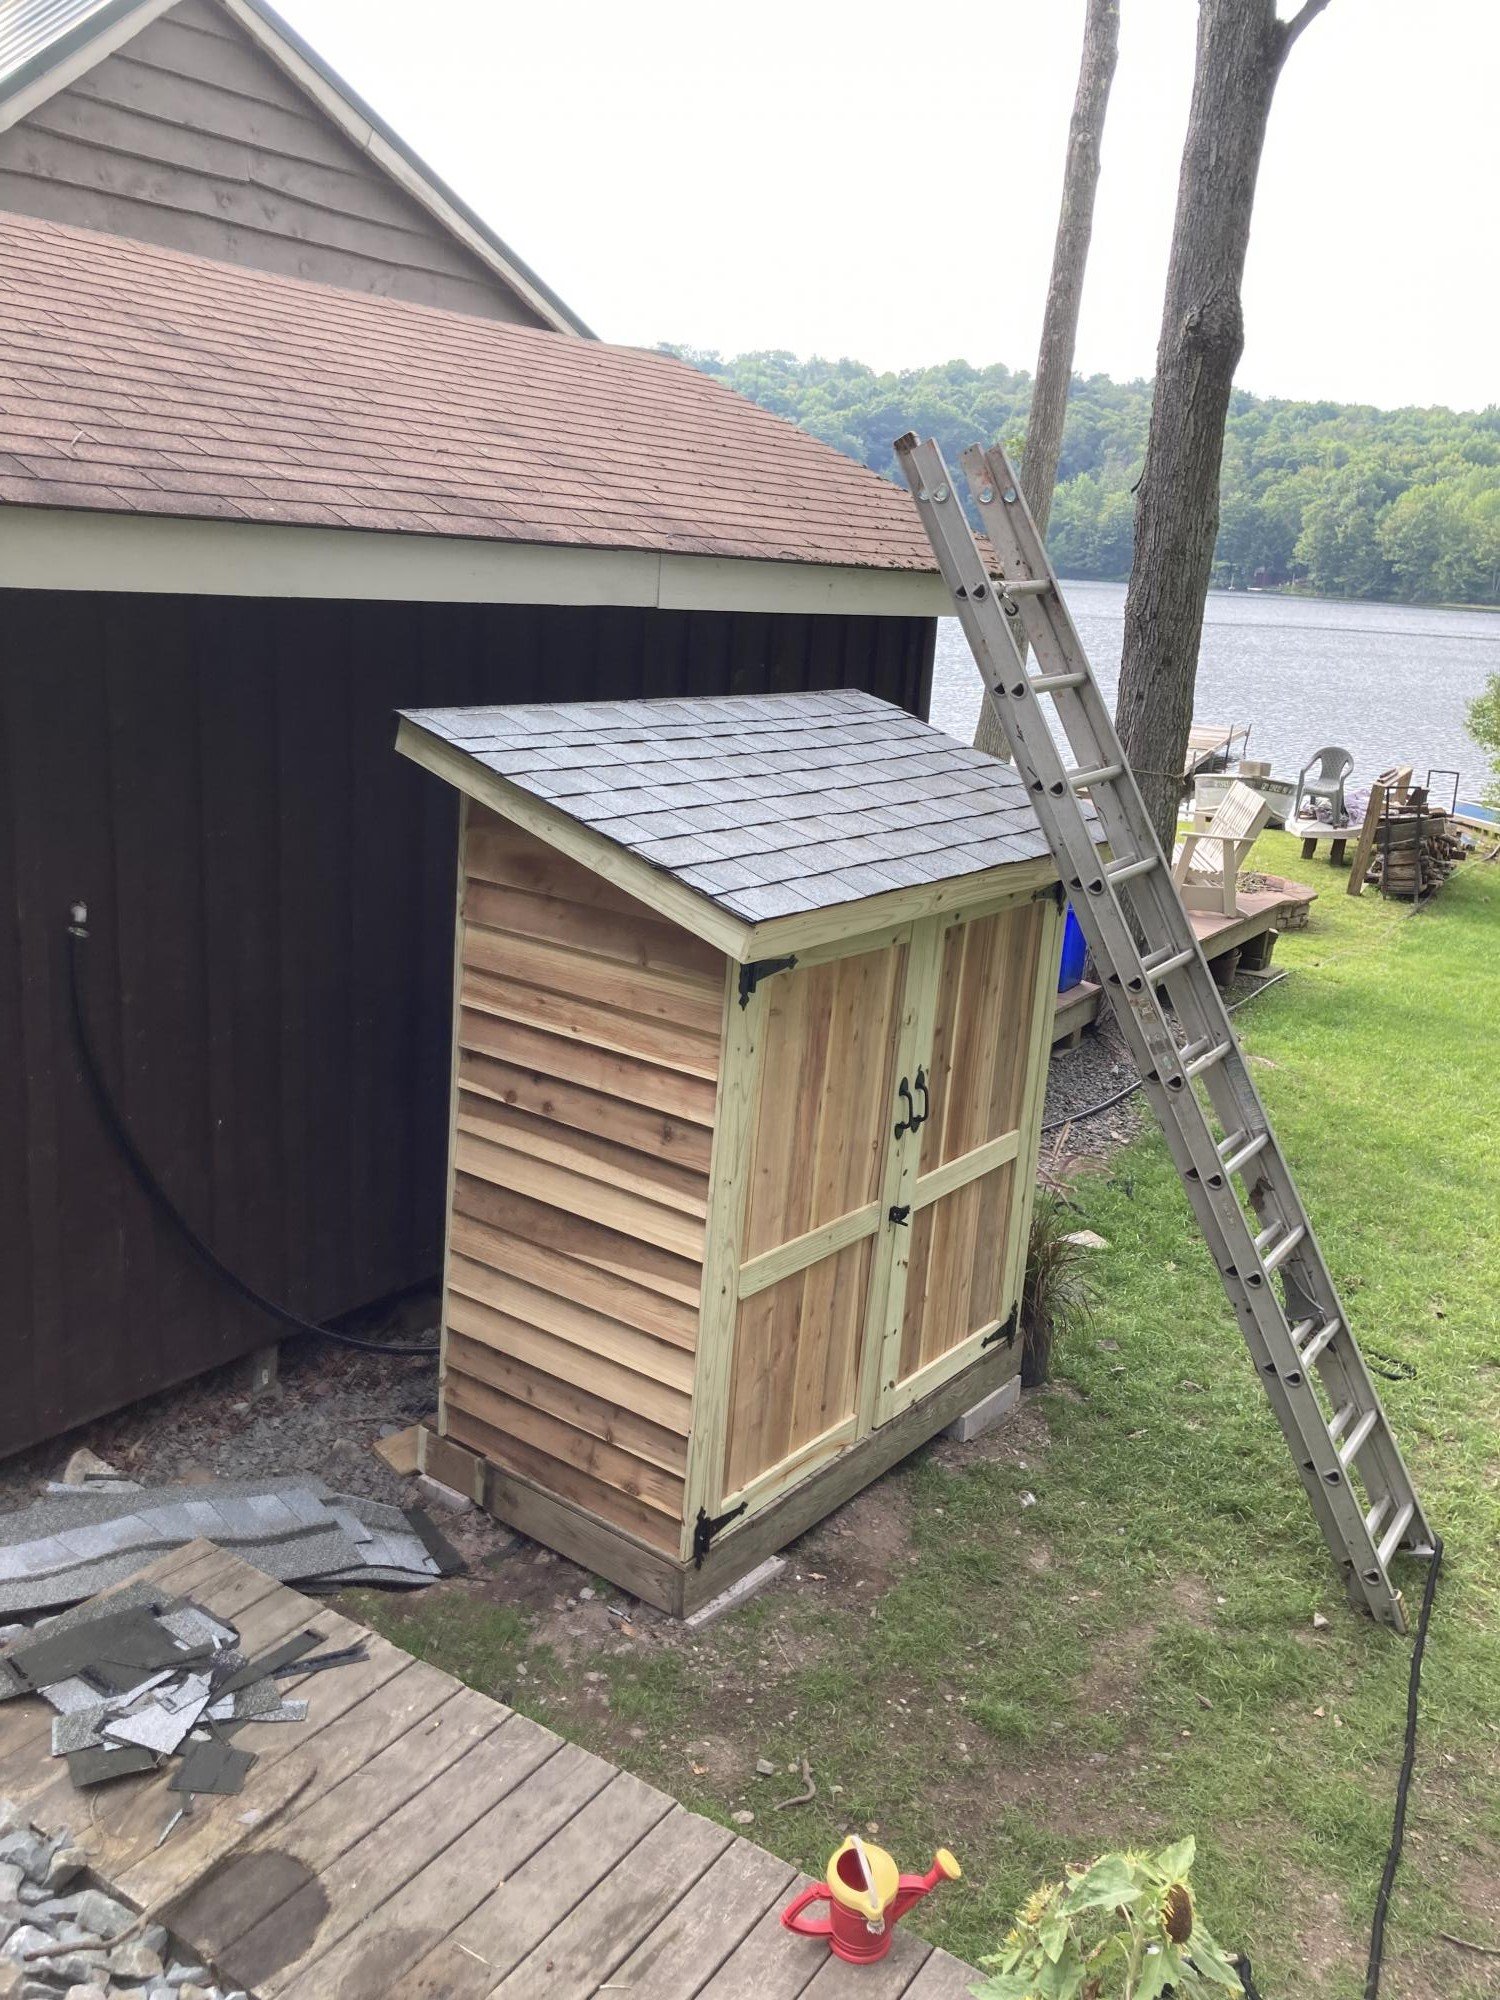
First shot at using plans from Ana, and thought it was great! Can’t wait to try another!
Comments
Train & car table
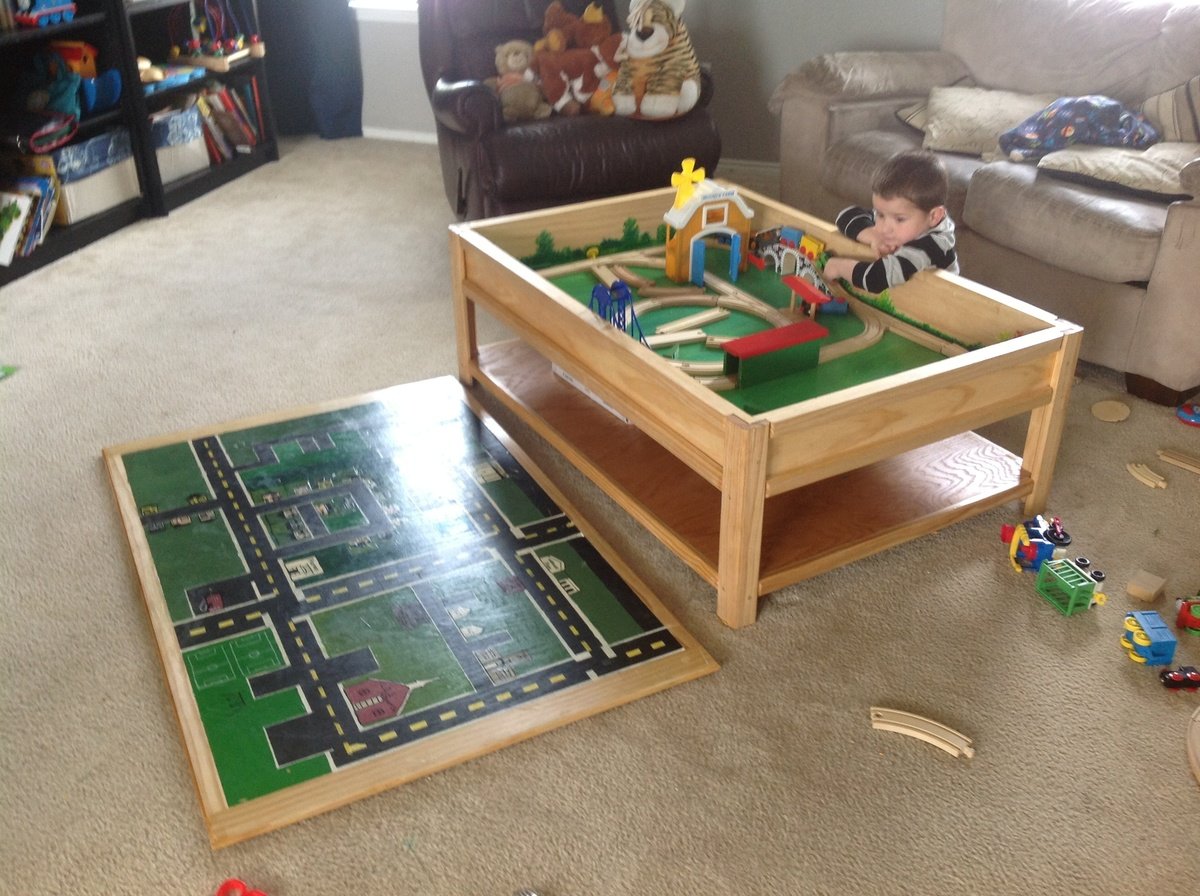
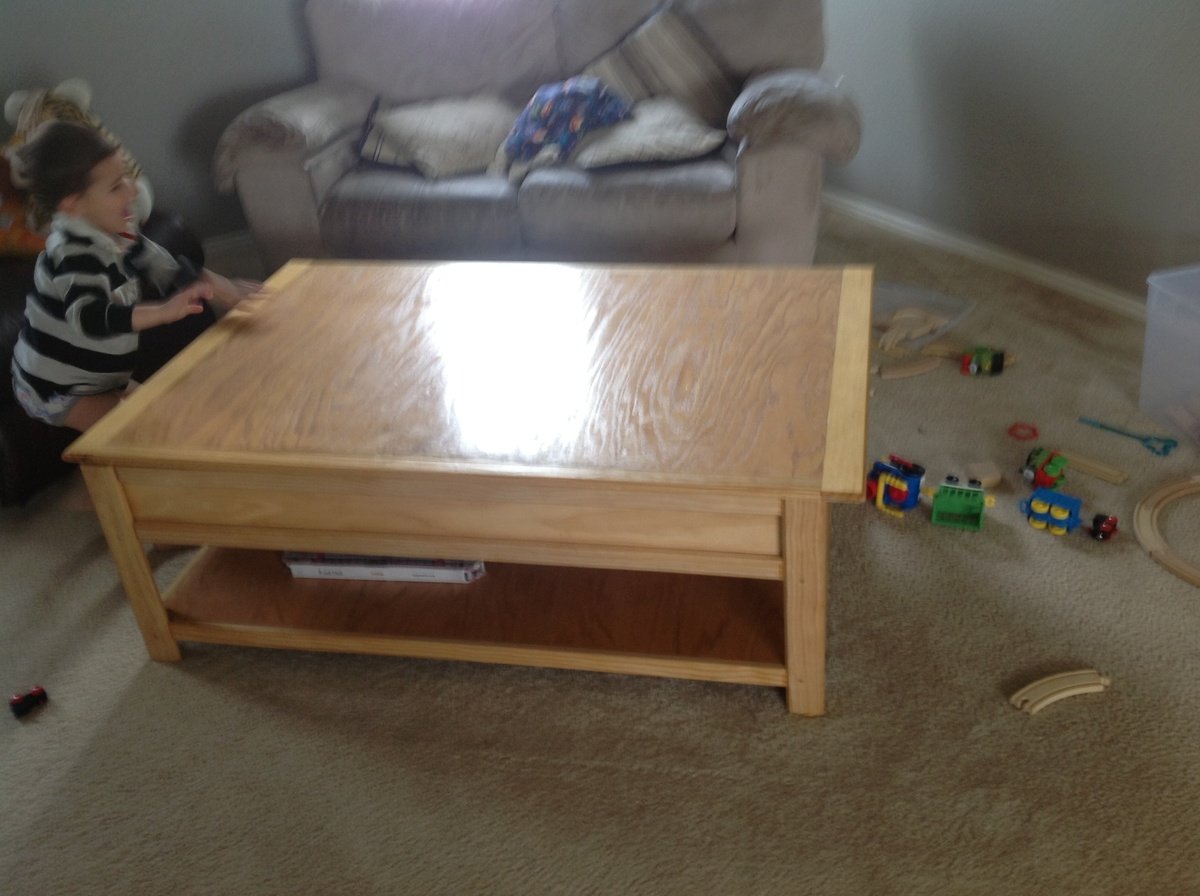
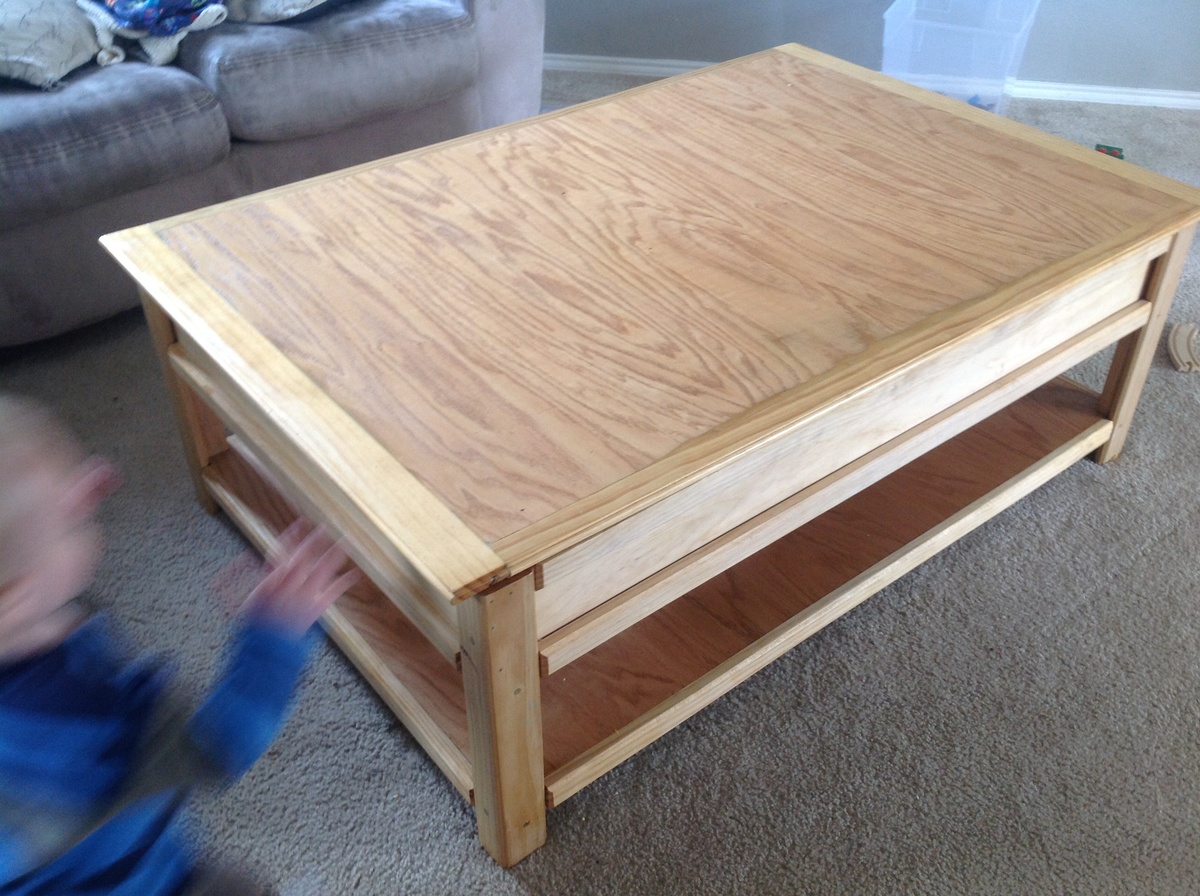
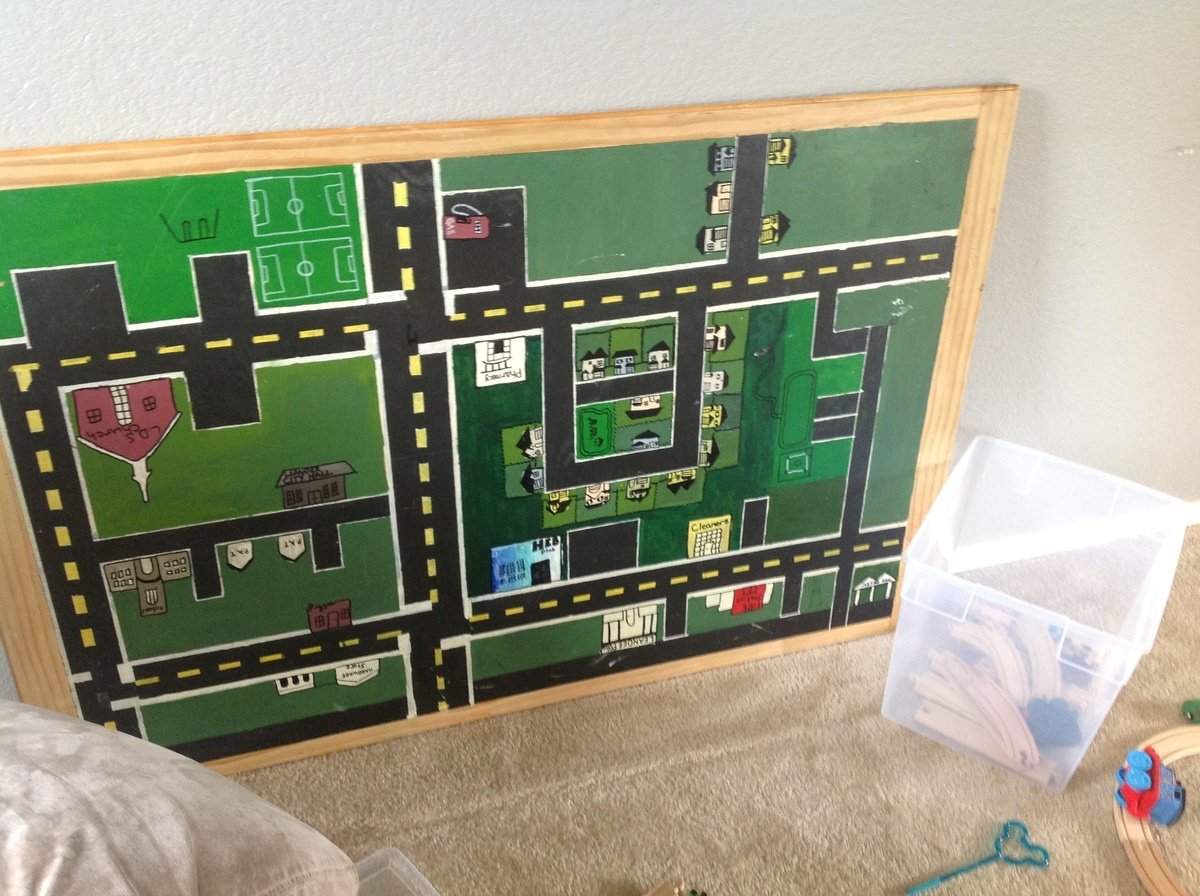
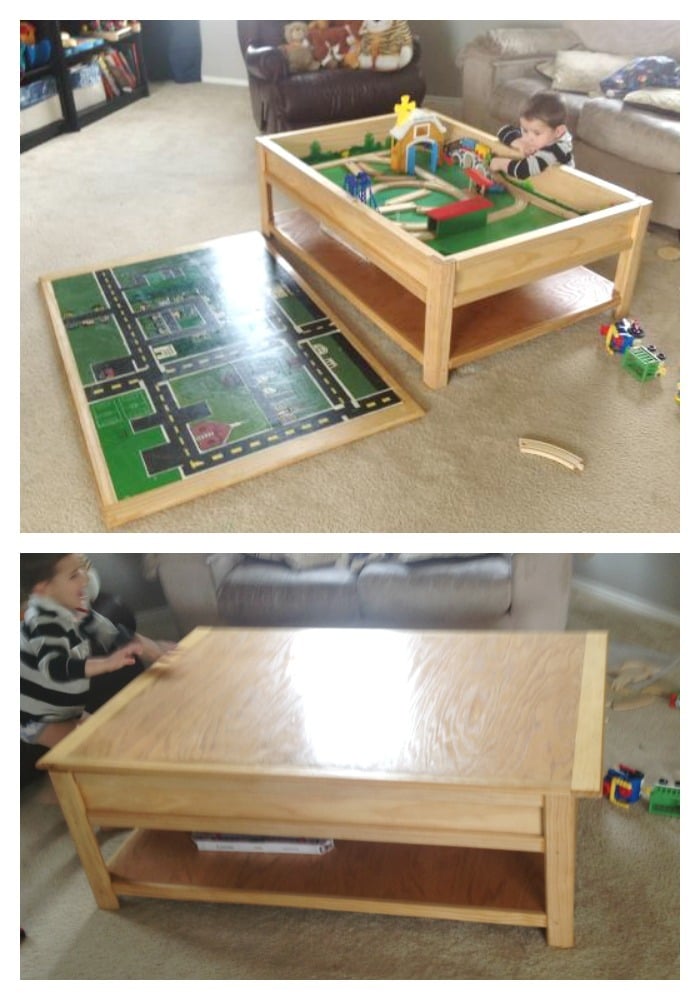
We customized the train table a bit and laminated the top into one solid piece so that we could paint a car map of our neighborhood on the underside. It's heavy! But with two boys in the house it's never really on anyways! :)
Comments
Produce Stand
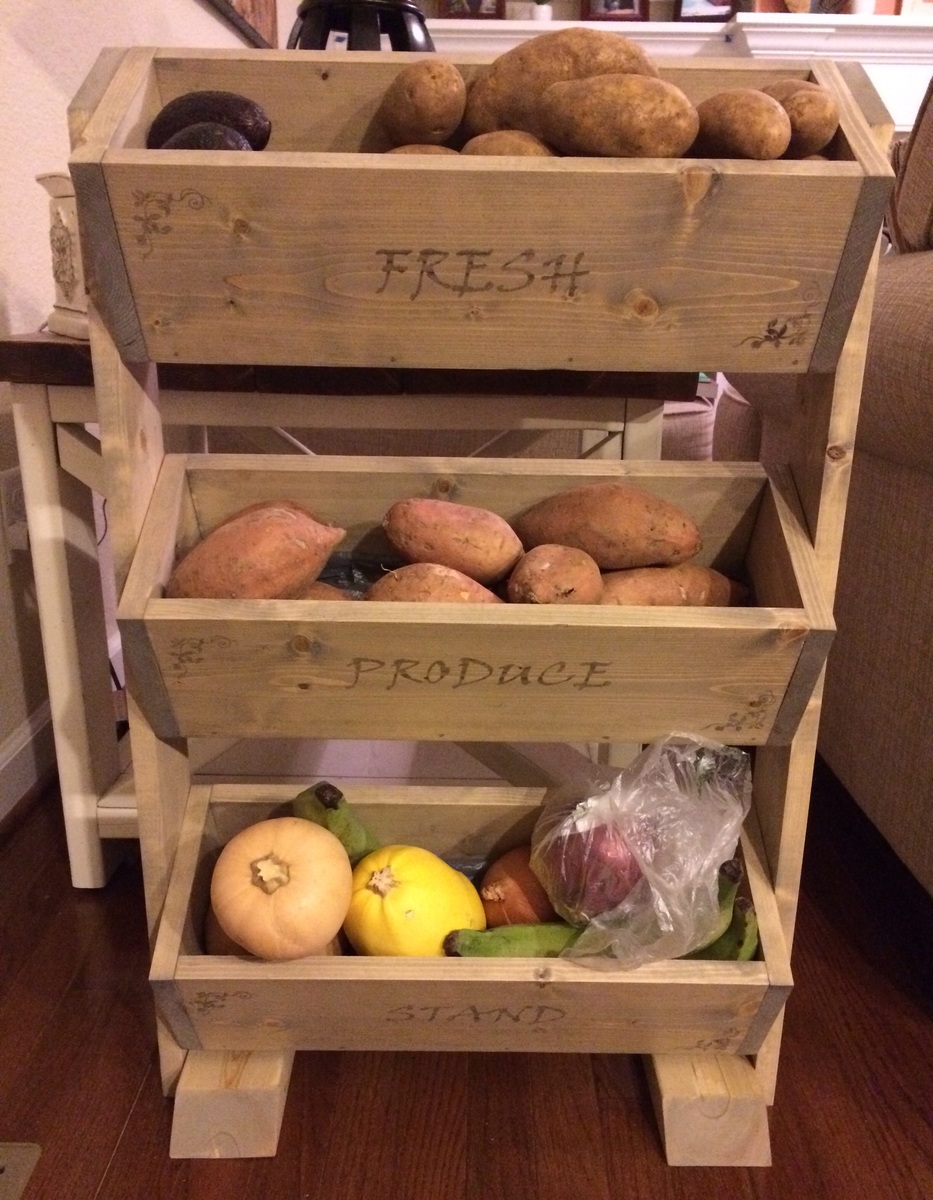
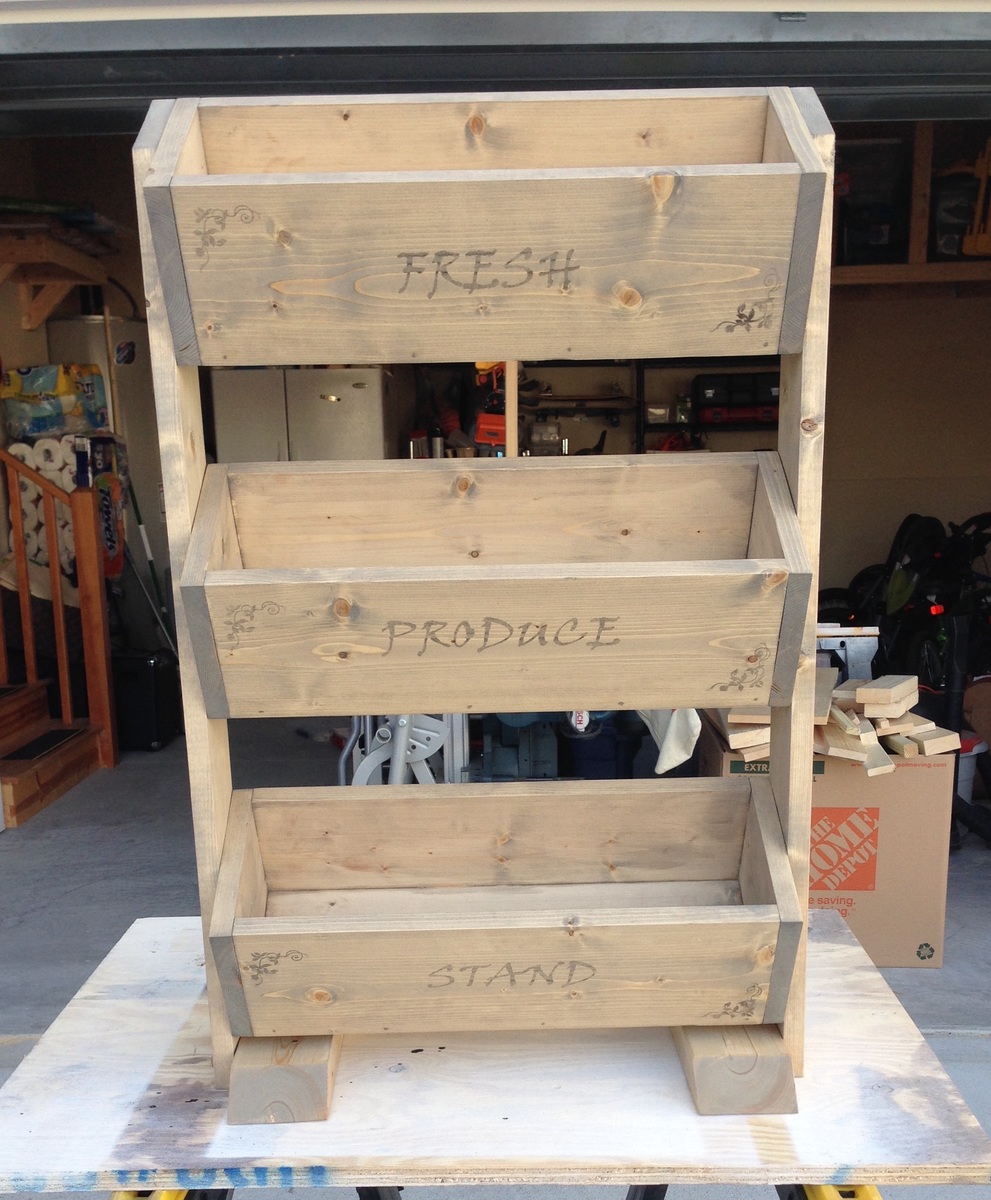
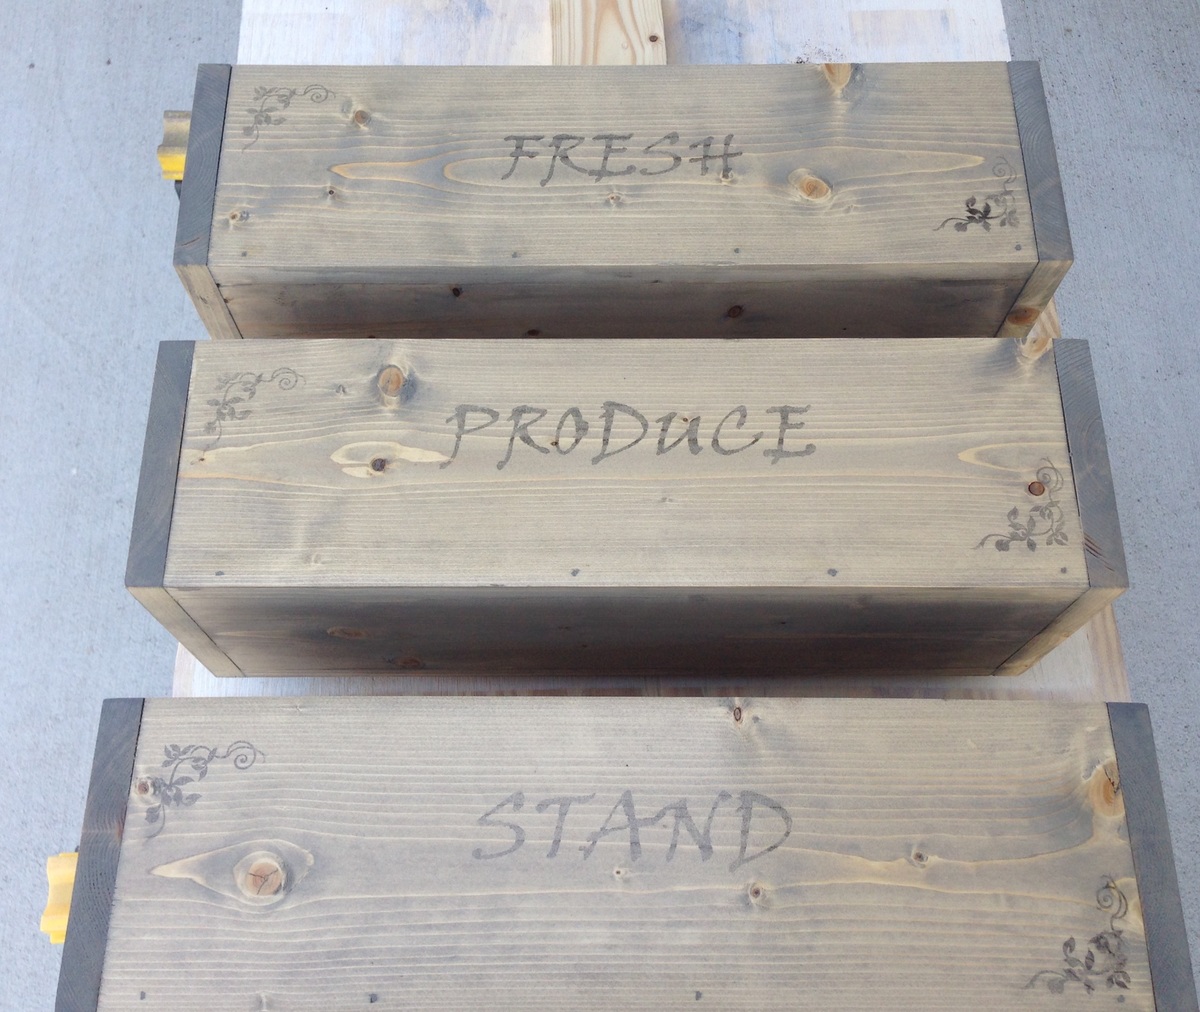
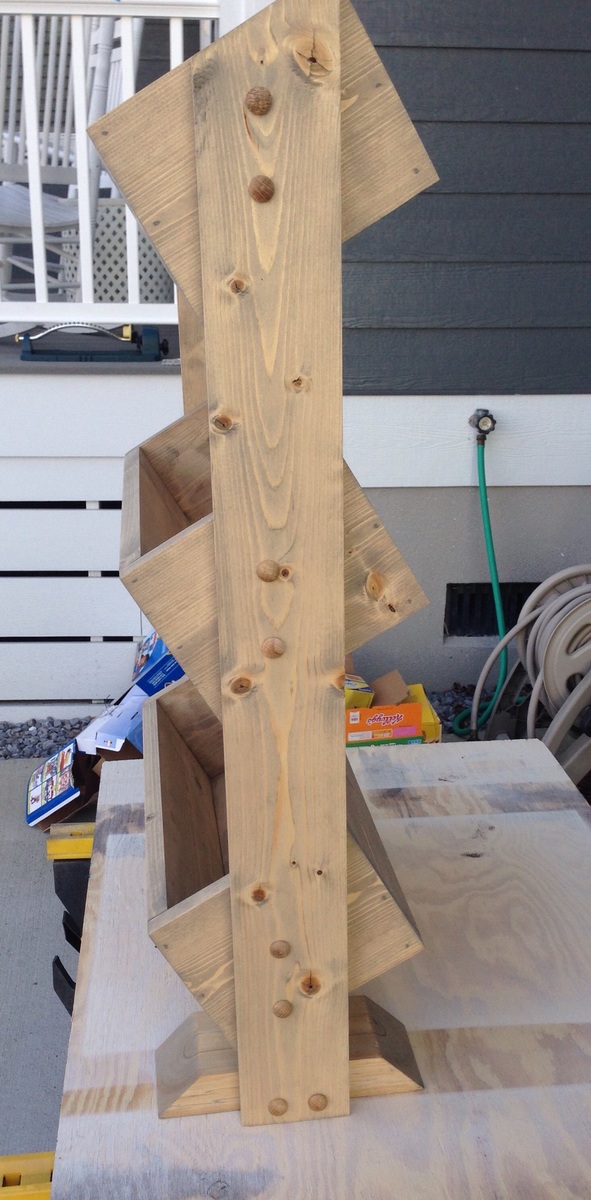
I really enjoyed this project! It was very easy and inexpensive. I used Weathered Oak stain to make the pine look aged. I also countersunk all of the screws and used oak button dowels to give it a finished look. I learned how to create the wording and images through YouTube. Search: how to transfer an inkjet photo to wood. Cool trick.
Comments
Tue, 12/01/2015 - 04:50
Well done!!
My sister in law would like one of these and I'm wondering what angle cut you used for your support boards? I like the idea of going corner to corner vs trying to get each one centered and not making a mistake. I'm also wondering about spacing and if you kept the measurements the same as "Over The Big Moon" ? Thanks so much!!!
Debora Cadene
Sandbox w/ Built In Seats
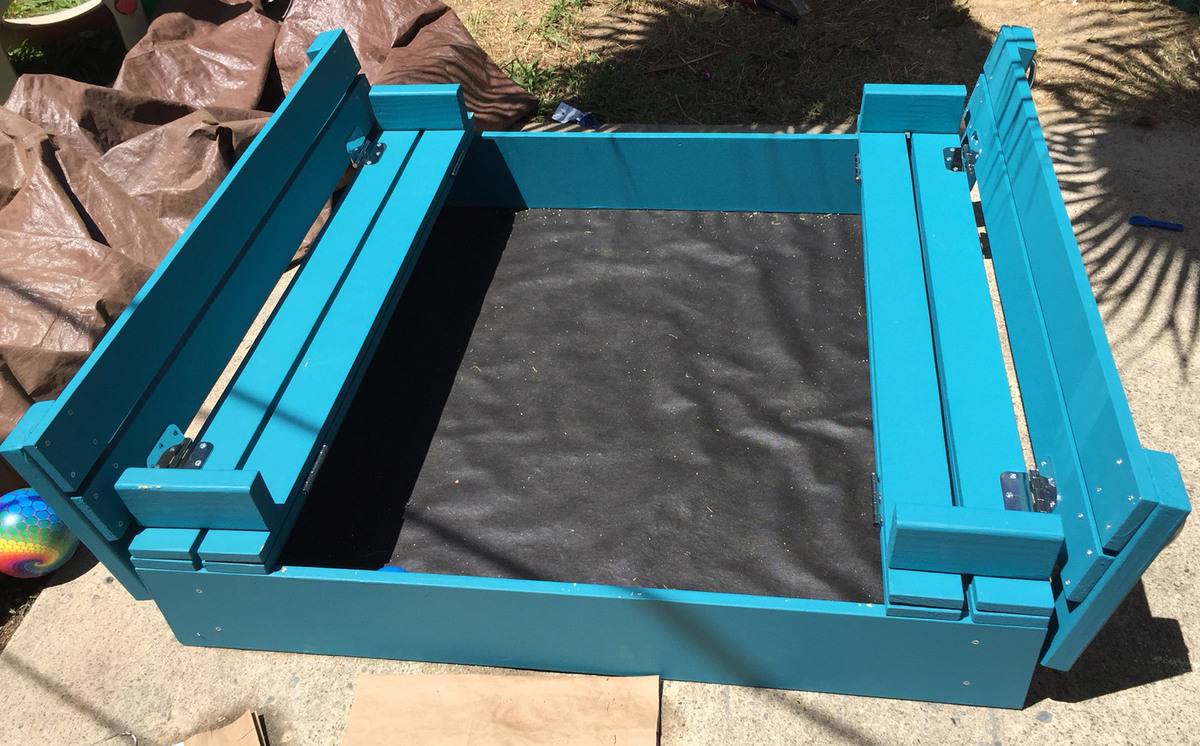
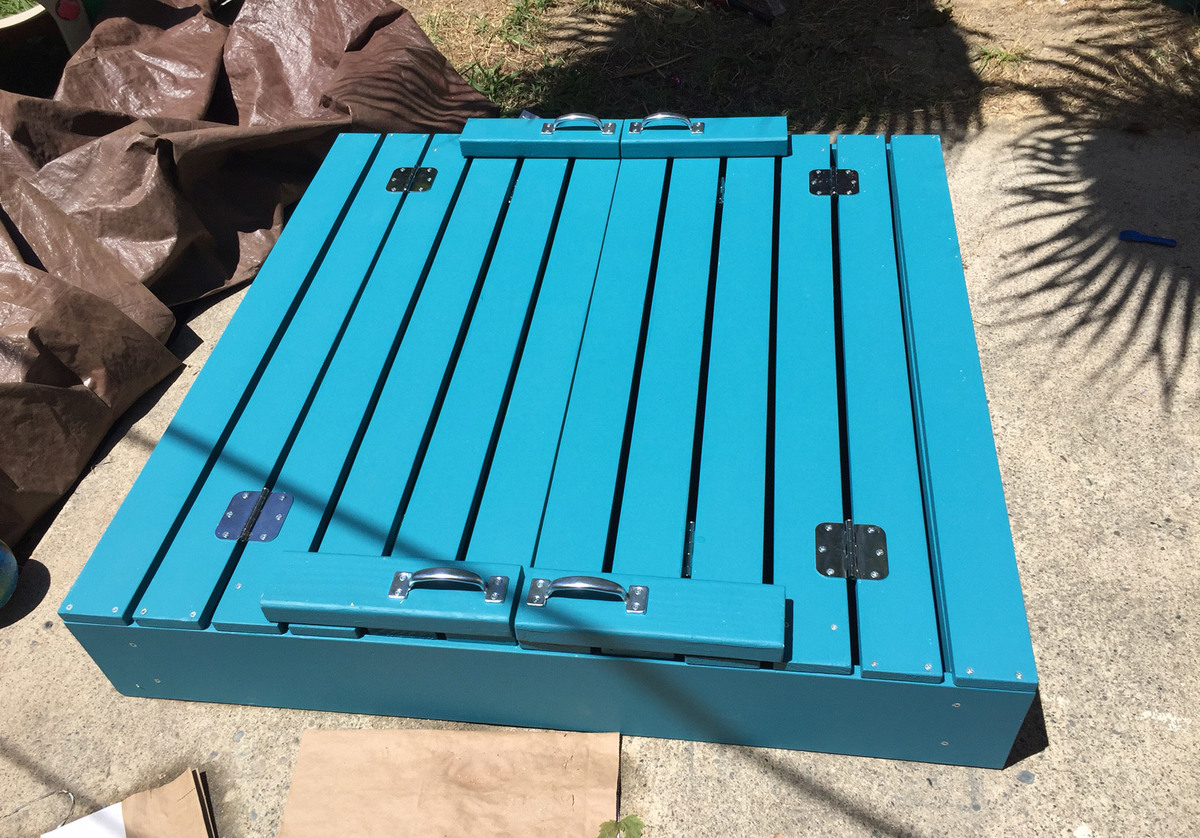
I have built some other stuff before, but not with paint and sanding and such. It was definitely a great learning project. There are imperfections, but it's a toy, so kids will be having fun and that is all that matters.
Comments
Mon, 02/07/2022 - 20:12
Did you attach the landscape…
Did you attach the landscape fabric to the bottom of the side boards? Looks great.
Photo dump!!
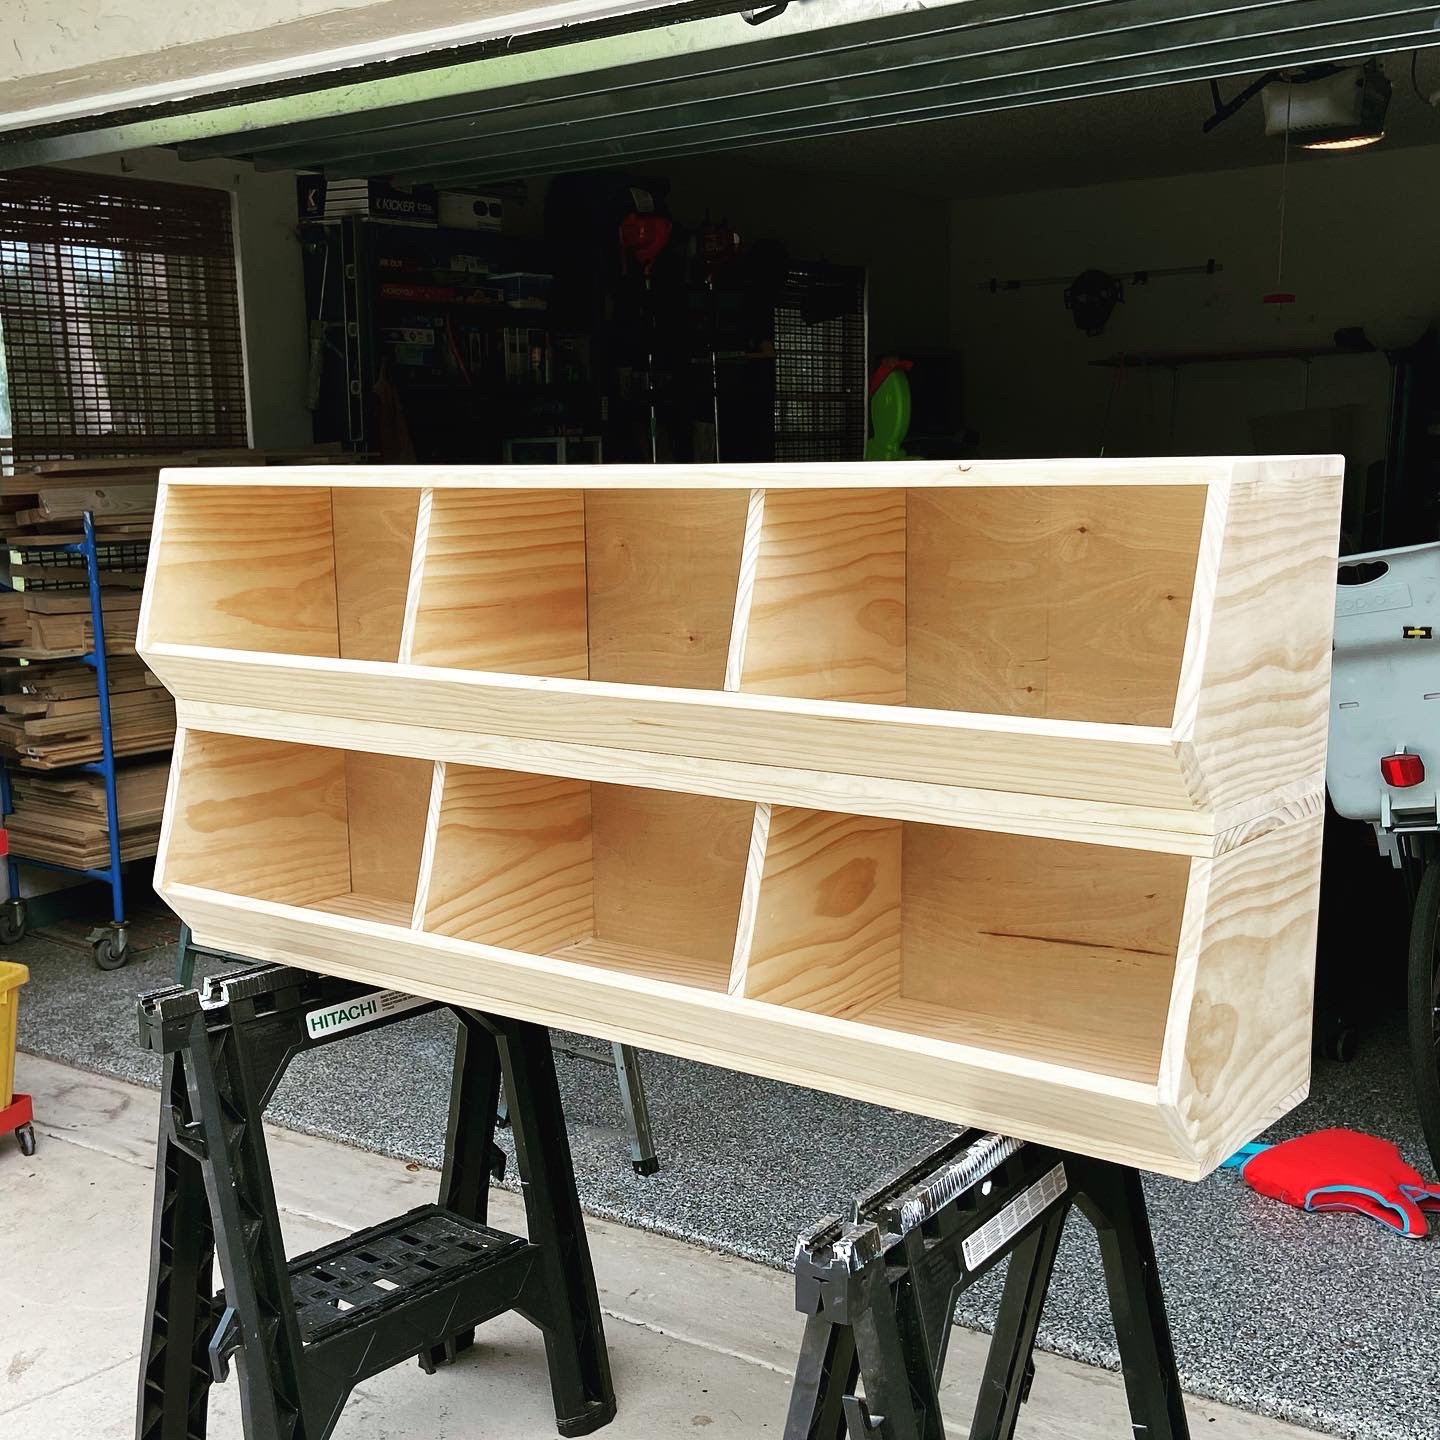
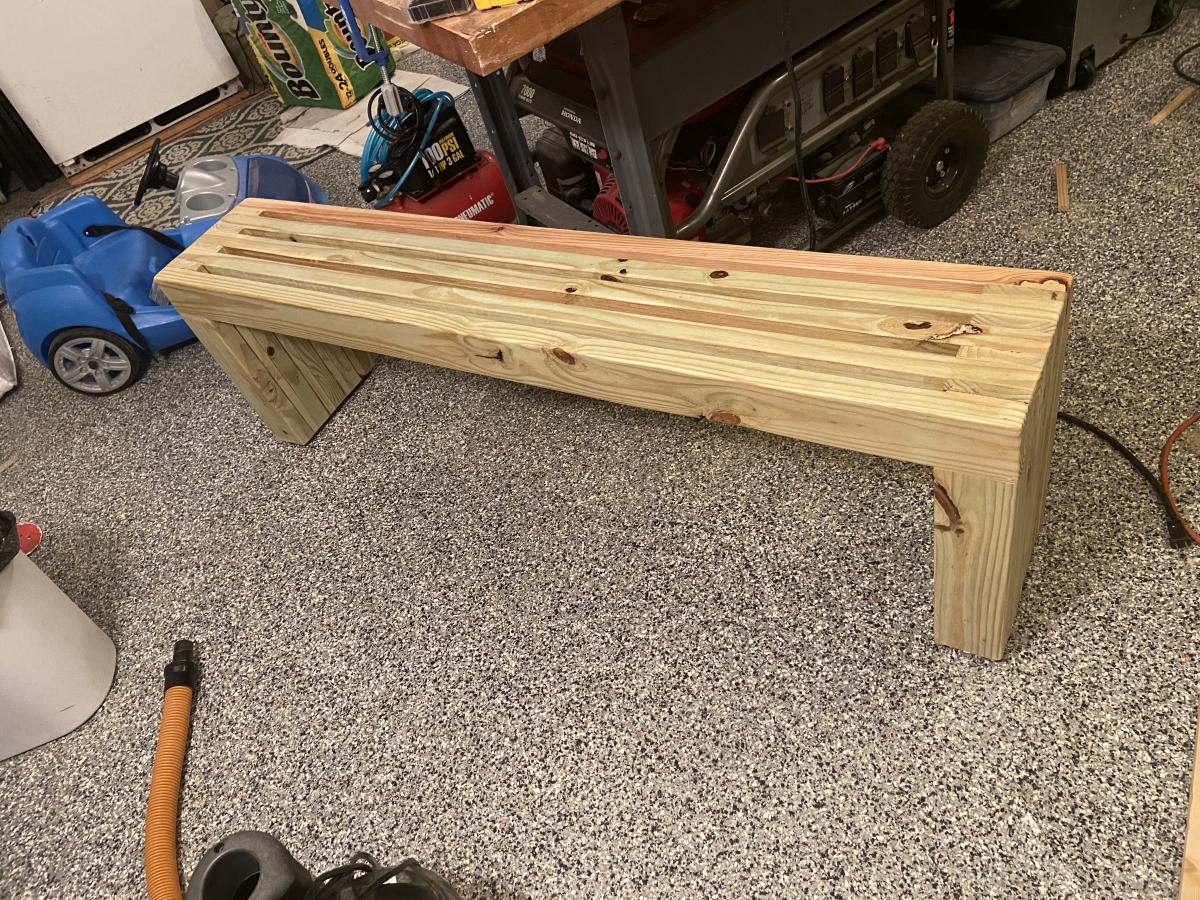
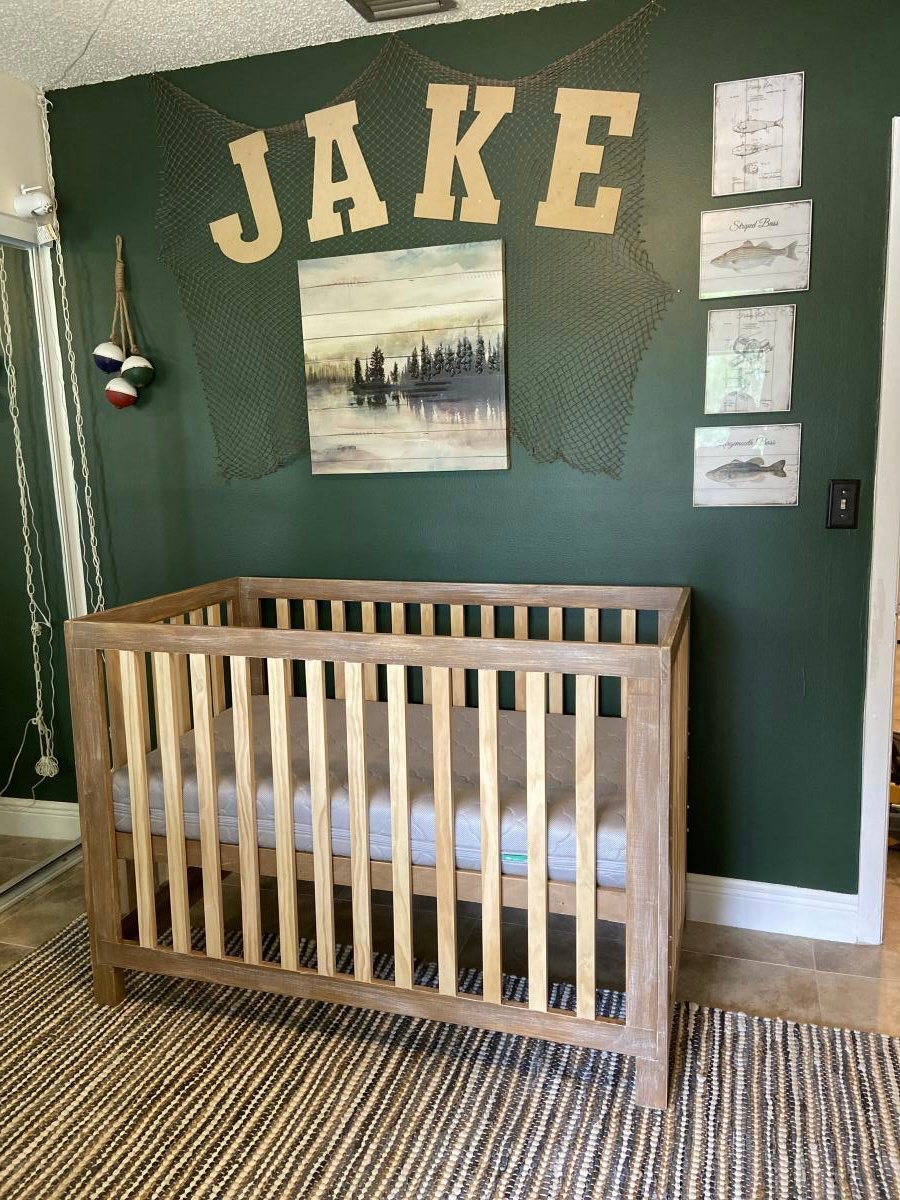
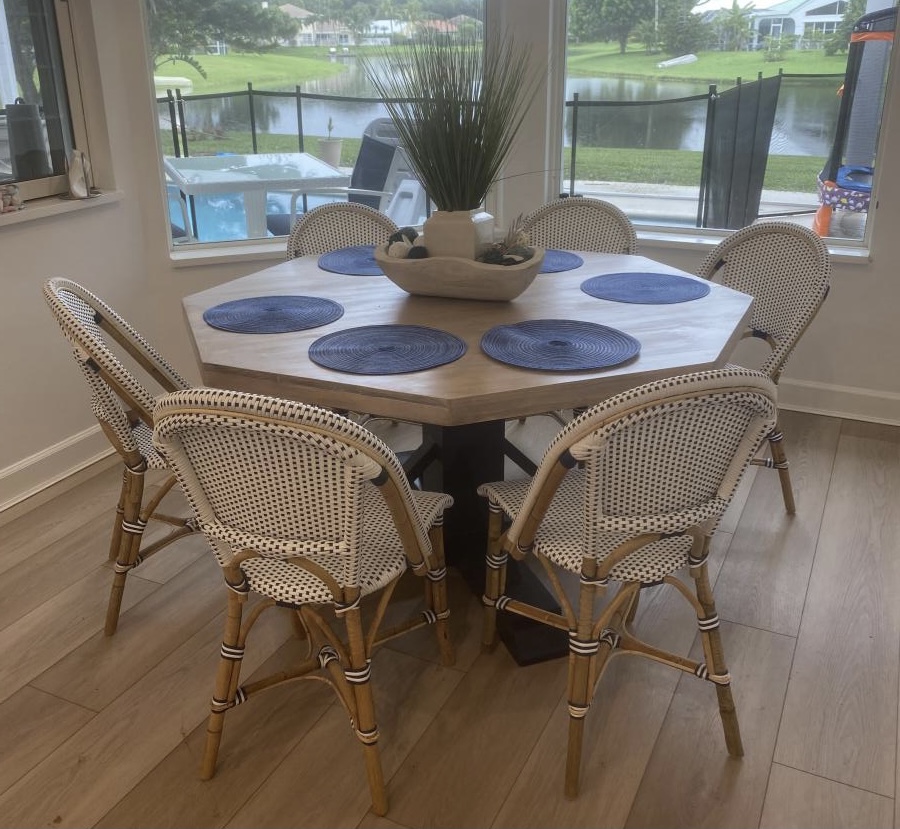
I have built all these recently with the help of your plans! Thank you!!
Comments
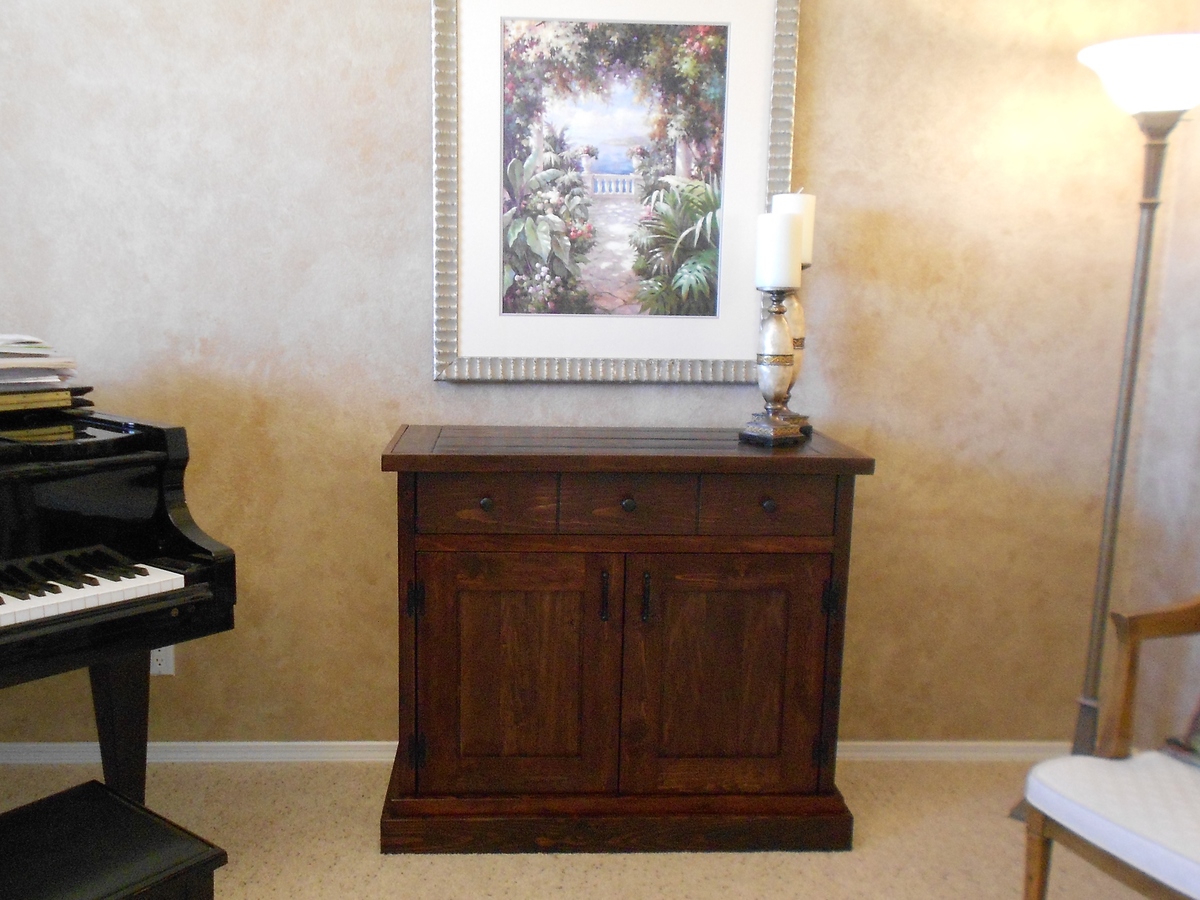
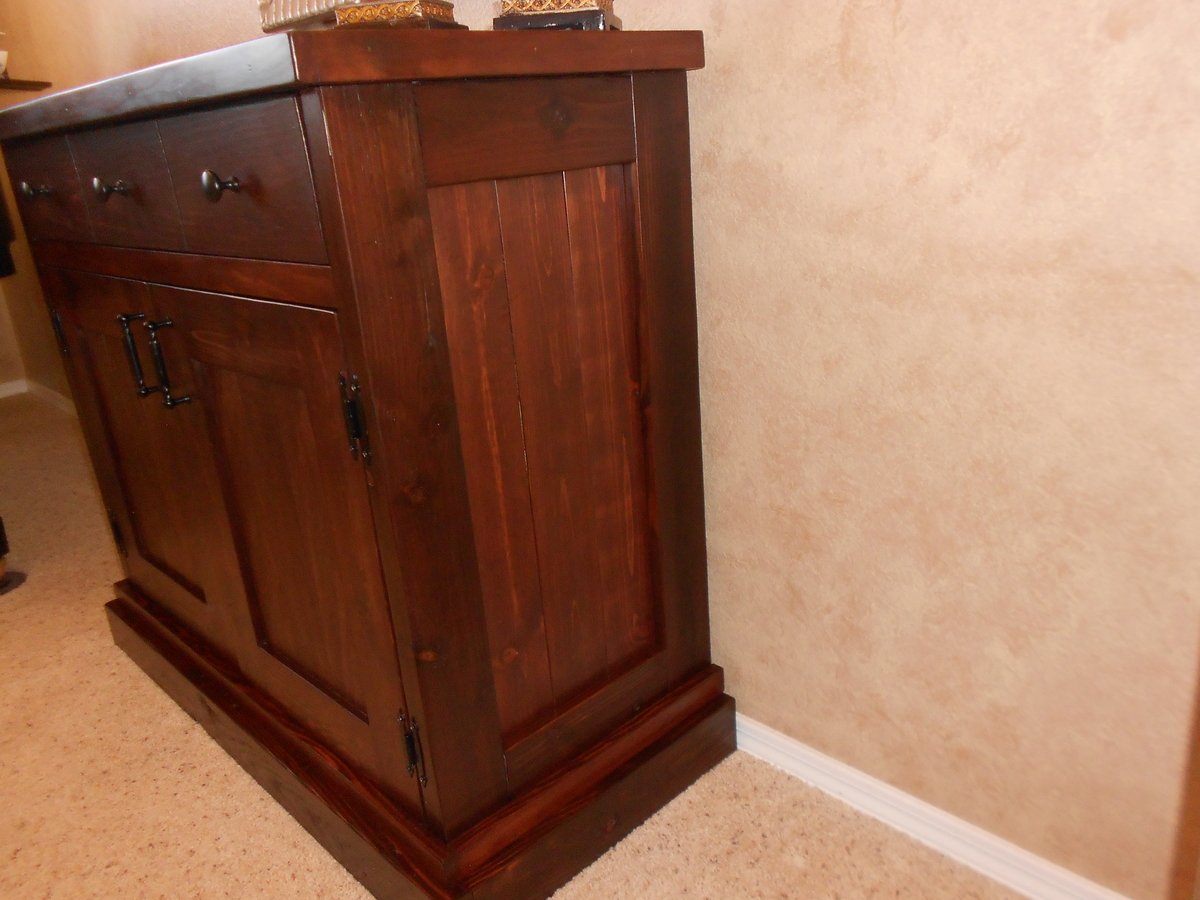
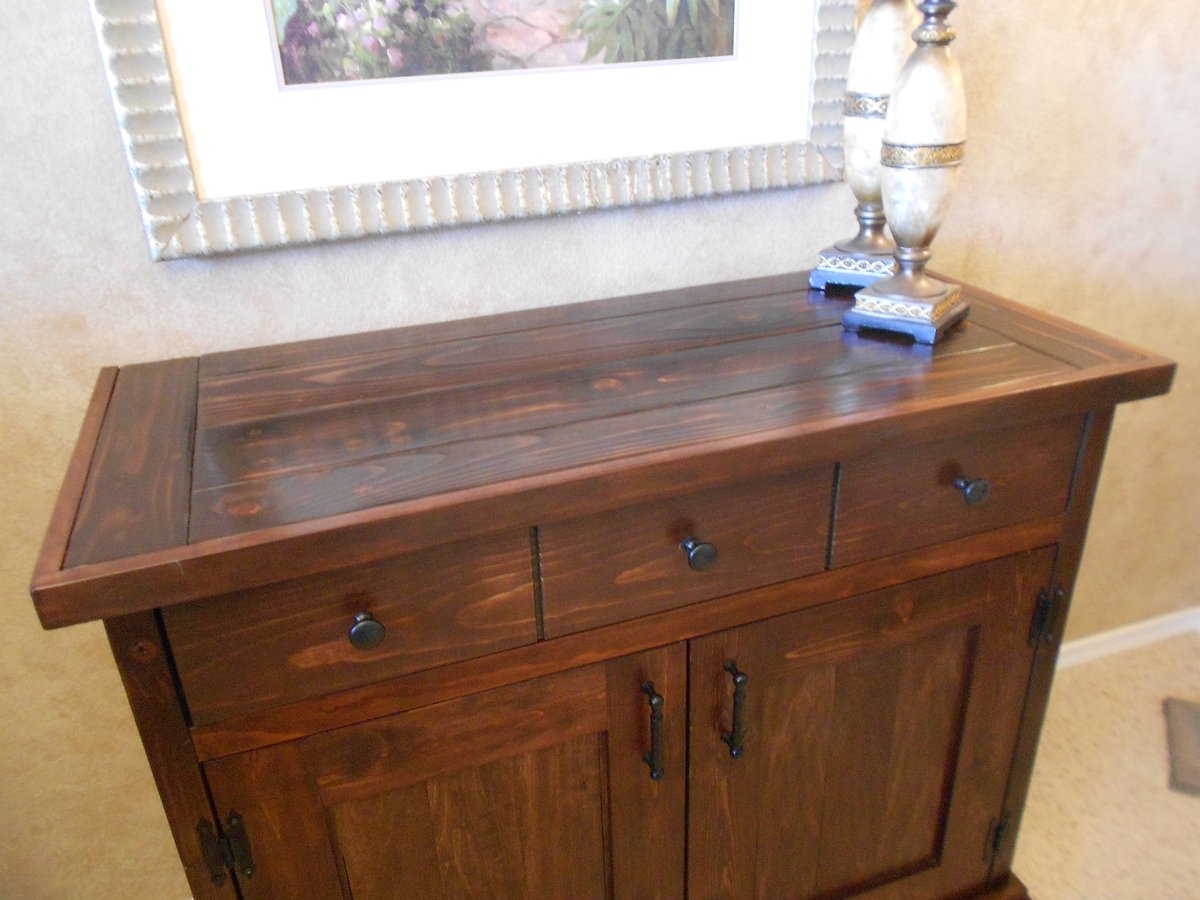
Petite Planked Wood Sideboard
I loved the look of the planked wood sideboard but it was too big for my space. I was inspired by Knot Perfect’s smaller version. I really liked everything about how his looked, including the finish. My finish didn’t turn out quite as nice as his, but I am still very happy with it.
Comments
Tue, 11/26/2013 - 12:25
I recognize this!
This looks AWESOME! It looks just like mine... glad I could inspire you :)



Comments
Ana White Admin
Sun, 06/20/2021 - 09:21
Love it!
Thank you for sharing your beautiful project!