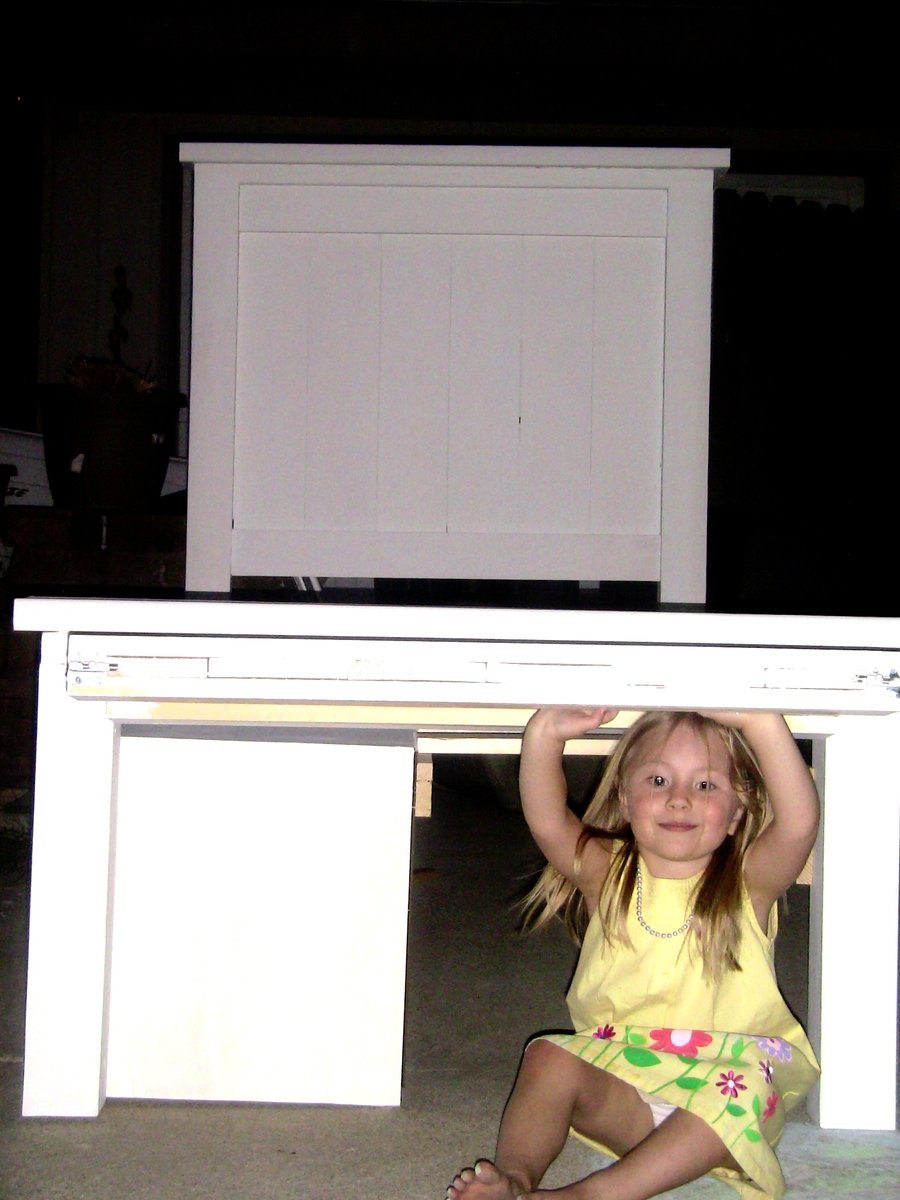
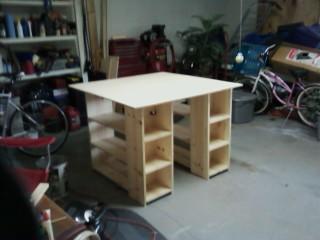
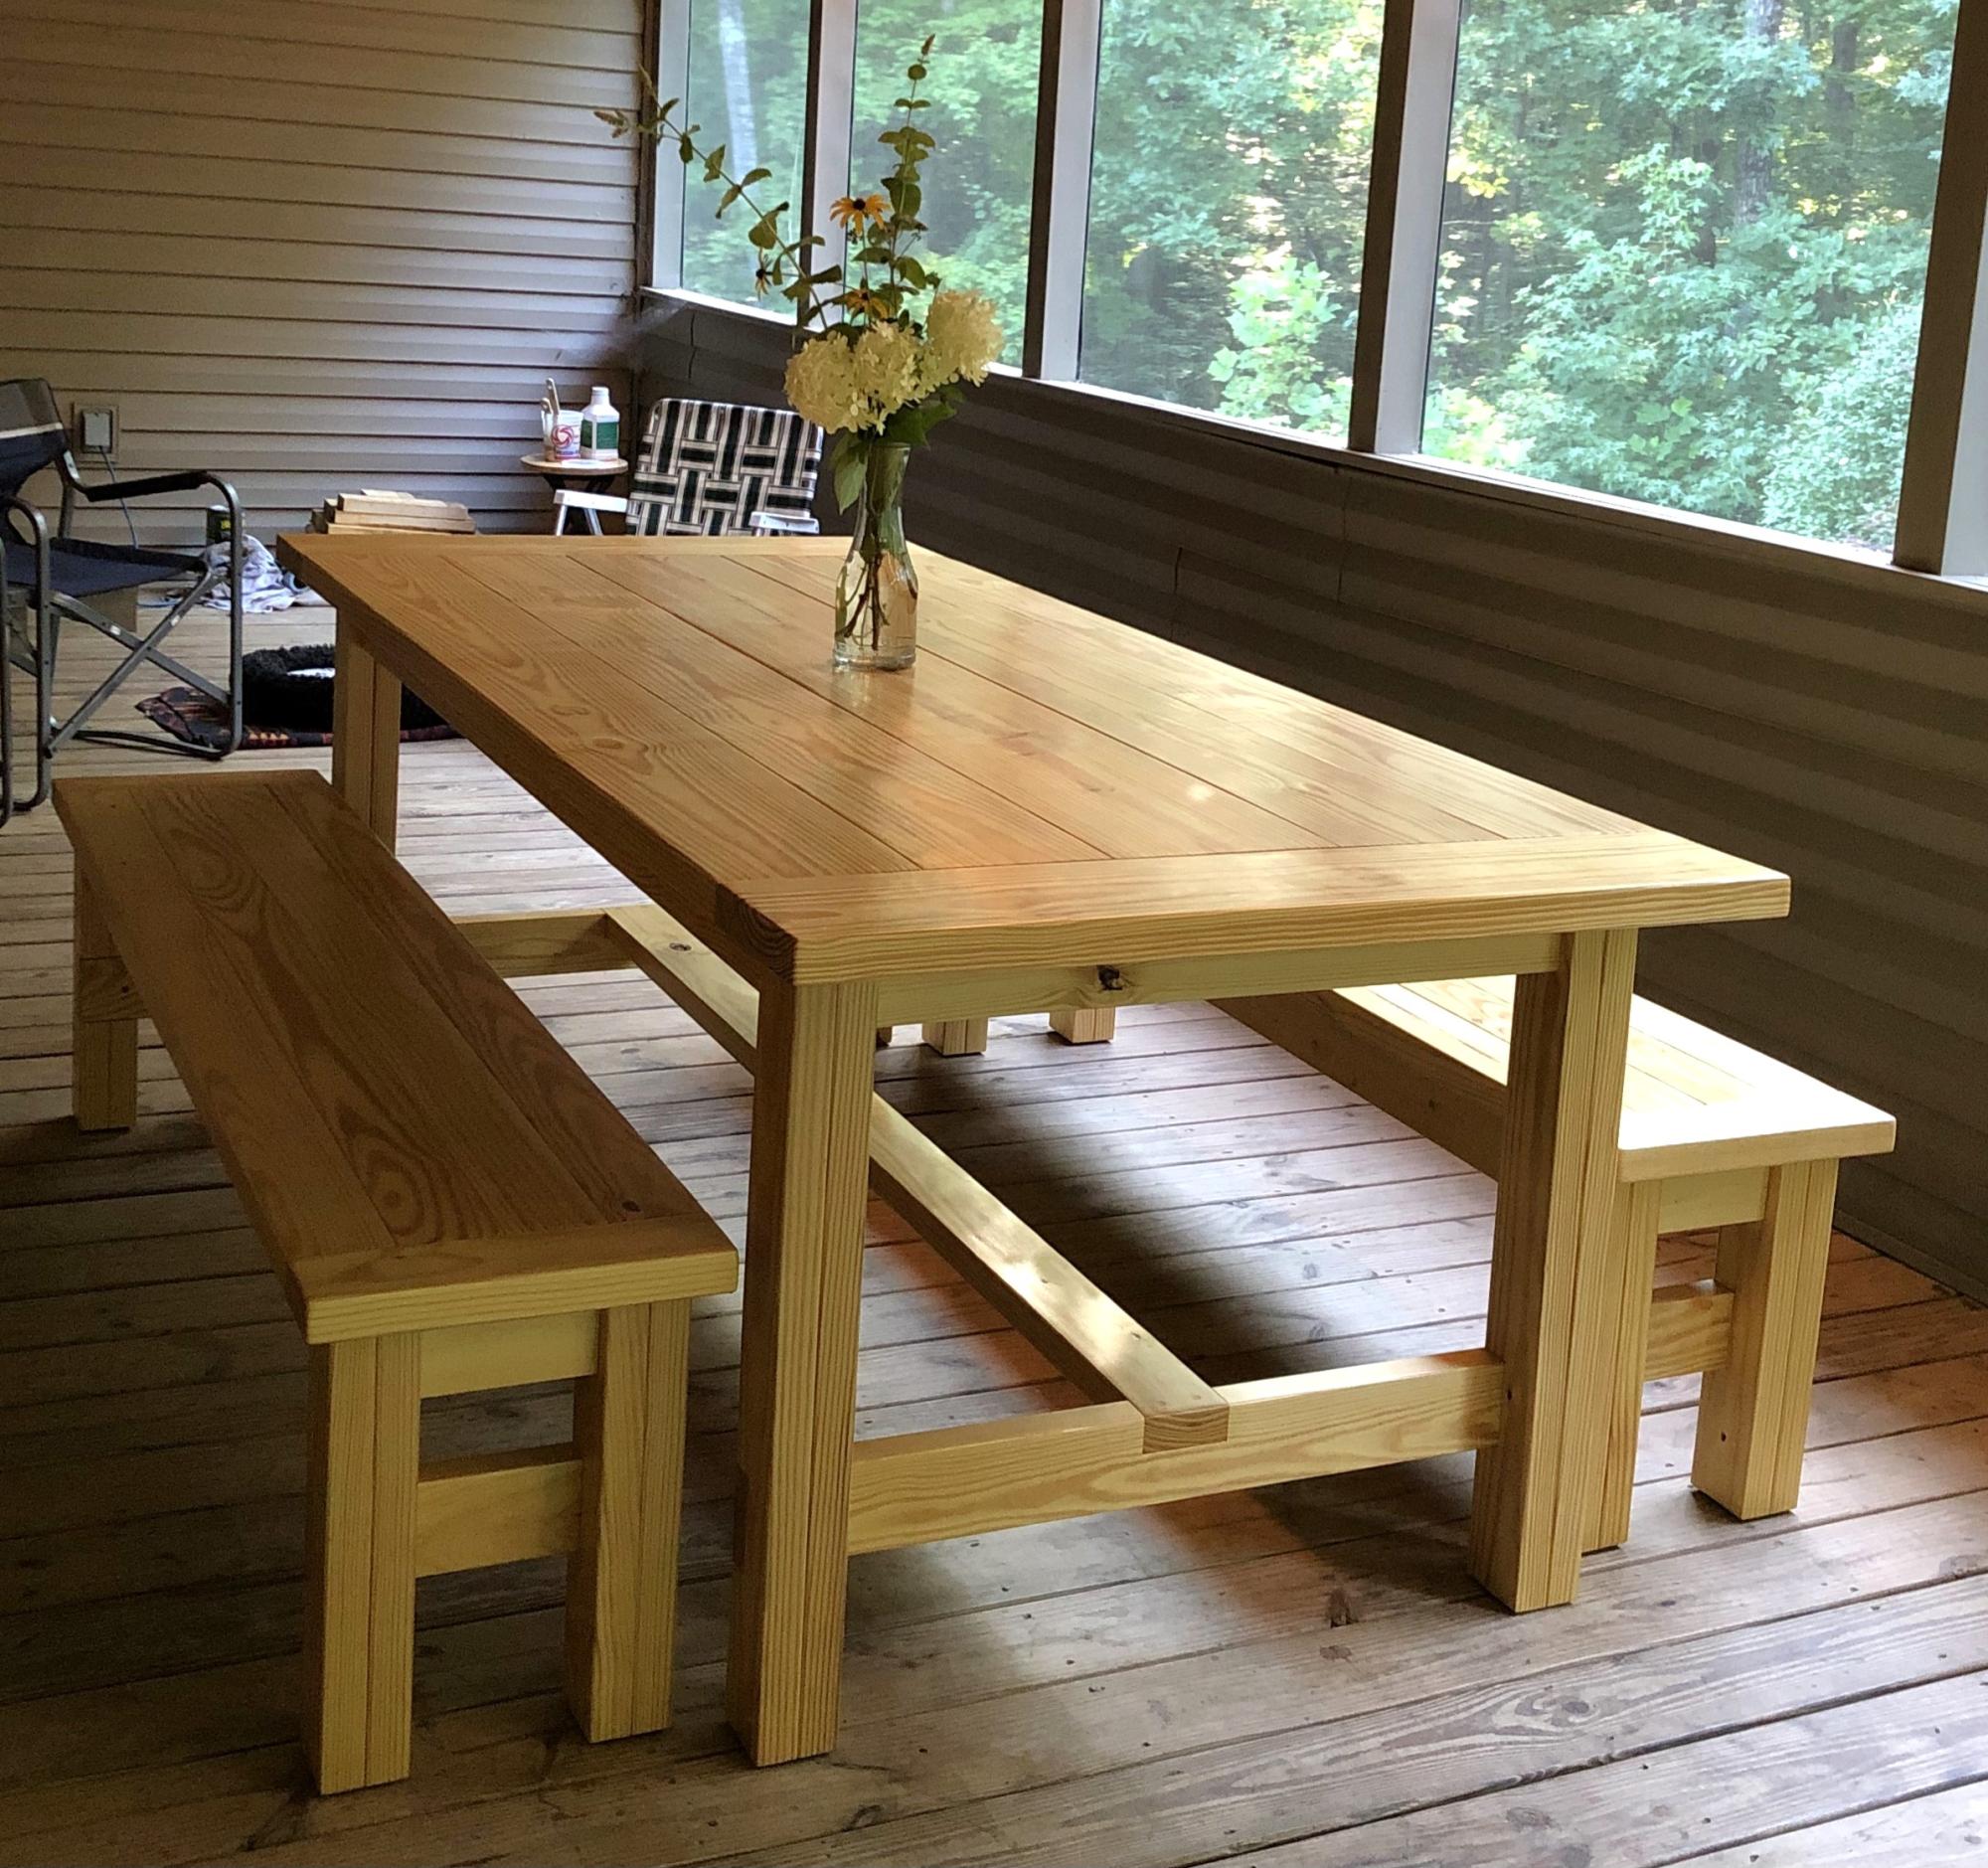
Husky Farmhouse Table
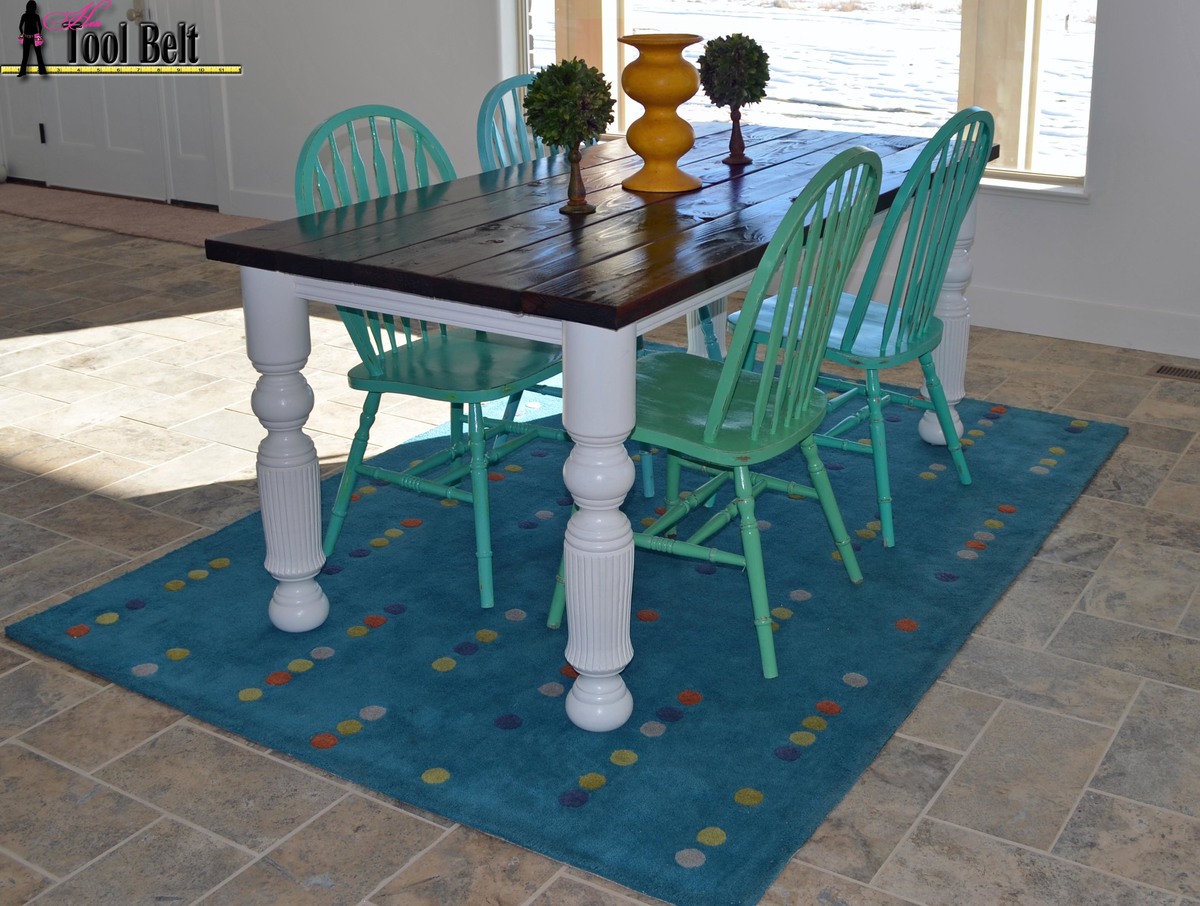
My Sister thought this table would be a perfect edition to her new Farm House styled home that she was building. My sister asked a local wood turner if he had any old chunky legs sitting around...and he did! He sold these beauties to her for $20/each, steal of a deal.
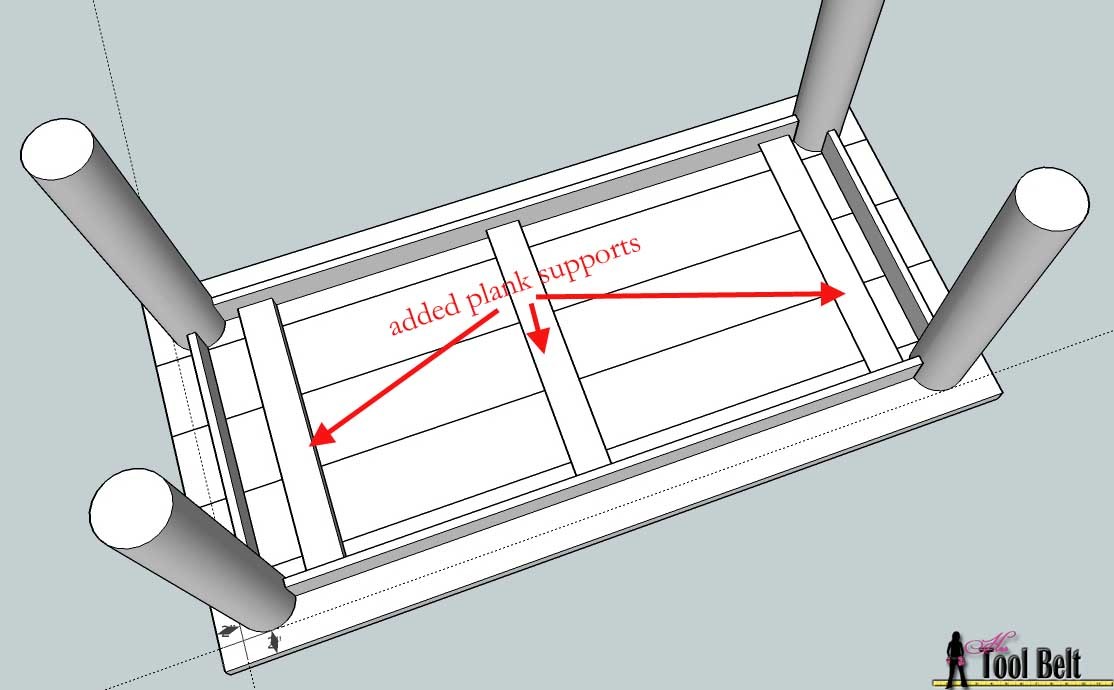
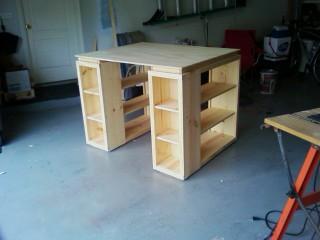
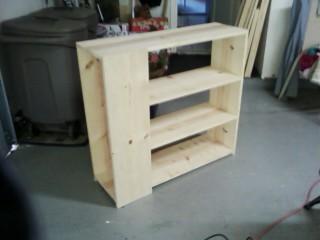
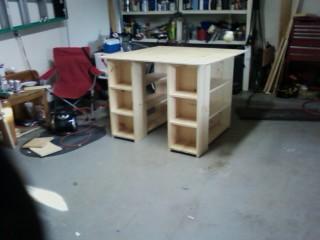
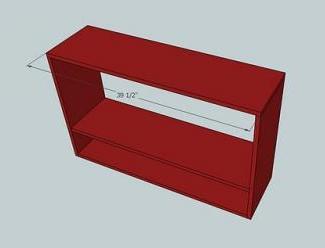
We followed the Husky Farmhouse Table plan except with a few modifications. We used 5x 2″x8″x72″ pine boards instead of the 2″x6″ boards. I thought it was necessary to add some supports to stiffen up the table top, so we cut 3 pieces of 2″x4″ about 25″ long and glued and screwed those boards into the underside of the table top.
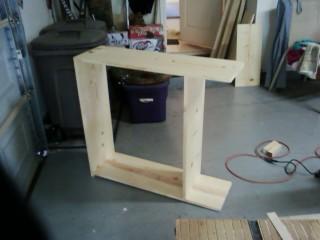
Next we substituted 1″x4″ furring strip board for the 2″x4″ skirt and eliminated the 1″x2″ trim and put a cute routed bead around the skirt. Since the table legs are round at the top instead of square, we changed the skirt attachment and screwed the legs to the table top. We cut the skirt boards to fit and screwed them in place.
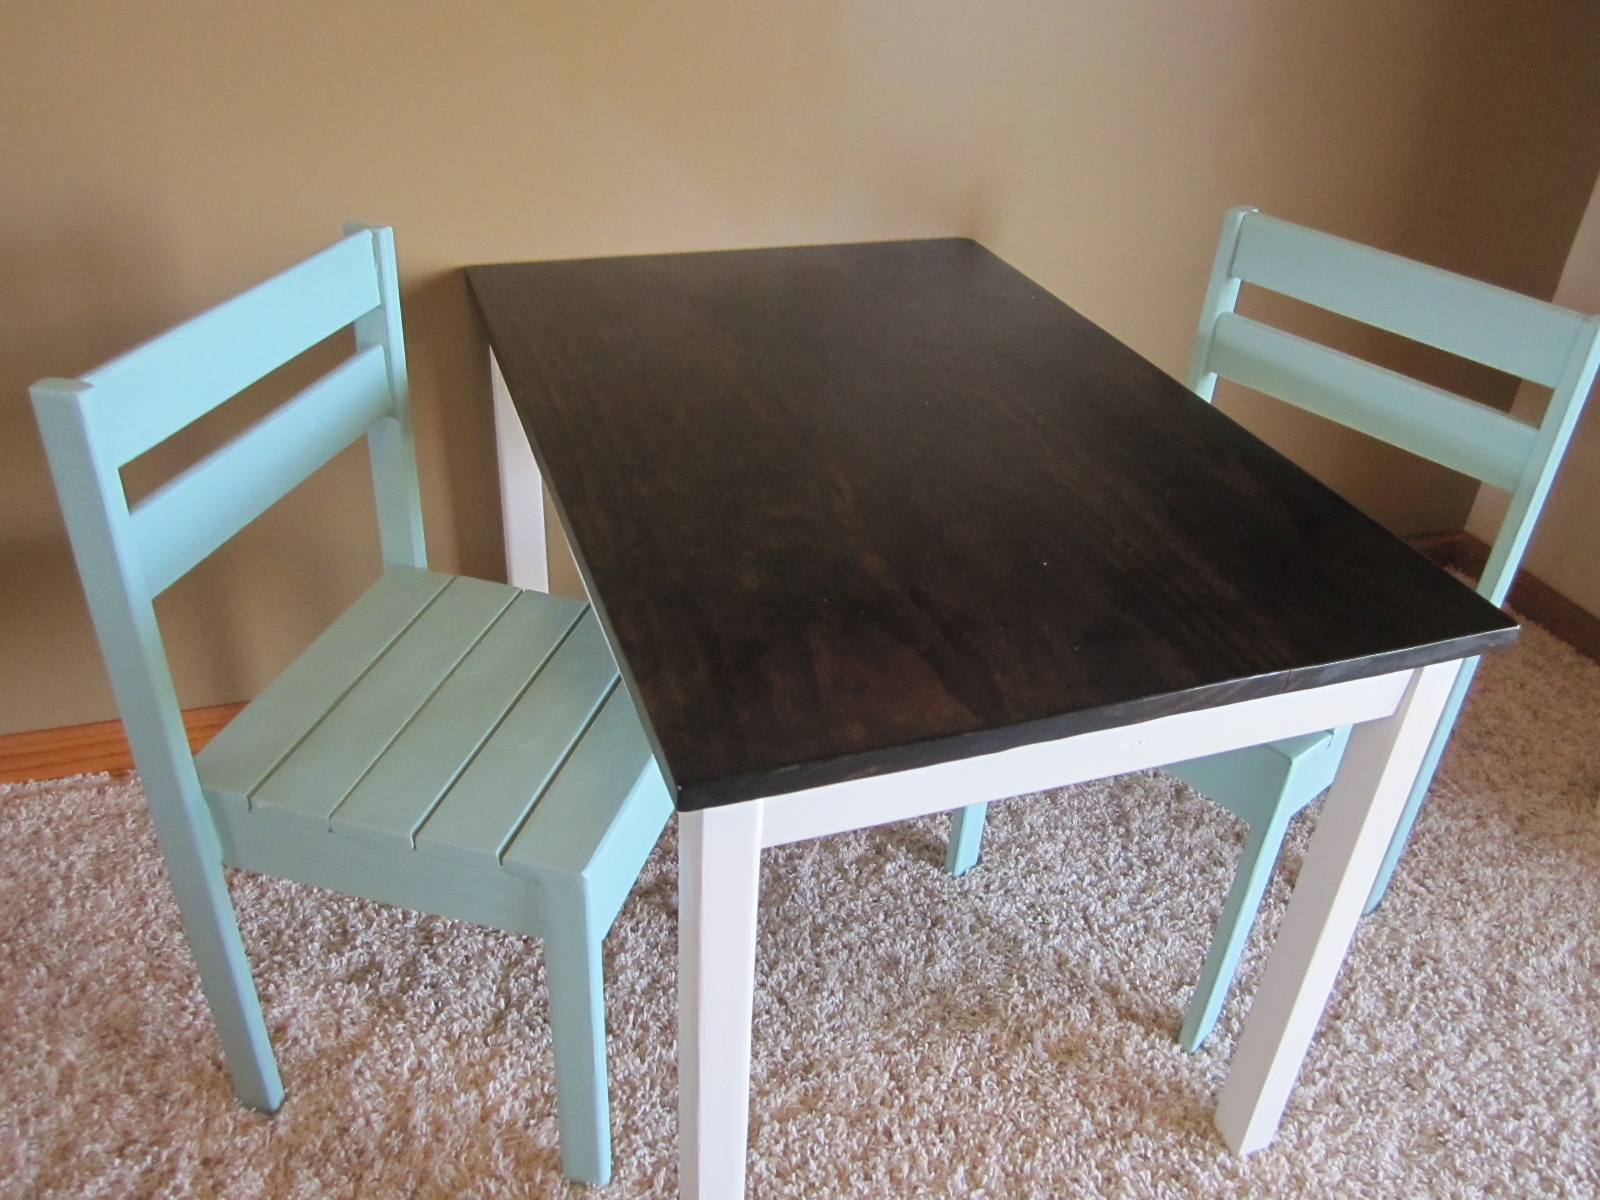
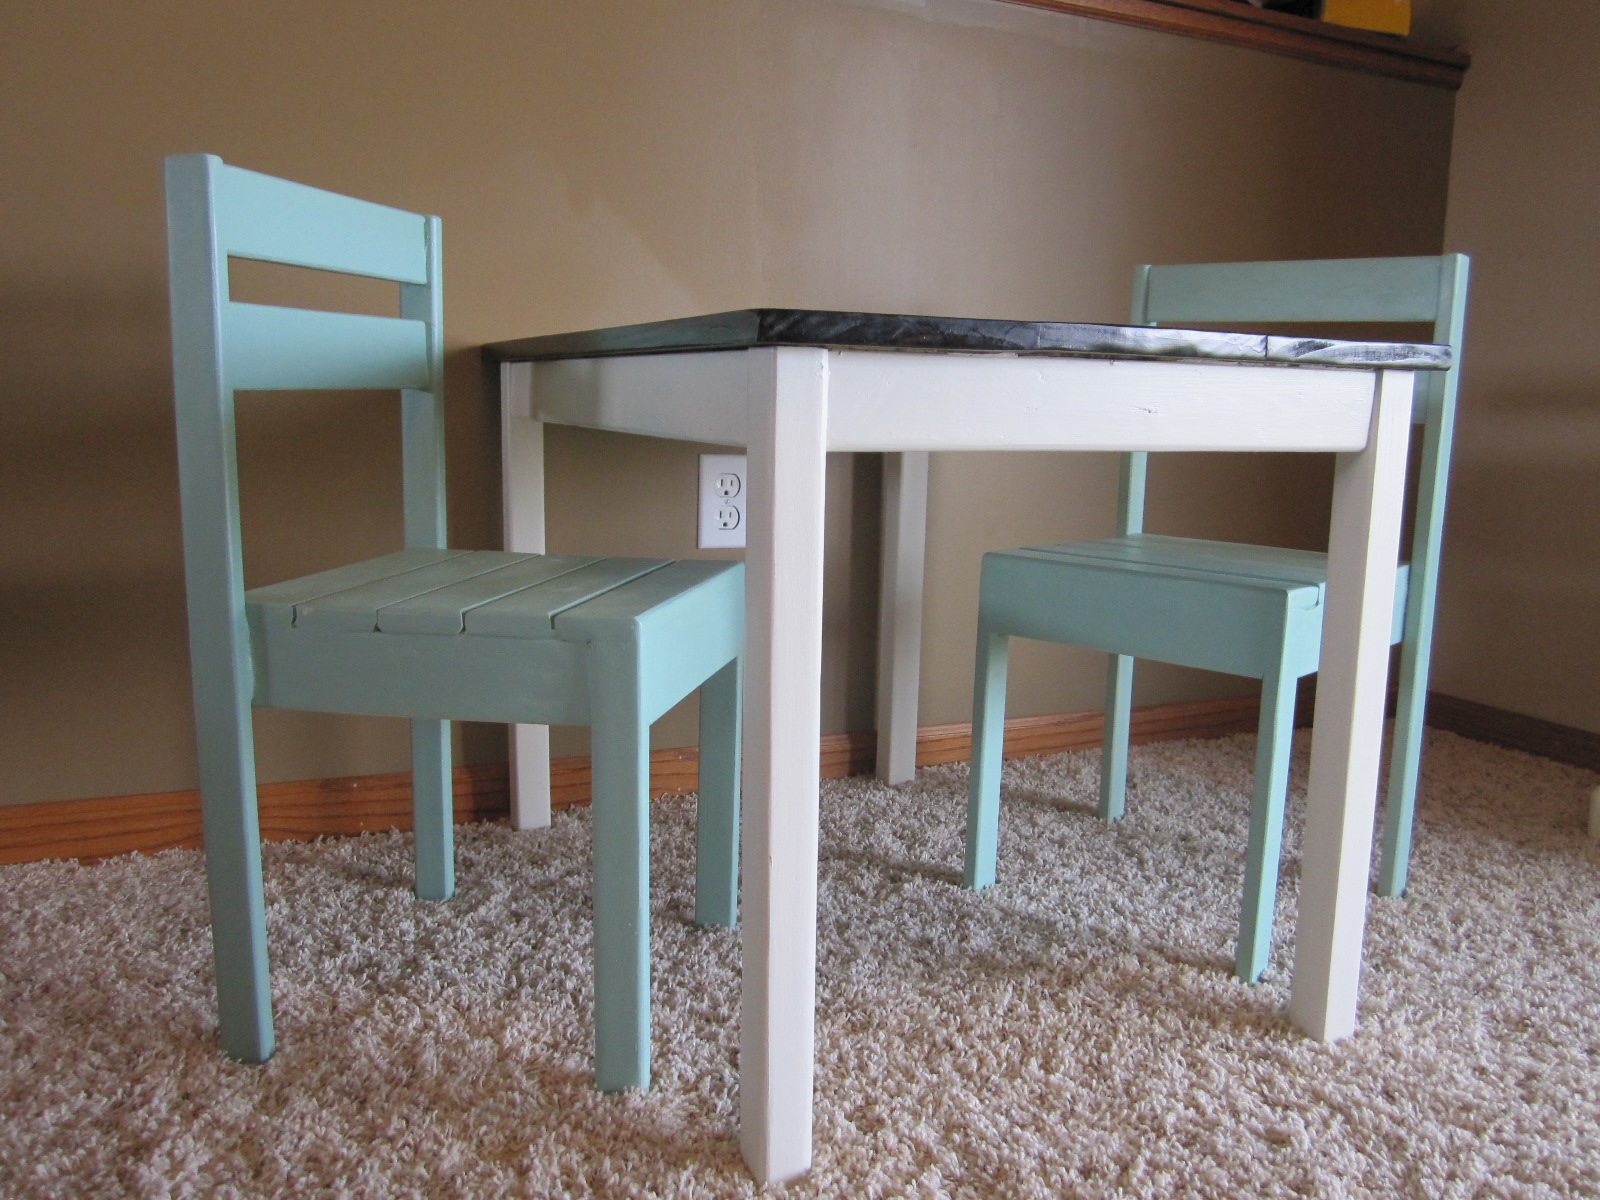
The table turned out gorgeous, my sister adorned this table with fun ombre chairs. Thanks Ana for the plan.
FYI: tutorial for the silver travertine herringbone floors on blog:-)
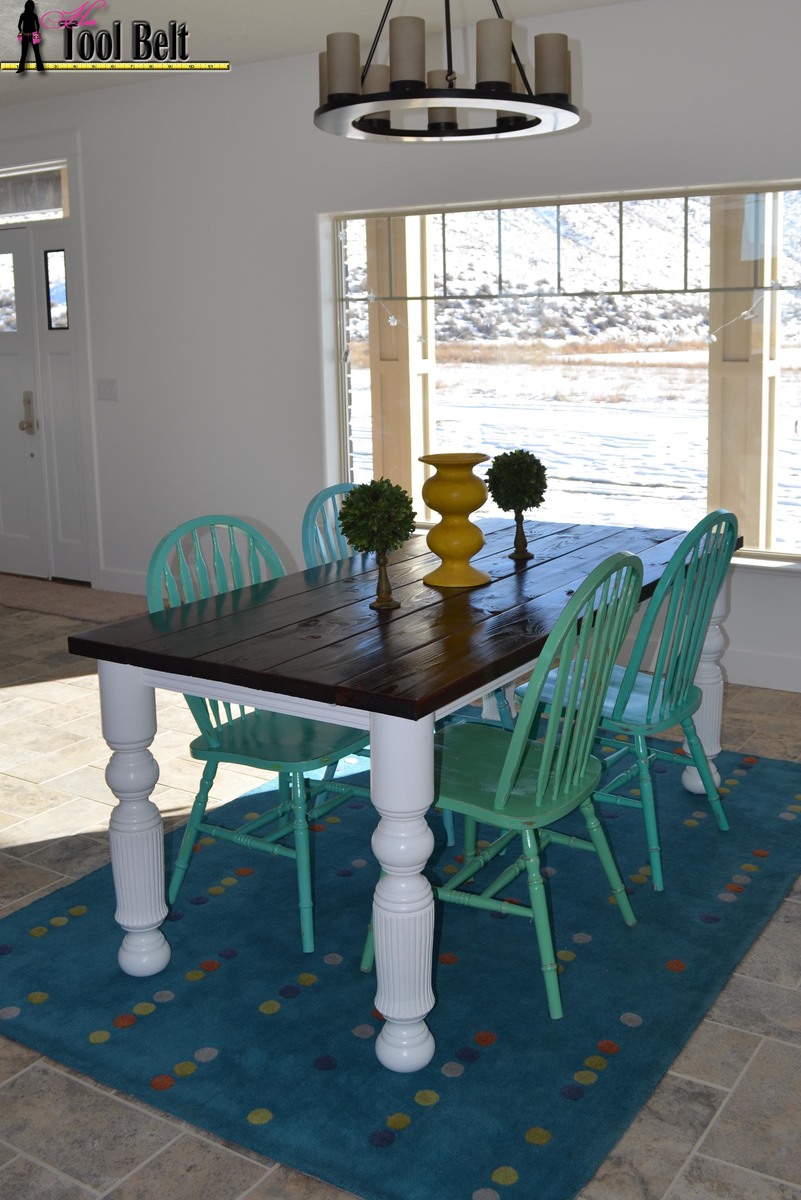
The legs and skirt are painted white, we plan on using antiquing glaze to get a more defined look.


Comments
kristihw
Thu, 01/02/2014 - 15:41
Loving this!!!
I love this table. I have been enjoying a lot ever since my sister built it! Thanks Ana for giving us this great idea. I have received a lot of compliments from visitors. It wasn't too hard to build either. Definitely worth it!