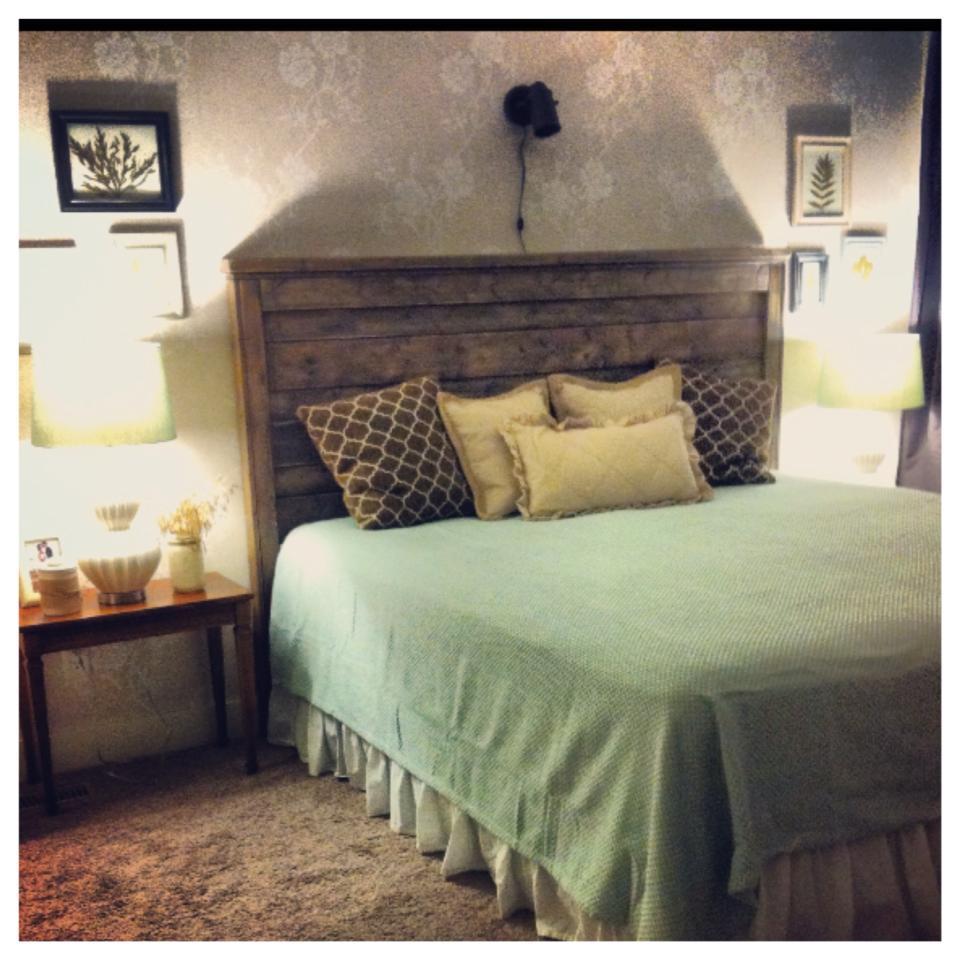
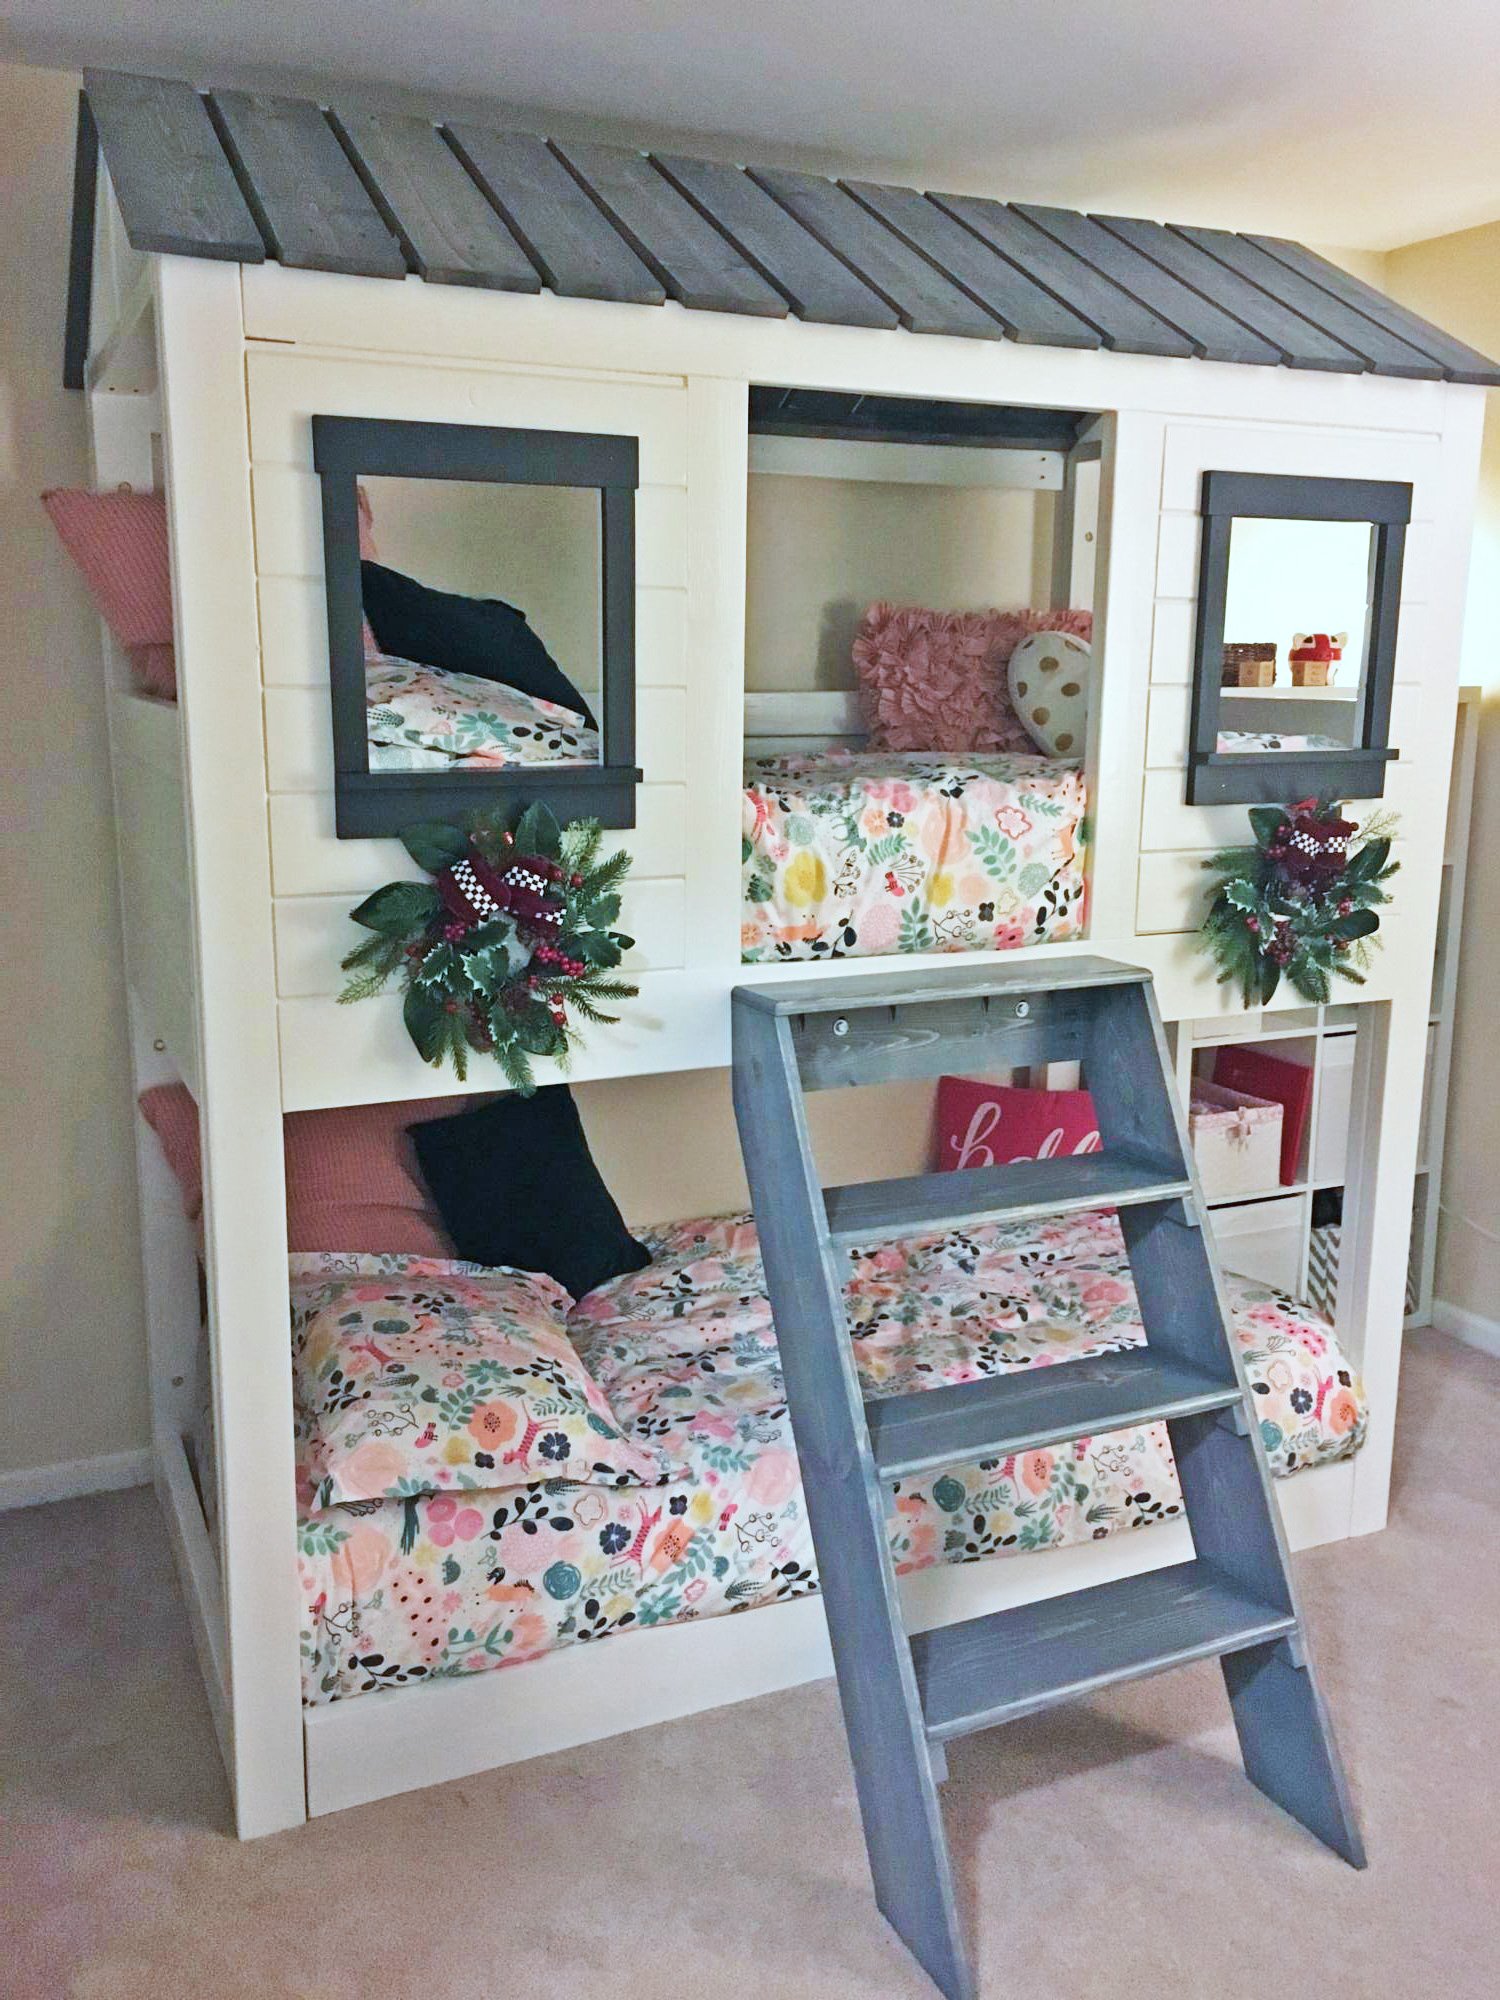
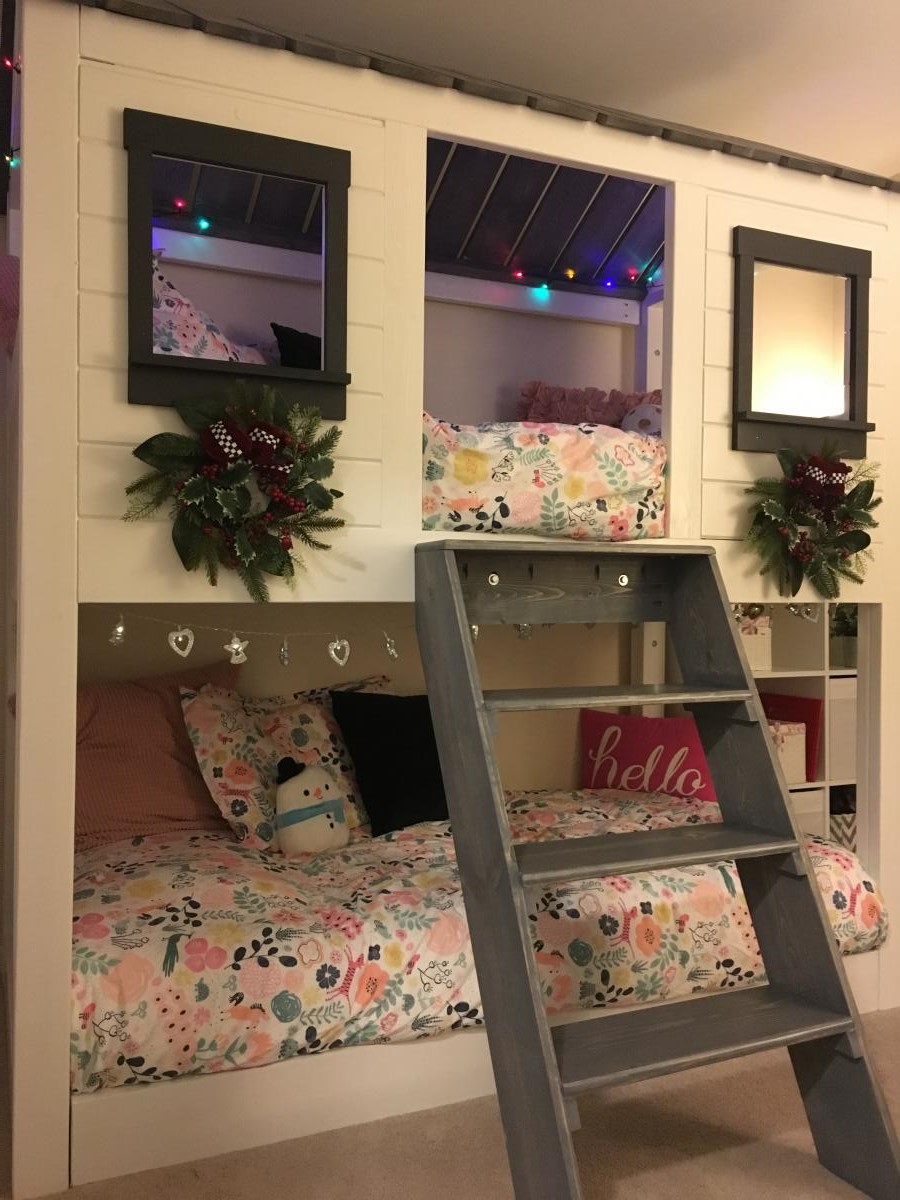
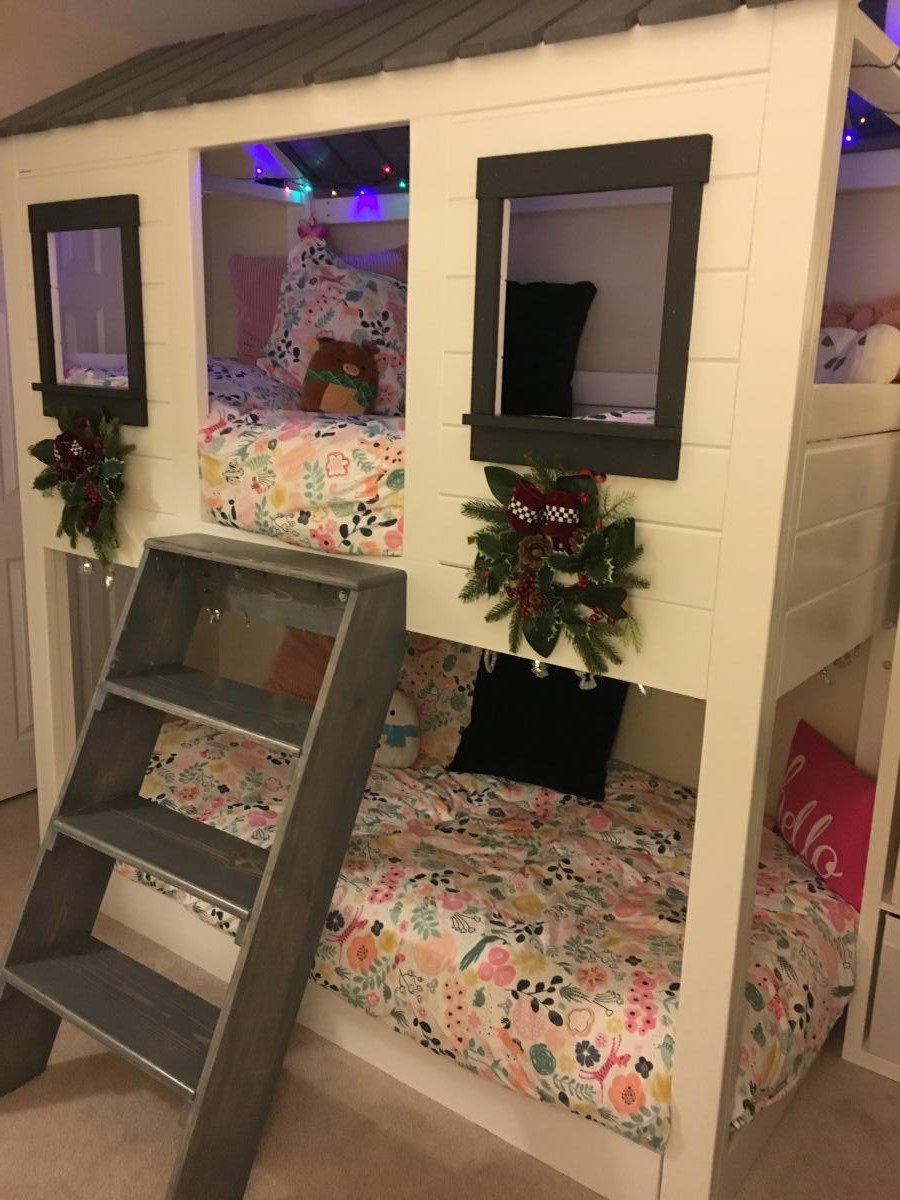
My Cassidy Bed
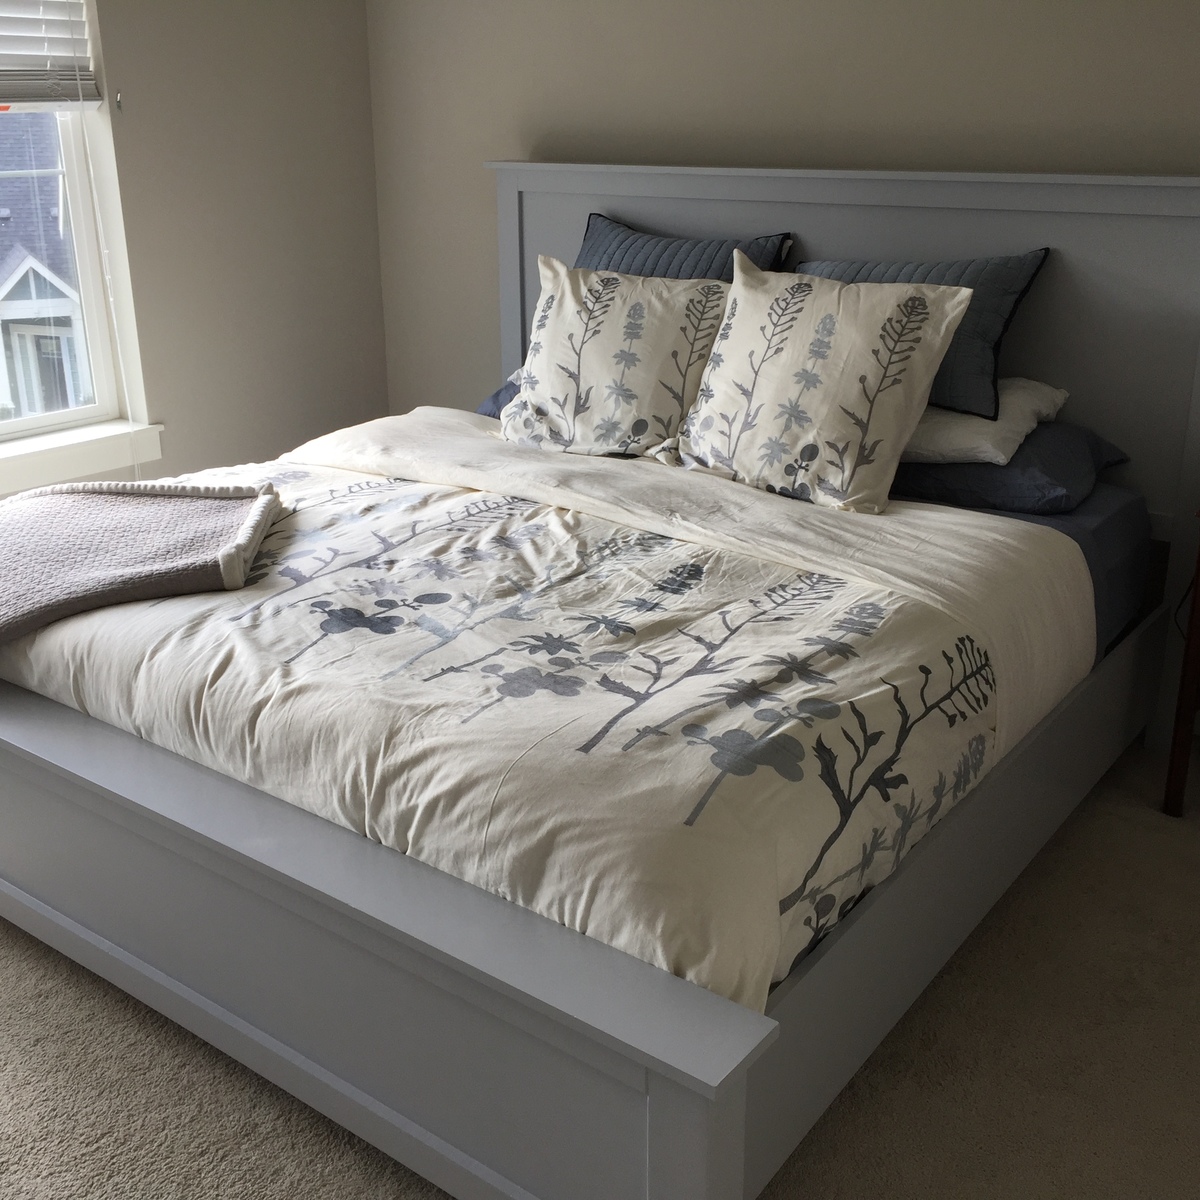
This is my take from the Cassidy Bed plan. I still have to upholster the headboard...stay tuned
Built from Plan(s)
Estimated Cost
$80
Estimated Time Investment
Weekend Project (10-20 Hours)
Finish Used
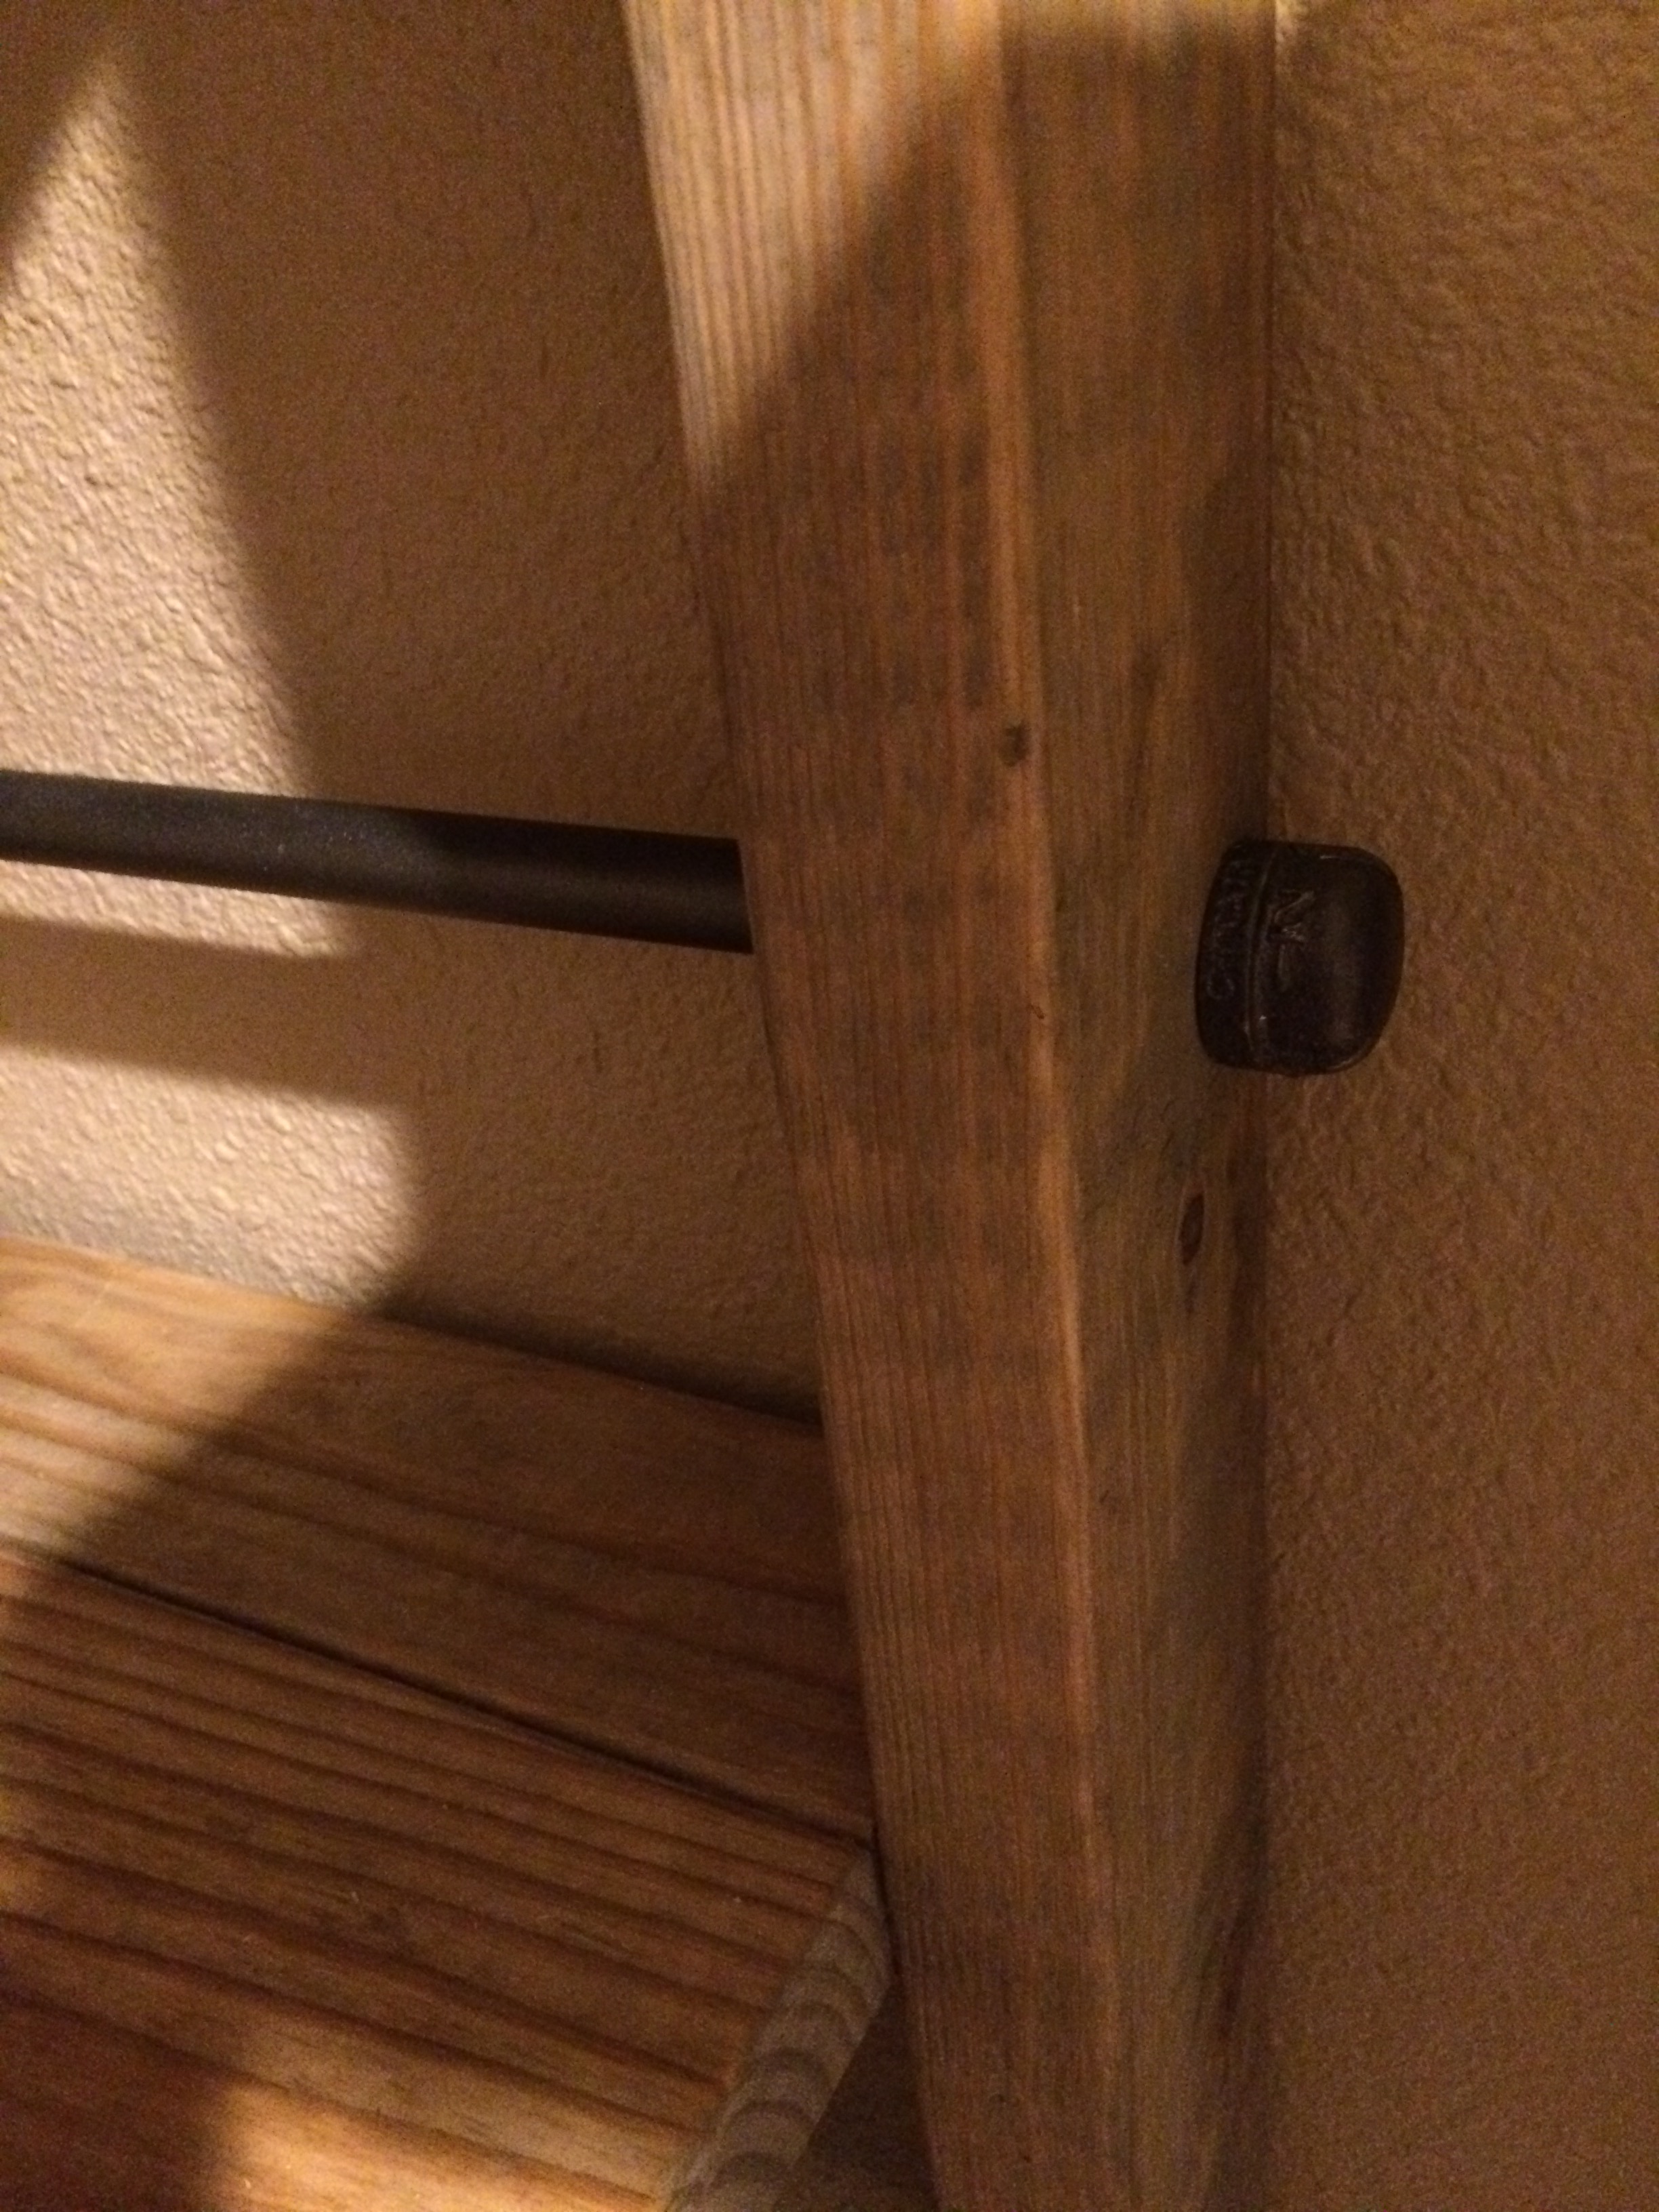
I floated the surfaces with a hard fill first, then sanded it with 220 to get it smooth. I used a slow drying oil primer, sanded it again. Then used two coats of
Behr premium ultra - Absolute Zero I added Floetrol to the paint so that it would lay down nicely
Behr premium ultra - Absolute Zero I added Floetrol to the paint so that it would lay down nicely
Recommended Skill Level
Beginner


Comments
Ana White Admin
Mon, 04/11/2016 - 14:53
Ah Gorgeous!
You did an amazing job!