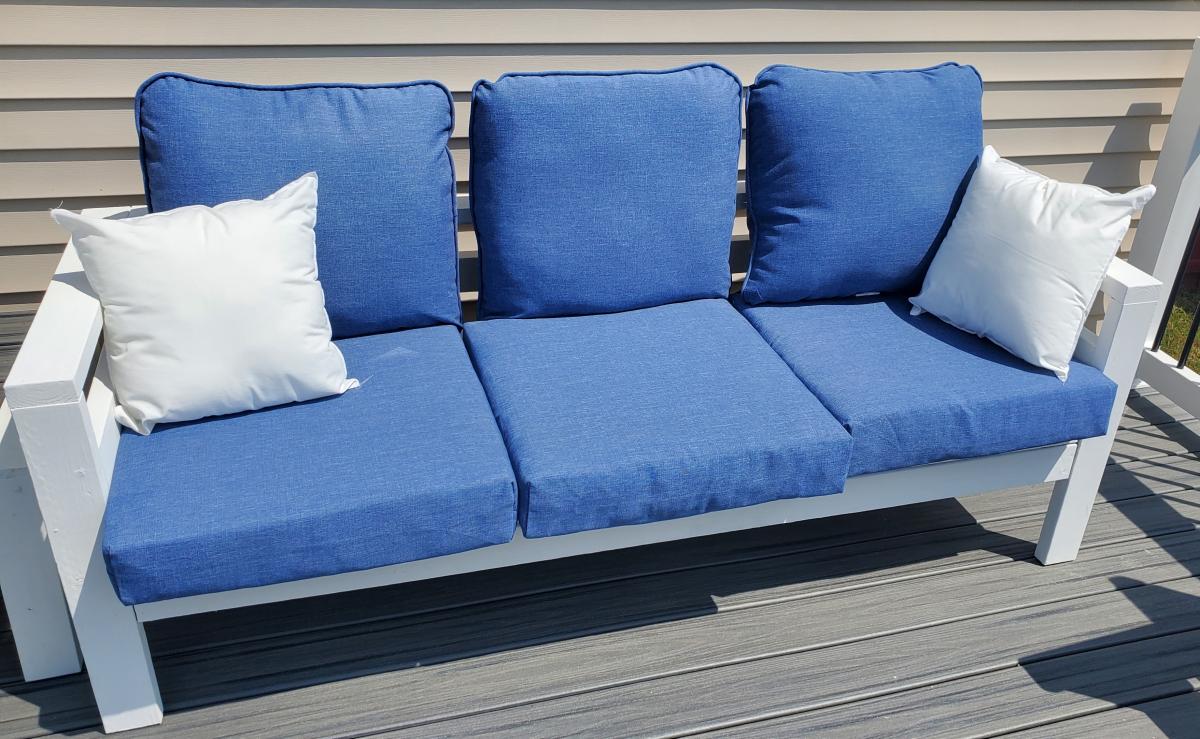
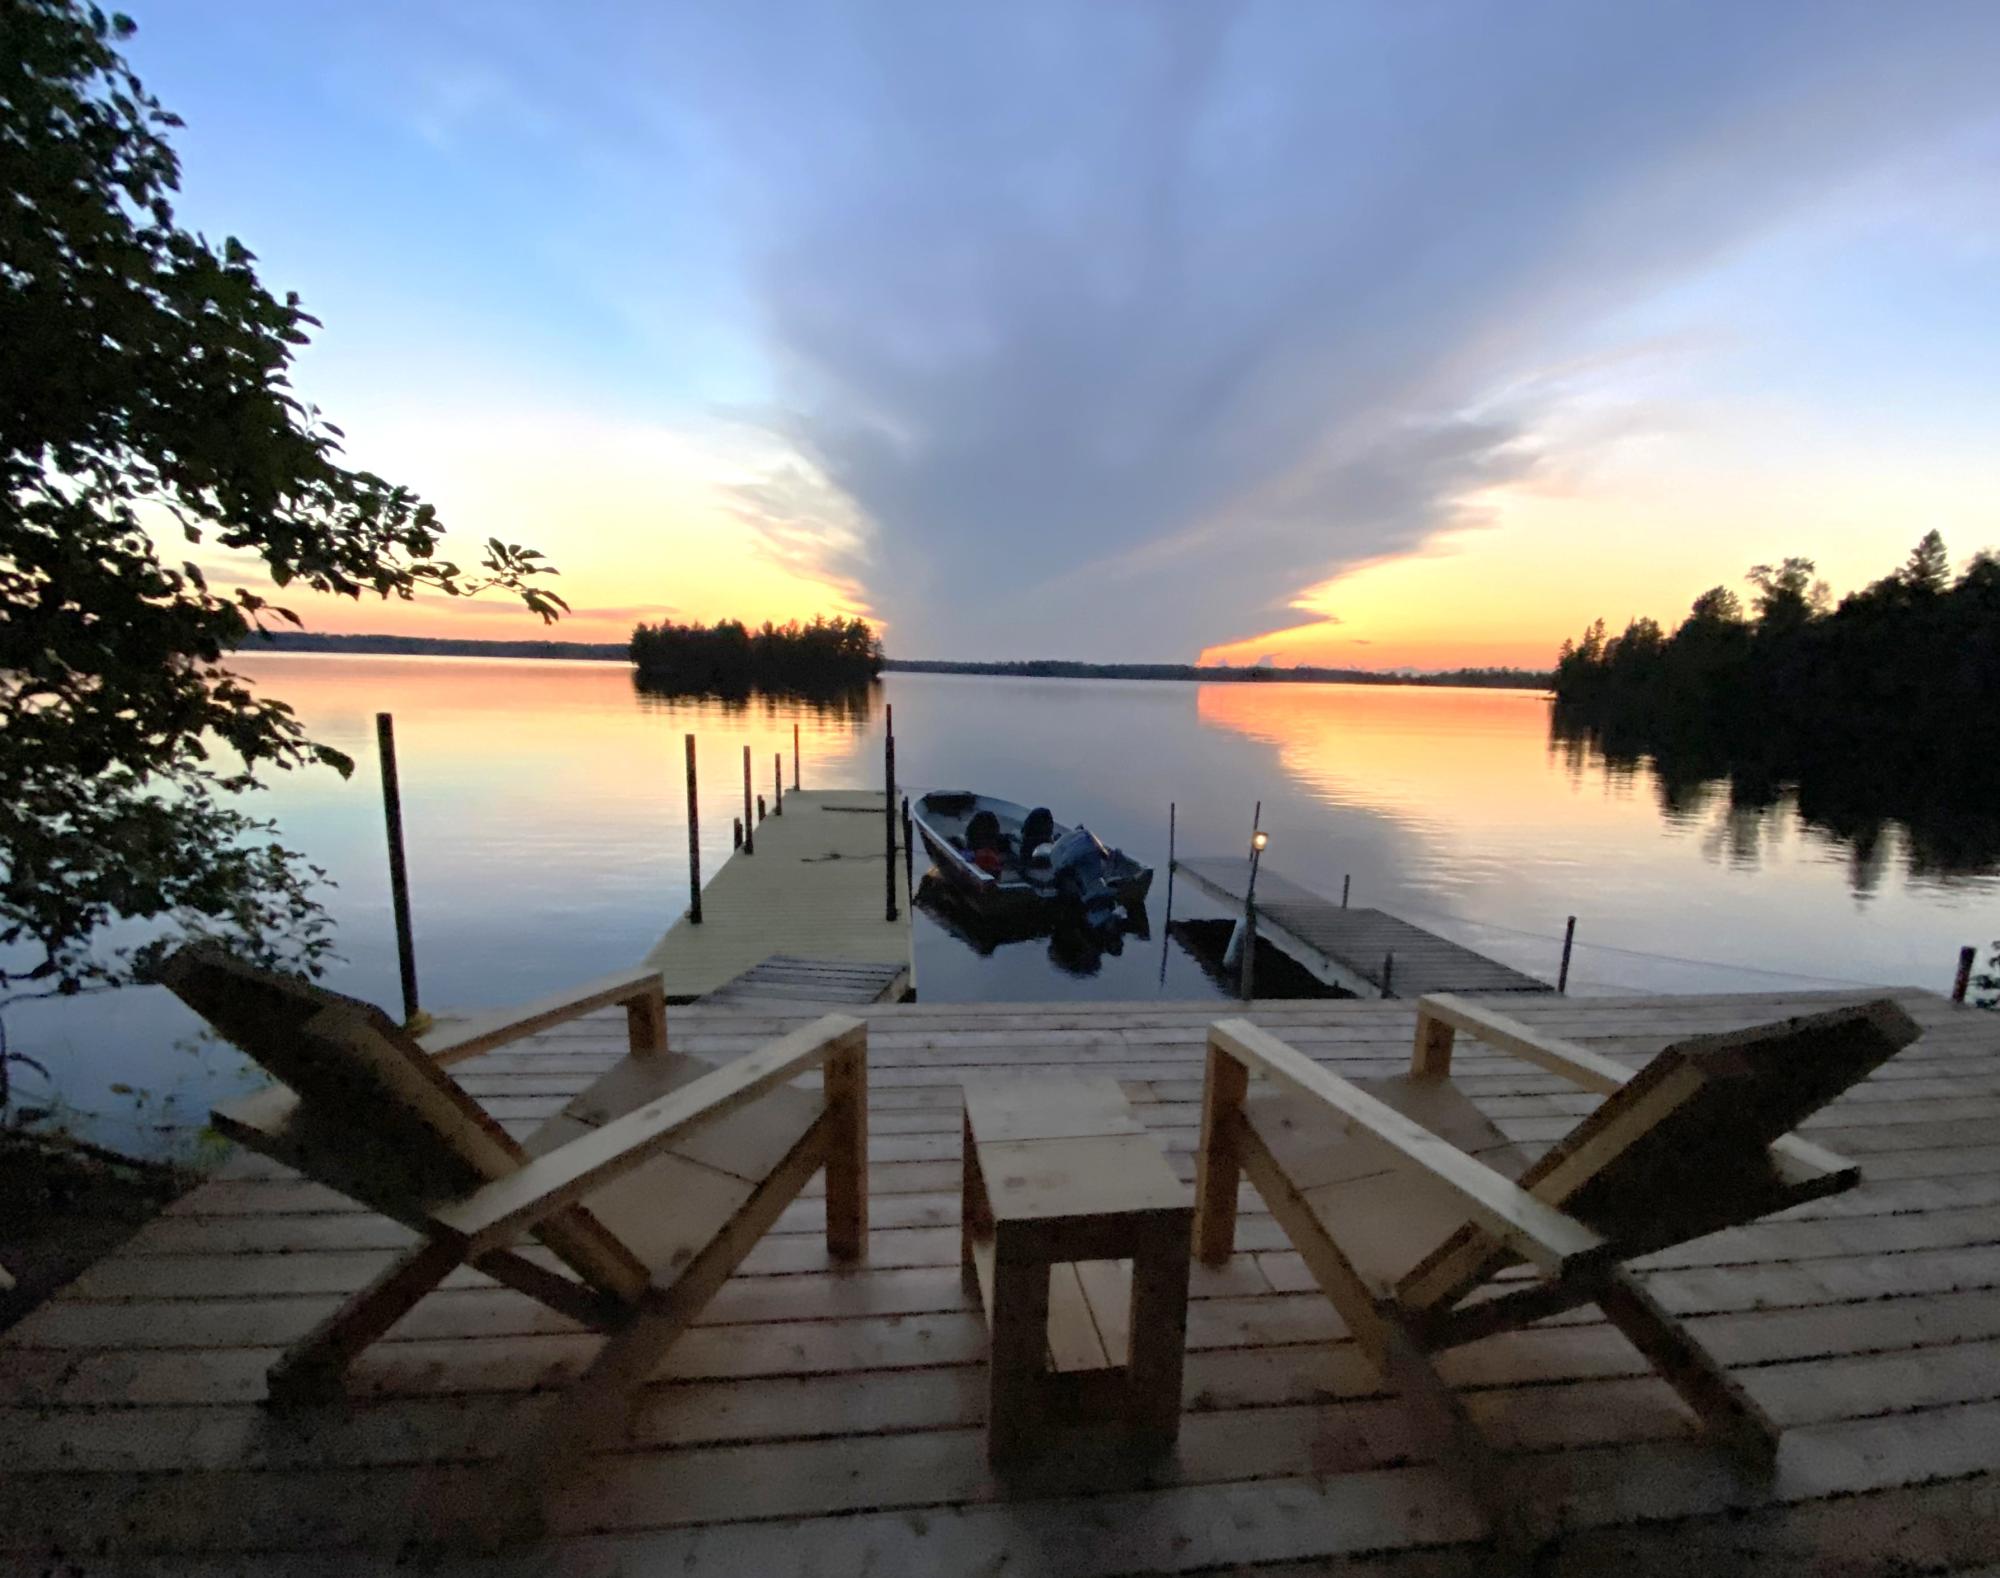
Outdoor Sofa and Table
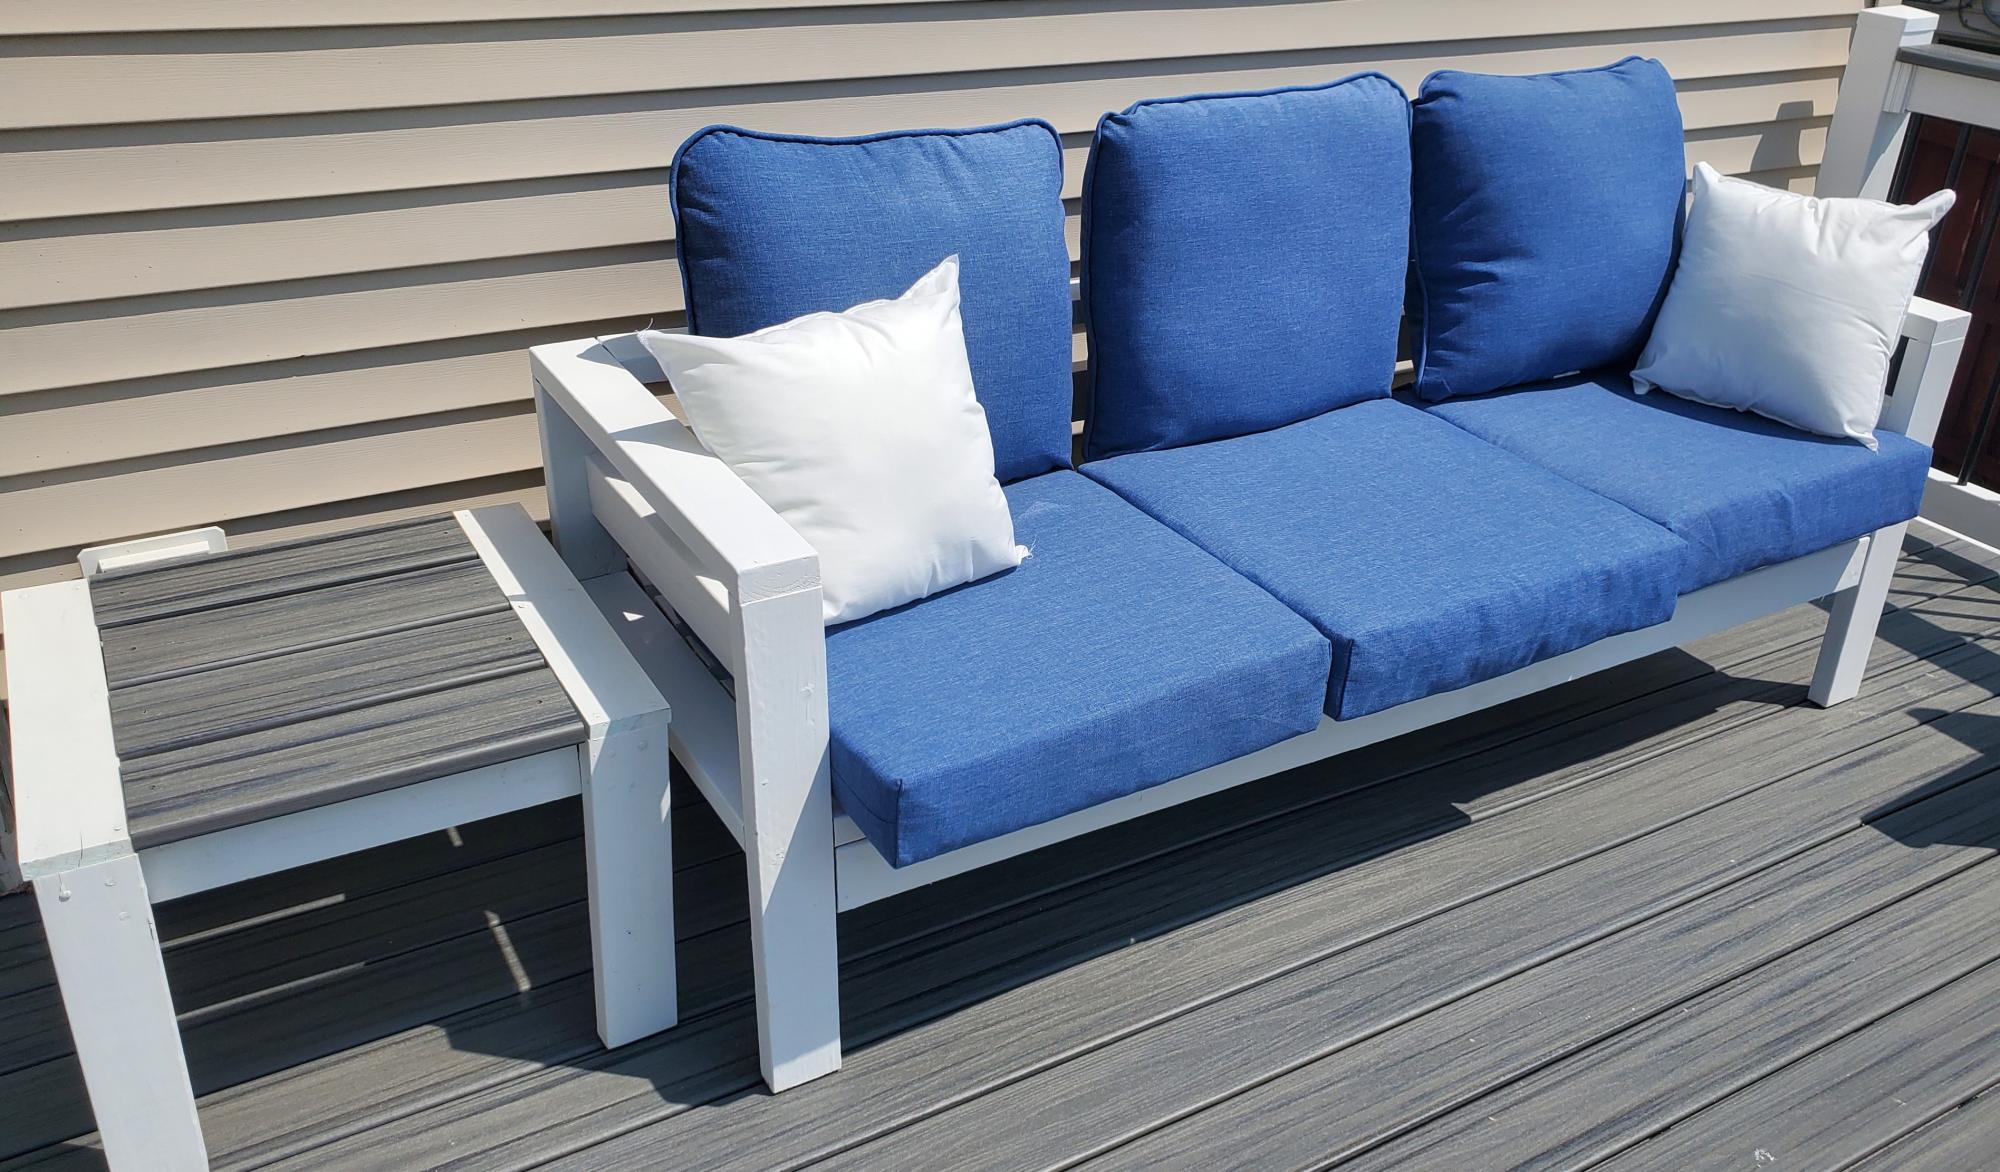
Deck sofa from a Ryobi/Ana video a few years ago. End table is also from Ana's plan using leftover Trex decking. Special thanks to Jen for her assistance.
Built from Plan(s)
Deck sofa from a Ryobi/Ana video a few years ago. End table is also from Ana's plan using leftover Trex decking. Special thanks to Jen for her assistance.
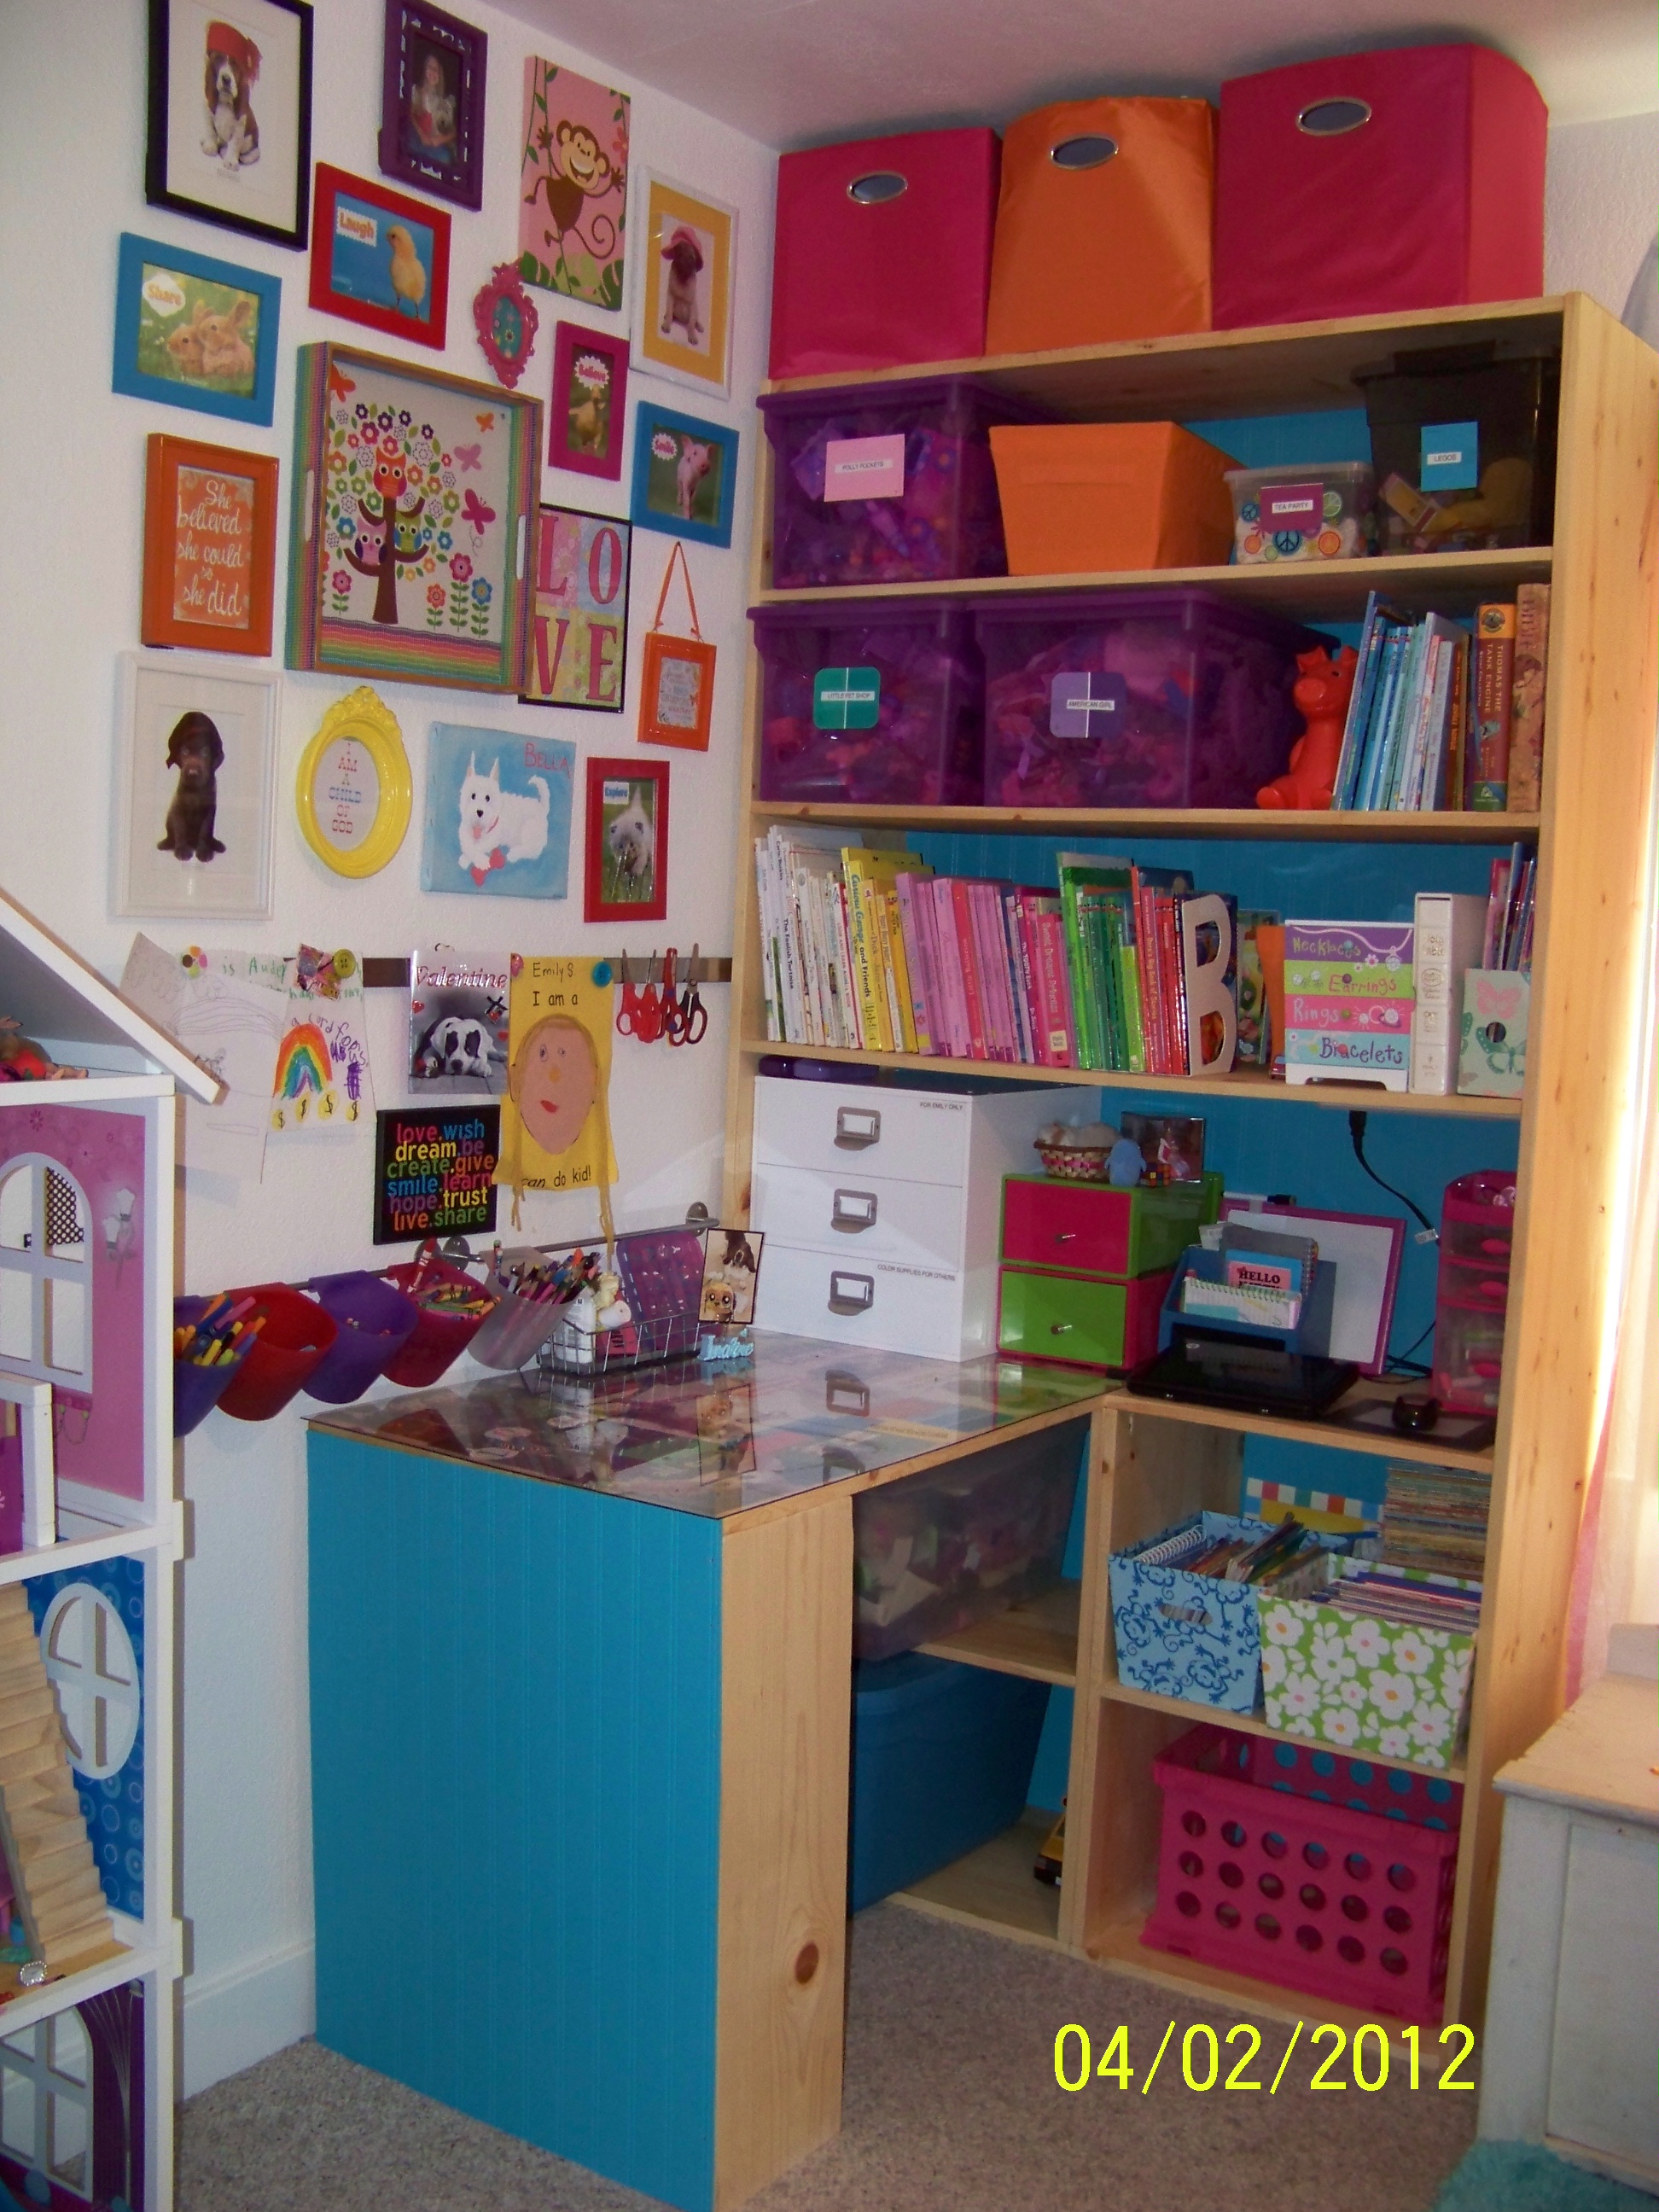
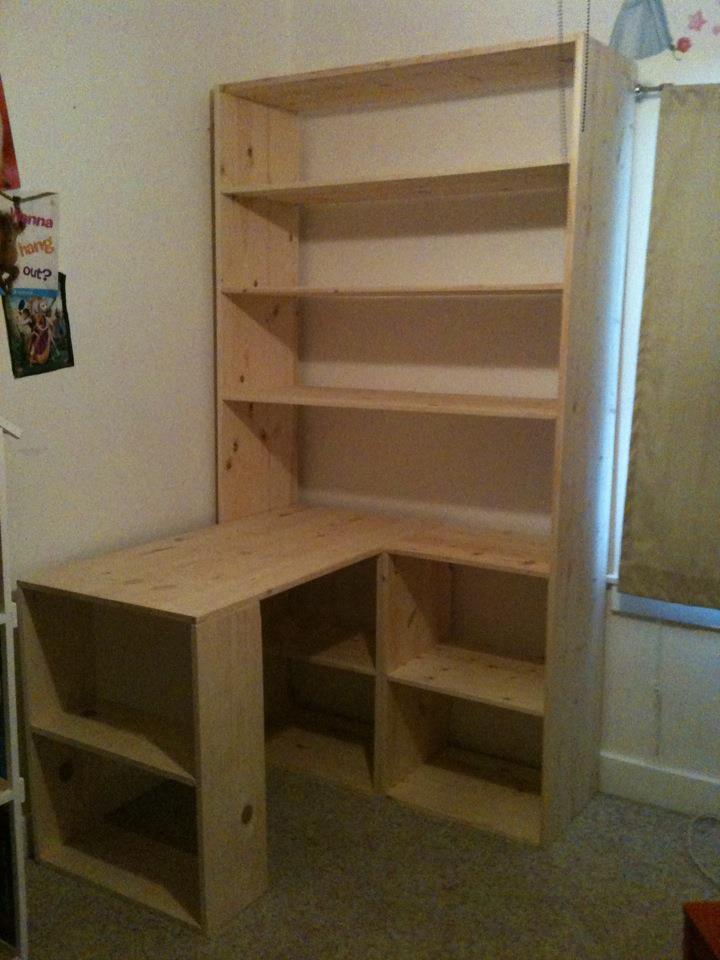
If it was not for this site I would not think we could do this. Inspiration was from the IKEA LACK bookshelf and varioous craft desk tutorials on here. Bookshelf is 7 ft tall, 4 ft wide and shelves are 16 inches deep. Writing desk area is 3 ft long 2 ft wide. It could be done cheaper but it needed to hold all my daughters toys in bins so we paid more for the 16 inch deep boards. It only took a Saturday afternoon to build, but more time in decorating, clear coat of stain. It has a acrylic top writing surface.

Mon, 04/02/2012 - 23:01
Oh I love it! What a huge amount of storage!!!! I love the bright colors and wood grain too! Thank you so much for sharing! Very inspiring!
Fri, 07/11/2014 - 11:35
my brother saw this on line picture and he would like to make it for his little girl. Like to get the plan from you if you have it.
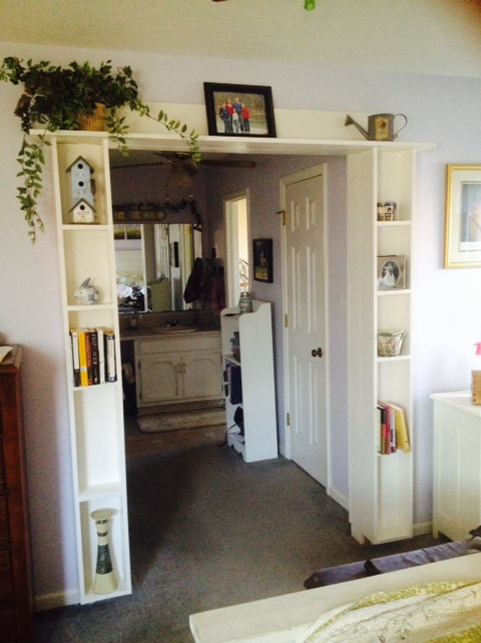
Why should doorways be boring? I used 1x6 and 1x8 lumber to build a shelving unit around the doorway. Now I have somewhere to display pictures and creations from my kids too. Measure your doorway to see what size lumber works best for you. Prime and paint with Dove White and add white caulk to any imperfect cuts to smooth things over. BTW, cats love the shelves too!

Mon, 01/20/2014 - 15:13
This is one of the best ideas I've ever seen! Nice work!
Val @ artsybuildinglady.blogspot.ca
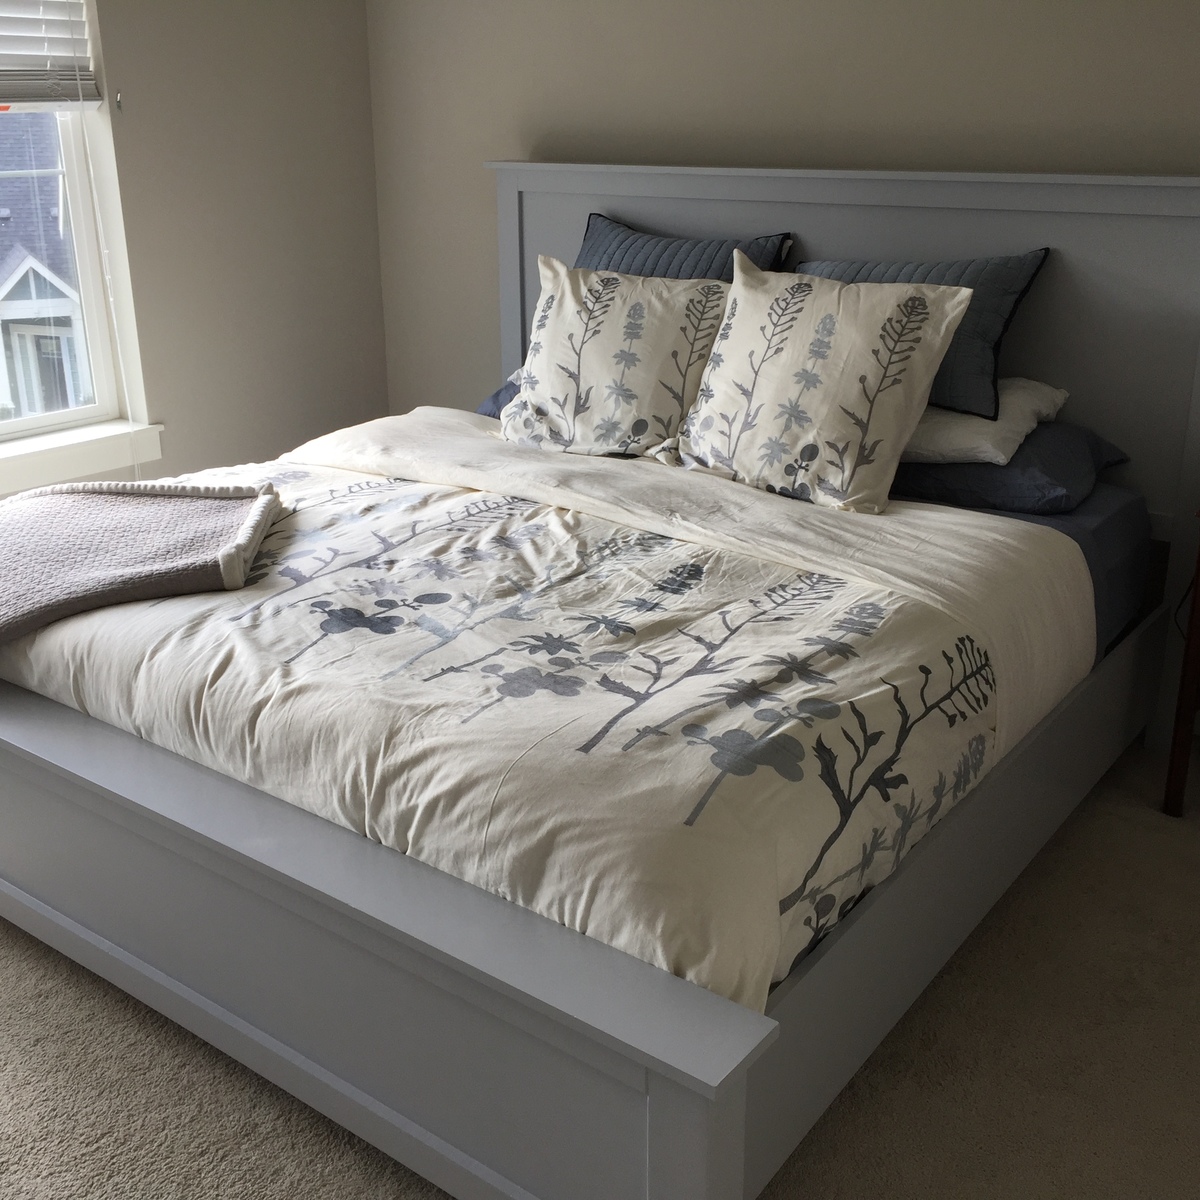
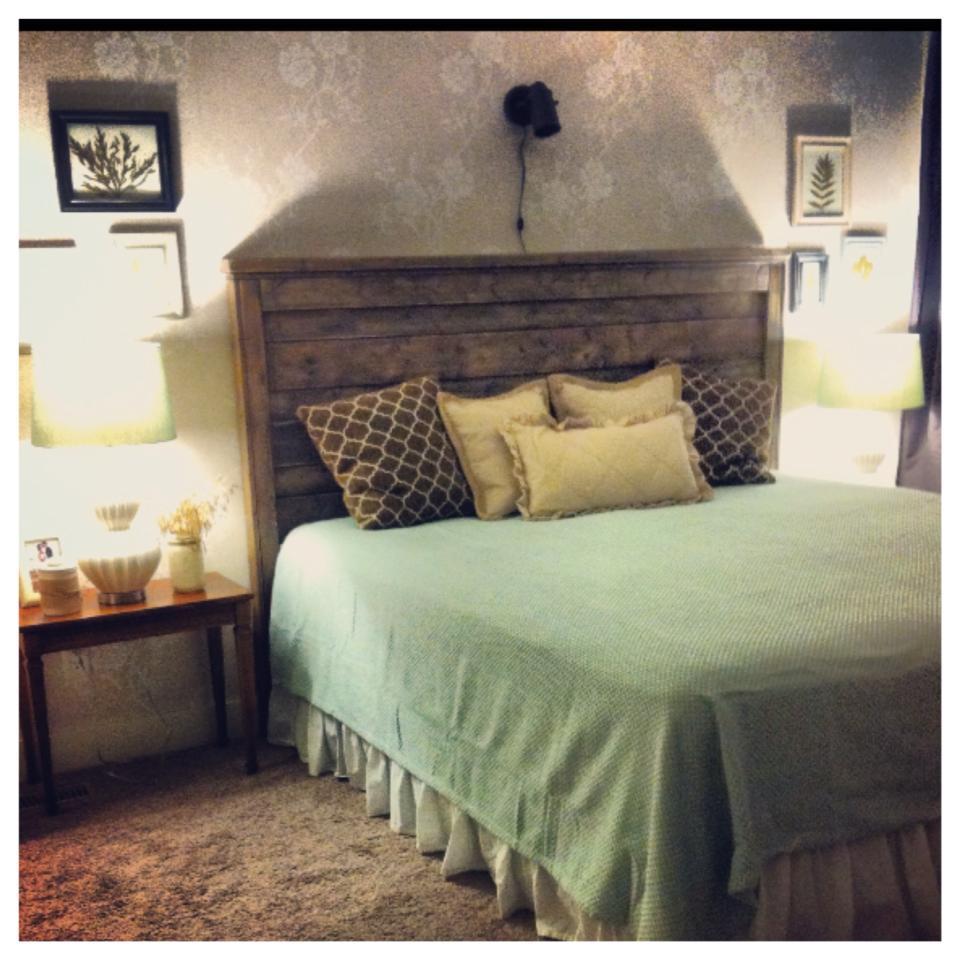
This is my take from the Cassidy Bed plan. I still have to upholster the headboard...stay tuned
Just in time for Christmas!
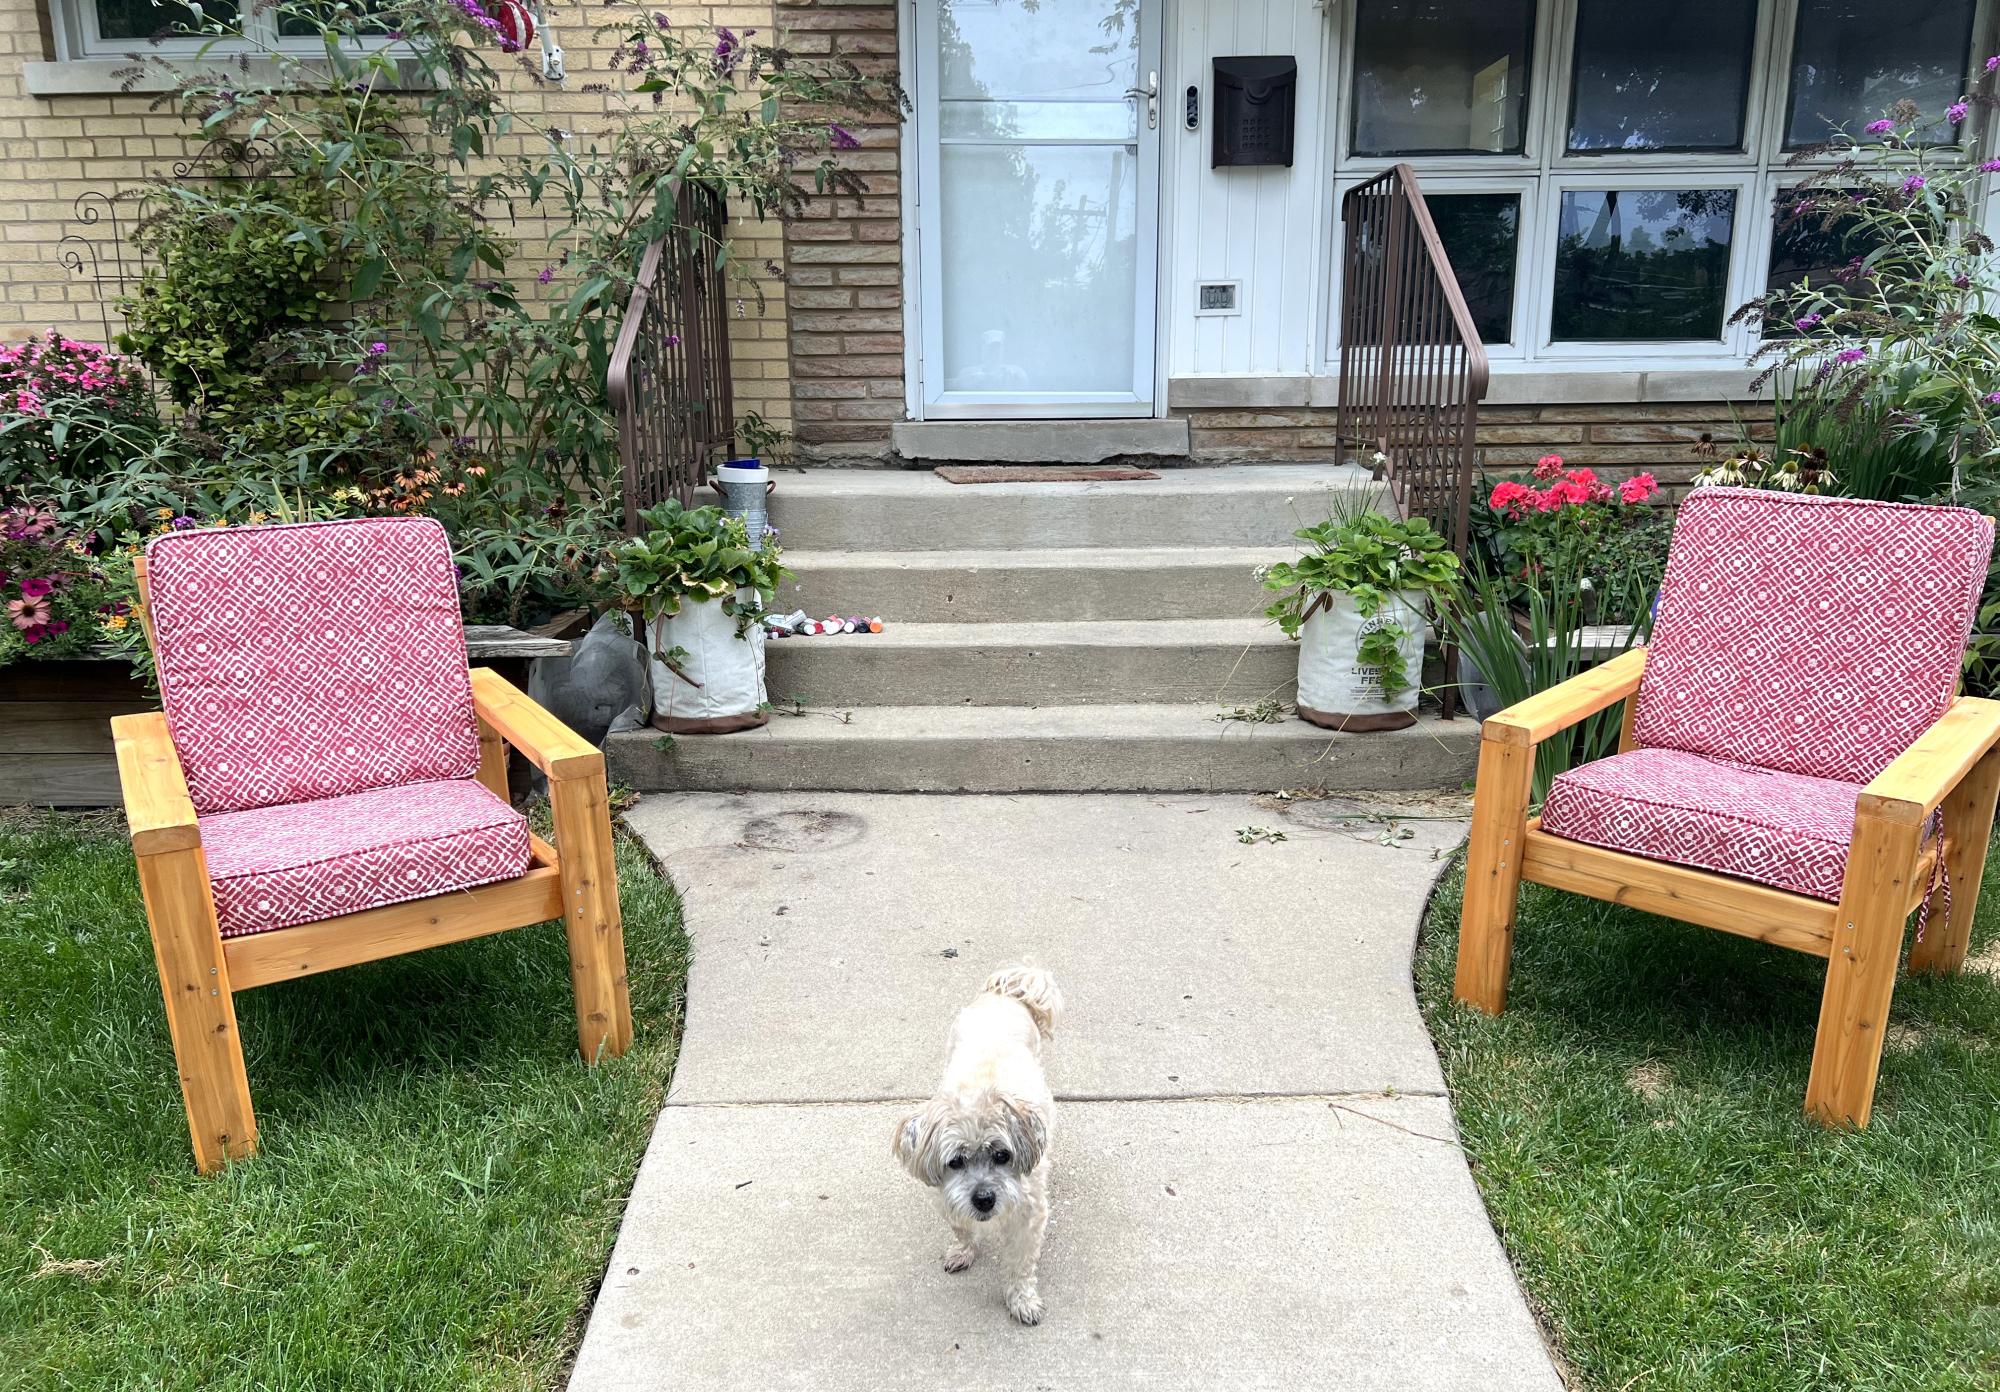
I made two of the chairs using cedar 2x4's and then stained them cedar color. The cushions were on clearance at Lowes for 6.97 each. Super excited about that as well. For the back I did the three board suggestion versus just the two for more back support and I also added an extra board for the bottom seating. Project was pretty easy and the instructions were easy to follow.
Carrie
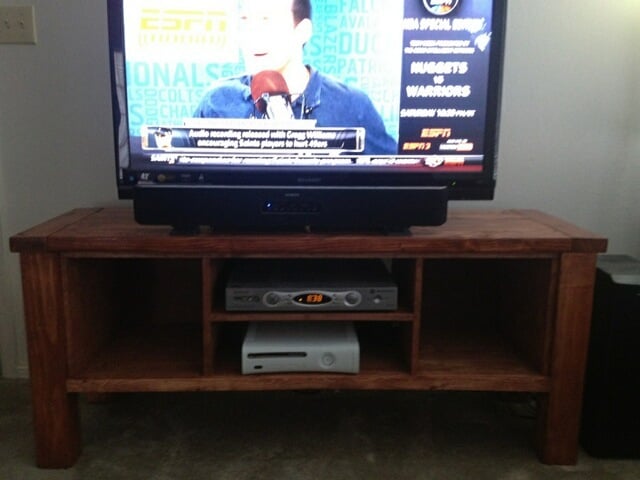
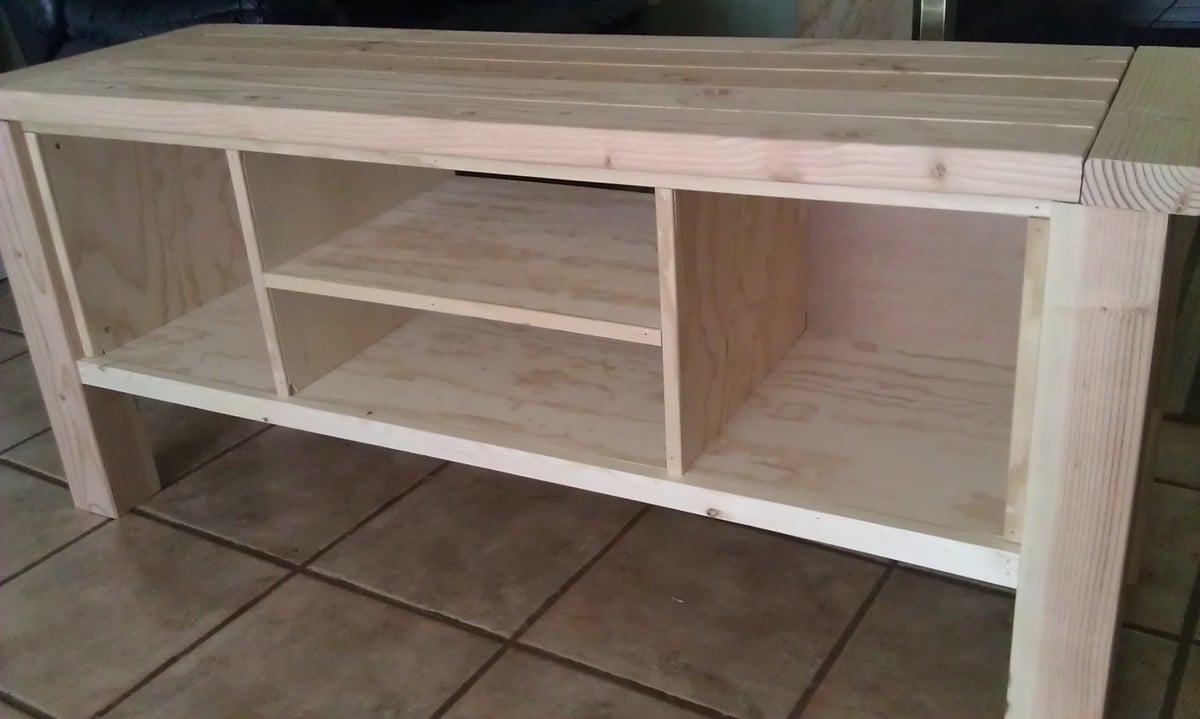
I had just built the Tryde Side Table and it was so easy I gave a shot at this project. Took about 4 hours to build and is a really sturdy, good looking entertainment center. The only thing that I did not like that I would change is an overlap of the tabletop in the front. There is an overlap on both ends but not in the front. Other than that, I really like the outcome.
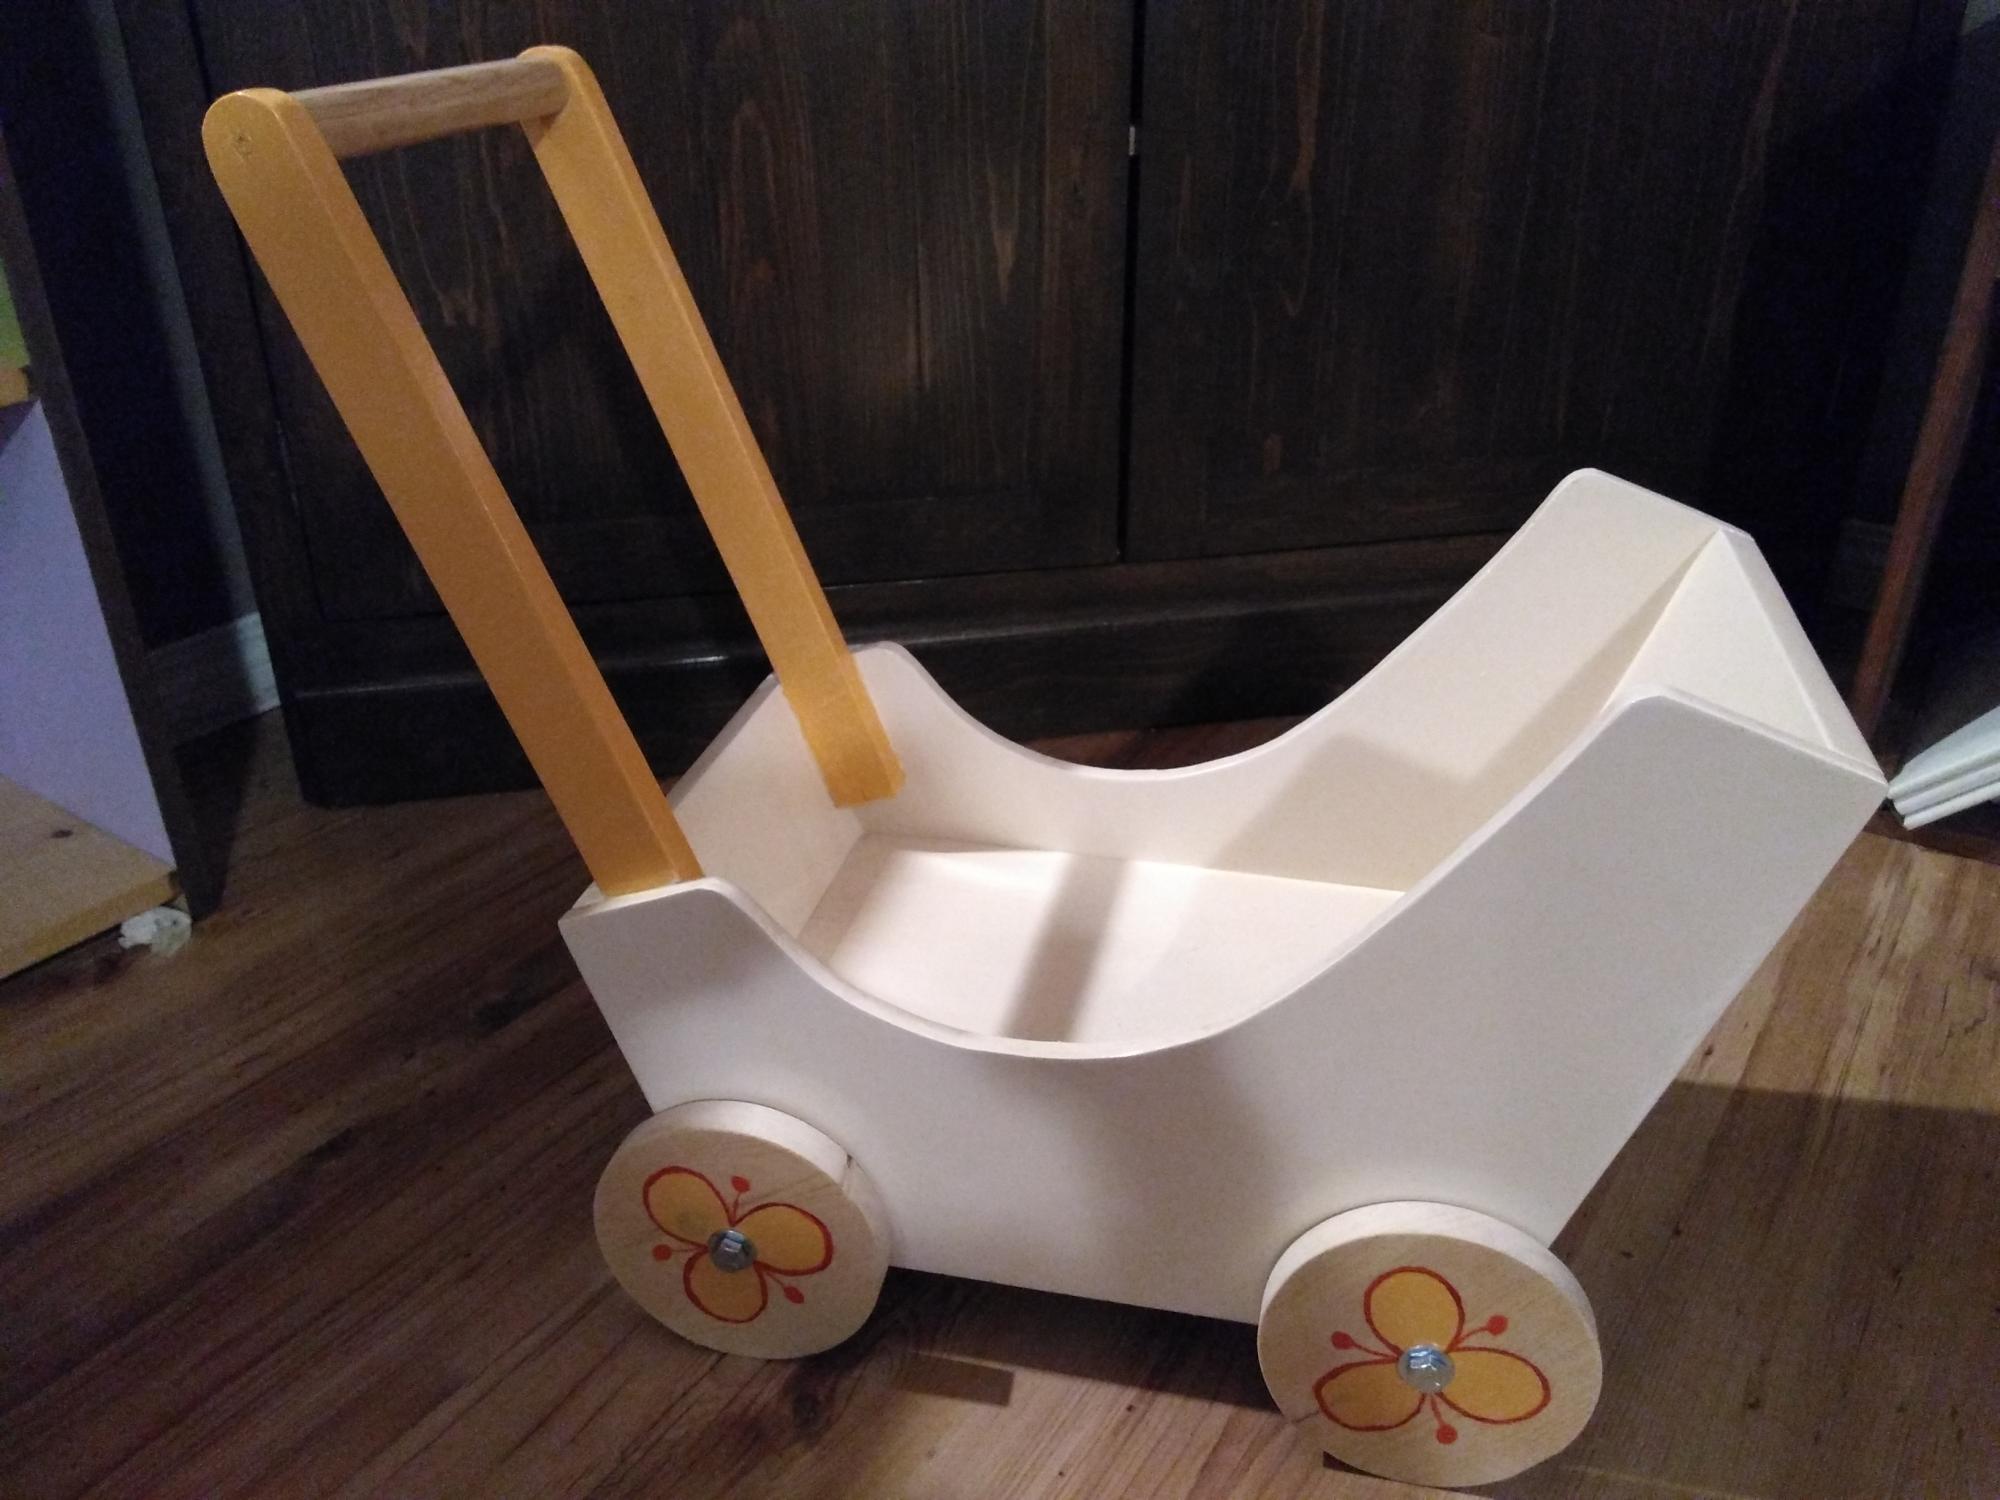
This was a super fun project to do and very easy too. I did this while I was nine months pregnant. The instructions were very clear and the total cost was great too!
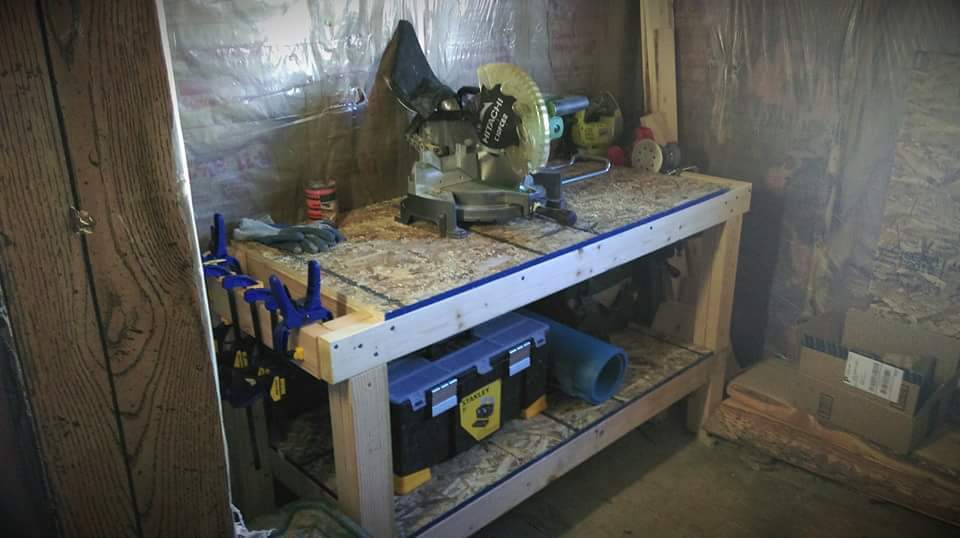
Great workbench. Made slight modification, in extending the top 2x4s past the counter edge, and then connecting them with another 2x4 so I'd have a place to put clamps/tools. Also used 3/4 particle board, as it was significantly cheaper than the plywood my local hardware store had on hand.

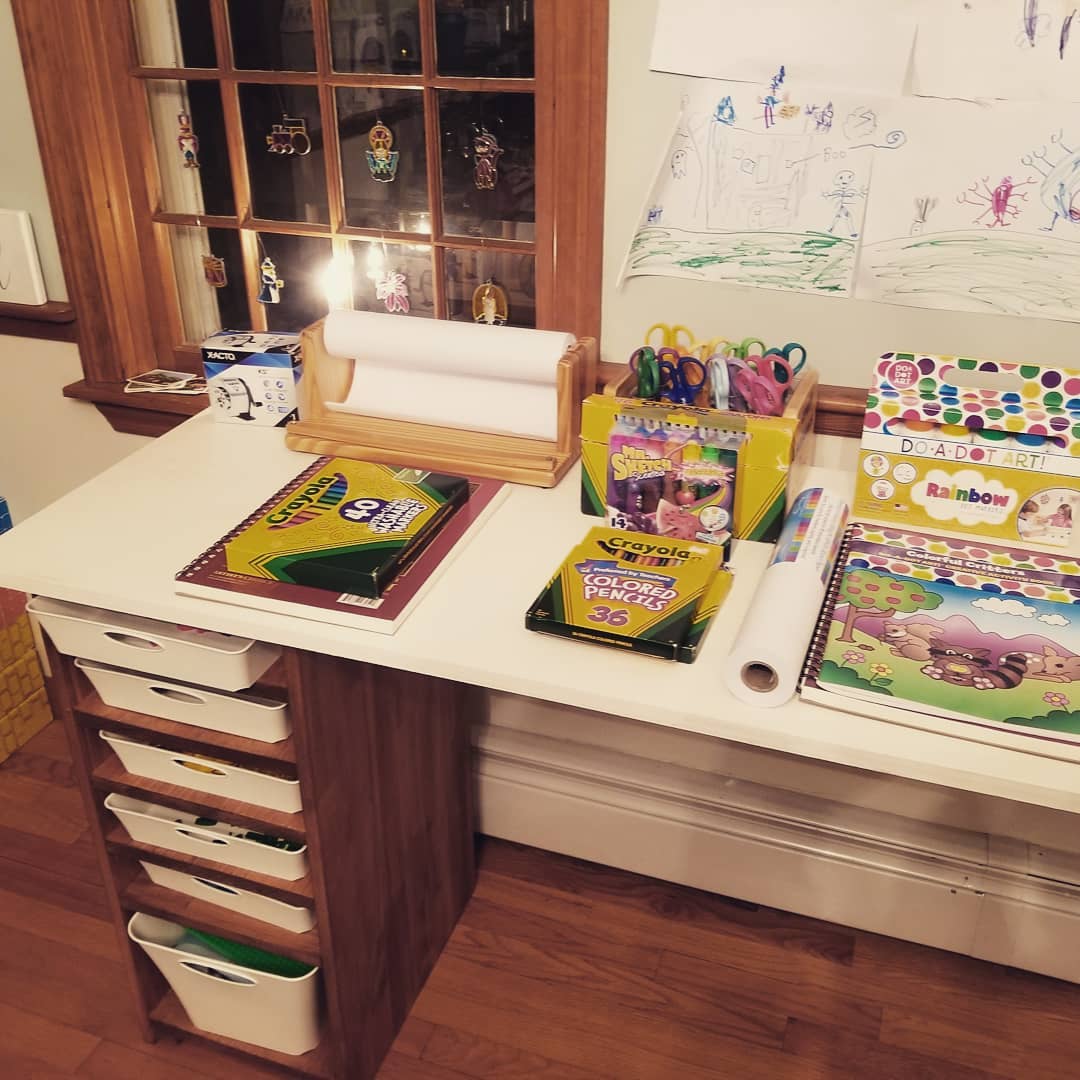
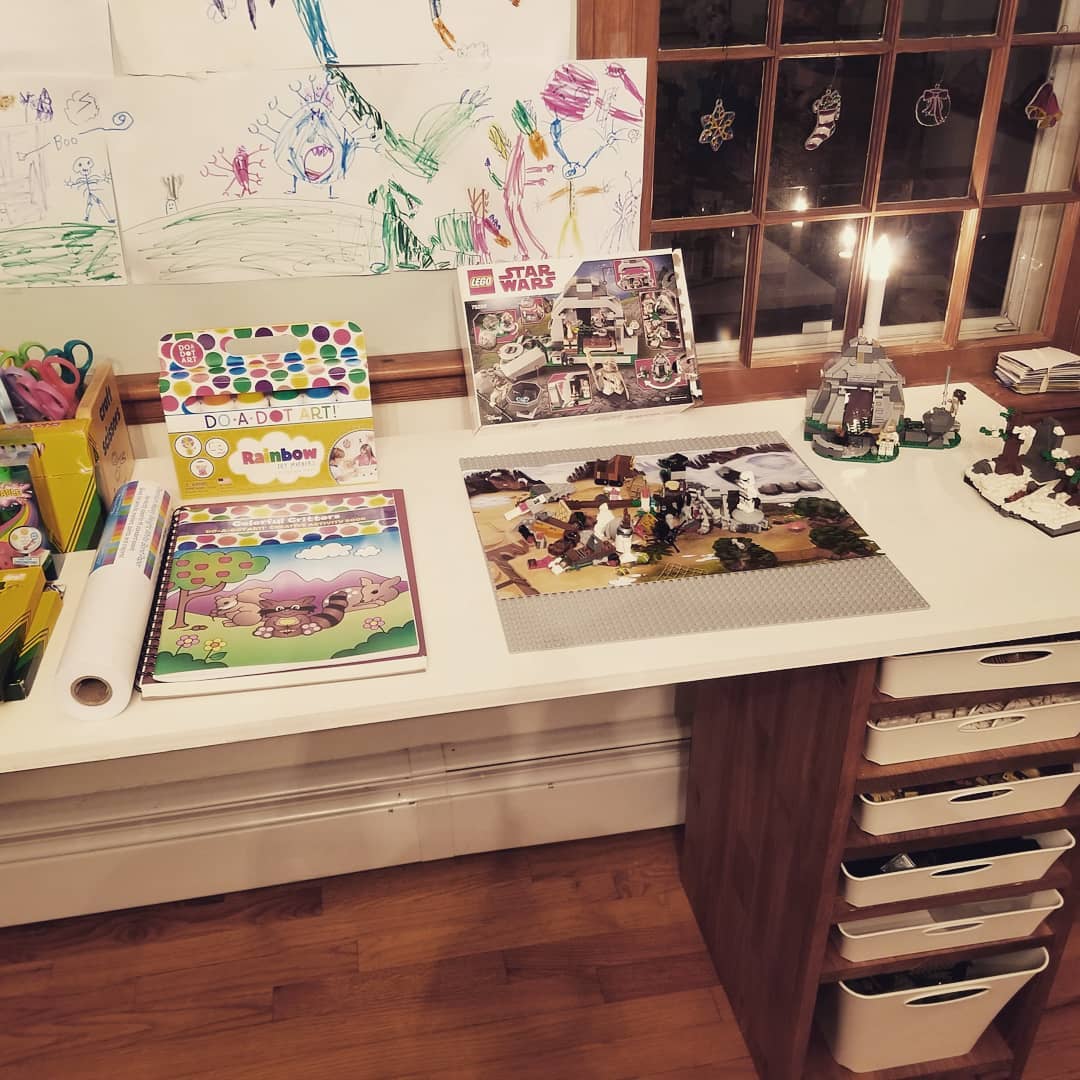
I looked everywhere for a Lego table that would fit my needs and not be super expensive, but I kept coming up with nothing. So I decided to make my own and to make it a place for my kids to do their art as well.
This was my first time using a Kreg Jig as I wanted it to be really stable. I found the drawers at The Container Store. They house all of the color coordinated Legos together.
It has been amazing so far and I'm so glad I didn't settle for any old Lego table on the market that didn't suit our needs.
If you want more info regarding sizes, cut list, etc, let me know and I'll try to post them.
Ana White … we love our chairs. We did make our chairs out of cedar and a side table from some cedar scraps.
Jon & Ginny
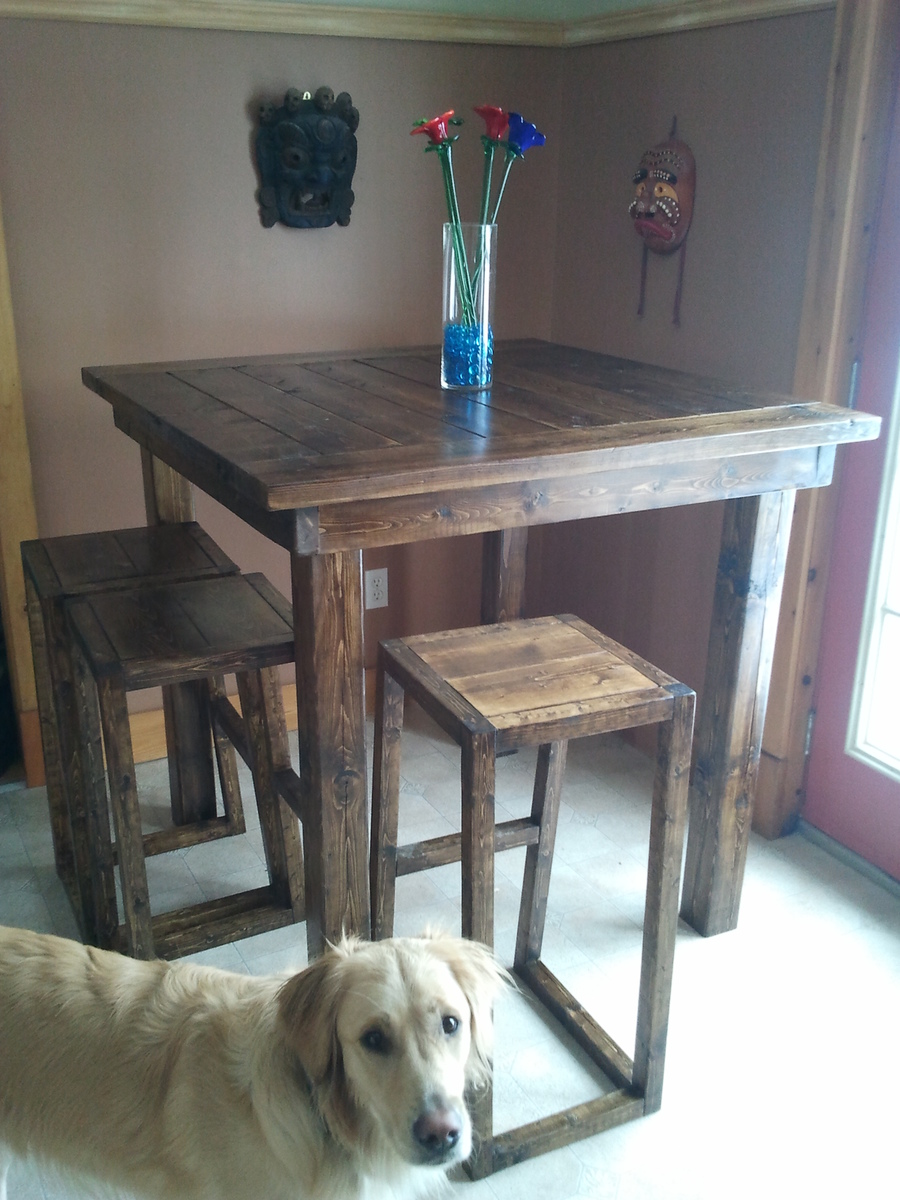
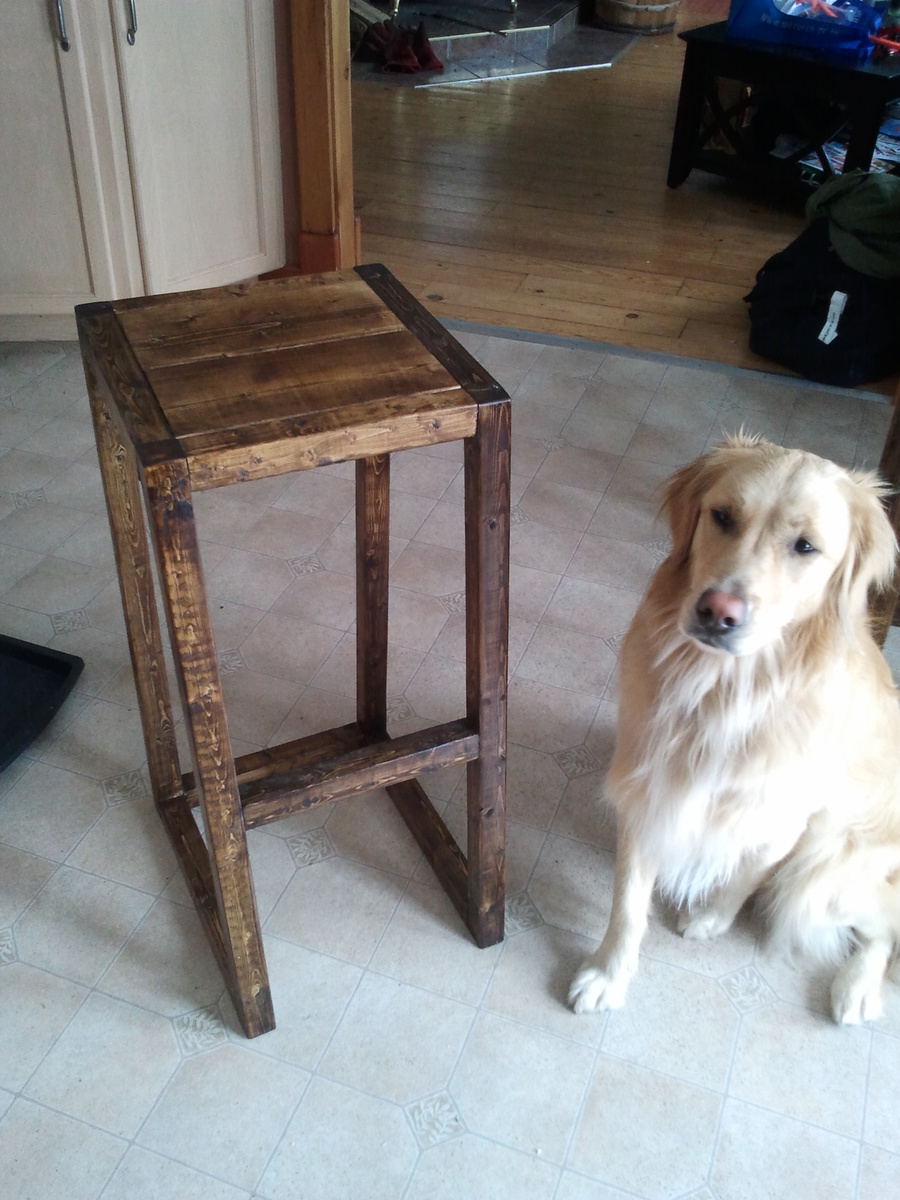
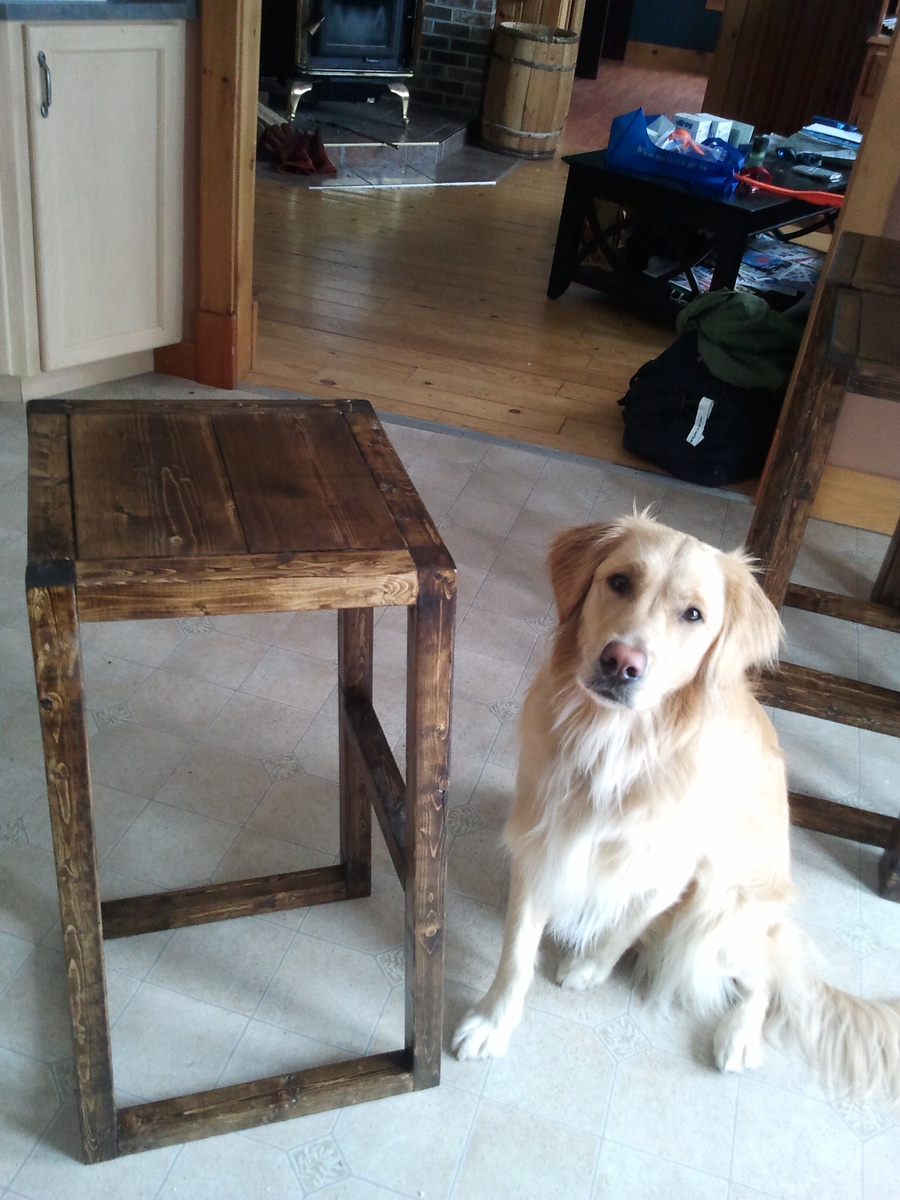
These are simple, cheap, easy, and effective.
I modified the top so that I could just use the left over 2X6s I had and it would somewhat match my table. I felt it worked. There is probably something like $5 in wood in each chair about about 20 screws...that's it.
Word of warning, because you are using 2X2s these chairs will twist a little. Can't change physics but for $5 what do you want...
This is a fun little project that is quite easy but will make you think about how you can modify it and how/where you should use all your screws both to make it strong as well as to hide them.

Was my first project from Ana White's designs. I enjoyed making it, and plan on following up with the outdoor loveseat this spring.


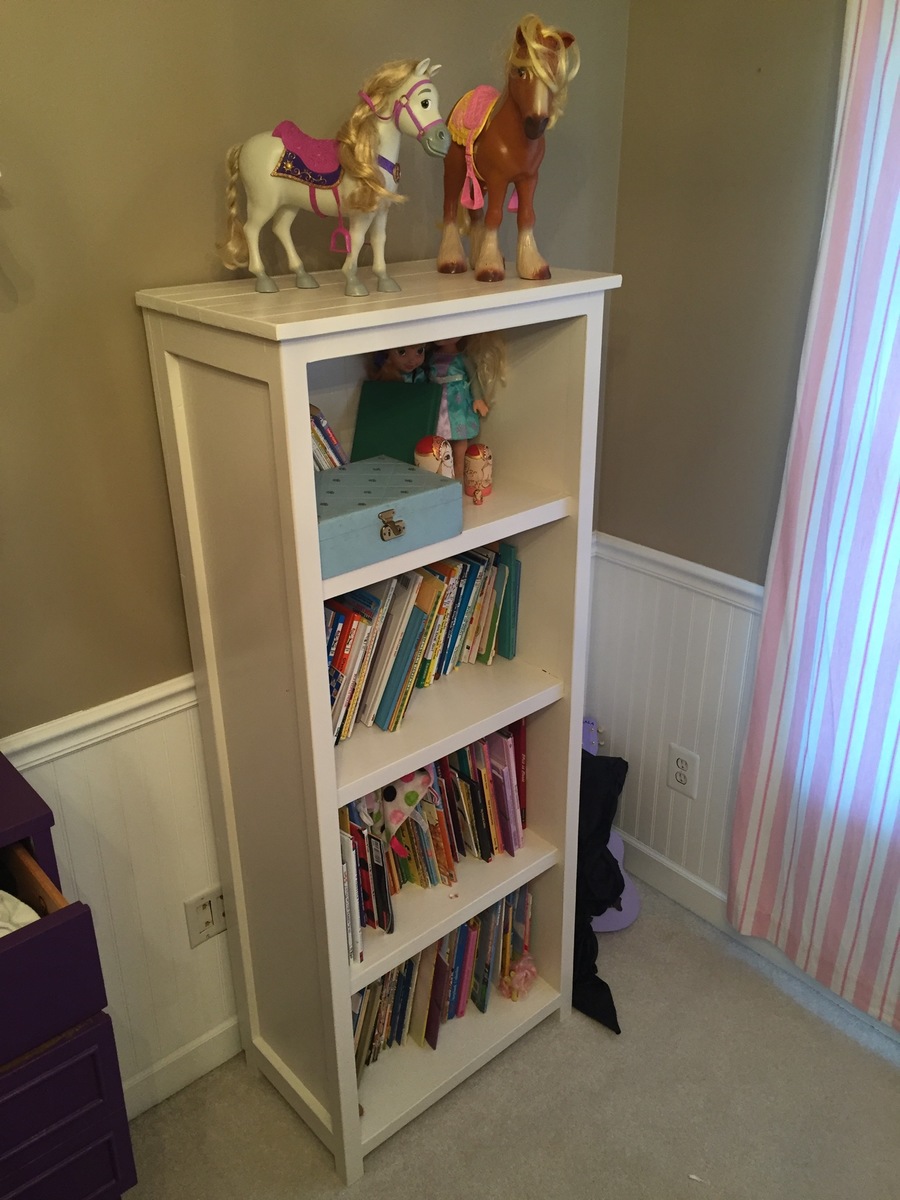
Built this kids bookshelf from the Kentwood bookshelf design.
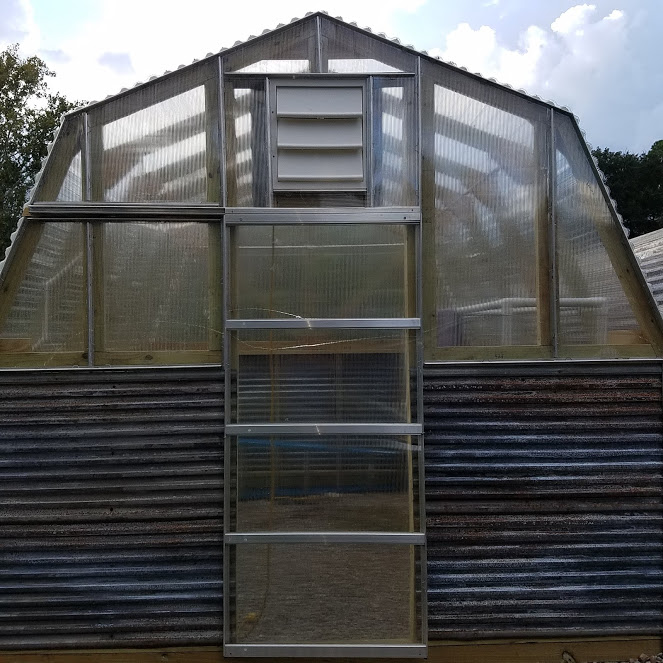
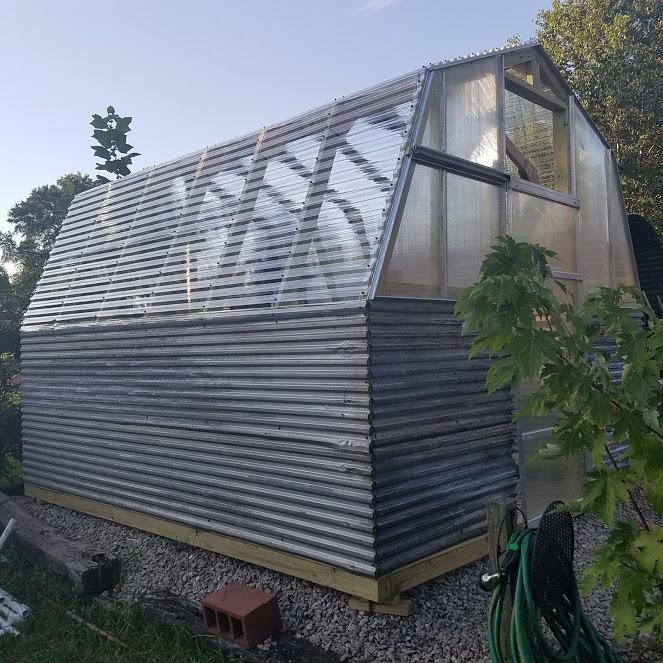
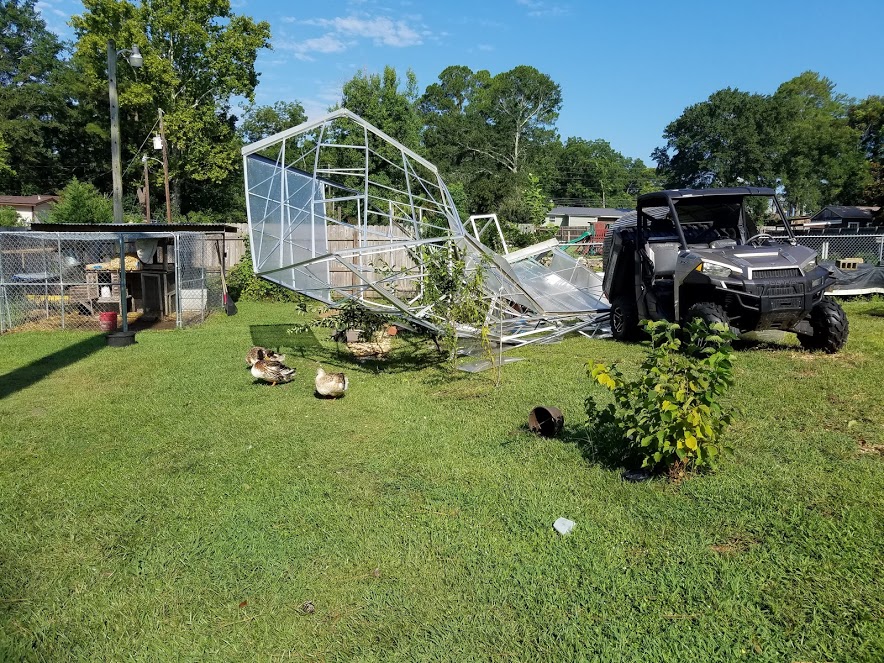
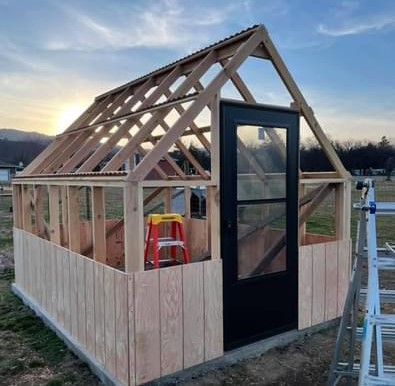
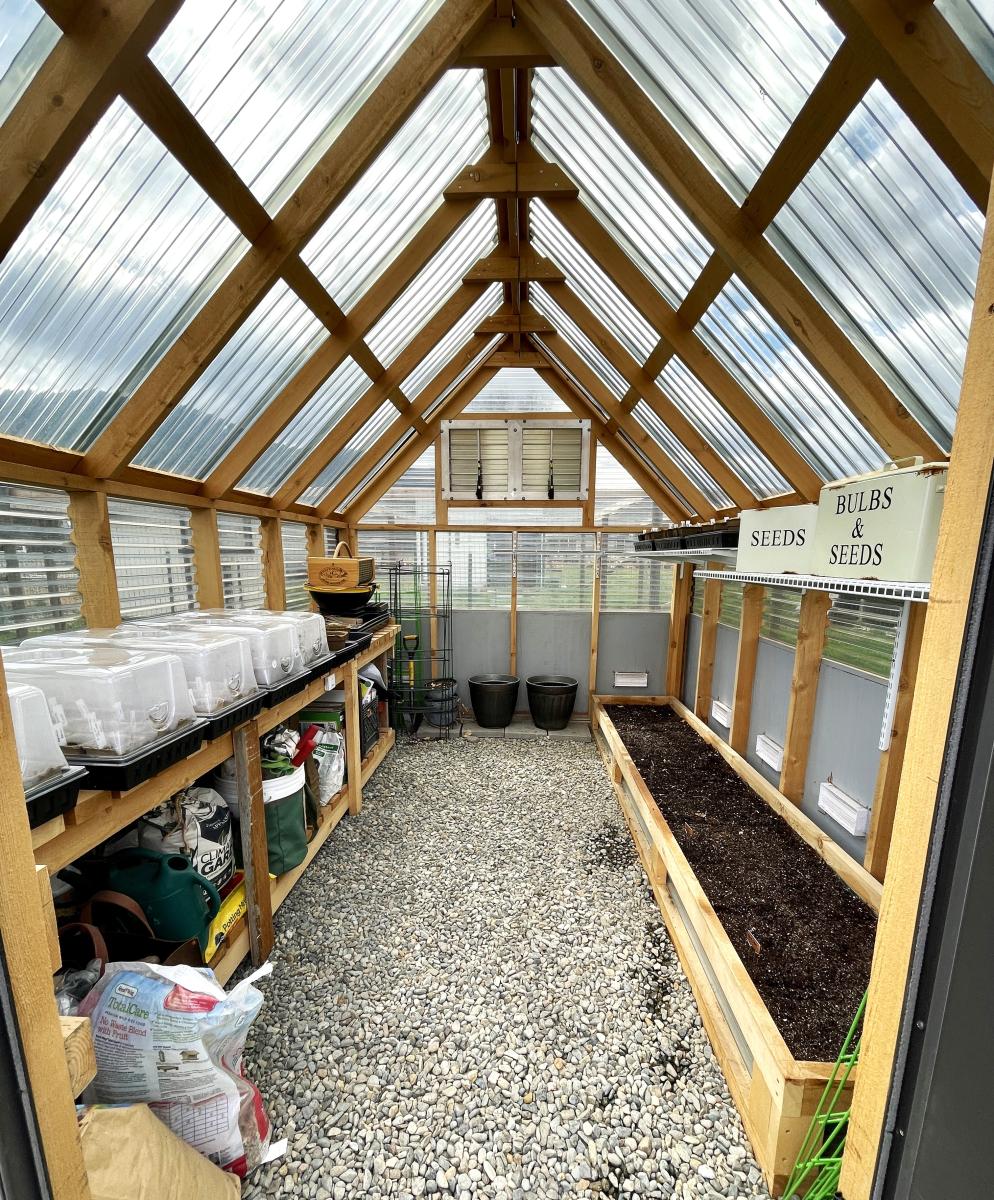
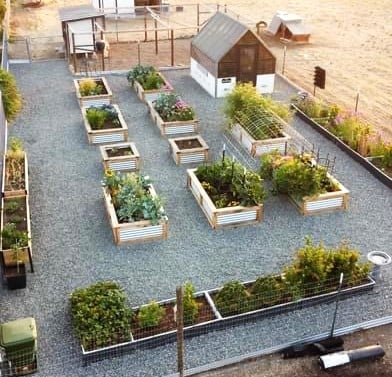
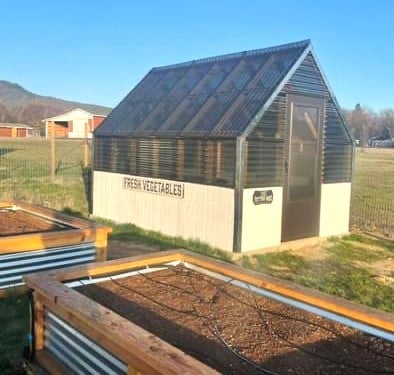
A microburst storm destroyed my first green house (last pic). I wanted something that would be stronger, I found Ana's plan and built a replacement. Was able to recycle some of the metal channels and panels from the destroyed one to cover the end sections and the door.

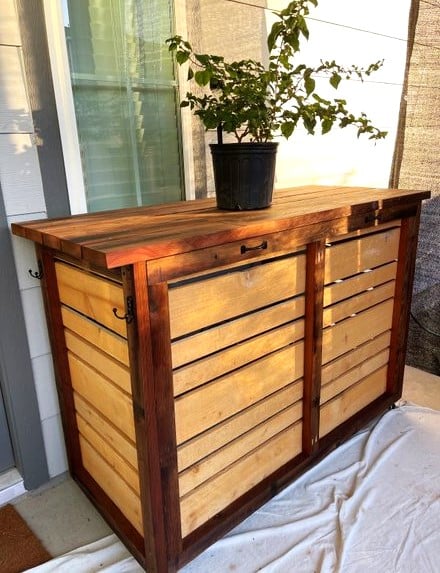
This rolling bar was inspired by Ana White's plan. It is used as a bar and conceals an electric smoker and a grill. I added handles for moving and some hooks on the sides. I stained the salvaged 2 X 6 's and brushed on clear oil based poly on the new Cedar fence boards.
Billie
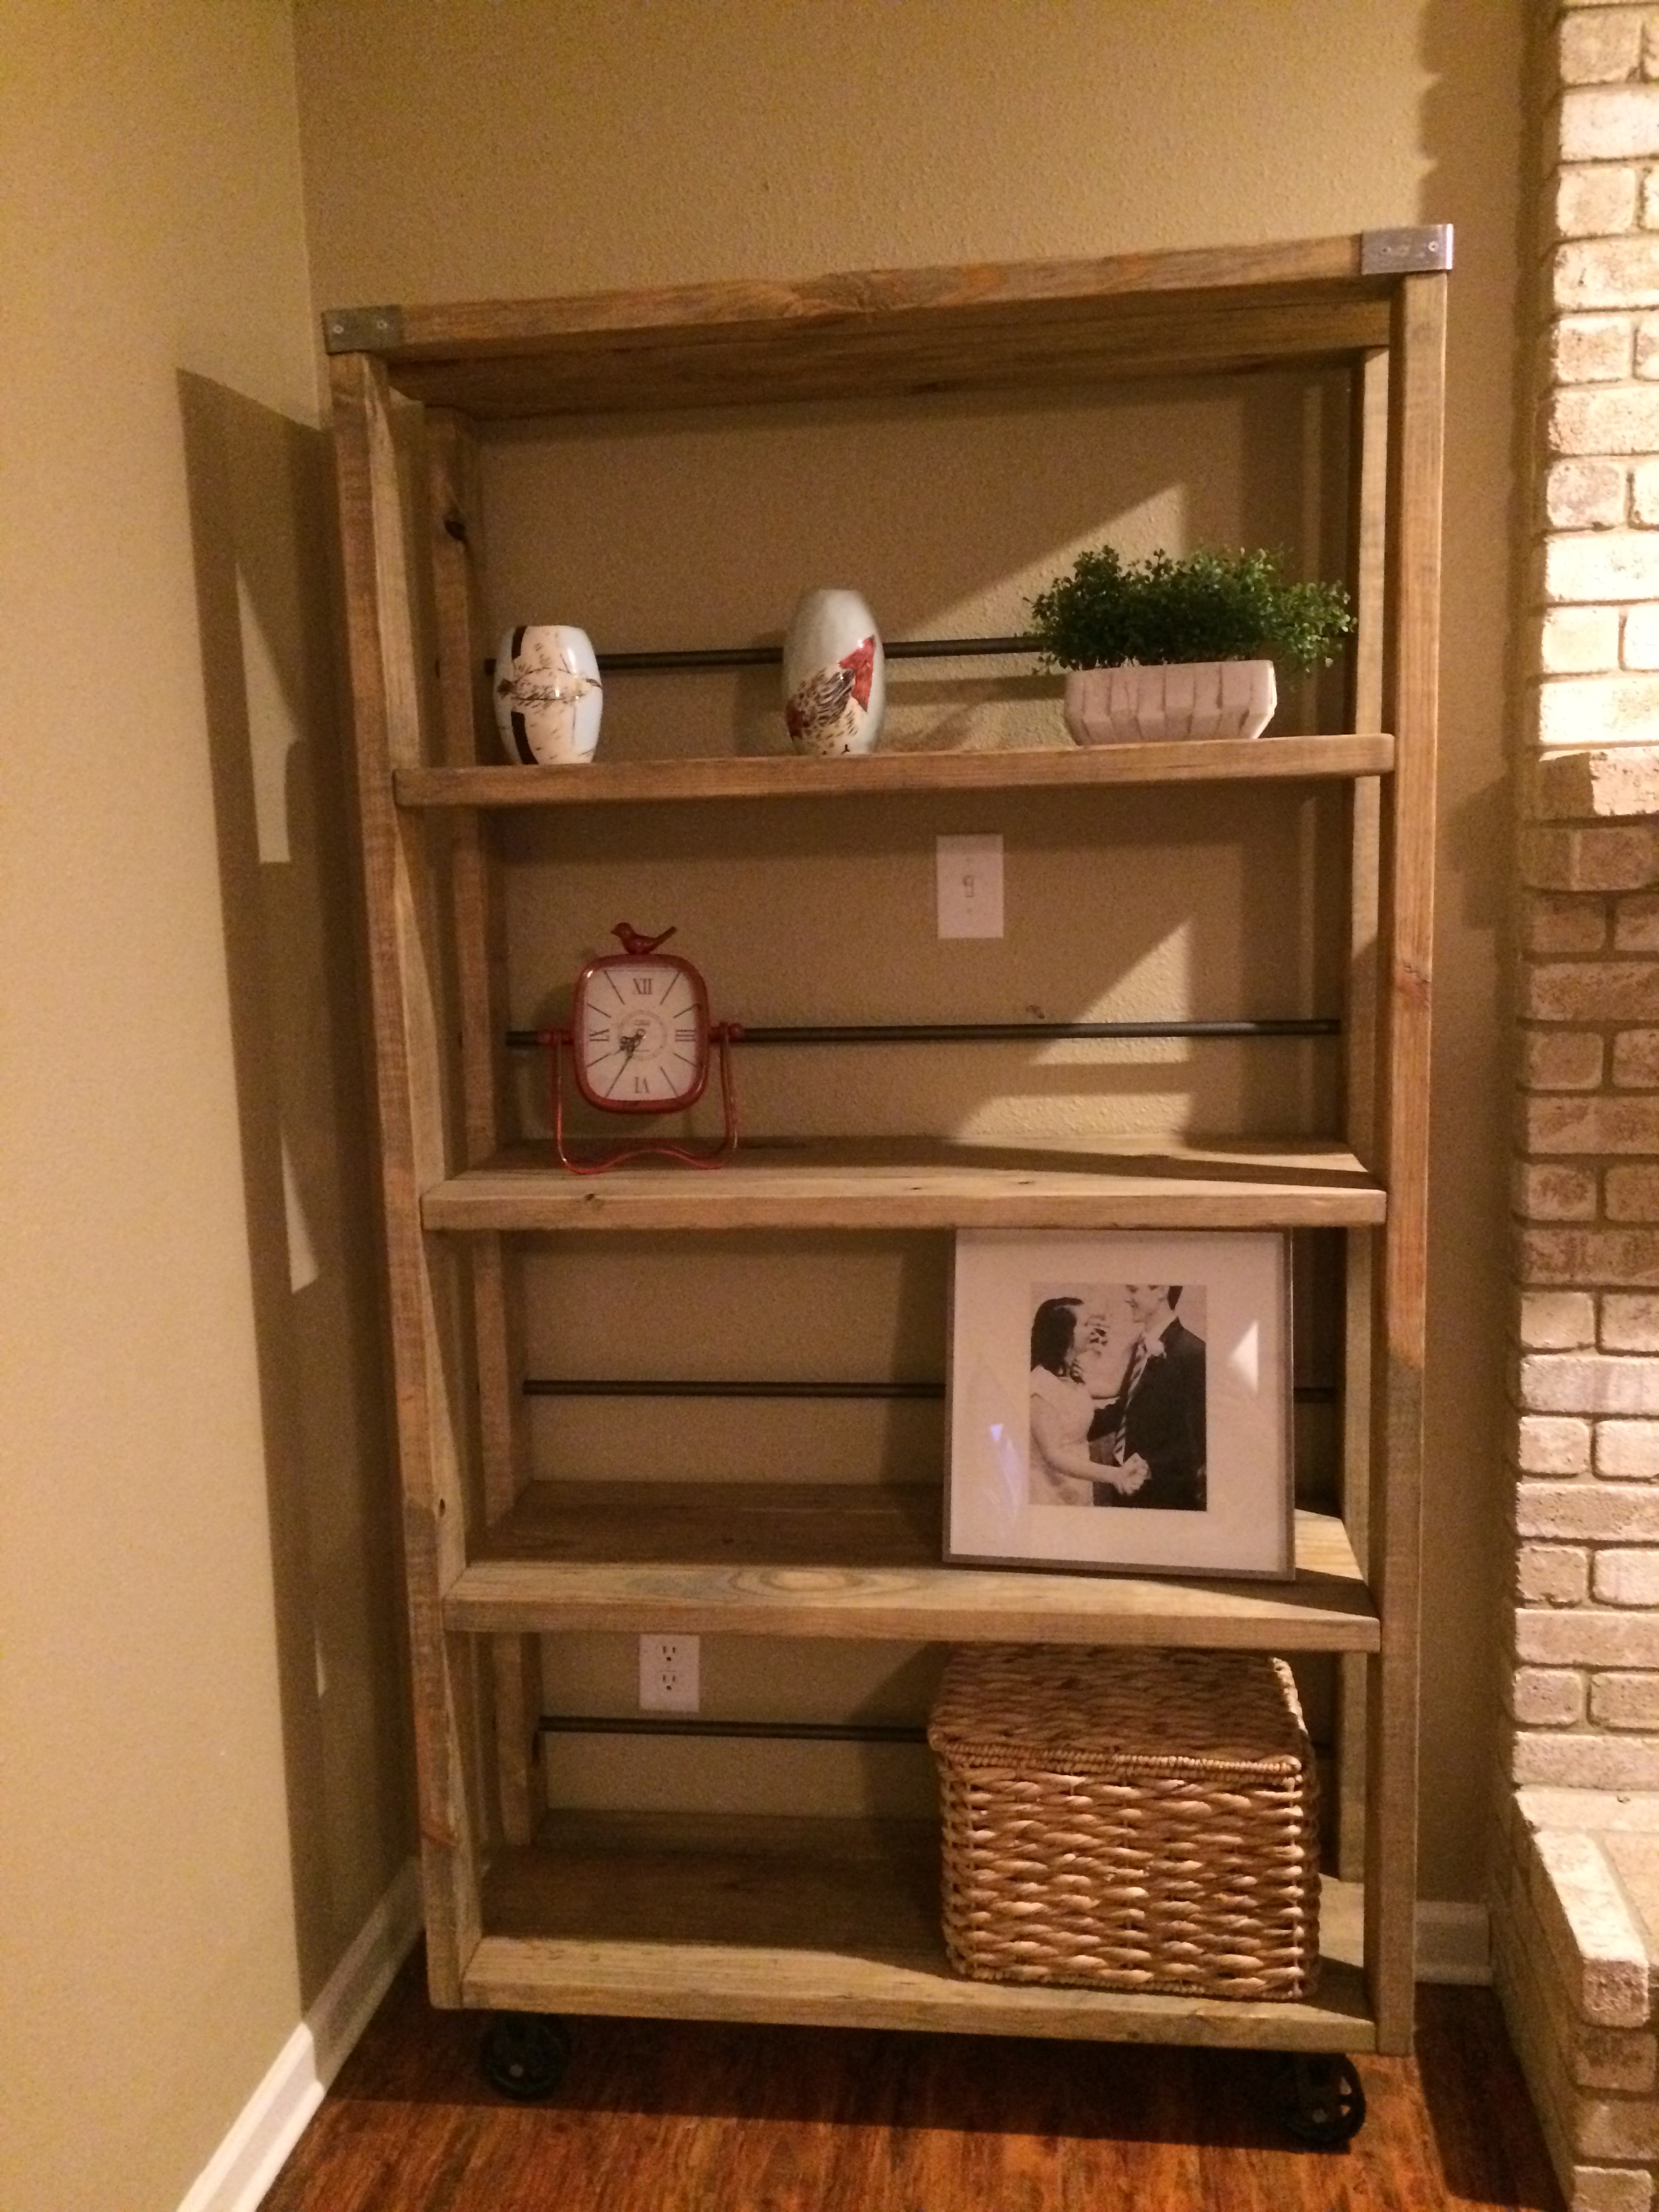
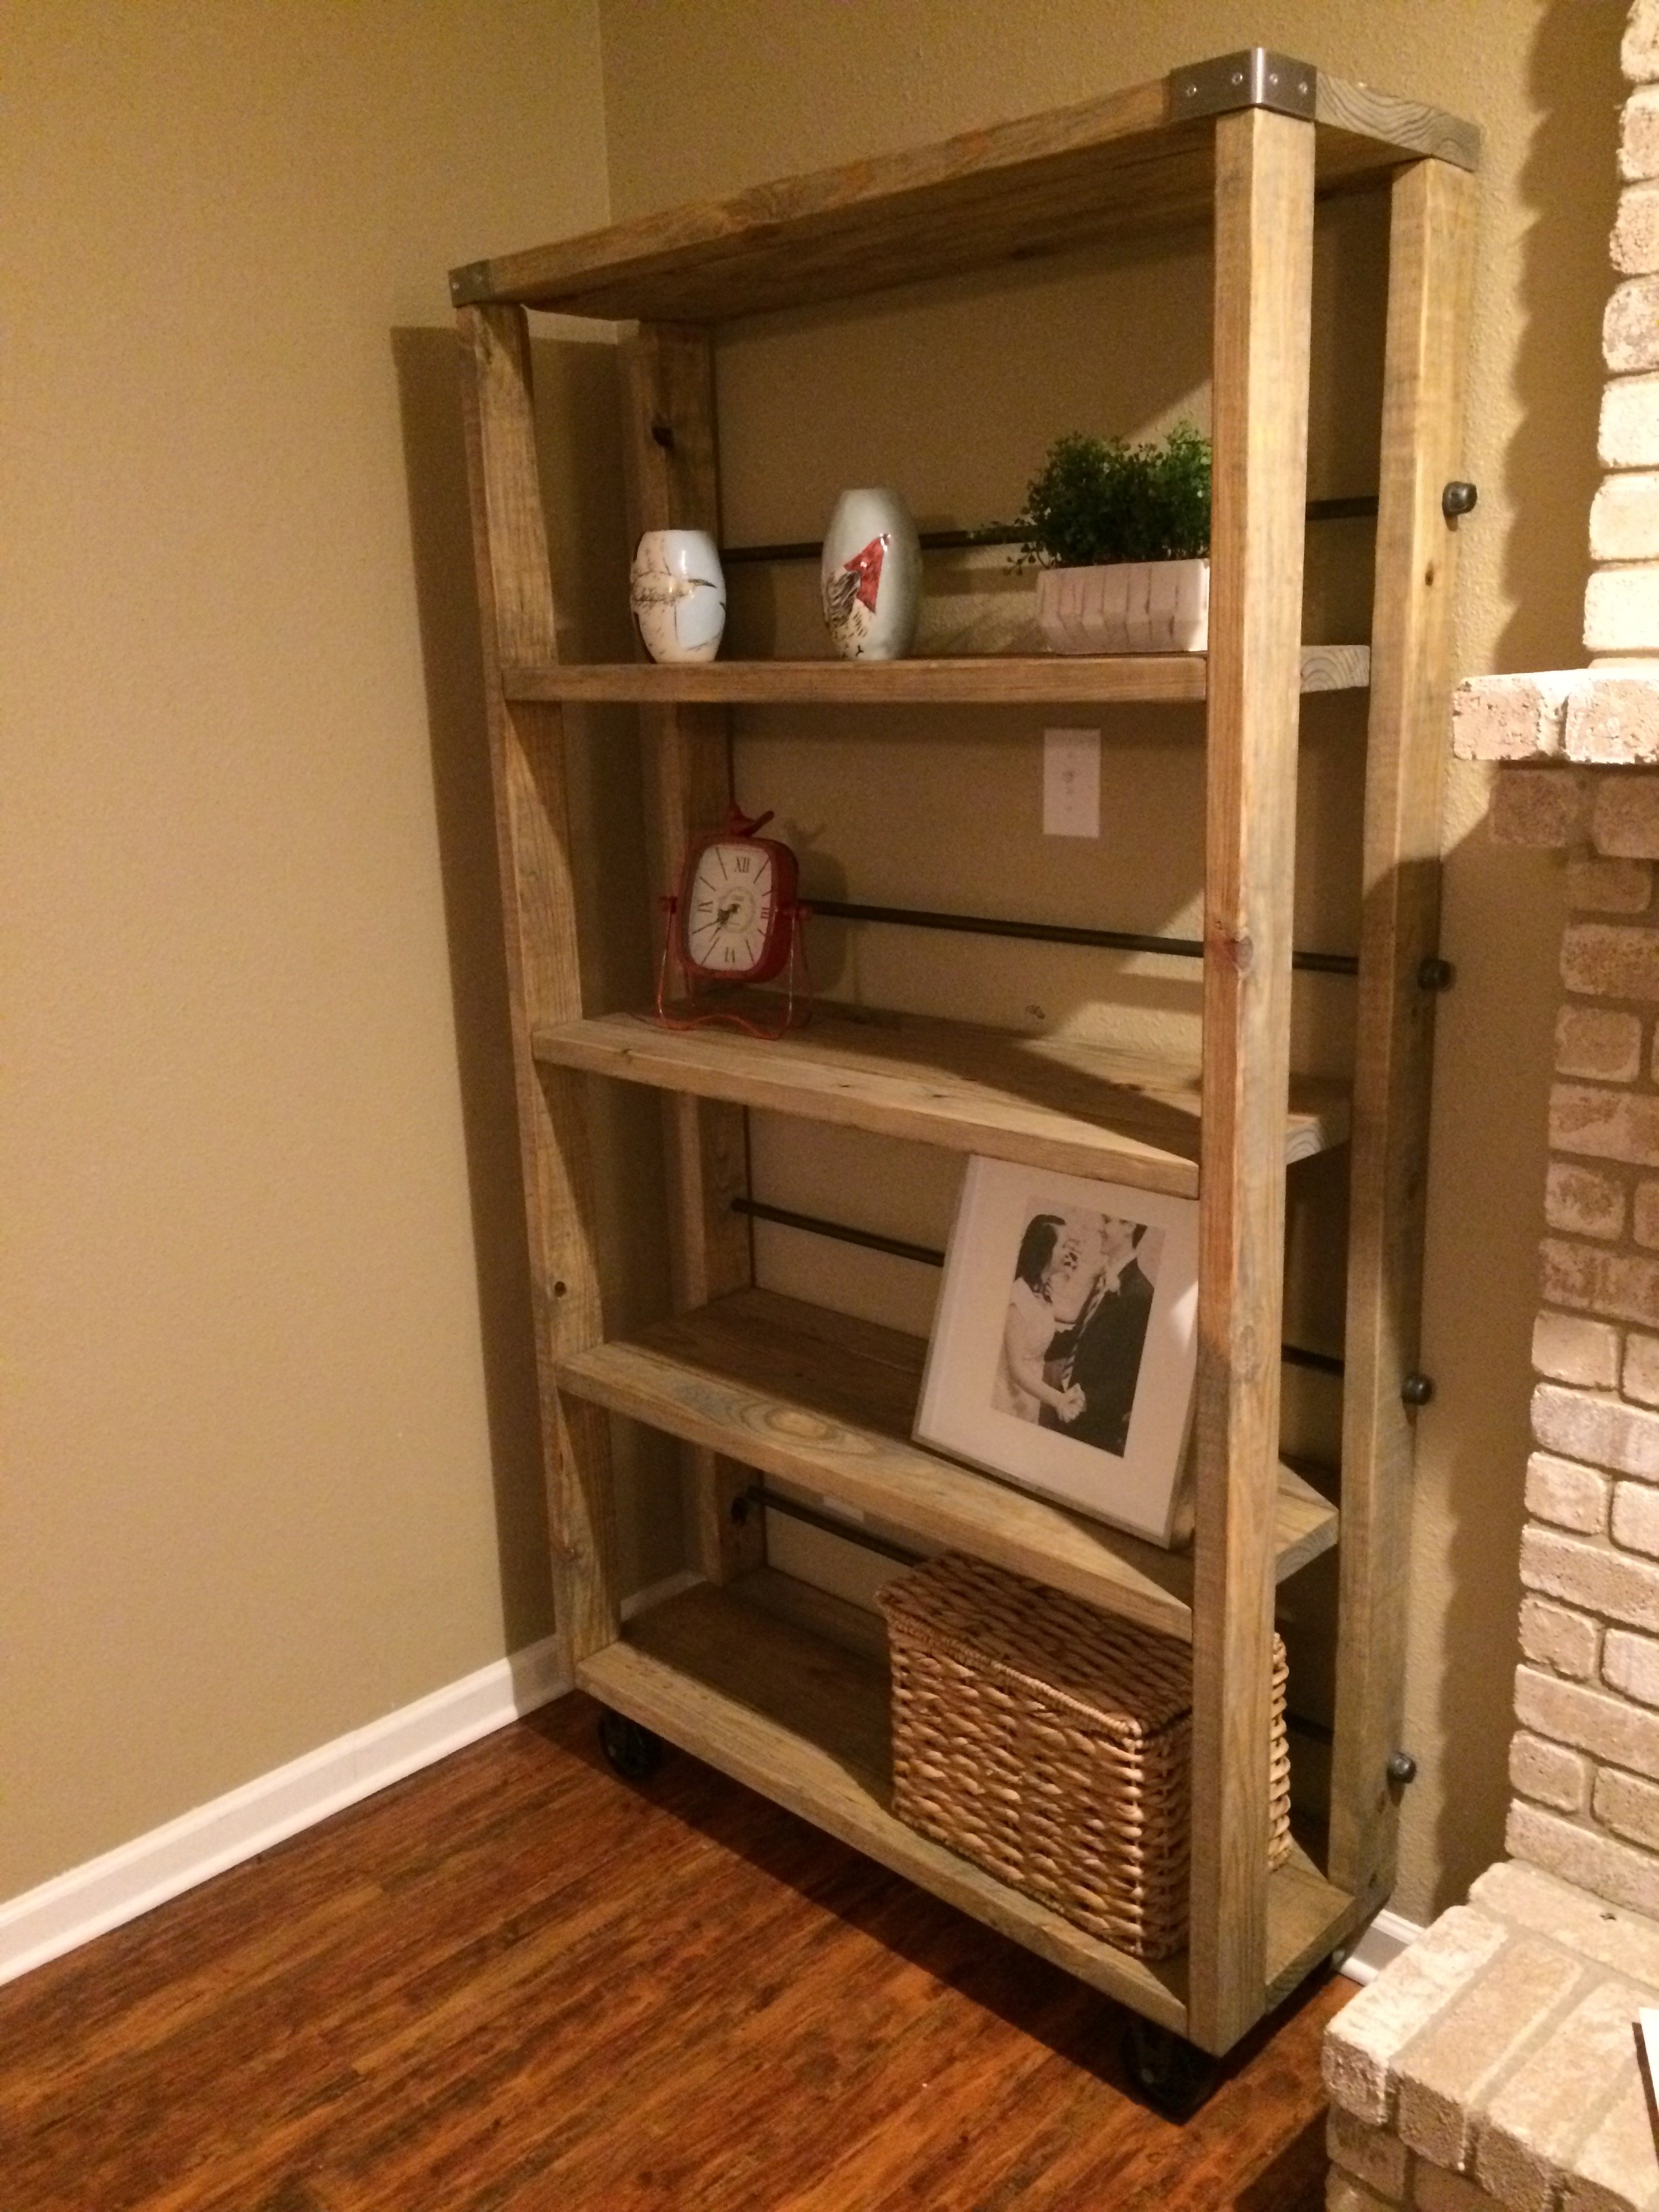
Thank for this plan, I needed something in the corner of my living room and this ended up being perfect. I followed the steps for the frame of the bookshelf as the plan outlined but made a few other changes:
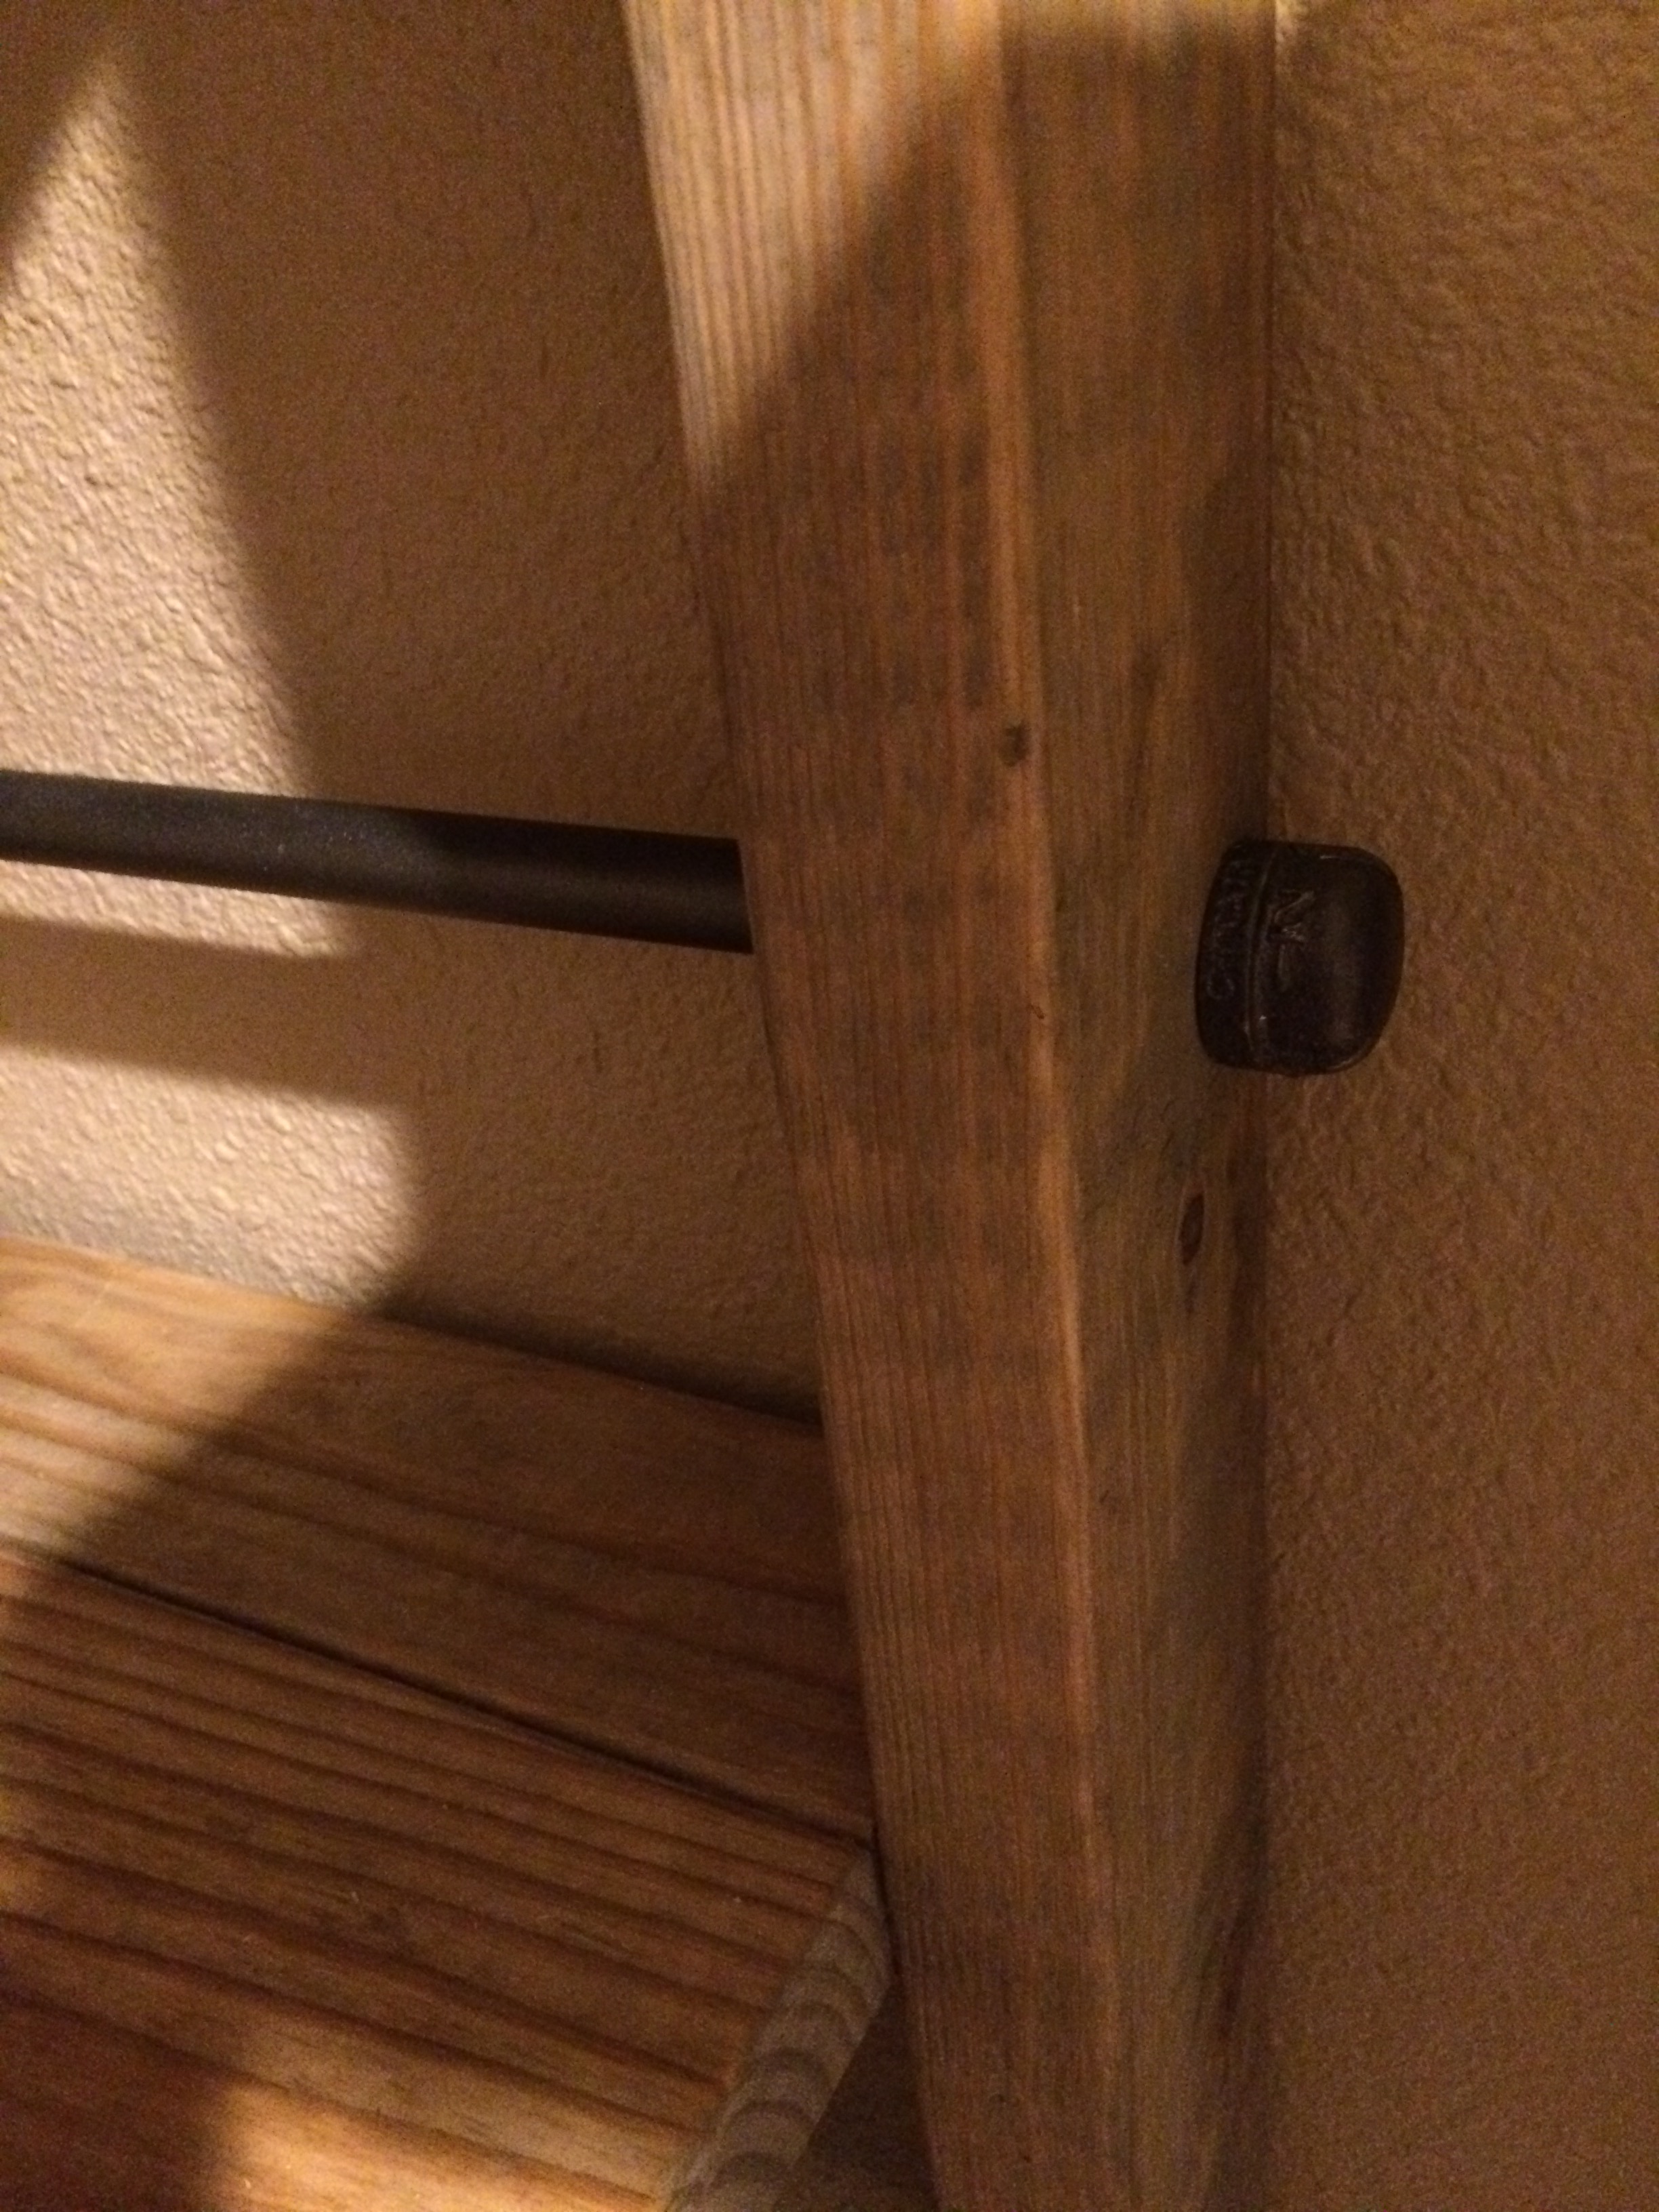
1. I put the EMT pipe a bit lower than Ana's plan, more like how the RH shelf looked. I drilled a hole 5 inches from the top of each shelf, and about 3/4 of an inch from the back (5 inches up, 3/4 over)
2. I used flat iron spray paint for the EMT pipe and caps
3. I used caps instead of having the pipe ends sticking out
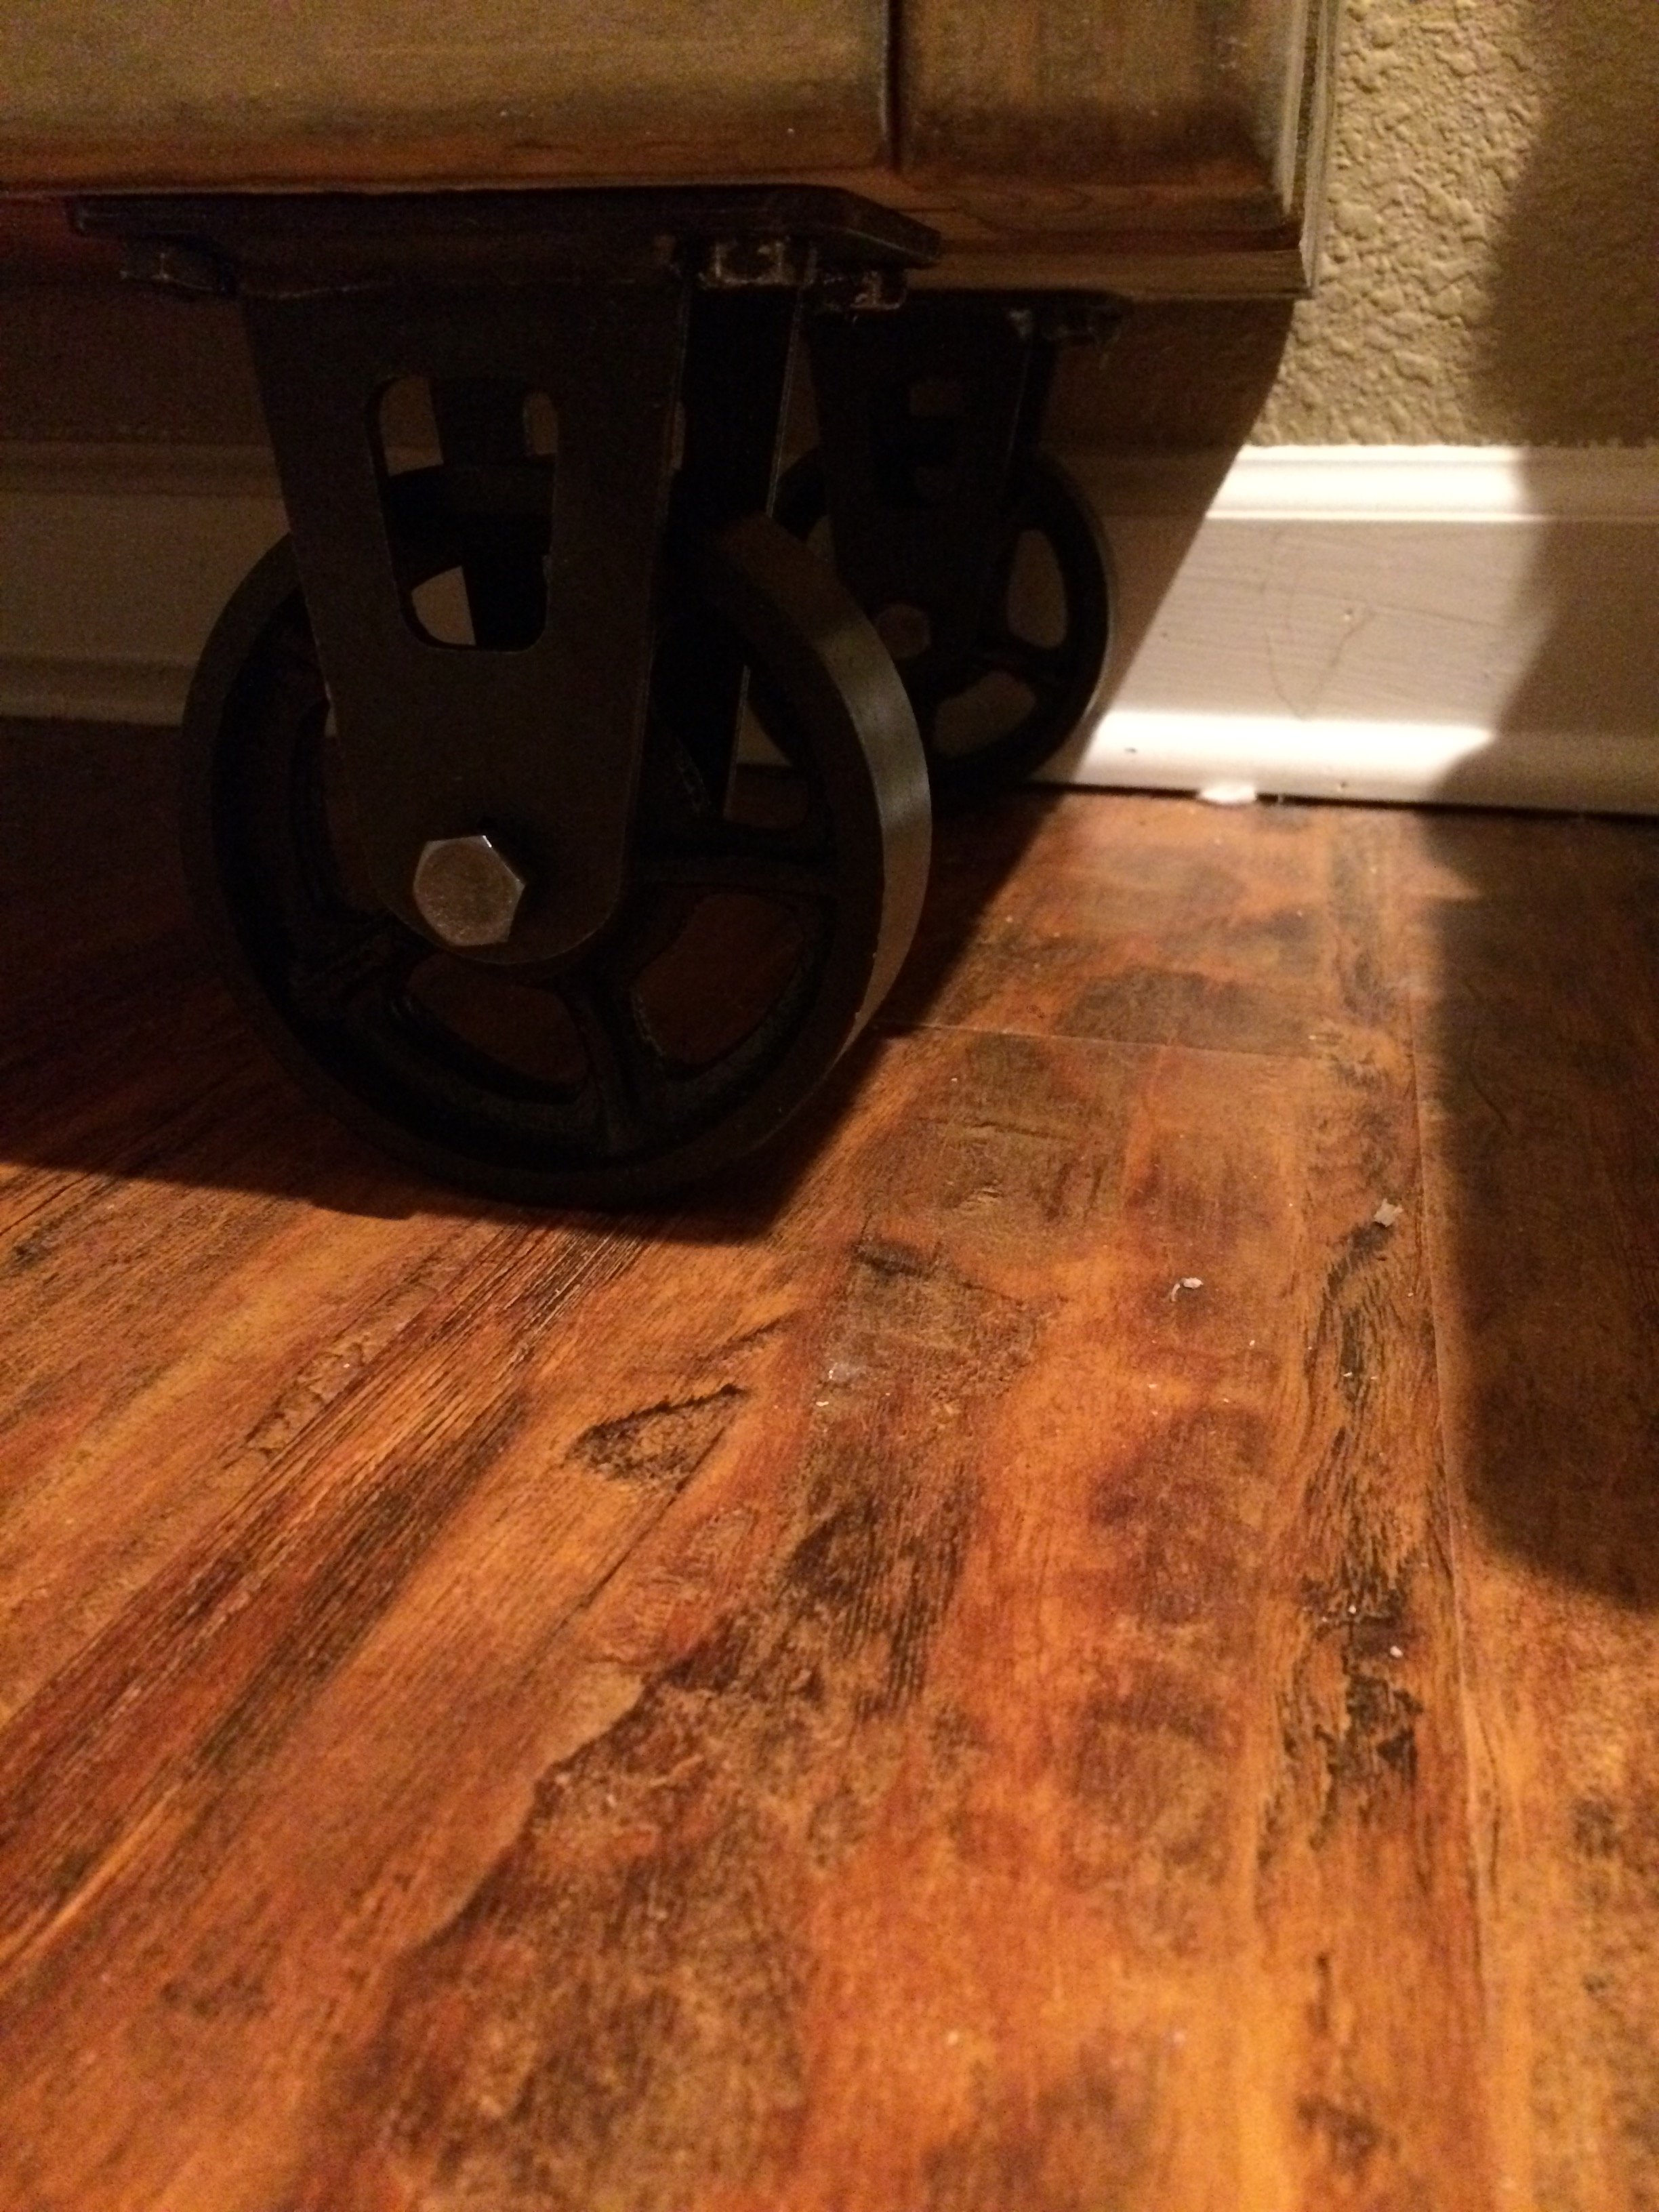
4. I used 4'' rigid caster wheels, found on etsy for $15 each
5. I used weathered oak stain
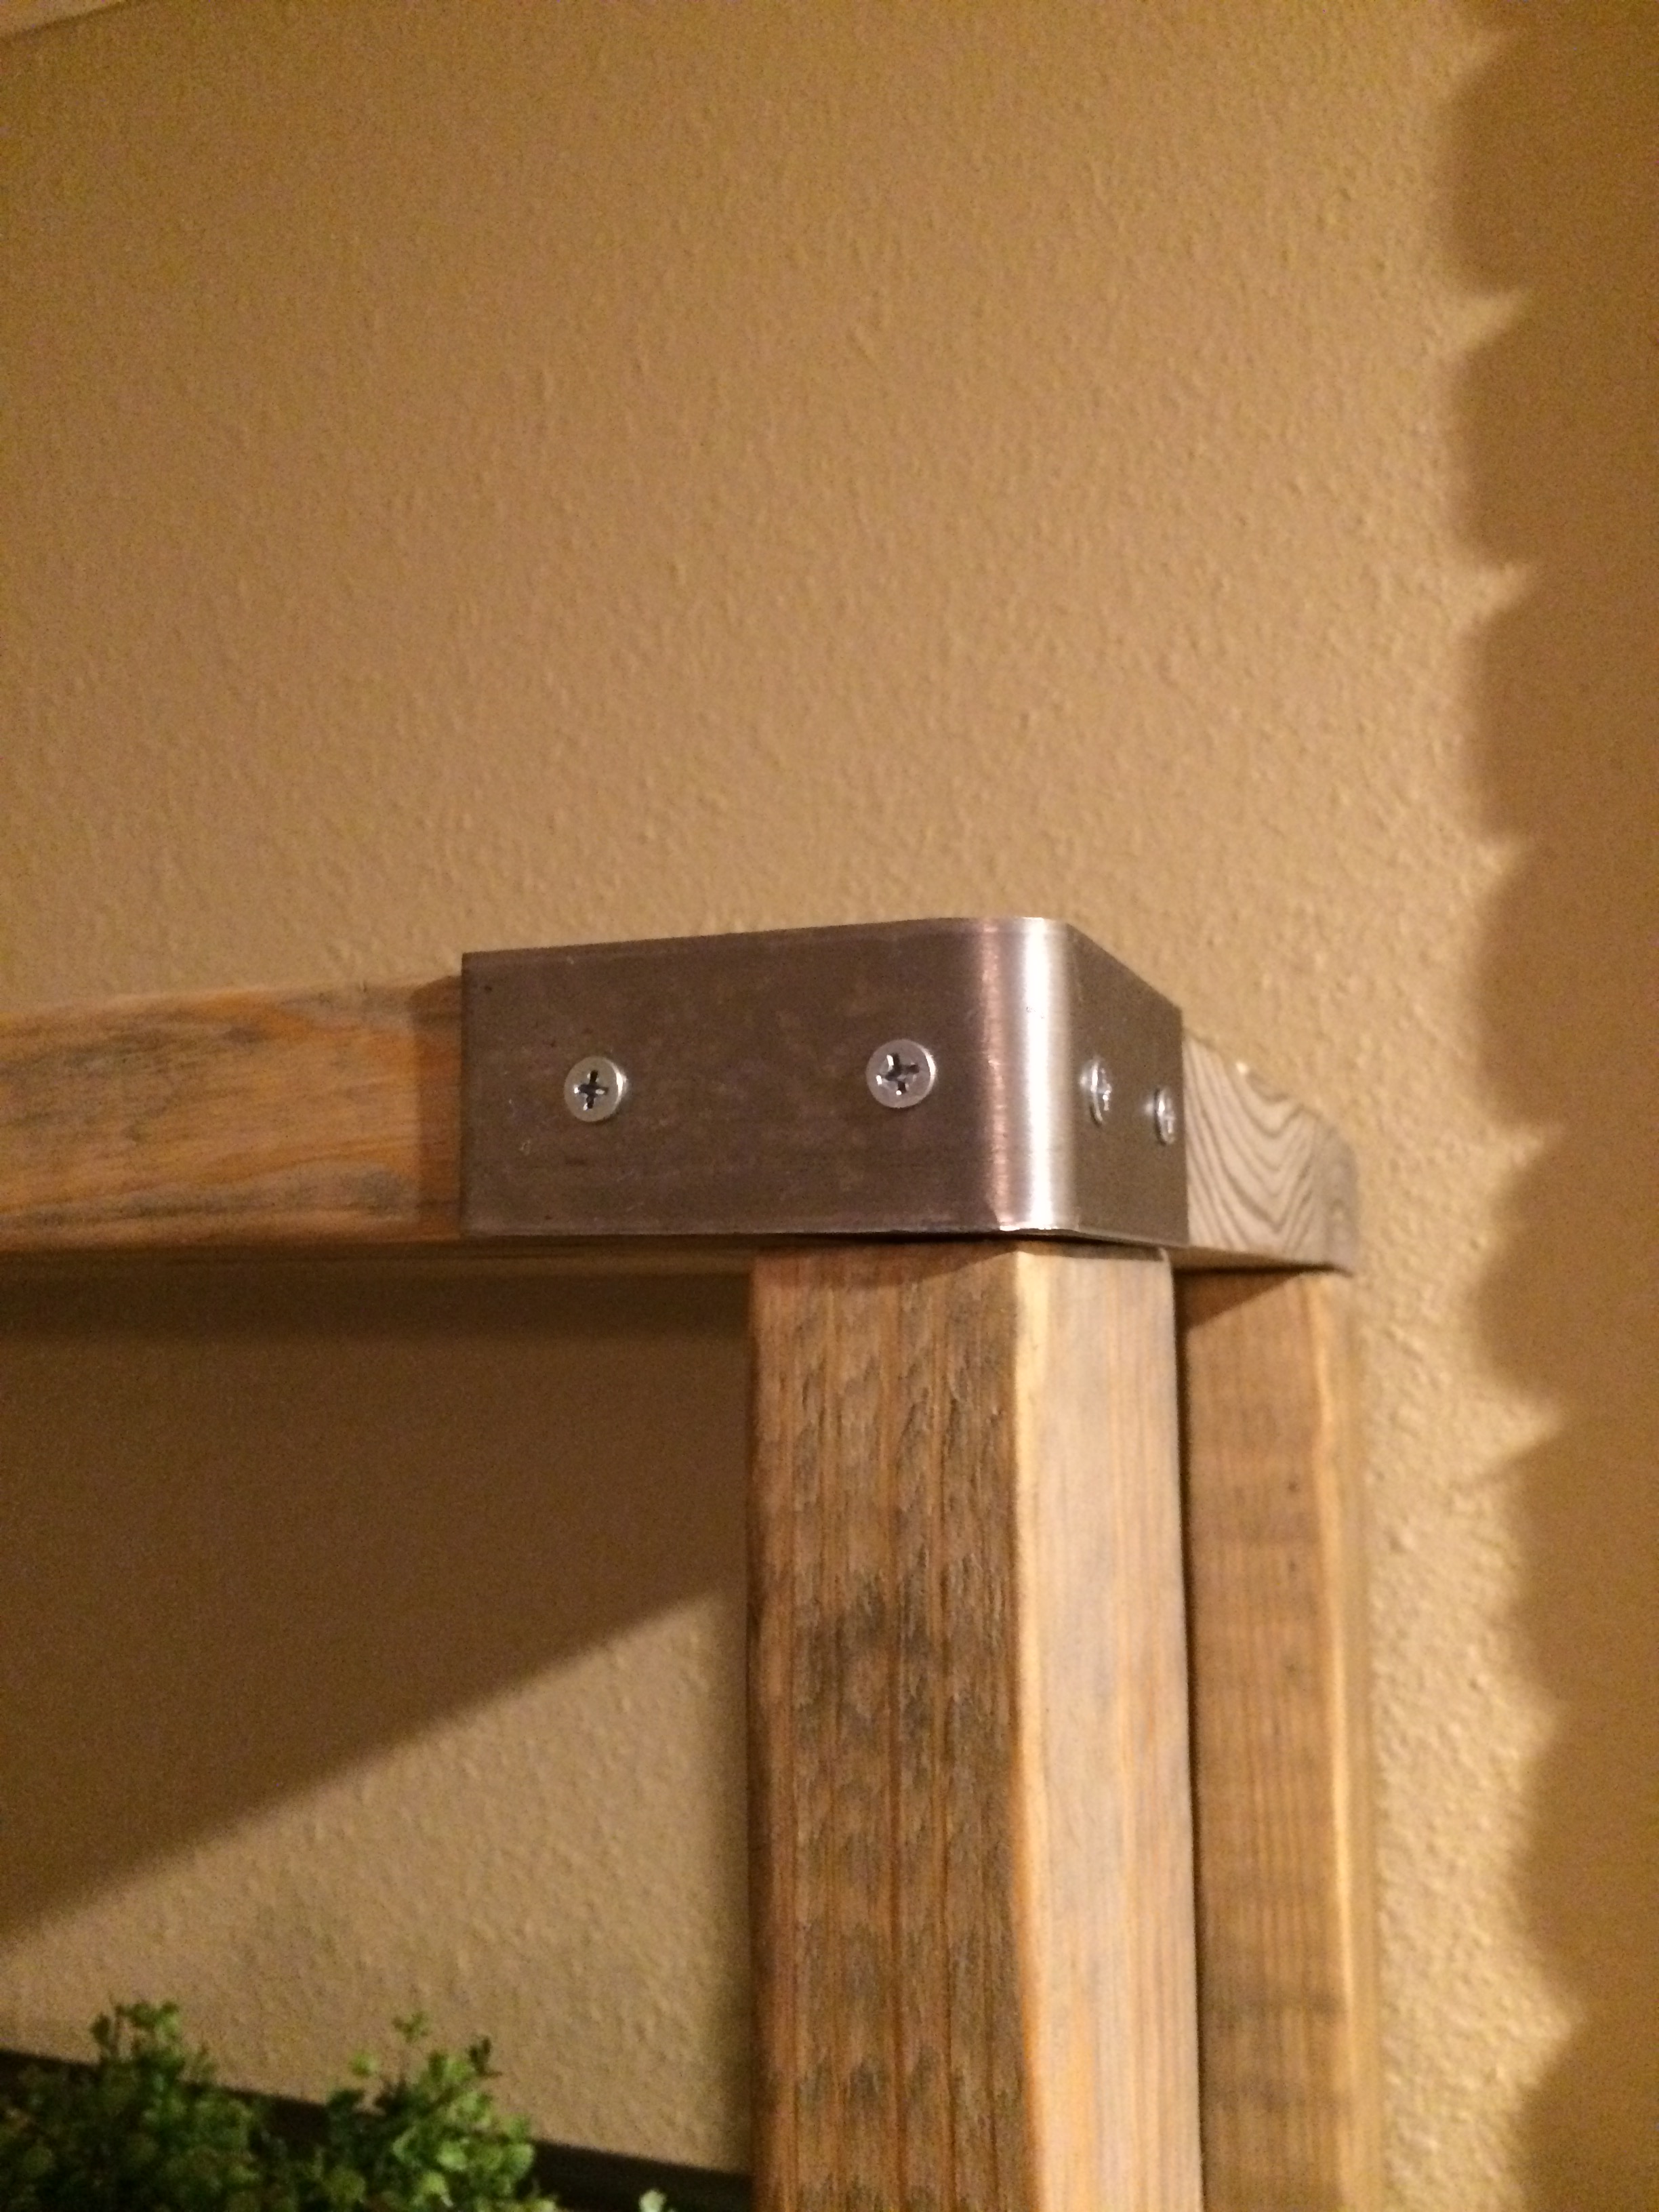
6. I couldn't find the right size corner brackets so I bought a 1.5'' wide steel flat bar from Lowes and made them myself. I cut the bar at 6'', put it in a vise and hammered it in the middle to be at 45 degrees, and drilled holes for the screws.
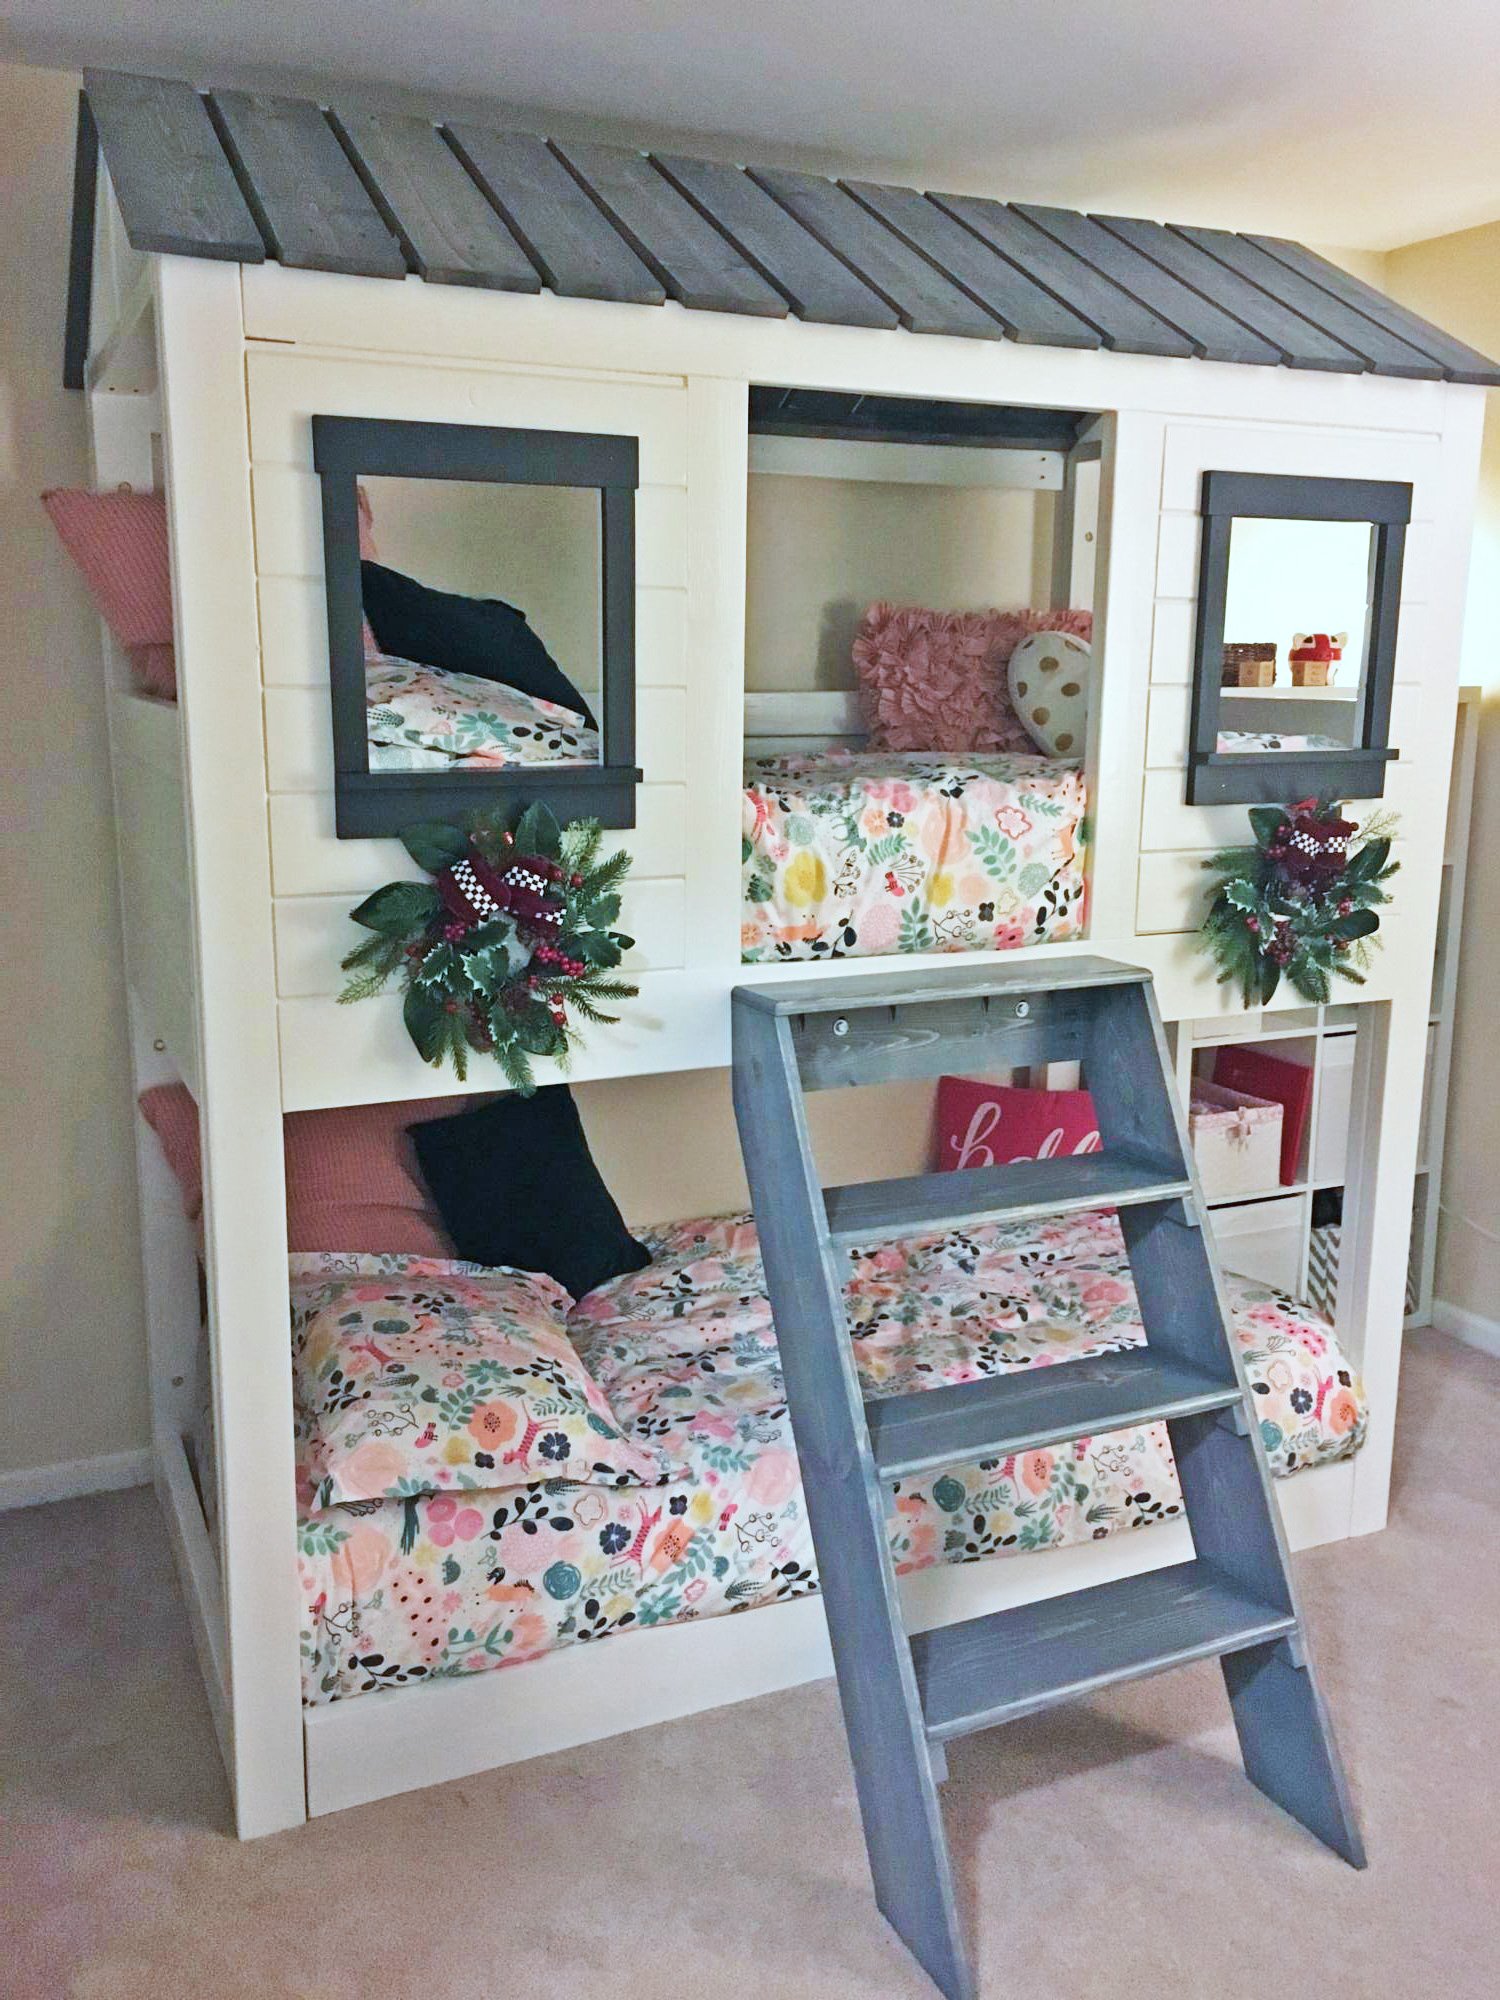
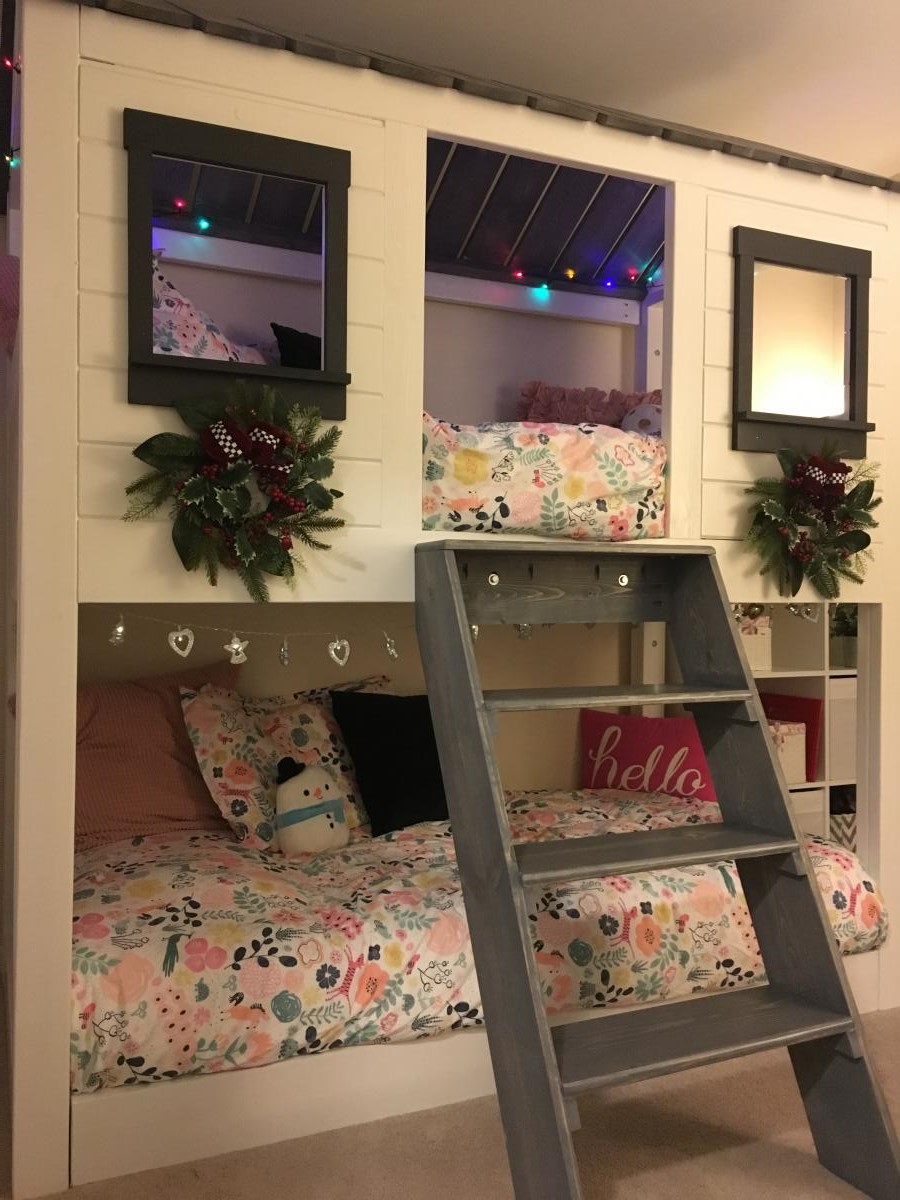
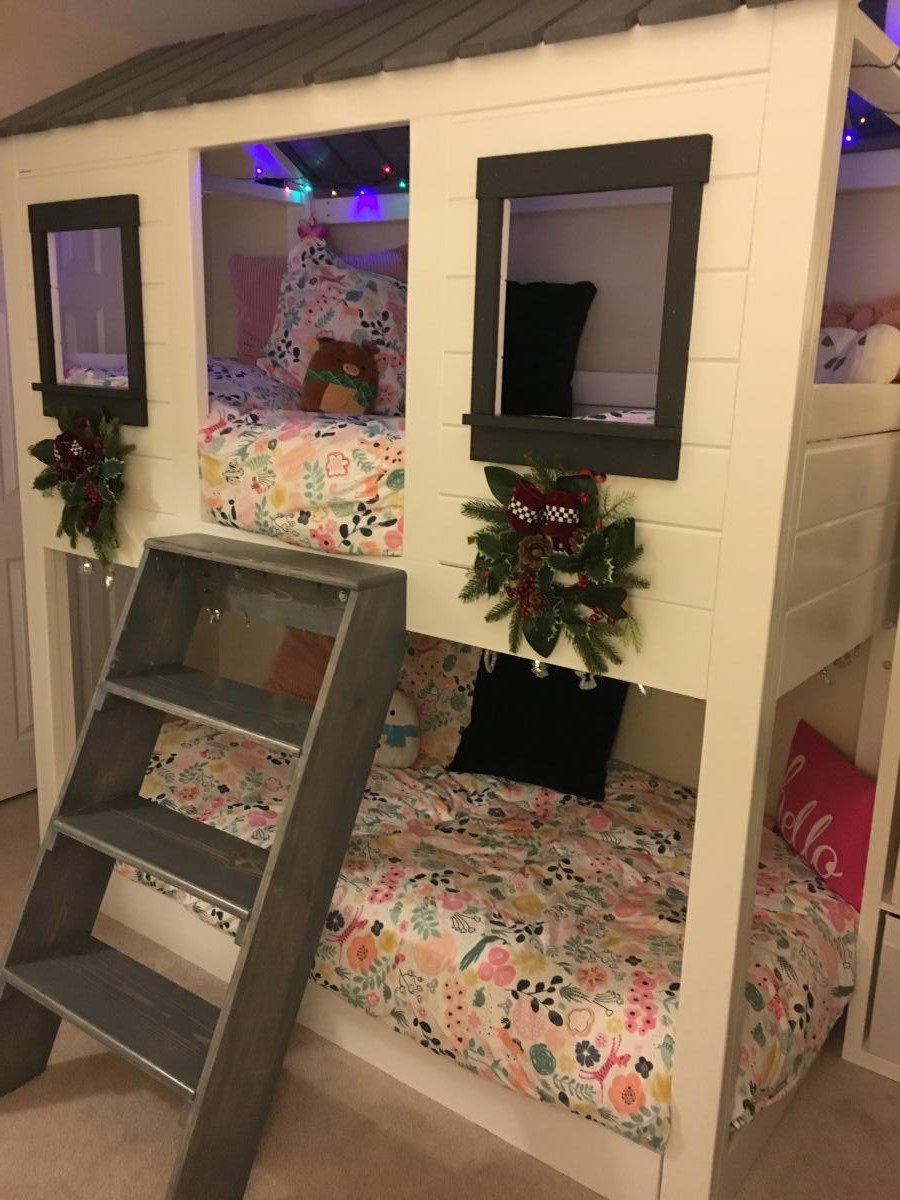
Best Christmas present according to my 4-year-old twins :) I combined ideas from Jen Woodhouse's "cabin bed" and "loft cabin bed" after seeing another brag post from someone who had turned it into a bunk bed. I added a separate platform for the lower mattress for uniformity and to provide some air circulation for the mattress. I also opted for a 2x6 as the bottom weight-bearing beam because I wanted to be able to add an extra couple pocket screws since this mama likes to play in the top bunk too! My girls took turns sleeping in the top/bottom for the first 2 nights, and have been camping out together in the top bunk ever since... and my husband and I are finally getting to sleep in on the weekends because they never want to come out of their room!
**Side note -- I'm not sure how my pictures got flipped but I have no idea how to fix it!
Wed, 01/08/2020 - 06:09
This is exactly what I am looking for. How tall is it? Can you post plans of how you modified it?
Fri, 10/02/2020 - 09:33
I am SO sorry but I haven't been on here since I posted the bunkbeds (almost 9 months ago!) I had written out all of my modified measurements on the Jen Woodhouse plans but have since lost it somewhere in my garage :( Here is what I can tell you at the moment: short side of "front" & "back" panels = 77.25" ; I kept the angles on the sides/roof the same, so the highest point of roof = 89" (I have short 8' ceilings so this leaves ~7" space up top). I used what I believe were 5" tongue & groove flooring panels instead of plywood for all sides, framed by 2x4s and 2x6 underneath for a little extra support. The height from the bottom of the top bunk to the floor is 38", and I added a 2x6 piece between the bottom legs of the 2 side pieces, flush with the outside edge. I built a rectangular frame for the bottom mattress using 2x6" on the long sides and 2x4 on the short sides -- the 2x4s are raised off the floor in order to allow for air circulation under the mattress and act as the end slats (they're flush on top with the rest of the slats, which I used 2x4s instead of the 1x in the plans)... instead of the 2x2 supports for the mattresses I used some scrap 2x3s from my kids old toddler beds which I had also built but tried to recycle as much of the wood as I could for this project, plus the 2x6 gave me a little more wiggle room -- if you use 2x4 you won't have space for 2x3 supports. The front "door" opening is 22.75", which I based on my size and me being able to get in and out easily (as mentioned above, I like to camp out with my kids sometimes!). The window openings are 12" w x 13.5" h, but the height is measured after I made a 1x3" window ledge which is flush with the inside of the wall; the rest of the windows are framed with 1x2s and 1x3s.
The full width of the side panels is 38" and the front/back are 78.5" -- I based these on the mattresses which I had already bought (Novaform twin from Costco -- since they're memory foam they're a little easier to "squeeze" in the top bunk than I would imagine a regular mattress would be).
I think that covers everything, sorry again about replying so late!
Fri, 10/02/2020 - 09:42
2 more things:
The bottom "frame" was meant to be removable for easy assembly/disassembly as my family moves a lot! That is why I used the inner 2x4s to hold the long side rails together, and the short-side 2x6s which are attached to the side frames are merely fore the illusion that it's all one piece. I did place a couple 2.5" screws through the inside of the 2x4s right into the legs of the upper bunk to make sure it stays in place.
When building the front panels with the windows, I decided on door opening first, then window opening (based on the size of the tongue & groove flooring), then calculated the width of all the pieces to create the window opening. I used pocked holes to connect the tongue & groove flooring to the "frame" created by the 2x4 pieces, and TONS of wood glue in between the boards. Adding the window frames with glue & nails helped provide a little more stability to the windows, although once the glue was dry there was zero movement around the window but I never know with my extremely-destructive twins! Now they're able to climb all over the bunk using the window ledge for support and it's no problem.
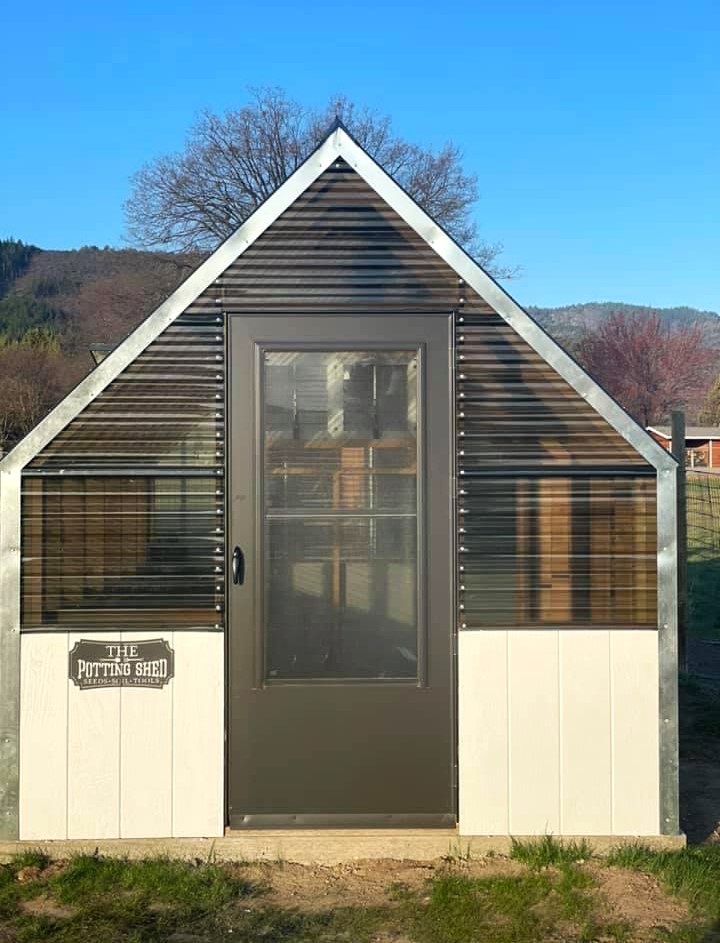
We built our greenhouse a couple years ago and I absolutely love it! We just recently ran electricity to it so I can use heat mats and get an earlier start on my seeds!
Kristin Golden @goldenacresgirl
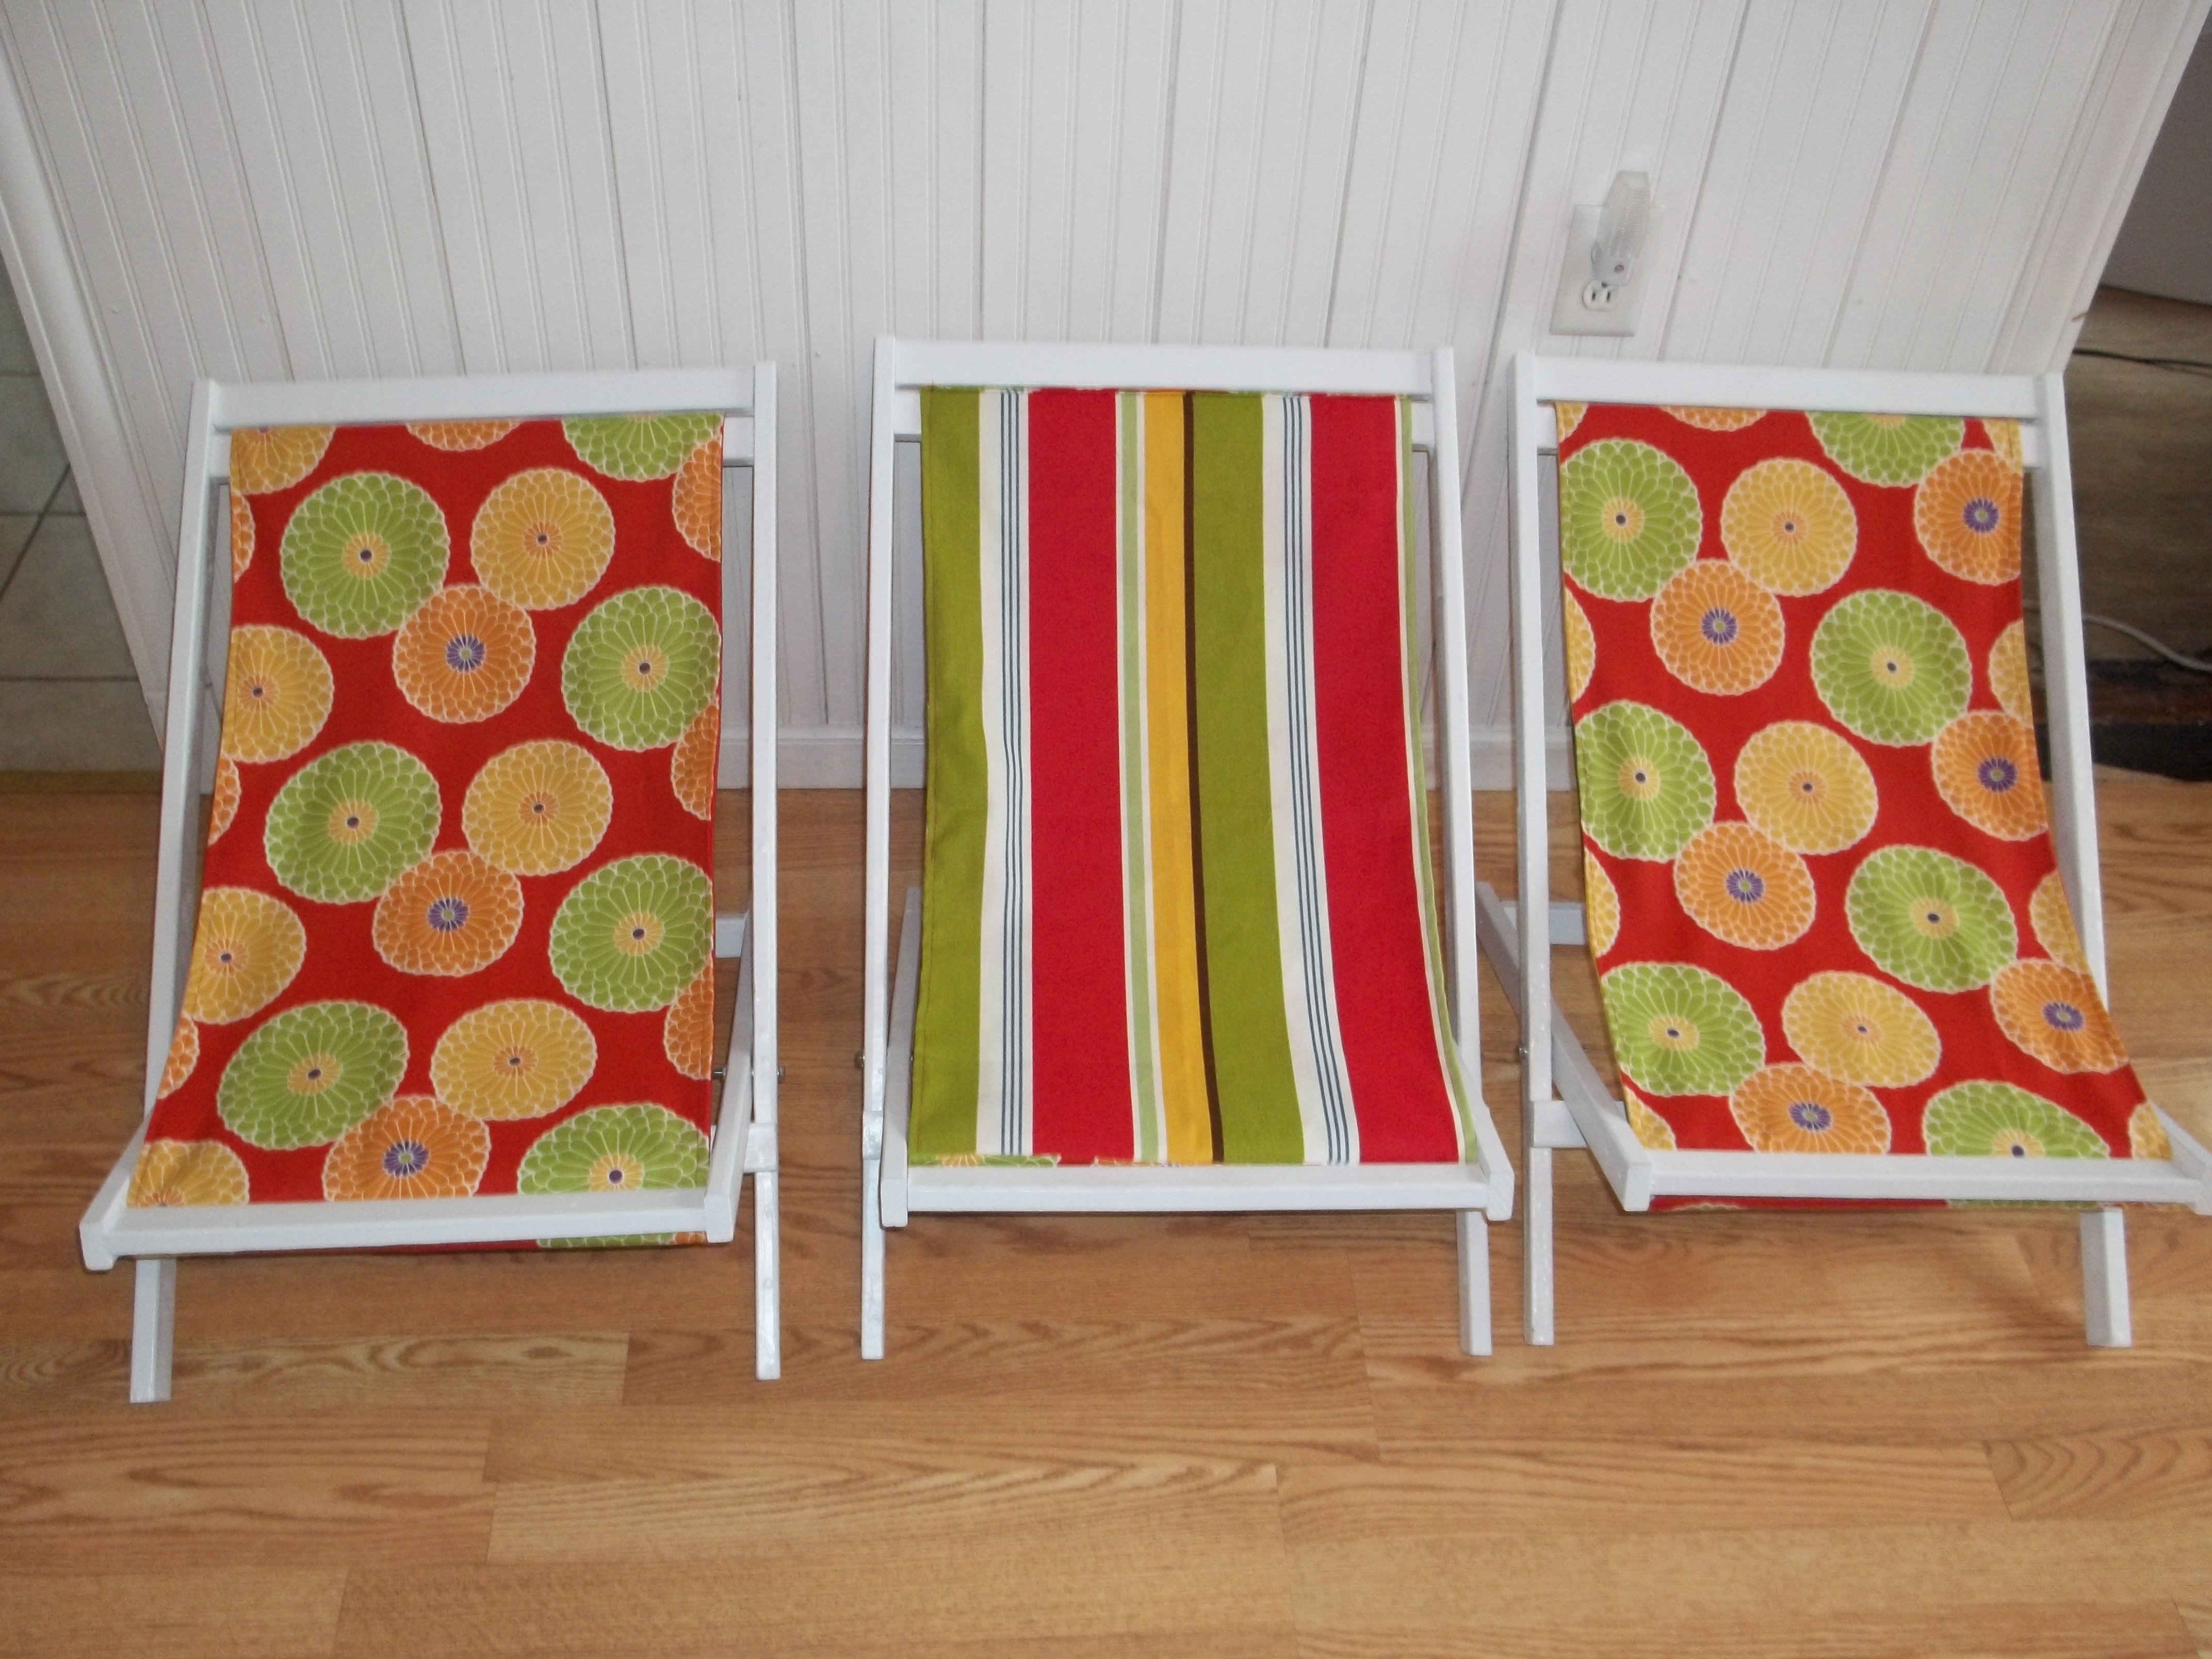
This is my first project. I wanted to make something for my three neices for Easter. I thought this looked like a good starter project. I used spray paint, but I wish I would've used regular paint, as they got kind of drippy and I had to sand the drips off. I think they would've also been cheaper if I would've used regular paint instead of the spray paint. We also do not have a fabric store in the area, so I had to order it on-line and paid shipping. But I did love the fabric that I found.
I'm pretty happy how they turned out. Now I want to try something else!
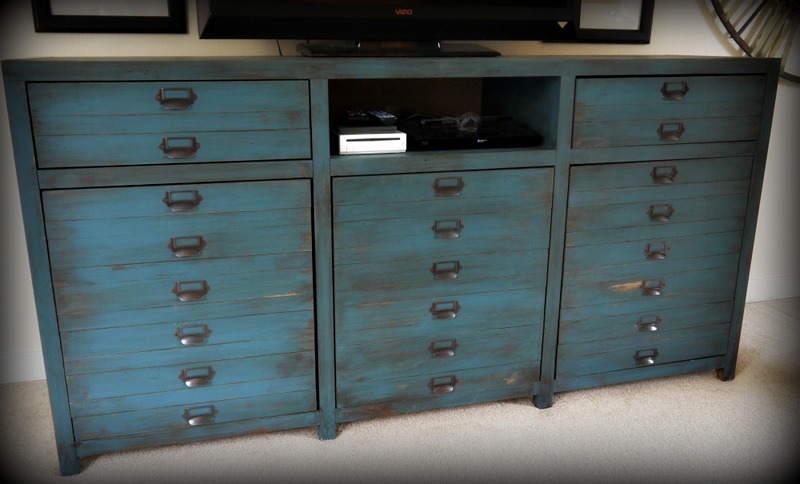
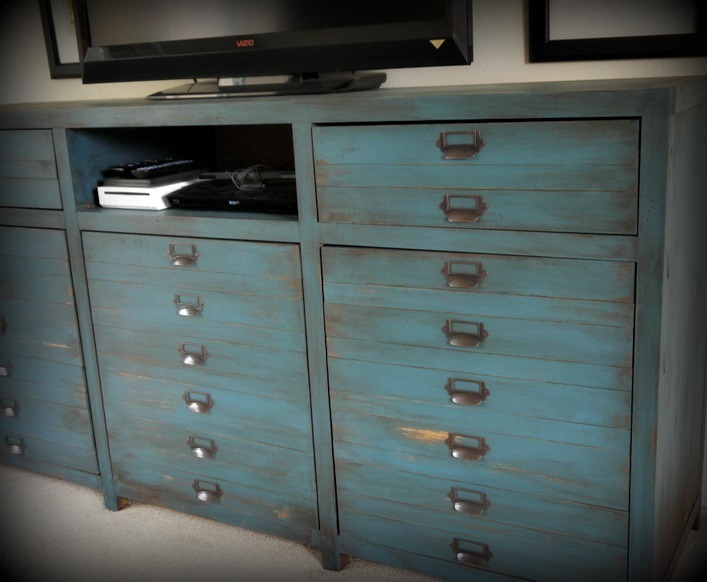
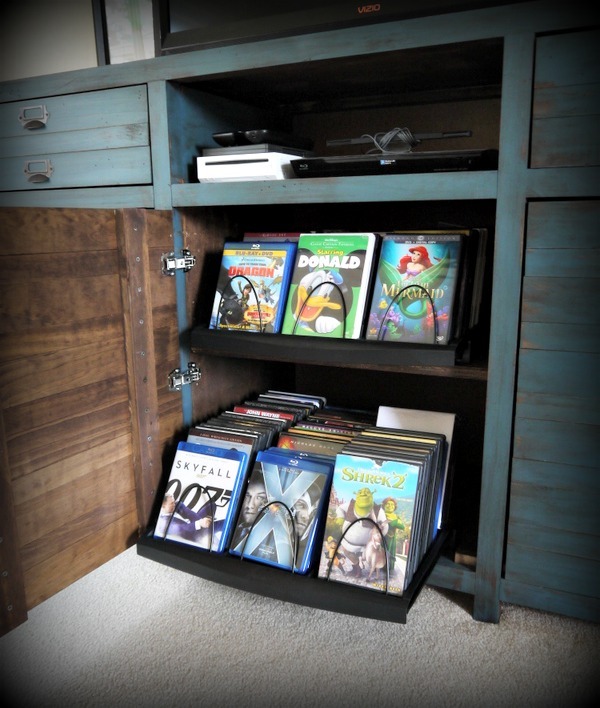
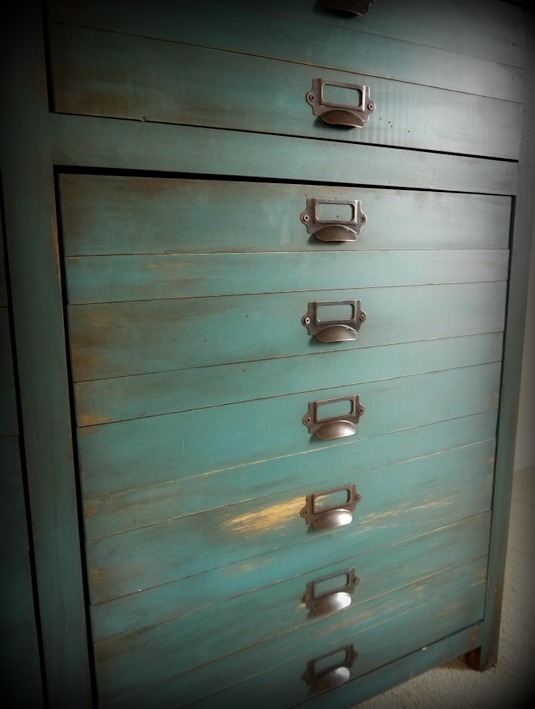
This Printers Console functions as our entertainment center! I omitted the center drawer in favor of a shelf to hold the Wii console and DVD player. I added three DVD storage racks behind the cupboard doors. More details available here: http://redhenhome.blogspot.com/2014/01/triple-printers-console-cabinet…

Tue, 01/28/2014 - 05:56
Love the finish that you used on this. I've been wanting to give chalk paint a try. May have to do that on my next project.

Tue, 01/28/2014 - 08:03
Gorgeous! This project is on my to-do list but I've got a couple other things that must be done first. And I can't do anything until our weather warms up into positive numbers since my workshop isn't heated or insulated. I hope mine turns out looking as good as yours does.