Hockey 'lockers'
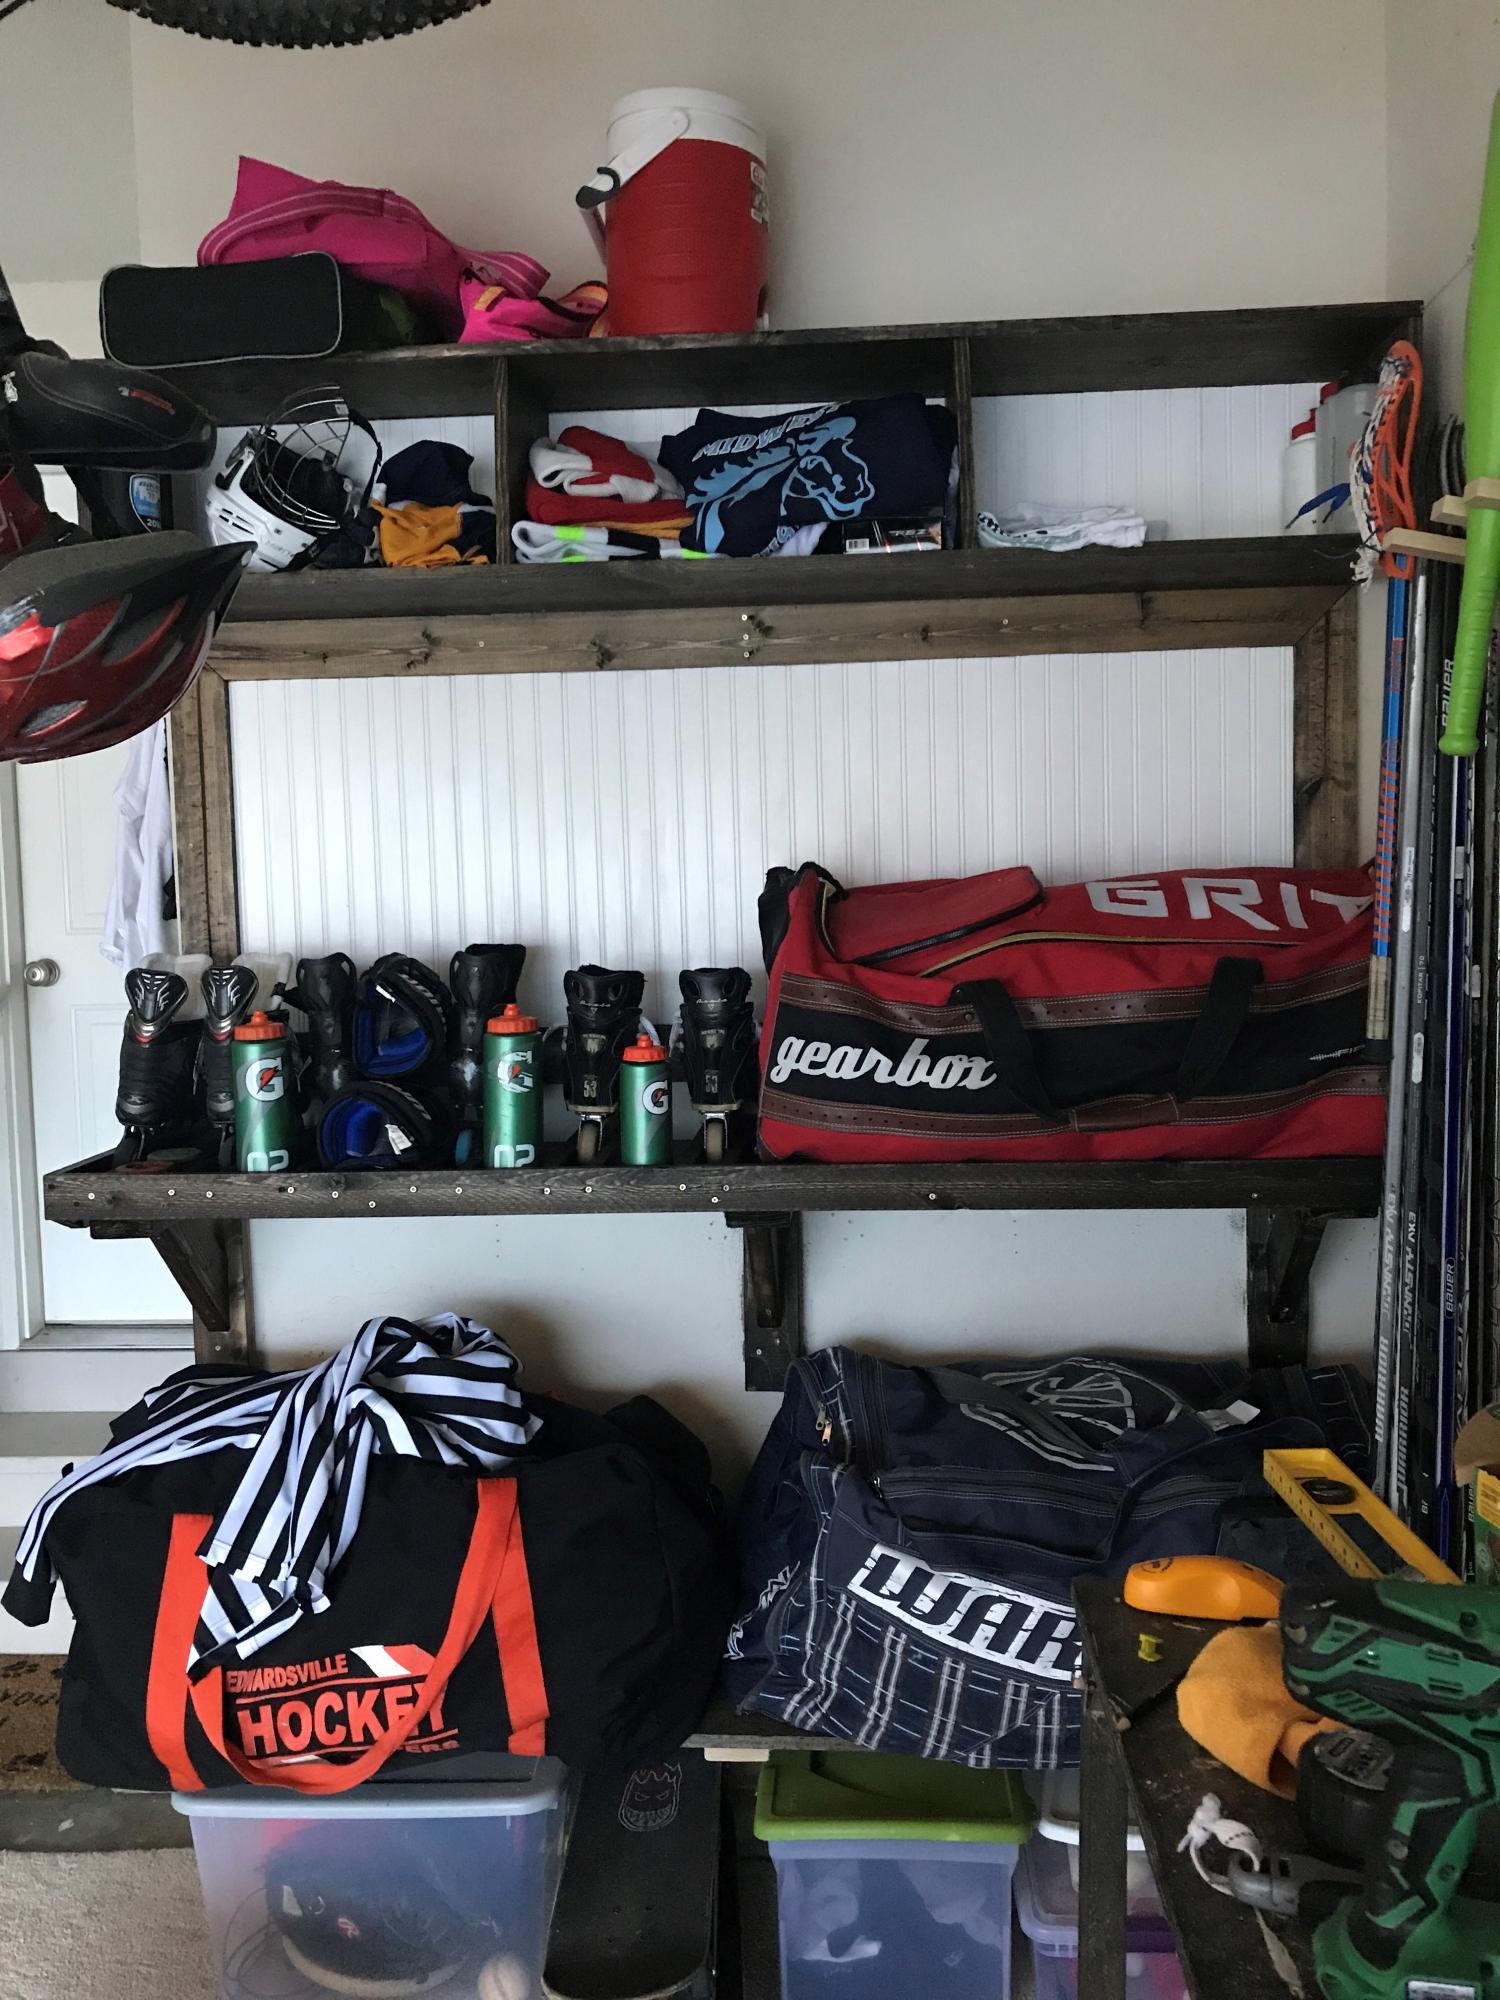
I needed something to organize our hockey gear so I customized this mudroom idea. It turned out great and makes me feel better when I walk in the garage. Everything must have a place!

I needed something to organize our hockey gear so I customized this mudroom idea. It turned out great and makes me feel better when I walk in the garage. Everything must have a place!
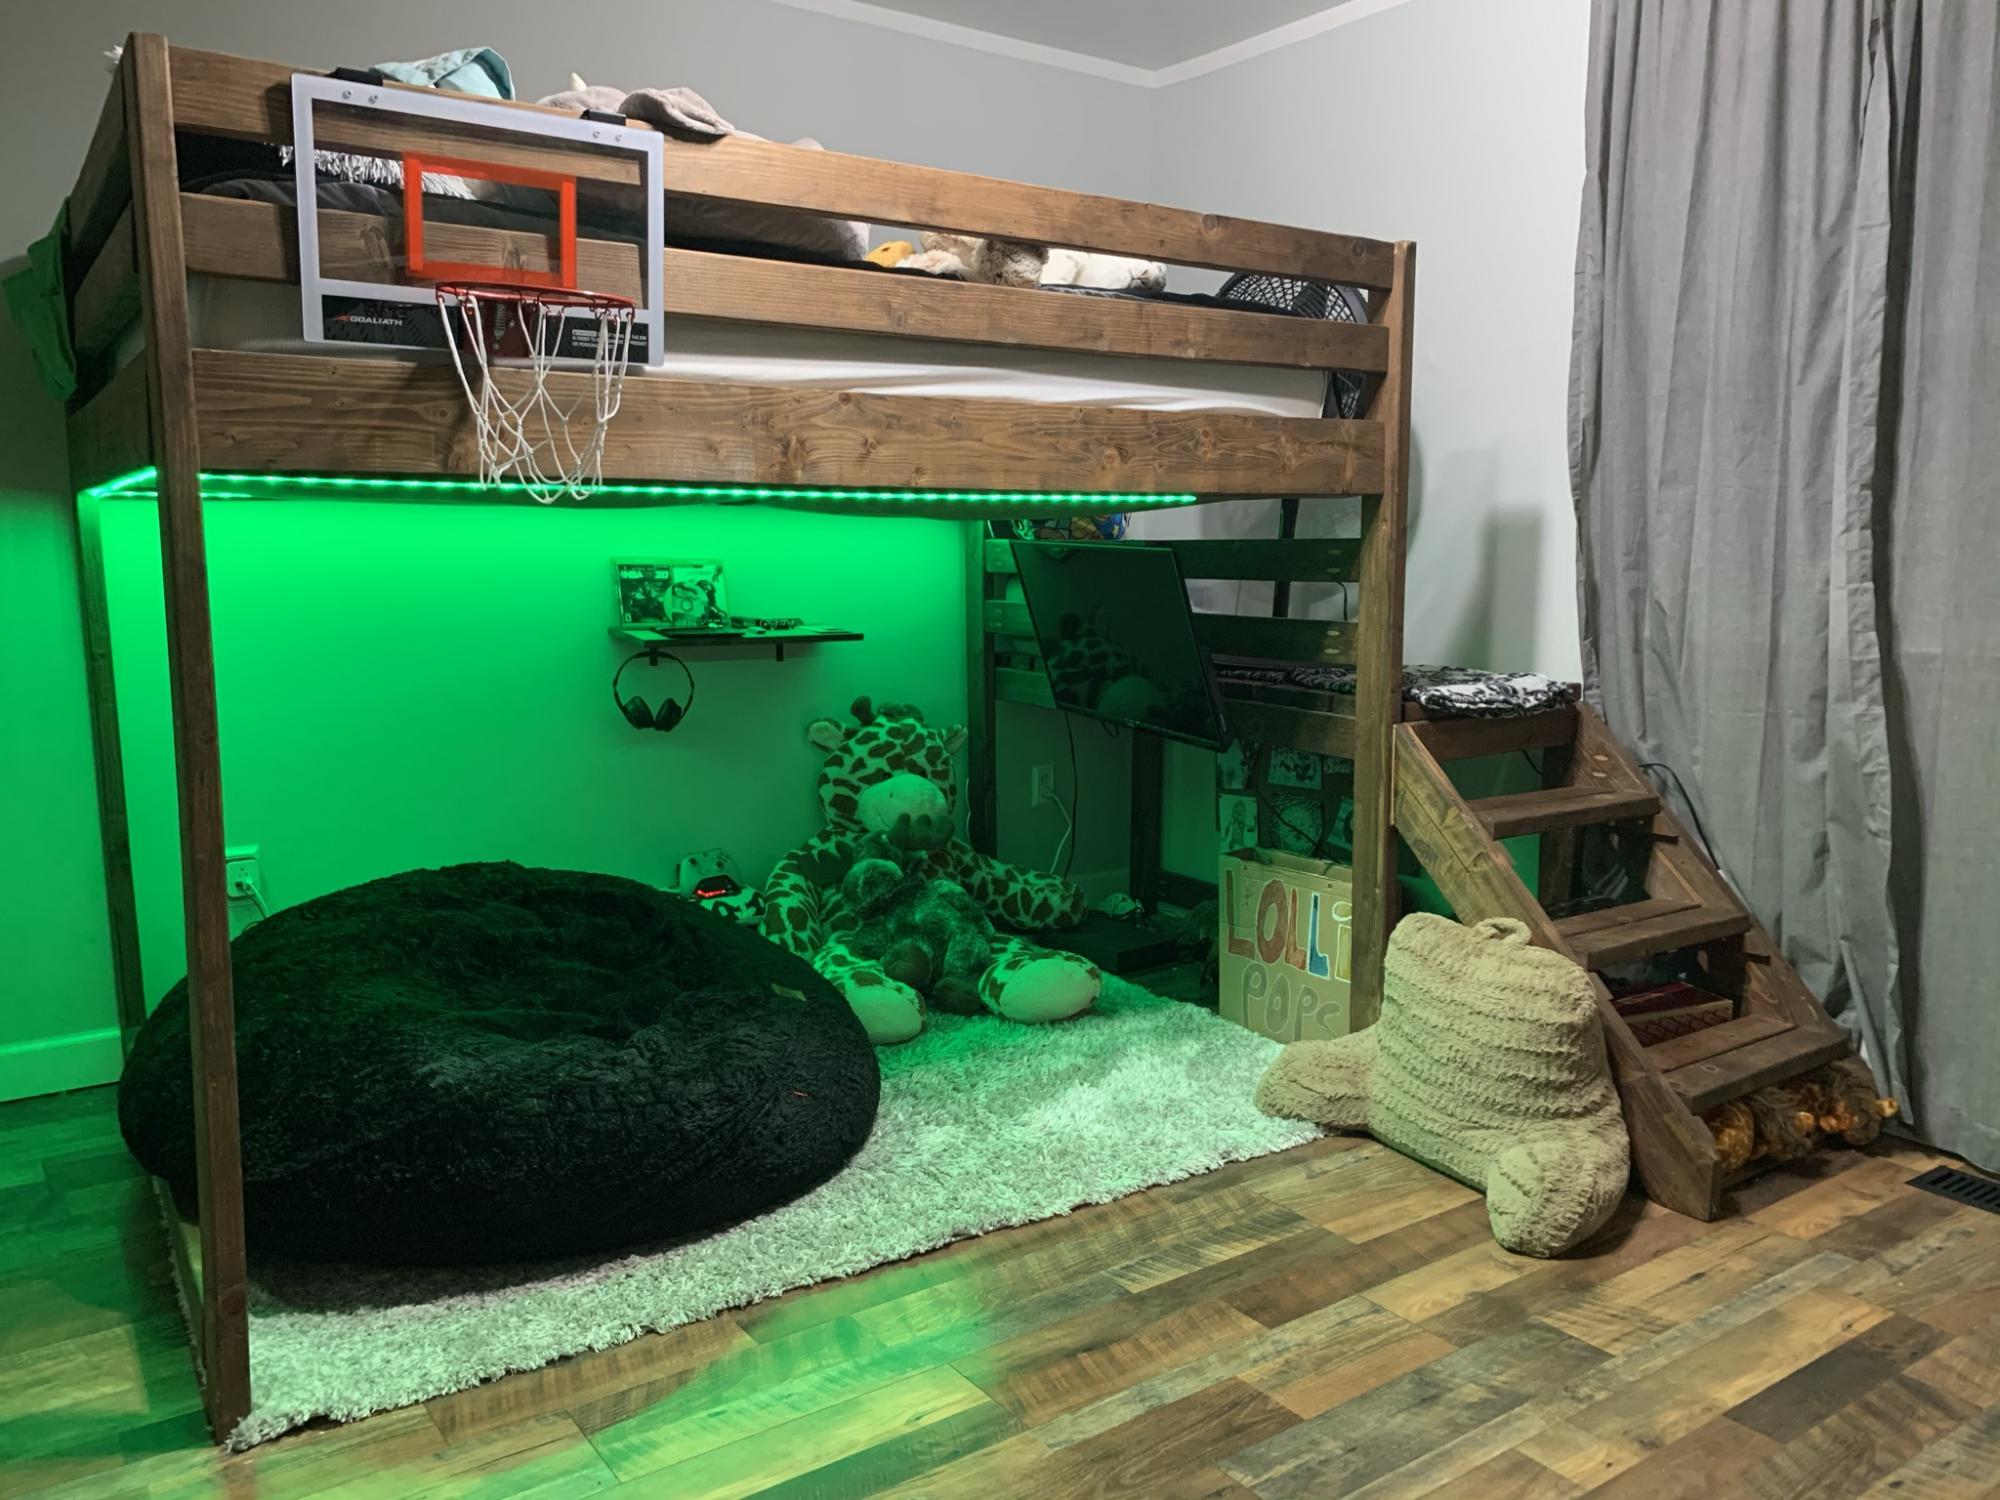
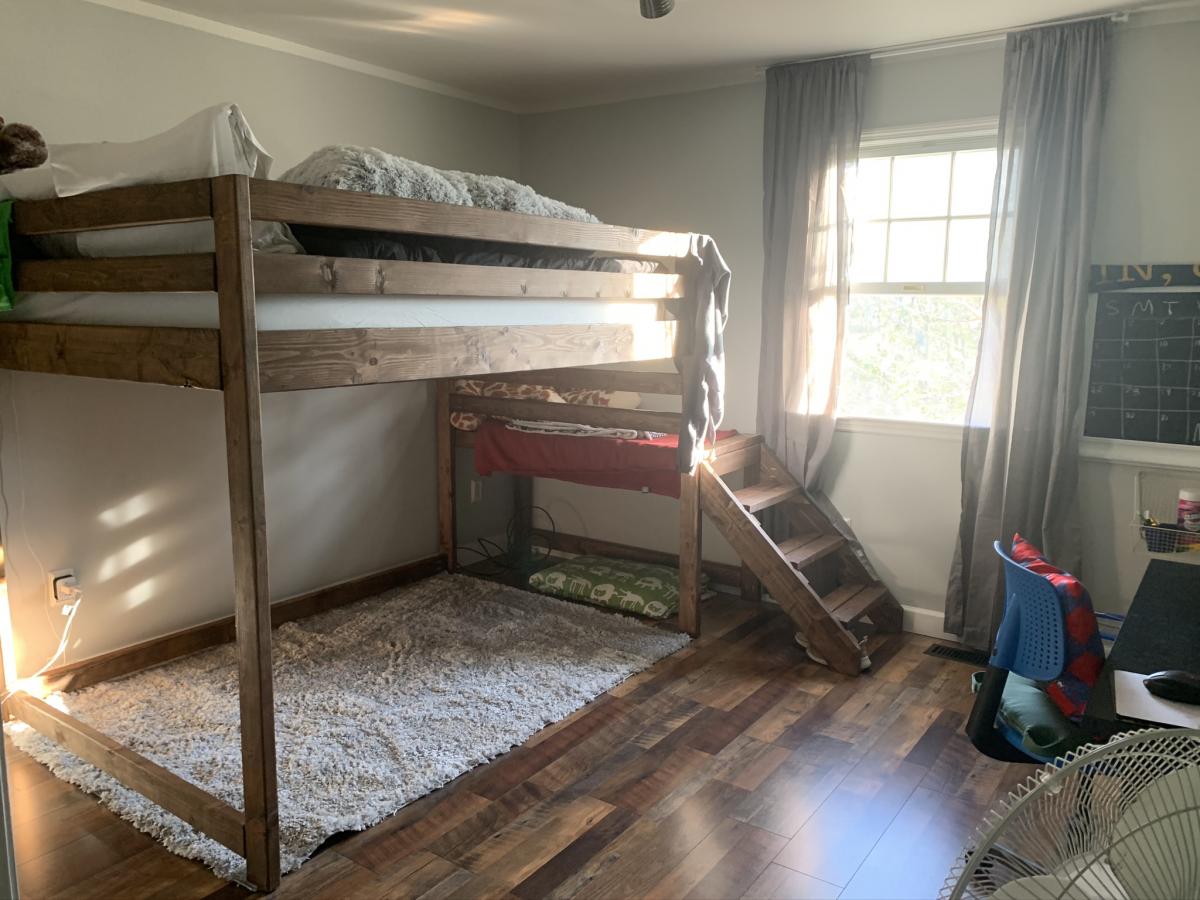
Made this Loft bed for a full size mattress in 2019 and it is still strong. I added a stretcher on the bottom of bed across the length of the the bed added strength.

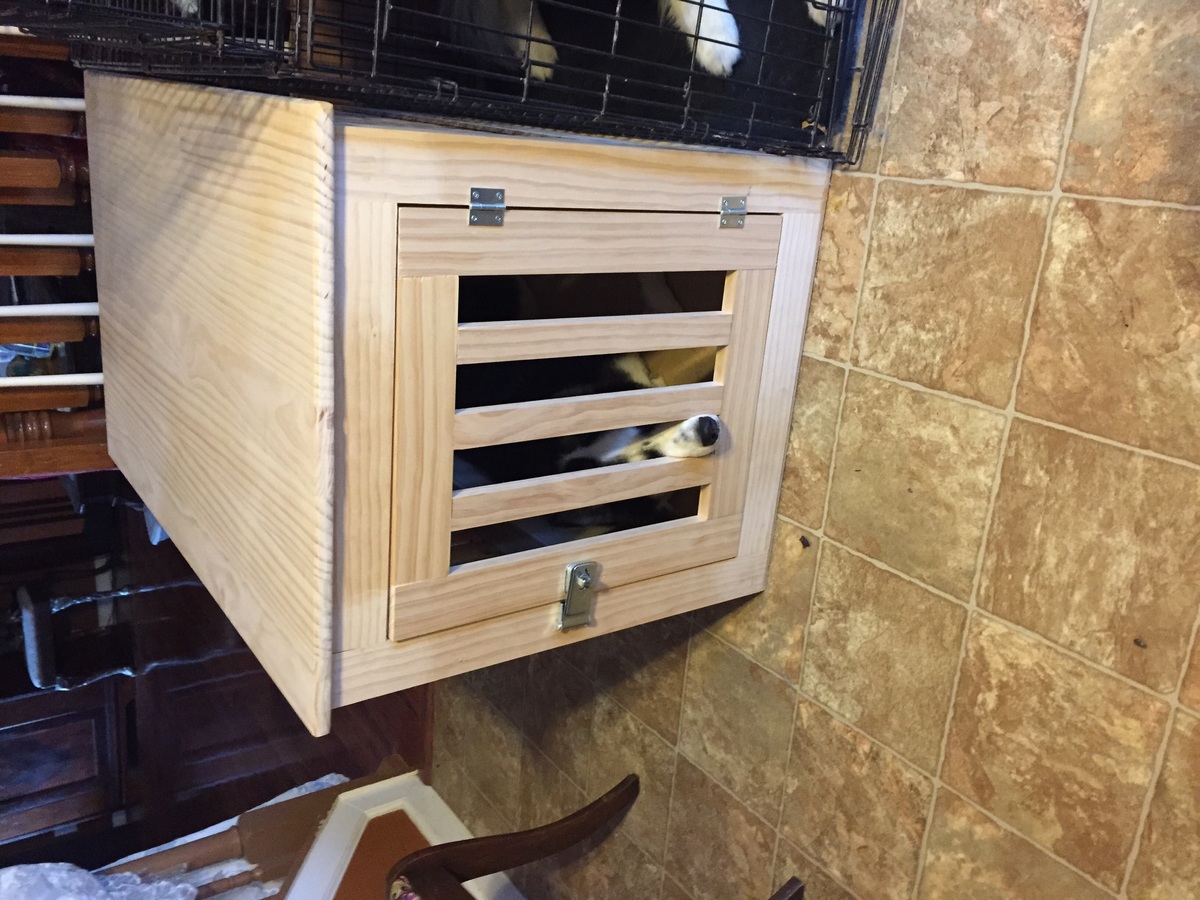
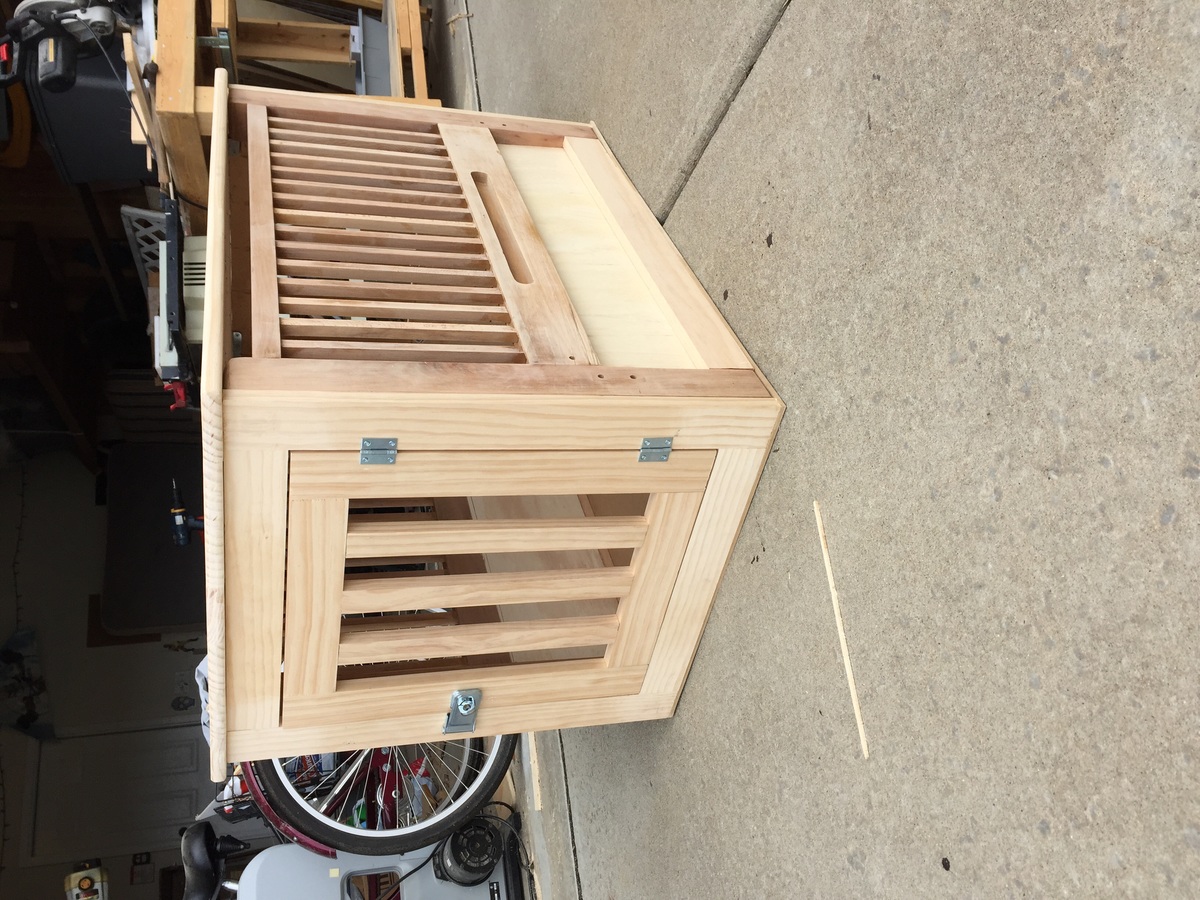
Used the inspiration of Ana-White dog kennel and made ours with an old bed frame that wasn't being used anymore. I'm very happy with how it turned out. I just need to paint and stain it. You can see the side is from the bed headboard and footboard.
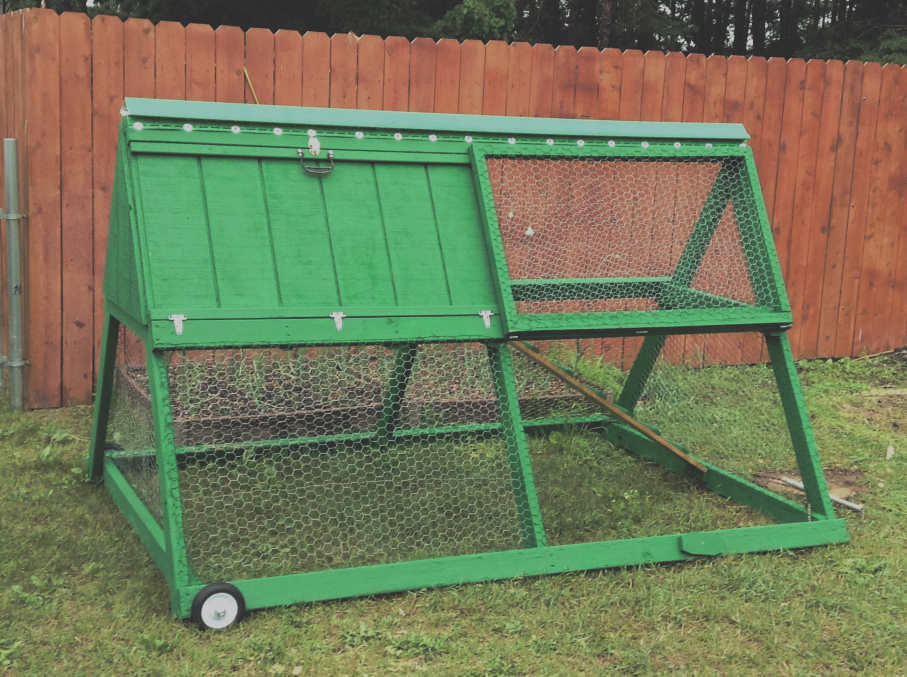
New to raising chickens, but eager to jump right in to it.
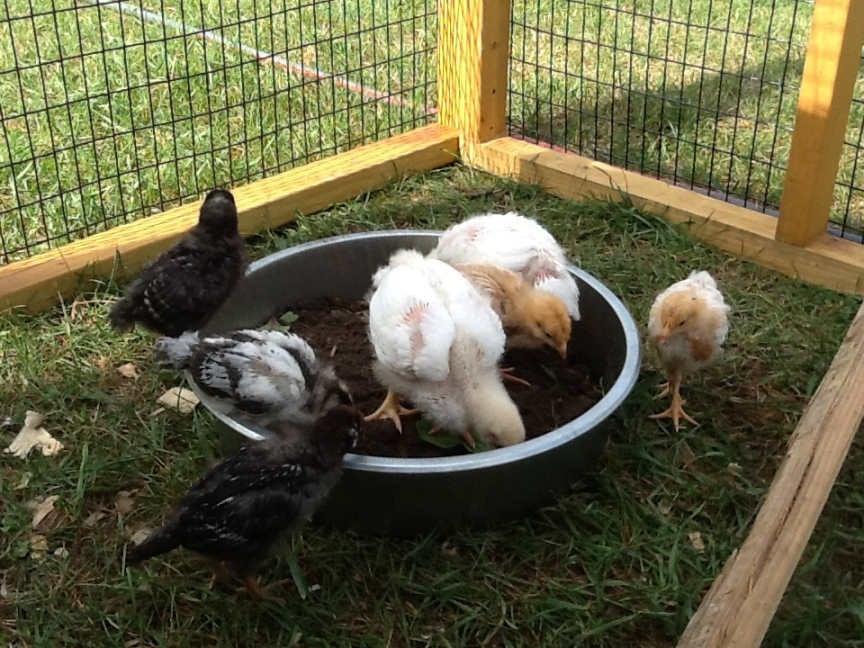
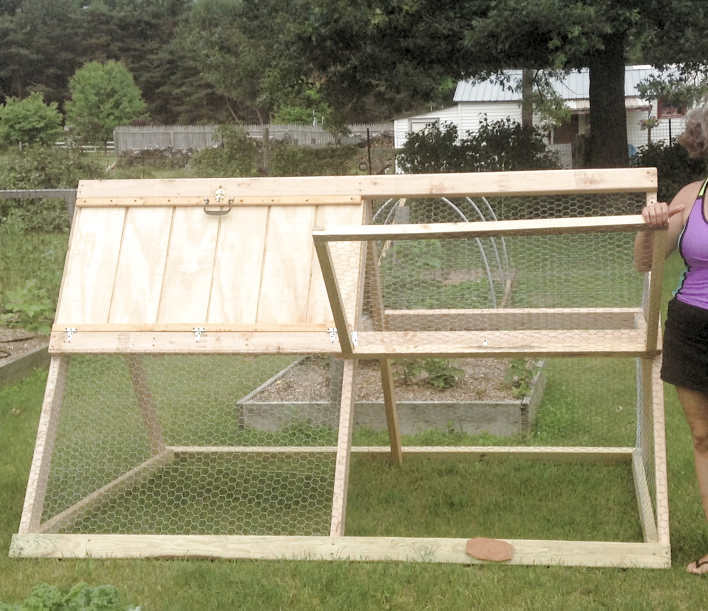
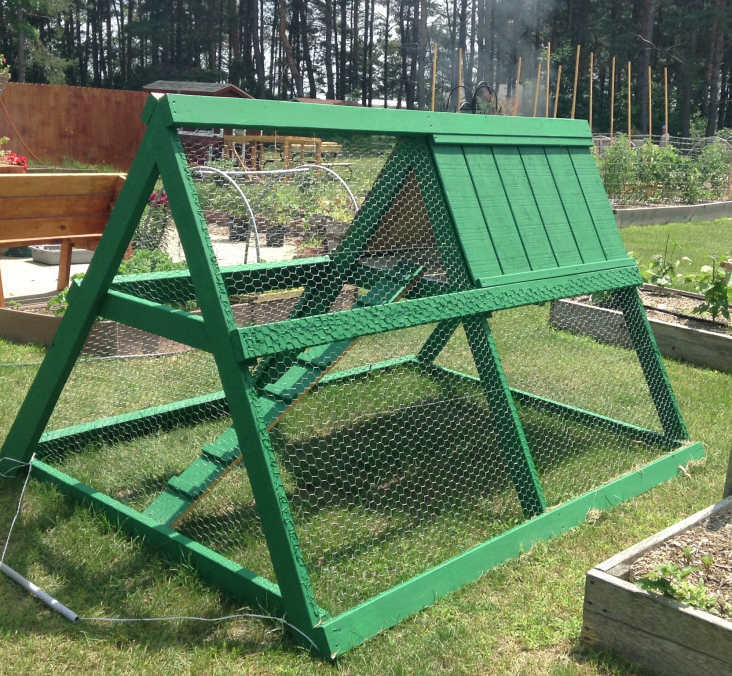
We bought a pre-made coop for the main home for our new chicks and it's very nice, not something I could do myself since I'm not yet at that level, but I saw this chicken tractor and thought it would come in handy for what I have in mind so I made up my mind to build it.
The lumber, chicken wire, staples, and wheels are all store bought new and came to about $75. The materials we had on hand were the screws, hinges, plastic coated metal shelving (used in the nesting area, I thought that would make it easy to clean), paint, and the corner piece of vinyl siding for the roof cap (hubby's brilliant idea, and I painted it green with spray paint for vinyl).
I did not try to build it quickly, I don't really know how much time it took me, but if I had to guess I'd guess total time would amount to about 3 afternoons, by myself.
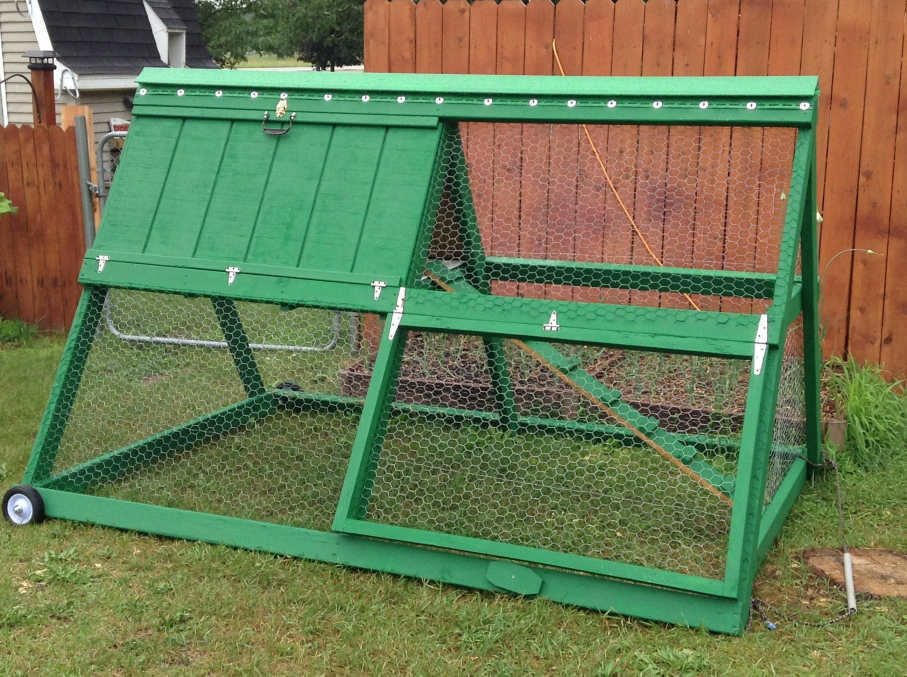
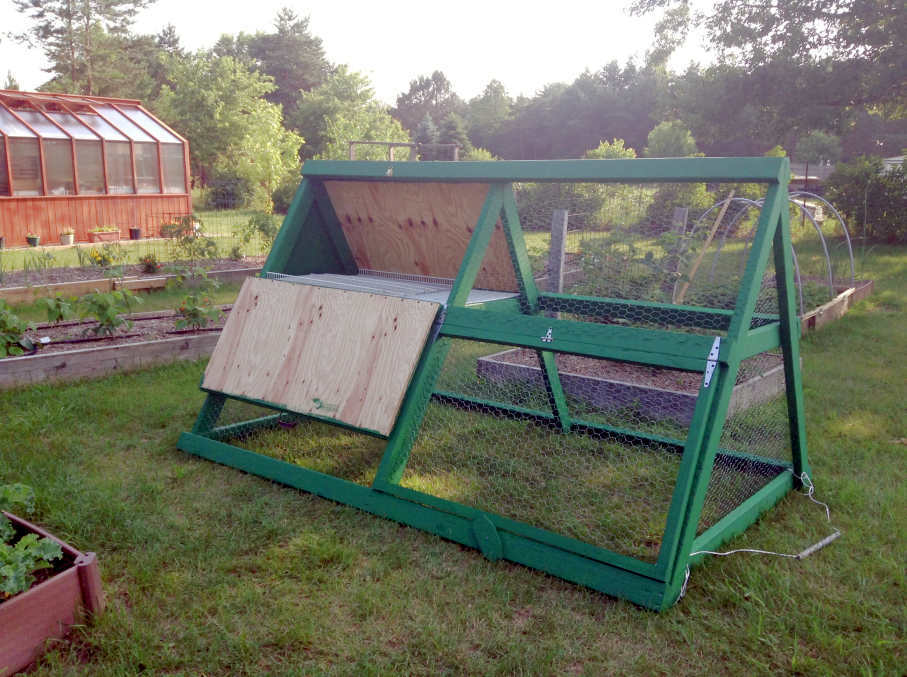
I wanted to leave the top on the one side open with the option to slap on the other boards if/when the need arises. I have the other t1-11 panels that can sit right in those areas because I stapled the chicken wire in a way that would allow it.
I also added a flip up panel as seen in the pictures for access. I didn't want a small door that I would have a hard time getting to things in there. I'm so glad I added this feature, it sure gives plenty of room for me to maintain the food and water dispensers as well as get in there and catch the little chickies :)
I wanted it green to blend into the wooded background in our backyard. I didn't want to take any beauty away from the cedar greenhouse and fencing we added last year, and this tractor would be moved from time to time and I felt this green that we had on hand was perfect to help it blend in rather than stand out.
This thing is heavy! I have a hard time moving it around and usually need my husband to move it so I won't hurt myself. I am considering some options... I don't like the rope I have on it to pull it, any suggestions would be appreciated.
As with the other items I've made with Ana's plans, this was fun and pretty easy to make. I love this site! Soon I will take on my next project, I've bought and gathered the materials, I'm anxious to get started :)
Thank you for looking :)
From start to completion, it was exactly two weeks. One of those weeks, I was sick and didn't get a chance to do much. I believe we picked the hottest days to work on this project, so we were taking more breaks than actually working.
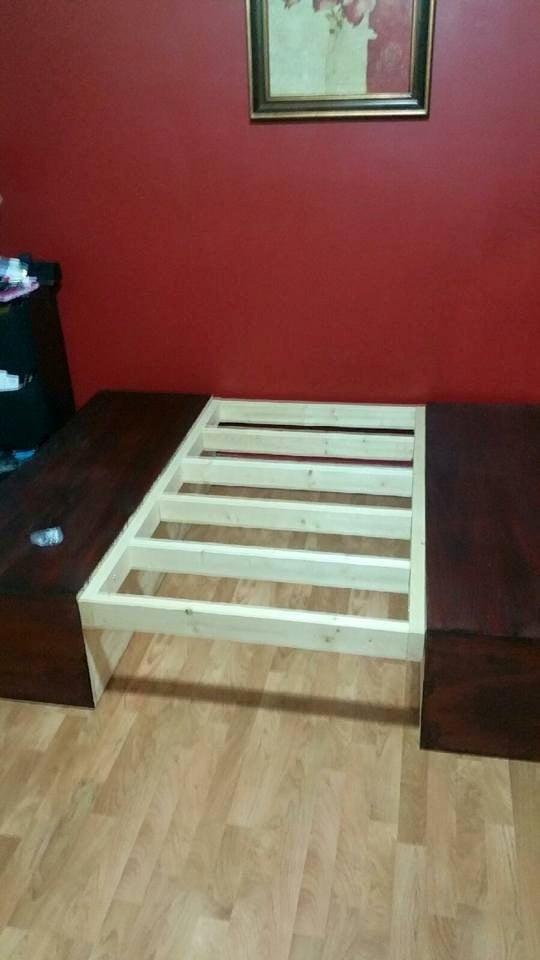
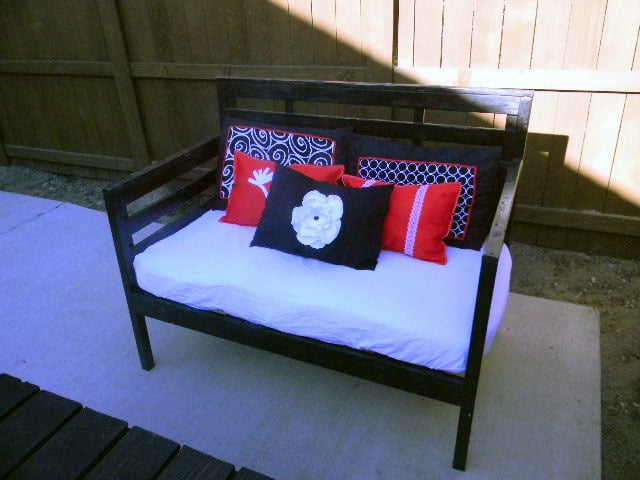
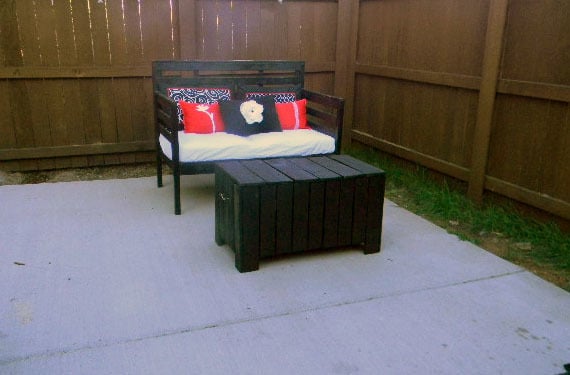
I really loved the outdoor daybed, but after discussing it with my husband we decided to go without the canopy feature. We, also resized the bed from a twin size to a toddler size (which happened to be almost the same dimensions as our love seat). In order to make the daybed without the canopy, I had to put the top pieces on last in order to have them go all the way from edge to edge. All in all, this was a super easy project, and I had a lot of fun doing it!
I got the crib mattress free of craigslist, and since a crib mattress is already covered with vinyl, I didn't do anything extra to waterproof it, and the fabric came from the home decor remnants section at our local fabric store for $4 a yard, which I applied a 40% coupon to. The throw pillows are not the ones we will be using, but I haven't made those yet, so these are just for looks :)

Mon, 06/06/2011 - 13:56
I love this! The fact that it's bench-sized, that it fits a waterproofed crib mattress, all of it! I'm totally doing something like this with the crib mattress we got secondhand.
Sat, 06/11/2011 - 00:13
I think now that I have done this one, I may do one with the canopy for my daughter's room... Ana has so many amazing plans, I have the hardest time making up my mind on anything! But, so far this has held up great.
Tue, 07/26/2011 - 11:33
Going to be making the outdoor daybed for my daughter this weekend and think this will make a very great reading bench for her room! We are going to make a bunch of throw pillows out of old sheets and just make it nice and comfy looking!
Tue, 07/26/2011 - 11:38
I absolutely love that idea, and the thought of re-using old sheets to make new pillows. For these ones, I used some fabric I had around and a bag of fill, but when I ran out I was in search for old teddy bears no longer being played with :) I would love to see pictures when you are finished!
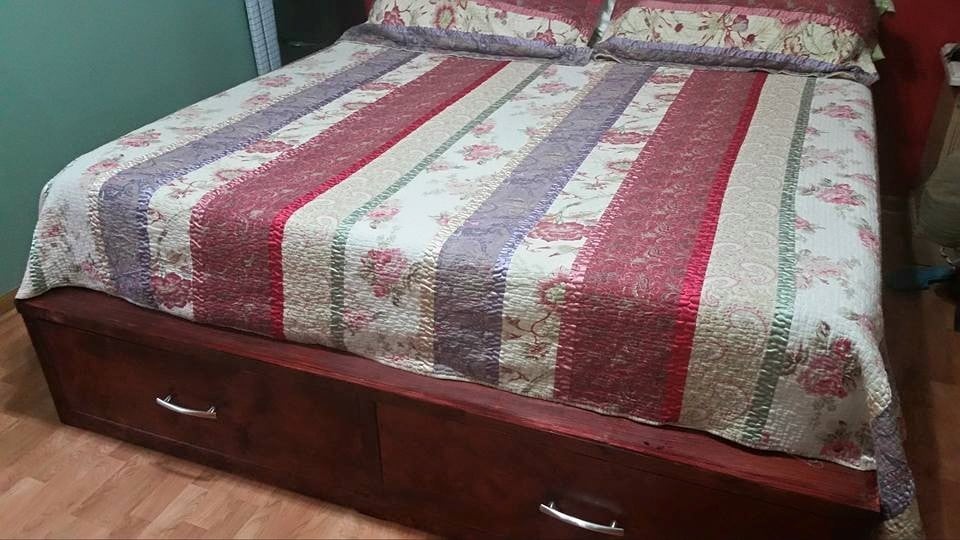
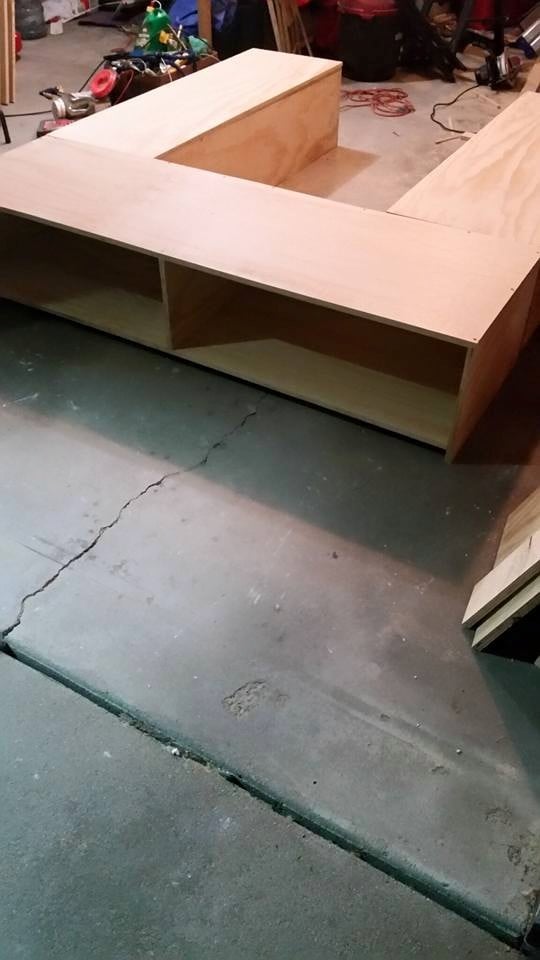
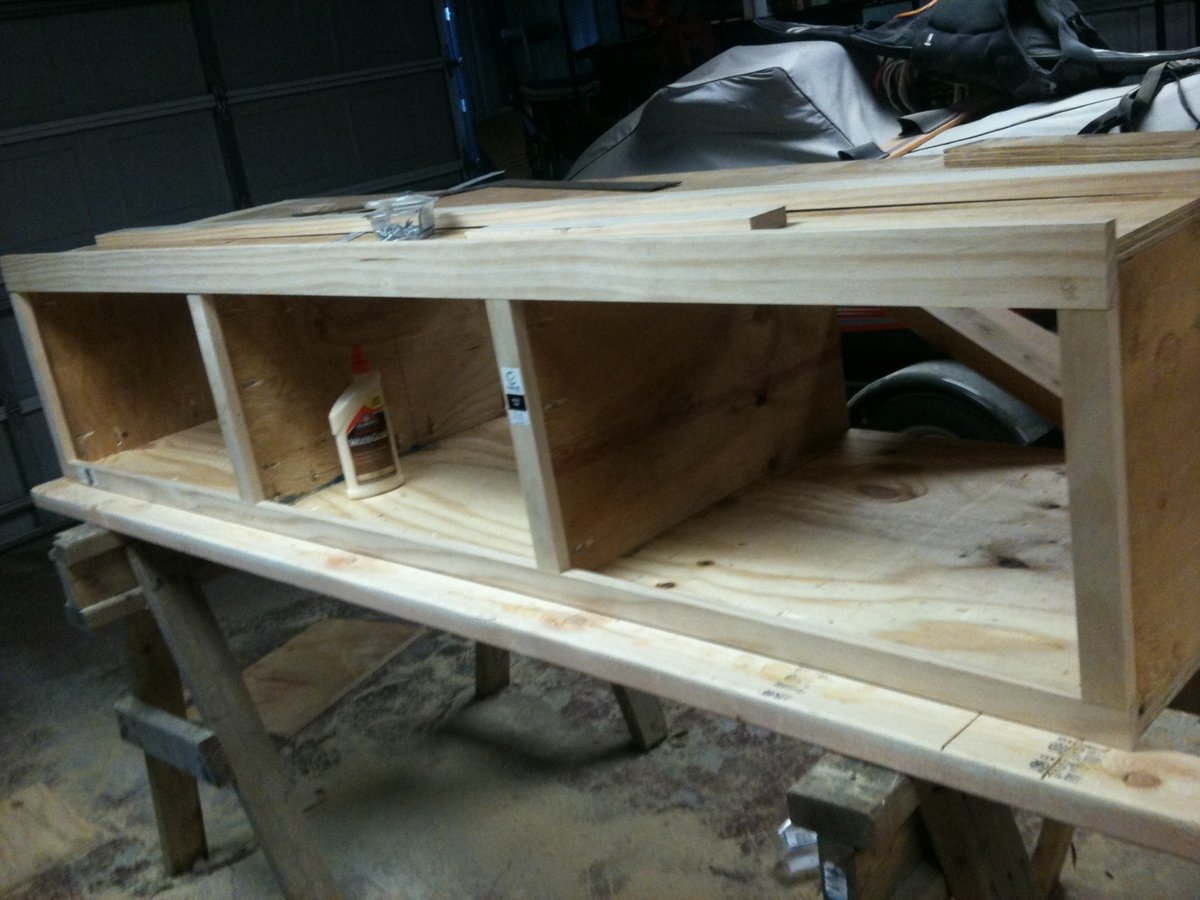
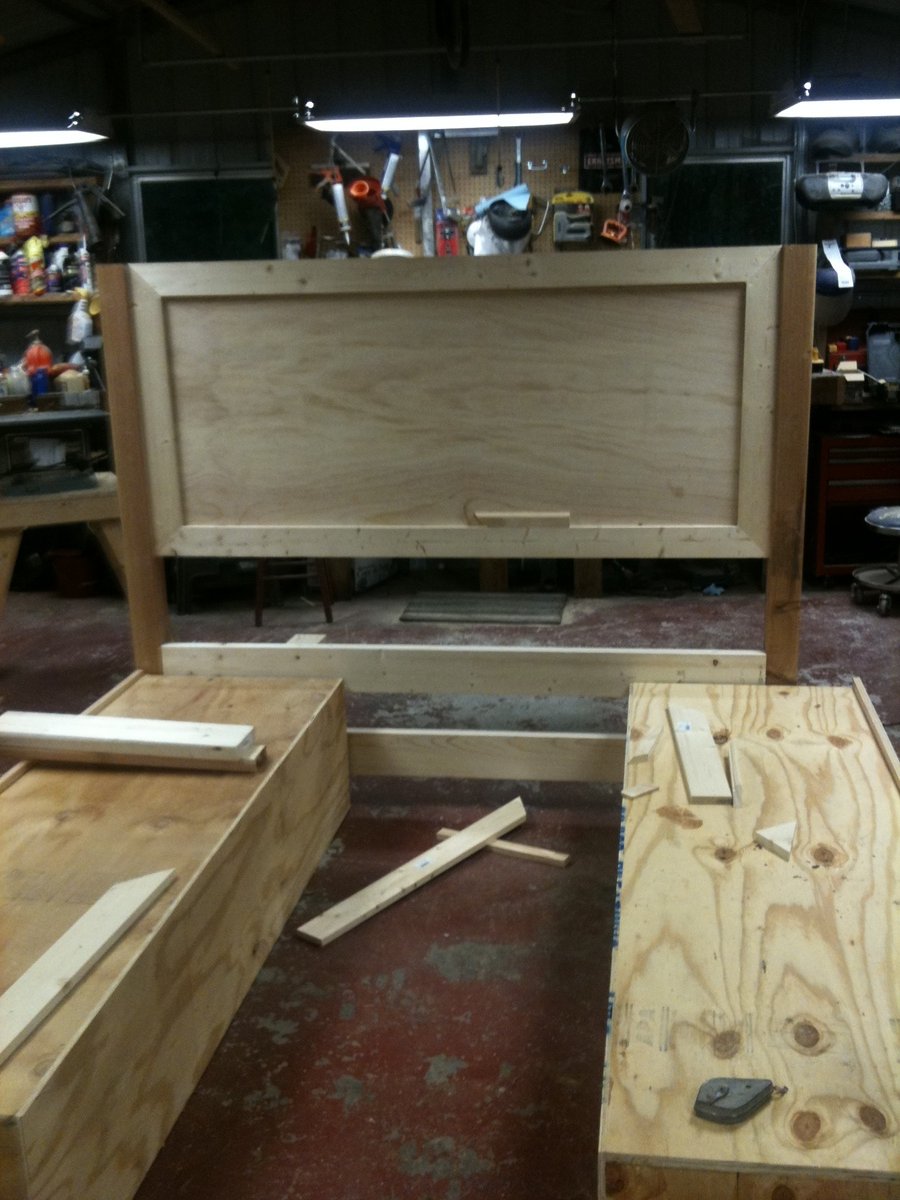
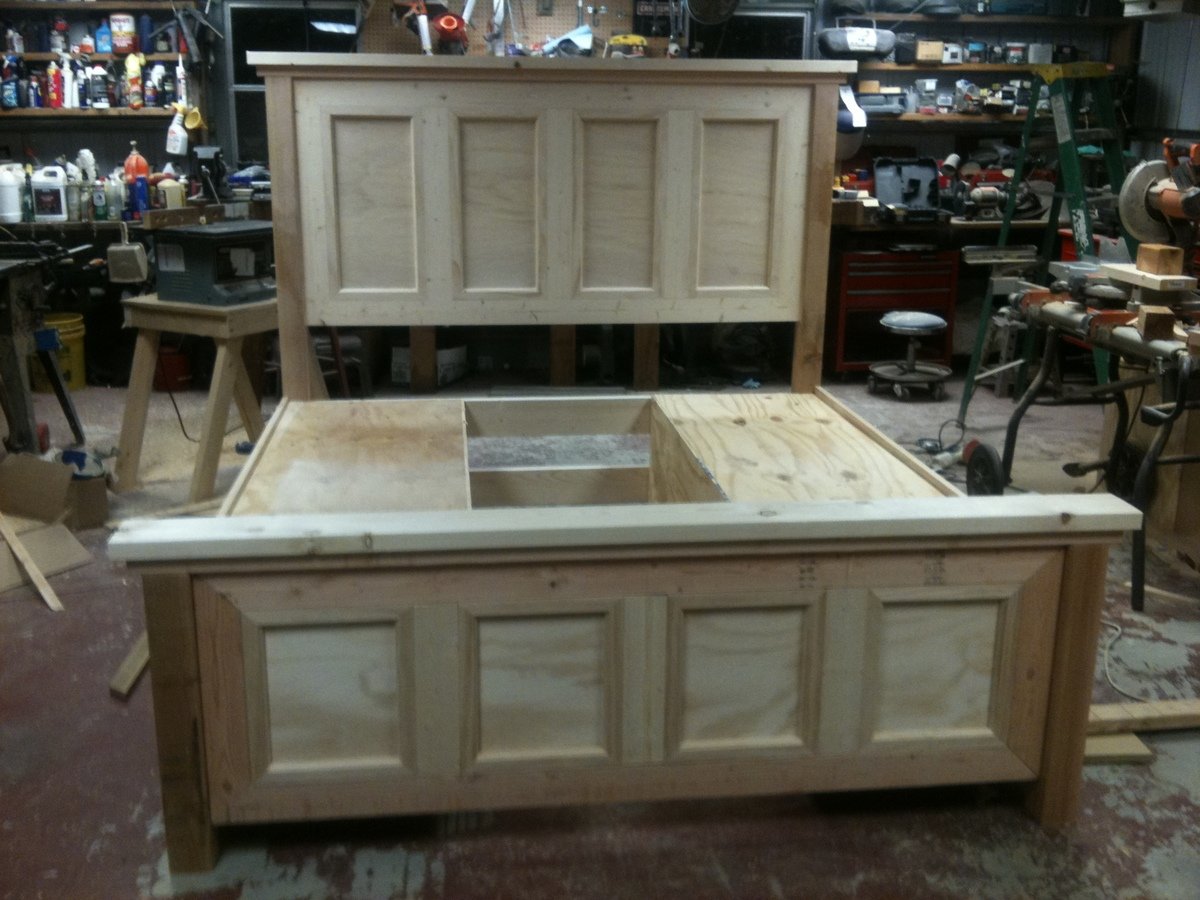
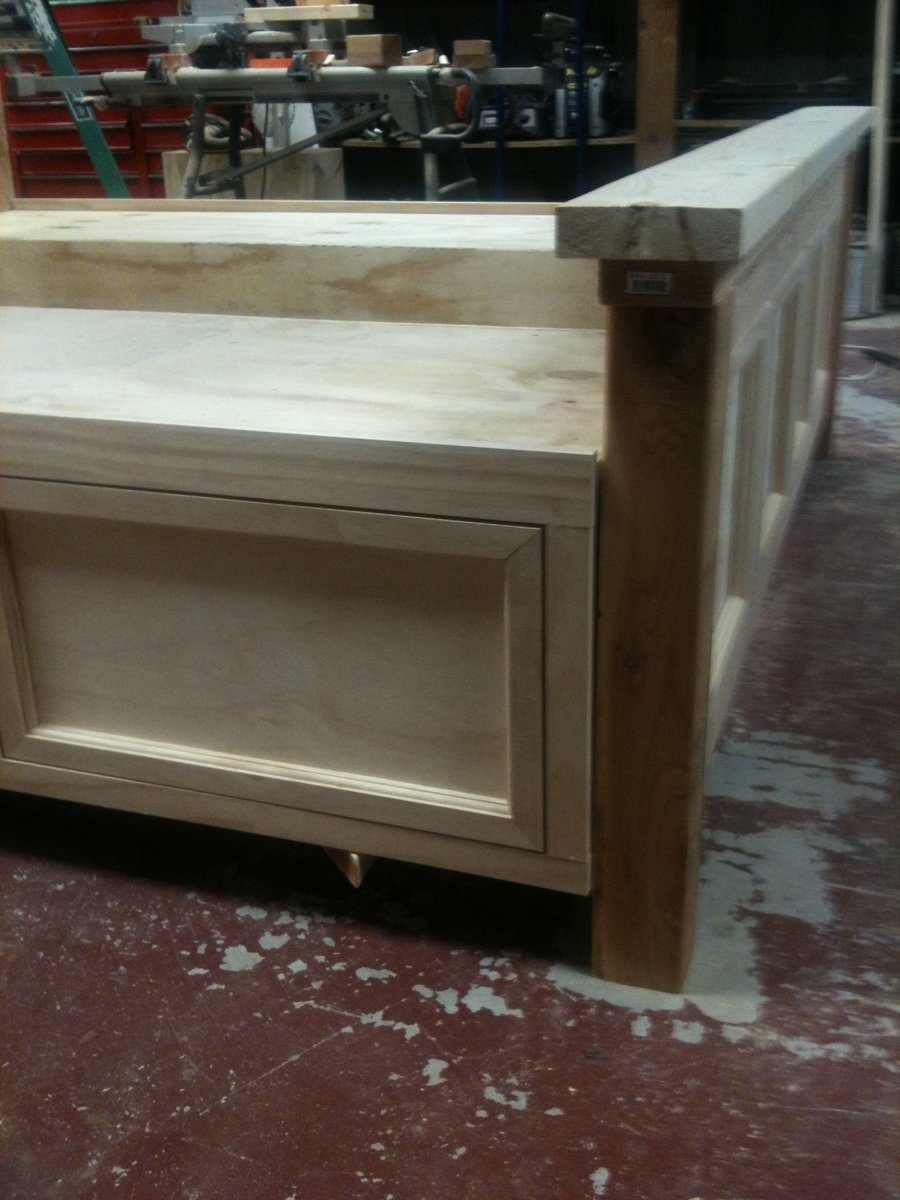
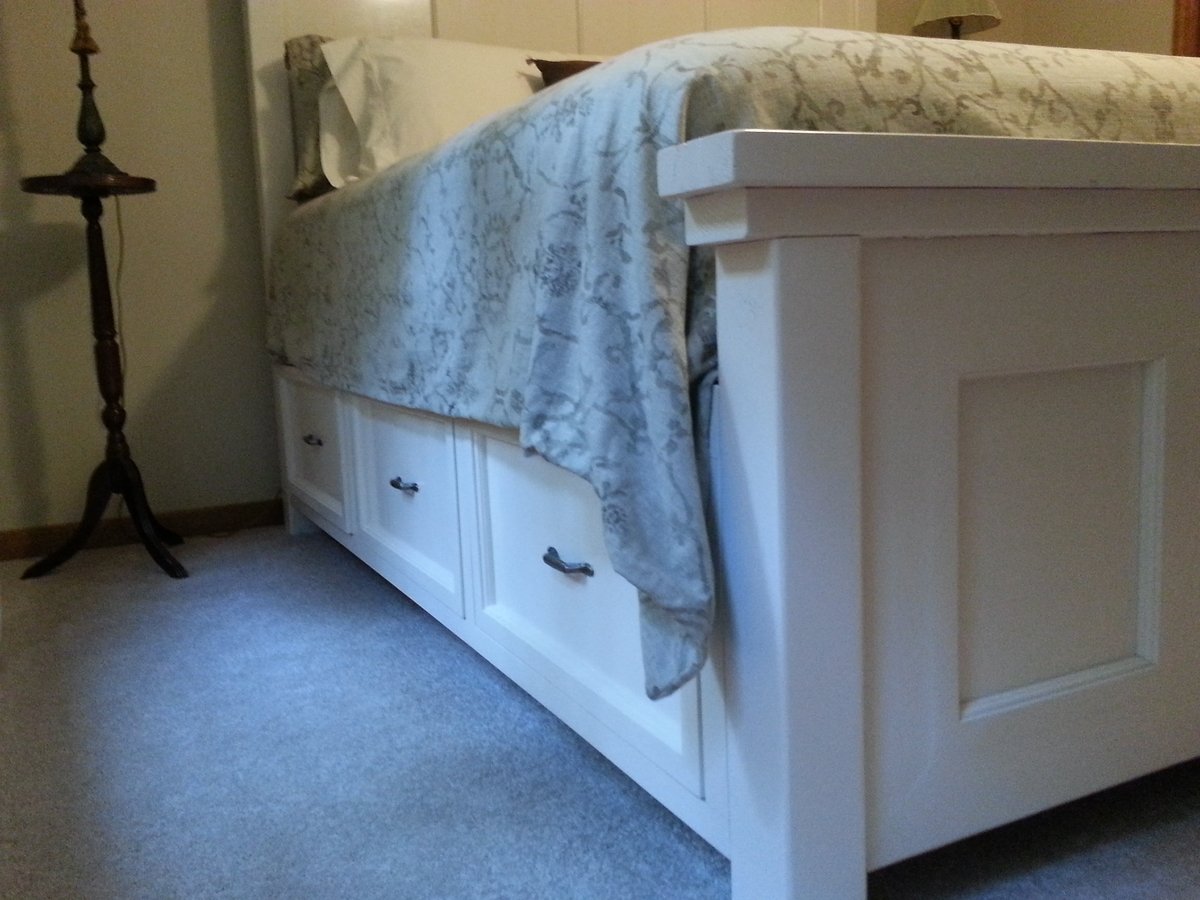
My husband designed this after the farm house bed. I wanted panels on the head board and foot board to "dress it up a bit" and storage drawers. He did a wonderful job. I don't think I have ever had a more prized piece of furniture. Now to find some tall night stands.
Thu, 07/23/2015 - 07:56
is there anyway to get the plans from him? for the adjustments and cubbies he made?
Wed, 09/23/2015 - 11:54
Any chance you or your husband would share the adjusted plans to include the storage under mattress?
Thank you so much! love your site and your work!
Thu, 01/21/2016 - 21:52
Hi Ana!
I was wondering if you had the plans available for this bed with the drawers underneath and the head and foot board ?
:) thank you!
vanessa
Wed, 09/25/2019 - 10:40
Ana,
Can you provide plans with pics for this bed? My wife wants it and I got tasked with doing it.
Sun, 06/07/2020 - 06:27
Do you have the plans for this in a King size bed with the drawers? This is a beautiful bed!!
thank you!
Tue, 01/26/2021 - 12:26
I would love to have plans for this bed with draws for a California king bed if at all possible.

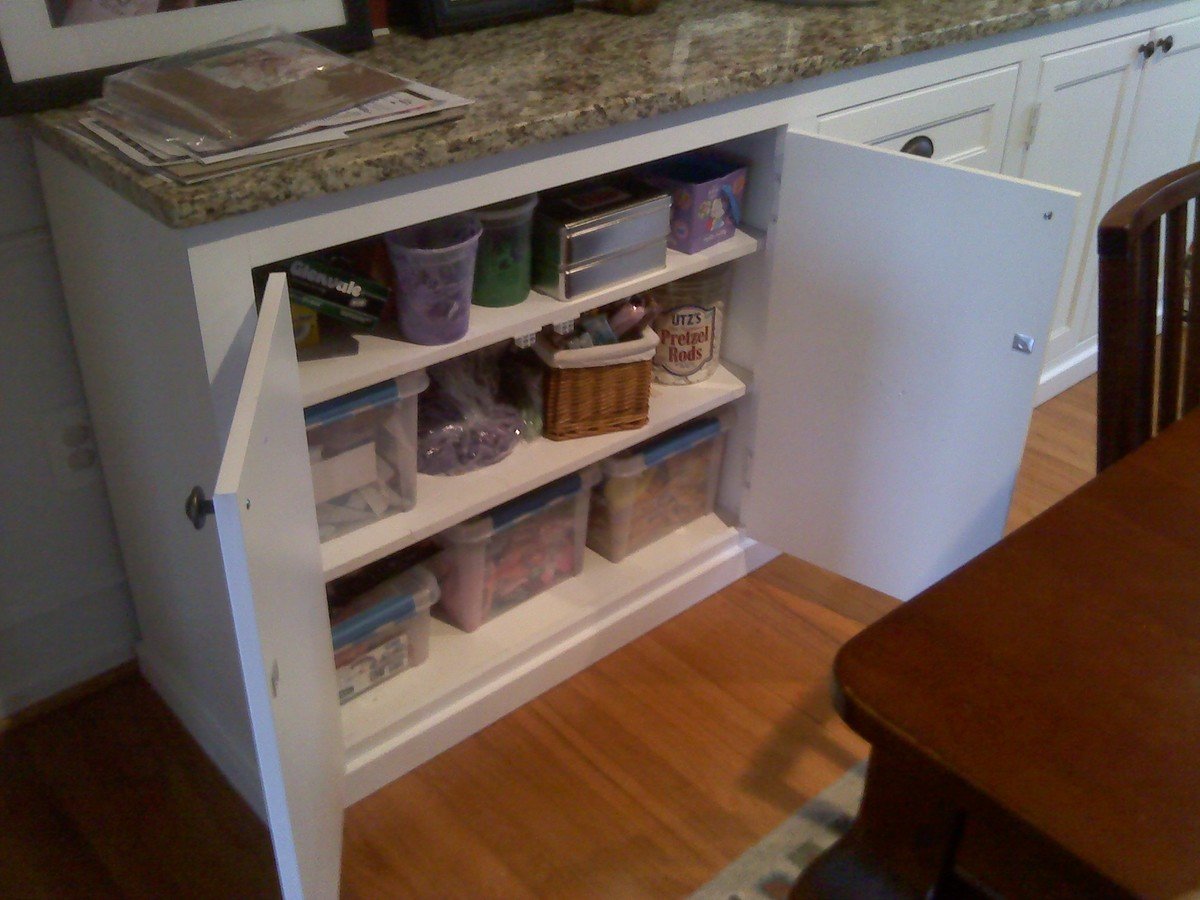
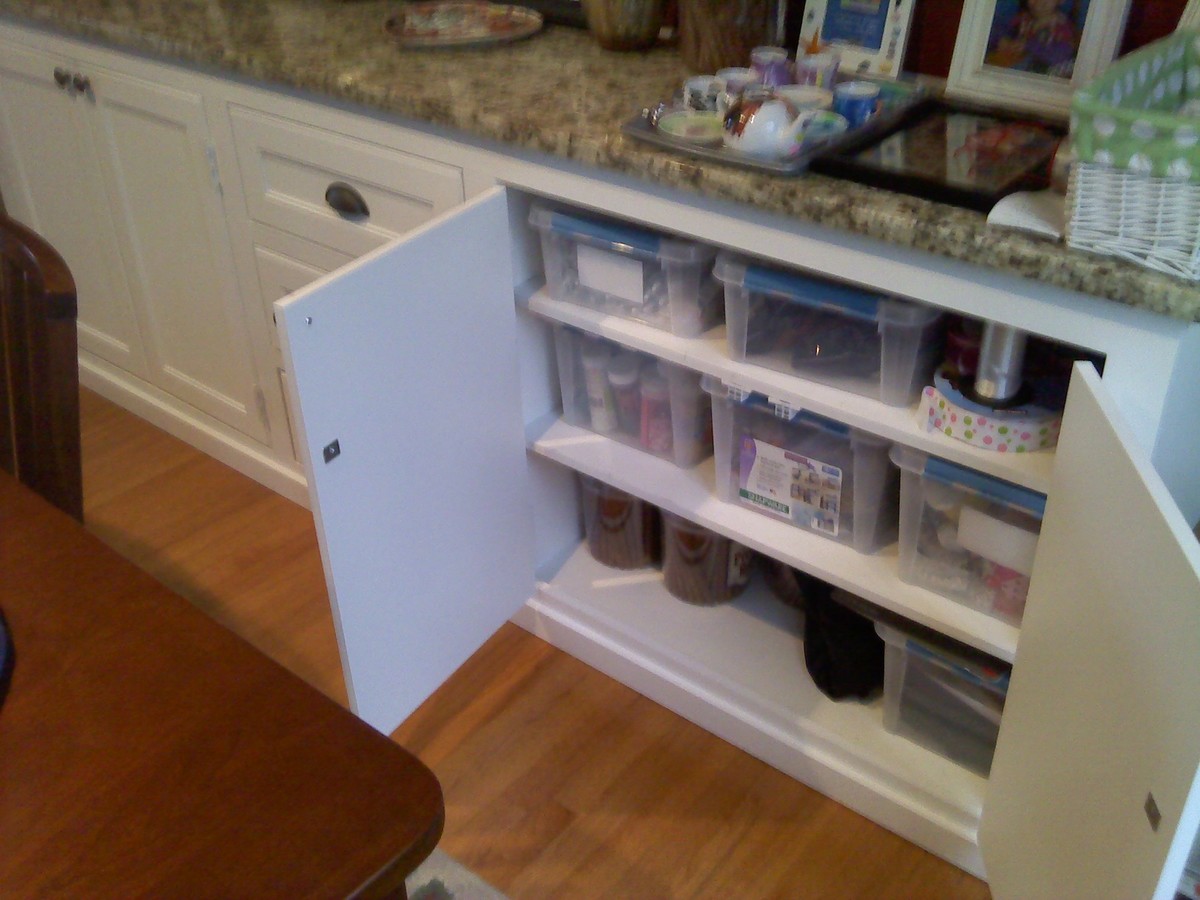
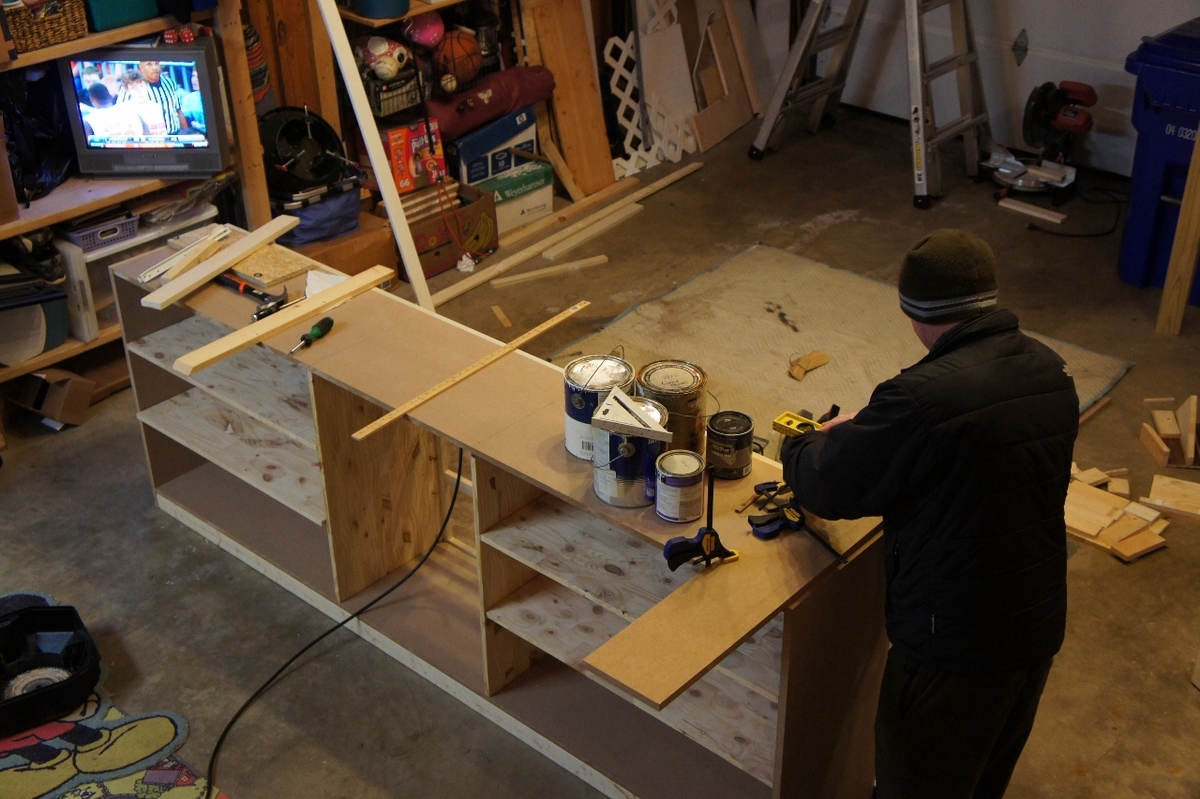
I scoured the web unsuccessfully for months trying to find a cabinet big enough to store everything we needed to store. I wanted something huge and bright and simple, and so I decided to just build away. It's 8'4" long, 18" deep and 36" tall. Topped with a slab of Giallo Napoleon granite and painted a nice plain white. Took me only a few nights to build and paint, thanks to my power nailer and power paint sprayer. Thanks to a great deal on a remnant granite slab, this was just about $400 total start to finish. I winged the entire plan and didn't really use any plans in particular, though I have gathered many great ideas and tips from this site.
Sat, 08/13/2011 - 14:51
Wow - looks great! You would think it was done by a pro! You should be very proud of your finished product.
Tue, 12/04/2018 - 06:43
Trying to find cabinets like this. Did you buy them or build them?
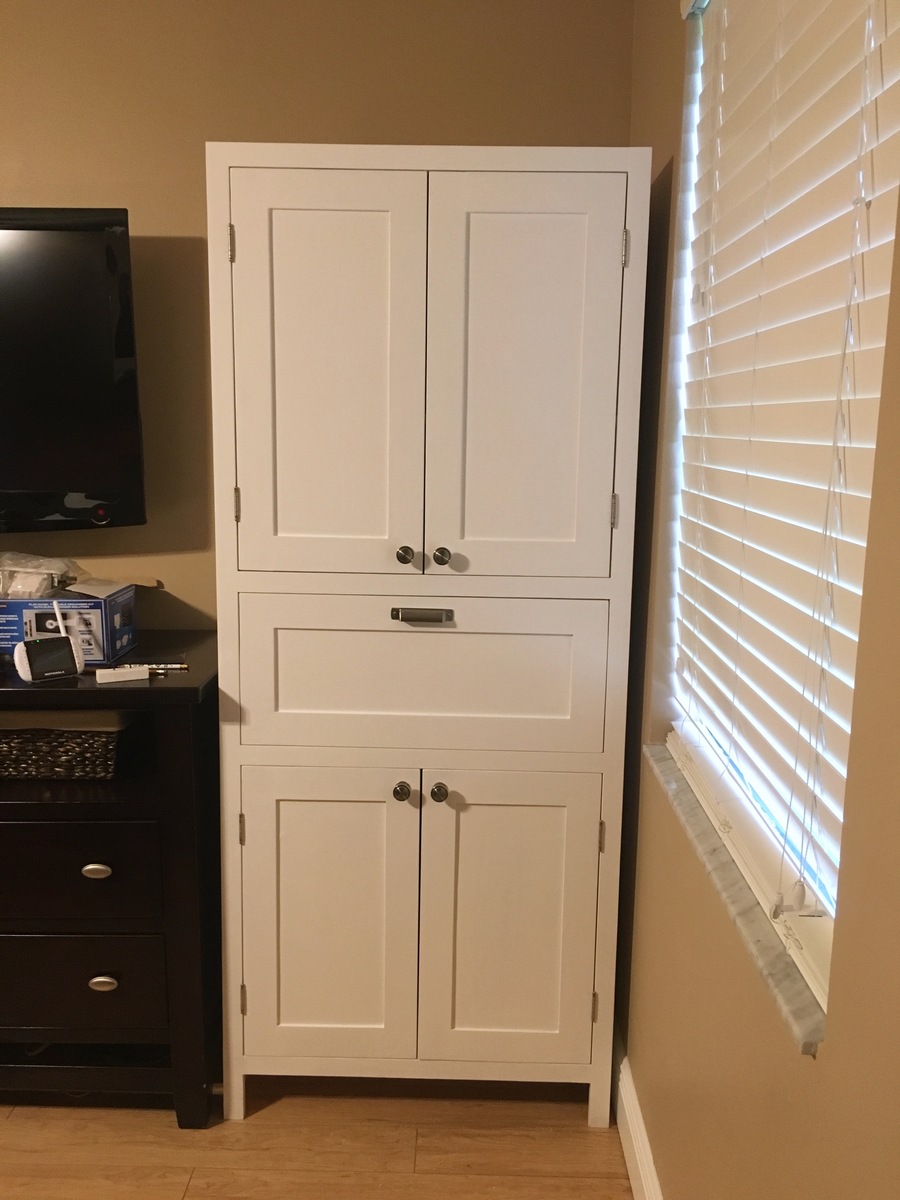
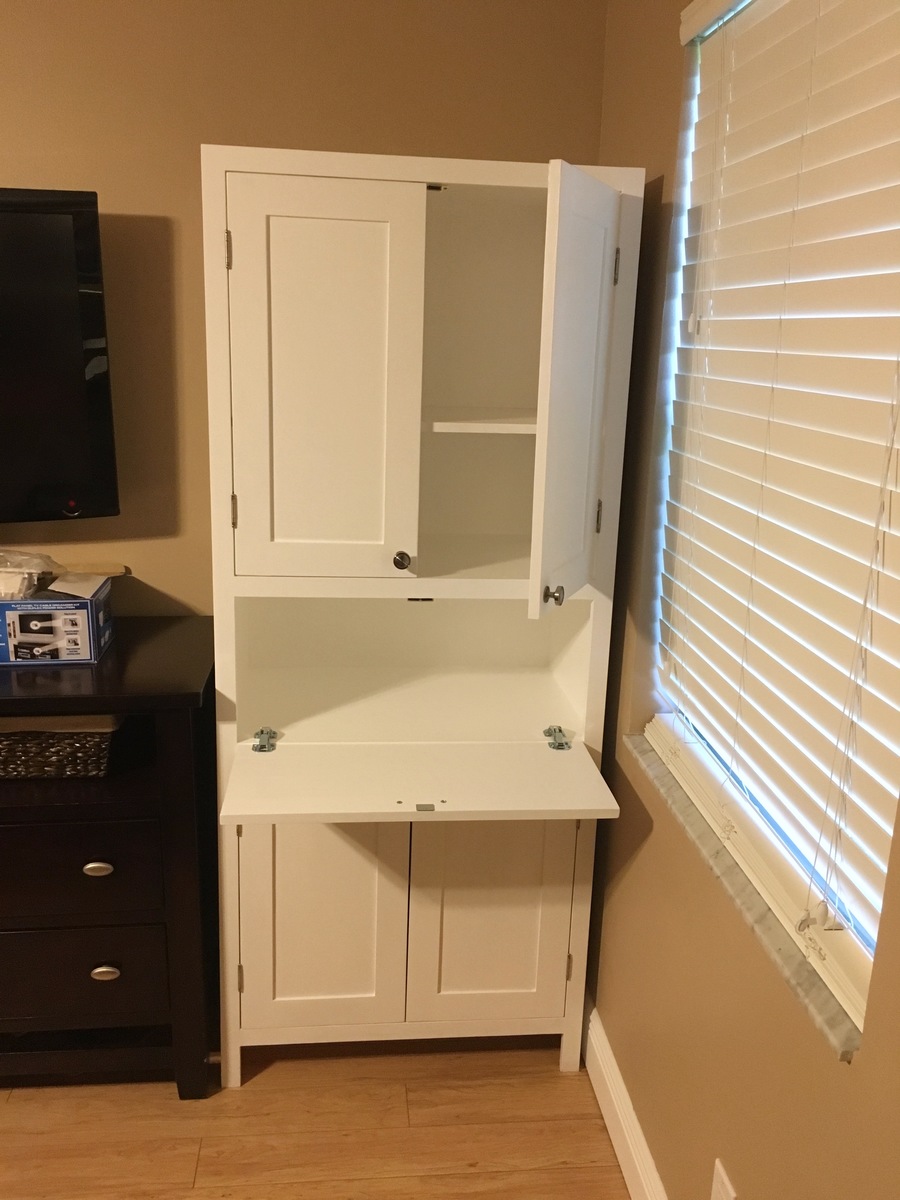
Inspired by the Tall Secretary with mail slots but with my own twist/needs incorporated in it. Finished with pure white satin paint.
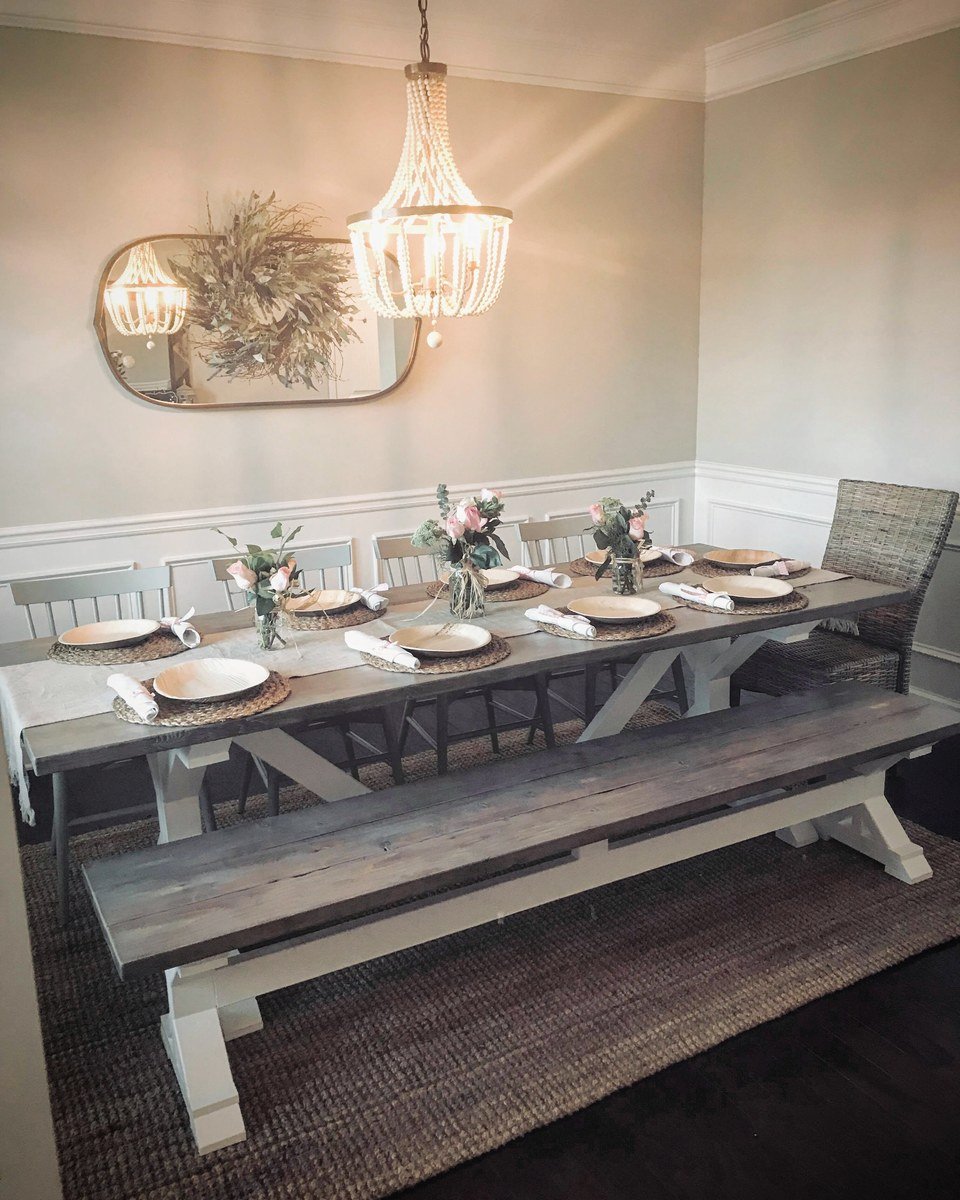
Love this table!
Sat, 01/05/2019 - 14:27
WOW! This is gorgeous! What a beautiful setting! Thank you for building and sharing!
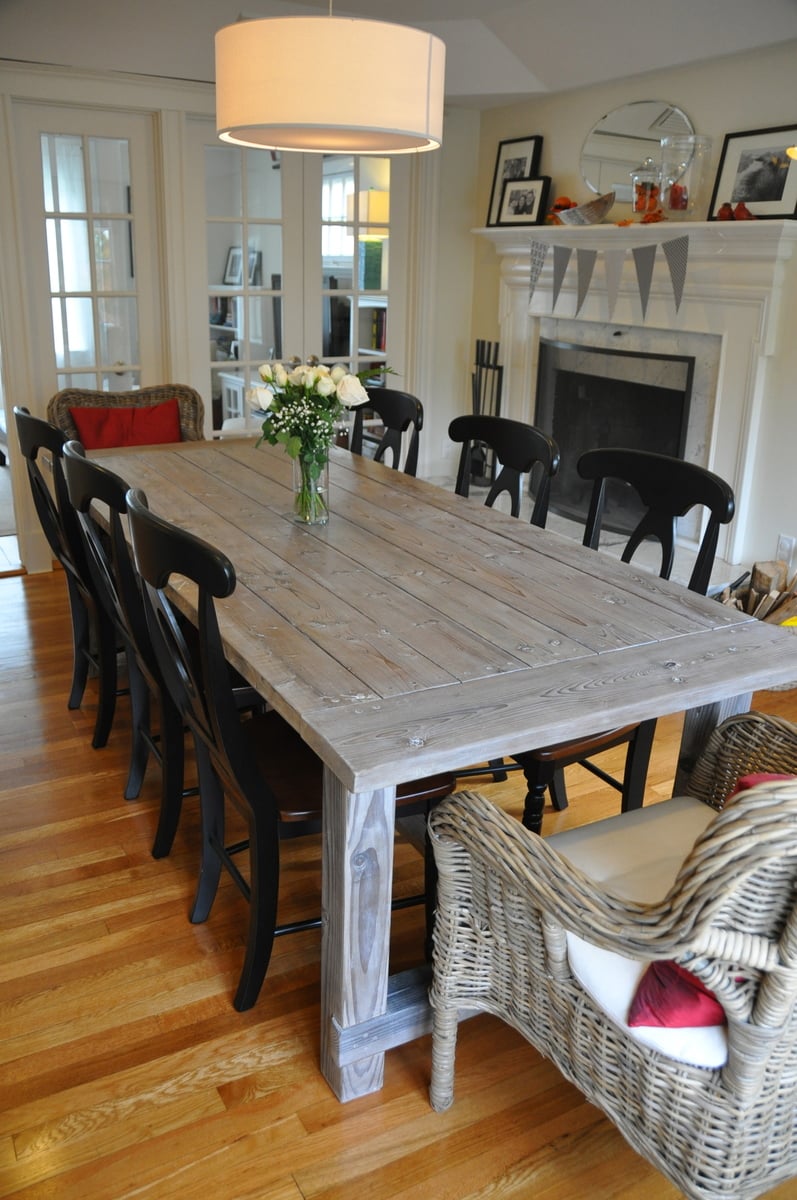
This was my first build and I learned A LOT and watched A LOT of youtube diy videos. The main take-away from this project is not to build in the freezing cold if the finished project is for inside. I finished this project in below freezing temperatures and I noticed that the wood expanded (increasing slightly the gap between the finished boards on the top) when it was brought inside.
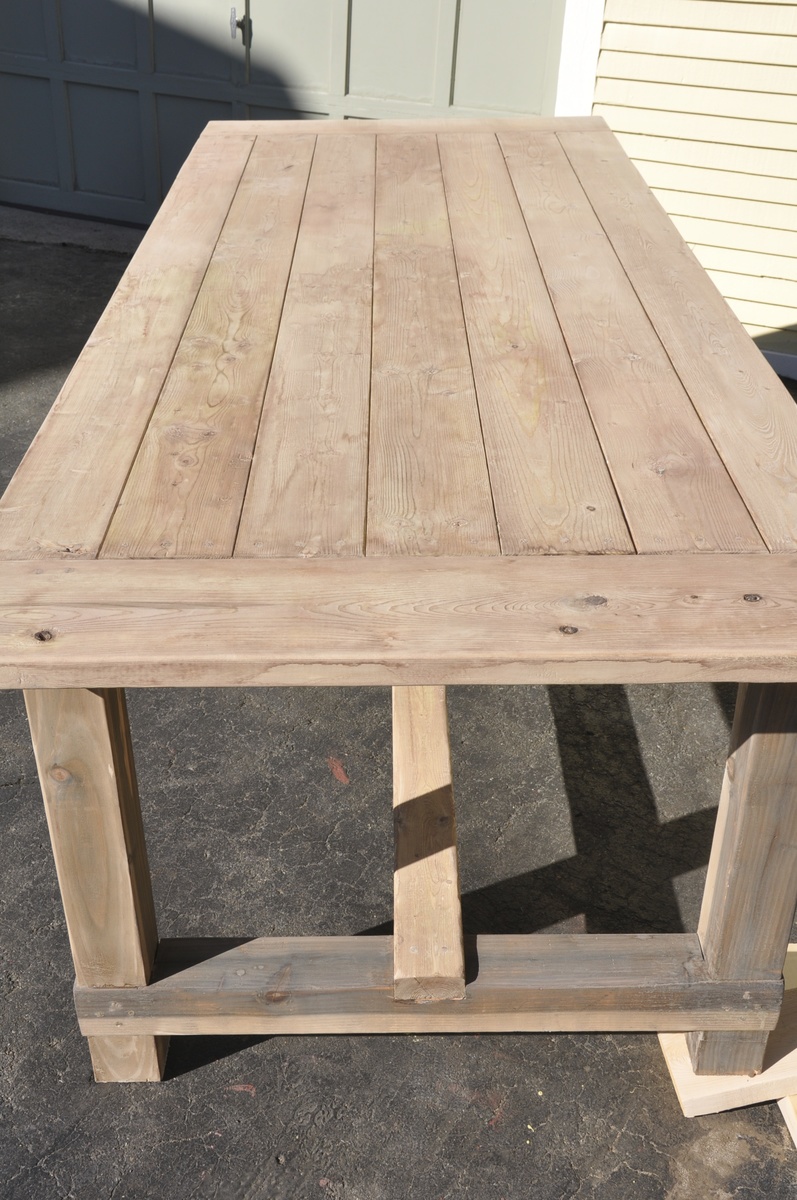
I built this from the original farmhouse table plans with no kreg jig although I did buy and use a pocket kreg jig to make the extensions. The main modifications were using 4x4s such as were used in the Country Living magazine spread that inspired this build and also making modifications to allow the addition of 15" extensions at each end of the table's bread boards.
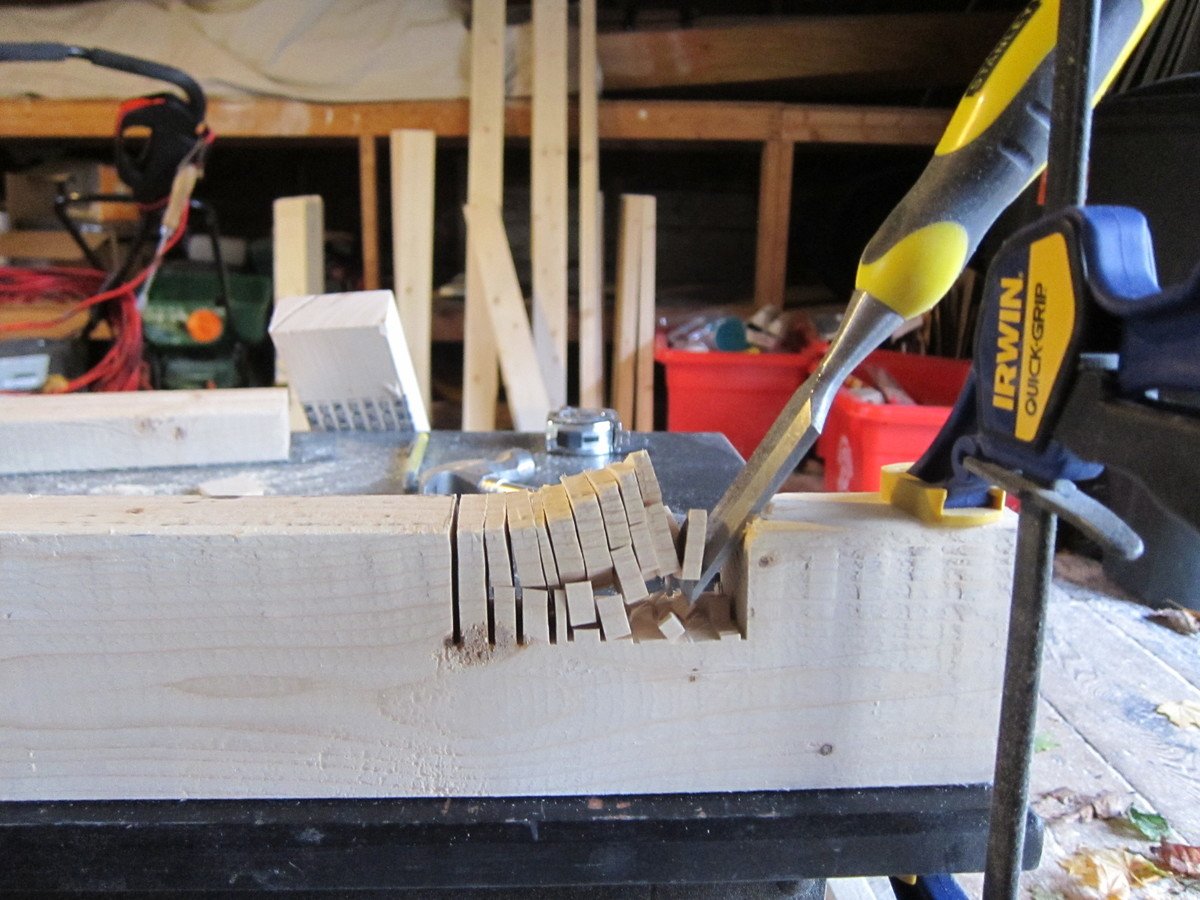
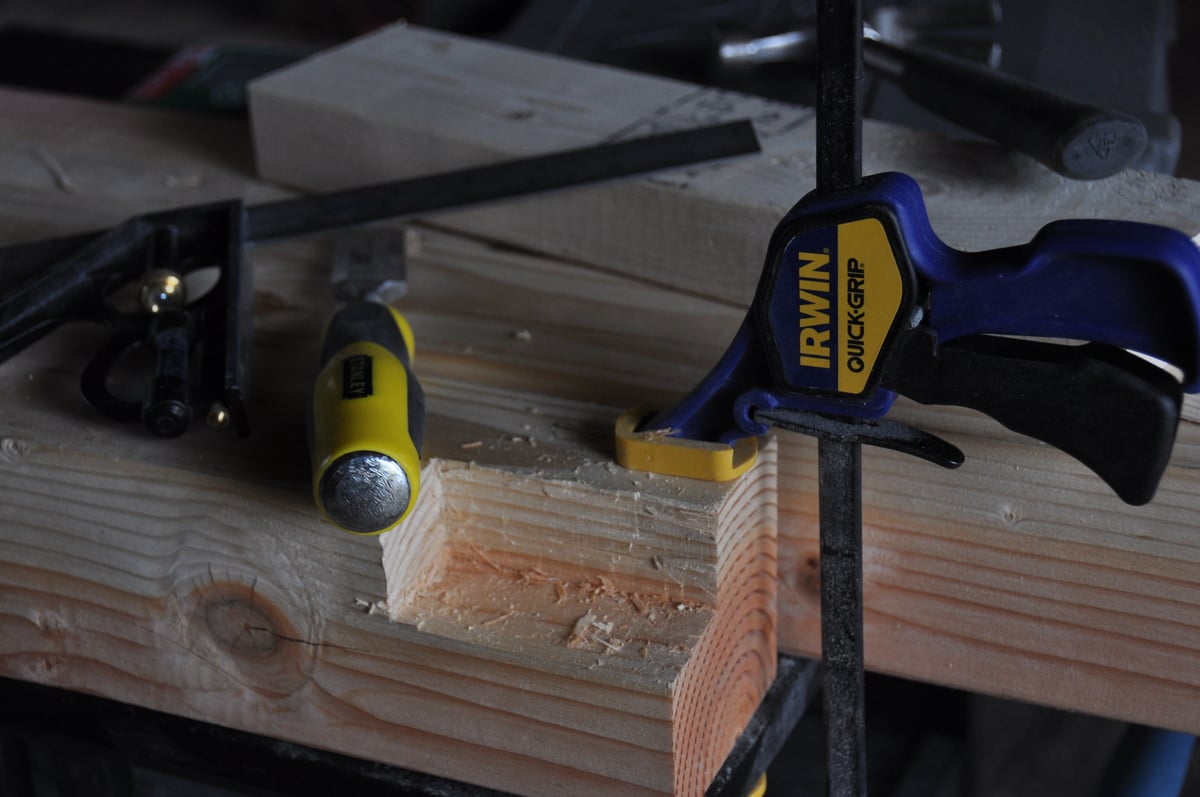
My first challenge was figuring out how to build with the 4x4 legs instead of the 2 2x4s screwed together. In order to accomplish this i had to use a chisel to create the corner lip that the table top frame would sit on. I added photos of this so I hope it will help someone. Chiseling these 4 corners (one on each post) only took an hour or two and was so worth it for the look of the 4x4s. Just measure carefully and work carefully with a sharp chisel. I actually removed half the wood by sawing off the corner at a 45 degree angle. Remember when cutting your boards for the table ends that a 4x4 has different dimensions than 2 2x4s screwed together. Compensate for this in your cuts.
Another challenge was hiding the screws on the table legs and table top. I was leaving the finish natural so didn't want to use wood fill. I accomplished this by getting a countersink bit and then buying wooden dowels the same diameter. For these screw holes, after finishing screwing, I put a dab of wood glue in the countersink hole, inserted the dowel as far as it would go, used a fine hand saw to cut off the dowel flush with the table and then used a hammer to make sure the dowel was in tight and flush.
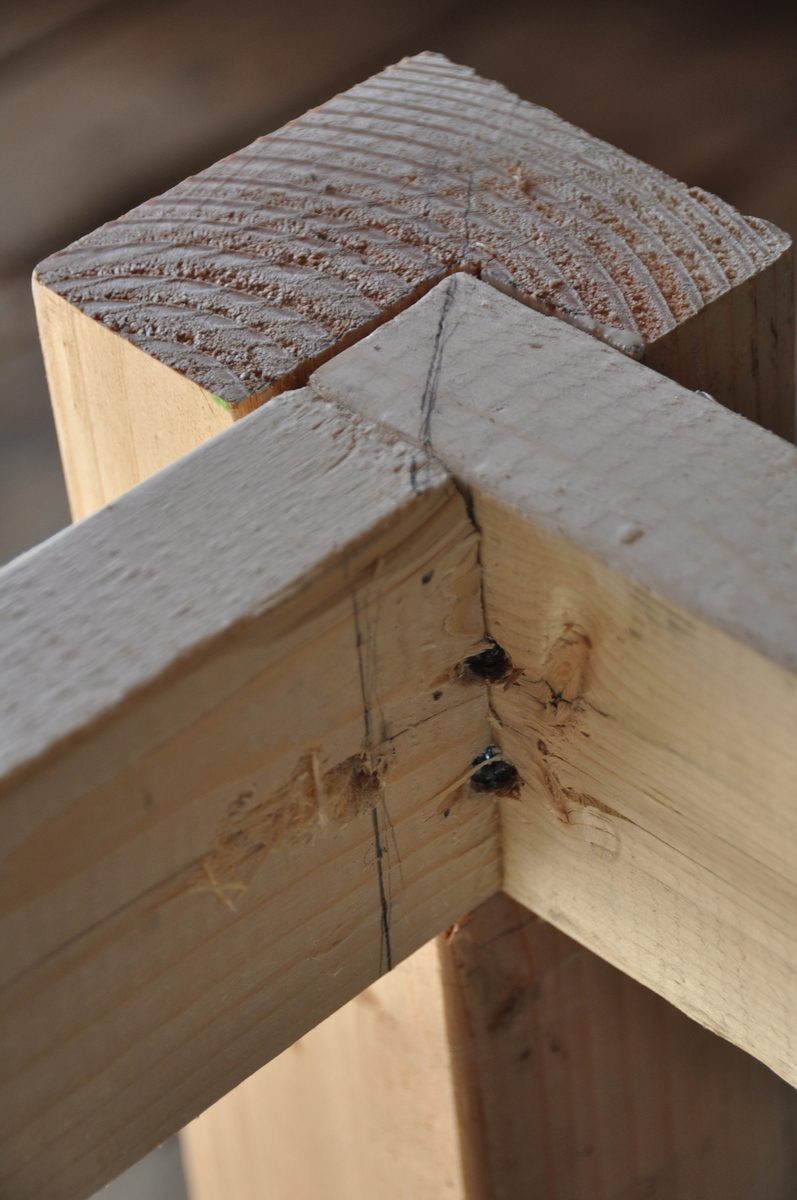
I had trouble figuring out how to attach the table top frame to the table legs with the long screws from the plans so I included a picture of this step. Its really easy but I was not able to use three screws as the plan calls for. I used two instead and it has been very solid. I used the long screws as proscribed.
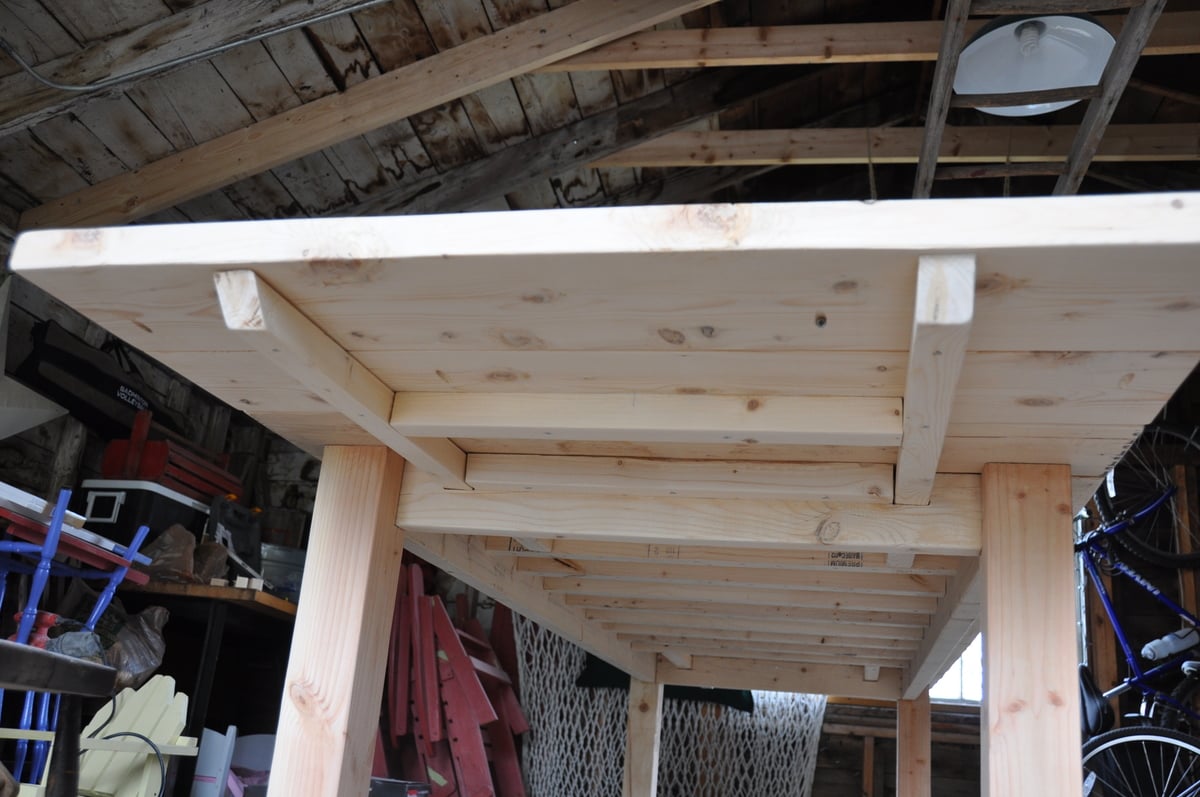
Finally, I wanted to build extensions (2 2x8 boards kreg jigged together) so I could increase seating up to a max. of 12 persons, so I needed to cut out 2x2 gaps on the table ends. I also included a picture of these in place. To make room for the 2 2x2s that extend under the bread boards and table top to brace the extensions, I left out one of the 2x2 cross beams at each end of the underside of the table (the boards that the table top boards screw into).
I hope this is helpful to you!
Mon, 02/10/2014 - 11:55
Great job on the table! I love...I had visions of this table before I saw it. I wanted to use the 4x4's for the legs as well, the same finish. I am concerned now about the 4x4's because I am an amateur and I think that may throw too many wrenches into my plan. I started with the bench, finished in 3 hours I have patted myself on the back. Plotting on a Kreg jig right now.

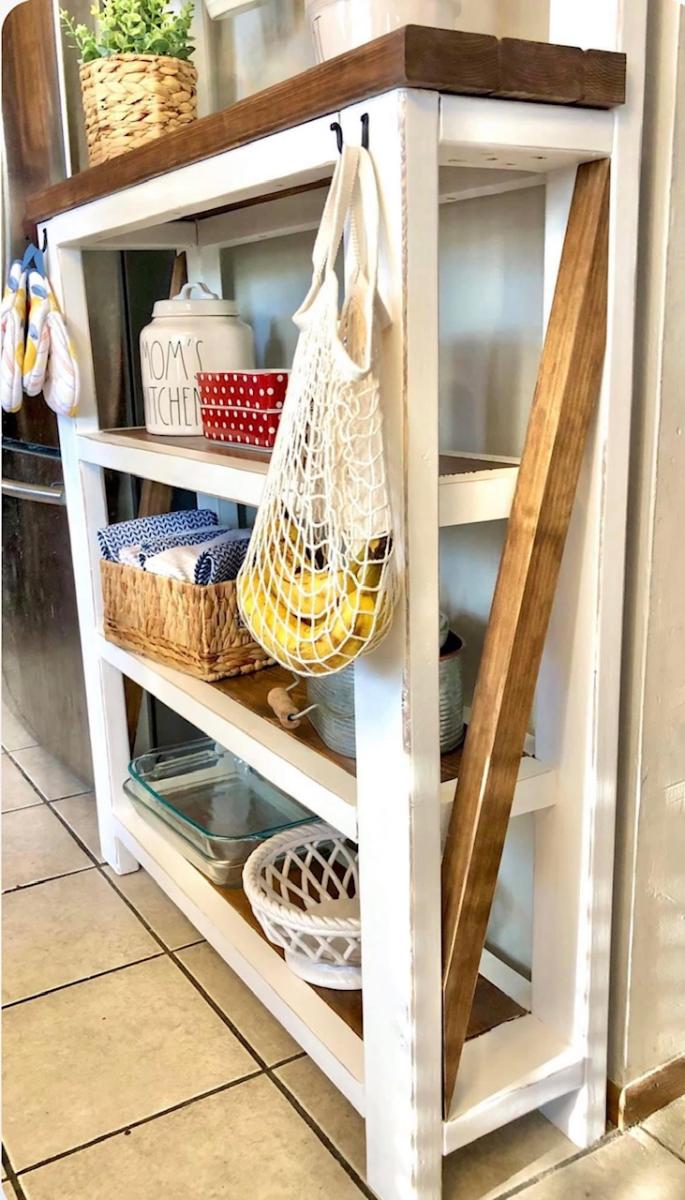
Thanks to you we were able to build my mom a shelf for her kitchen with a combination of two of your plans! My mom loved the top of the “Farmhouse Potting Bench” but also wanted shelves like the “Rustic X Console Table”. We combined the two and adjusted measurements to fit our wall space. We didn’t do a complete X on the side because we wanted it with one slant, but loved how it turned out over all!
Kayla


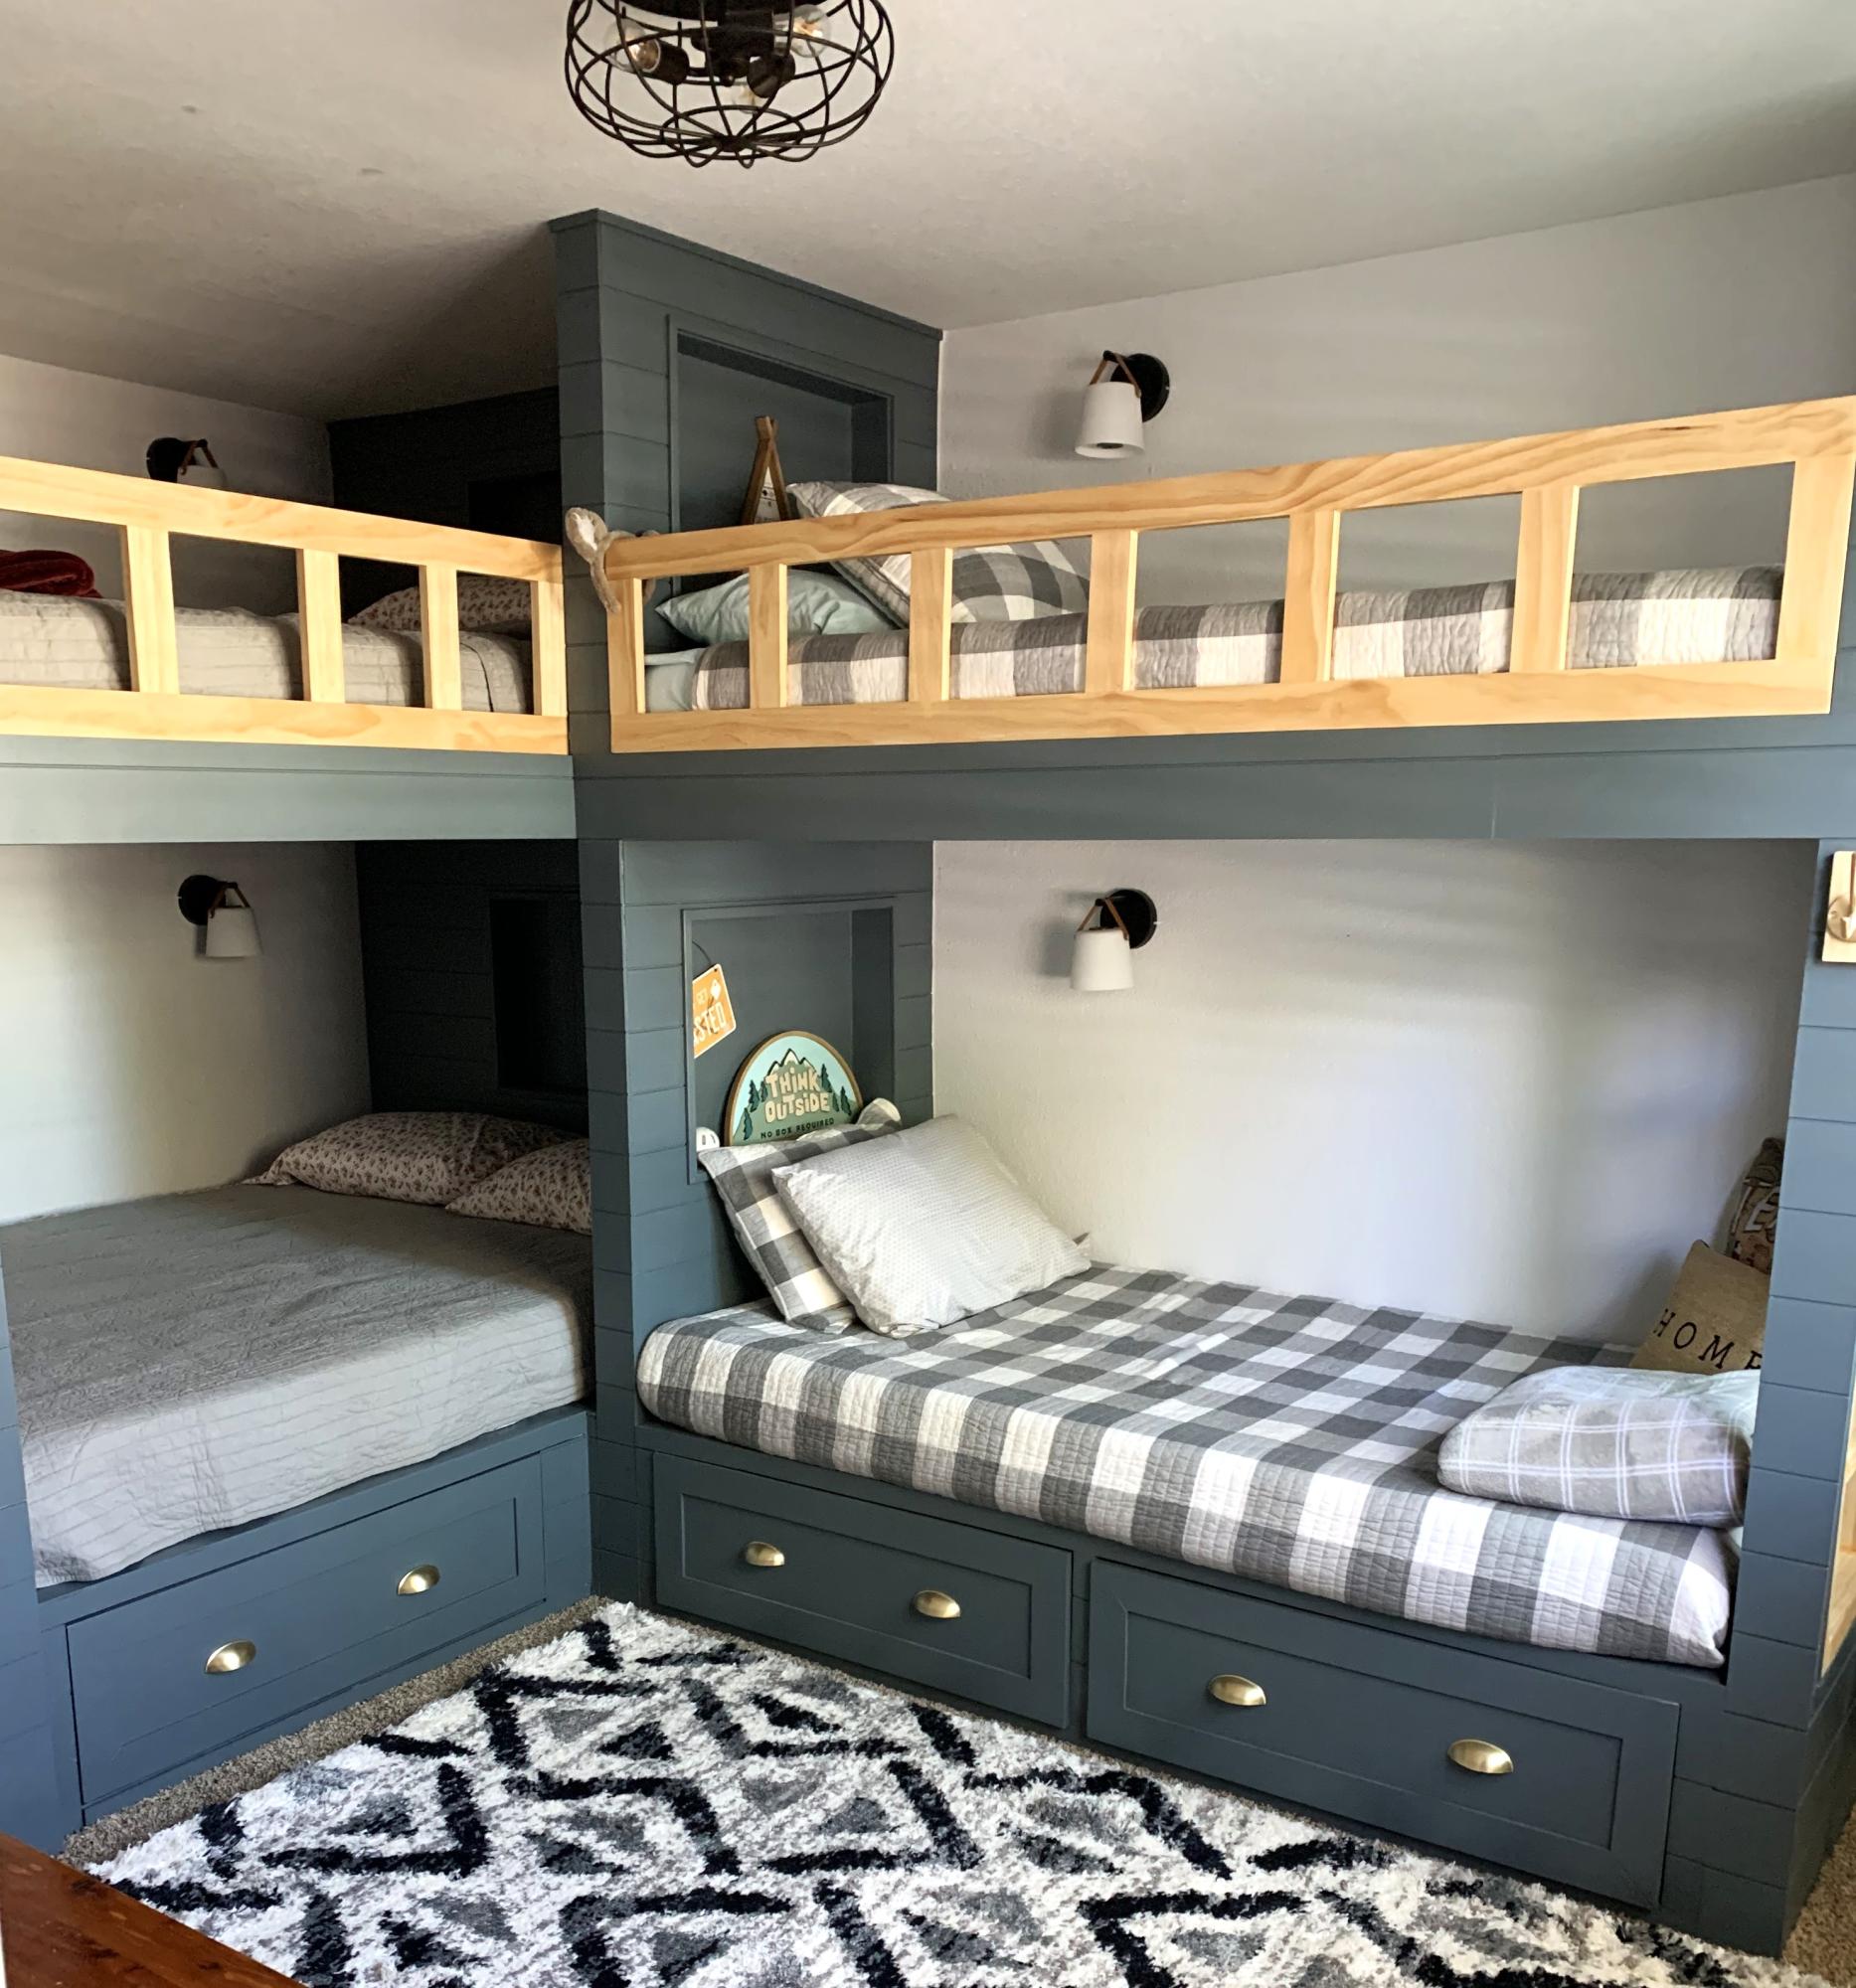
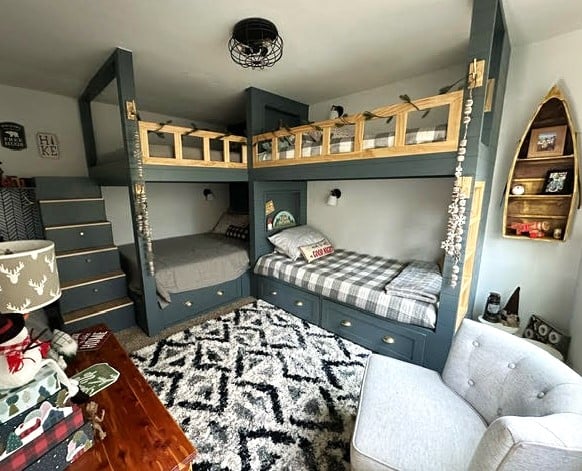
The queen and twin bases were base on your twin bed with storage. Pretty easy to do. This is my first time doing anything this big. I live in a four season resort town and needed beds for heads for ski season.
Debbi H - IG - callintn
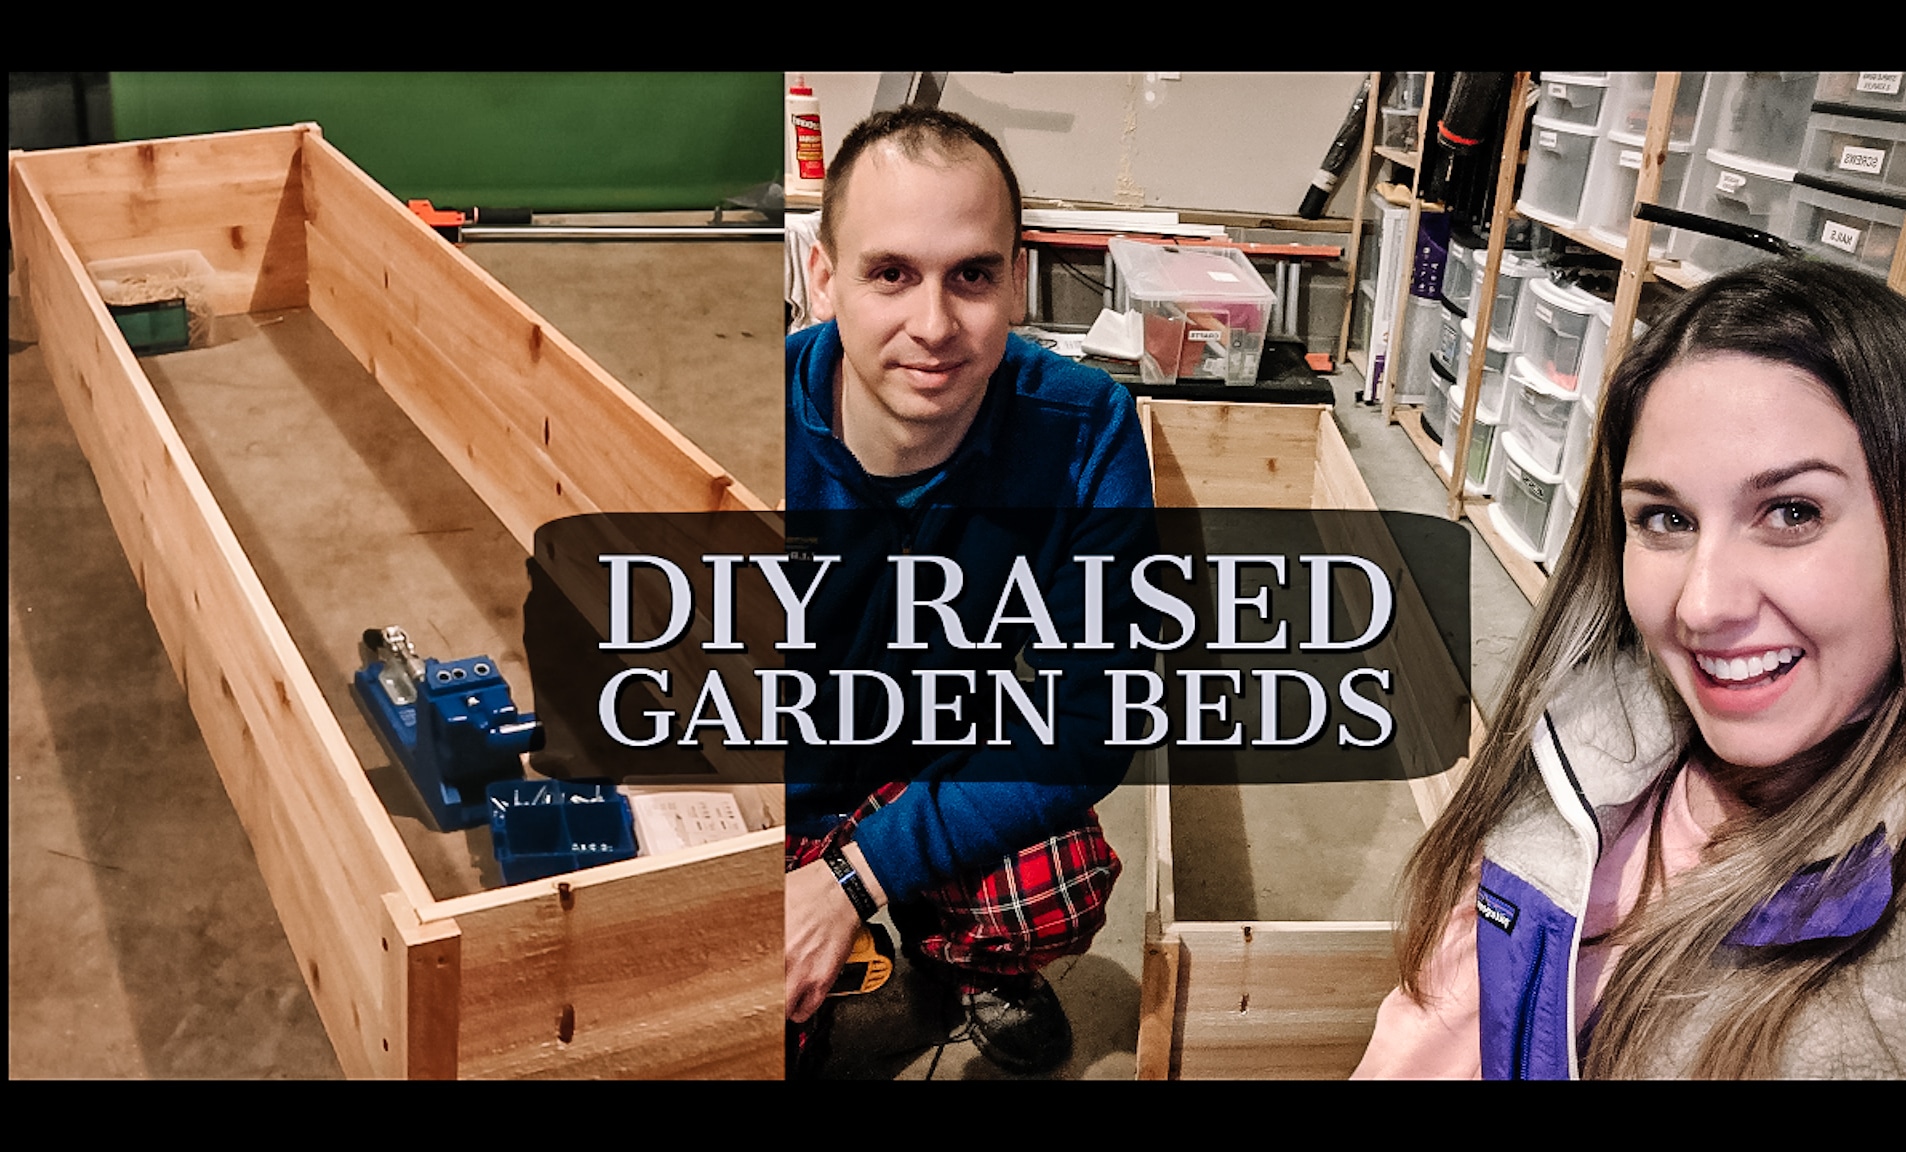
We made two $10 raised beds last weekend and can't wait to get them in the yard!
The cedar fence pickets ended up costing us about $15 per bed with another $15 for screws, so total cost was about $30 per bed.
We found it tricky to do the 1x2 pieces in the order recommended and when we make these again, will form the full box and then add on the 1x2s for support.
We made a YouTube video detailing the process - hope you'll check it out!
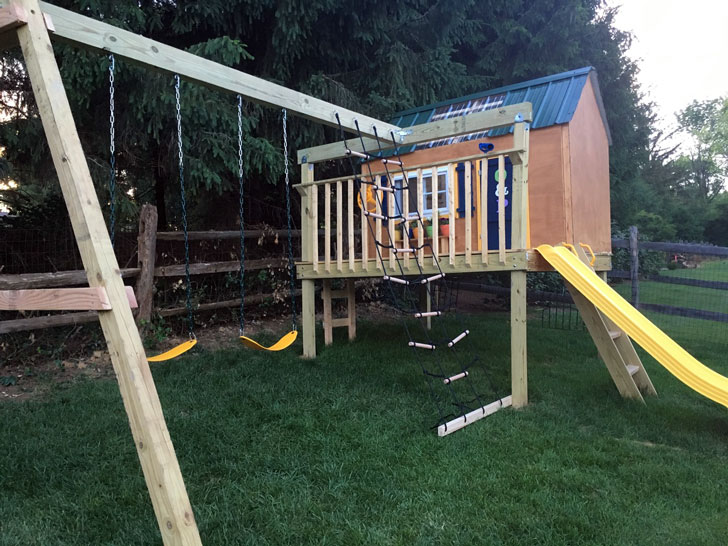
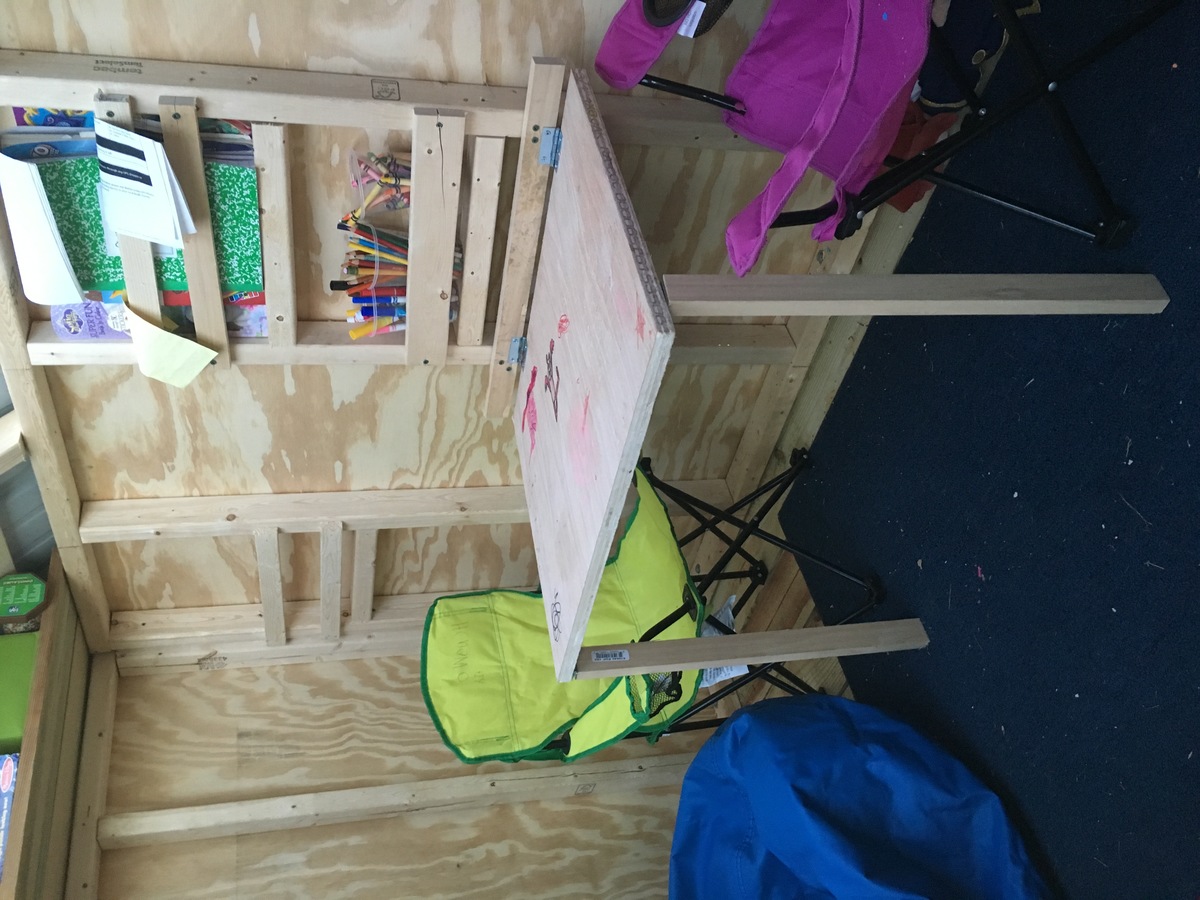
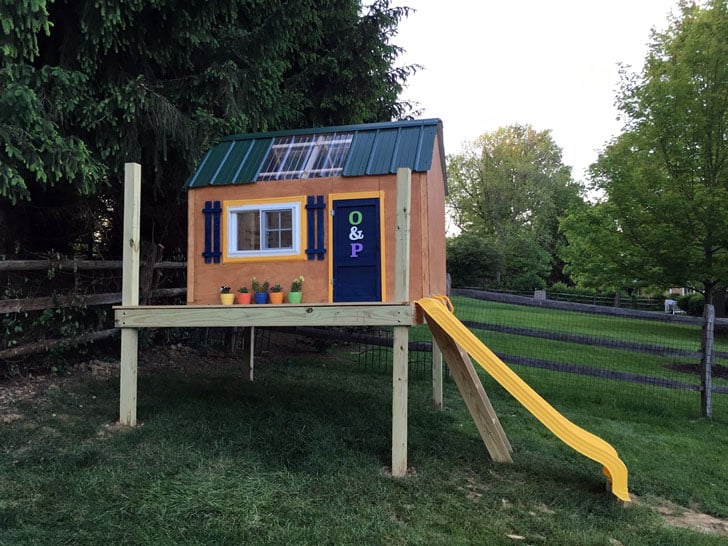
We really enjoyed building this playhouse swing set for our kids. We have a decent slope to our backyard, so we needed to sink our posts, which required a bit more work thank Ana's plans. We also used a real window (my dad just happened to have in his garage) instead of the 3 open aired windows Ana's plans called for. Inside we built a fold under table, shelf, and a chalkboard for thier entertainment.
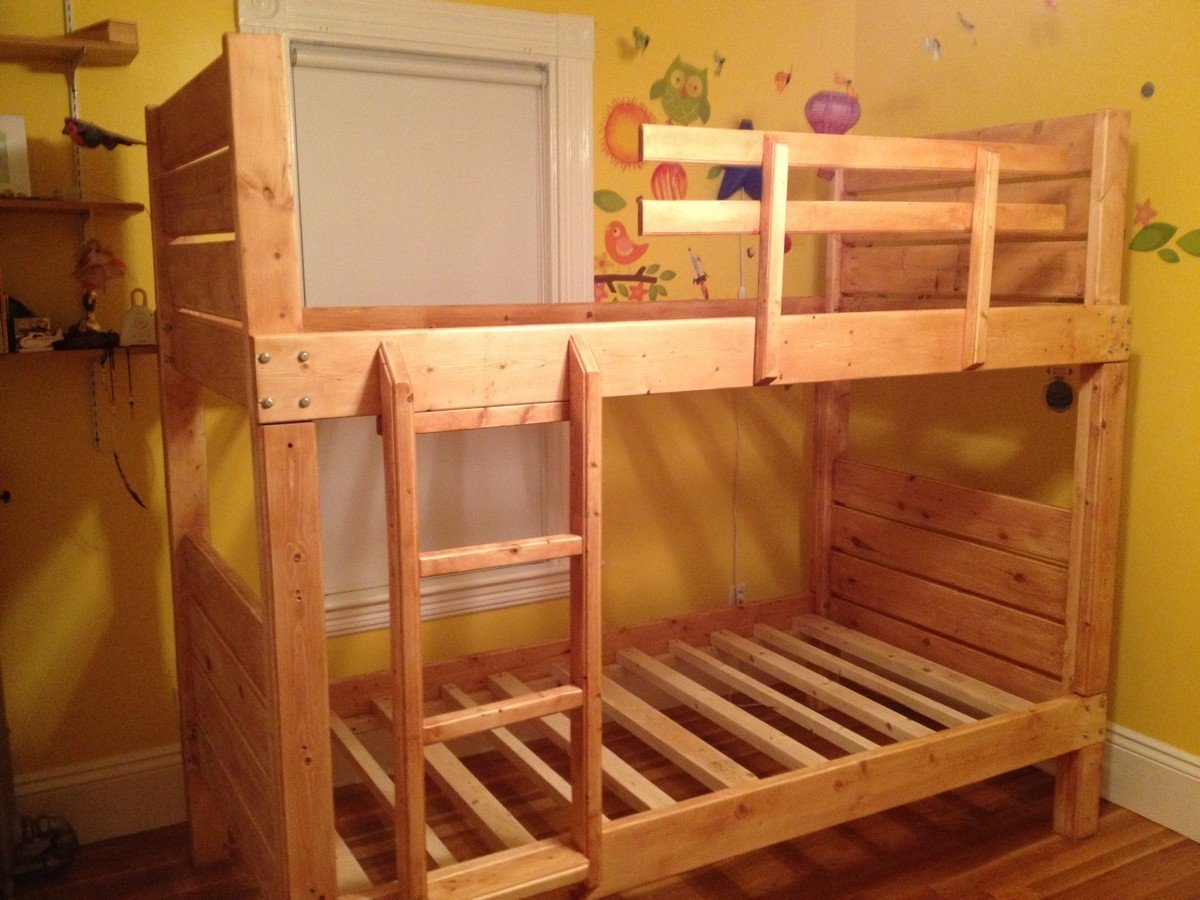
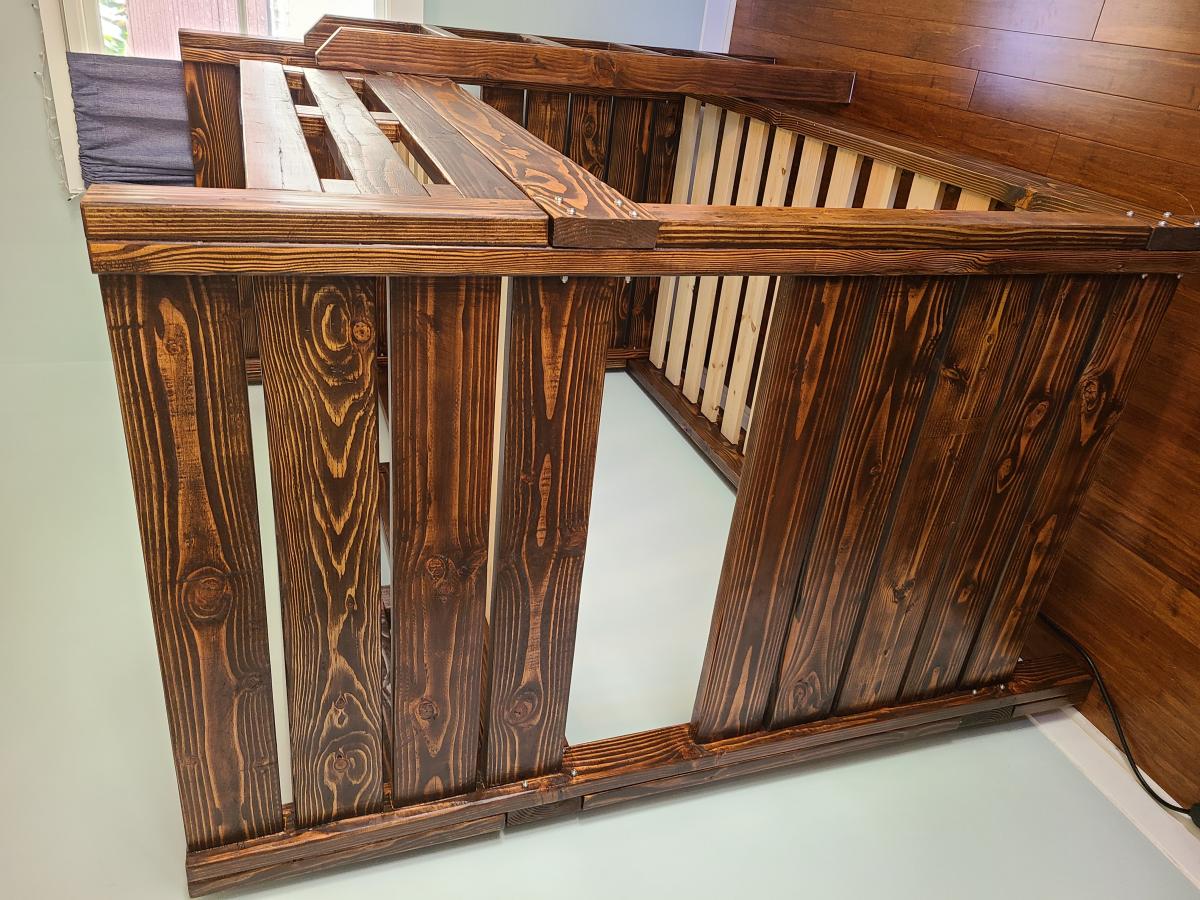
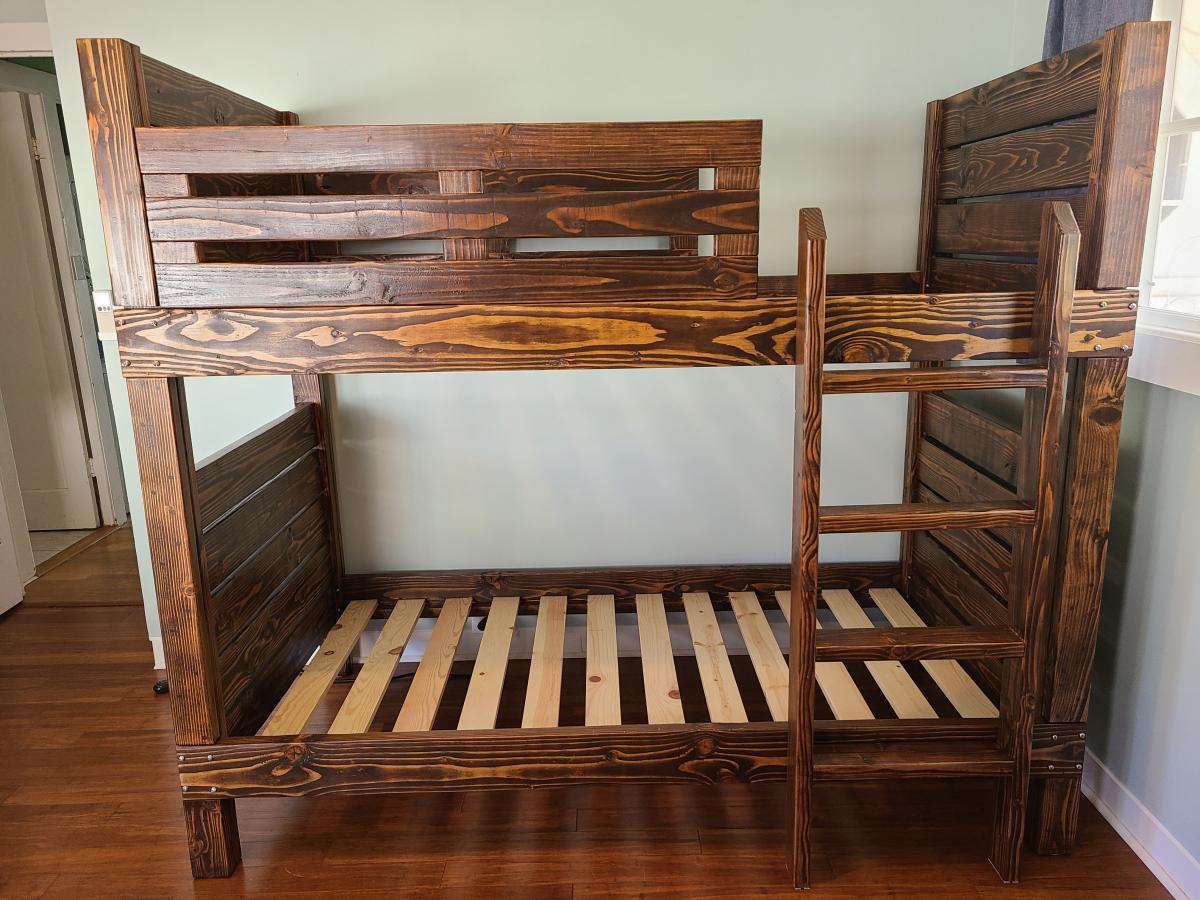
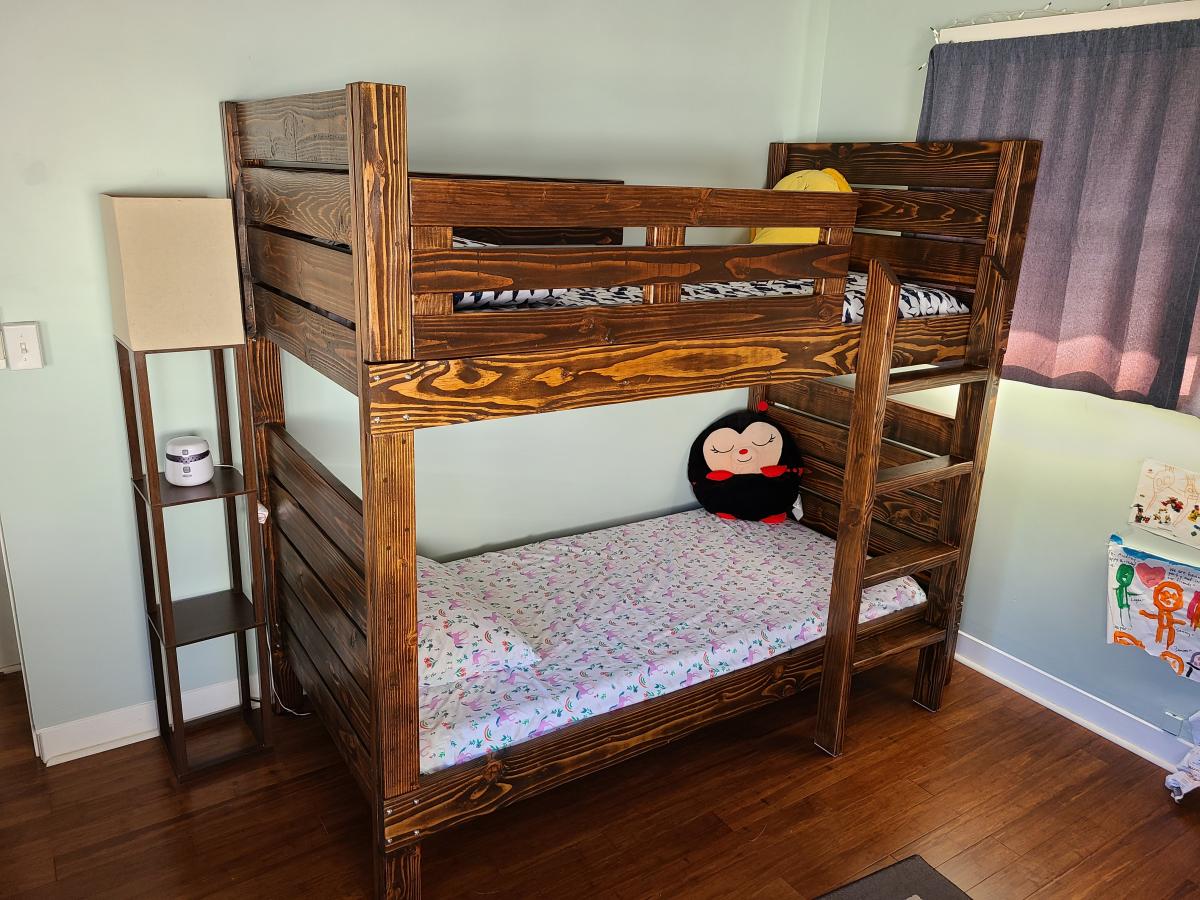
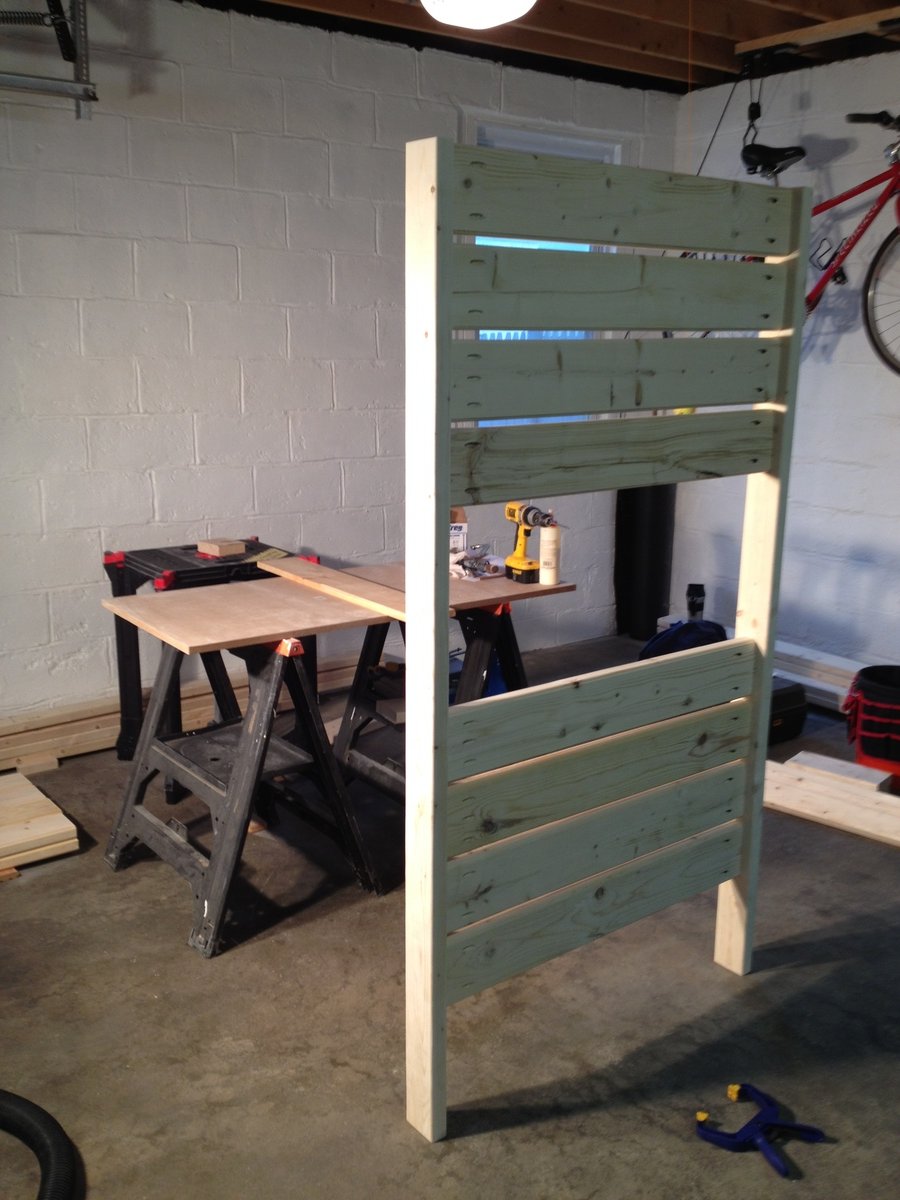
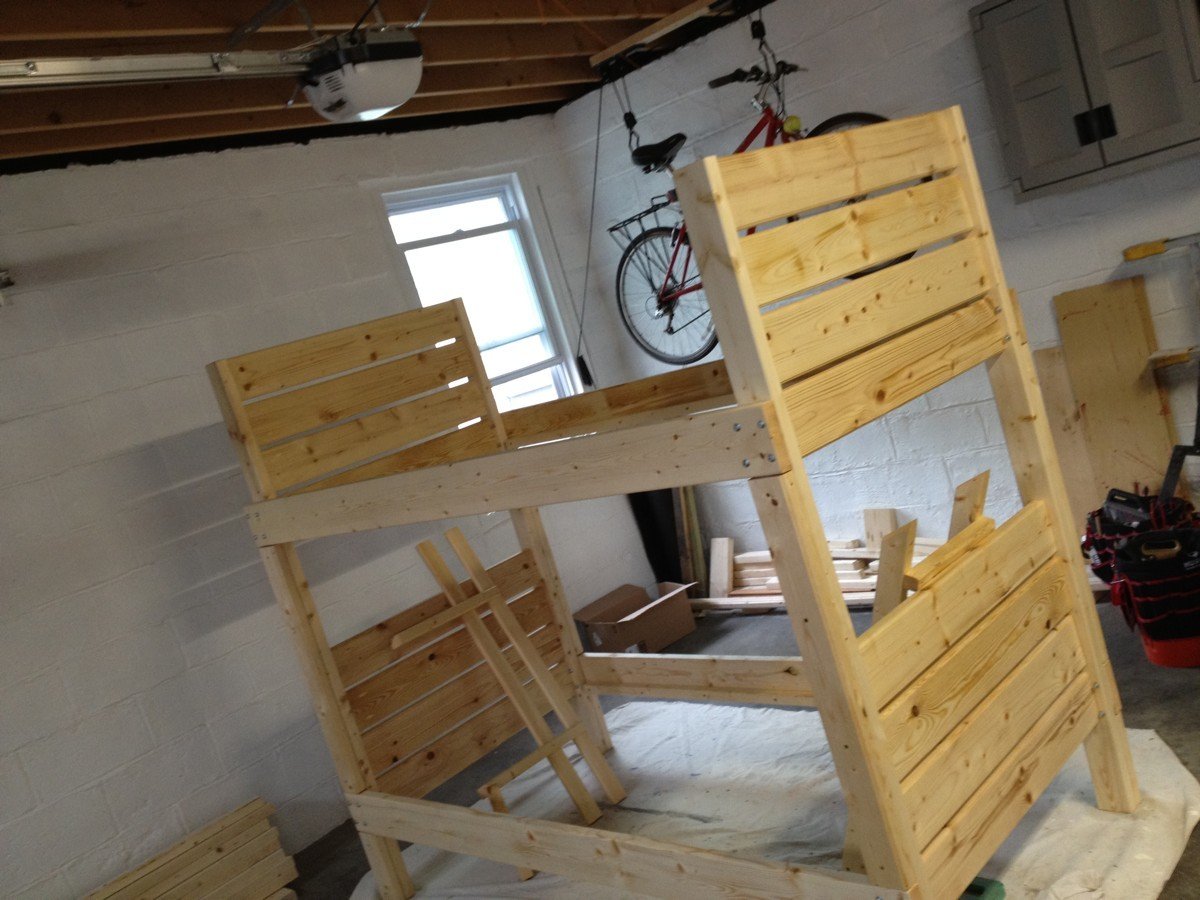
We were shopping for bunk beds for our 5 and 3-year-old kids, and everything I saw was overpriced, mass produced junk. I'm not kidding - we were looking at $800-$2000 for anything that appeared to be remotely stable, let alone well-designed.
Naturally, I started searching for plans (it's the right thing to do), and naturally, I found my way to Ana White. This project began in earnest when I found the Side Street Bunk Bed plans here:
http://ana-white.com/2012/03/plans/side-street-bunk-beds
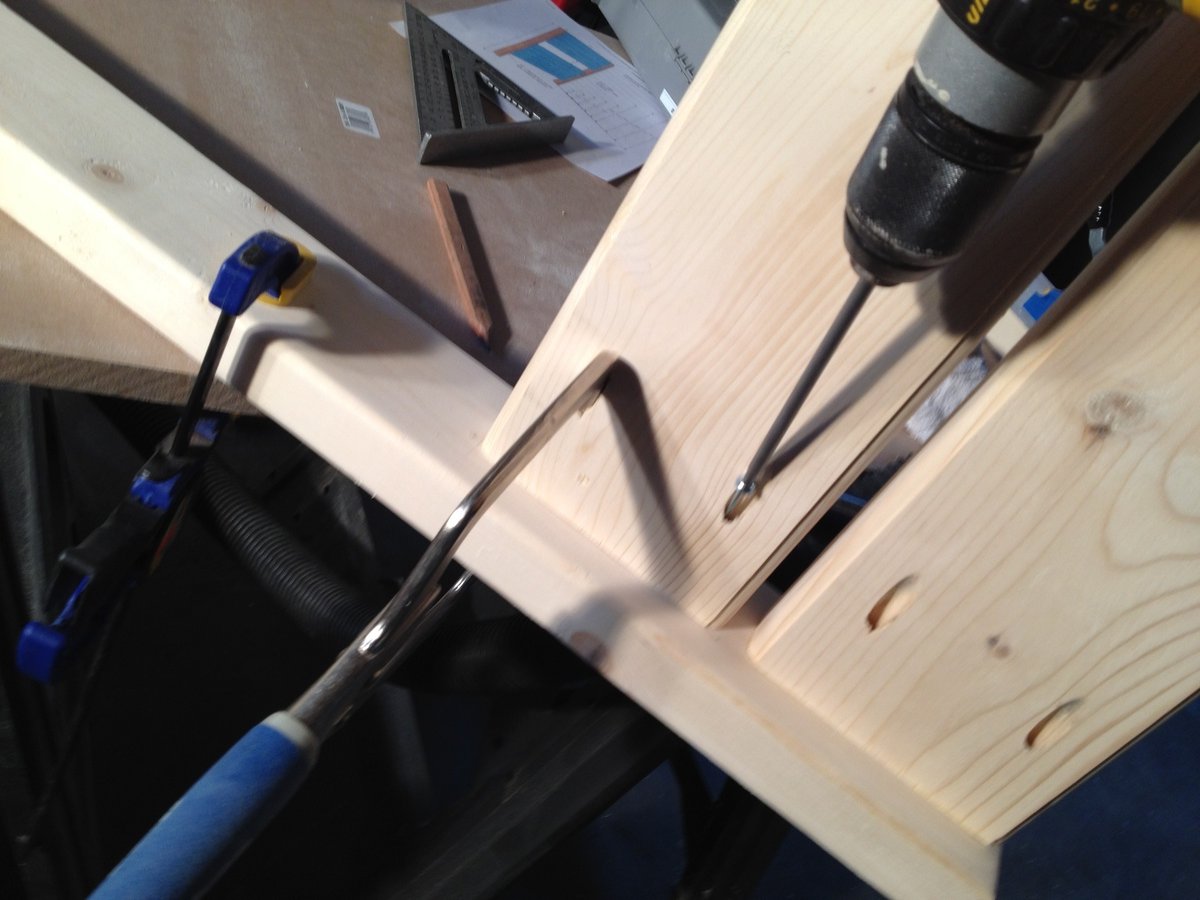
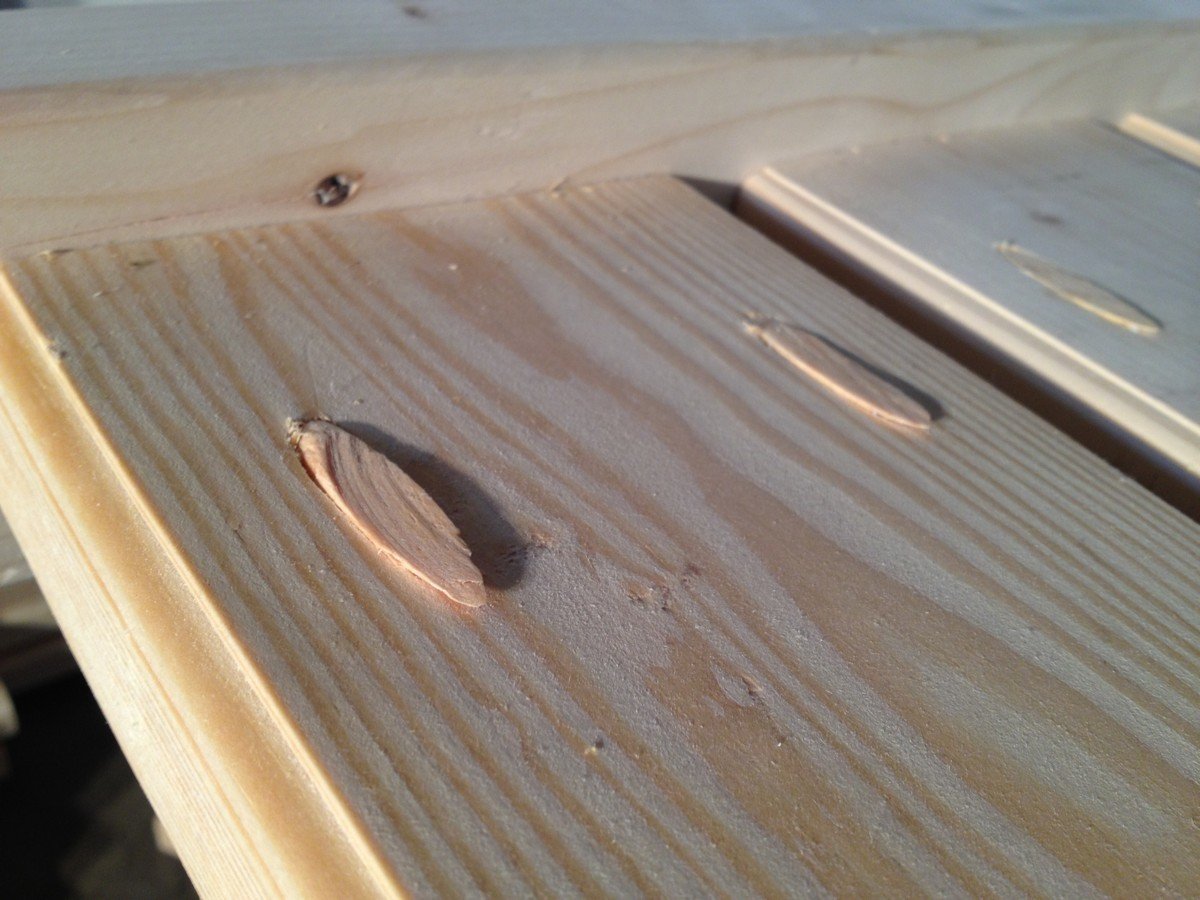
I figured I'd give it my own twist. I needed to practice using my DeWalt compact router (and the new trim router table my wife had given me months before), and any excuse to bust out my Kreg Jig is fine by me. I also had different ideas for the ladder and guard rails...so I printed out the plans, sketched out my variations, and proceeded to suffer through the indignity of lumber shopping at Home Depot.
I know what you're thinking - WHY would anyone even bother trying to find a straight board in THAT place? Well believe me, I suffered for the convenience of driving to the HD two miles from my house. I had to work each and every board like crazy, but eventually I got em all into fine shape. Wood wants to be good, even the crap they sell at HD.
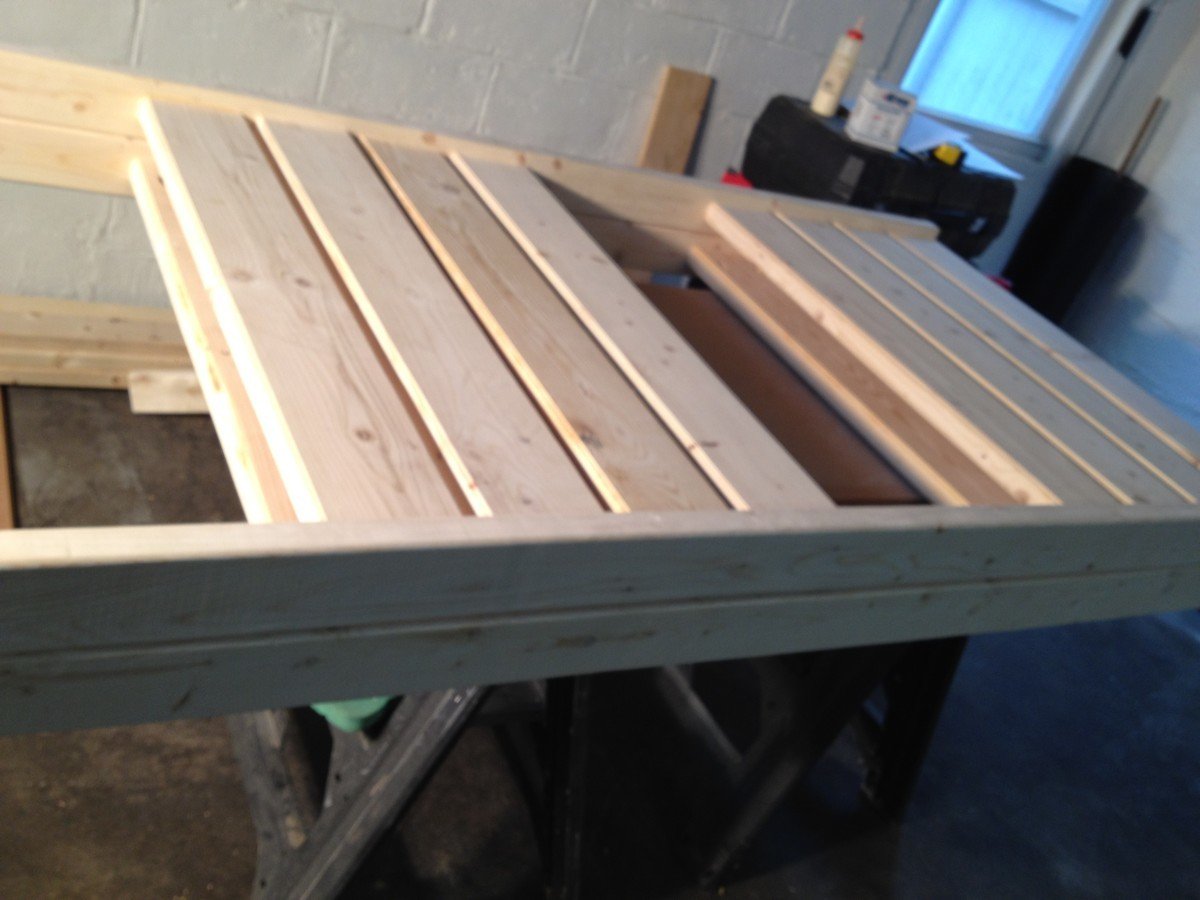
About halfway through the build, I started to worry that what i was building was TOO sturdy - total overkill. But now that it's in use, I can tell you I'm glad I built with these plans. I can still climb up on top of the bed with both my kids if I want to and this thing doesn't budge. Not an inch. Not a creak. SOLID. Exactly what any parent wants.
Not a lot of complex tools involved here; my trusty Delta chop saw, my DeWalt 18v cordless drill, a DeWalt palm sander ( I spent hours with this), the Kreg Jig and a couple of clamps (of course), and the DeWalt Compact Router and table. The router really made a difference in the overall design – and I wasn't afraid of screwing up the lousy lumber I was working with. In the end, it all finished rather nicely.
I treated every piece with Minwax wood conditioner, then a single coat of Minway Polyshade in Pecan. Nothing fancy, but after sanding it down and giving it a polish, I gotta say it looks just as good as your average IKEA finish. Not bad at all.
This is the largest piece of functional furniture I've ever built, and my kids LOVE it. They talked about it for days after, and you can't buy that on Amazon. It was a real confidence builder, and I'm PSYCHED to move on to some nicer lumber and more complex projects!
Thu, 05/24/2012 - 09:42
That is really lovely. You should be proud and how wonderful that you created this experience for your boys instead. No doubt you have inspired and impressed them. Way to go.
Sat, 07/14/2012 - 16:01
Great job. We just bought the wood to make the same bunk bed. Would you mind sharing your dimensions/cut list for the ladder on your bunk bed? We would like to build the same ladder instead of the one that goes out to the floor.
Thanks.
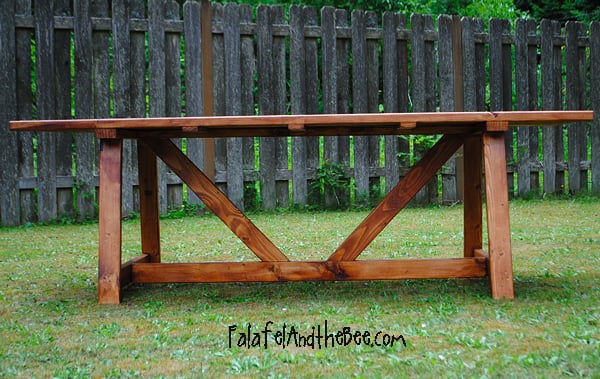
This is my second large wood project...and both from this blog! The plans were fabulously easy. This was the first time I used my miter saw, and it was a great way to break it in.
This was my first project. I used wainscoting for the door backing. I was happy with it for a first project.
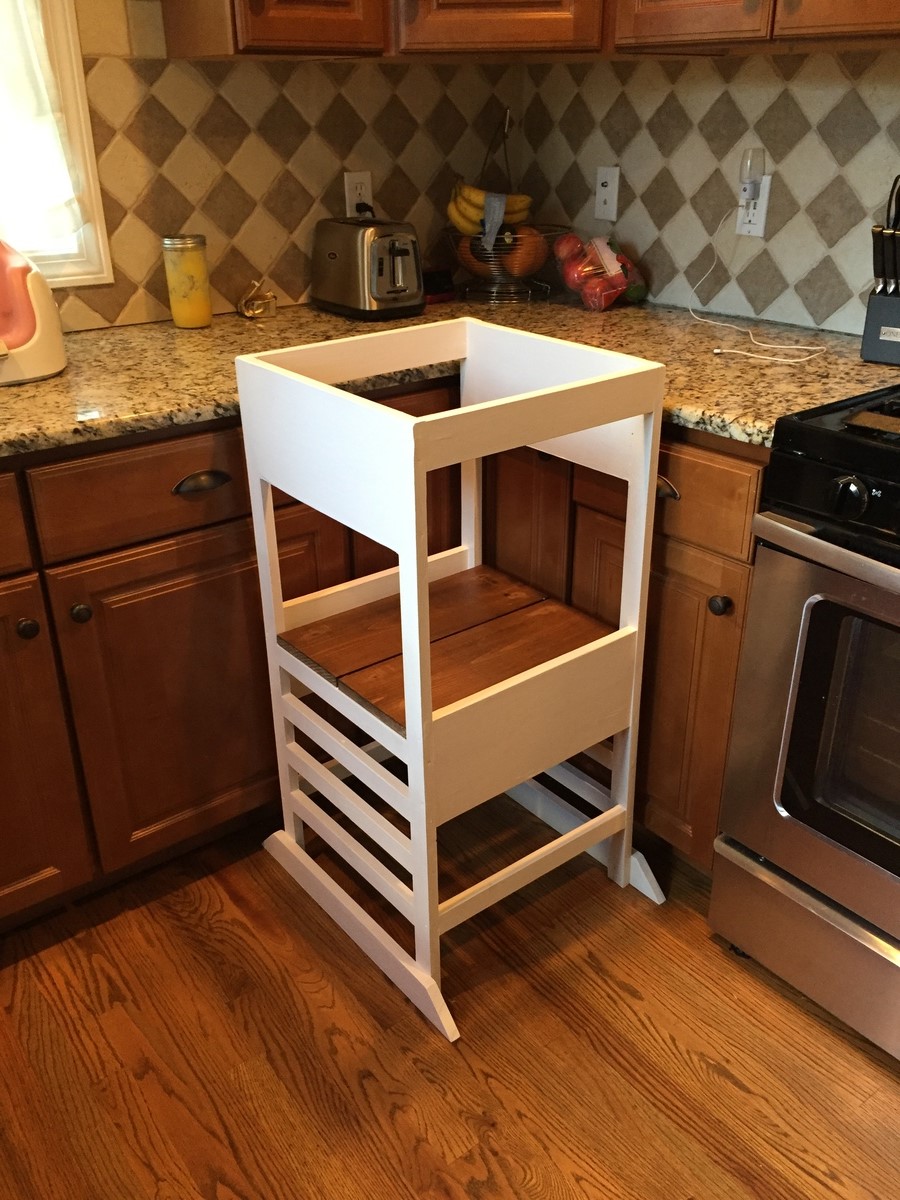
Built one for my niece, my daughter's is next!
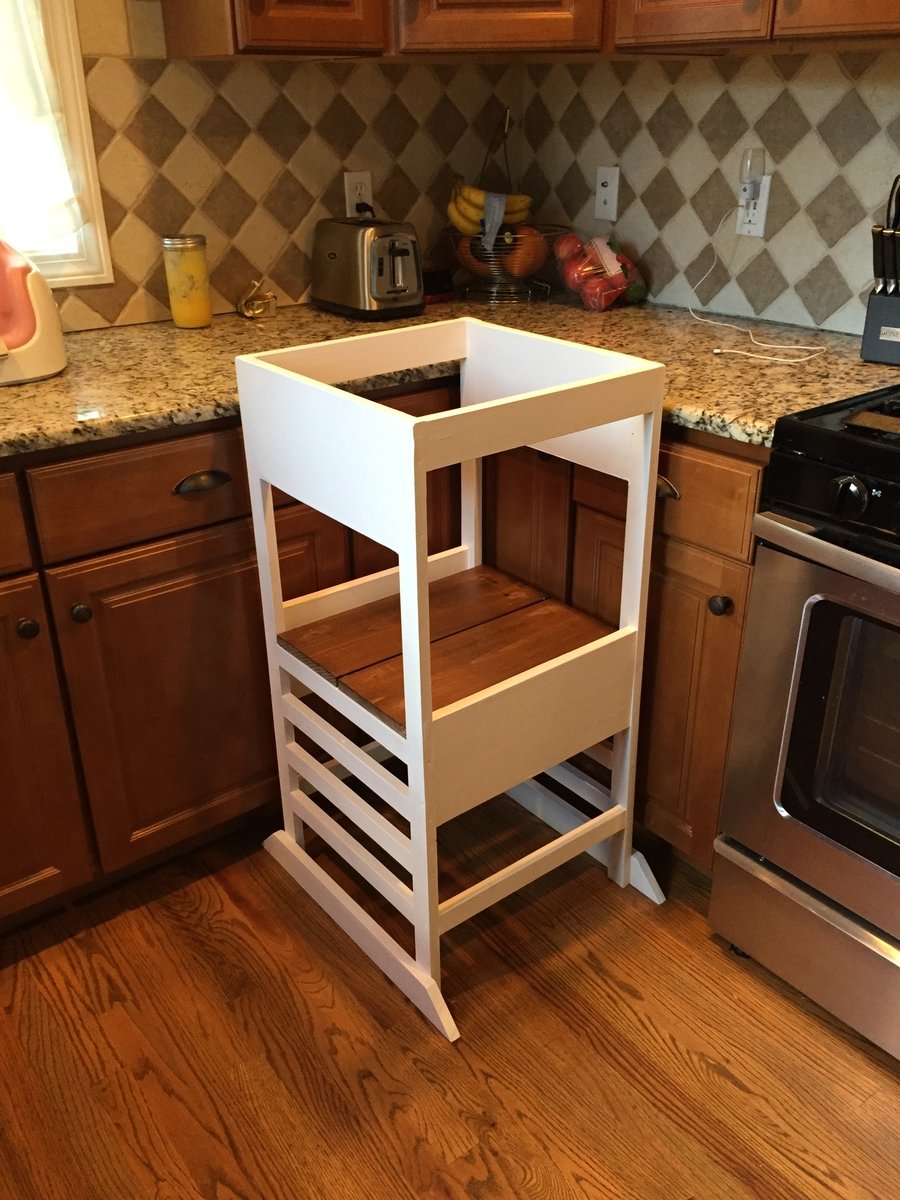
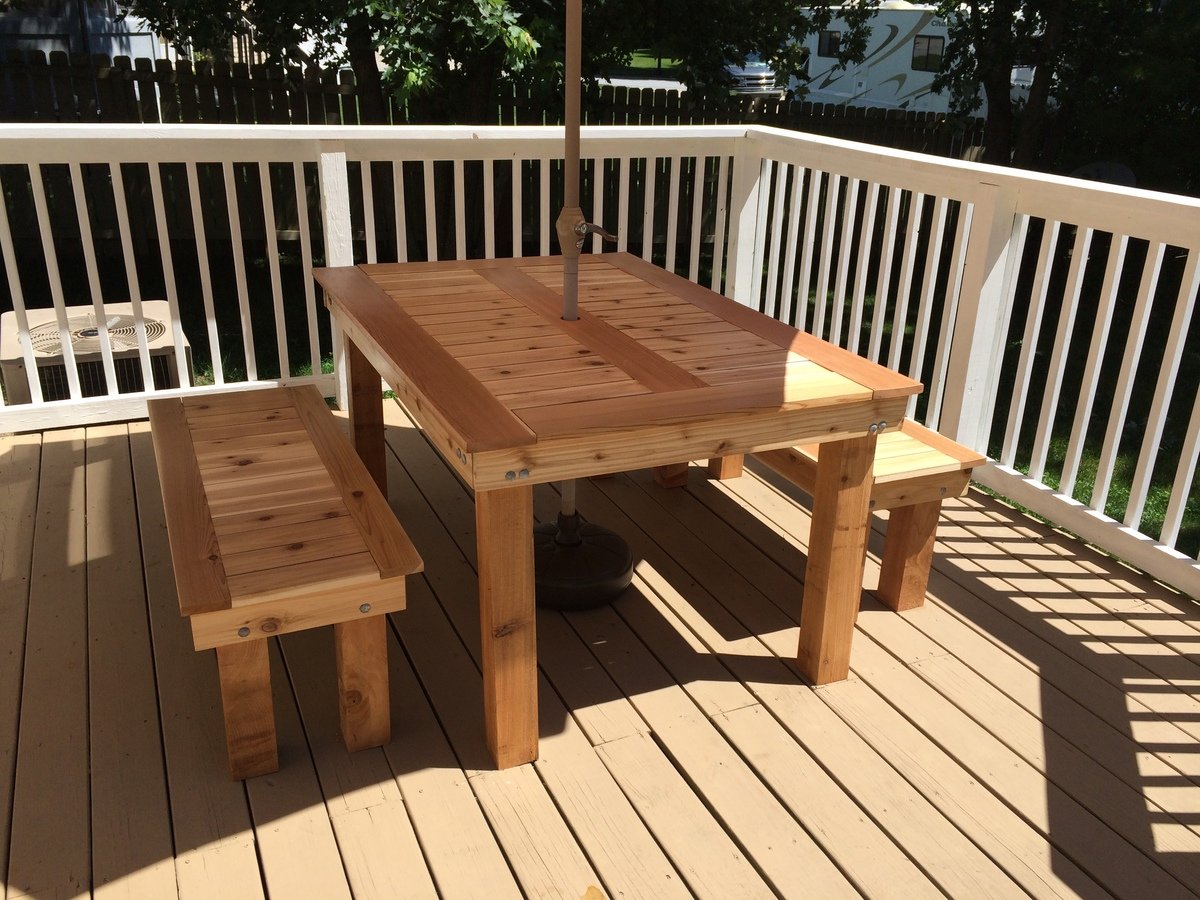
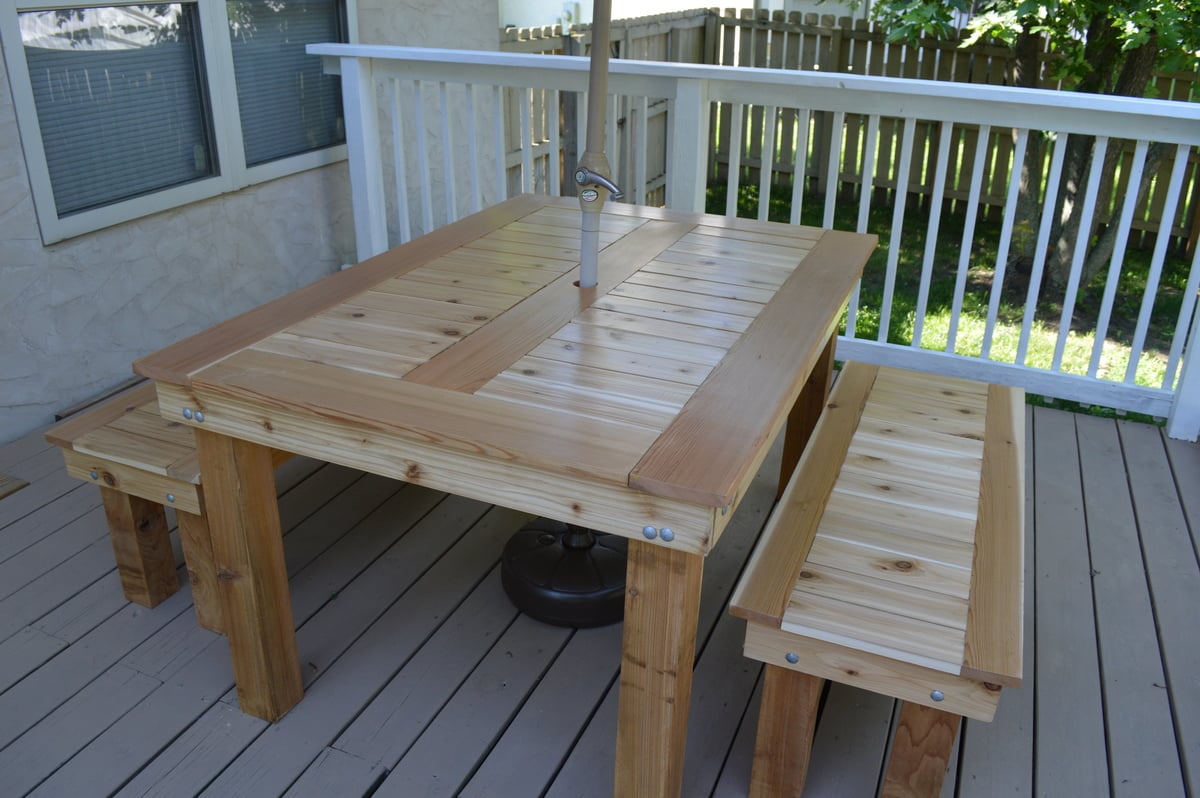
My wife and I loved the version that Finns-Dad made but we wanted it to be rectangular. The top is 1x6s around the edges with 1x4s in between. The frame is 1x4s. The bench tops are all 1x4s with 4x4 legs. There are 3/8 inch lag bolts in the legs. We did 4 coats of the urethane.
This was my first major project, and while there are many things that I would do differently if given the opportunity, we're still very pleased with it.
Thu, 01/01/2015 - 09:04
I really like the changes you made to this table, it looks really nice.
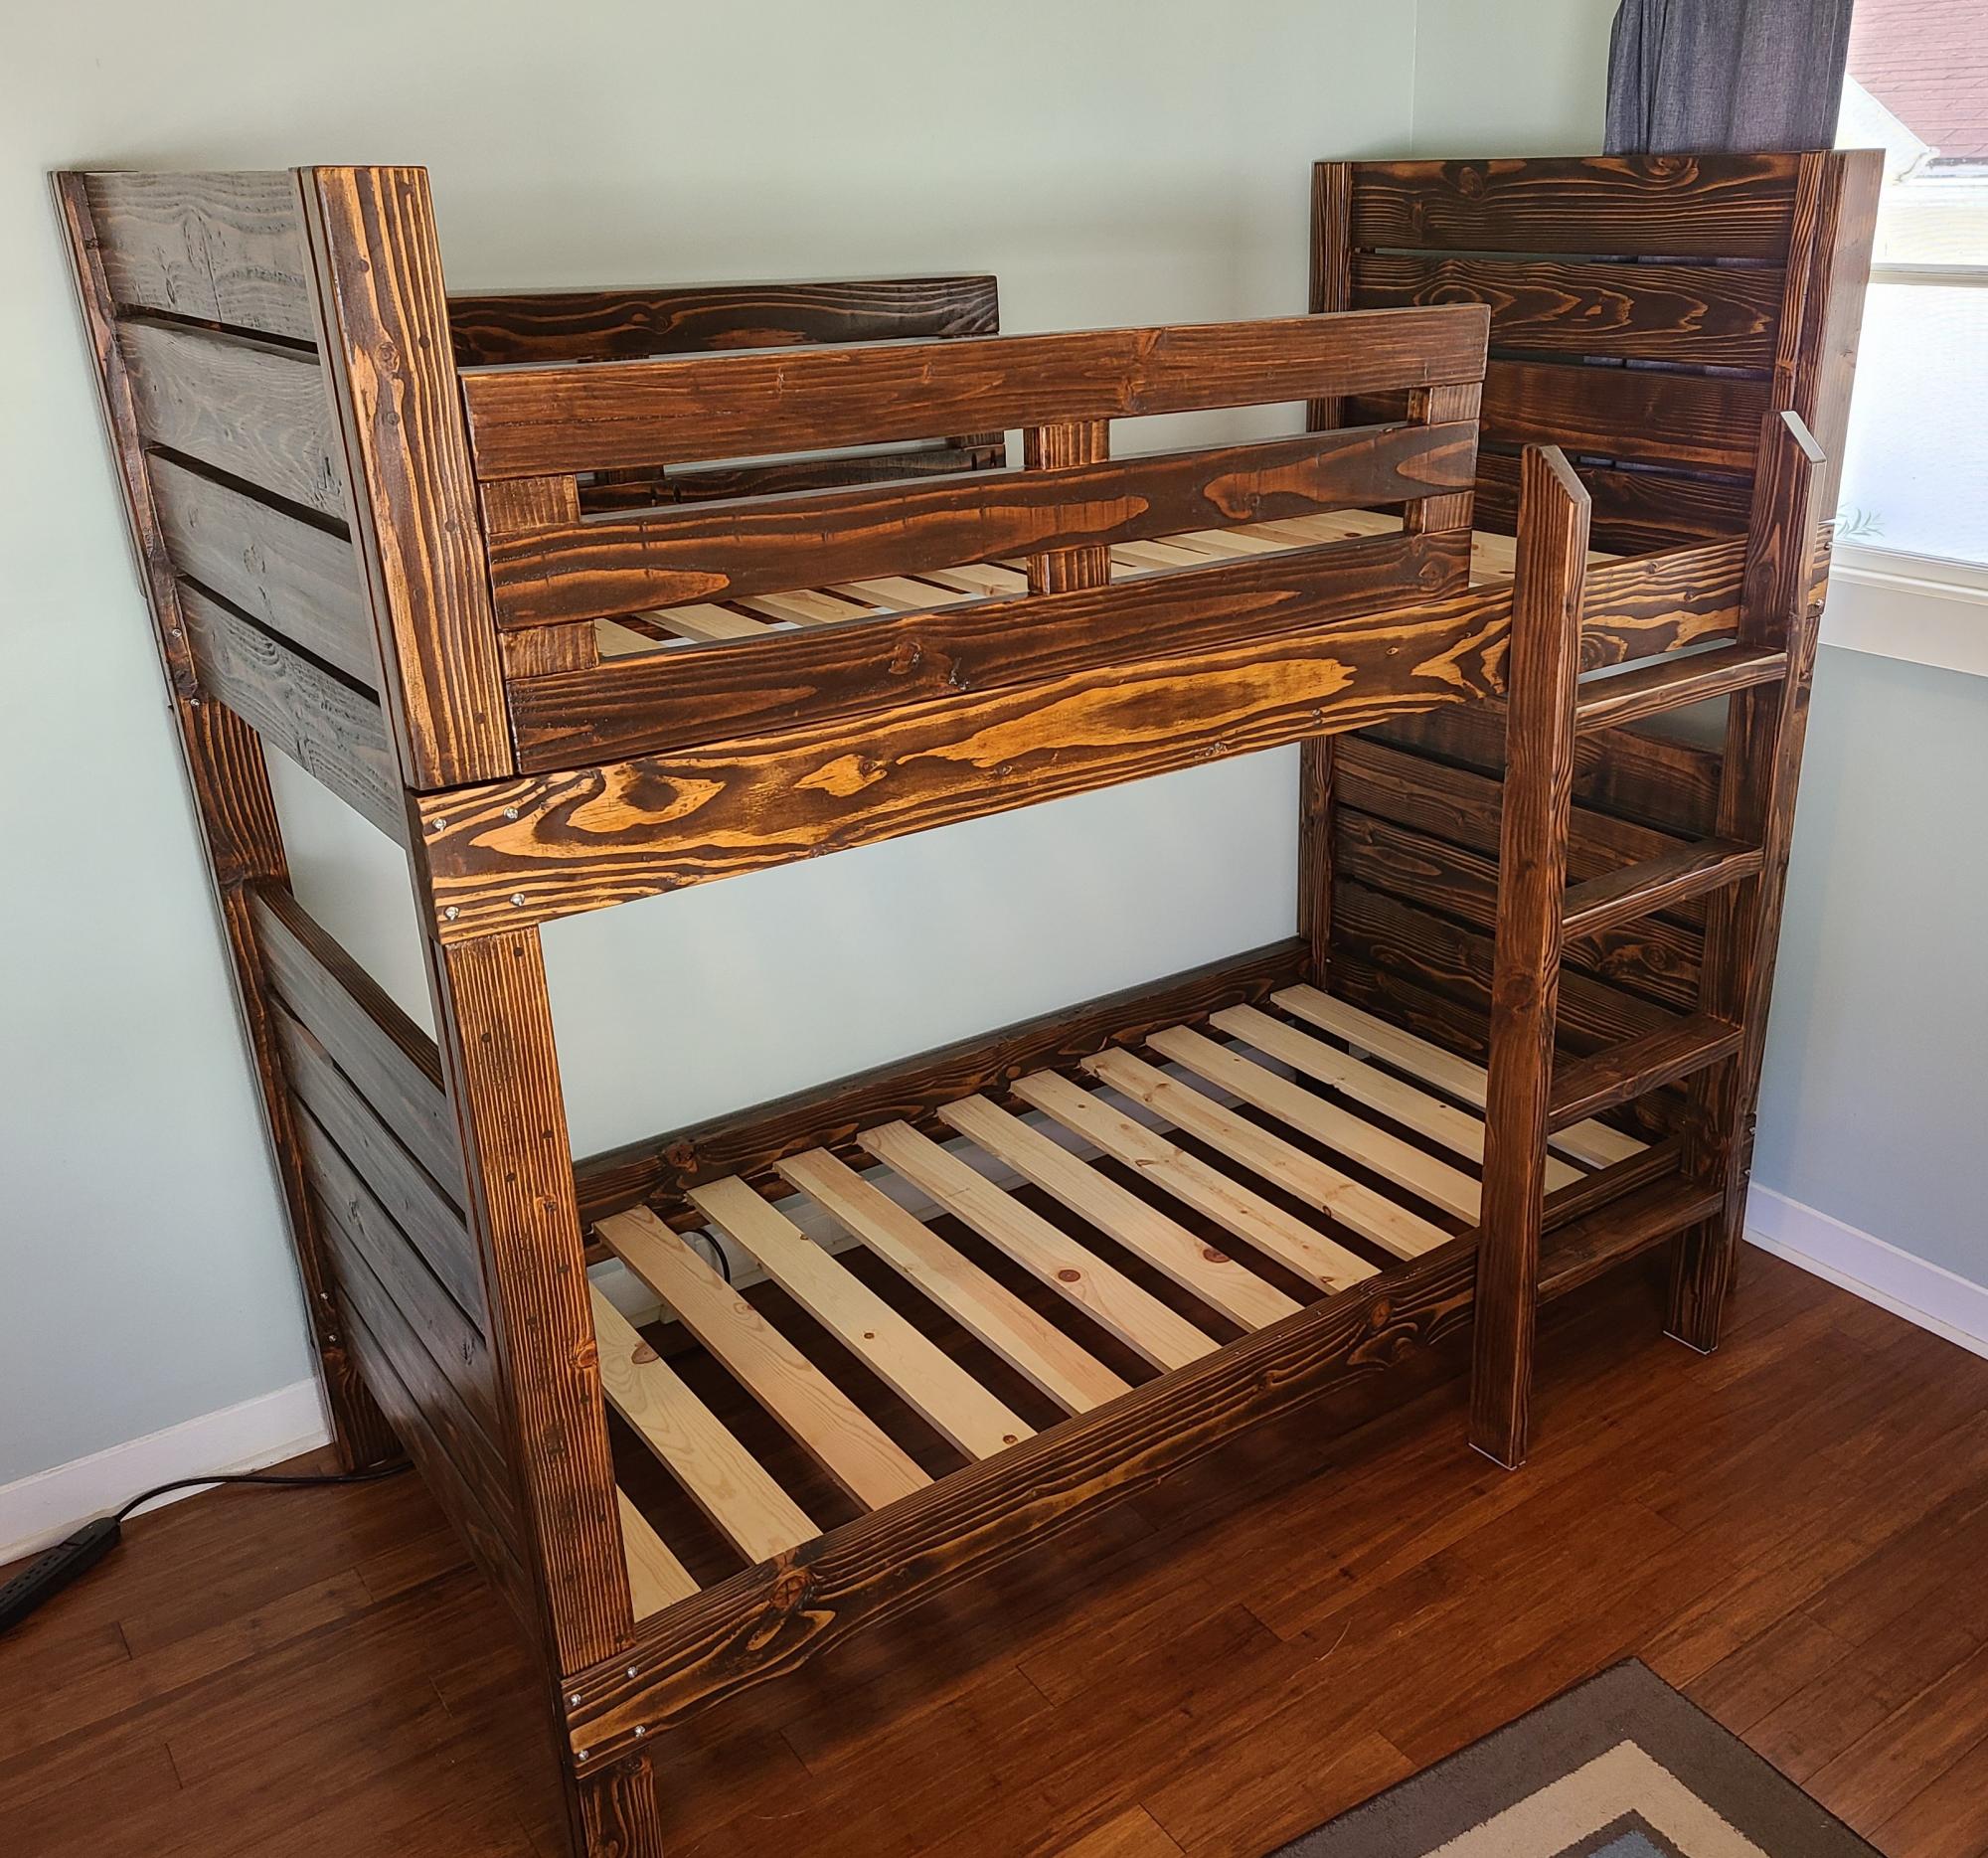
This was my largest project to date. Took me a LOT longer than I thought it would (big chunks of 4 weekends, plus sneaking in some time during the week), but enjoyed the process. The devil is in the details as always. The raw dog 2x6's took me hours upon hours to sand down to an acceptable state of smoothness. For the ladder, I kinda winged it and made it straight. My kids' room is really small, so every extra bit of square footage matters. My oldest is 5 and is fine going up and down. My youngest is 3 and hasn't quite figured it out yet, but that's probably for the best anyway. I also winged it a bit on the guardrails. I used pocket screws wherever possible in the joinery. I was planning on painting this since I knew staining/sealing would be a pain. But in the end, I'm glad I took the time (even though I was hating life during the staining). The kids are thrilled with the results. And I am VERY grateful for the plans you provided Ana! Thank you!
