Community Brag Posts
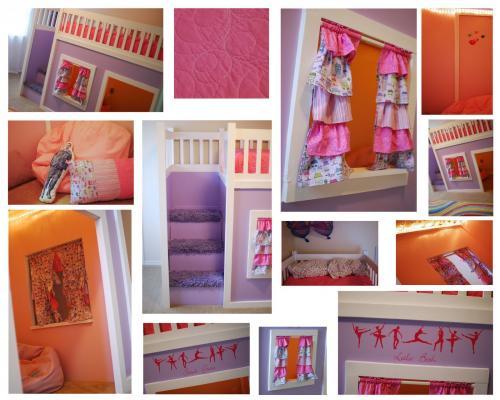
Playhouse Loft Bed with Stairs
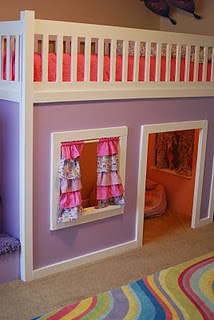
I built this bed for my twin daughters right after Christmas. It was the first big wood project that I've ever attempted in my life. I was surprised at how easy it was to build and how great it turned out! It looks much harder to make than it actually was. We plan to eventually put a second twin mattress under the bottom, but for now that space is a playhouse. I put carpet on the storage stairs by cutting up a rubber-backed bathroom rug and using the pieces to cover each step. I hung Christmas rope lighting inside the play house. It took me about 2 days to construct the bed and about a week to paint and finish it (with 6 children under foot-otherwise could have been much faster!) Fun project and EASY plans! (Thanks Ana!)
Built from Plan(s)
Estimated Cost
just under $300
Estimated Time Investment
Weekend Project (10-20 Hours)
Finish Used
used the Disney princess paint colors (lavender outside, pink inside) from Home Depot
Recommended Skill Level
Intermediate
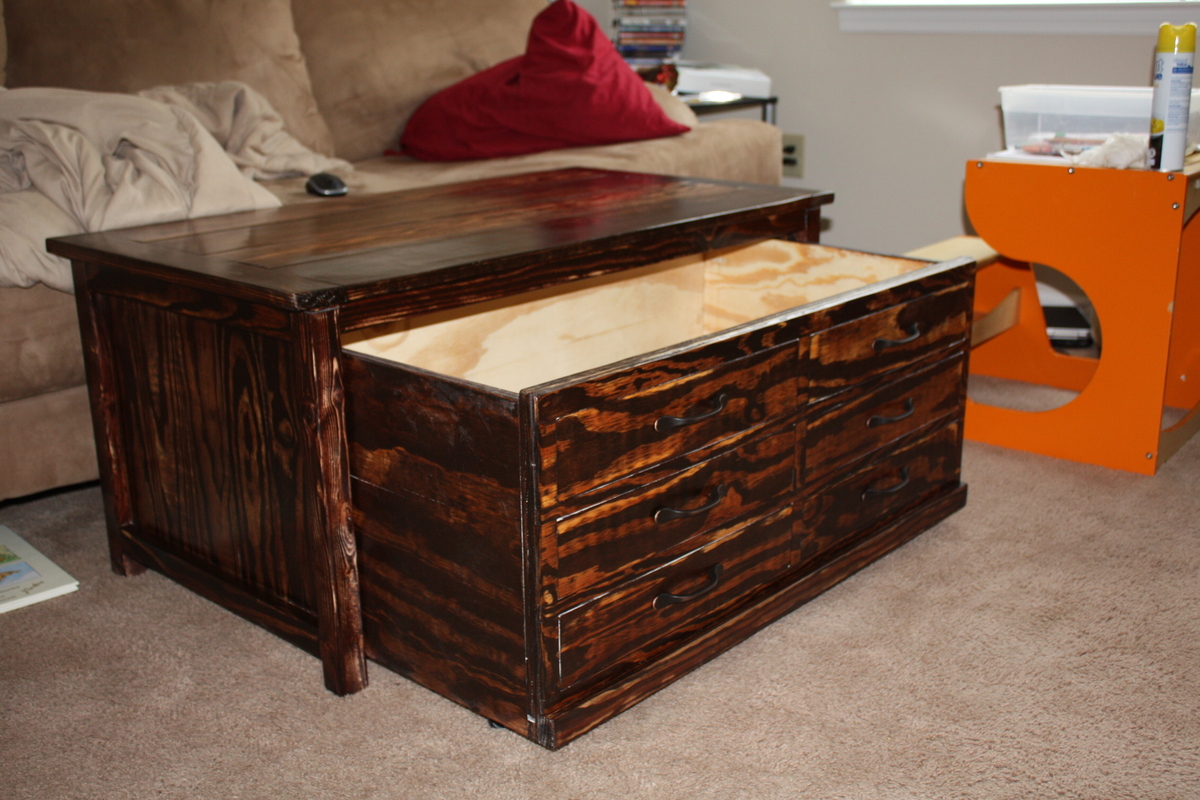
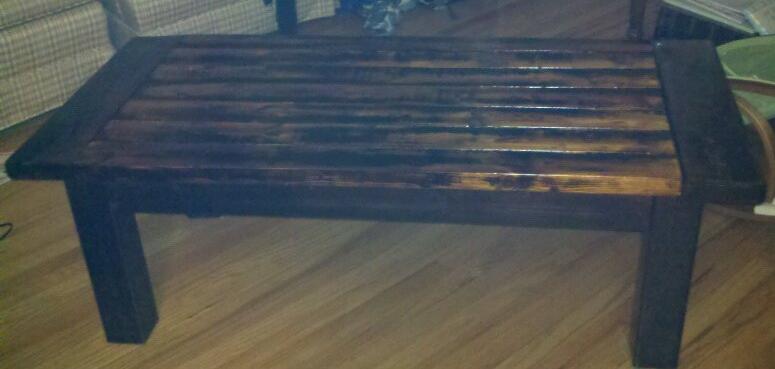
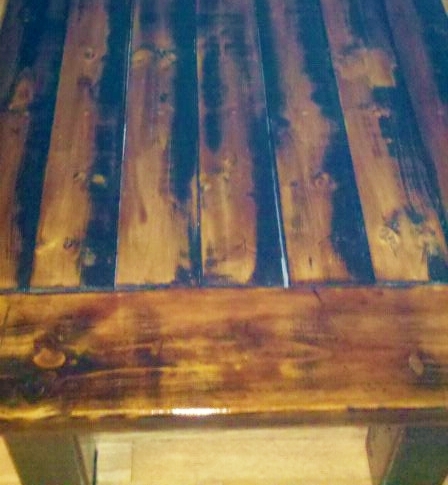
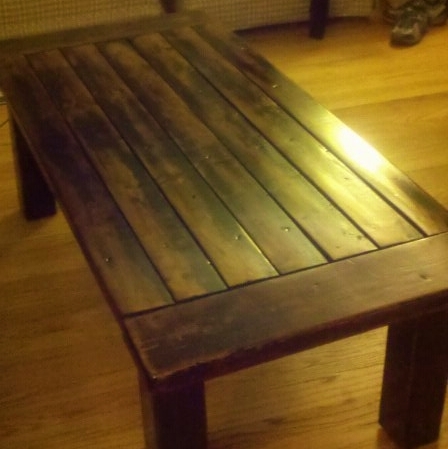
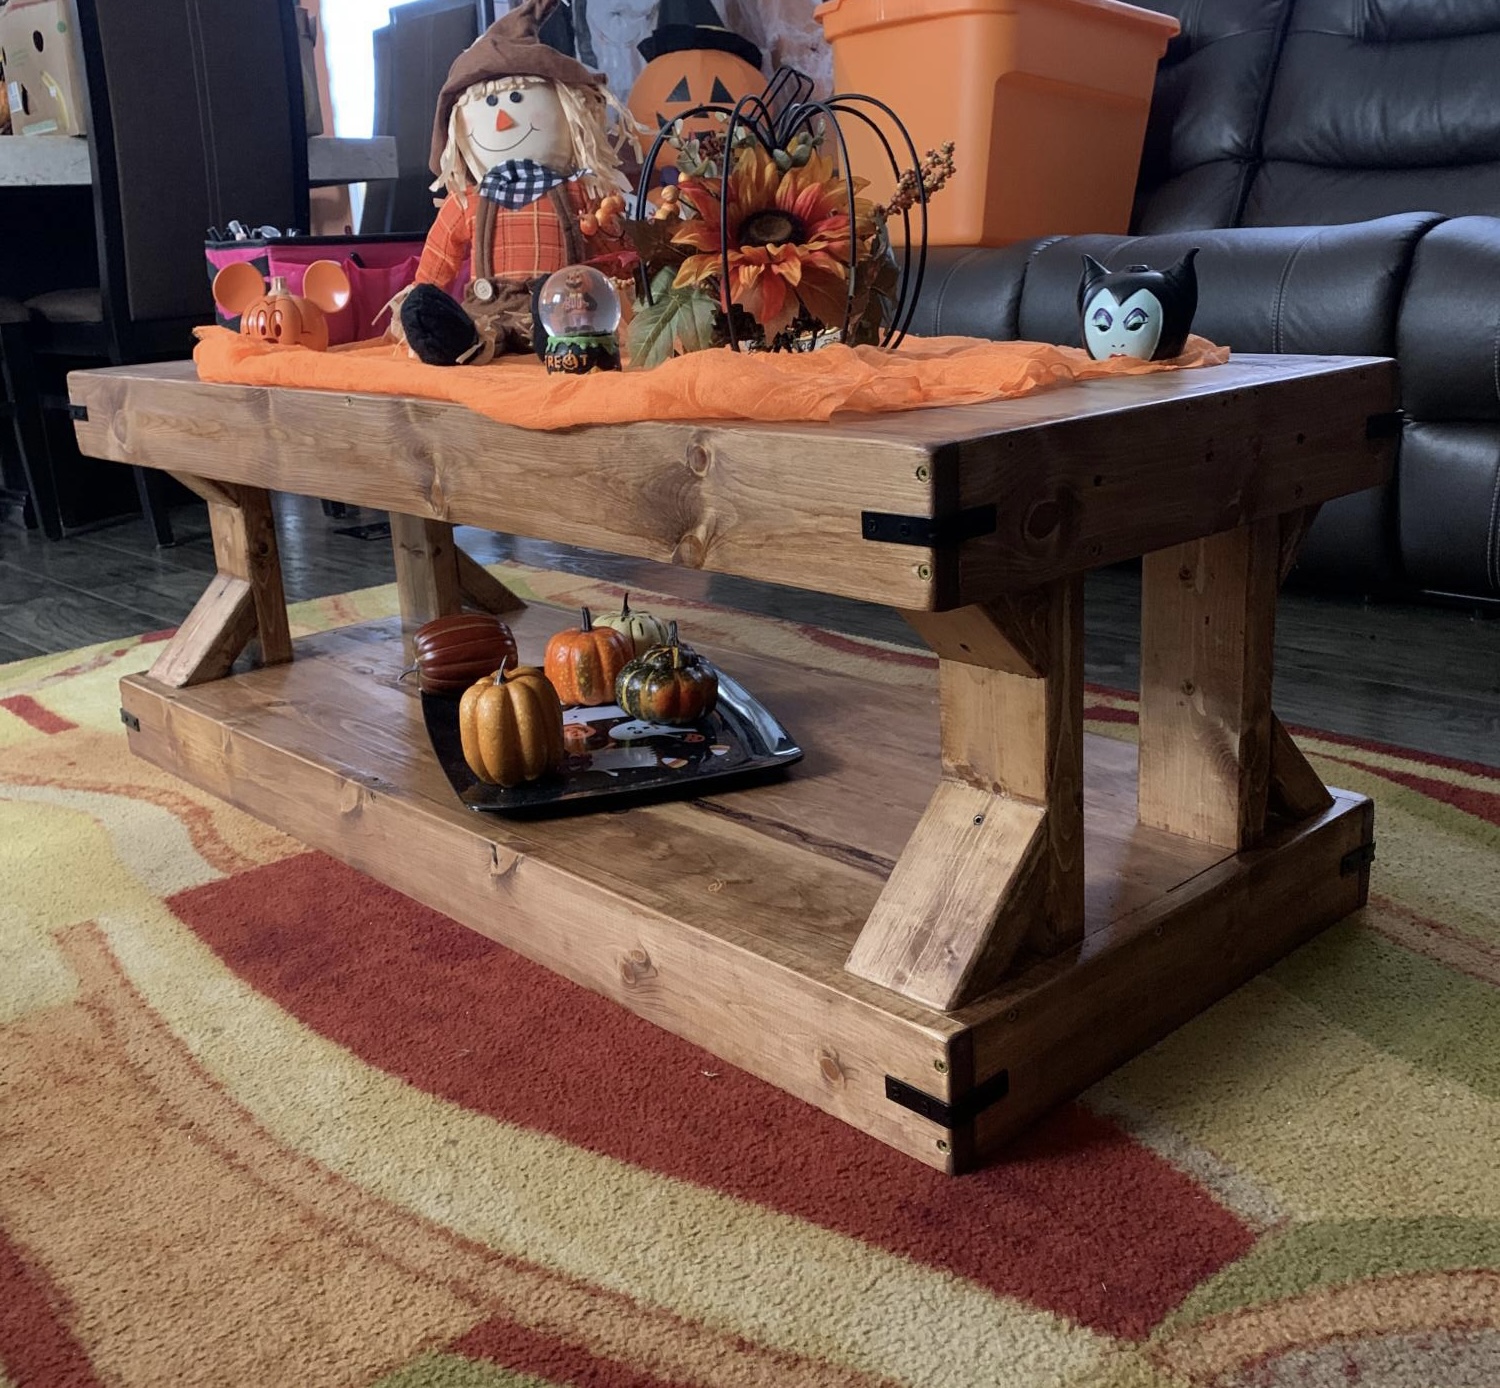
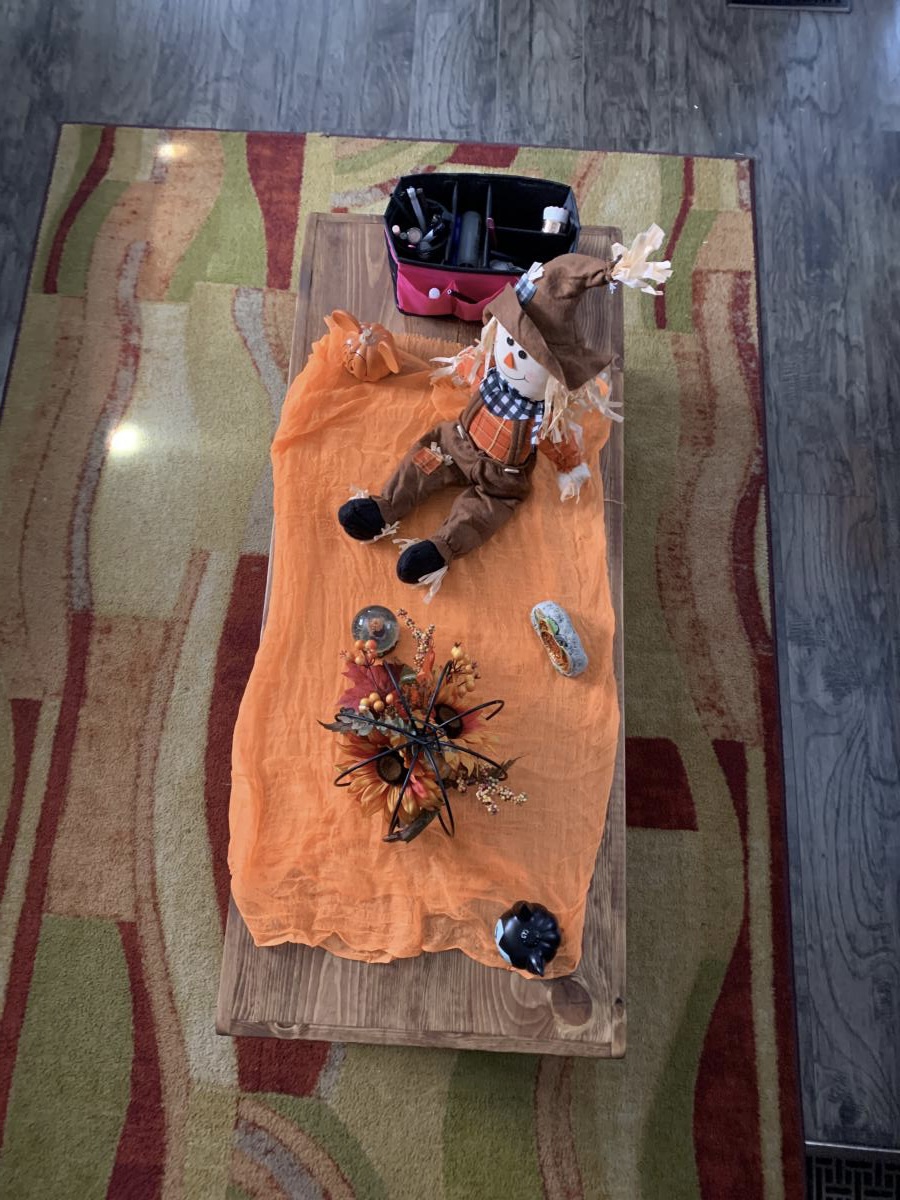
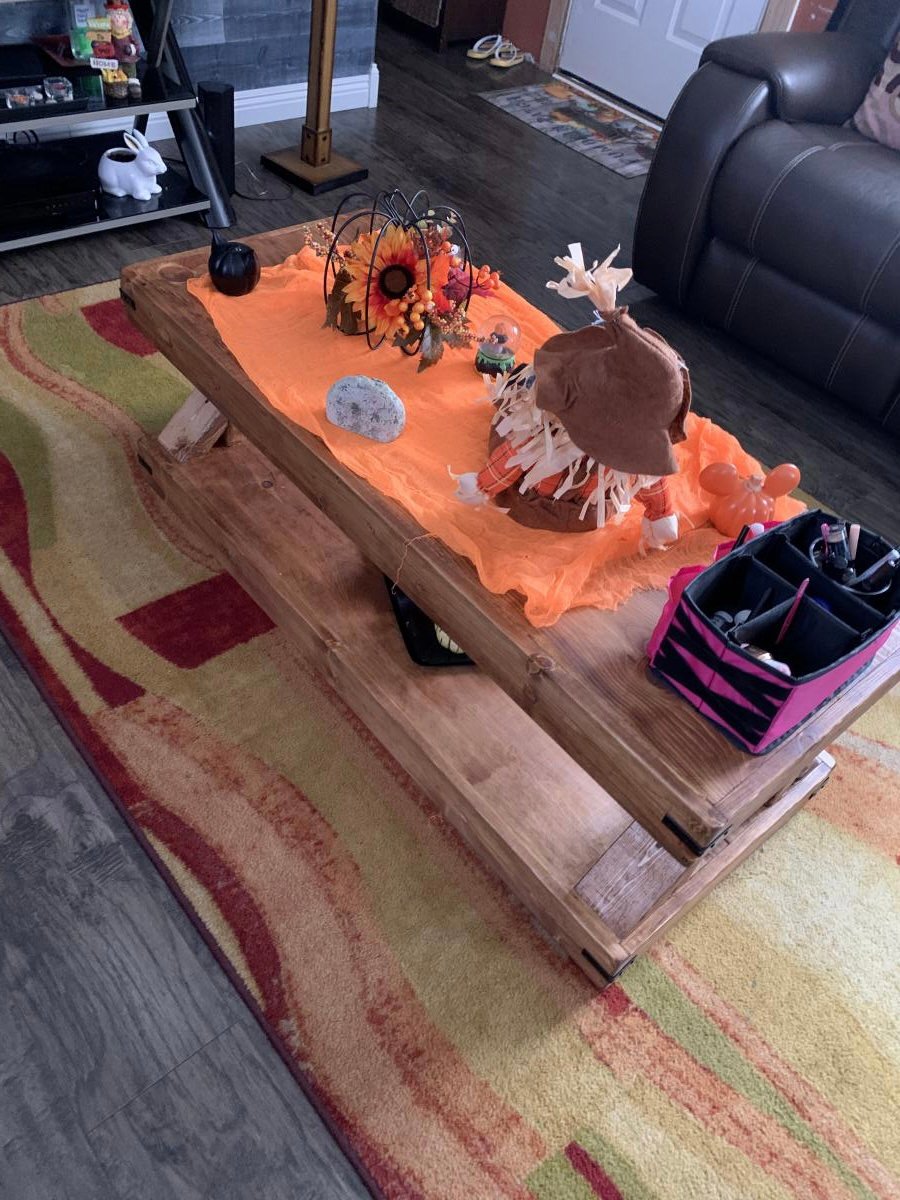
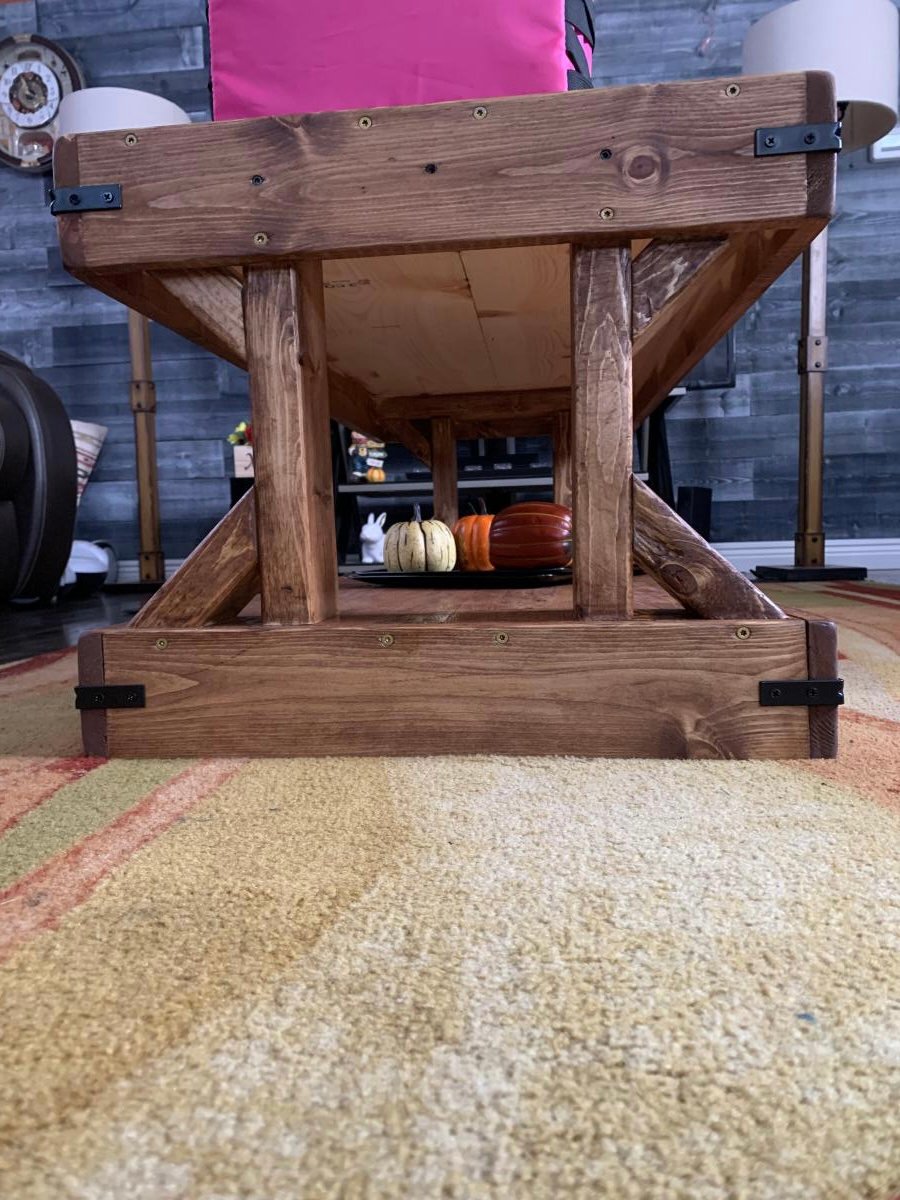
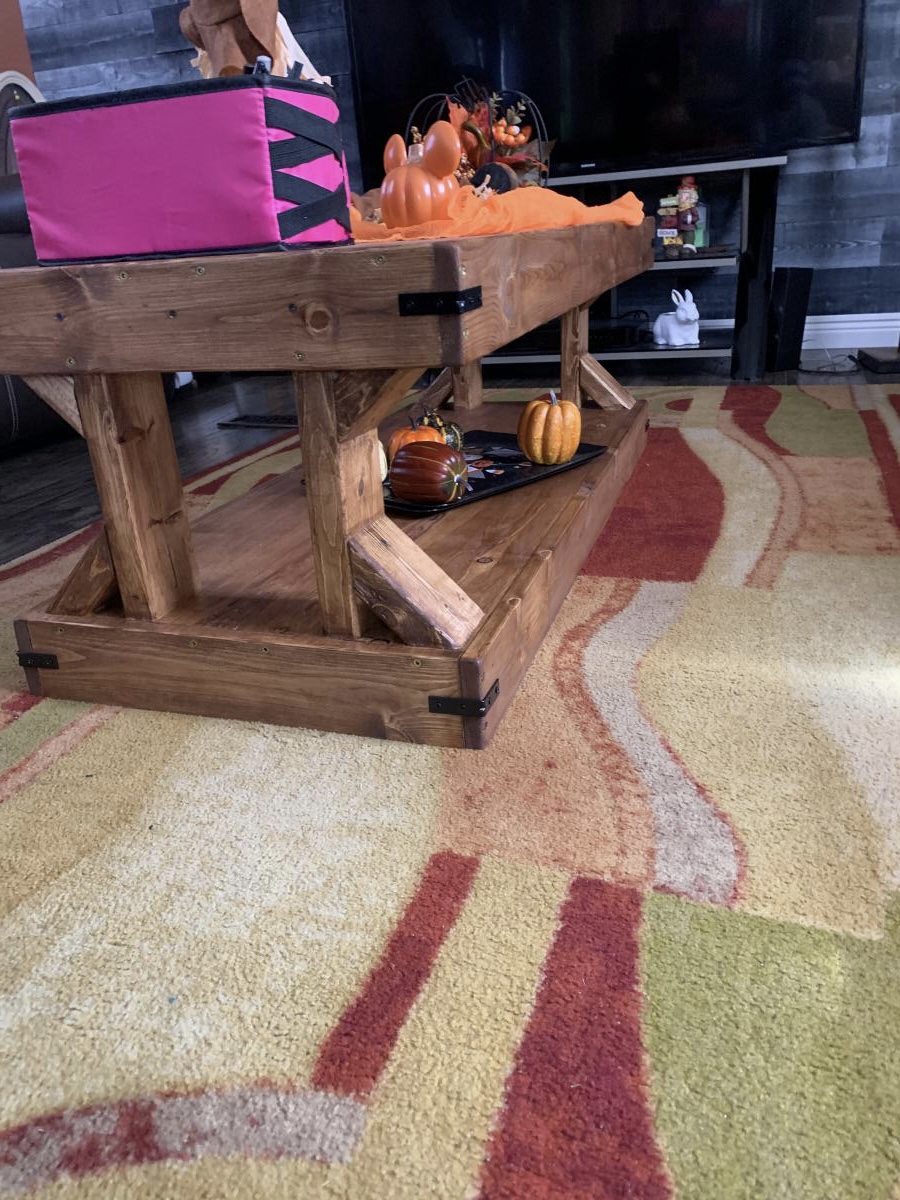
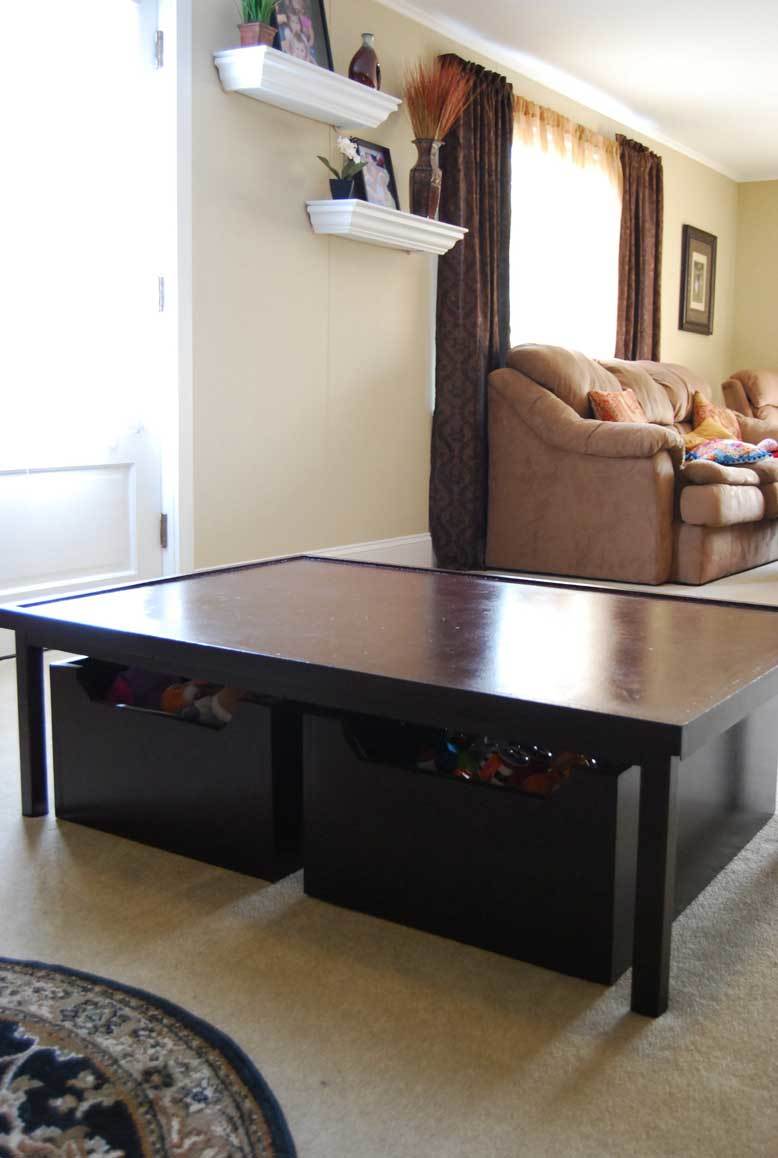
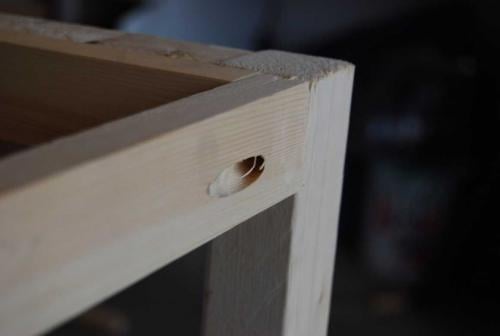
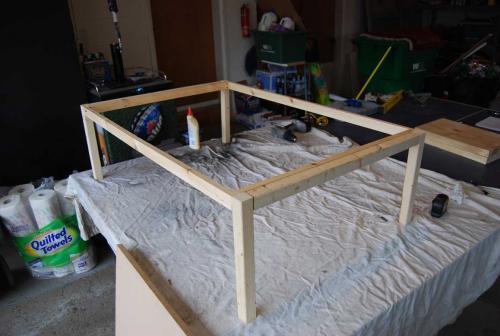
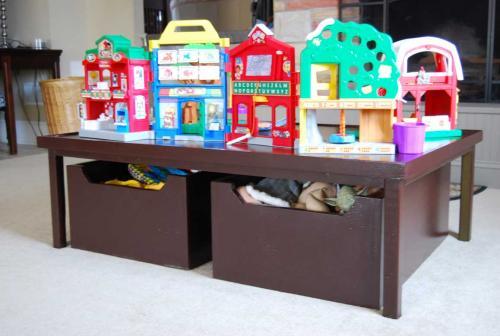
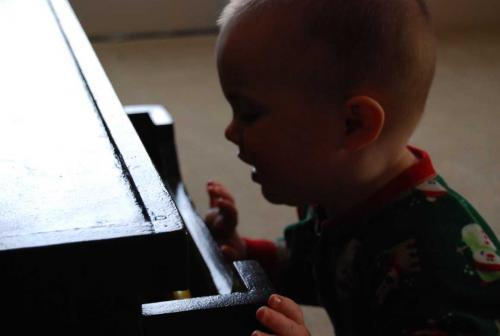
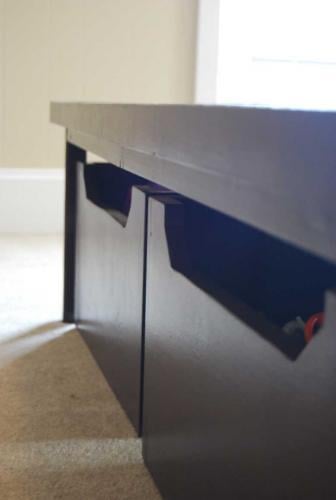
My BIG tidy-up coffee table
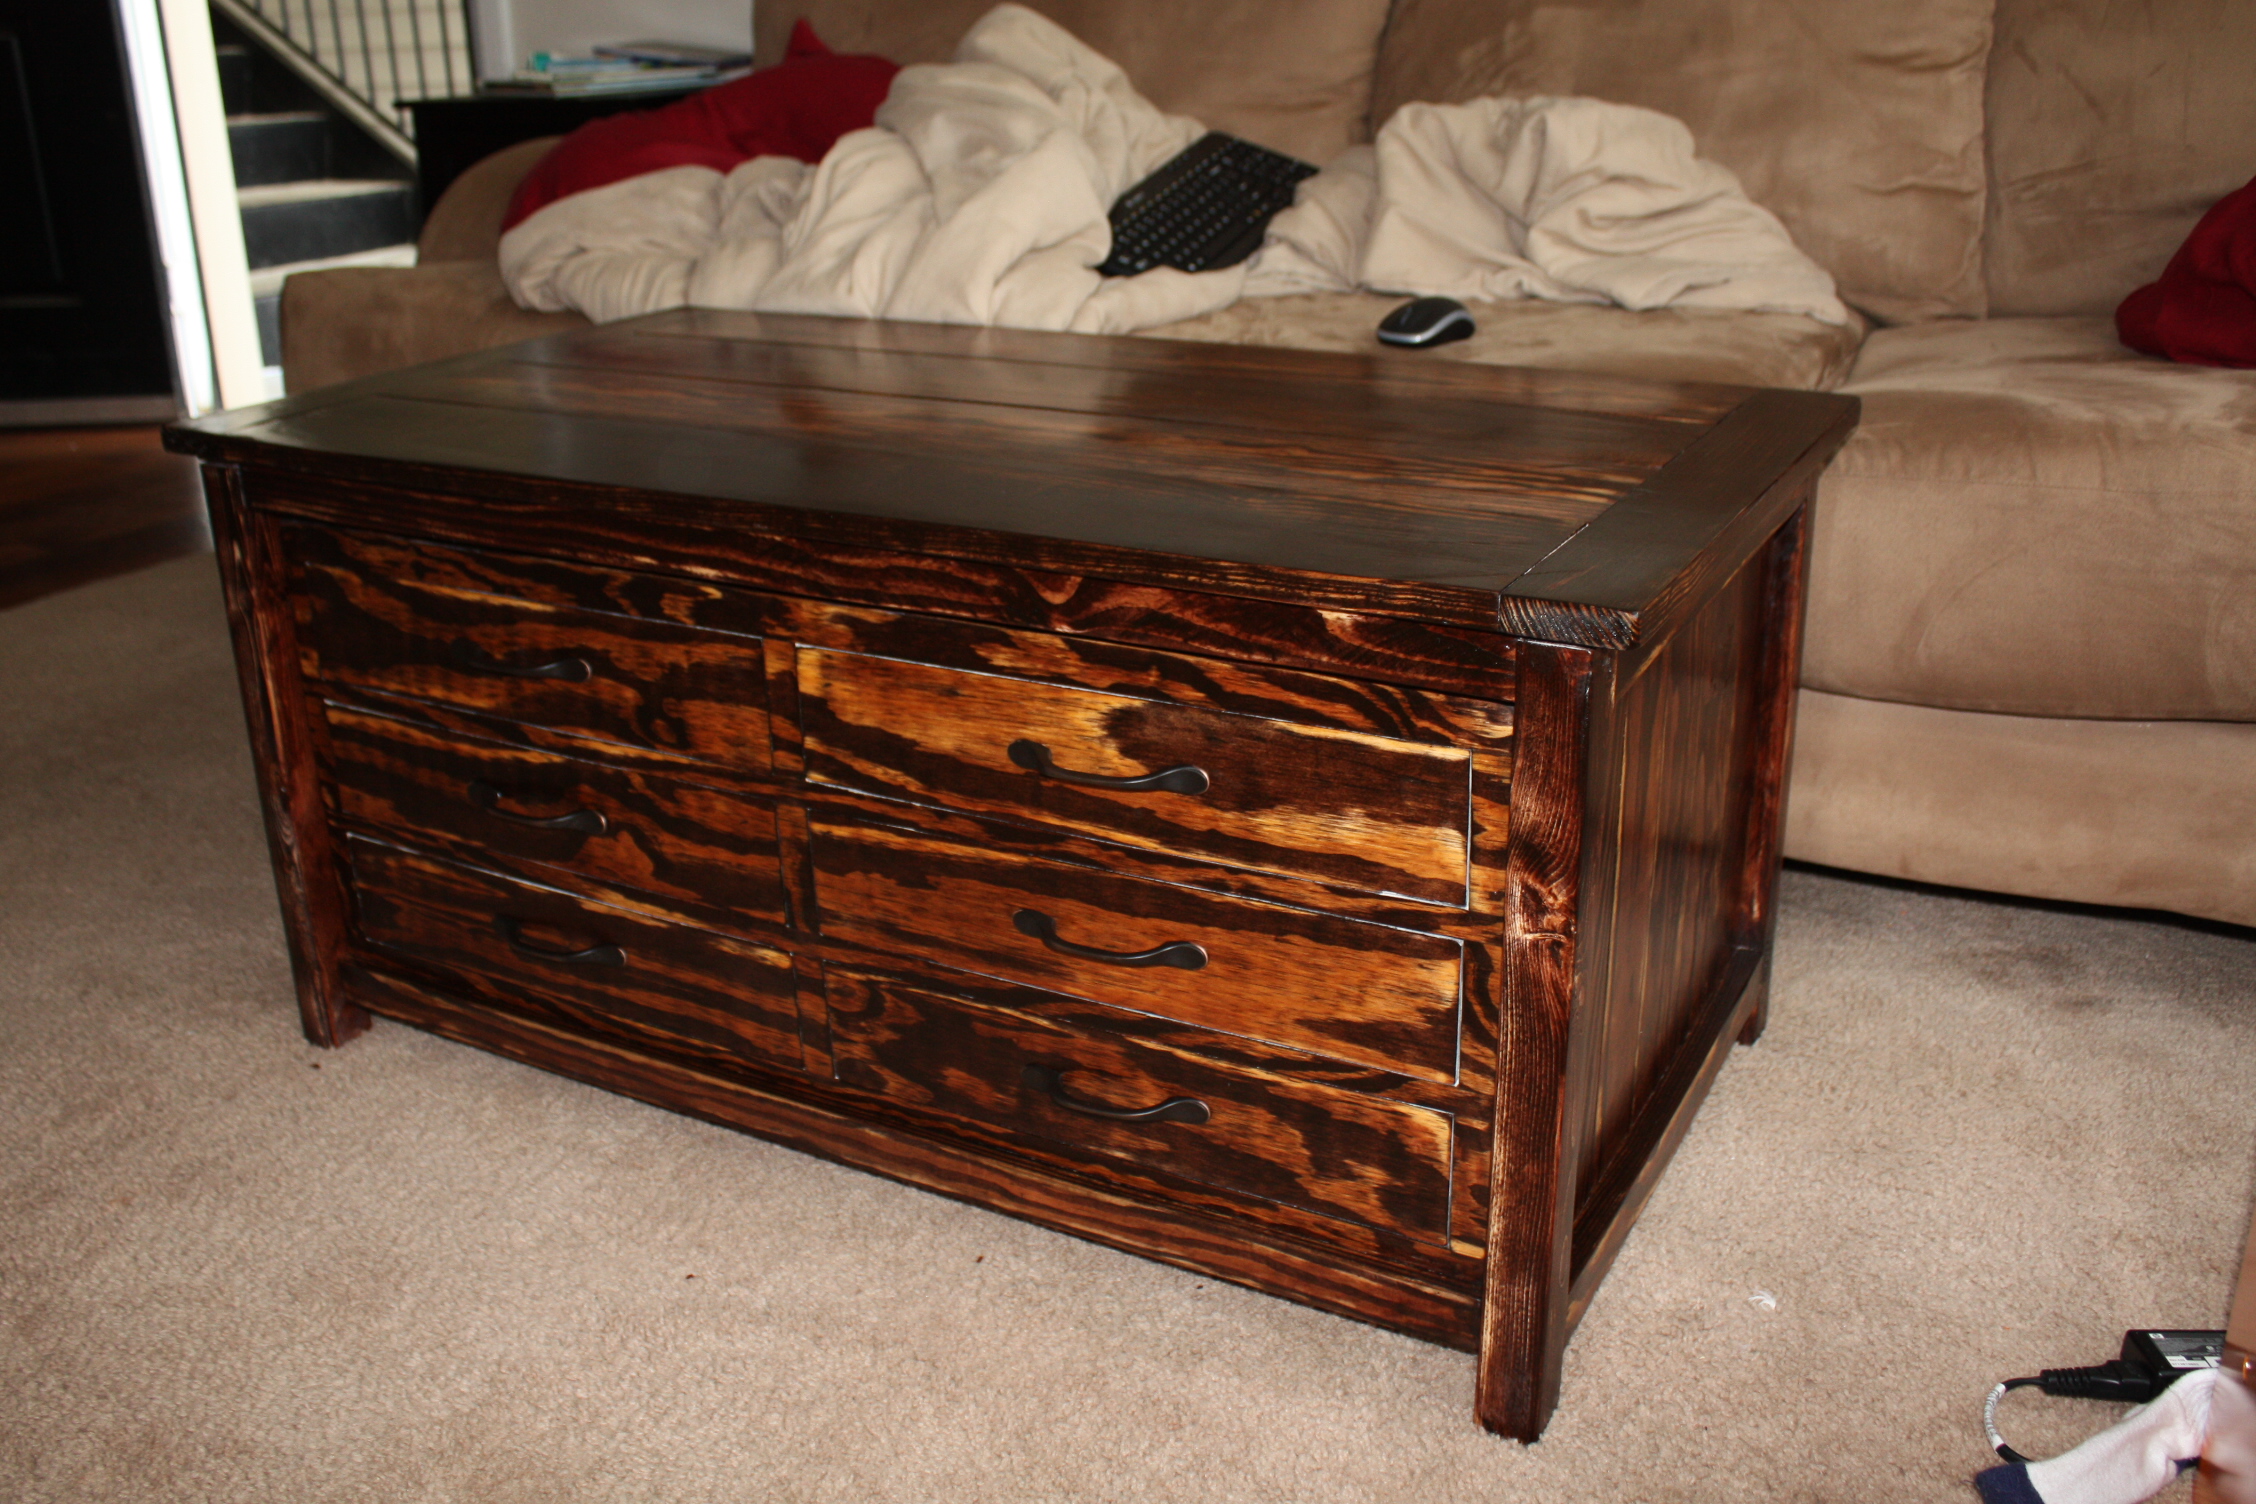
This is a little bigger than the plan, especially in height.... leave it to me to make things WAY more complicated than they need to be! The trundle is made from 3/4" plywood, but the faux drawers are done with 1/4" plywood. Everything is pine. I wanted to have a nice dark warm cherry color for the finish, but it didn't quite turn out the way I wanted. I am still very proud of myself, but next time I'll use a better wood, like maple or cedar maybe. It's not perfectly square, so if I try to turn the trundle in the other way, it sticks a bit. I like that I can shove it against the wall and plop some pillows on it and turn it into a bench if I have people over.
Built from Plan(s)
Estimated Cost
100
Estimated Time Investment
Week Long Project (20 Hours or More)
Finish Used
Minwax red mohagany
Recommended Skill Level
Beginner
Comments
Wed, 02/26/2014 - 13:31
LOVE the color!!!!!!!!
I am going to try to replicate THAT finish. It's so rich and bold. I LOVE it!
Wed, 02/26/2014 - 13:31
LOVE the color!!!!!!!!
I am going to try to replicate THAT finish. It's so rich and bold. I LOVE it!
Large Rustic X Bench
Made this over the weekend for my wife. I got the top from my work as they were going to toss it out because it was the wrong color so i took it home, got the bench plans from this awesome site and bada bing...my wife is happy! Thanks ana! Looking forward to future projects.
Built from Plan(s)
Estimated Cost
$20.00
Estimated Time Investment
Weekend Project (10-20 Hours)
Recommended Skill Level
Beginner
Comments

Tue, 04/28/2015 - 08:25
Http problems
Can you please look into the Http problems, over half of the plans are inaccessible.
Outdoor sofa
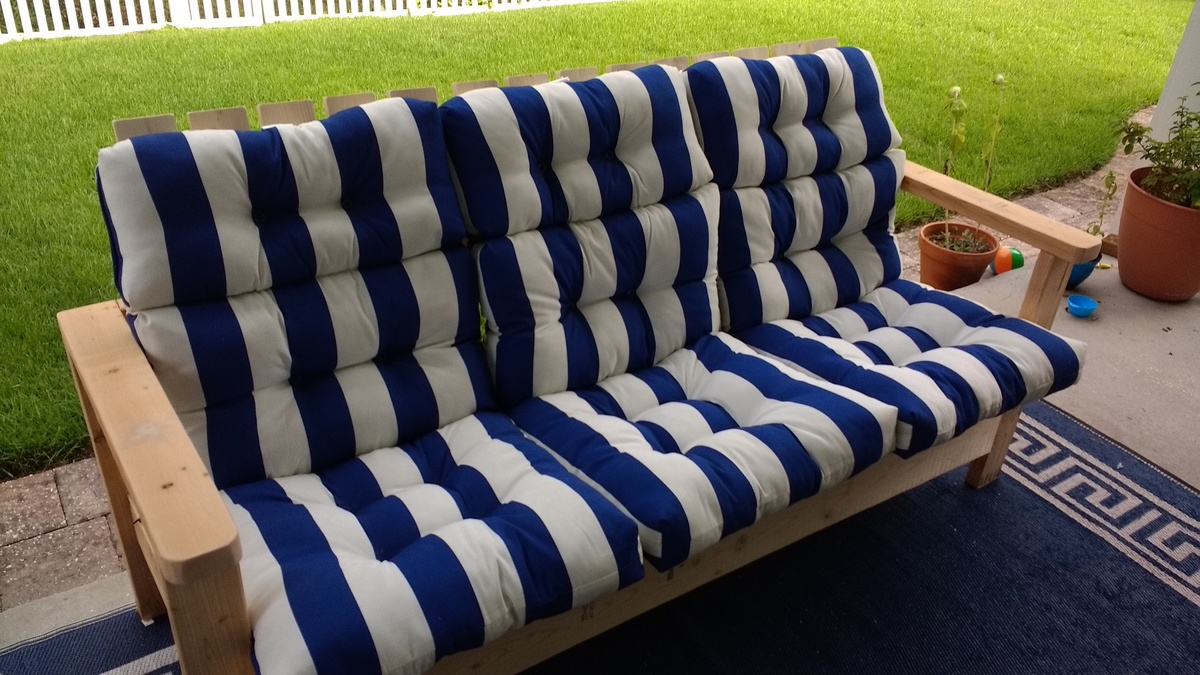
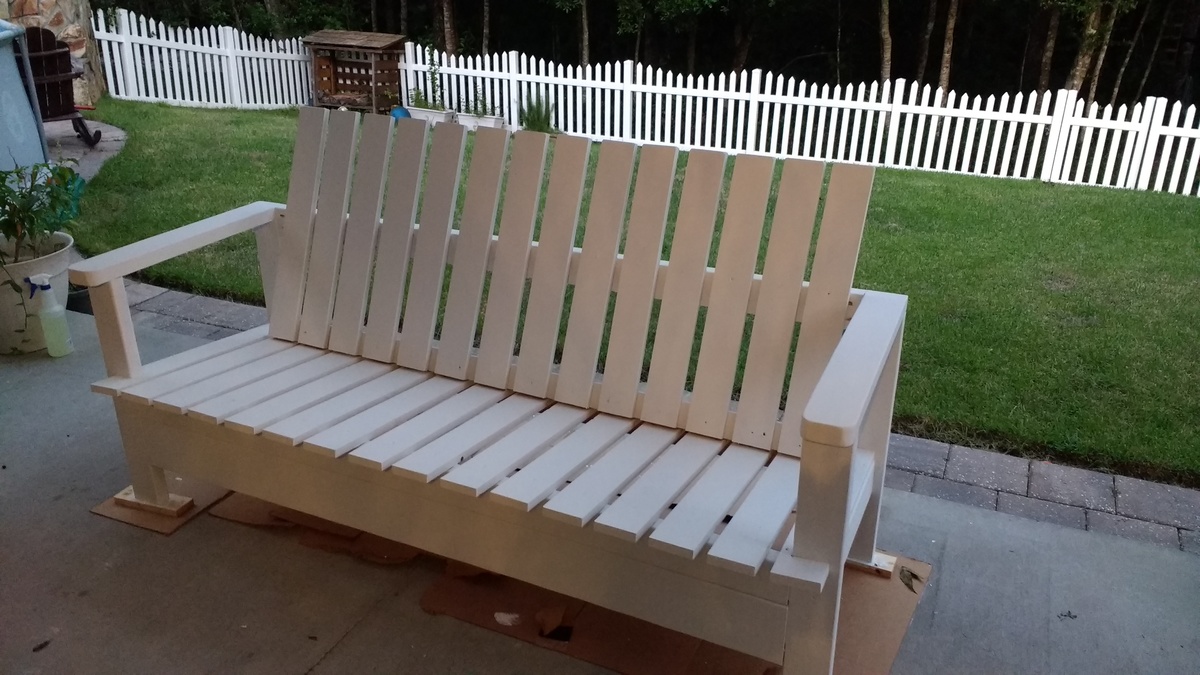
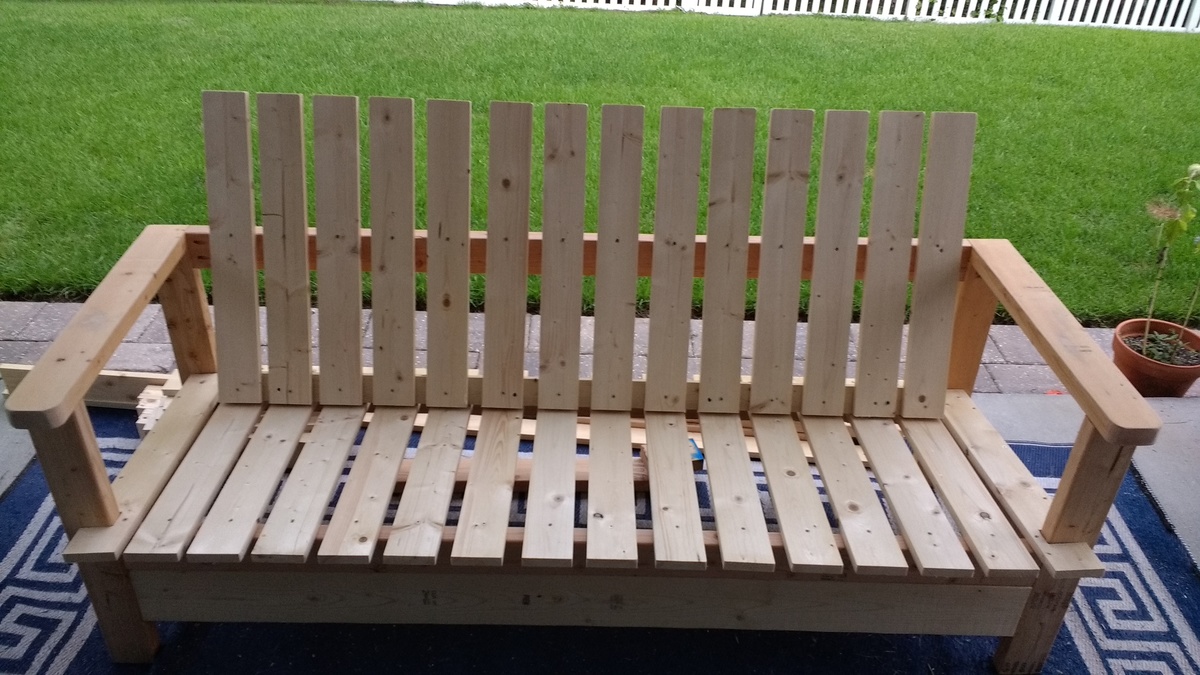
After seeing how expensive custom cushions can be, I decided to build a custom outdoor sofa around the dimensions of the cushions instead of the other way around. I took some plans for a chair and modified the dimensions. I also gave the seat a 7 degree downward slope and gave the backrest a similar angle to in order to keep the cushions from falling over since each section is a single piece (seat & backrest).
I used a jigsaw to round out the corners of the armrest and then sanded them smooth. I ended up painting it white (hard to see in the 2nd picture) and it came out great.
Built from Plan(s)
Estimated Cost
$100
Estimated Time Investment
Afternoon Project (3-6 Hours)
Finish Used
white paint
Recommended Skill Level
Beginner
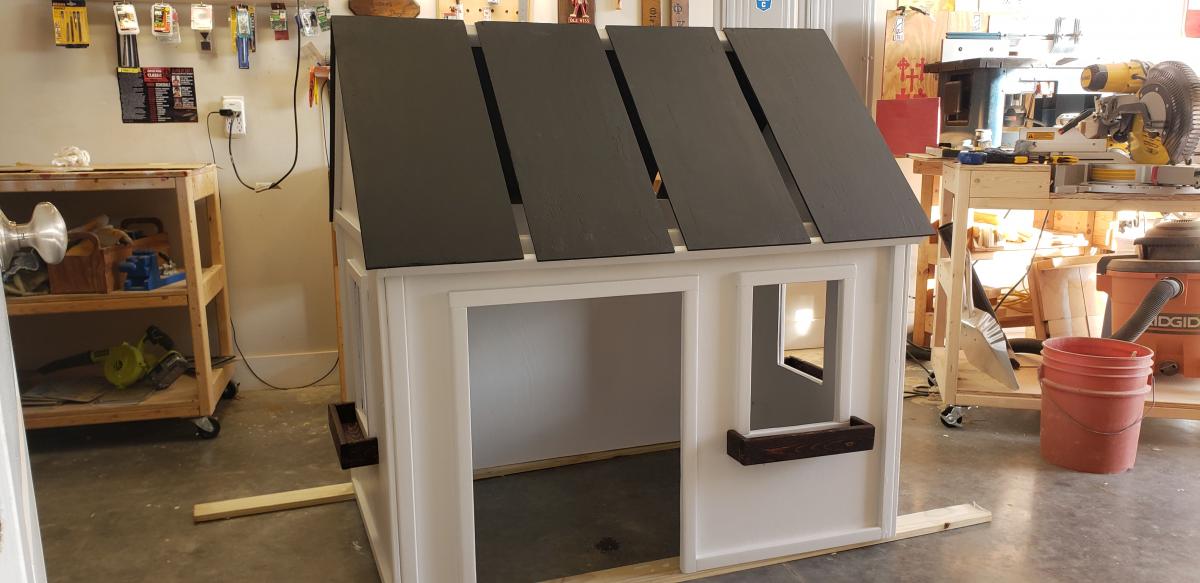
Grandson's Playhouse - Wayne Oglesby
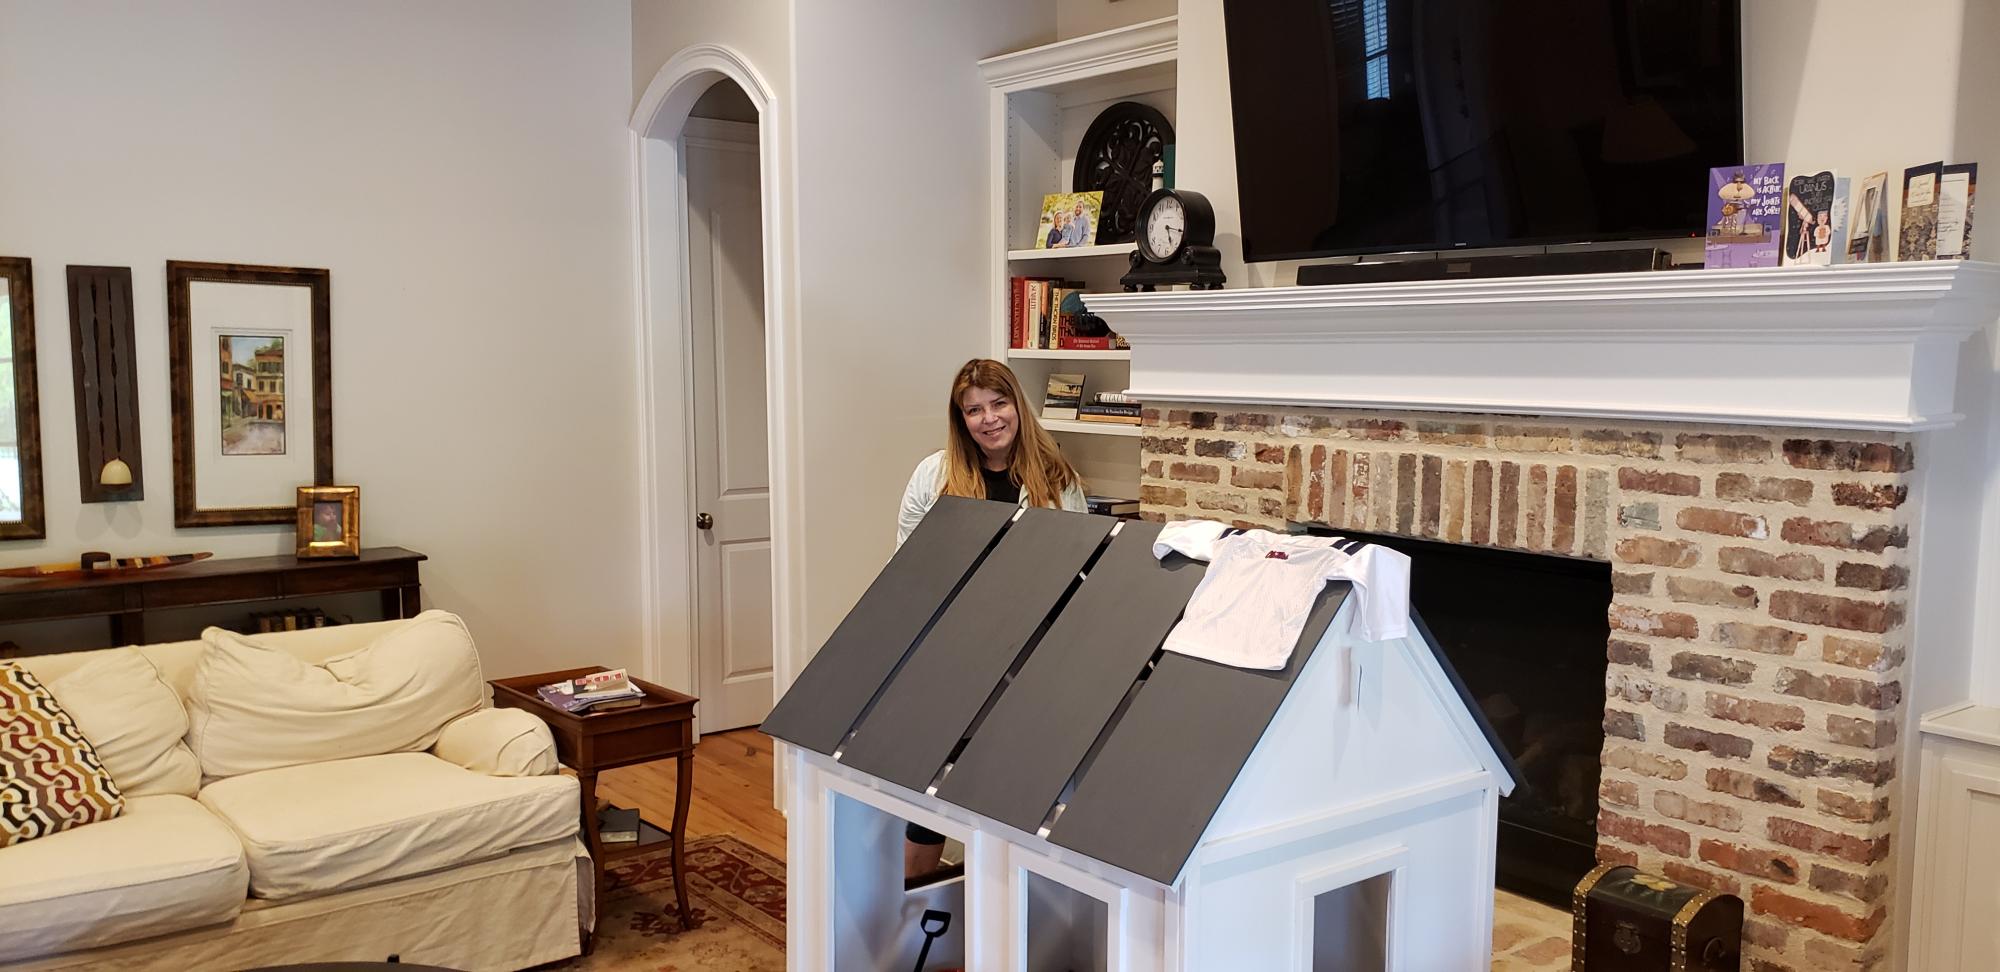
My favorite project ever because I built it for my 18 month old grandson. He really loved playing in it. Thanks for the plan Ana. It was well done and easy to follow.
Built from Plan(s)
My First Project
Farmhouse coffee table. My 1st project! Took me a year to finally get the finish just right. We love it.
Built from Plan(s)
Estimated Cost
$50
Estimated Time Investment
Weekend Project (10-20 Hours)
Finish Used
1st stained with Ebony and then sanded some off and restained with a mahogony. Sealed with a high shine polyurethane.
Recommended Skill Level
Beginner
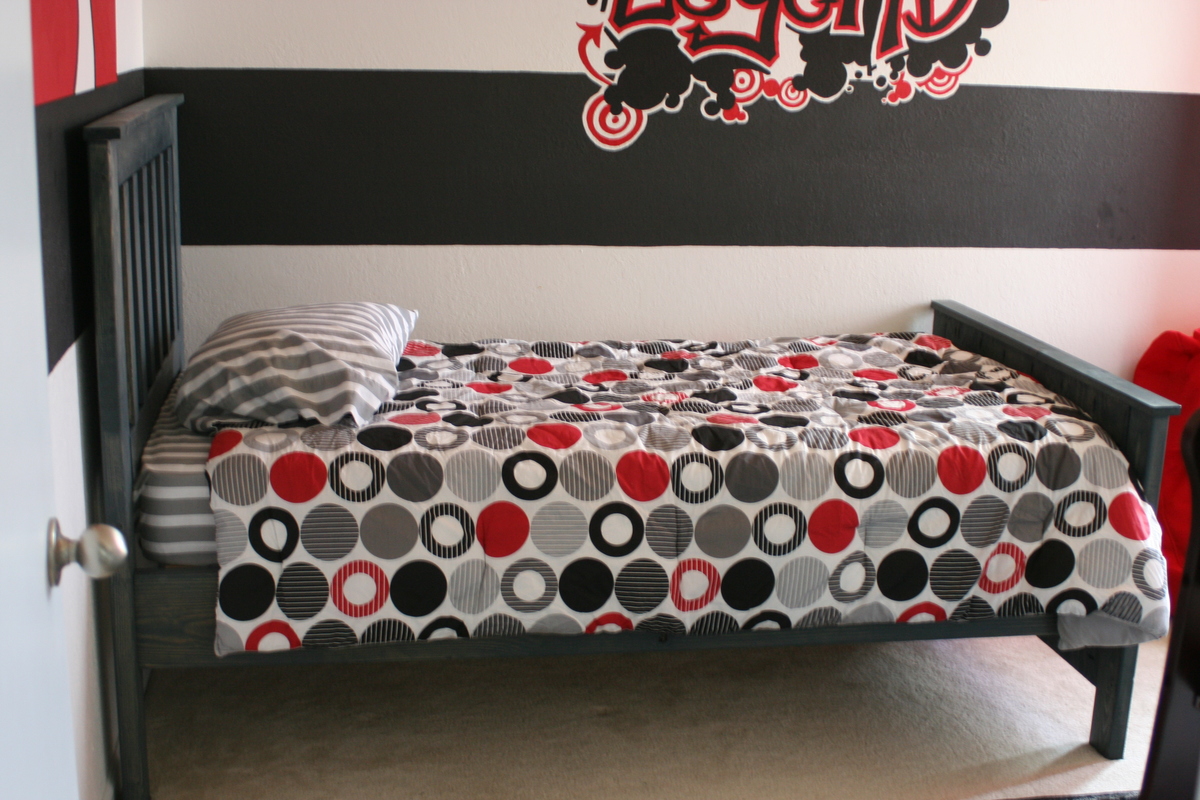
Hello...Here's my version of the Kentwood Twin Bed. My first project!
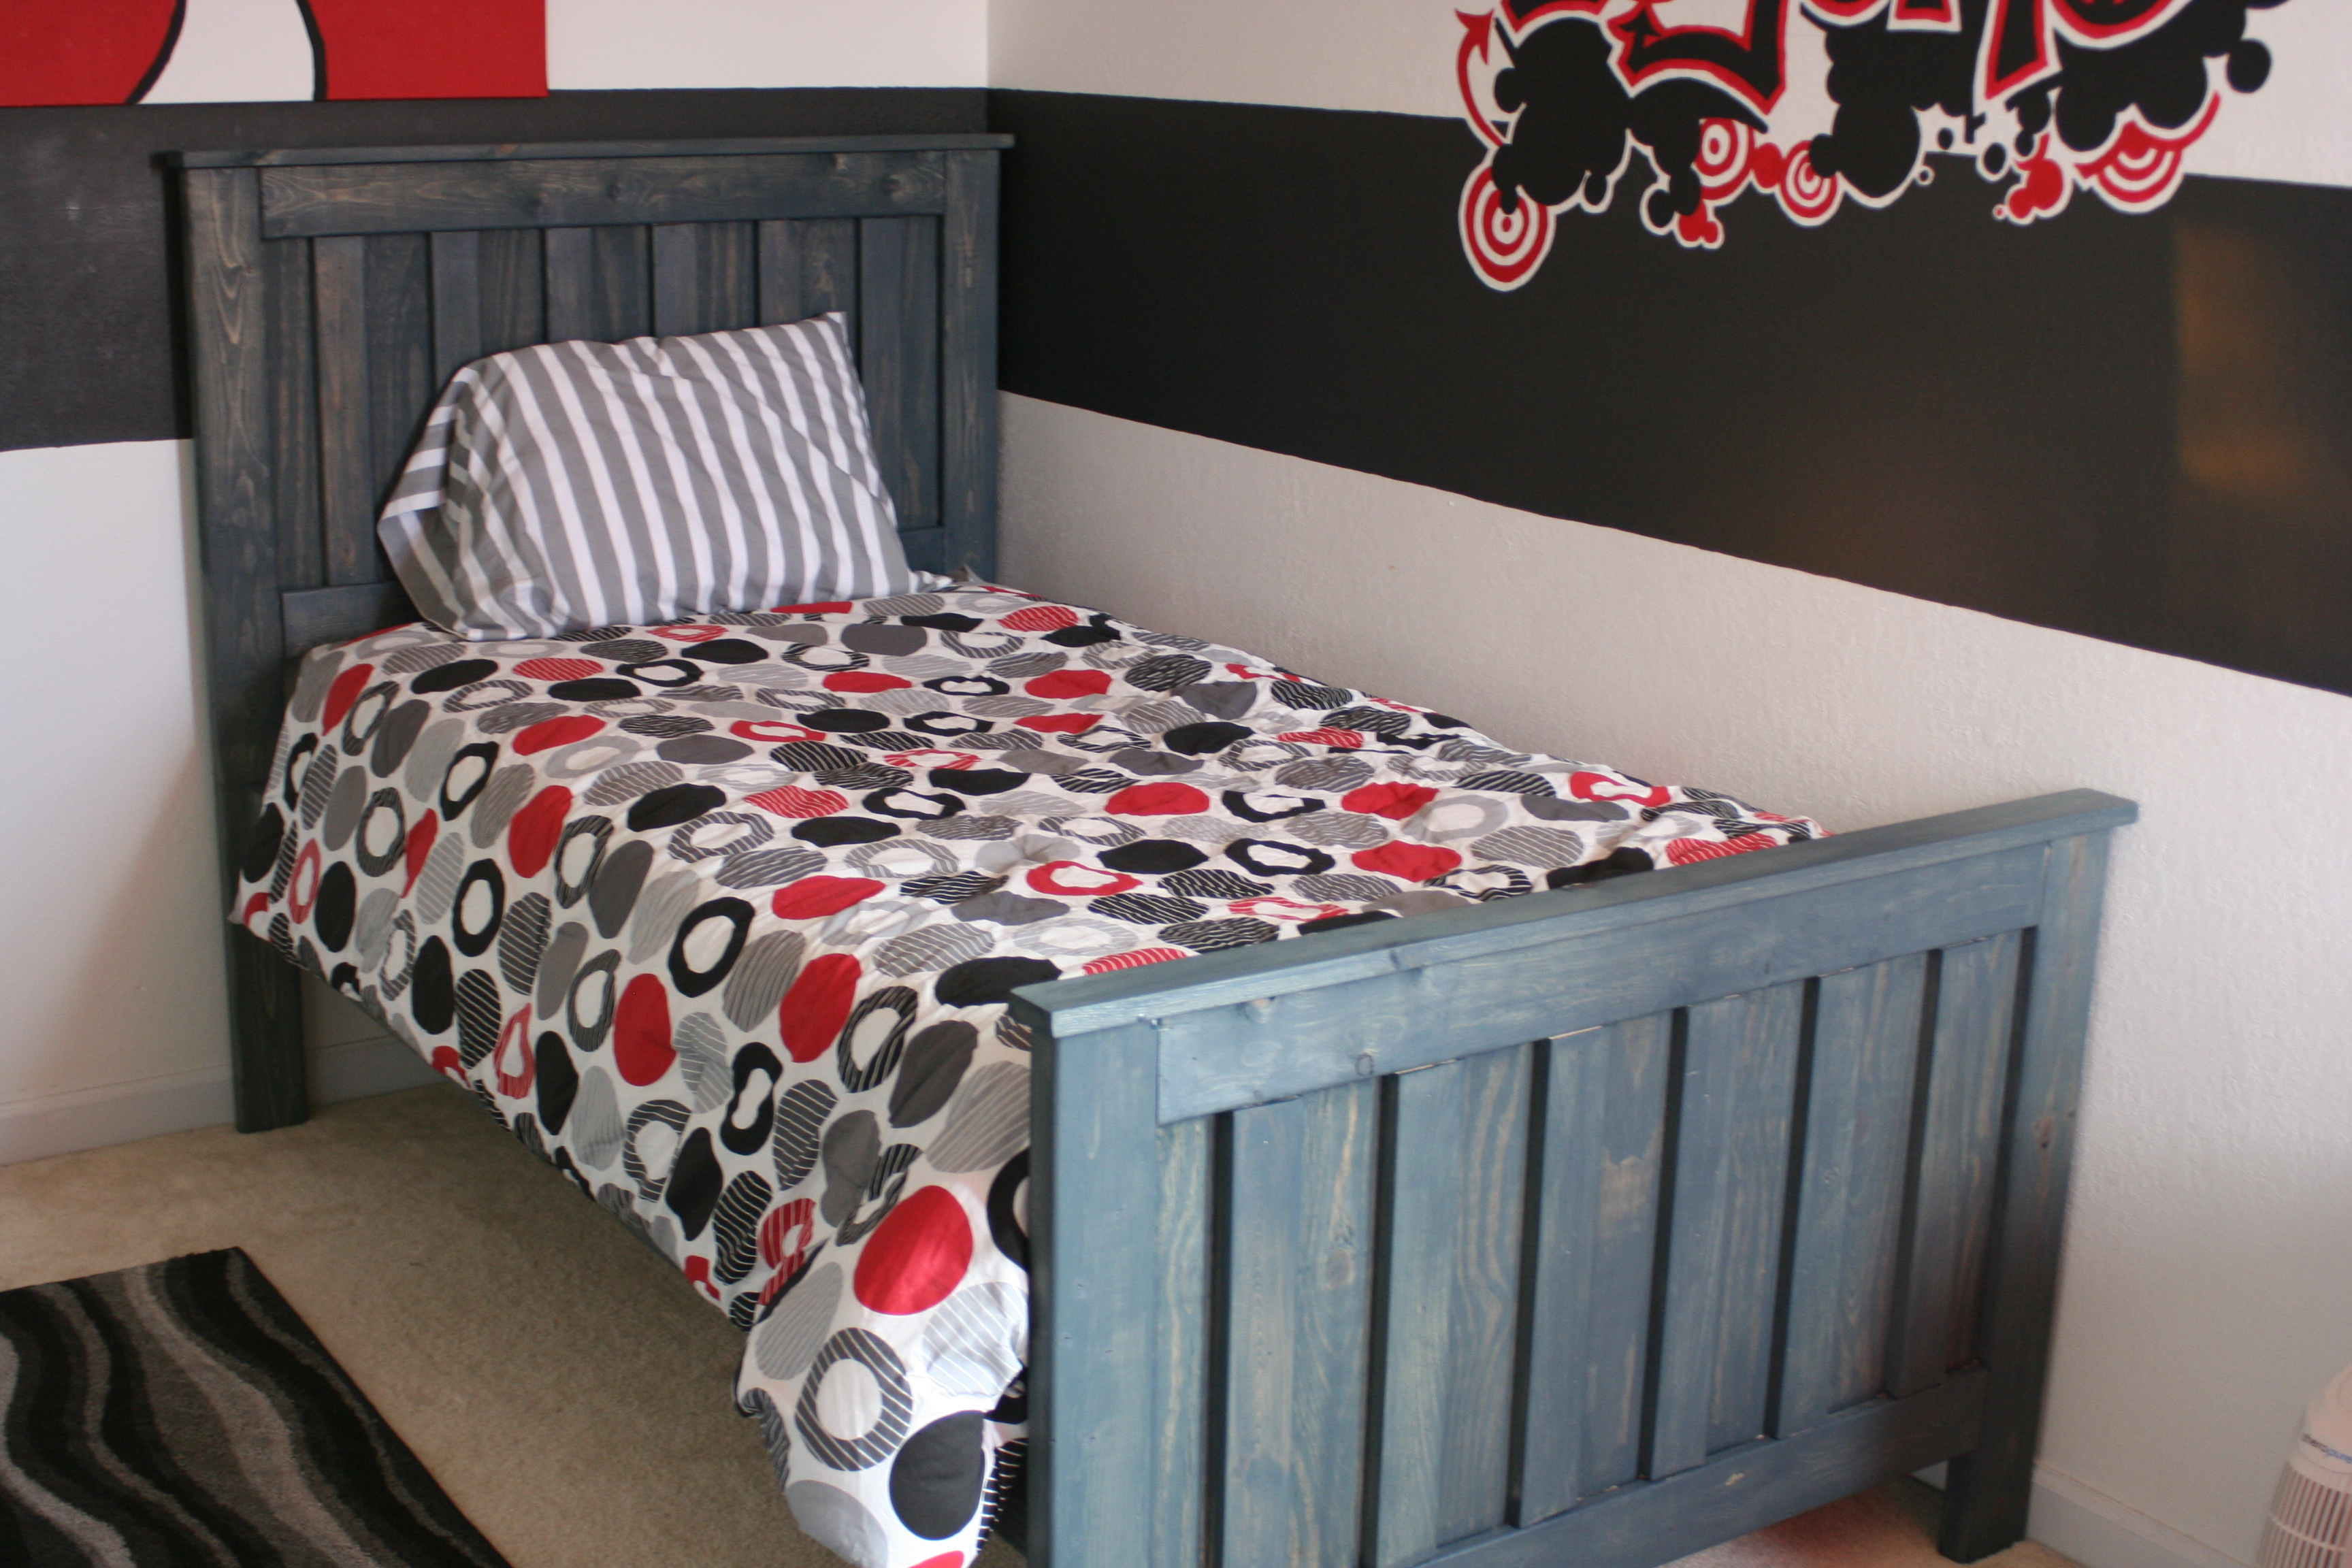
My first project using an Ana White plan and the first time using a Kreg jig (love that little blue thing!). The plan is pretty much straight forward. I had a great (but exhausitng) time building this bed for my 2 year old son. It was pretty easy and I did everything myself. Lowe's didn't cut my boards...I did! Bought a circular saw just for this project.
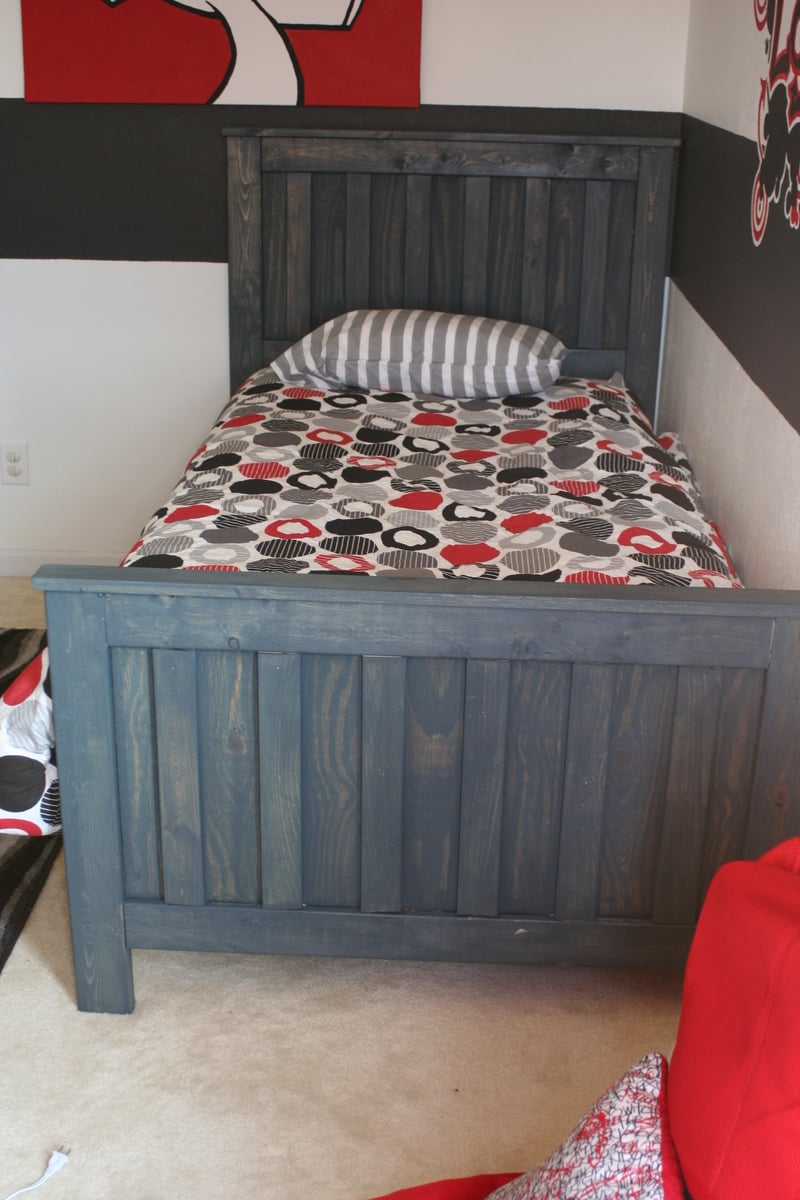
My only complaint is that 2'' wood screws are not on the posted "shopping list" and are needed for the side rails construction. It is listed in the step by step instructions, but if you are shopping for this don't forget to add this to your list of needed items. I got to the side rails and had to go back out for wood screws before I could add the cleats. Also, if I had to do this project over again, I would sand the plywood panels BEFORE constructing the head and foot boards. My reason being that I used wood stain. I've learned that plywood stains best when it is sanded to a smooth finish and pre-treated with wood conditioner. Once assembled, the slats on the head/foot boards make it impossible to sand the plywood with a power sander (too narrow). I had to manually sand between each slot...talk about tiring! No other glitches though! This was a fun project and the instructions were great and easy-to-follow.
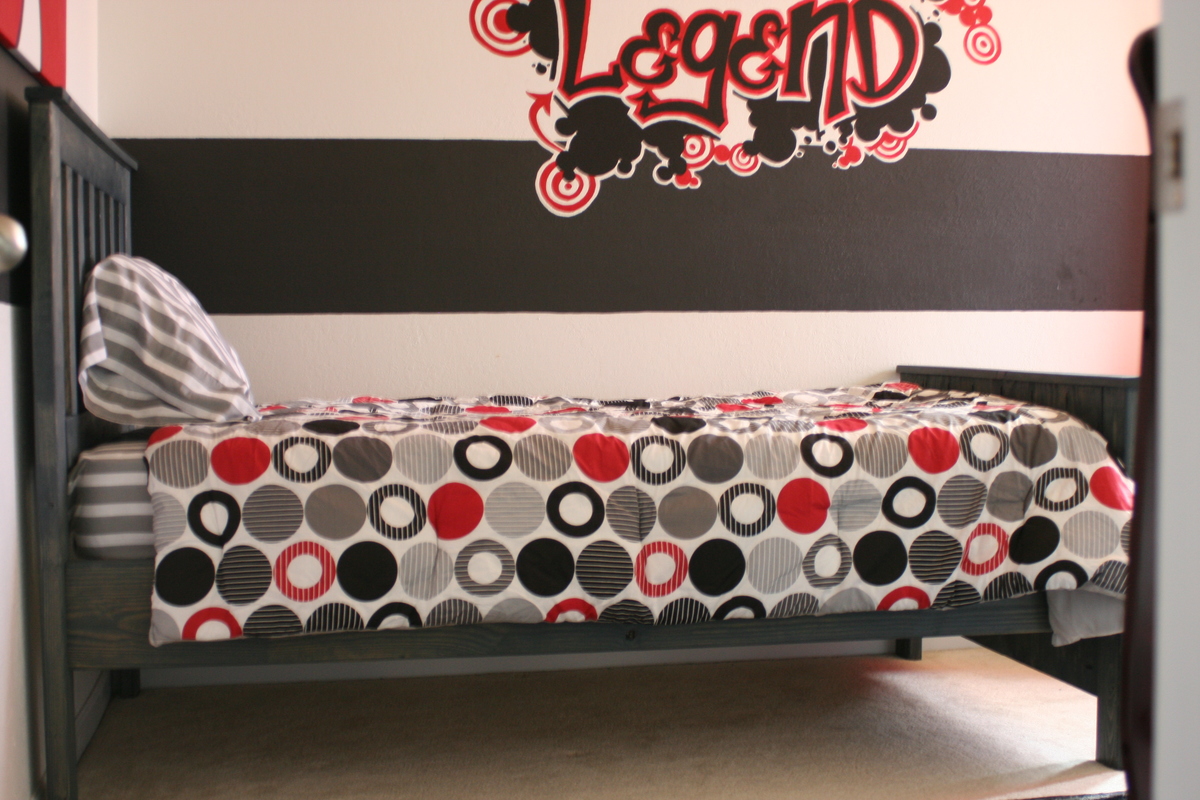
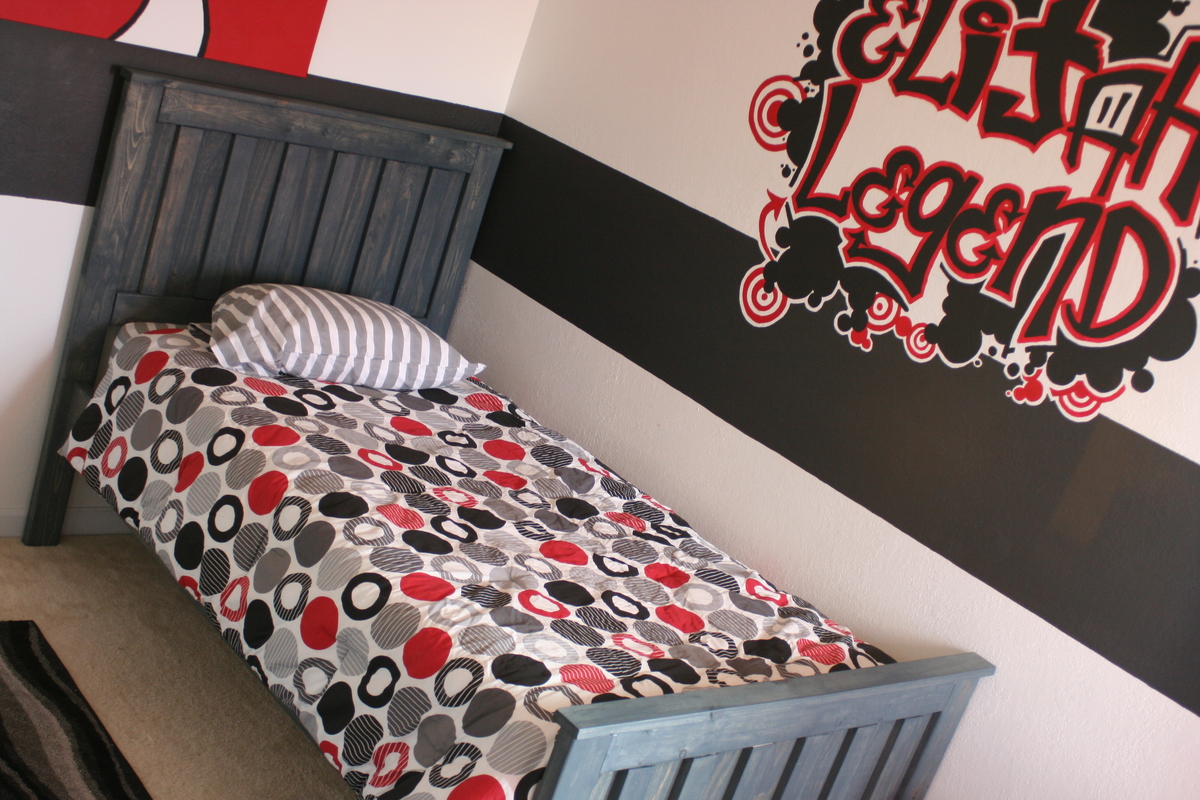
I used Minwax water-based wood stain to finish my son's bed. I had it tinted at the paint desk to charcoal gray. In the store it looked very driftwoodish. However, it came out looking more blueish on the bed. I still like it though and my son loves it. I would wipe the stain on and keep it on no more than 20 seconds before wiping the excess off. I wanted the grain to show through really well and after many, many test pieces this seemed closest to what I was looking for.
In case anyone is interested, the striped fitted sheet, flat sheet and pillowcase are from Target (Target brand for $14.99 I think). The red, gray and black comforter are from Walmart.com (Style Lounge Reinforcements Grey/Multi comforter for $58). I had painted the room white with a fat black stripe shortly after moving into the house. I couple of years later we found out that we had my son on the way to we turned that room into the nursery. I primed part of the stripe and hand painted his first and middle name to overlap the stripe so that it all looked it was painted at the same time. The gray and black area rug was also from Walmart (we bought it in store about a year and a half ago...don't remember the style's name).
Thanks for looking!
Built from Plan(s)
Estimated Cost
$120 - This amount could have been cut significantly if we had more tools/supplies to start with...plus, I overbought some wood b/c I thought I would mess up some cuts (I didn't...yay!)
Estimated Time Investment
Weekend Project (10-20 Hours)
Finish Used
Water-based Minwax Wood Stain tinted a charcoal gray. Put on with a foam brush and wiped off excess with disposable blue shop towels.
Recommended Skill Level
Beginner
Simple Plant Stand

Build Instructions:
http://www.instructables.com/id/Garden-Plant-Stand/
The plant stand allows you to grow edibles in a compact vertical space. We use the planter to grow herbs and edibles on the deck close at hand to the kitchen and the grill. In the containers we have mint, pineapple sage, marjoram, oregano and two other types of sage. The plants that like the most sun are placed on top. The lower levels of the plant stand are used for more shade tolerant plants; however, they still get plenty of light. For growing the plants, self-watering planters were chosen. Other planting options are a rain gutter system, individual pots, wood boxes, etc. The stand can be easily constructed from excess lumber or pallets

Estimated Cost
$20
Estimated Time Investment
Afternoon Project (3-6 Hours)
Finish Used
Paint
Recommended Skill Level
Starter Project
Comments

Fri, 05/01/2015 - 12:33
Animation of the parts
See animation here:
https://www.youtube.com/watch?v=rPD6ieDZgyU
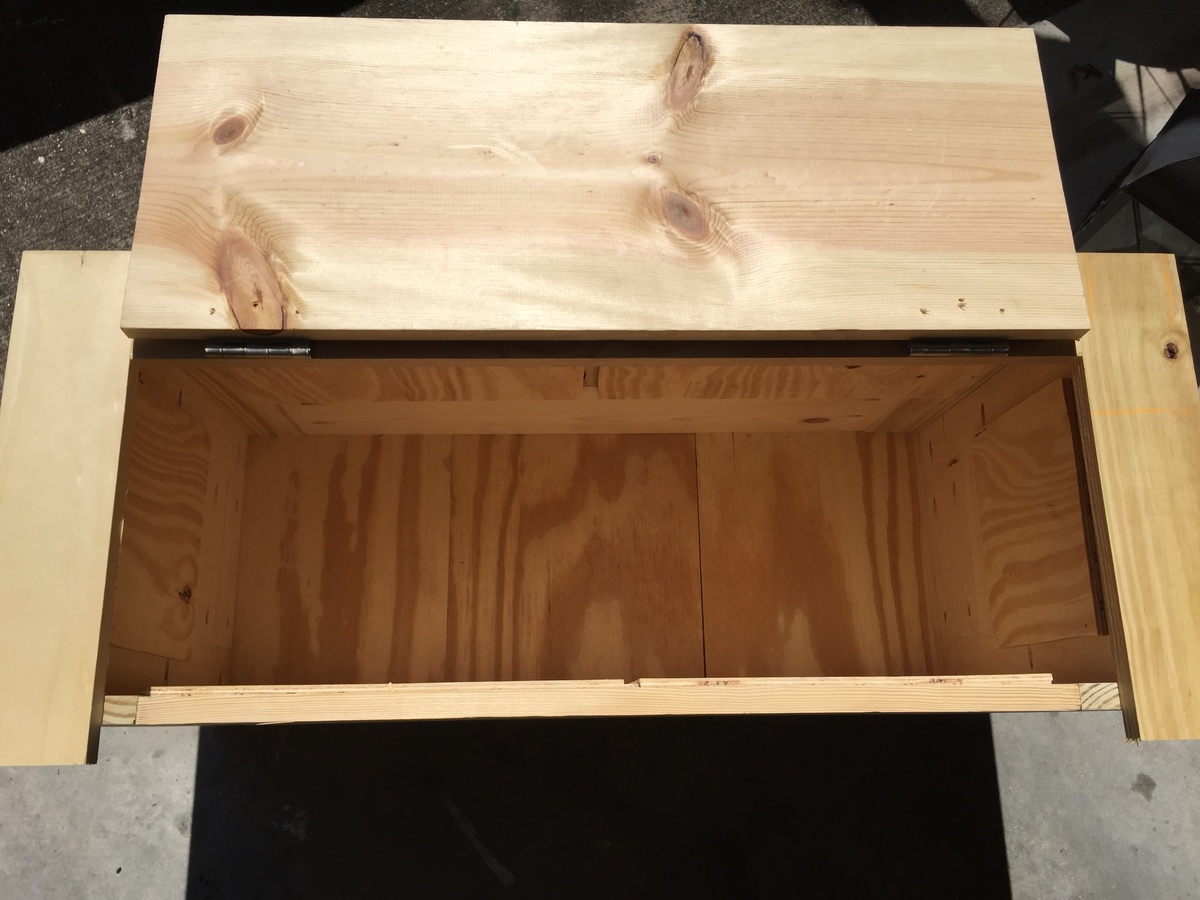
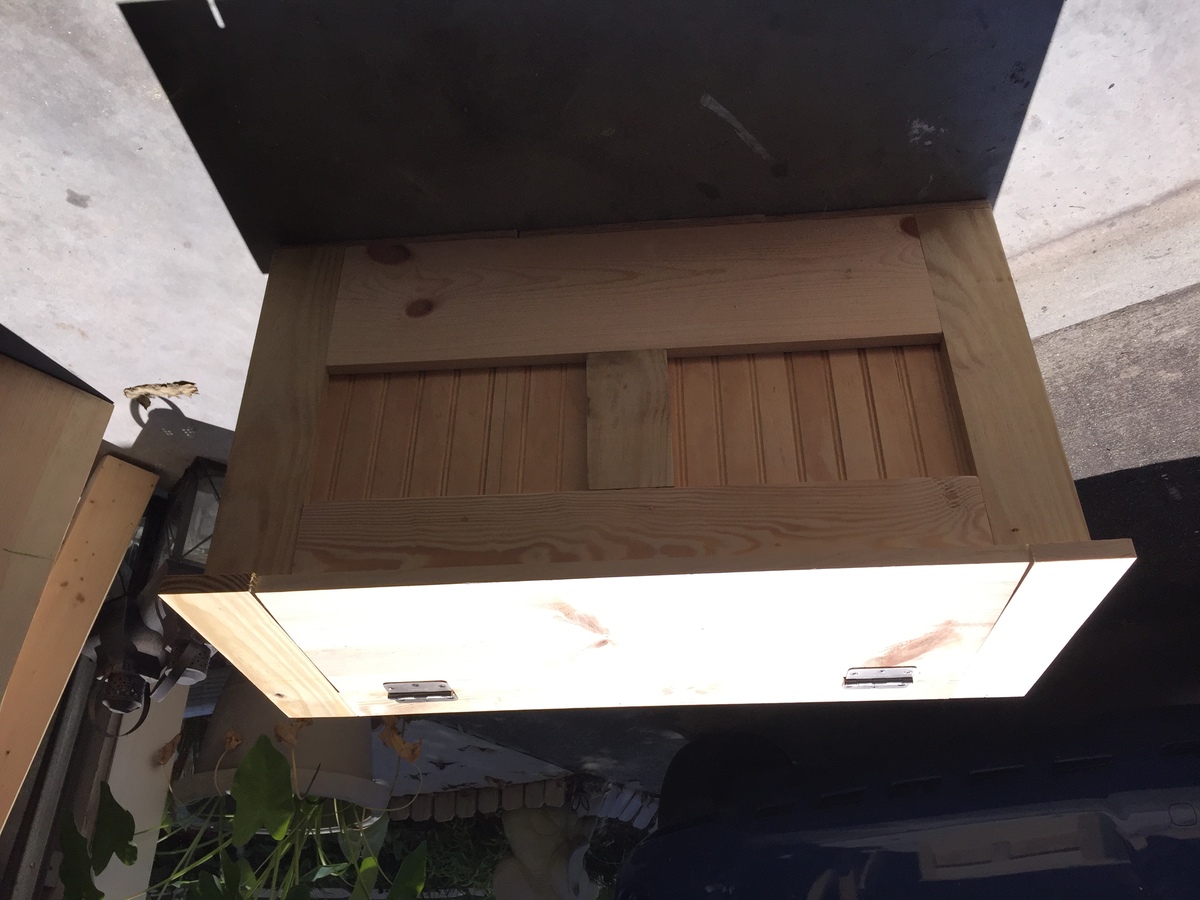
Mimi Storage Bench Plans
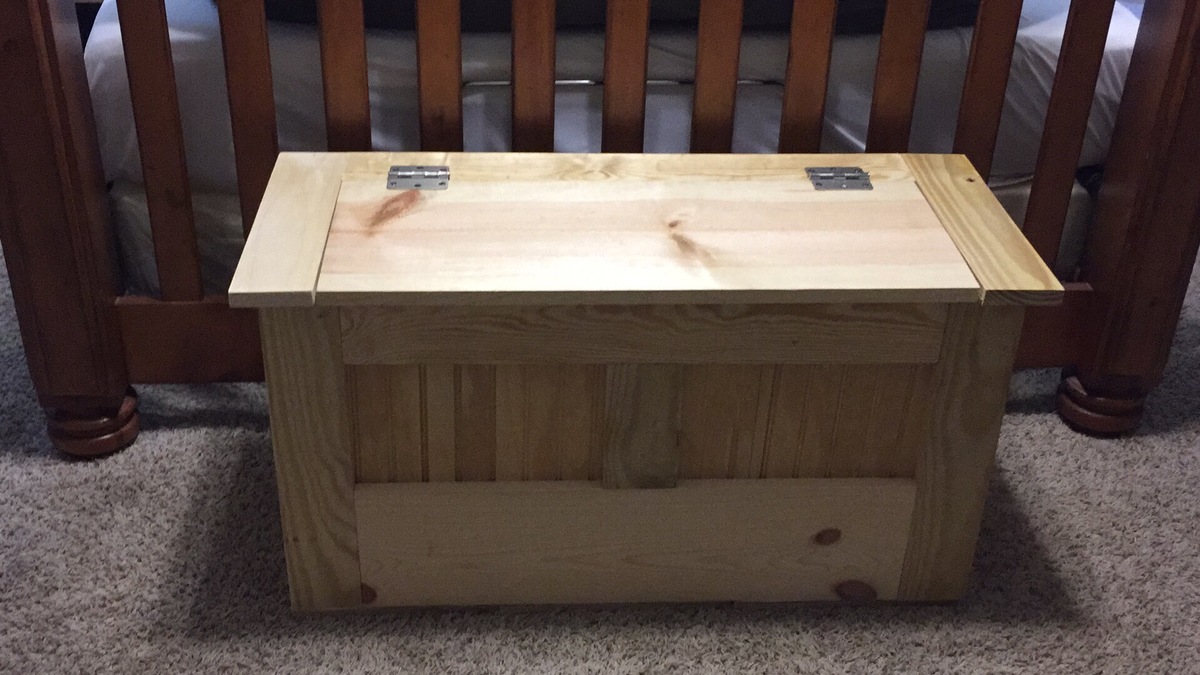
I've been wanting a storage bench for my bedroom to store bed pillows and blankets while we sleep so that the dogs don't take them over during the night on the floor. This is perfect. Just need to finish painting or staining. I did add a plywood bottom. I may add trim to the bottom as well. My first larger project without my husband's help!

Built from Plan(s)
Estimated Time Investment
Day Project (6-9 Hours)
Recommended Skill Level
Beginner

Reclaimed-wood bed
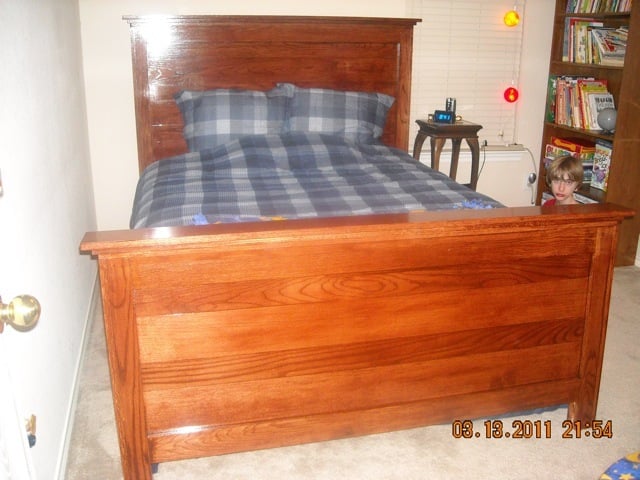
My friend asked me to build a "forever bed" for her son. So I pulled up some plans, and she LOVED this headboard. But wanted a footboard to hold the comforter on. So, I built the headboard, realized how easy it was, and invited her over to help build the footboard. She was so excited that she helped build her son's bed!
Built from Plan(s)
Estimated Cost
$400
Estimated Time Investment
Afternoon Project (3-6 Hours)
Finish Used
Minwax mahogany stain - 3 coats, topped with 2 coats of Minwax high gloss polyurethane
Recommended Skill Level
Beginner
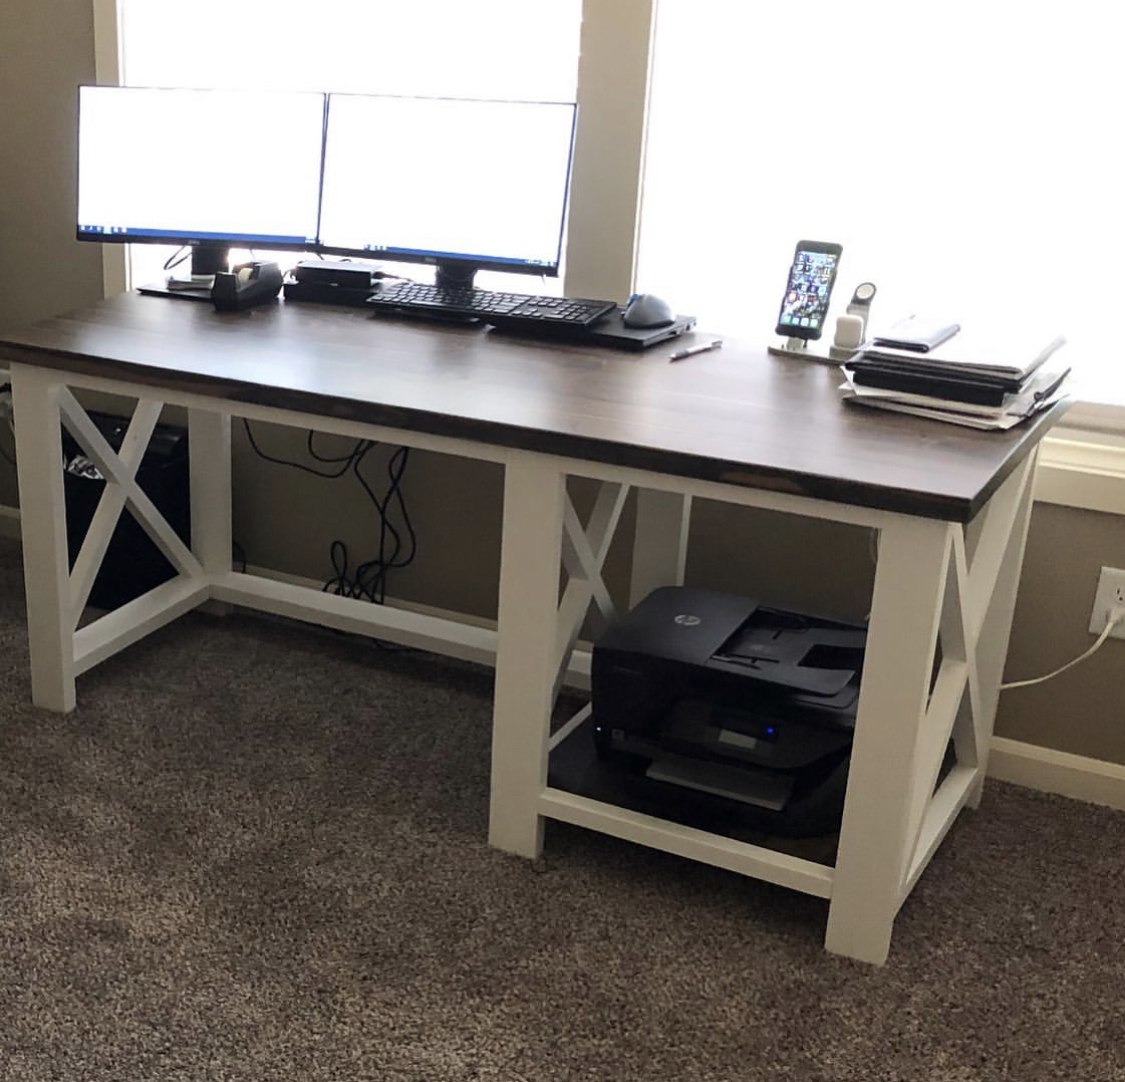
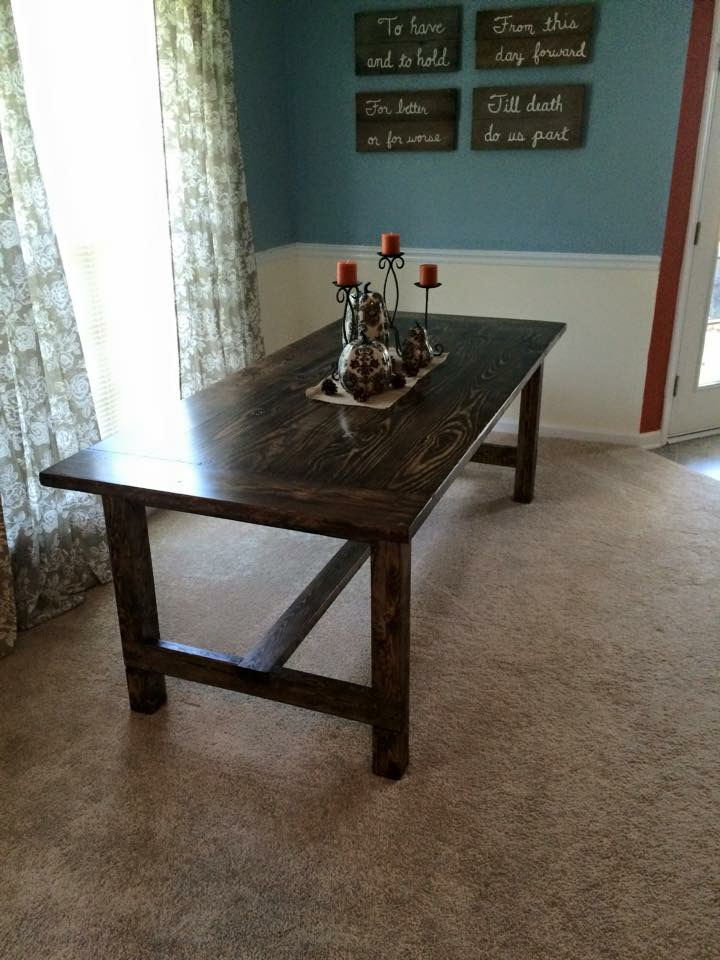
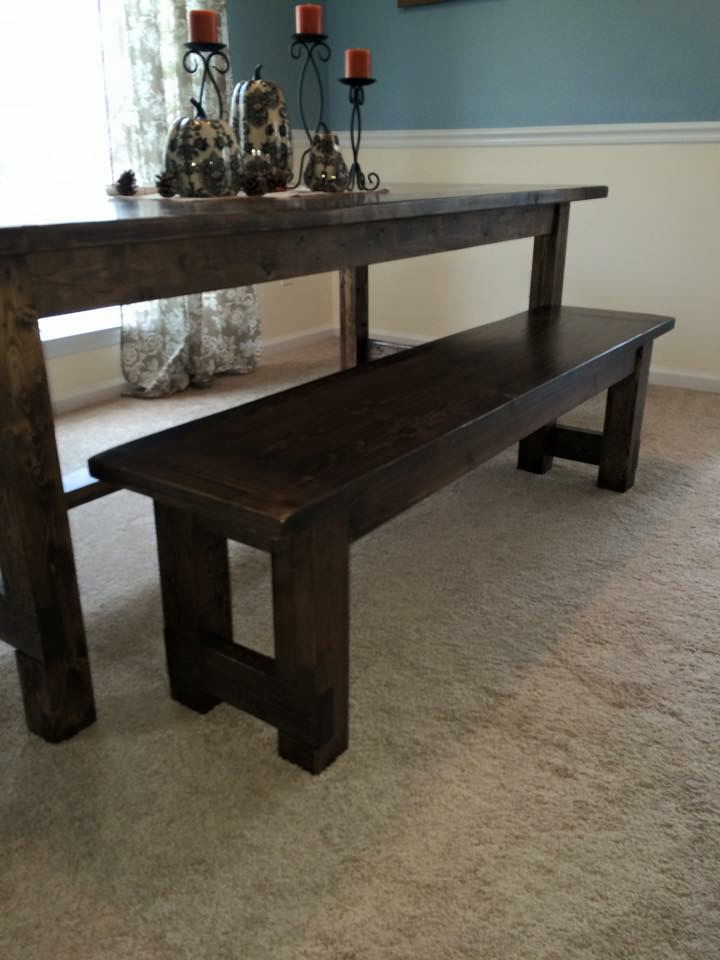
Rustic X Farmhouse Table
We were able to finish this table after work one afternoon and stain it the next day. (we have a 16 month old also, so you can do it! :) ) I wanted a similar style I had found at World Market that retailed for $700 we were able to complete this entire table for $100 including all hardware and stain. LOVE it so much and get SO many compliments on it. Thanks so much!
Shelby
The Dandy Lion
Estimated Time Investment
Day Project (6-9 Hours)
Finish Used
A satin poly with espresso stain in one
Recommended Skill Level
Intermediate
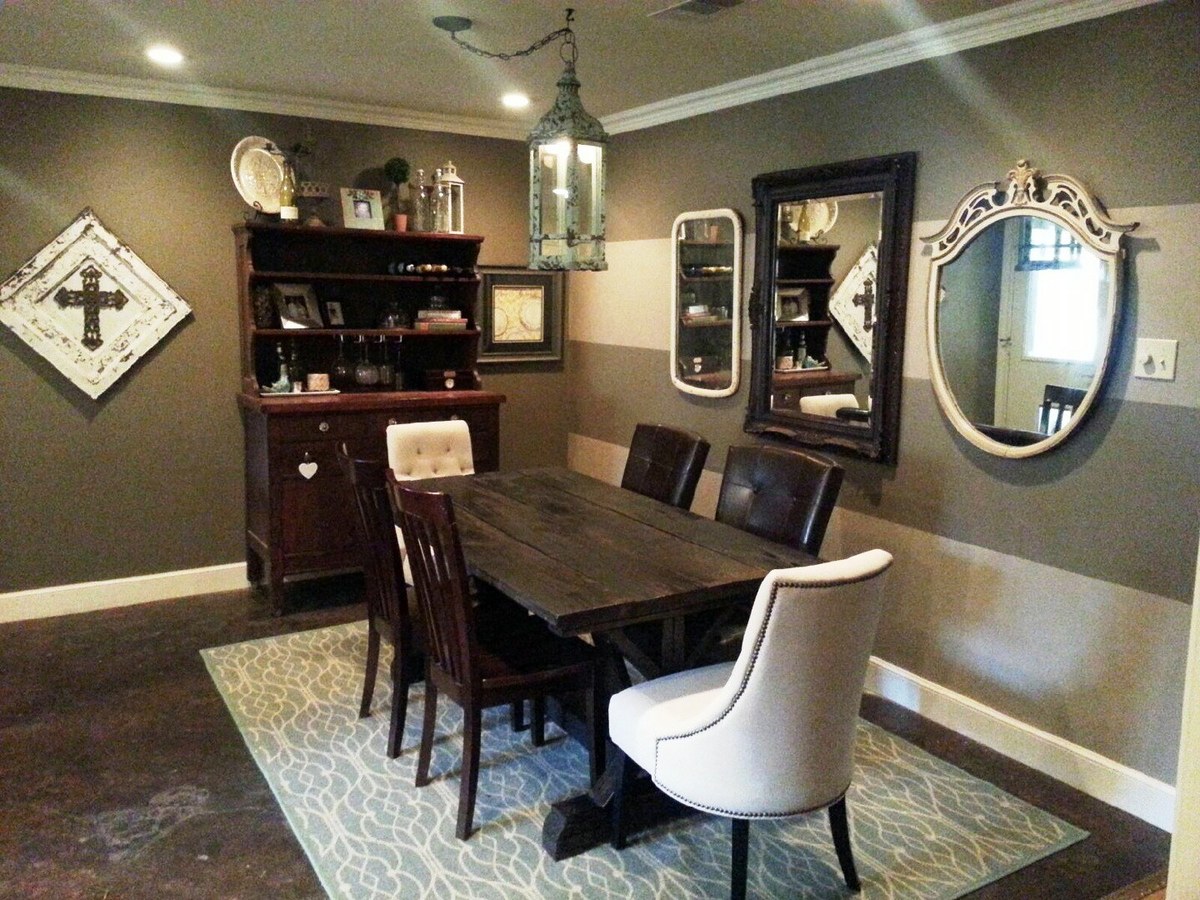
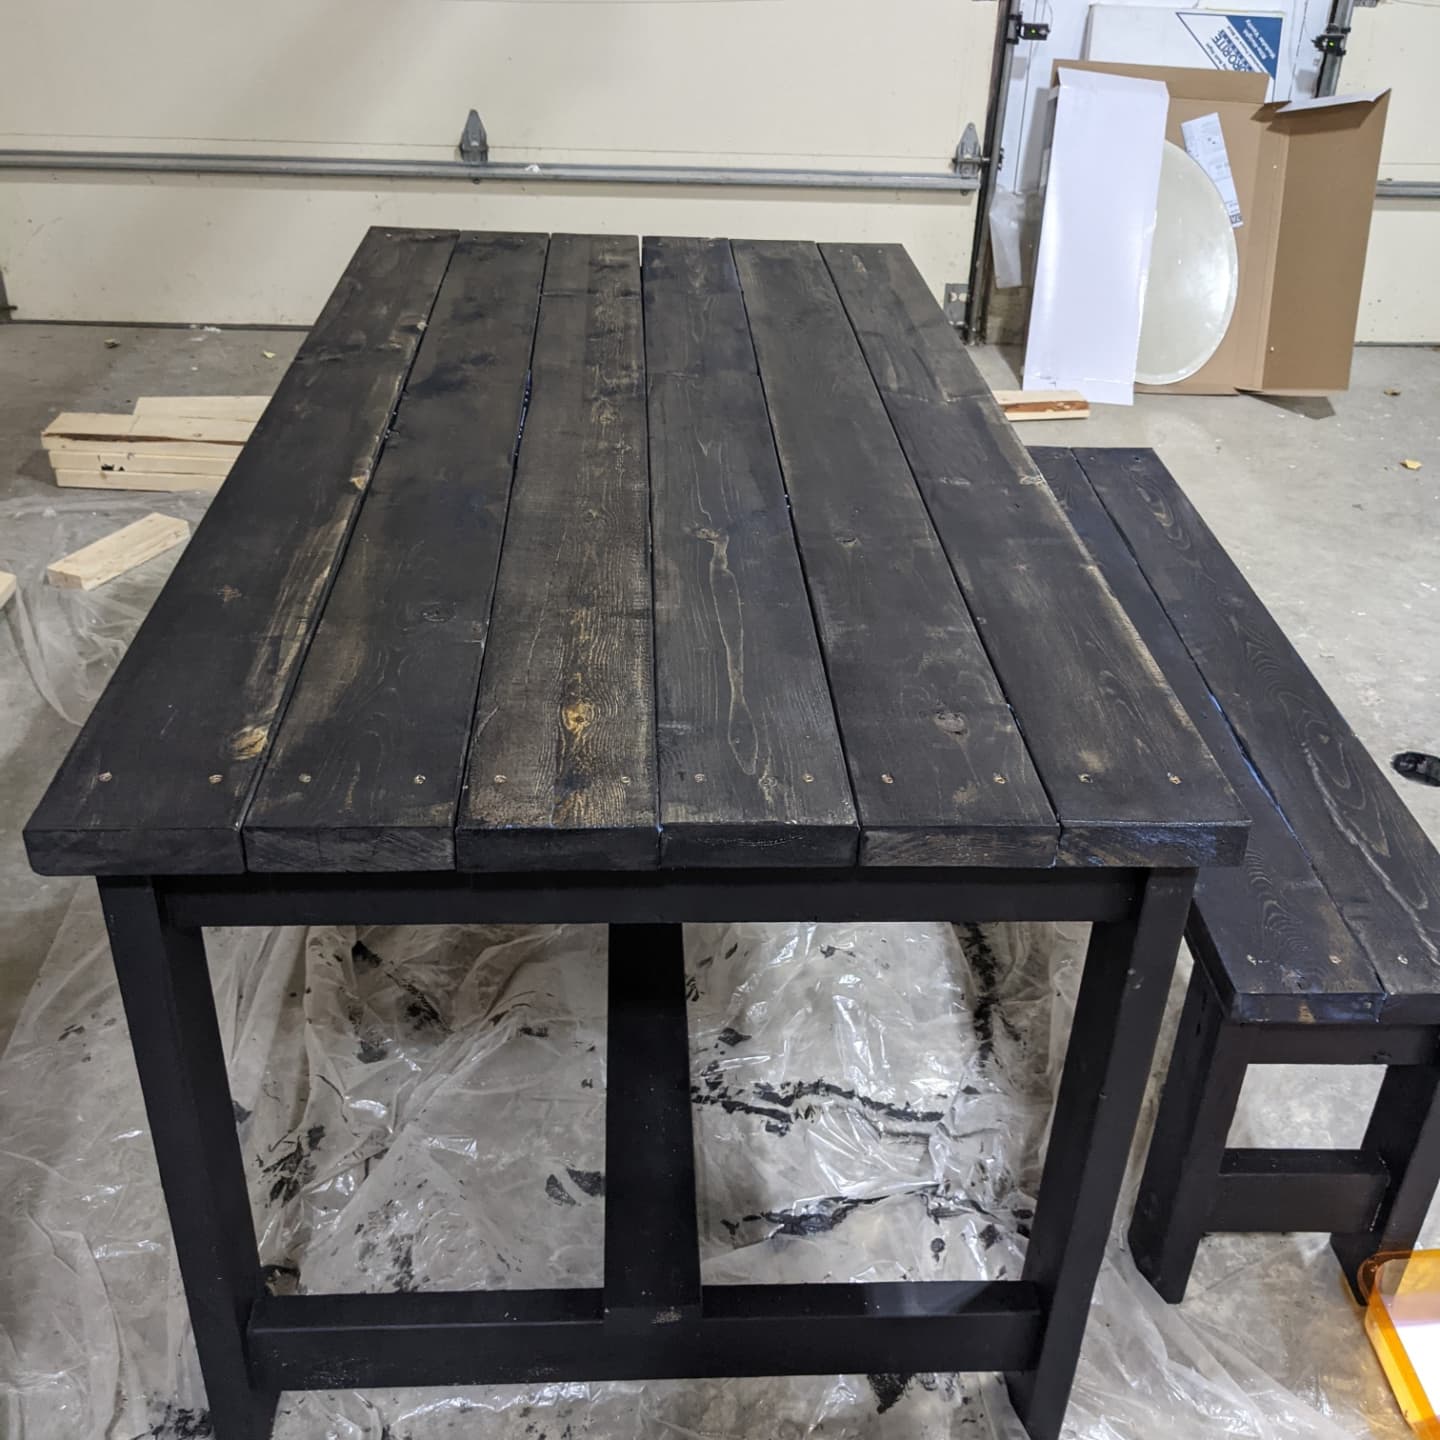
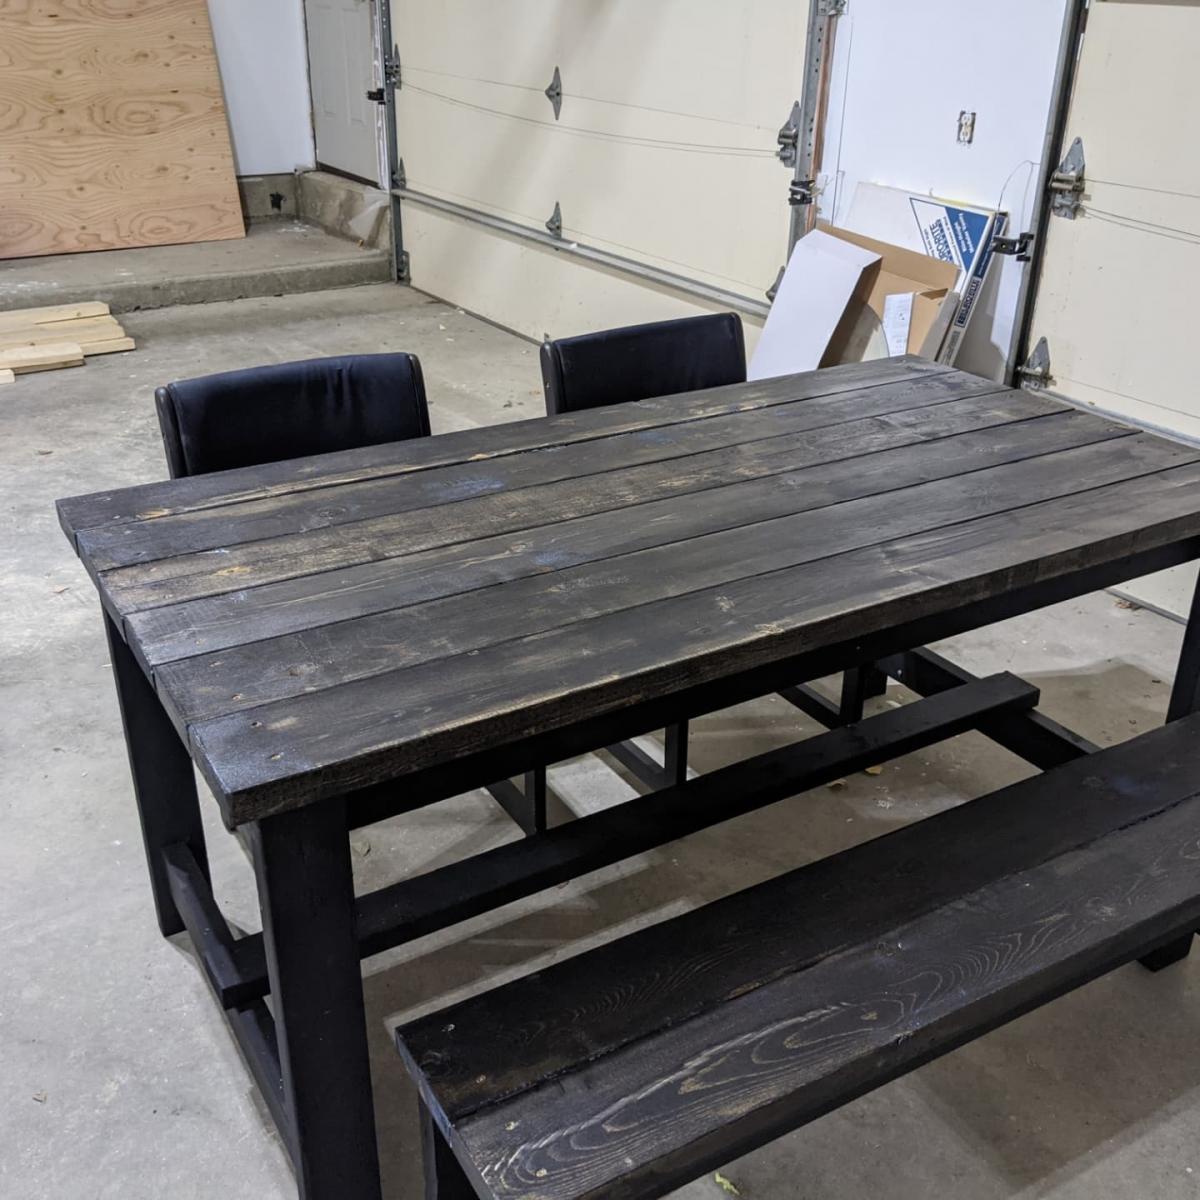
Farmhouse Table
I made this table for me and my wife. We love how it turned out! Approximate dimensions are 83"L x 37"W x 30"H.
I planed the table top boards down to around 1 1/4". After assembly, I used a hand plane and a belt sander to even out any unevenness, then I used my random orbital sander and gradually increased grit to 320. Sanded lightly between finish coats.
Built from Plan(s)
Estimated Cost
$100-$150
Estimated Time Investment
Week Long Project (20 Hours or More)
Finish Used
Rustoleum Kona stain, and about 6 coats of Vermont natural coatings heirloom wipe on poly in satin.
Recommended Skill Level
Intermediate
Trofast storage
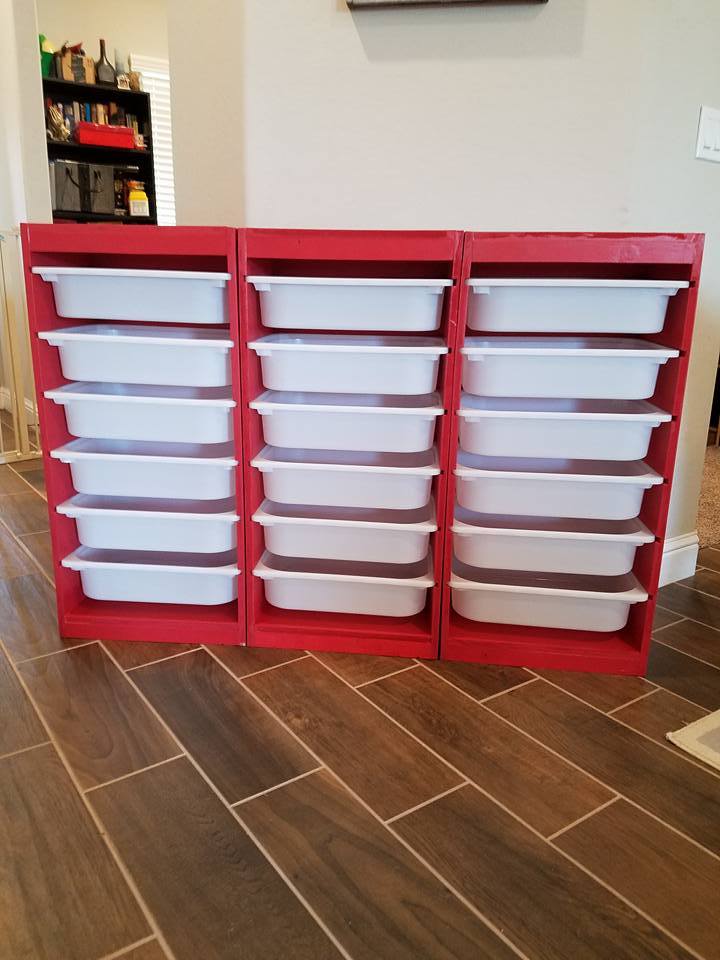
Built this to clear up my son's room a bit. Lots of flexible storage for his legos, rock collection, art supplies, and everything else cluttering up his room.

Built from Plan(s)
Estimated Time Investment
Weekend Project (10-20 Hours)
Finish Used
paint
Recommended Skill Level
Beginner
Farm table
First attempt ever at building anything! Probably took me a lot longer than it should have, but I'm very proud of the result
Built from Plan(s)
Comments
Low Activity Table
With three little kids we needed some place to put the loads of toys that we have. The first time I saw this - I knew I had to build it!
This project was quite the task. For me building is a breeze - it's the painting that is the process!!!
I started working on this on Sunday last week - it was built in about 3-4 hours. Painting took forever, and three colors!
Love for you to check out my blog post with all the details, even my painting flub up.
Built from Plan(s)
Estimated Cost
$108...$70 in wood, $30 in Wheels, $8 in paint.
Estimated Time Investment
Afternoon Project (3-6 Hours)
Finish Used
Sanded...primed...sanded...random painting experience...ended with Rustolium Kola - Semi-gloss.
Recommended Skill Level
Intermediate
Picnic Table for my girls
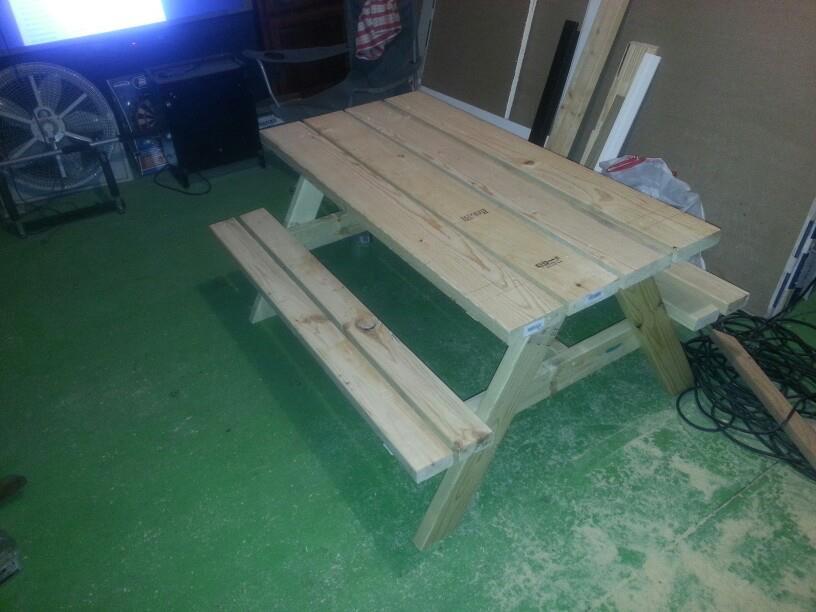
Big Kids Picnic table. Made this for my daughters and they absolutely love it. Just the right size for a 9 and 6 y/o.
Built from Plan(s)
Estimated Time Investment
An Hour or Two (0-2 Hours)
Recommended Skill Level
Beginner
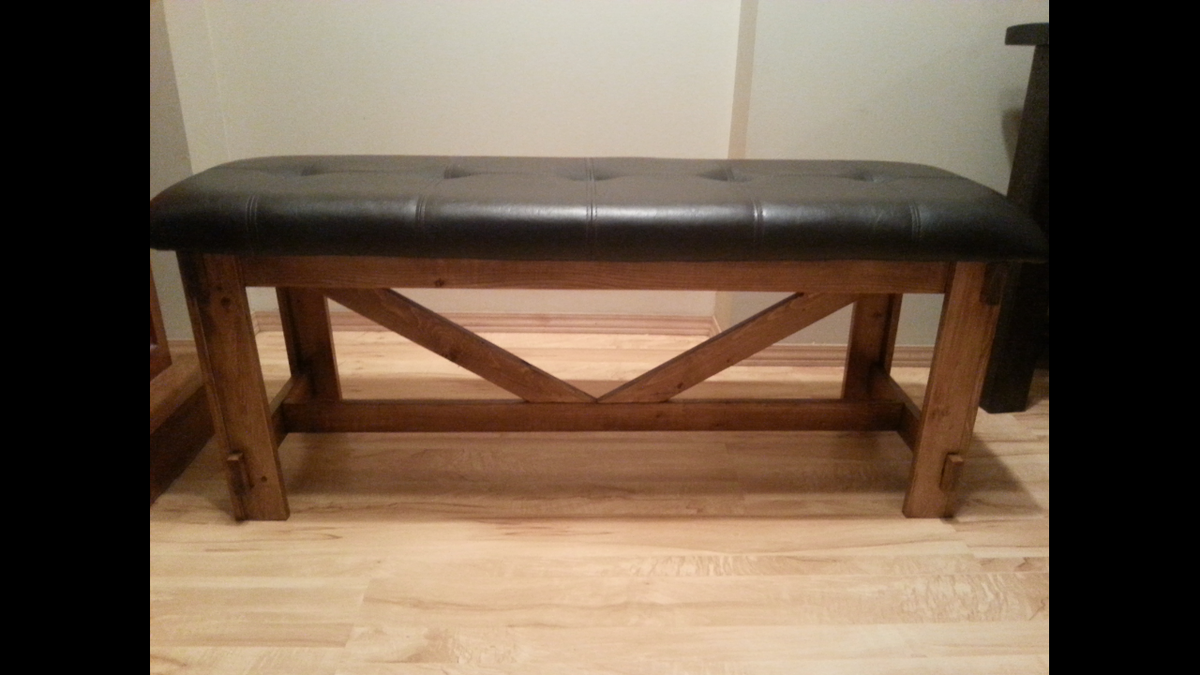
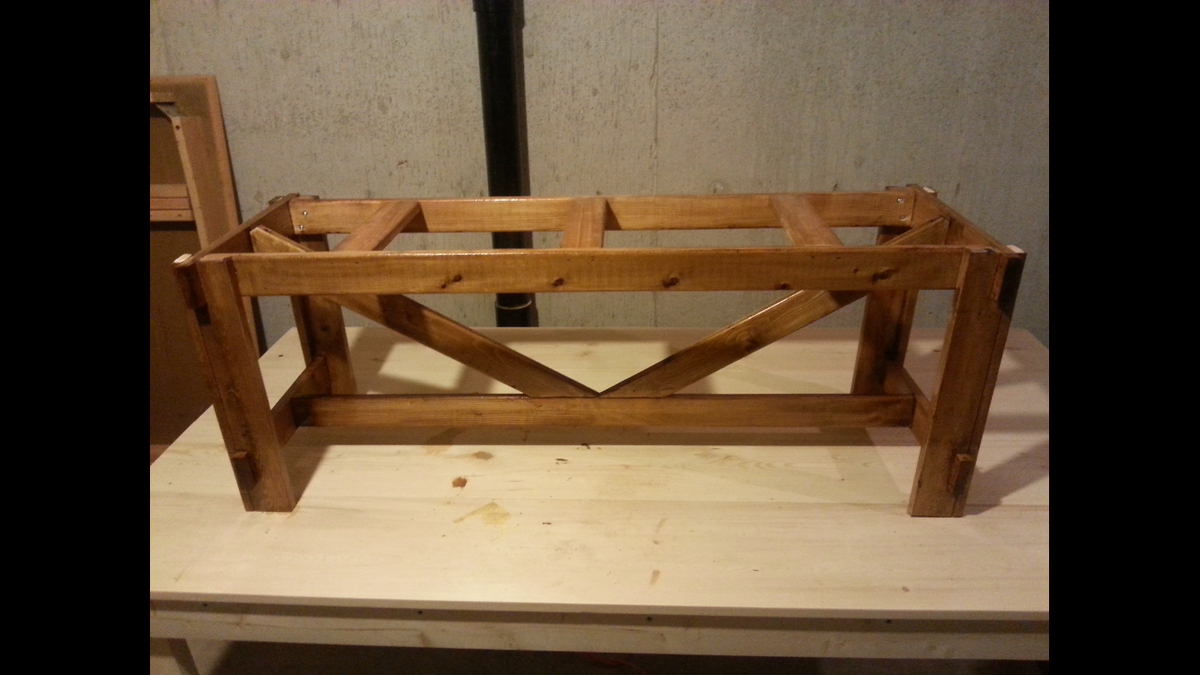
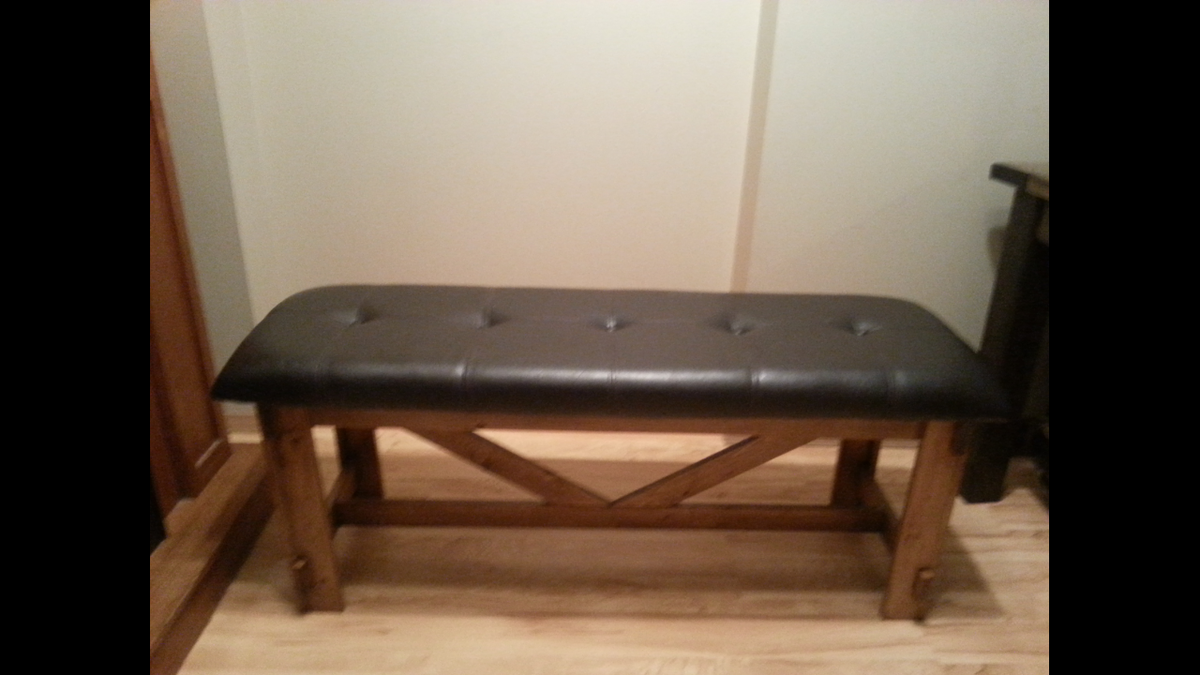
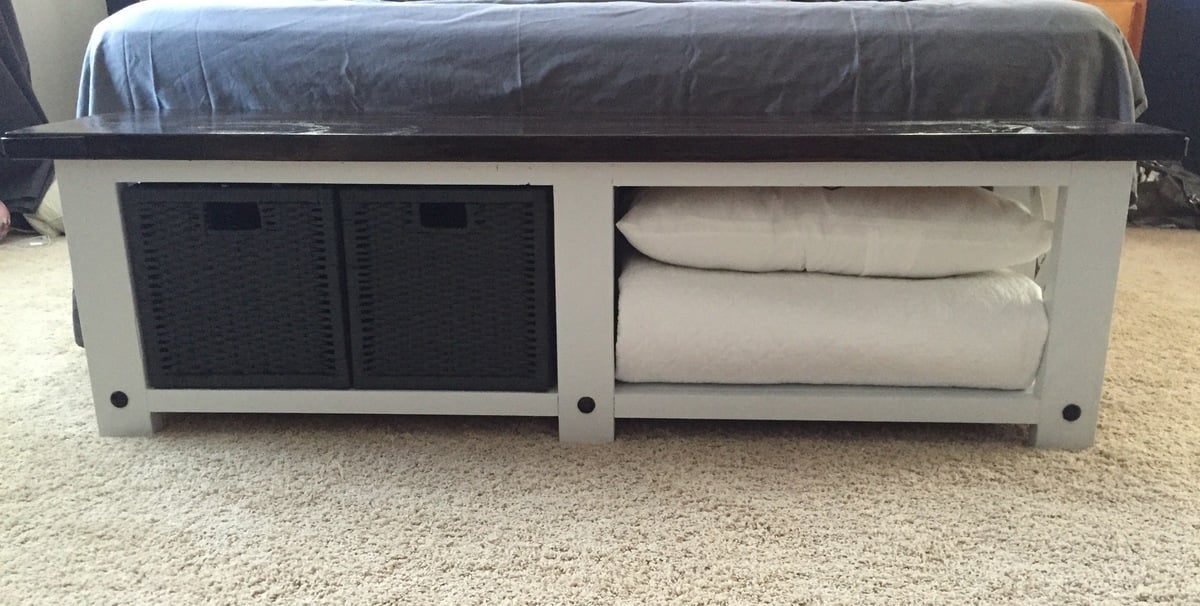
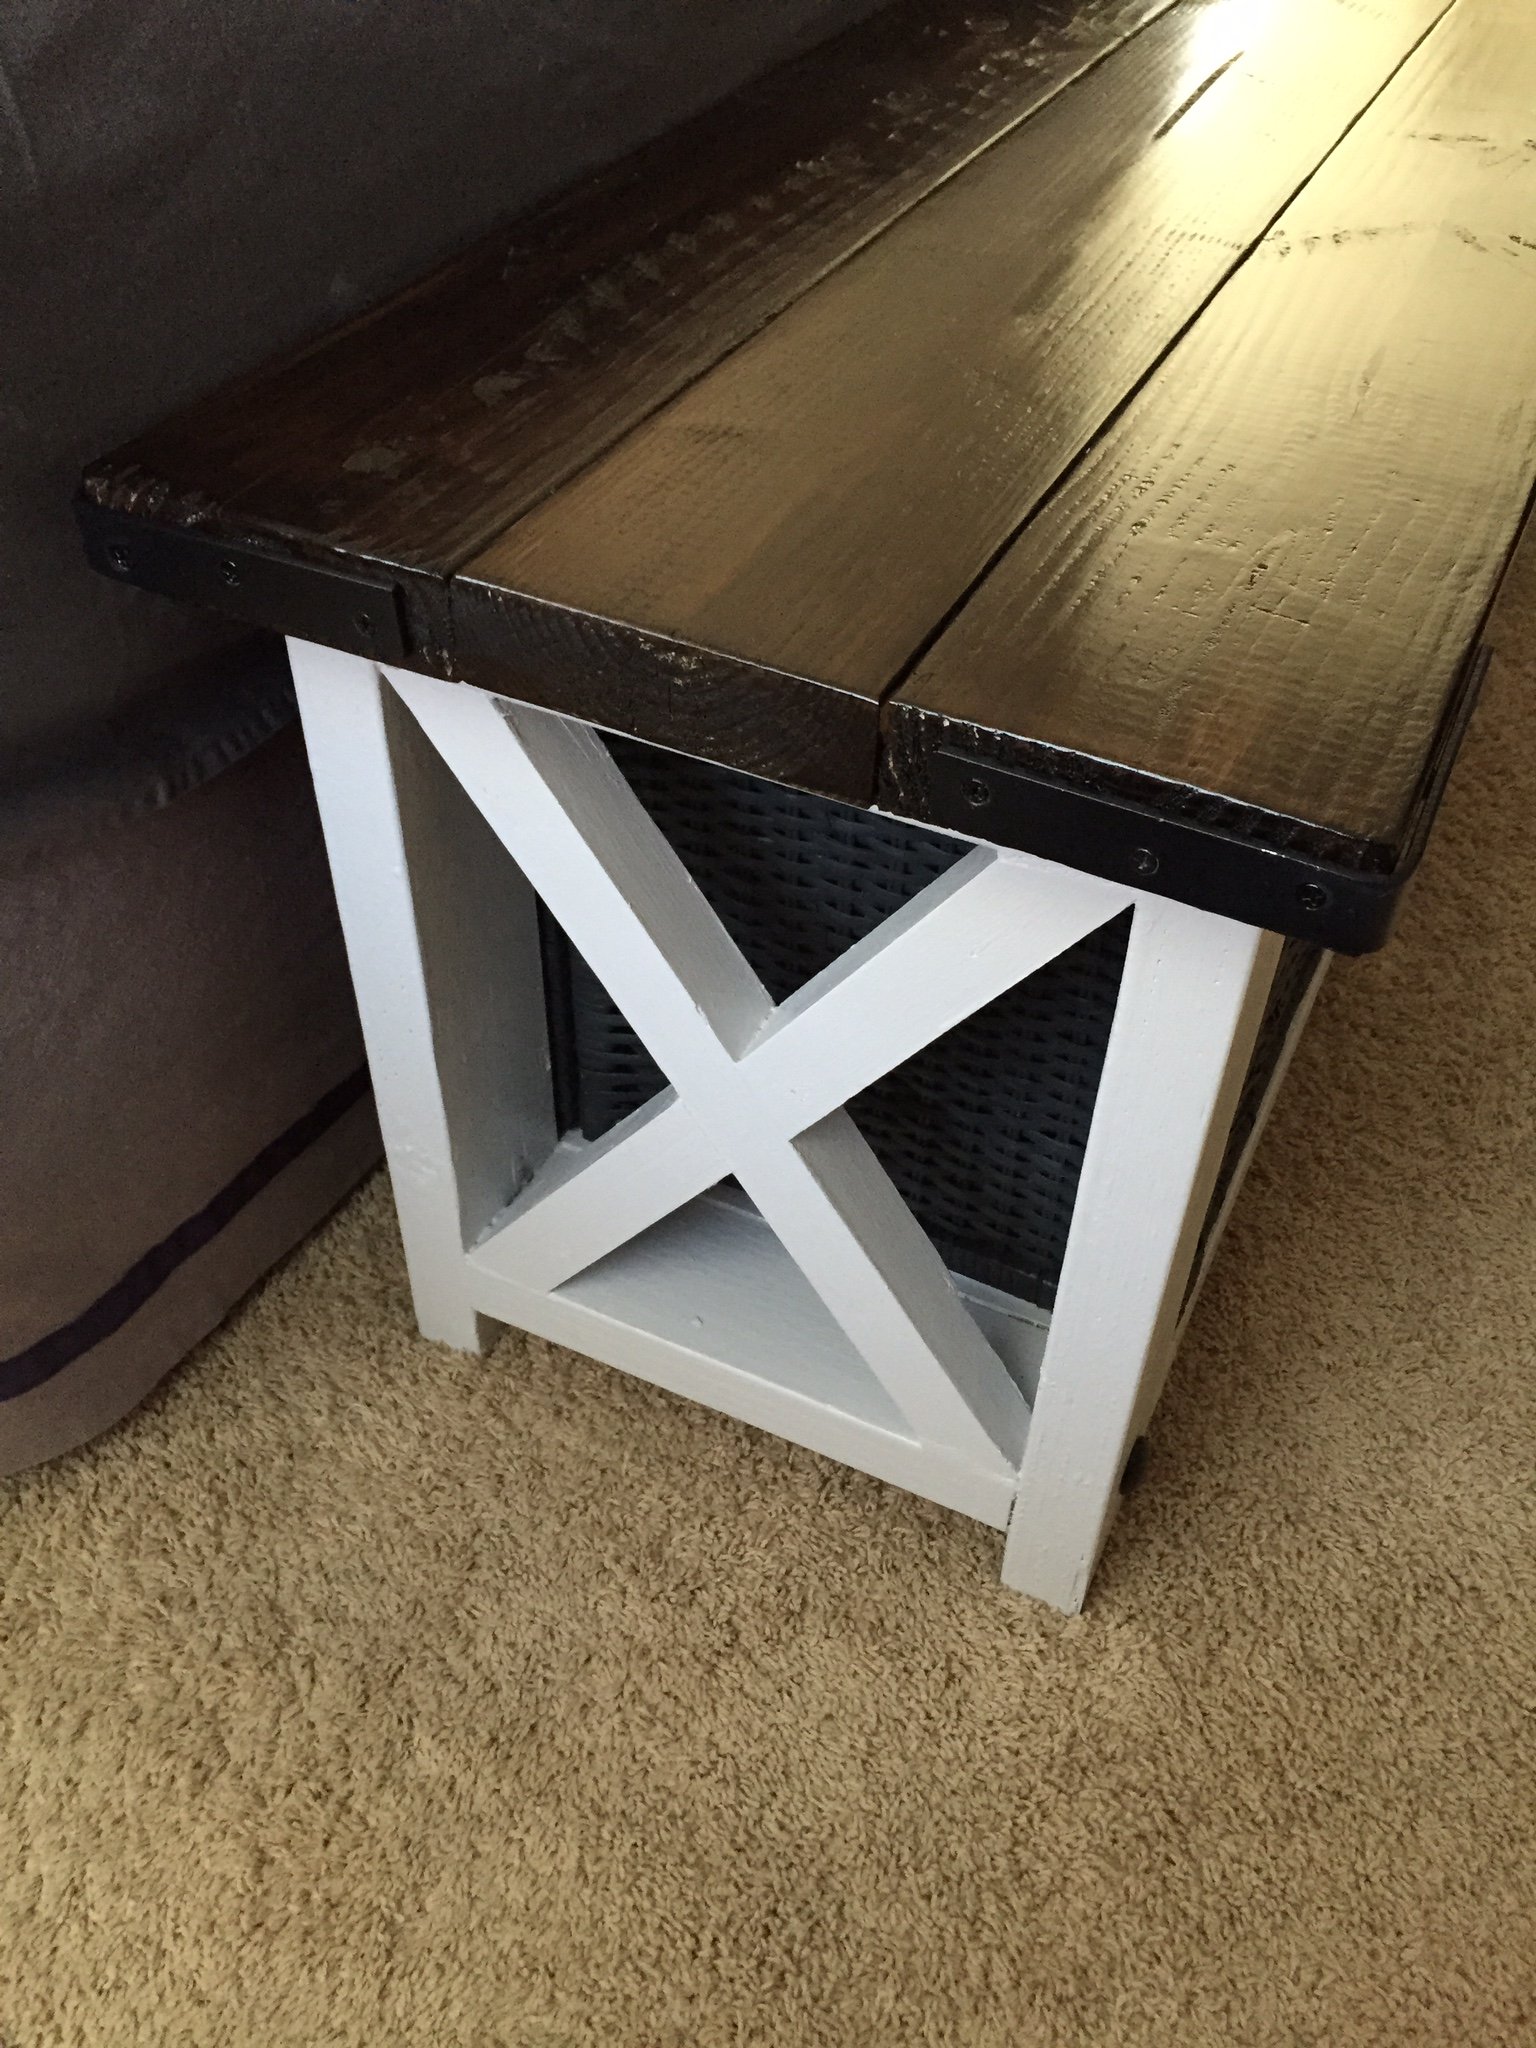
Rustic X Bench

I adjusted the measurements for the console to make a bed bench. The over all length is 66.5", making each horizontal 2x2 26" long. The 2x4 legs are now 18" heigh. Love the end result.
Built from Plan(s)
Estimated Cost
$50-80 depending on supplies on hand
Estimated Time Investment
Weekend Project (10-20 Hours)
Finish Used
Behr Shiny luster
Kona stain/poly
Kona stain/poly
Recommended Skill Level
Intermediate
Comments
Fri, 01/06/2017 - 19:21
My take on it - as an entryway bench
I haven't finished it yet, but thanks for the height modification!
https://mrsonthemove.wordpress.com/2017/01/07/entryway-bench/

In reply to My take on it - as an entryway bench by Cazeliea
Sat, 05/23/2020 - 21:01
Love it!
Love it!
Wed, 01/22/2020 - 08:14
What are the circles?
What are the brown spots on the front of the legs? Are those just glued on buttons?
In reply to What are the circles? by Richard6959
Sat, 05/23/2020 - 20:56
Decorative nail heads. I…
Decorative nail heads. I think they screw in.
Thu, 01/30/2020 - 09:49
What was used for the…
What was used for the decorative circles at the bottom of each leg? Its not mentioned anywhere in the plans and I can't tell from the pictures what was used. Please explain. Thanks.
In reply to What was used for the… by Richard6959
Sat, 05/23/2020 - 20:56
Just as a decoration. They…
Just as a decoration. They serve no actual function!
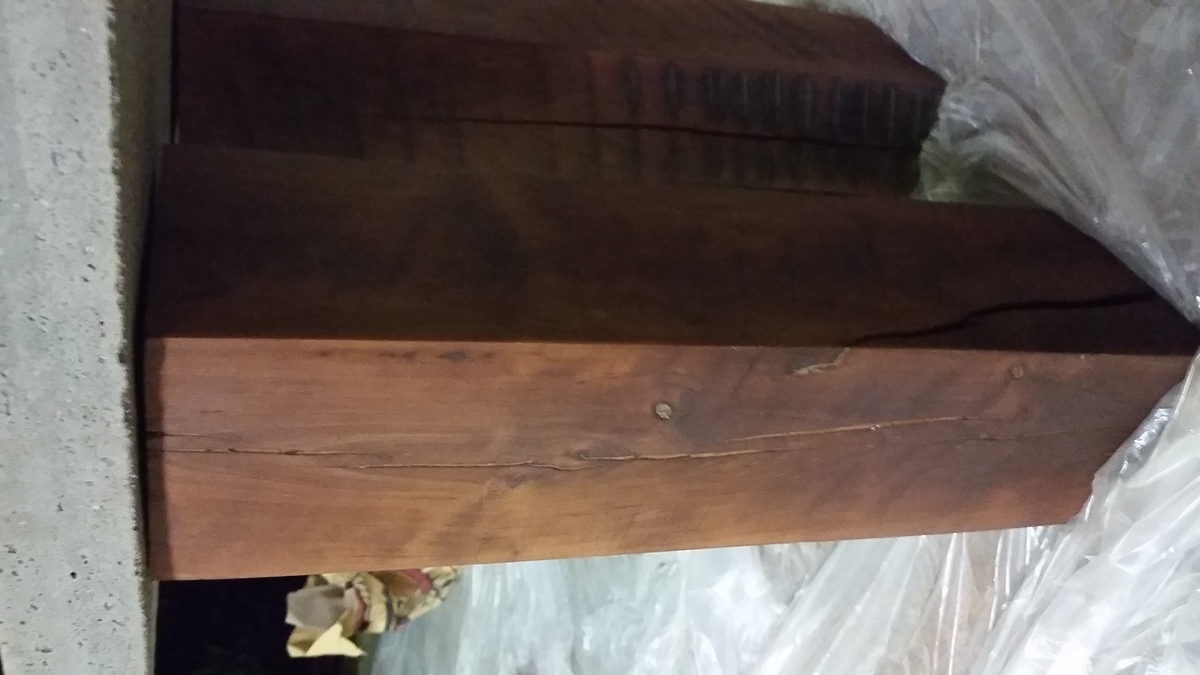
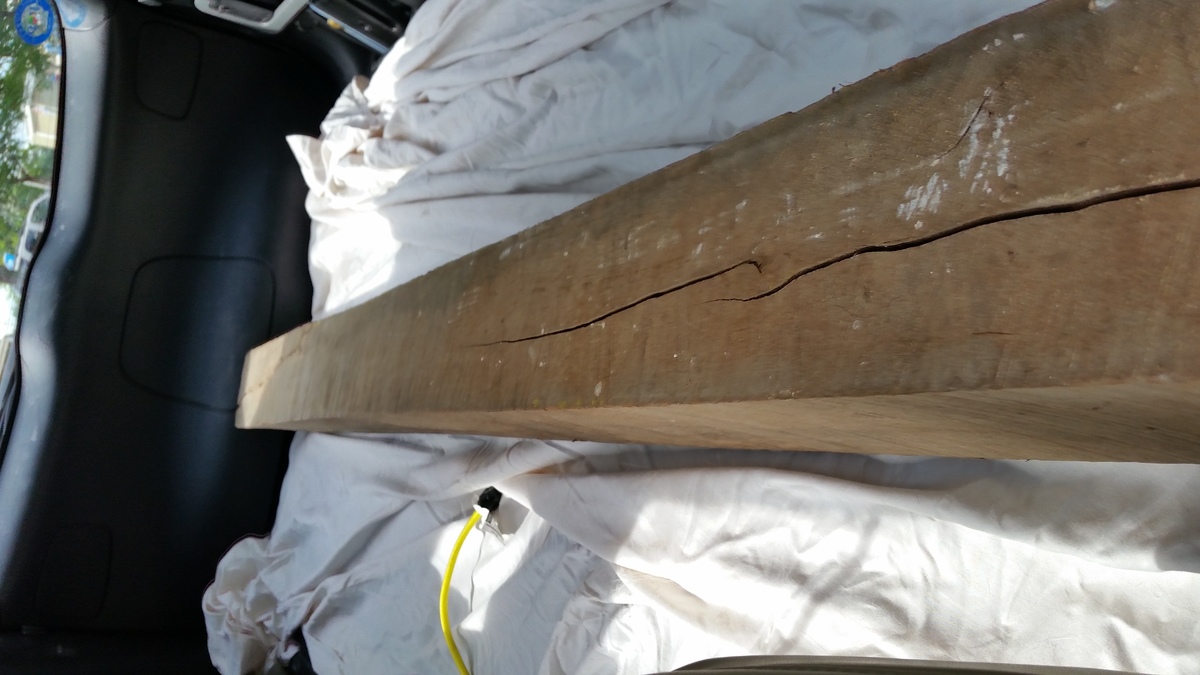
Concrete top
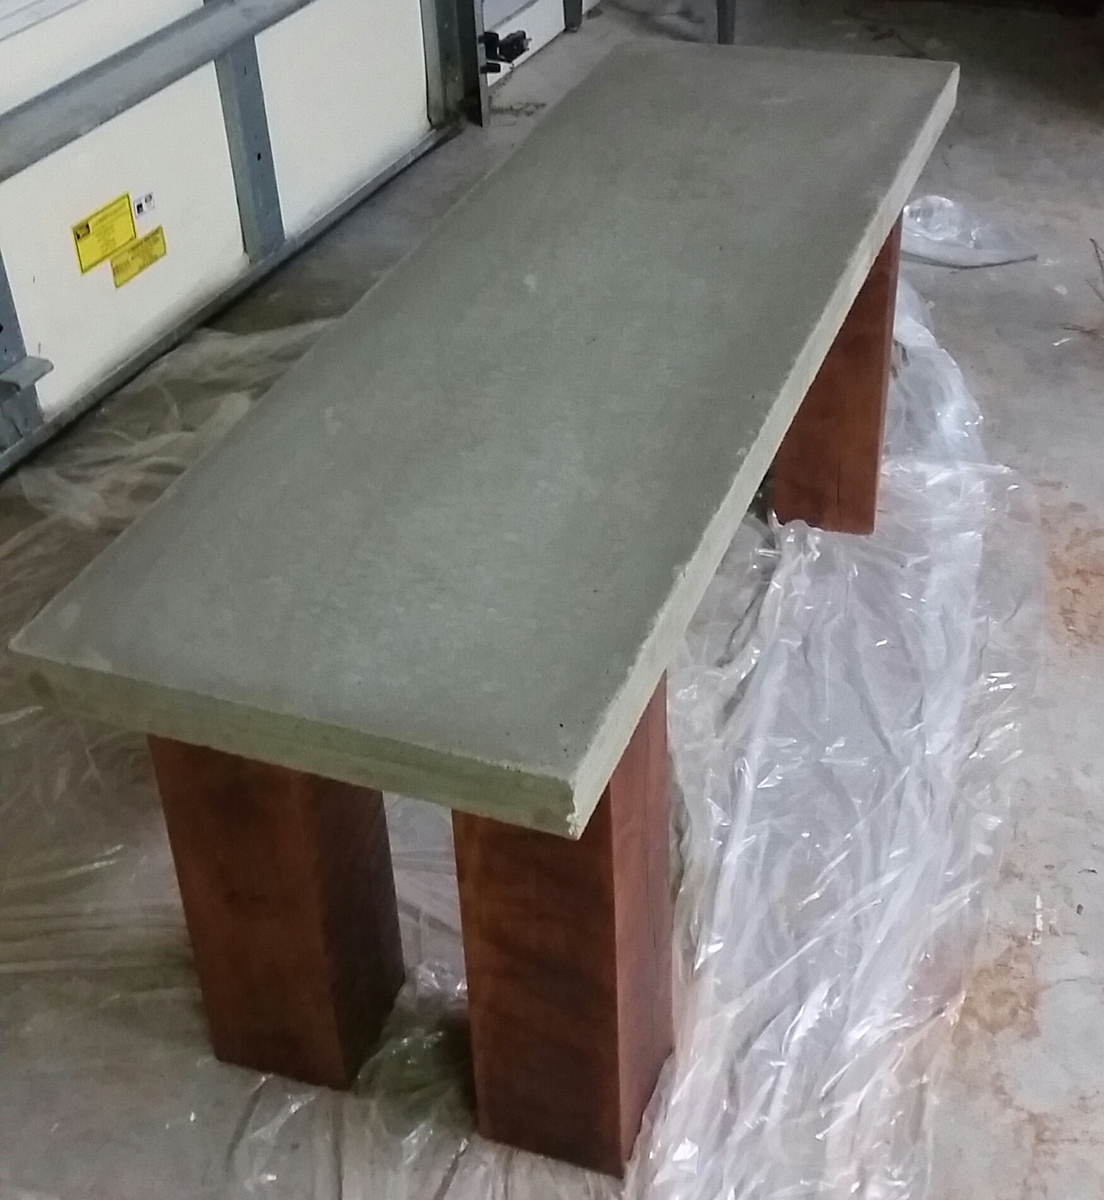
I changed up the legs because I had a beautiful piece of reclaimed wood I've been looking to use. I did use these plans for the concrete top and it turned out great! Just followed all of her advice. It's very smooth, almost feels like soft cotton, with only tiny bubbles. Thanks for the great plans!
Built from Plan(s)
Estimated Cost
$20 for the wood and $25 for the concrete top
Estimated Time Investment
Afternoon Project (3-6 Hours)
Finish Used
Minwax Weathered Oak
Recommended Skill Level
Starter Project
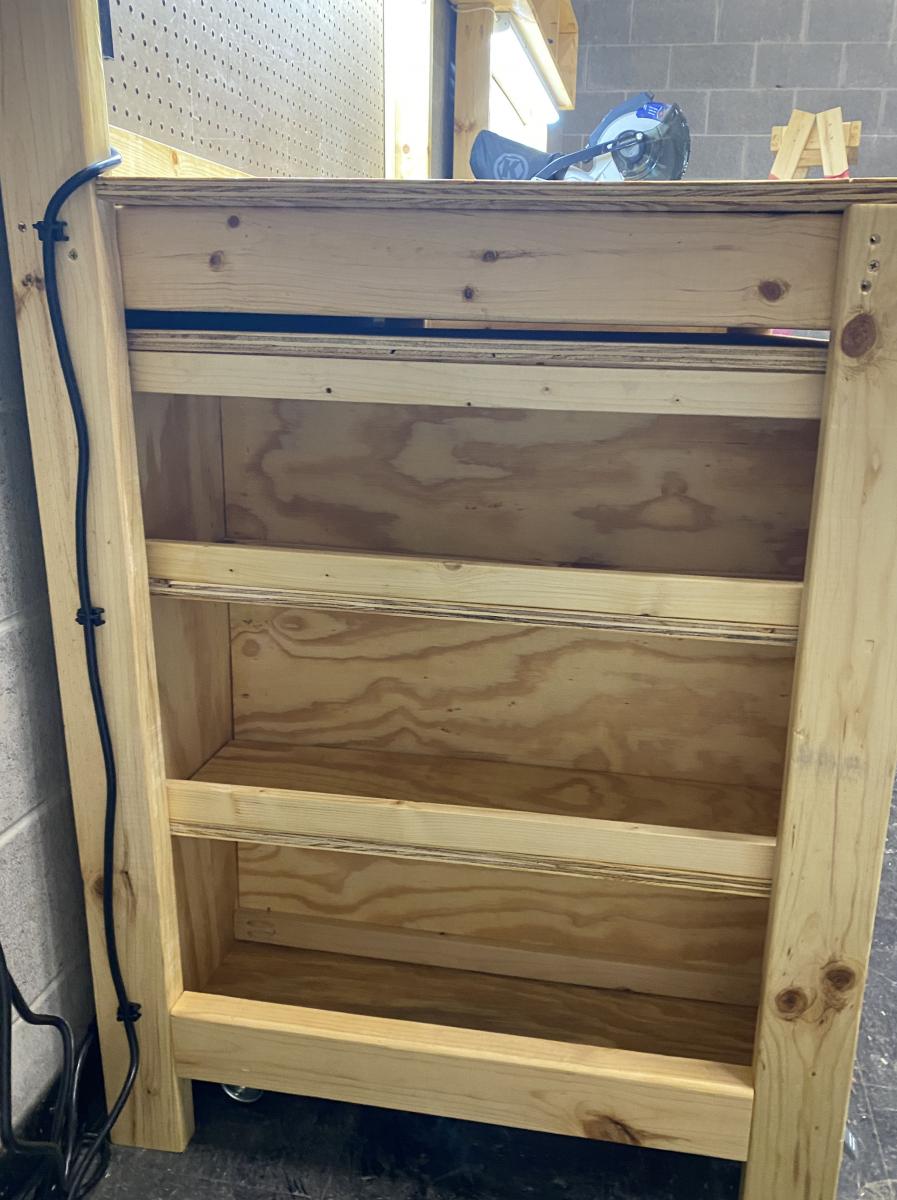
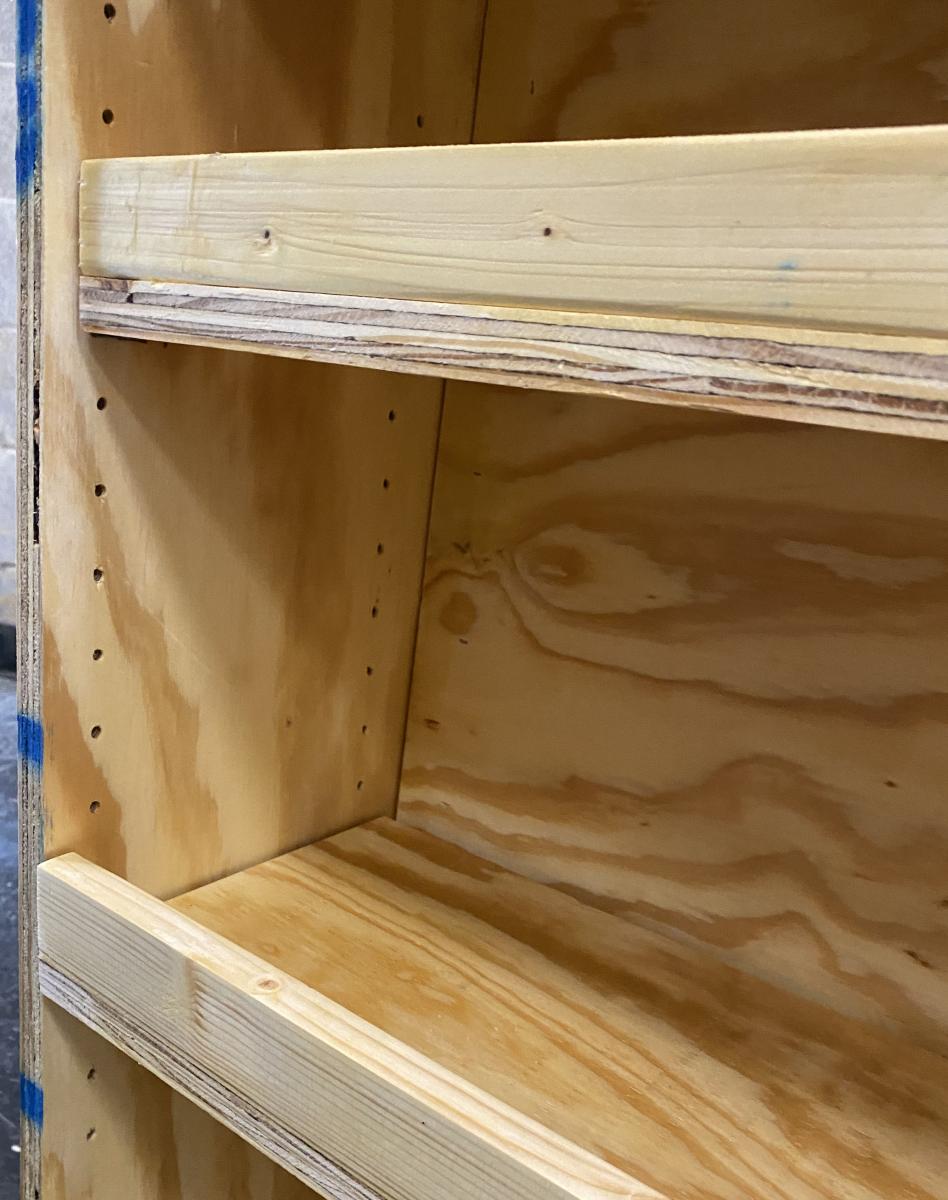
Eagle Project Workbench - Ultimate Roll Away Workbench with Miter Saw Stand
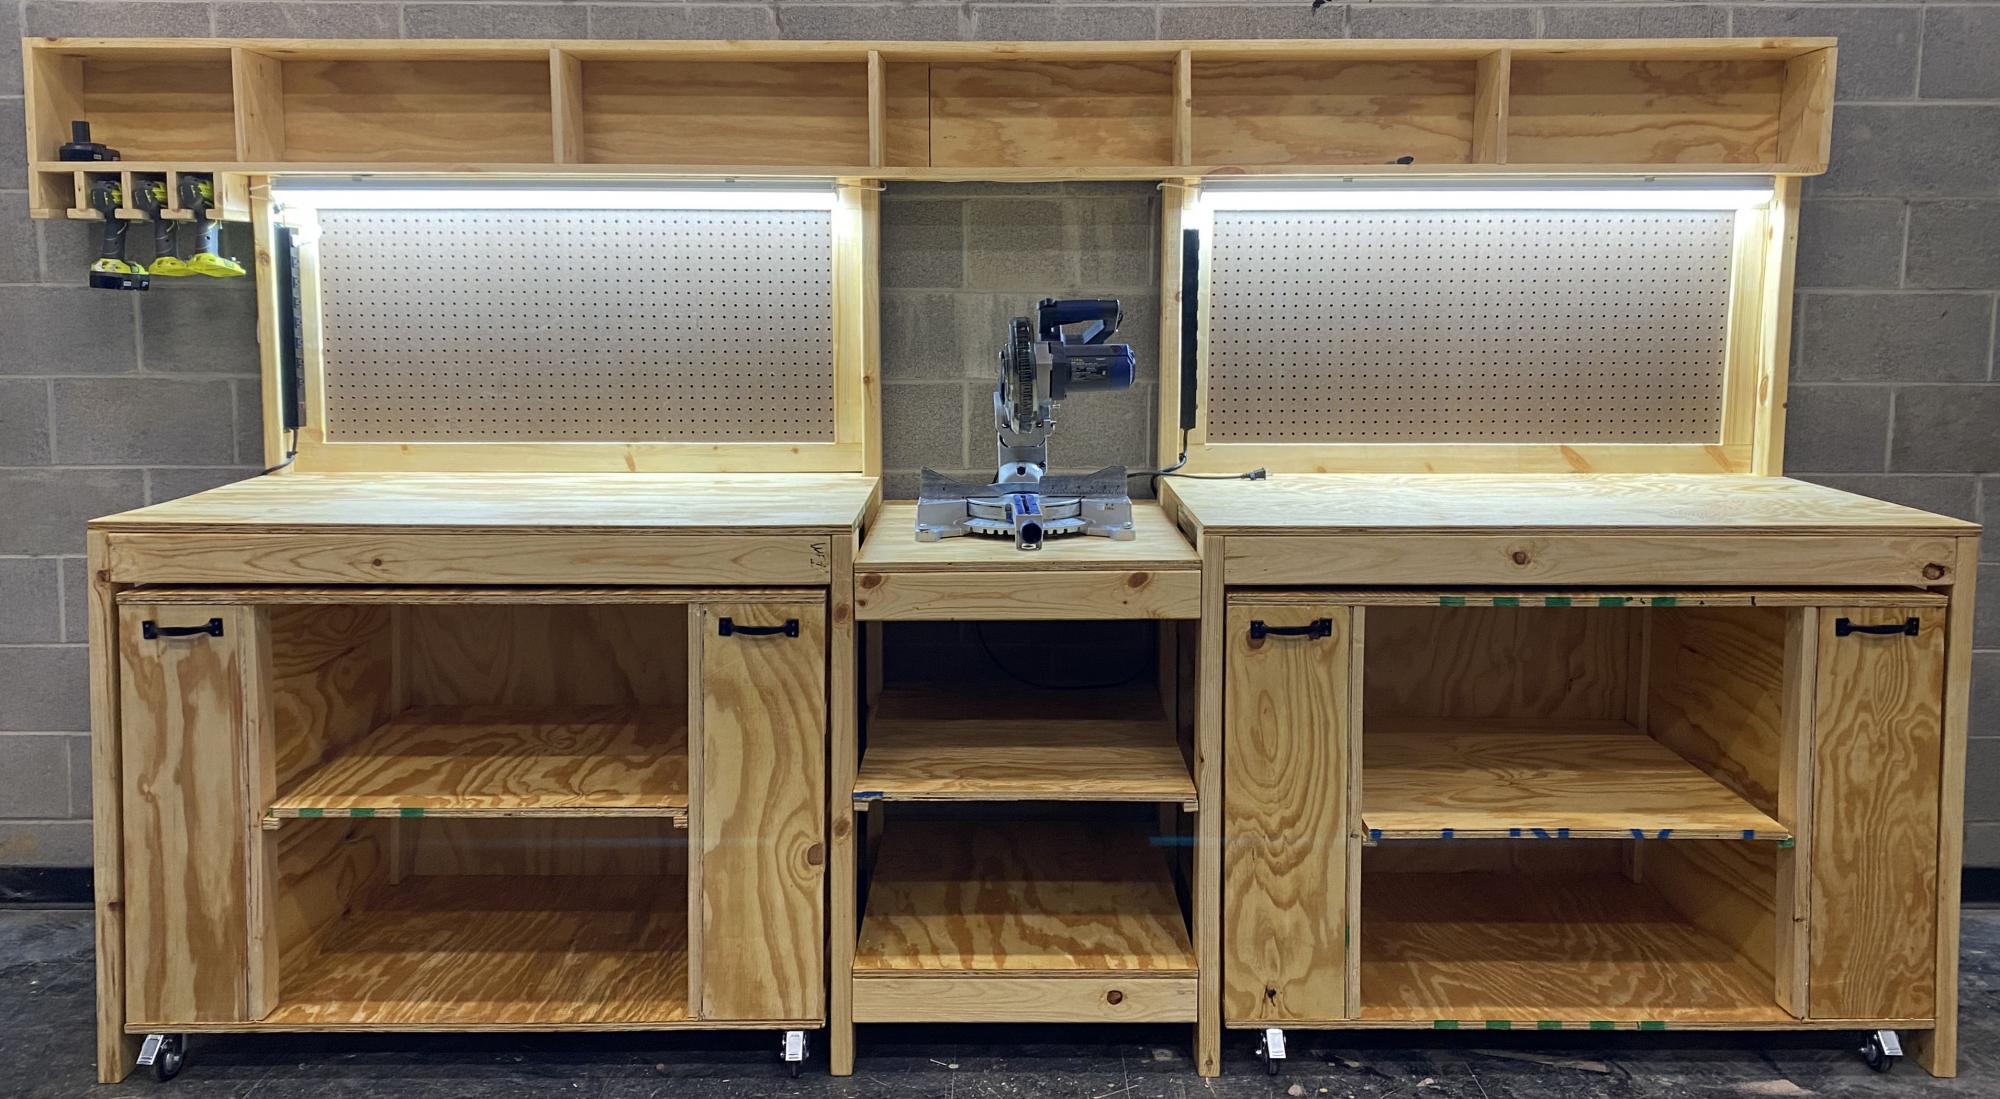
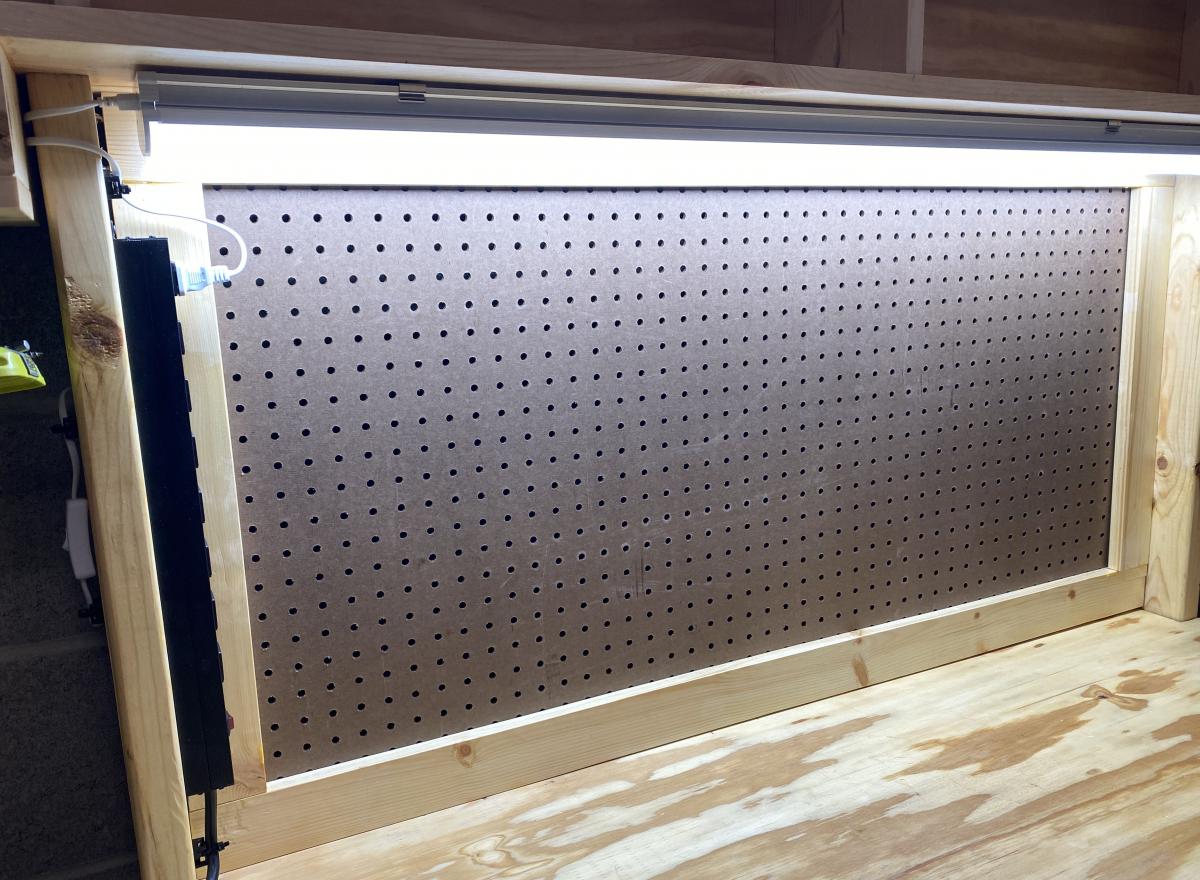
My son chose to make a workbench for his high school theater for his Eagle Scout project, and selected the Ultimate Roll Away Workbench with Miter Saw Stand as the basis for the project. The theater teacher wanted pegboard for tool storage, so we extended the rear legs on each workbench and notched the top to allow them to pass through. We built two frames from 1x3s to fit inside the rear legs, then put a pegboard inside each one.
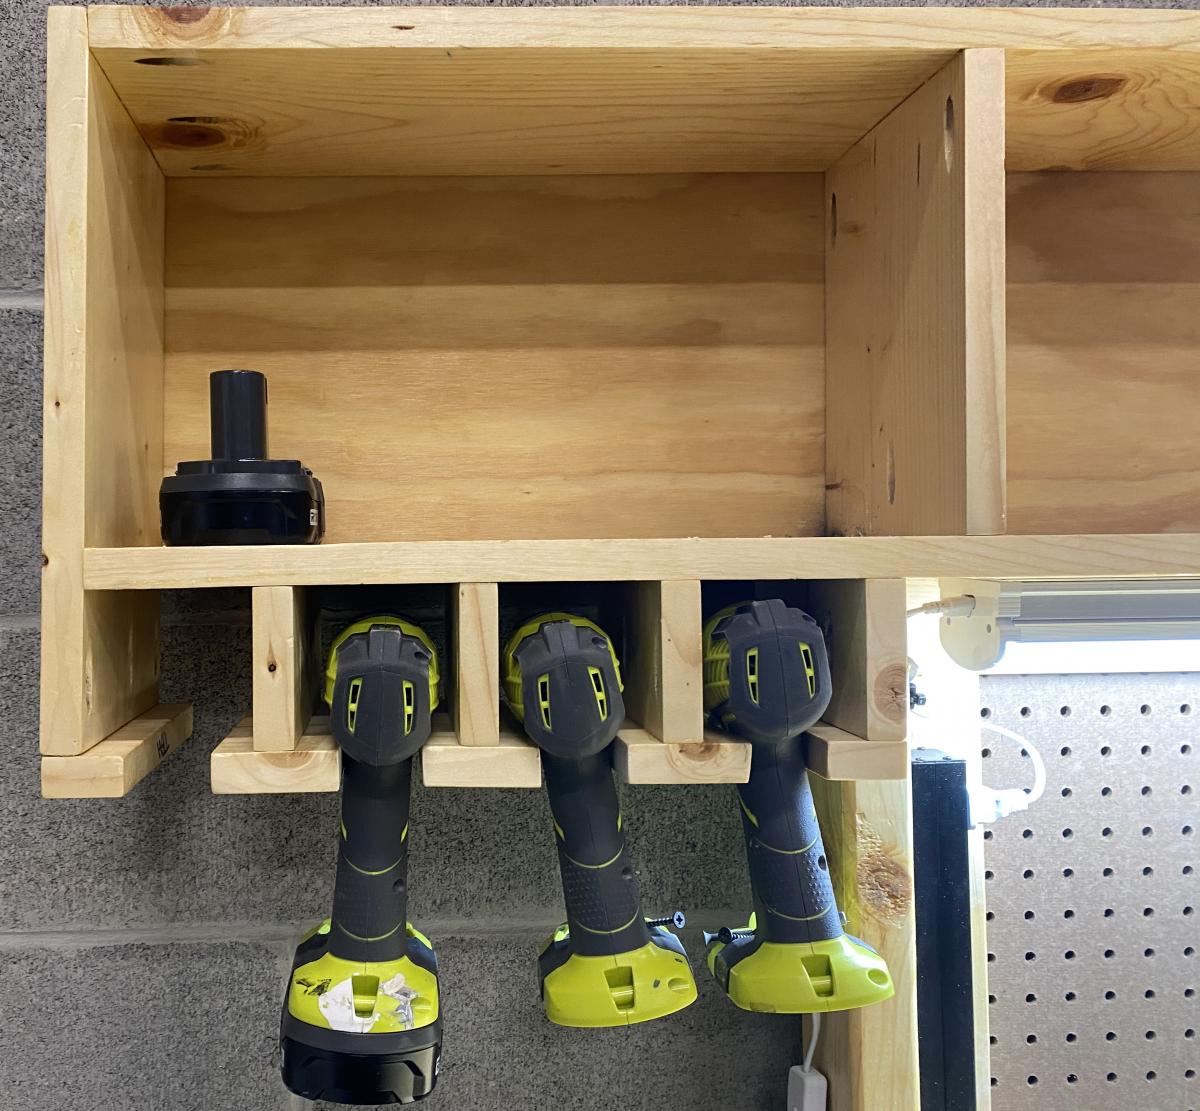
To secure the extended legs, we added a riser shelf from 1x8s. We put a storage station for drills at one end of the riser shelf.
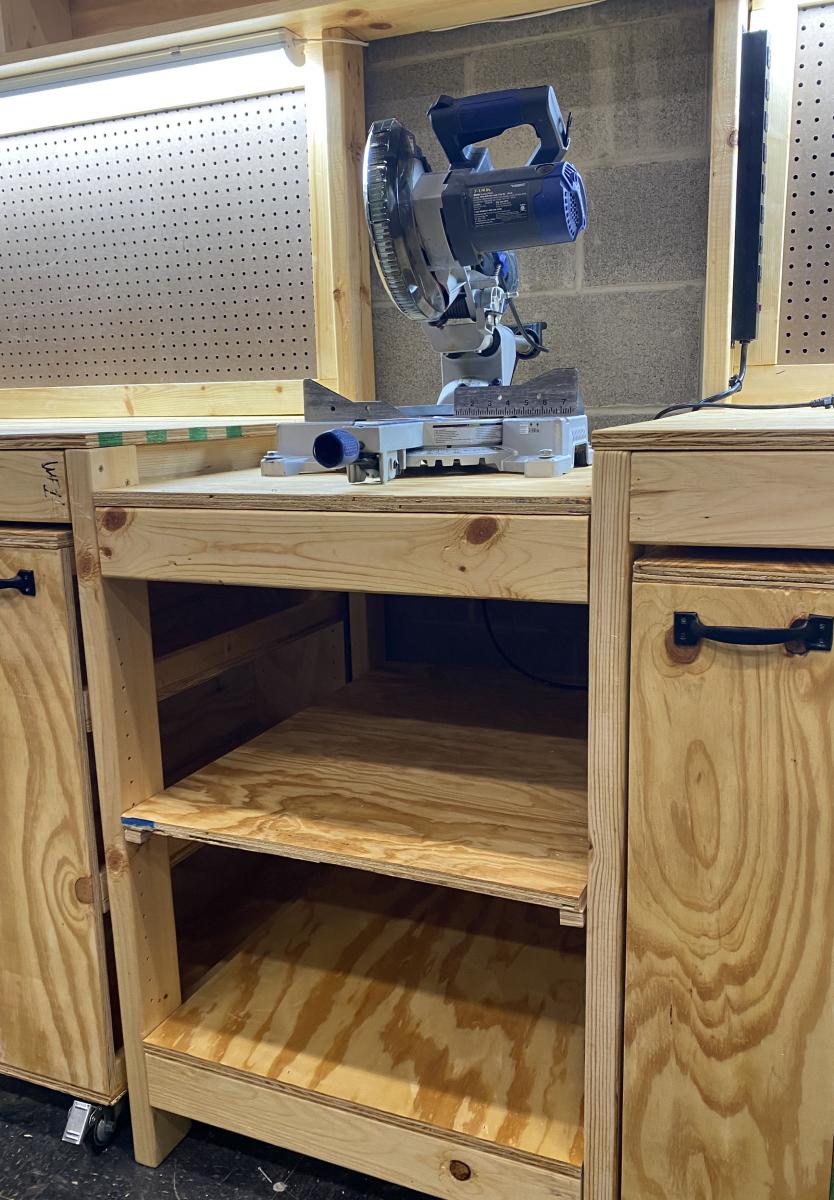
We also made all the cart shelves adjustable and added an adjustable shelf under the miter saw, and added lighting and power strips.
We left out the panels at the end of the workbench to allow access to the shelves there without having to remove the carts. Once we had constructed it, we added a brace at each end of the workbench to better support the outside front legs.
This plan was the perfect one for the theater, giving a stable work area for the miter saw and allowing for tool and materials storage. The carts can be rolled around to where a work surface is needed. This will come in handy for years of set construction in the theater. So proud of my son and all the leadership and hard work he put into this project!
Built from Plan(s)
Comments
Mon, 10/18/2021 - 11:54
Proud indeed!
WOW, that is absolutely amazing, thank you so much for sharing this story!